3D Printing
I have produced numerous 3D prints while at the Chalfonts Community College. When I started, we had a Cubicon Single. Over time, this became dated and while still functional (I had to change a few print heads), it was very slow compared to more modern designs. This ran using Cubicreator slicing software. I then built a RatRig Vcore3, with a huge 500mm x 500mm x 500mm build volume. This printer had potential to be considerably faster than the Cubicon, however while I got the printer running, I never really was able to get the maximum performance from it, as demands on my time were always many and varied. With sufficient time to focus on dialling in and tuning the print profiles, I’m sure that I could have achieved much faster speeds than we ultimately were left with. I ran the RatRig using predominantly Ultimaker Cura slicing software. More recently, we invested in a Flashforge Adventurer 5X, which was much faster out of the box. This machine used OrcaSlicer slicing software, whose print profiles seem to be much faster as standard than either Cubicreator or Ultimaker Cura.
Prototype components for the bicycle frame build. Designed in SolidWorks and printed in PLA on the Cubicon Single. This helped figure out fixturing for the CNC and allowed us to test and tweak the shapes alongside the partially built frame.
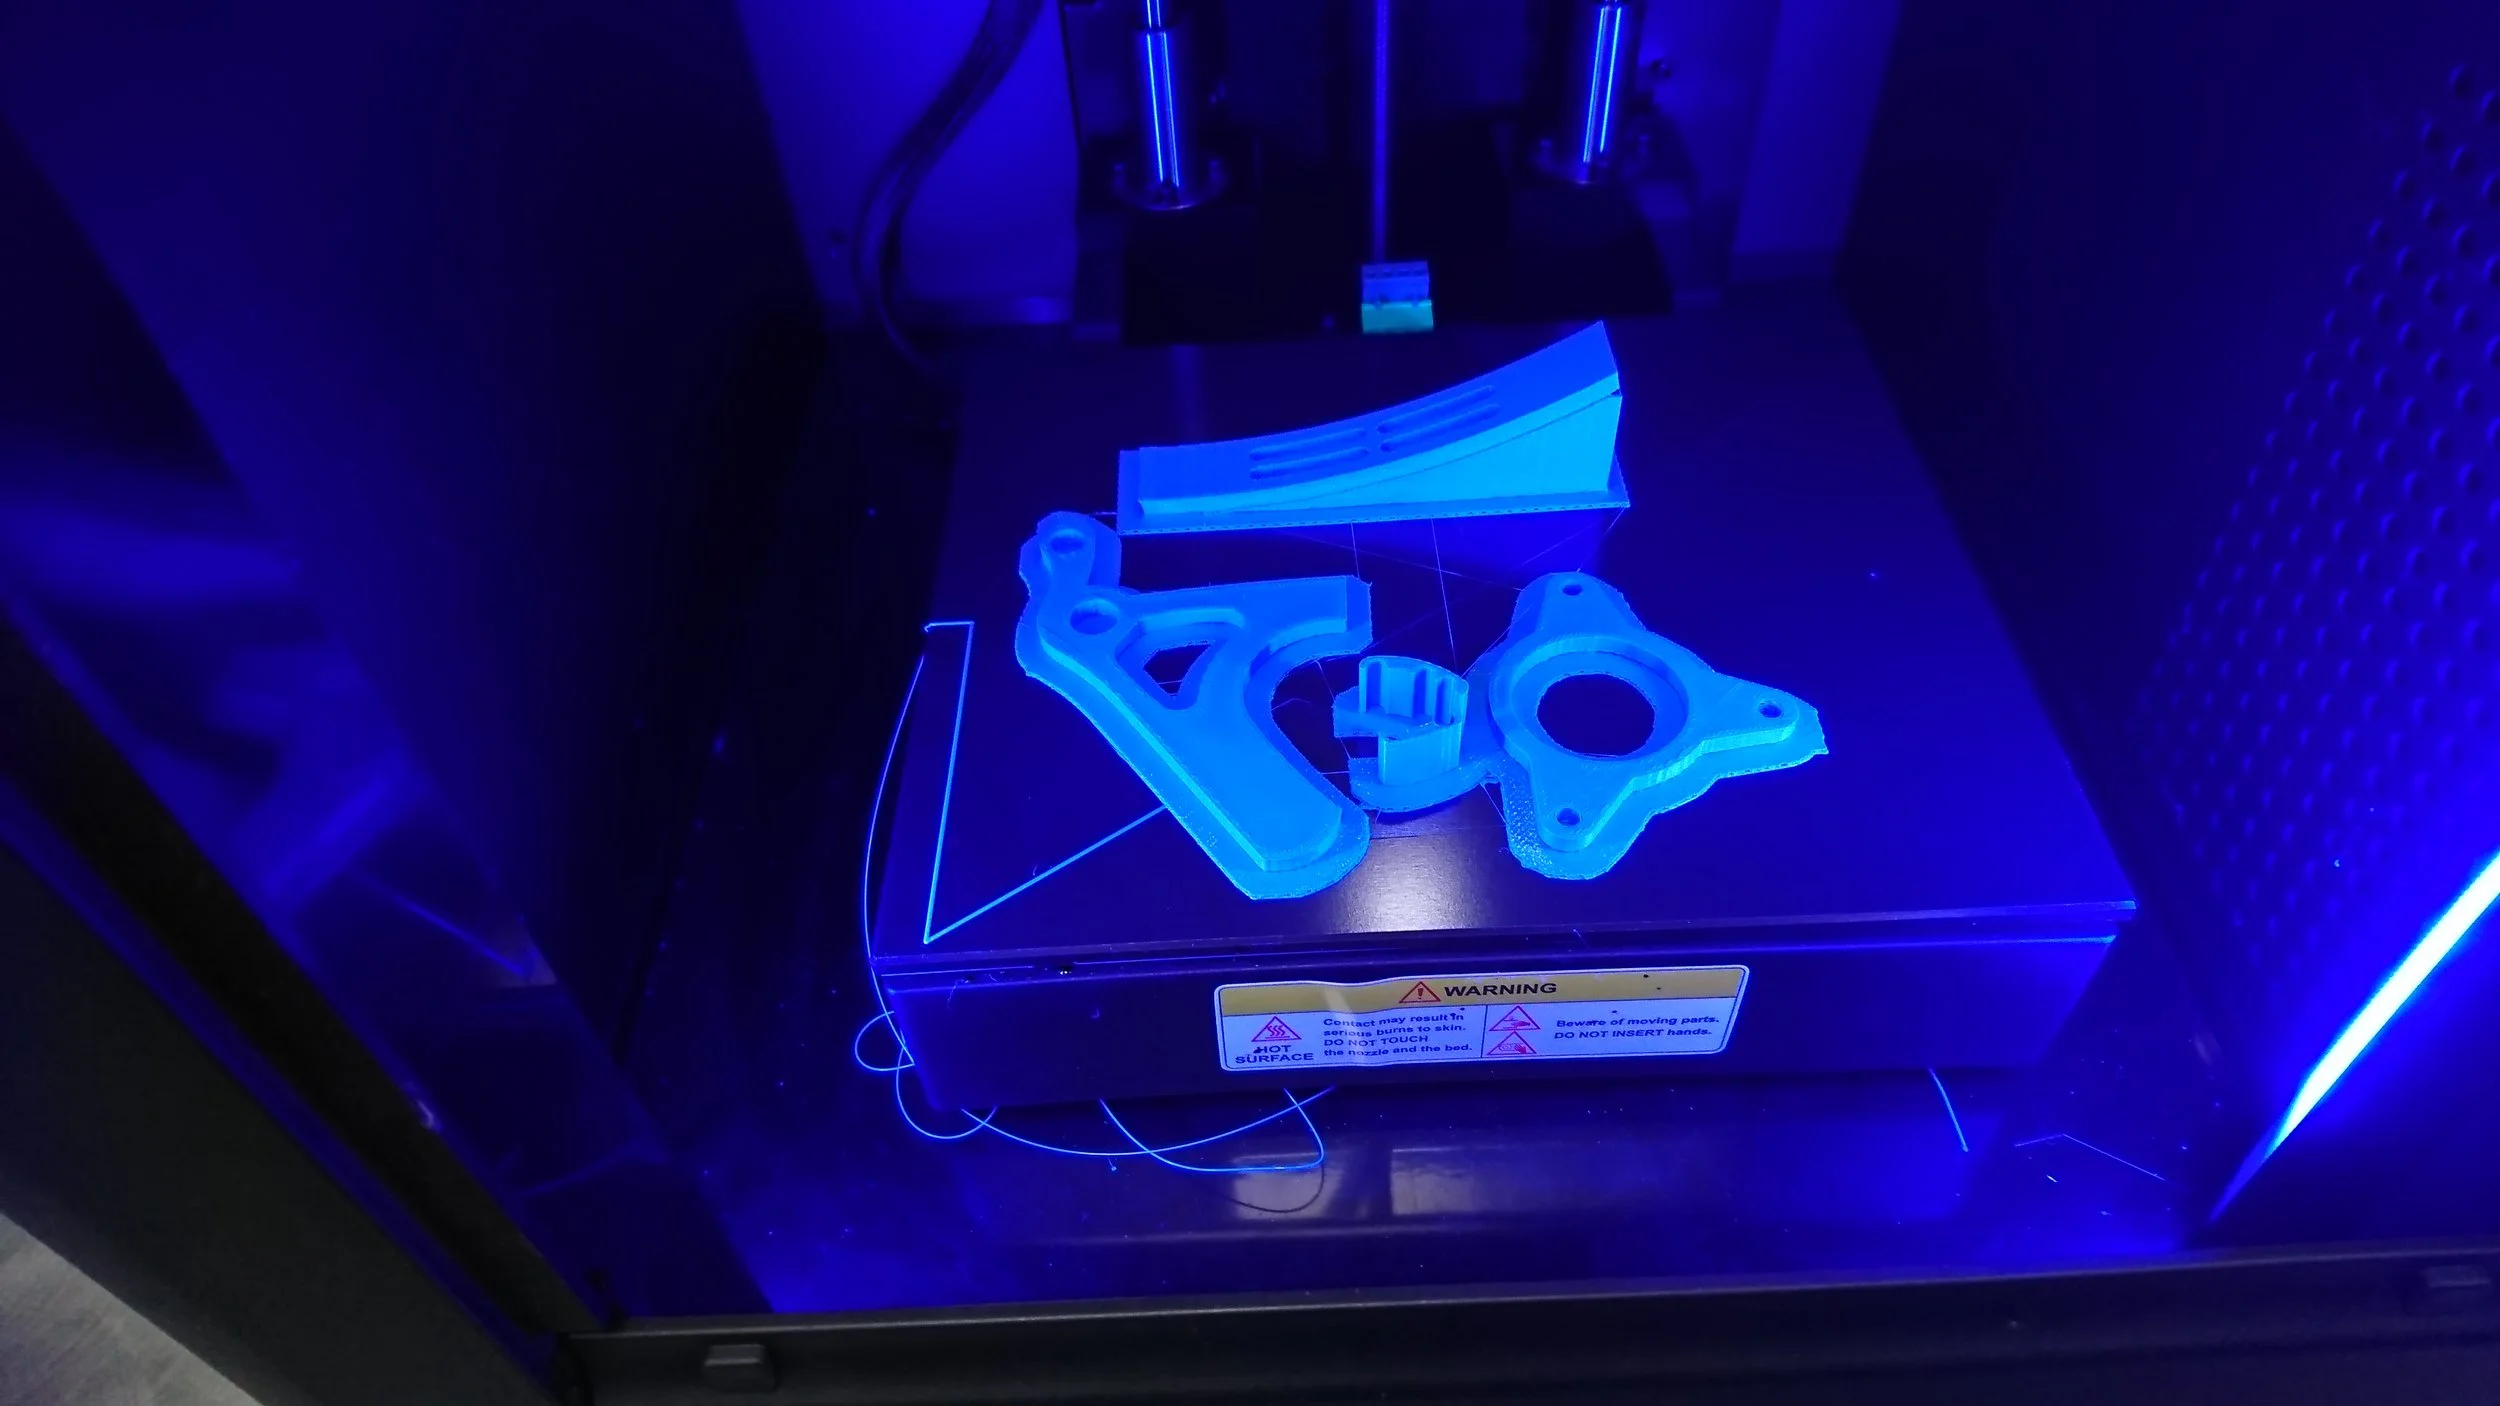
Printing a housing for an LCD display.
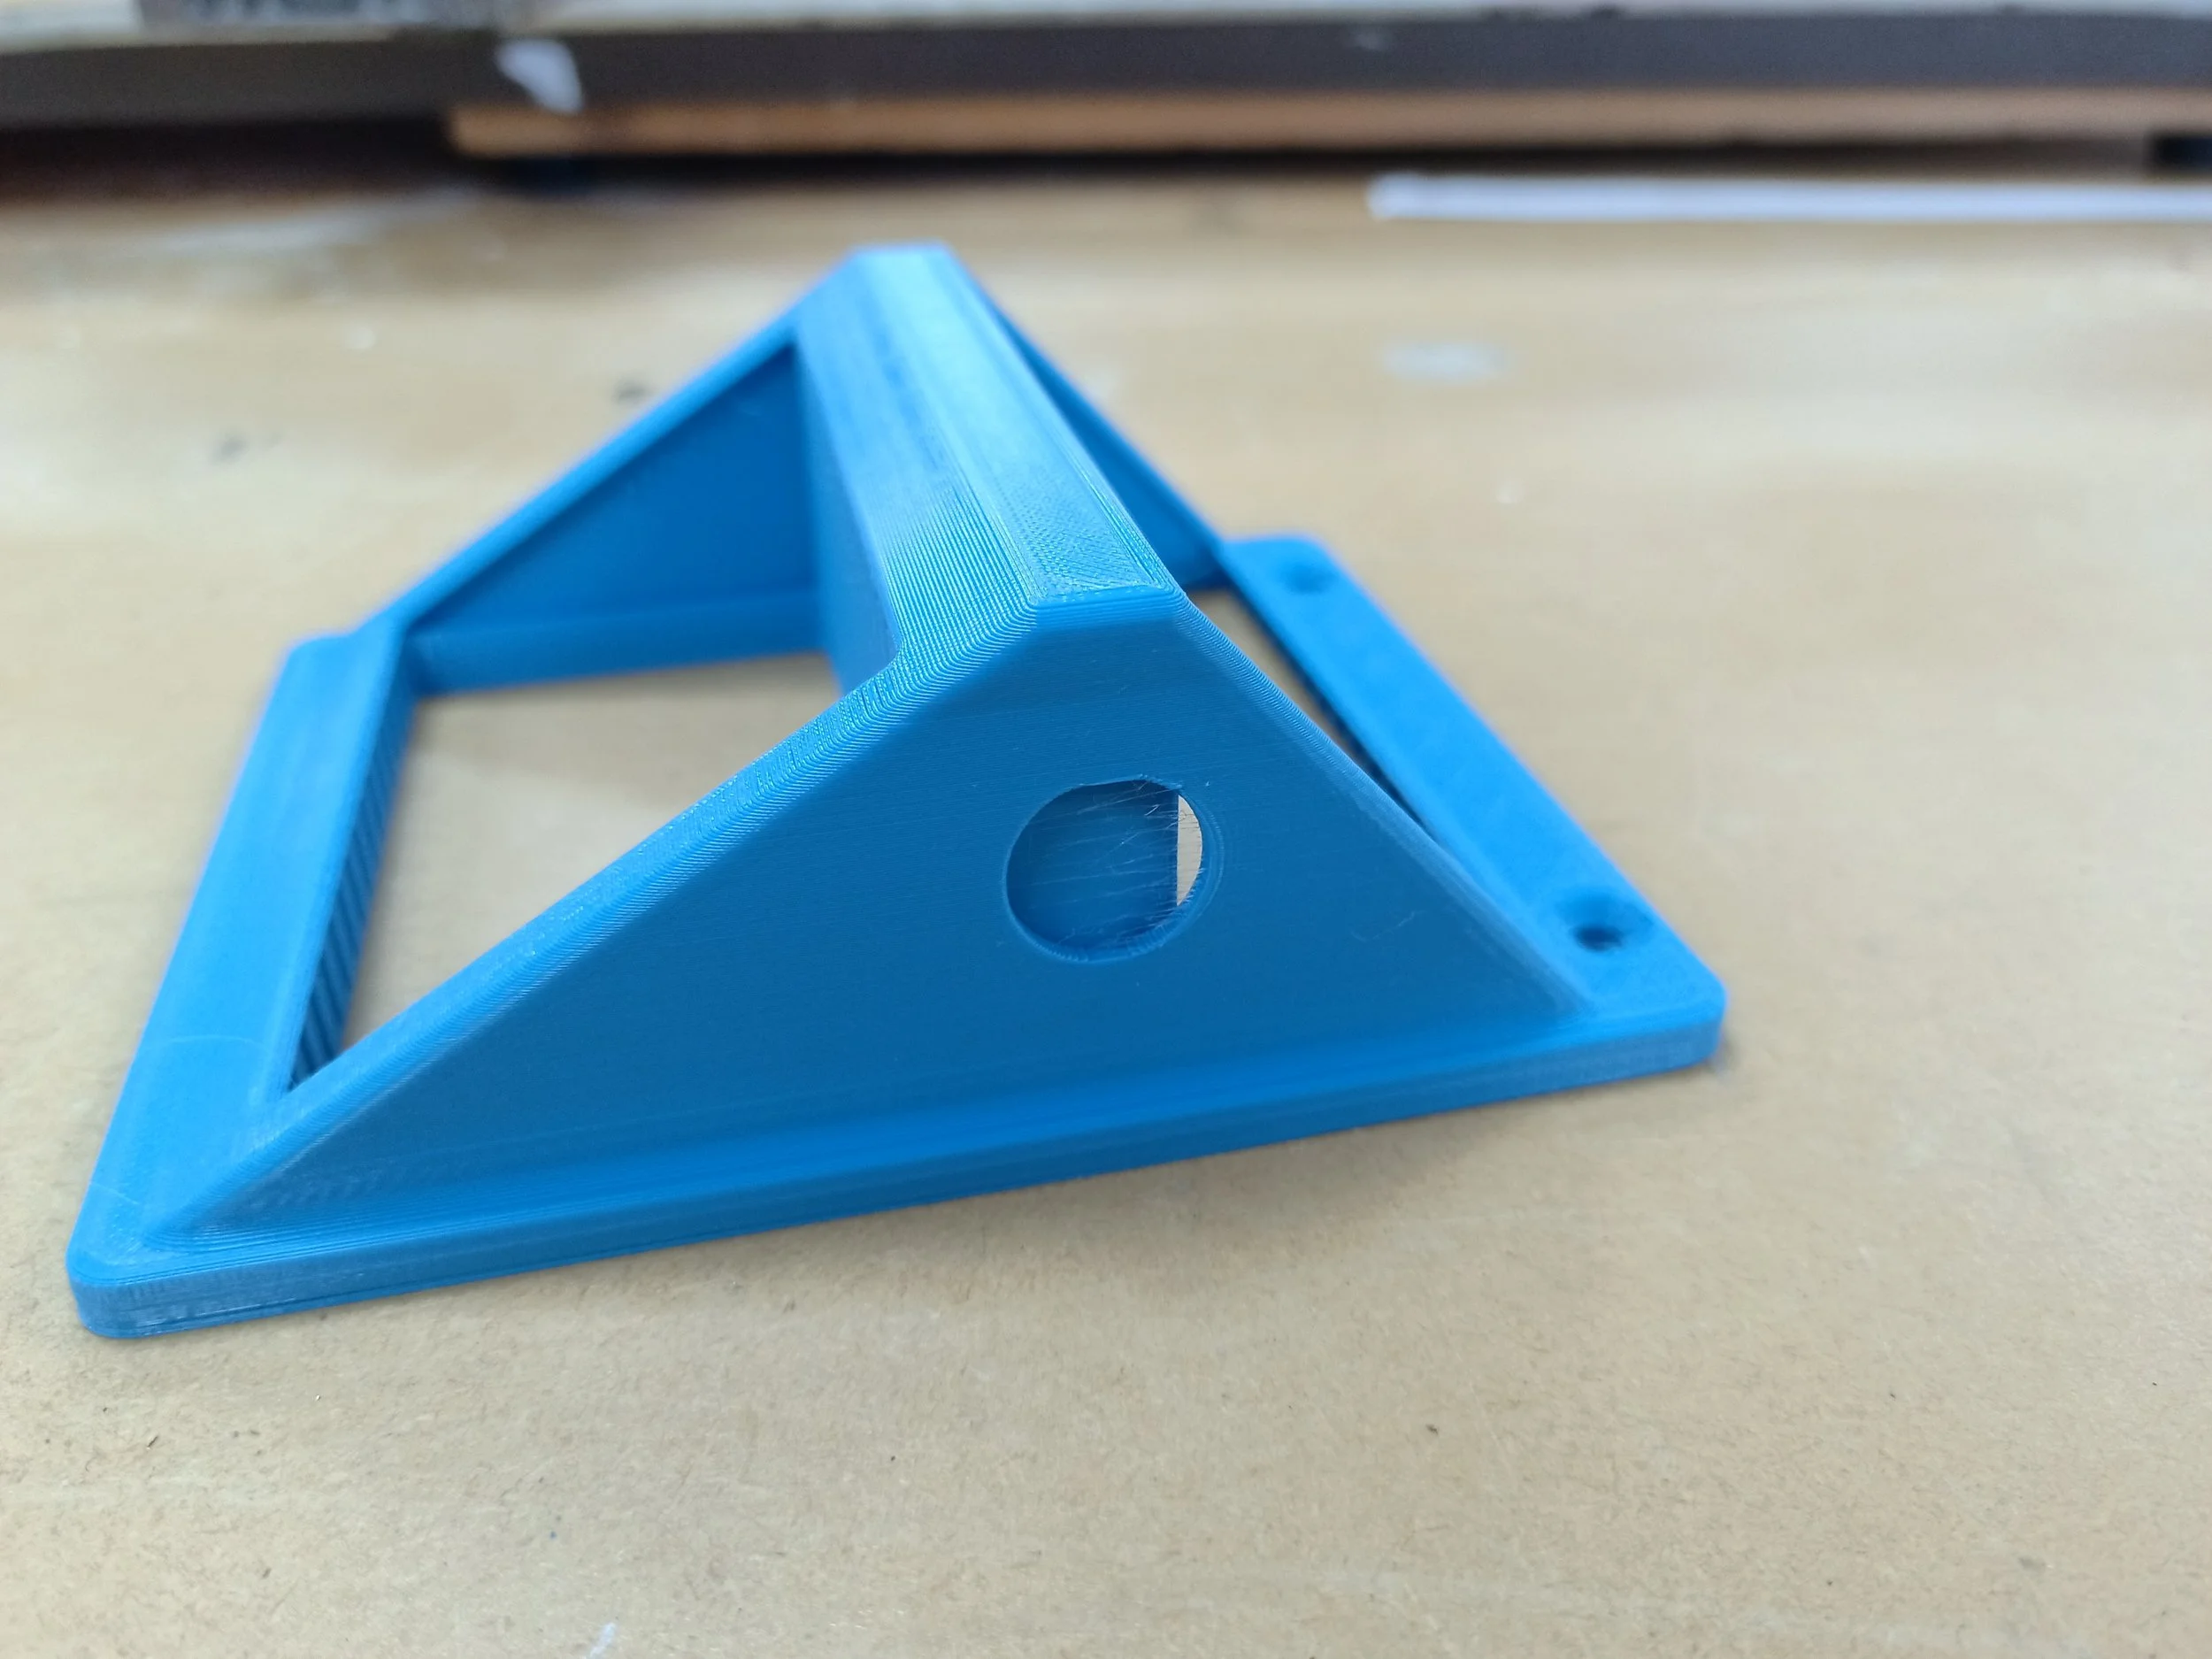
This image gives a good idea of the shape of this component. The unsupported horizontal span has the potential to be problematic...

However, these central 'columns' are support material, which enables the span to be printed without sagging.

From underneath, you can see the grid structure of the support material. This will then be removed by pulling it away from the finished structure using fingers, plyers, or anything else that works!

Turning on the new RGB LEDs in the newly built RatRig Vcore3. Have you really build a 3D printer if you didn't install RGB LEDs?!

We wanted the CAD/CAM corner to stand out as a cool place to hang out. The earlier you can catch students' attention and the more you can encourage a playful approach to learning, the more successful your teaching will be.

It turns out that building a 3D printer takes a lot of wiring, fiddly connectors and other small components. While in build, the workspace got a little untidy. Now, however, a set of benches with drawers and cupboards help ensure that the area stays clean and tidy.

This interesting design was a reduced scale prototype for a slideshow camera.

A flat spiral spring inside, attached to a drum, enabled a scroll of images to be withdrawn from the body of the 'camera' before retracting upon release.

While this version was a prototype, a large part of the finished design was also 3D printed, with the idea being that this would be a good analogue for a production item that would most likely be injection moulded.

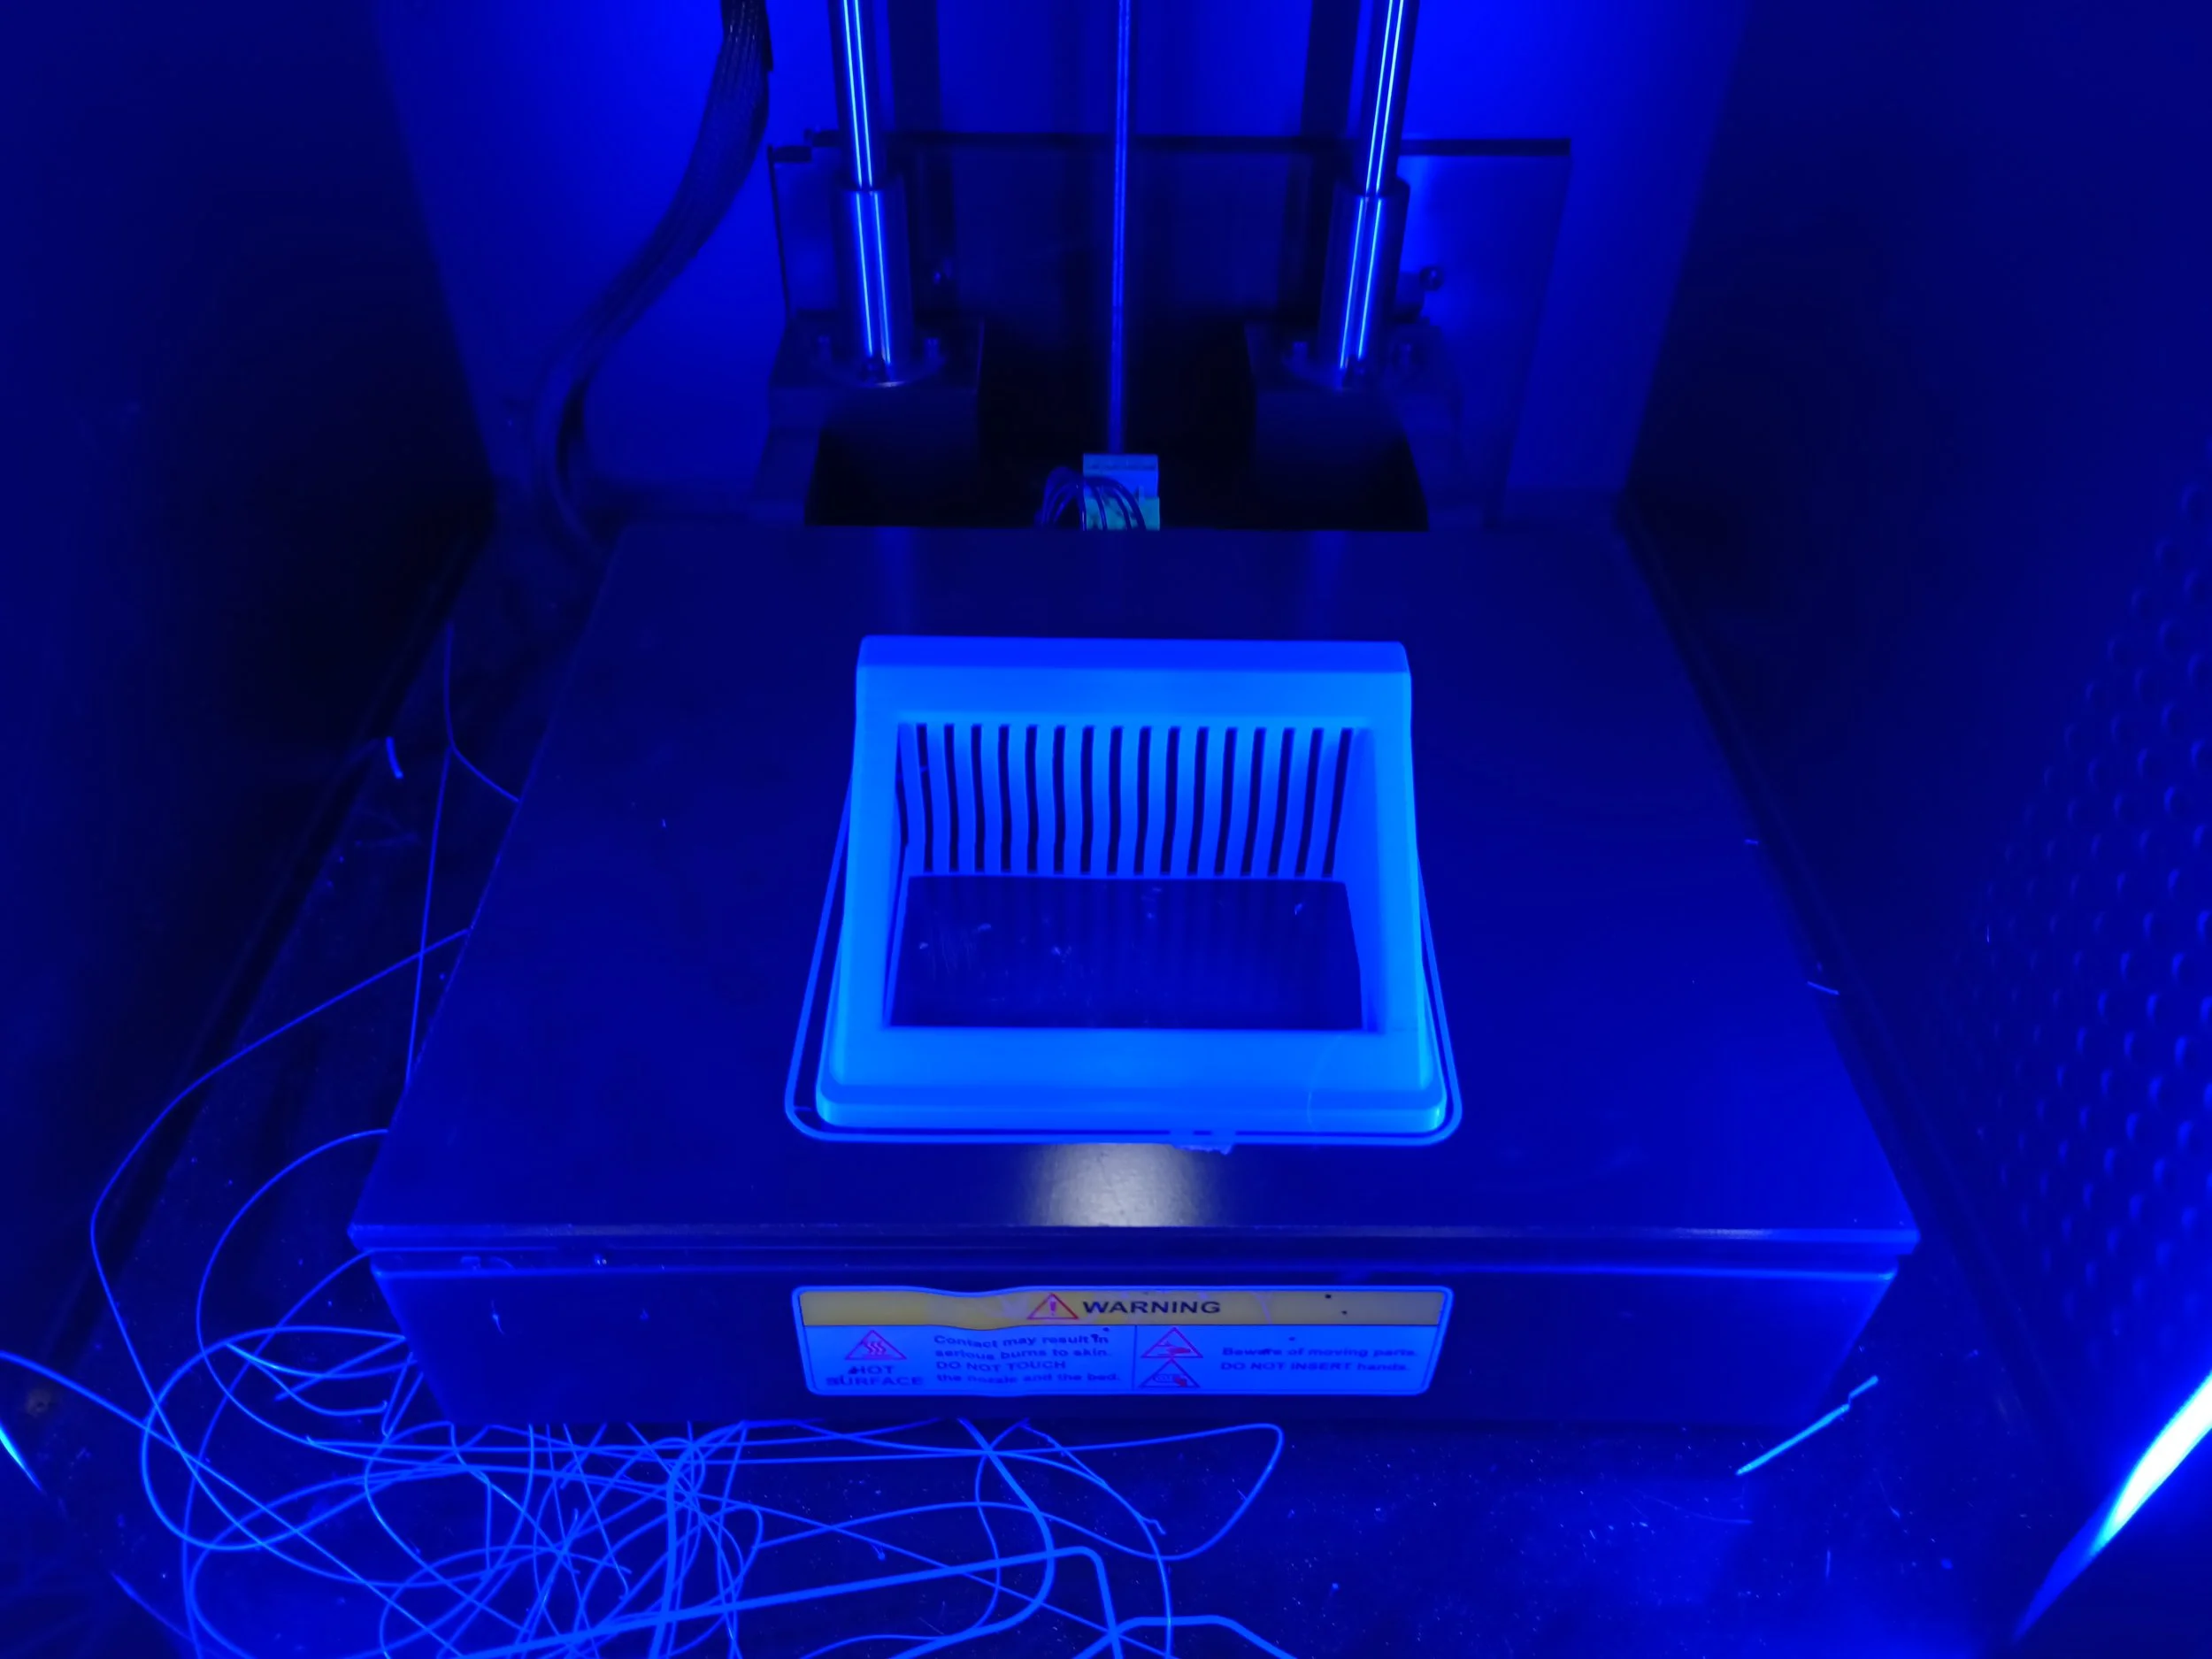
Beginning the printing for the finished camera body.

A cinematic low-angle photo... This printer was quite hard to observe in operation at certain points of motion, due to the full enclosure and the only light being on the front of the print head. This was one of the driving decisions for fitting more LEDs in the RatRig build.

Moving beyond the base layers, the internal details and sides are now starting to be built up.

Testing out the new Flashforge AD5X. This set of print-in-place assemblies proved that the machine printed dimensionally accurately, and also demonstrated the print speed.

Each of these designs, downloaded from online 3D printing websites, has separate articulating components and complex mechanisms, all printed in one.
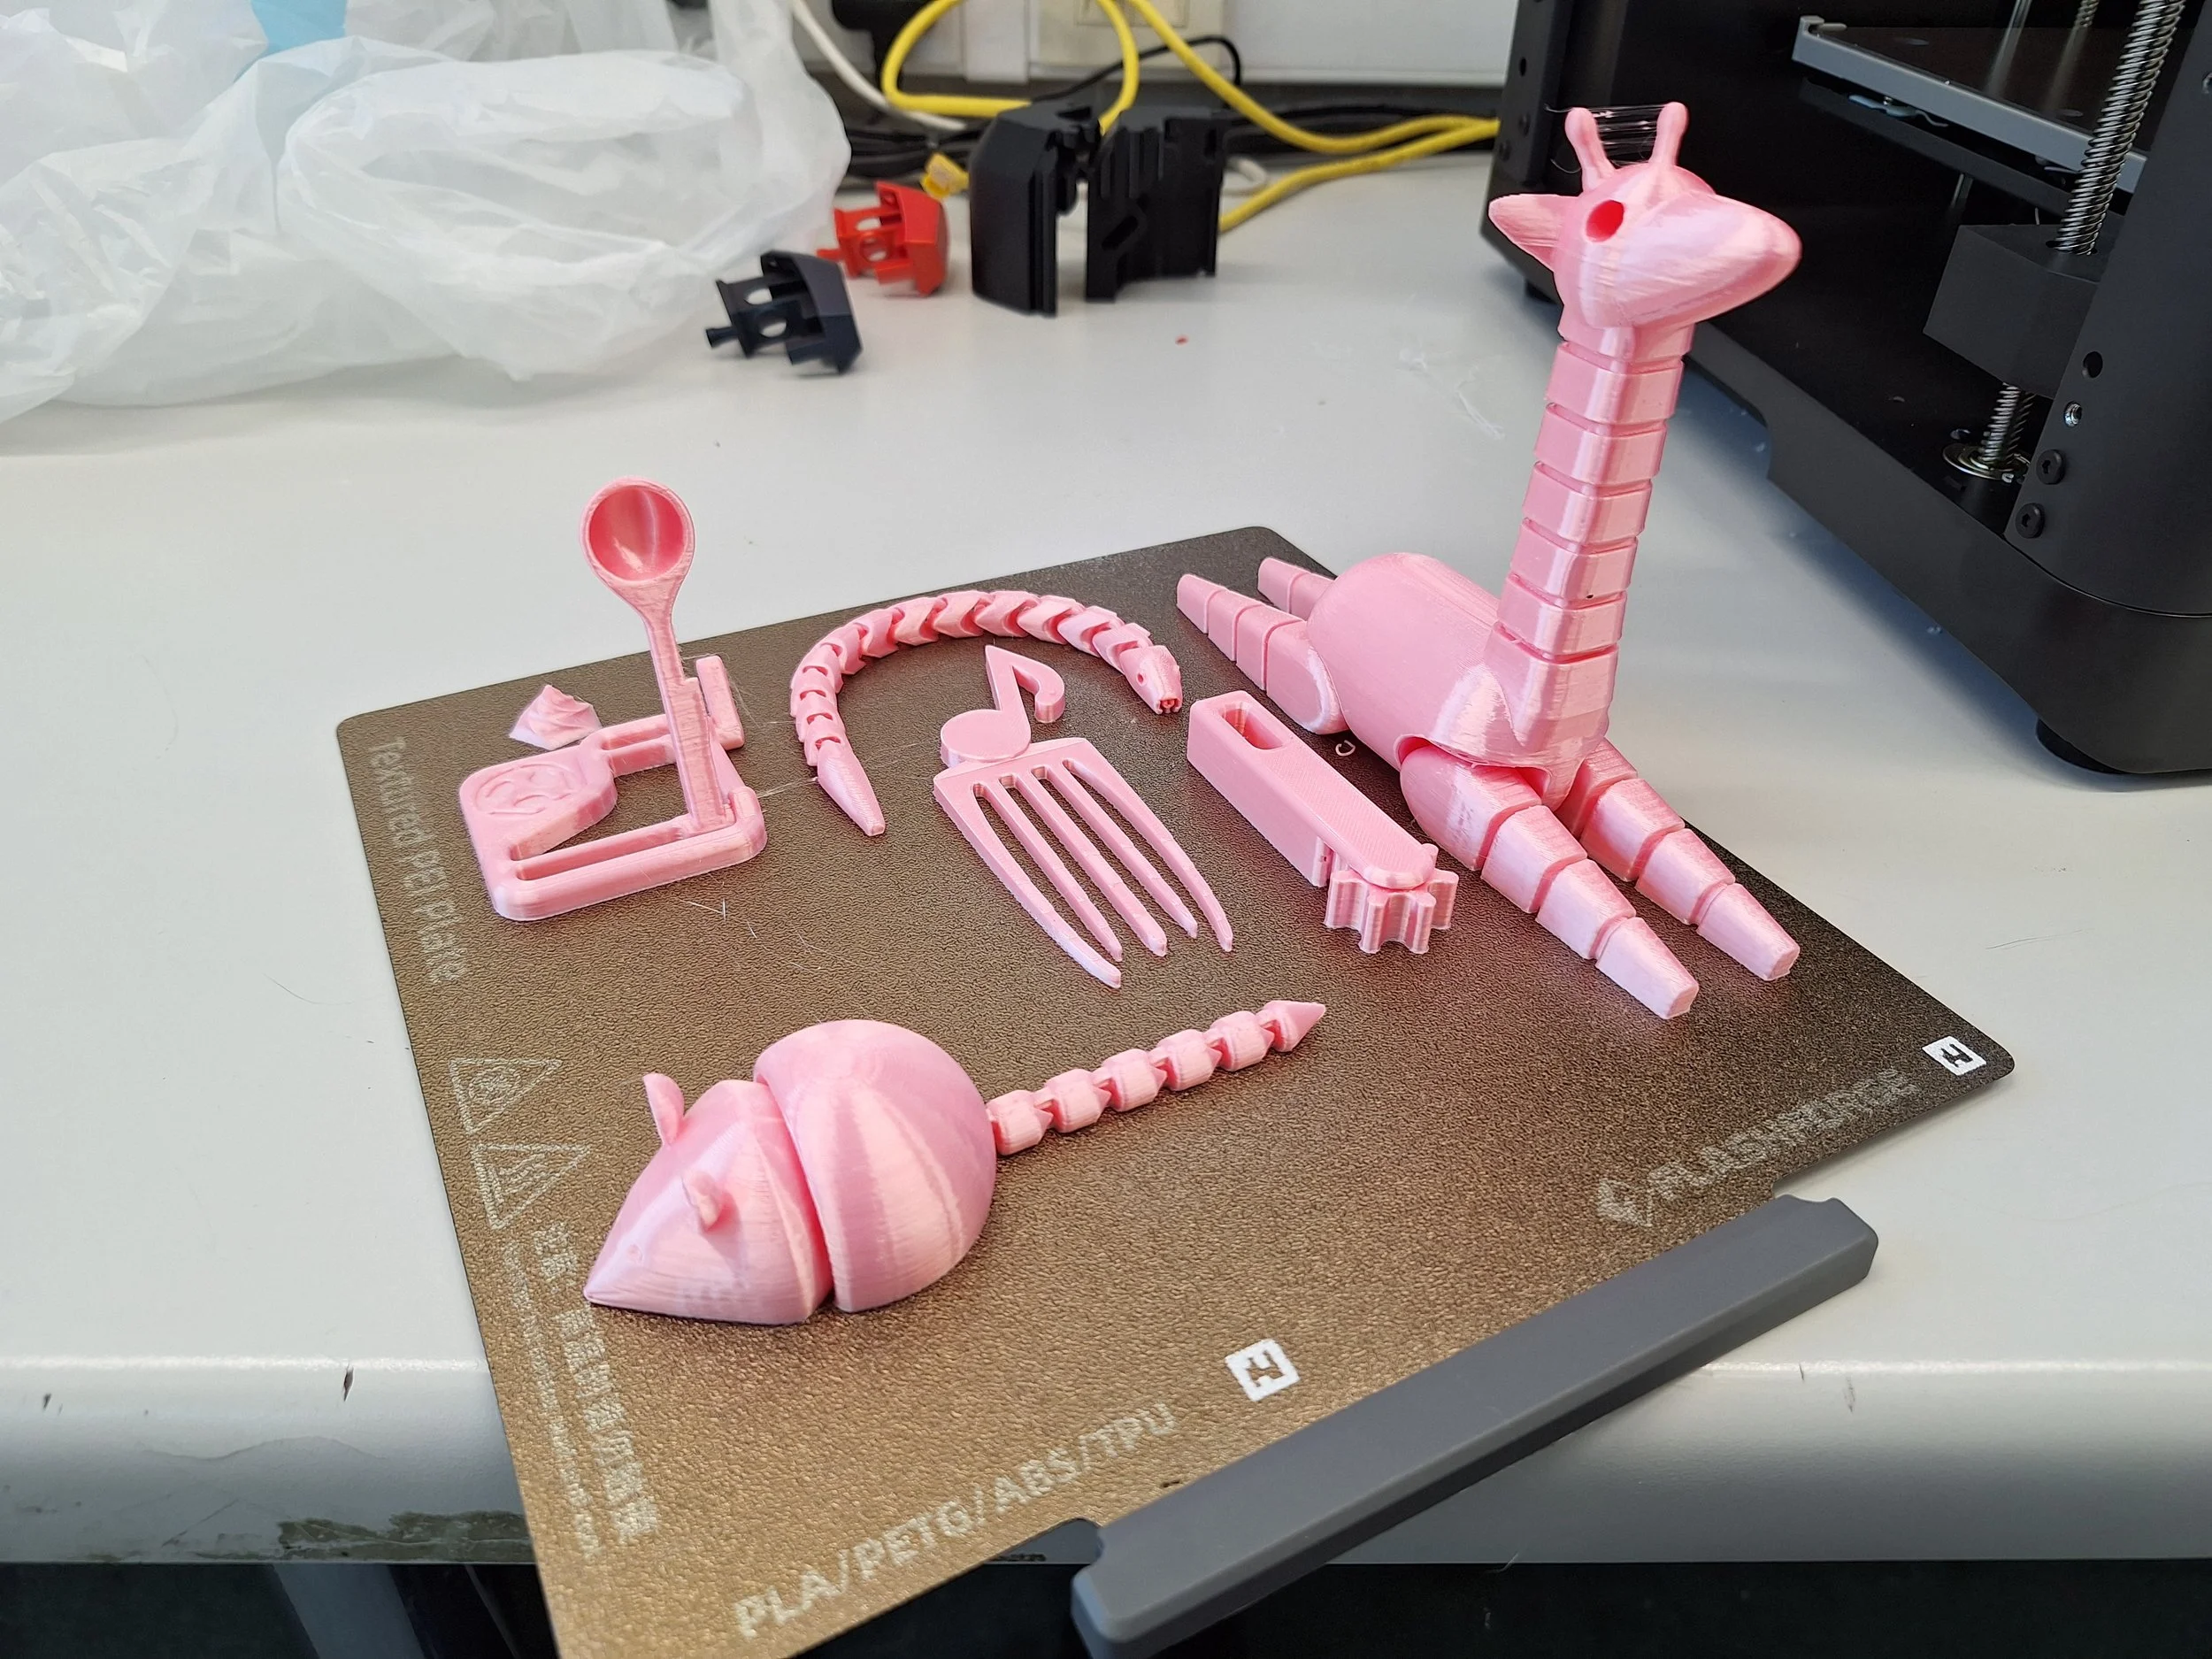
We used these prototypes to showcase to students the wide range of possibilities associated with 3D printing and to encourage them to stretch their imagination with their design ideas.