
Forming Jig
I was asked to produce a jig to enable consistent forming of an aluminium handlebar bracket for a bicycle. I developed a two step form tool to facilitate this. The first step took the aluminium blank and formed a U-shaped curve, with the second step taking that U-shaped curve and continuing the rotation, while bending the lugs in the opposite direction. Power was applied using either a vise or large g-clamp. The jigs were fabricated in mild steel and involved drilling, milling and TIG welding processes.
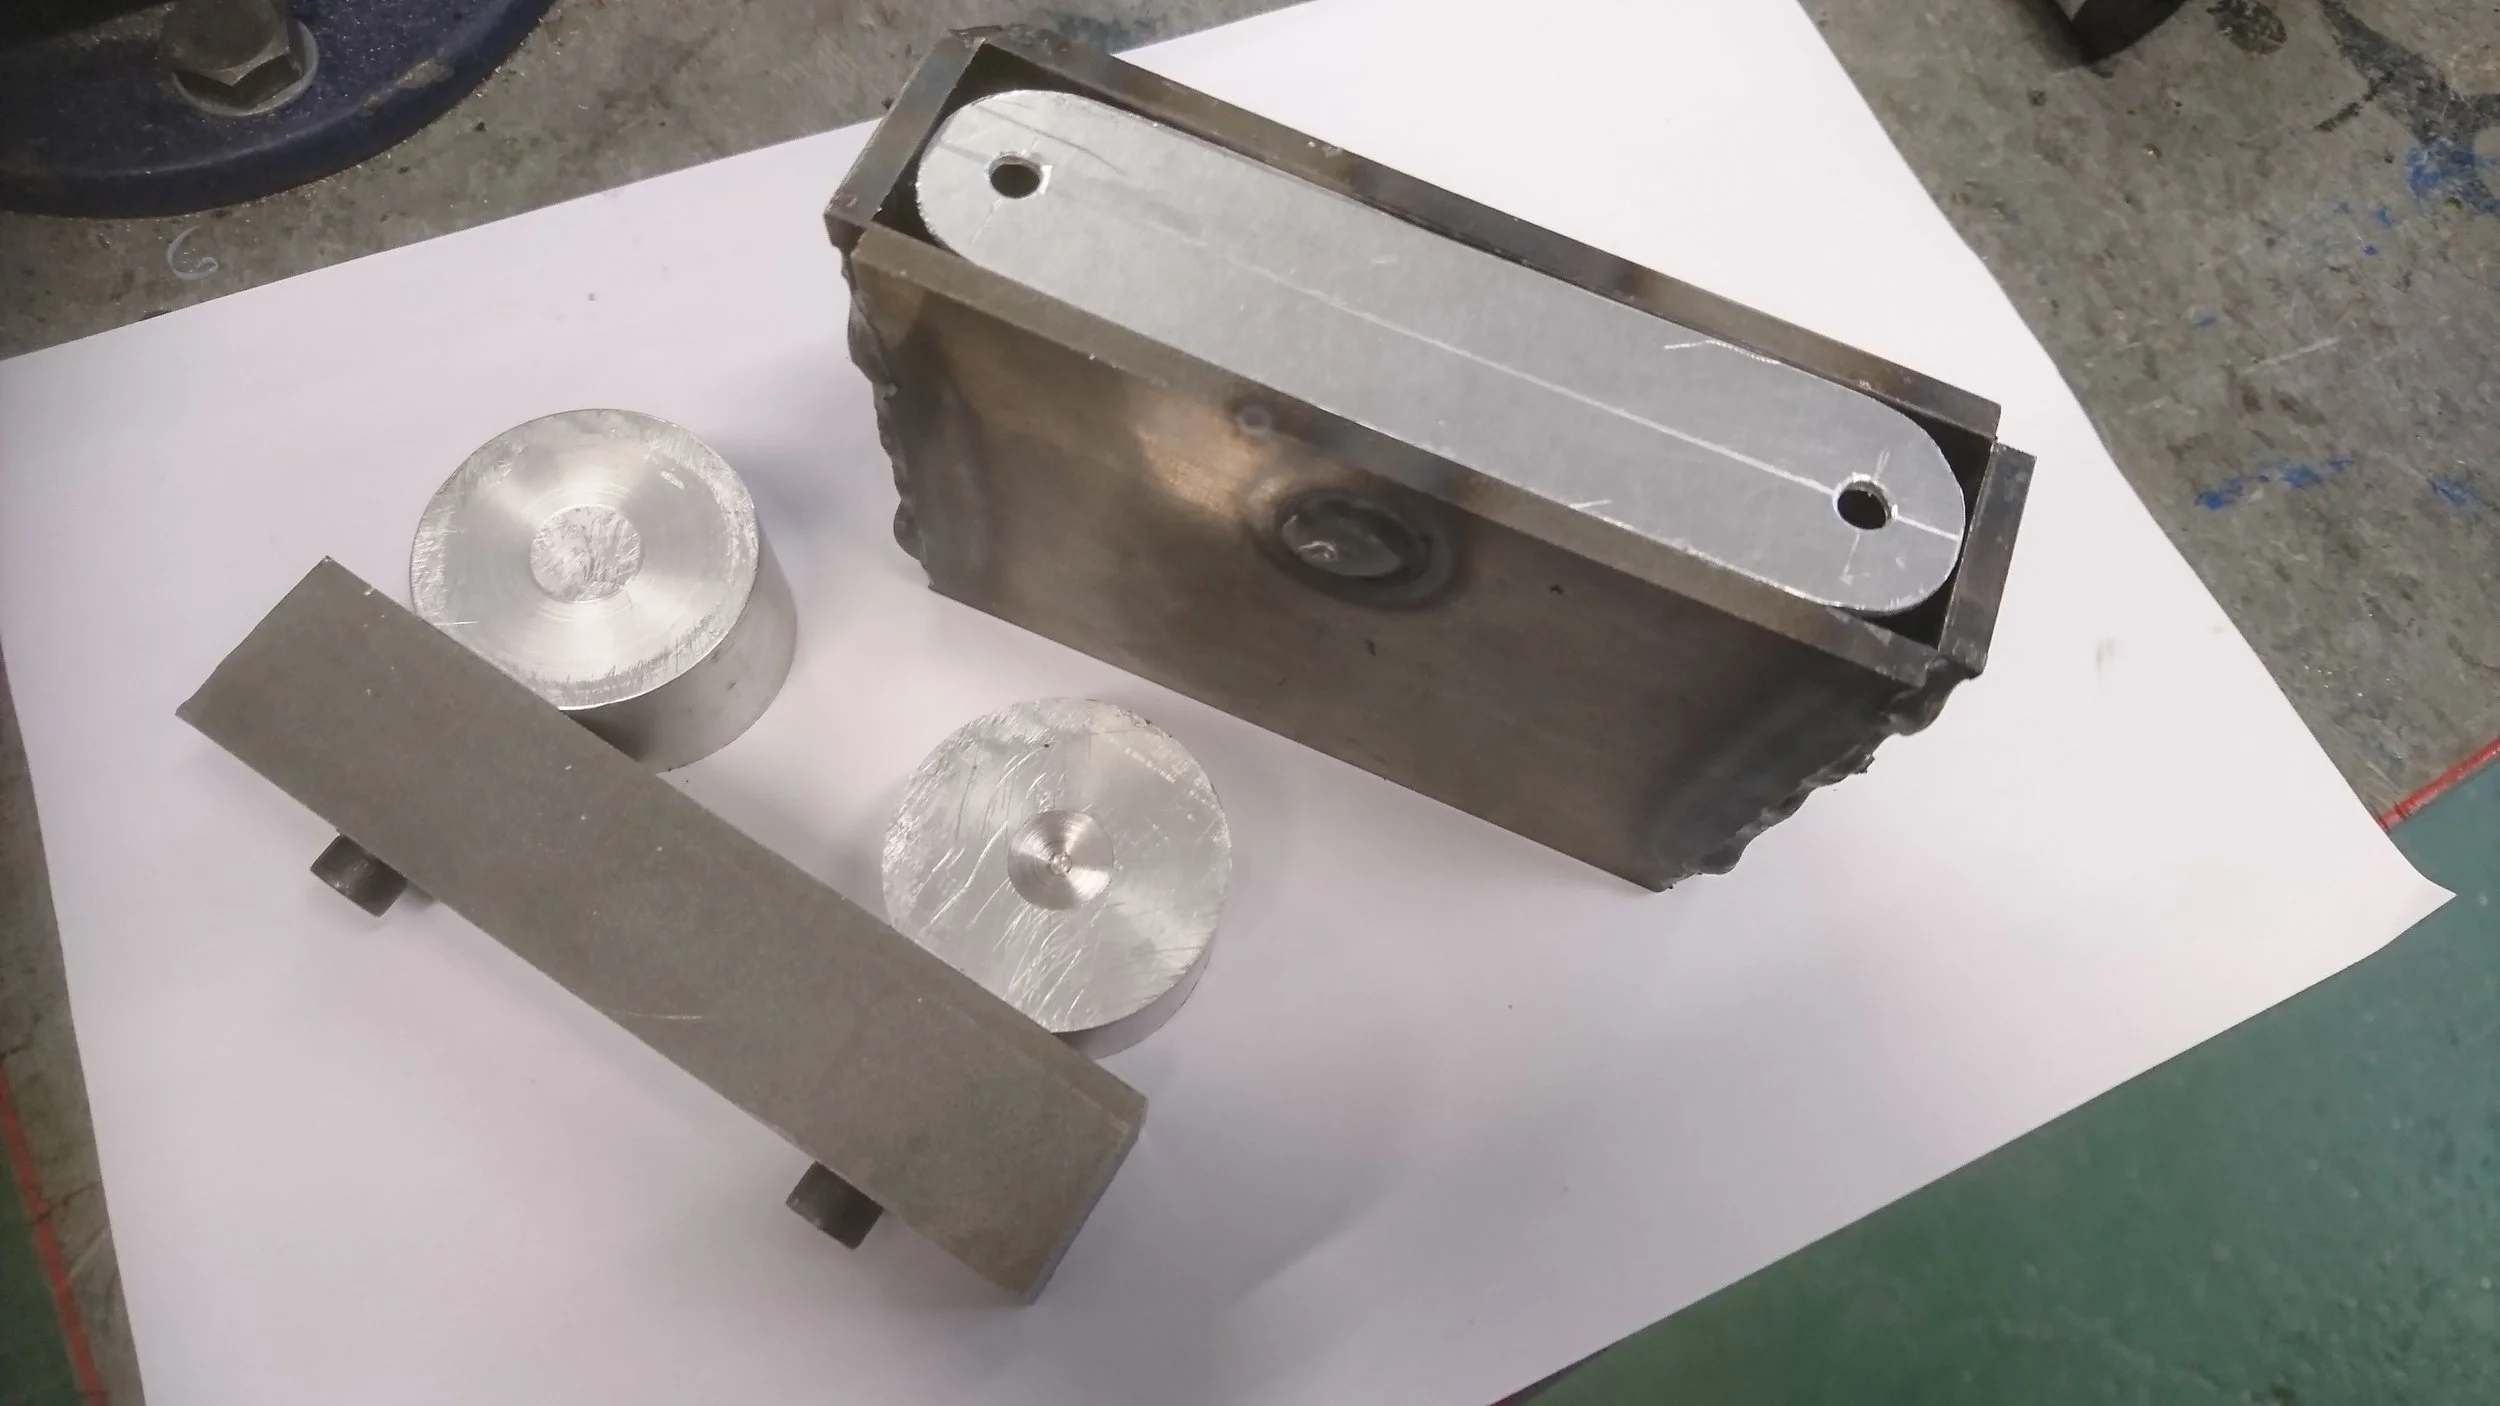
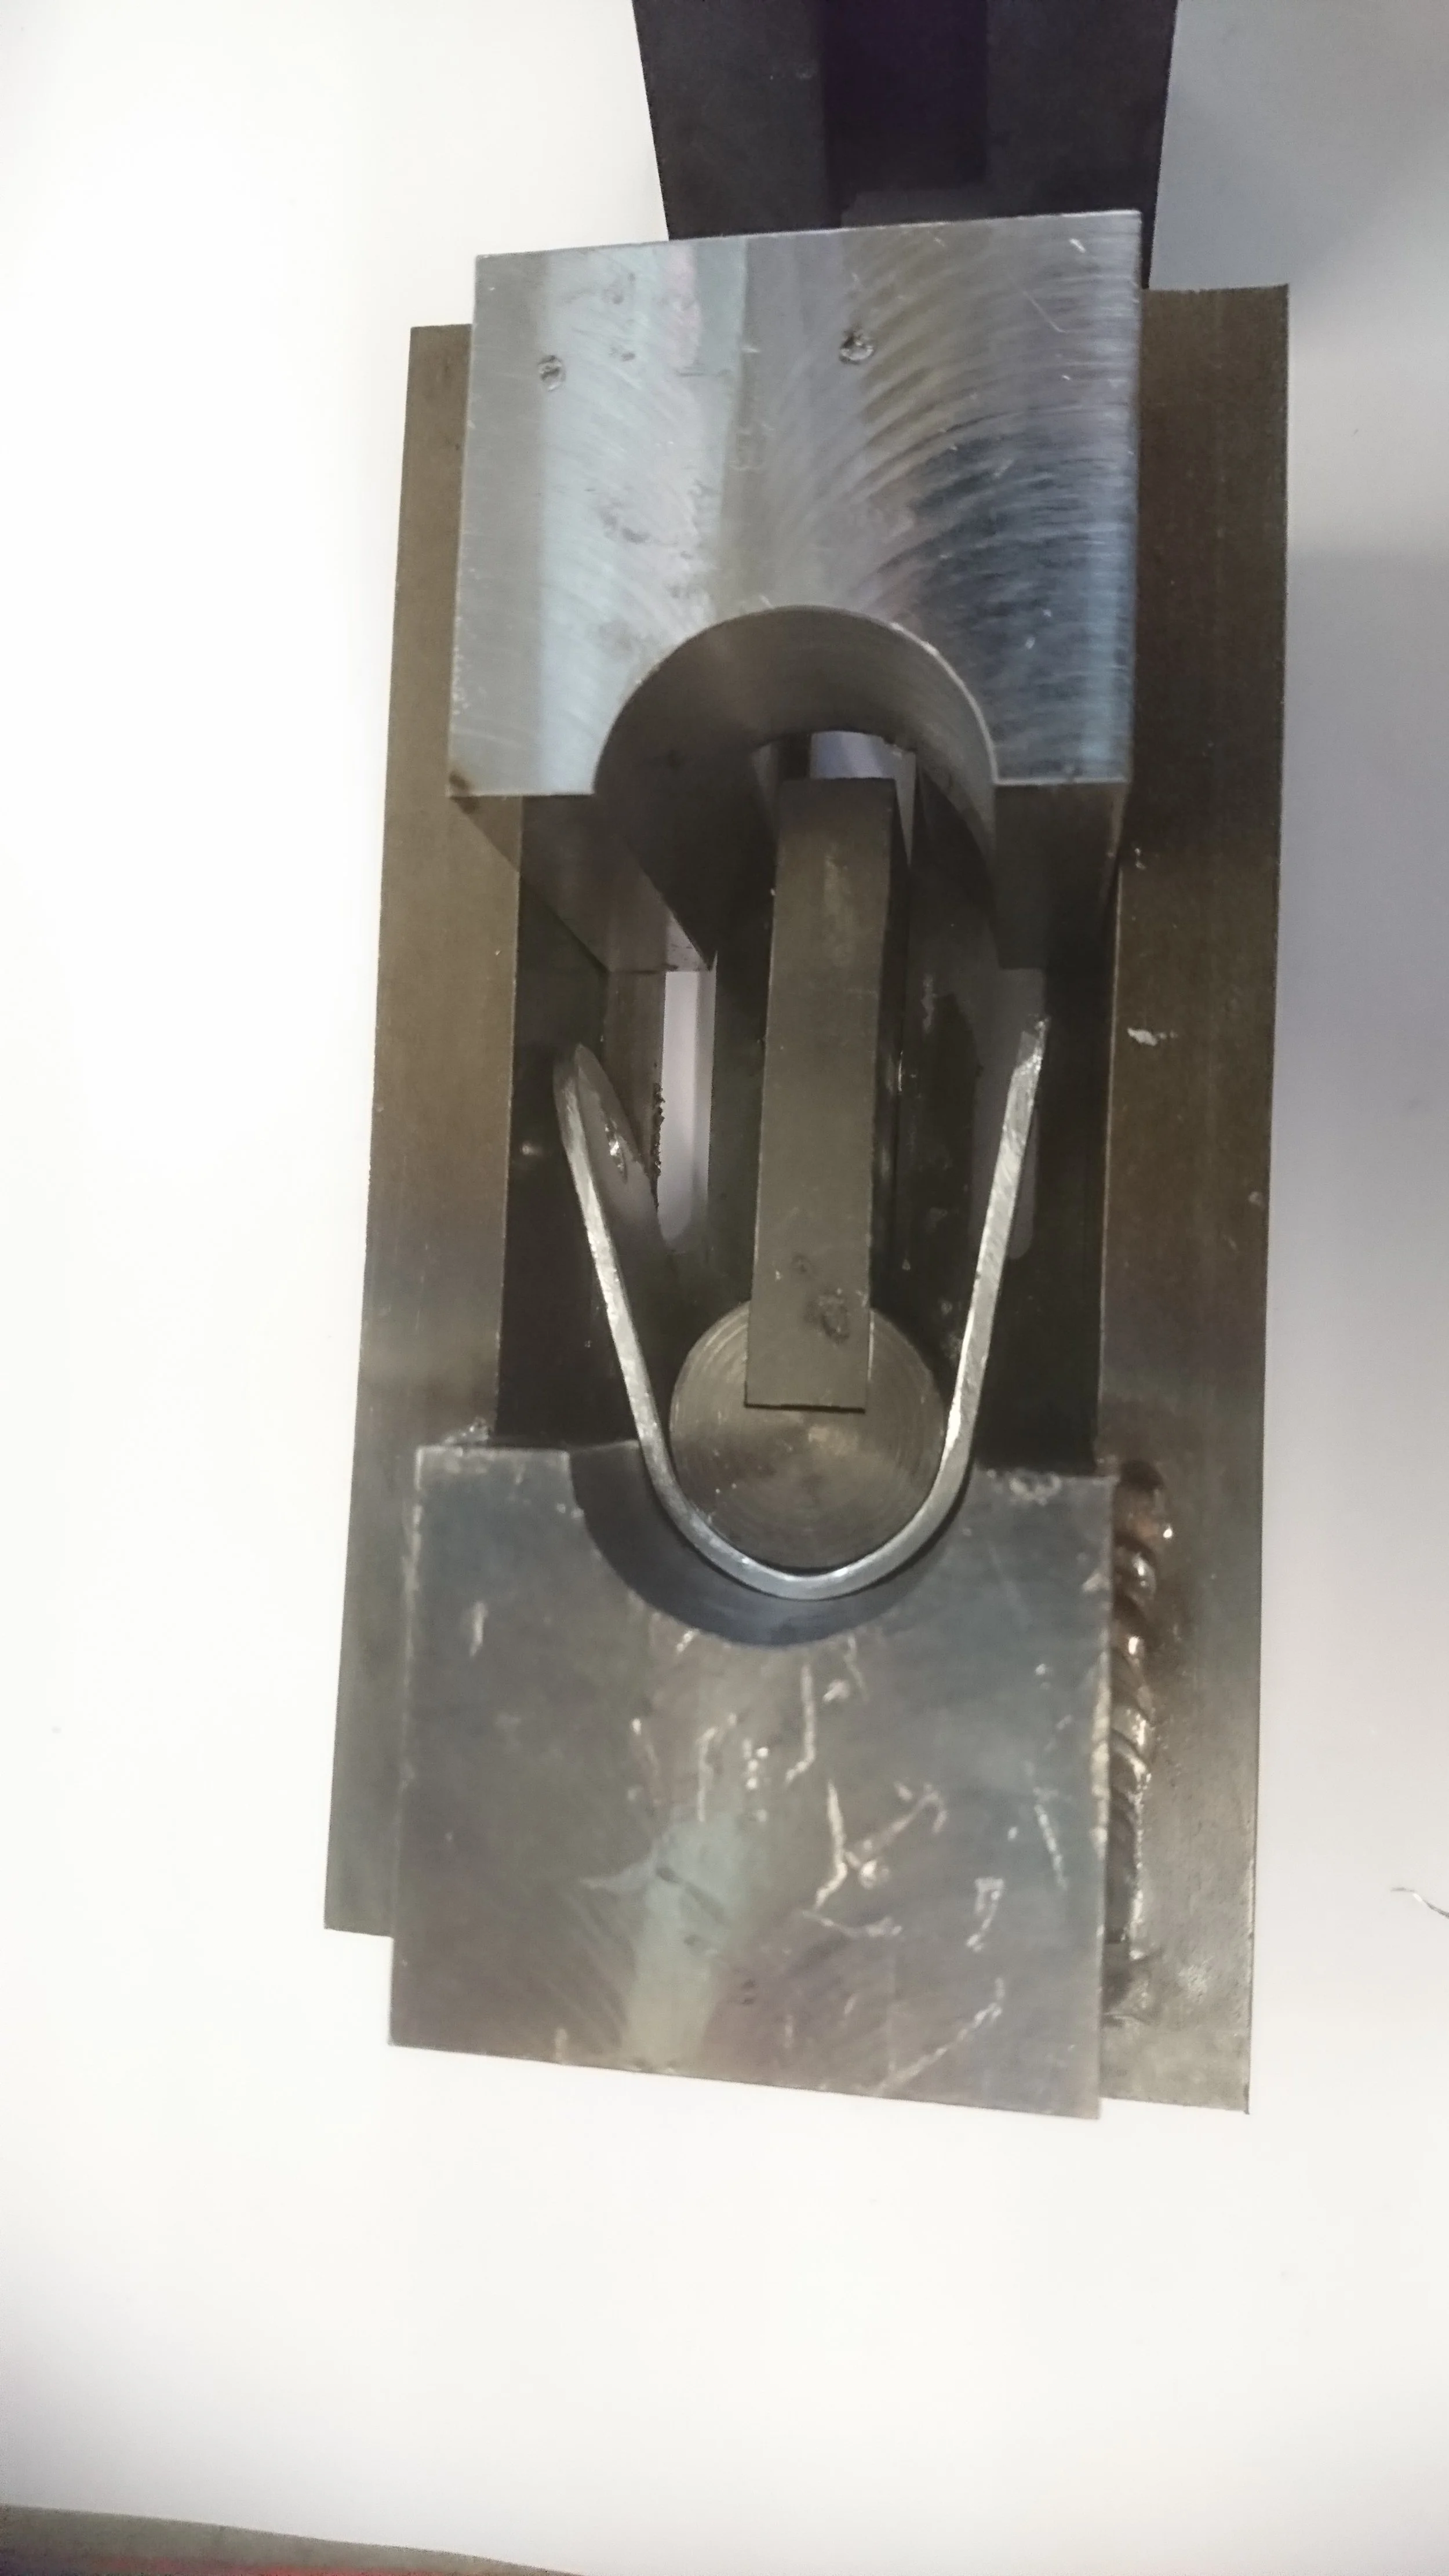
Aluminium blank installed in Jig 1.
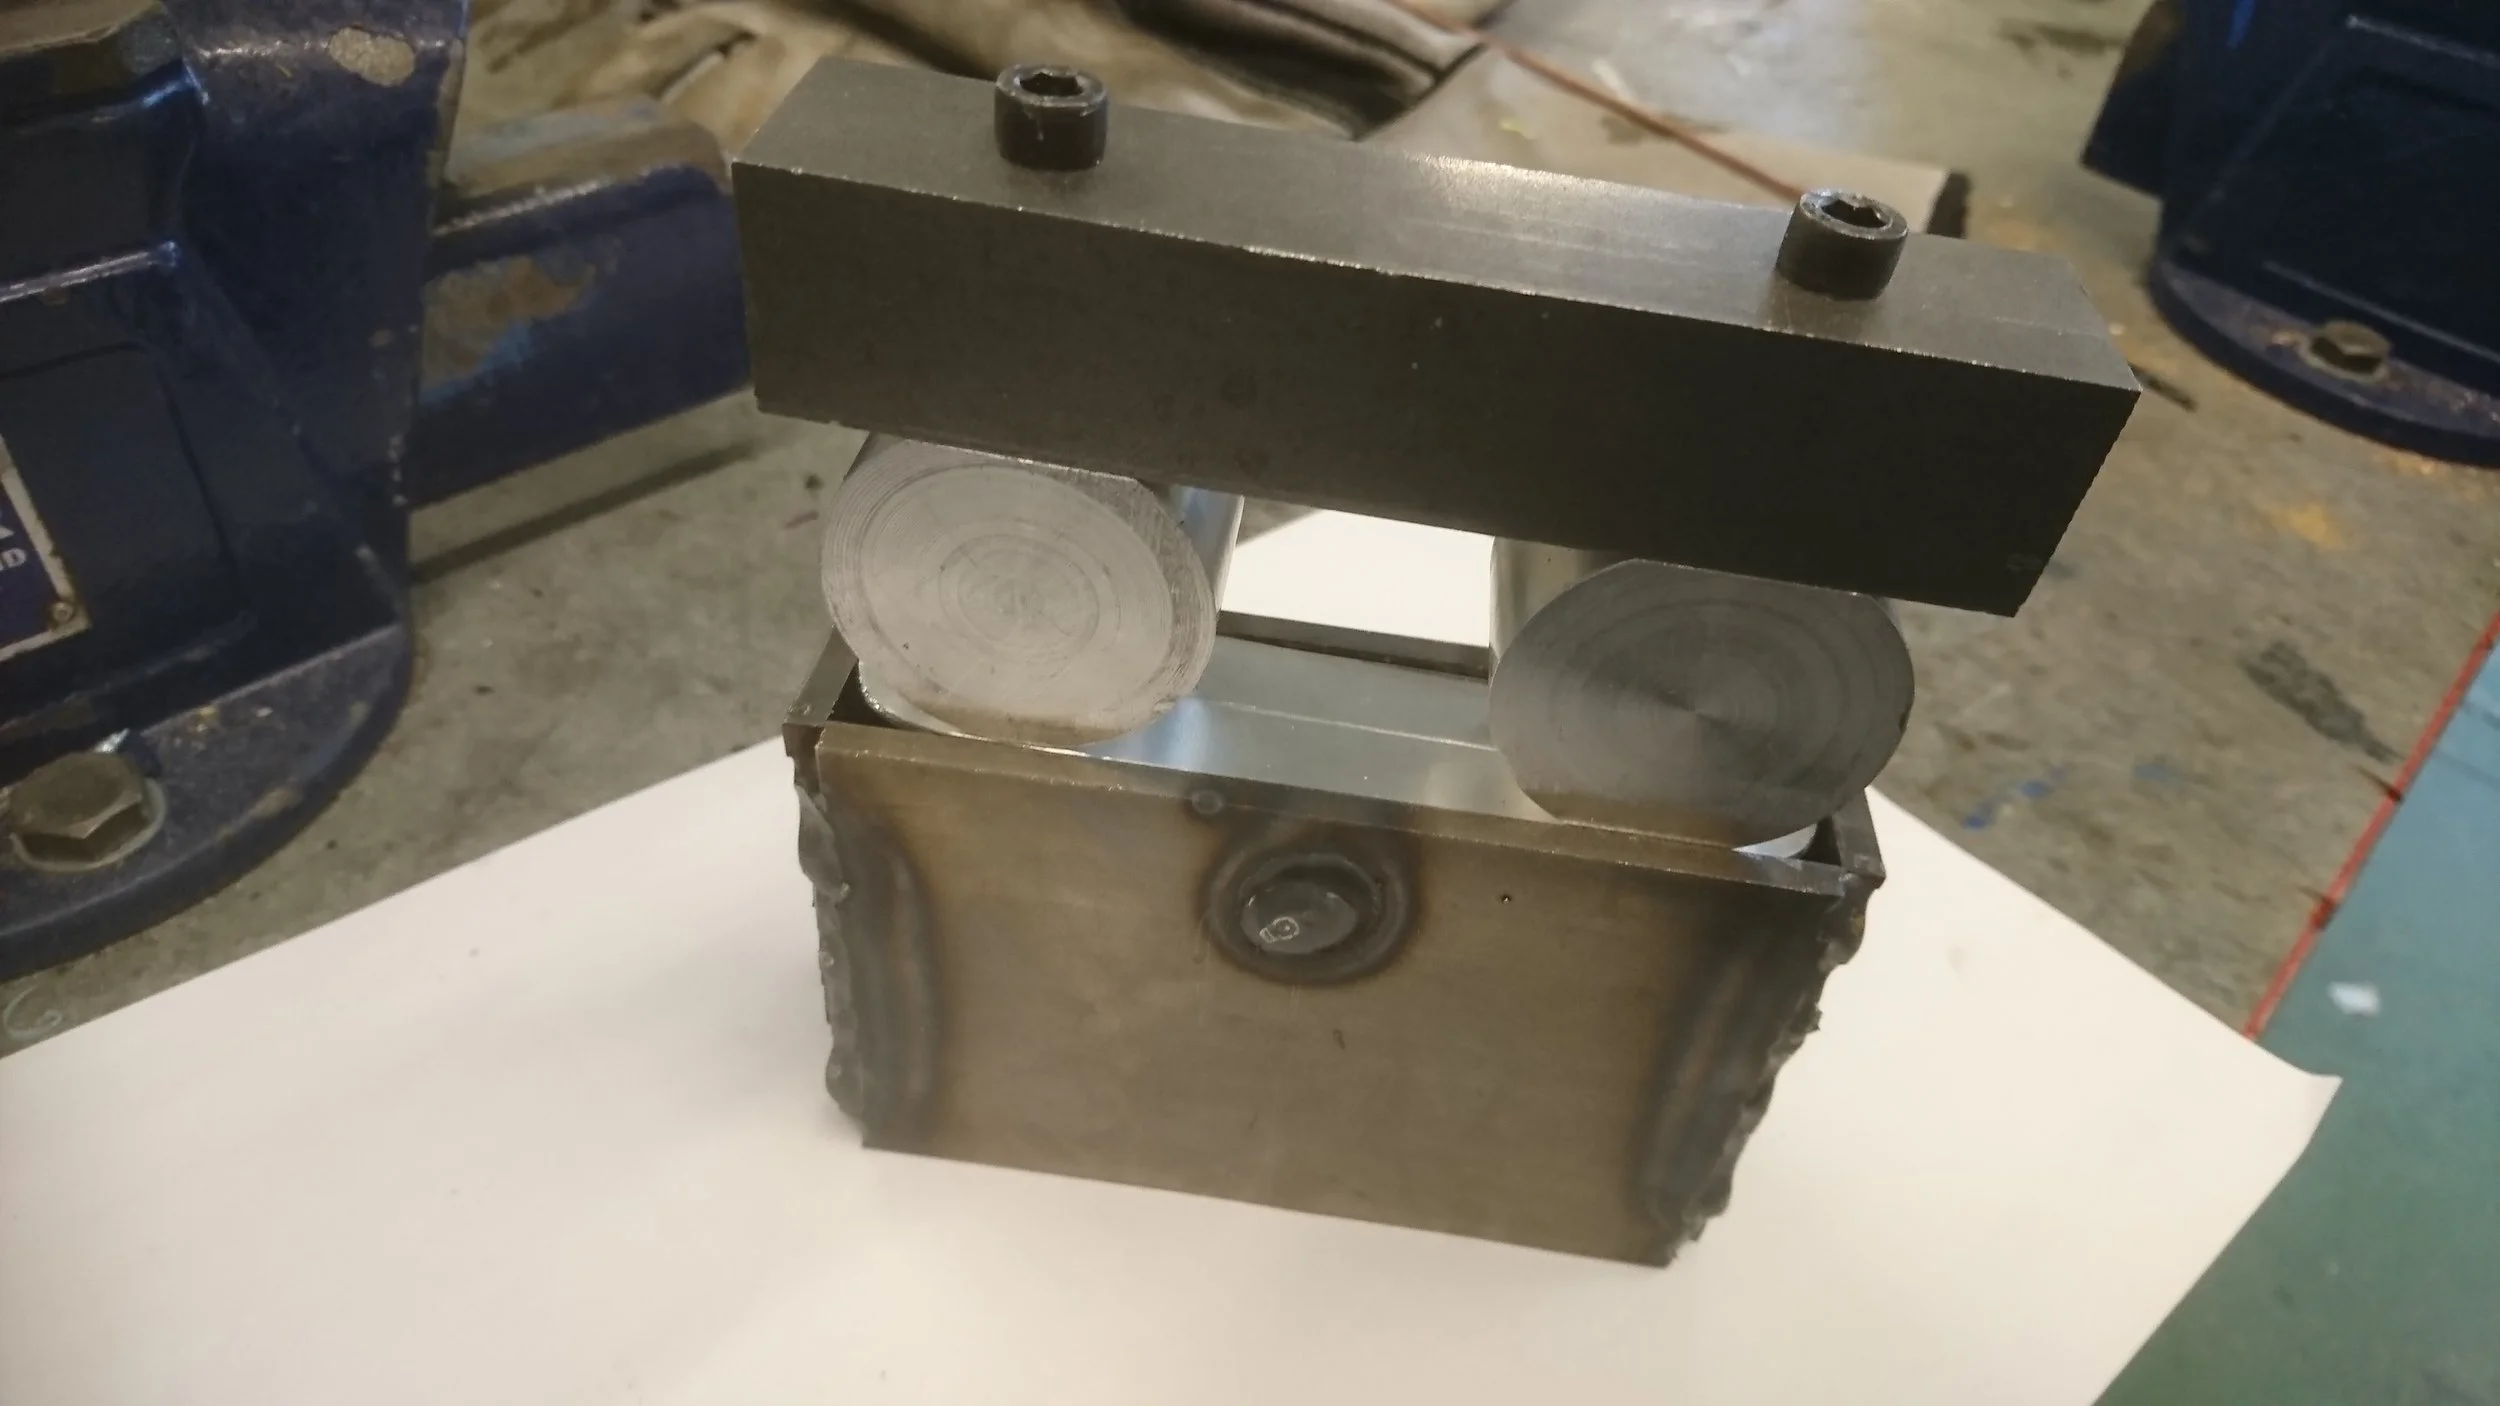
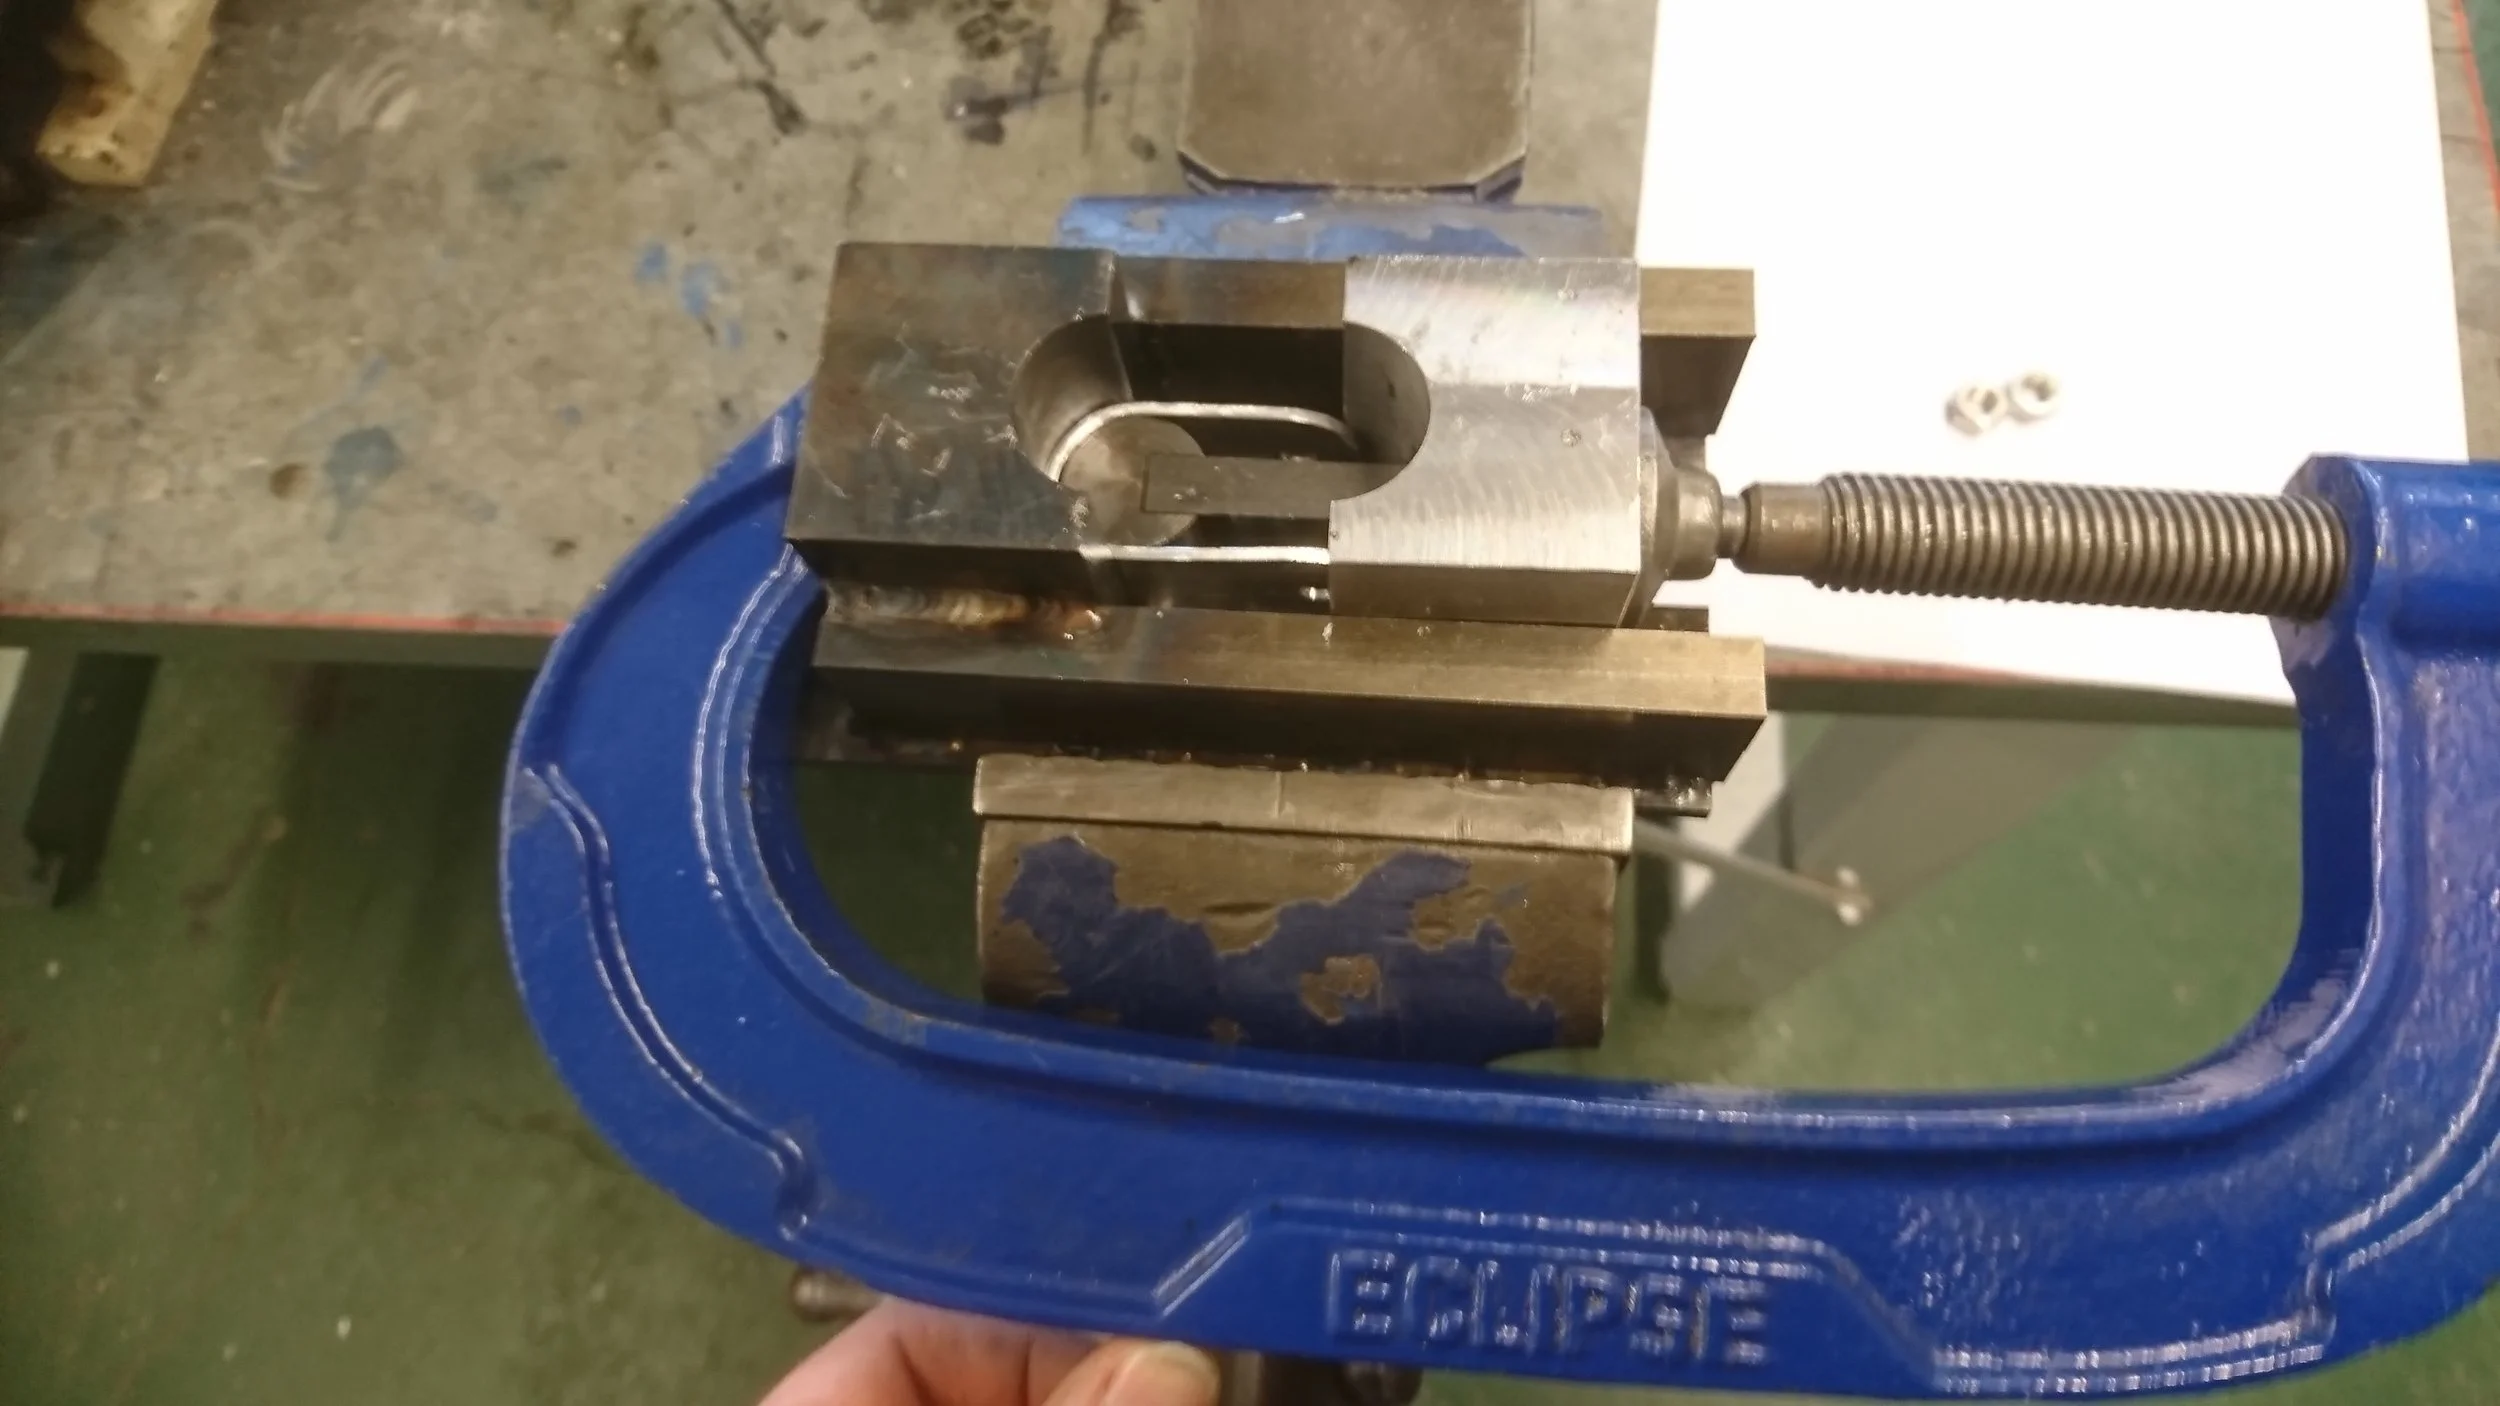
Jig assembled.
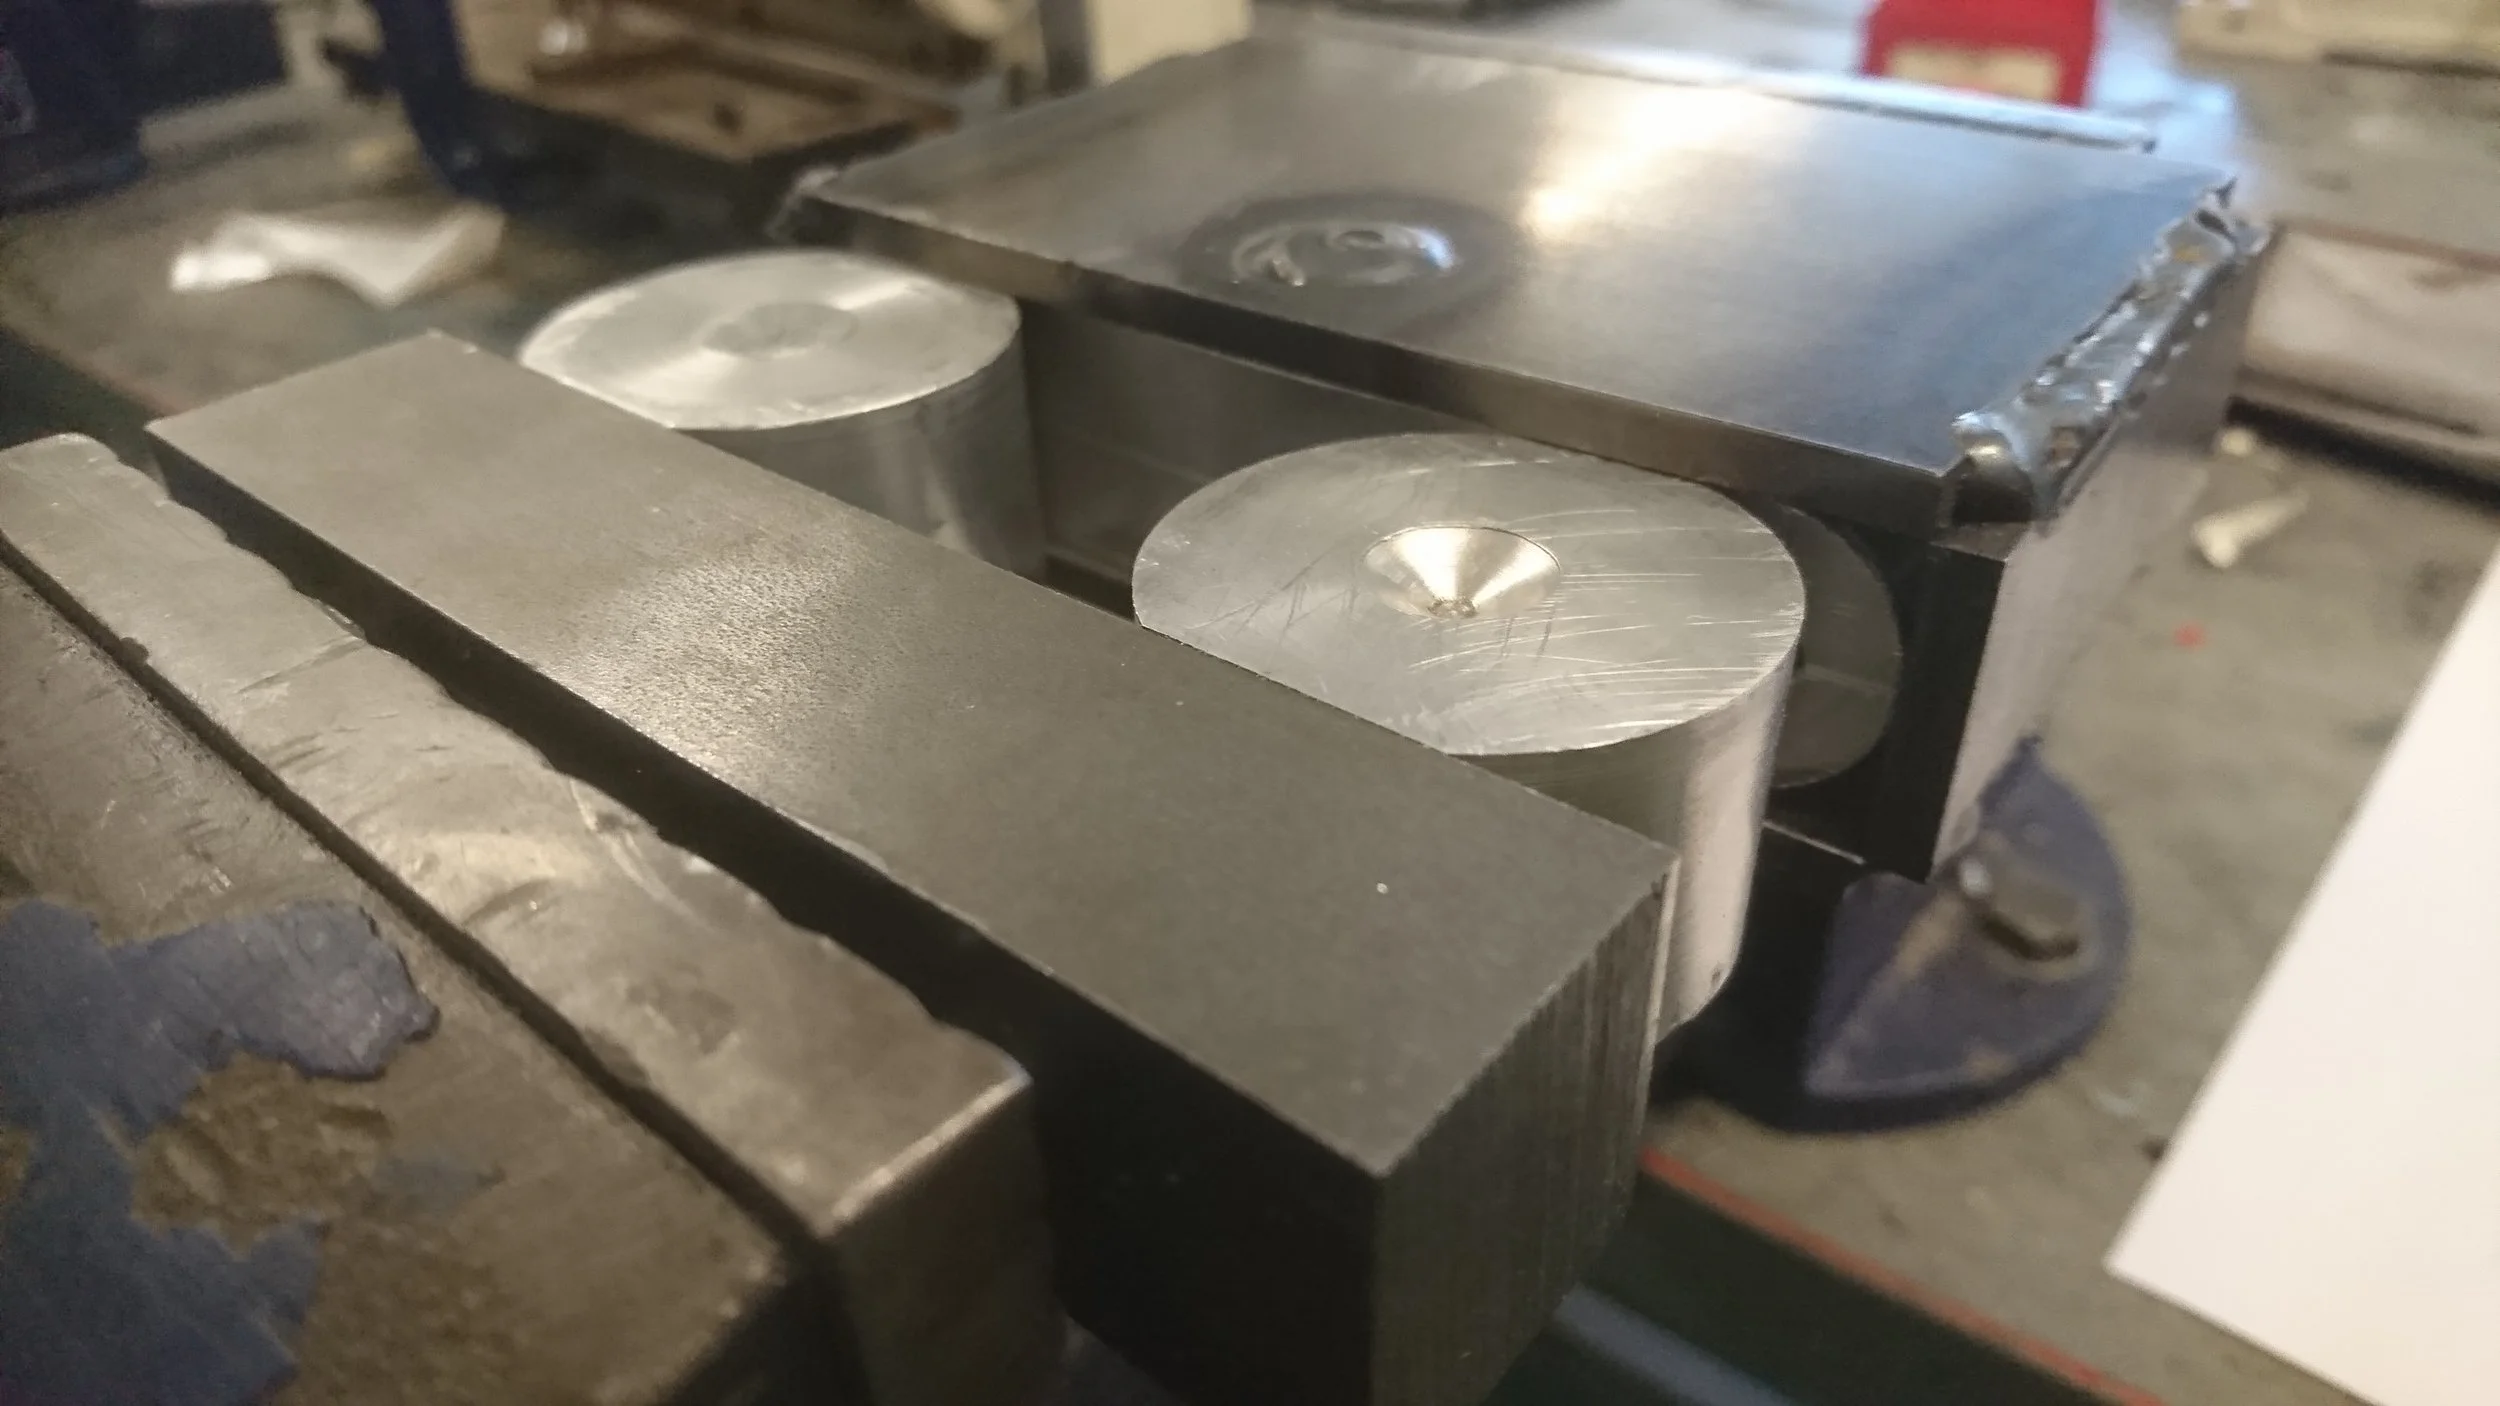
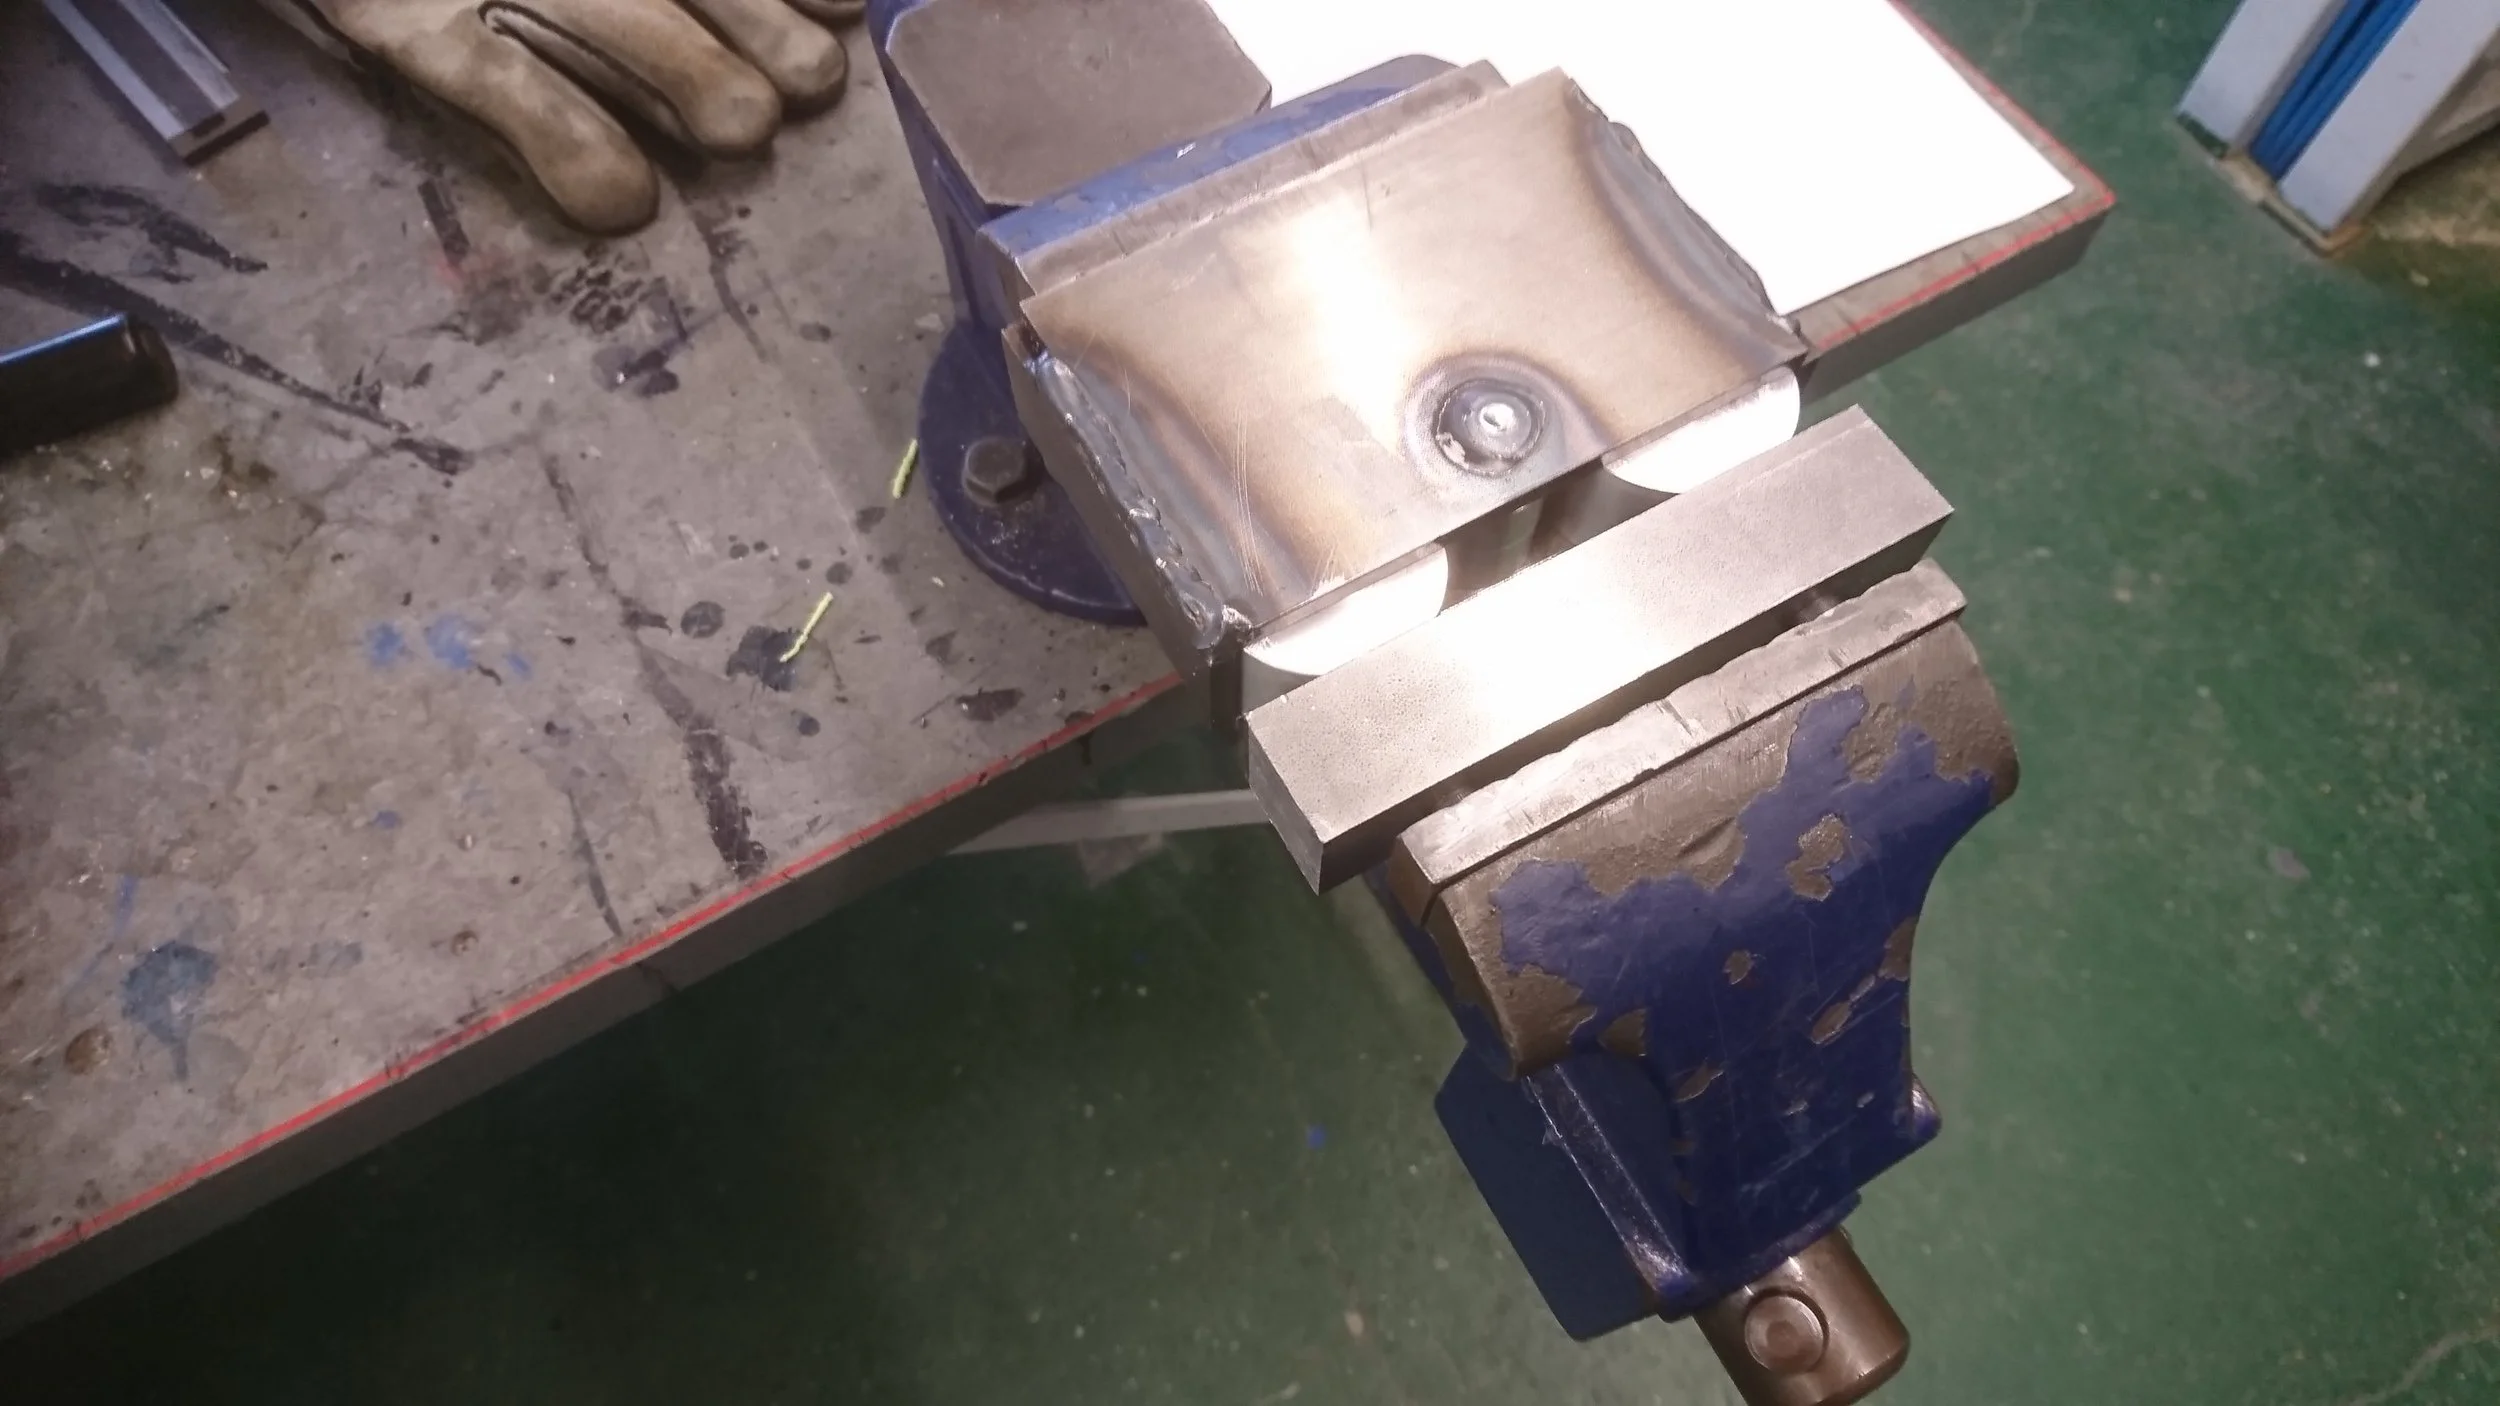
Jig installed in vise.
Radiused edges led to self alignment. Aluminium contacts ensured that surfaces would not be marred.

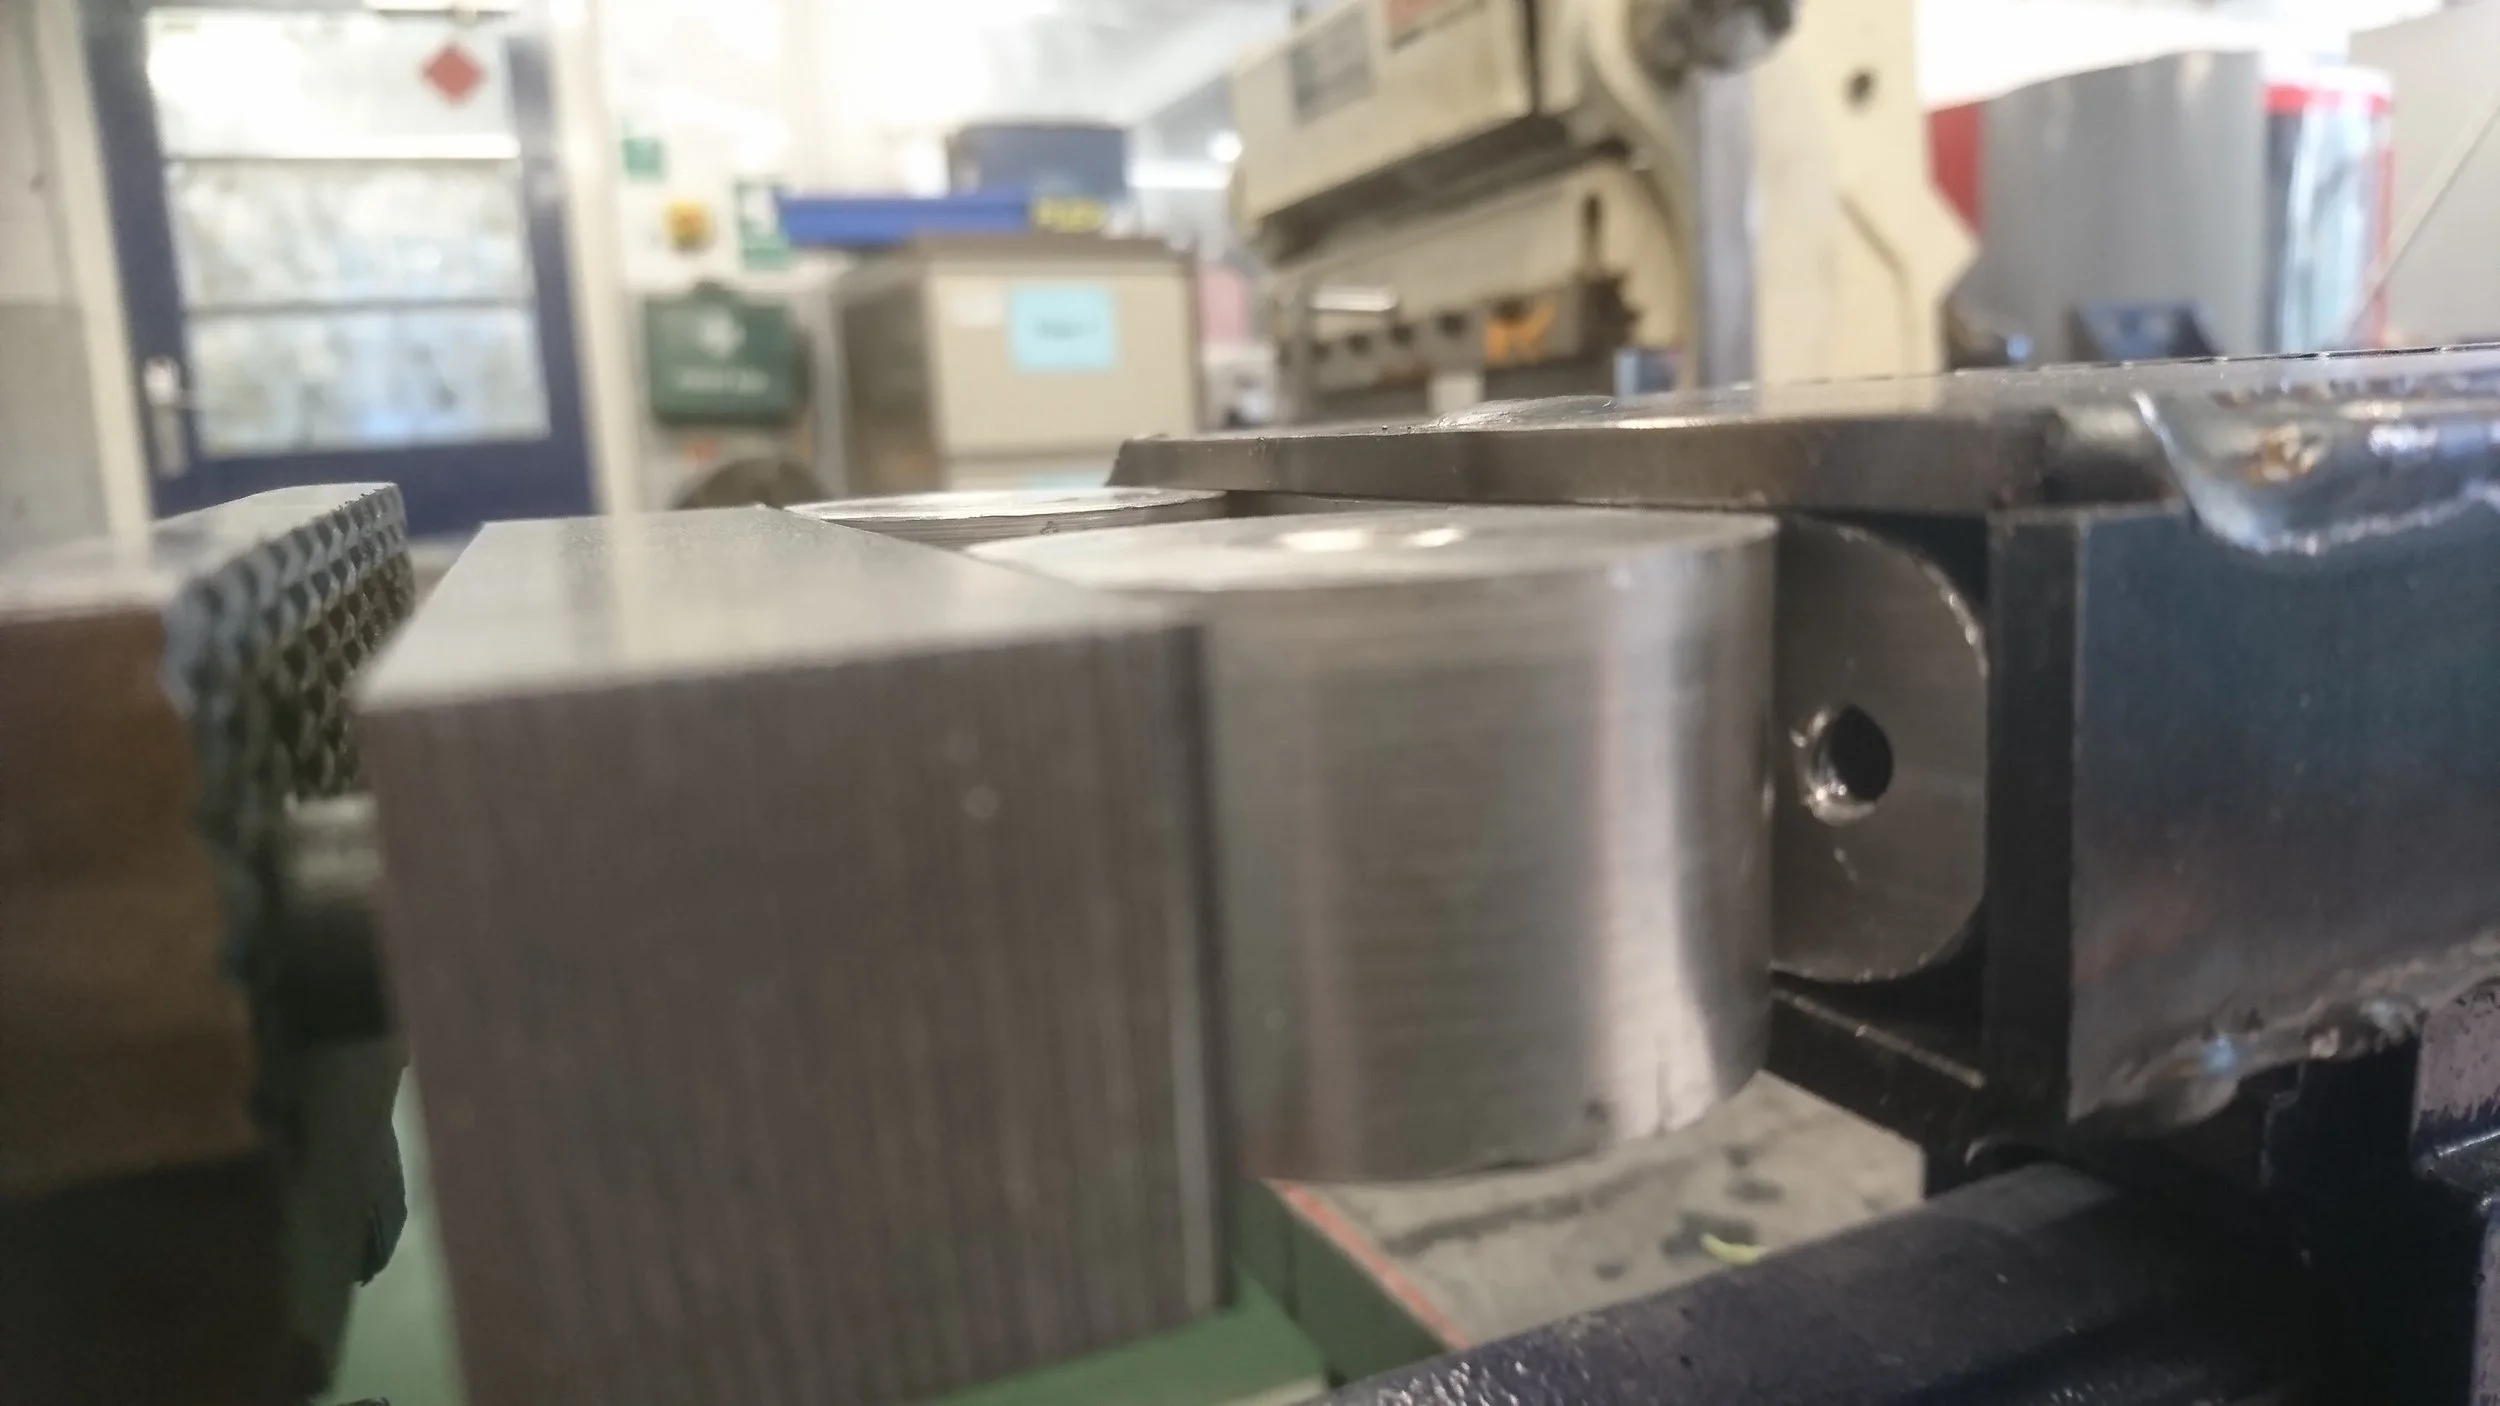
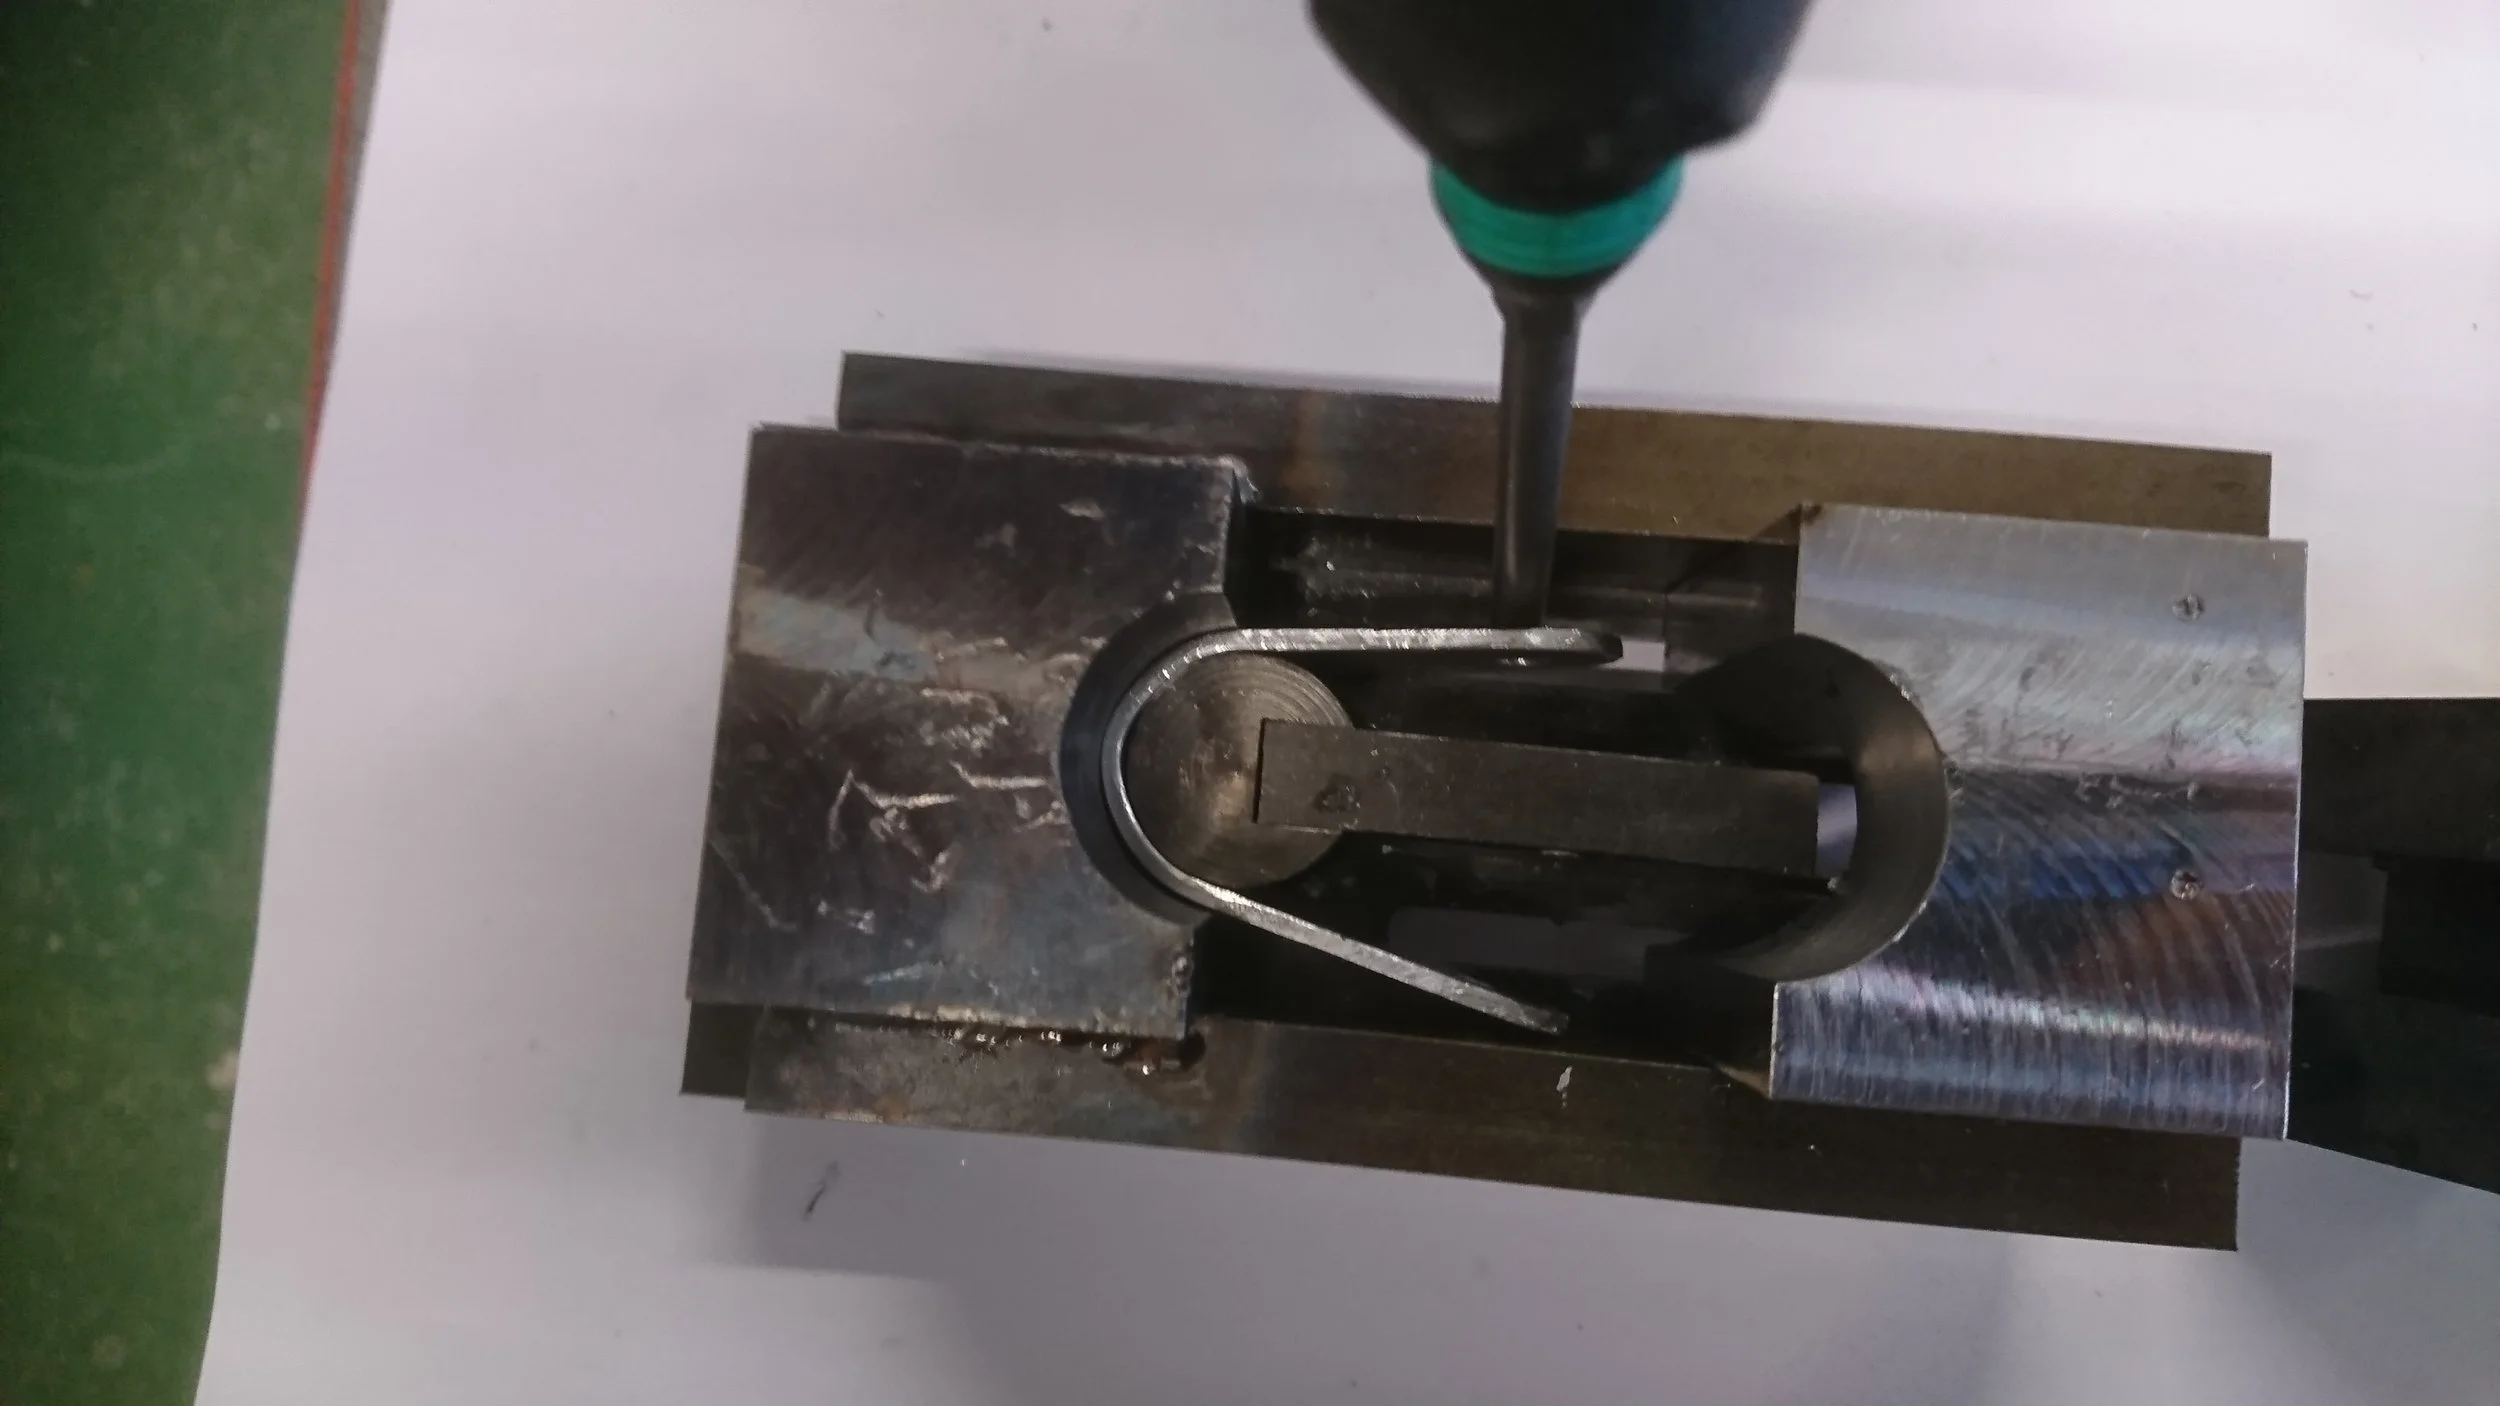
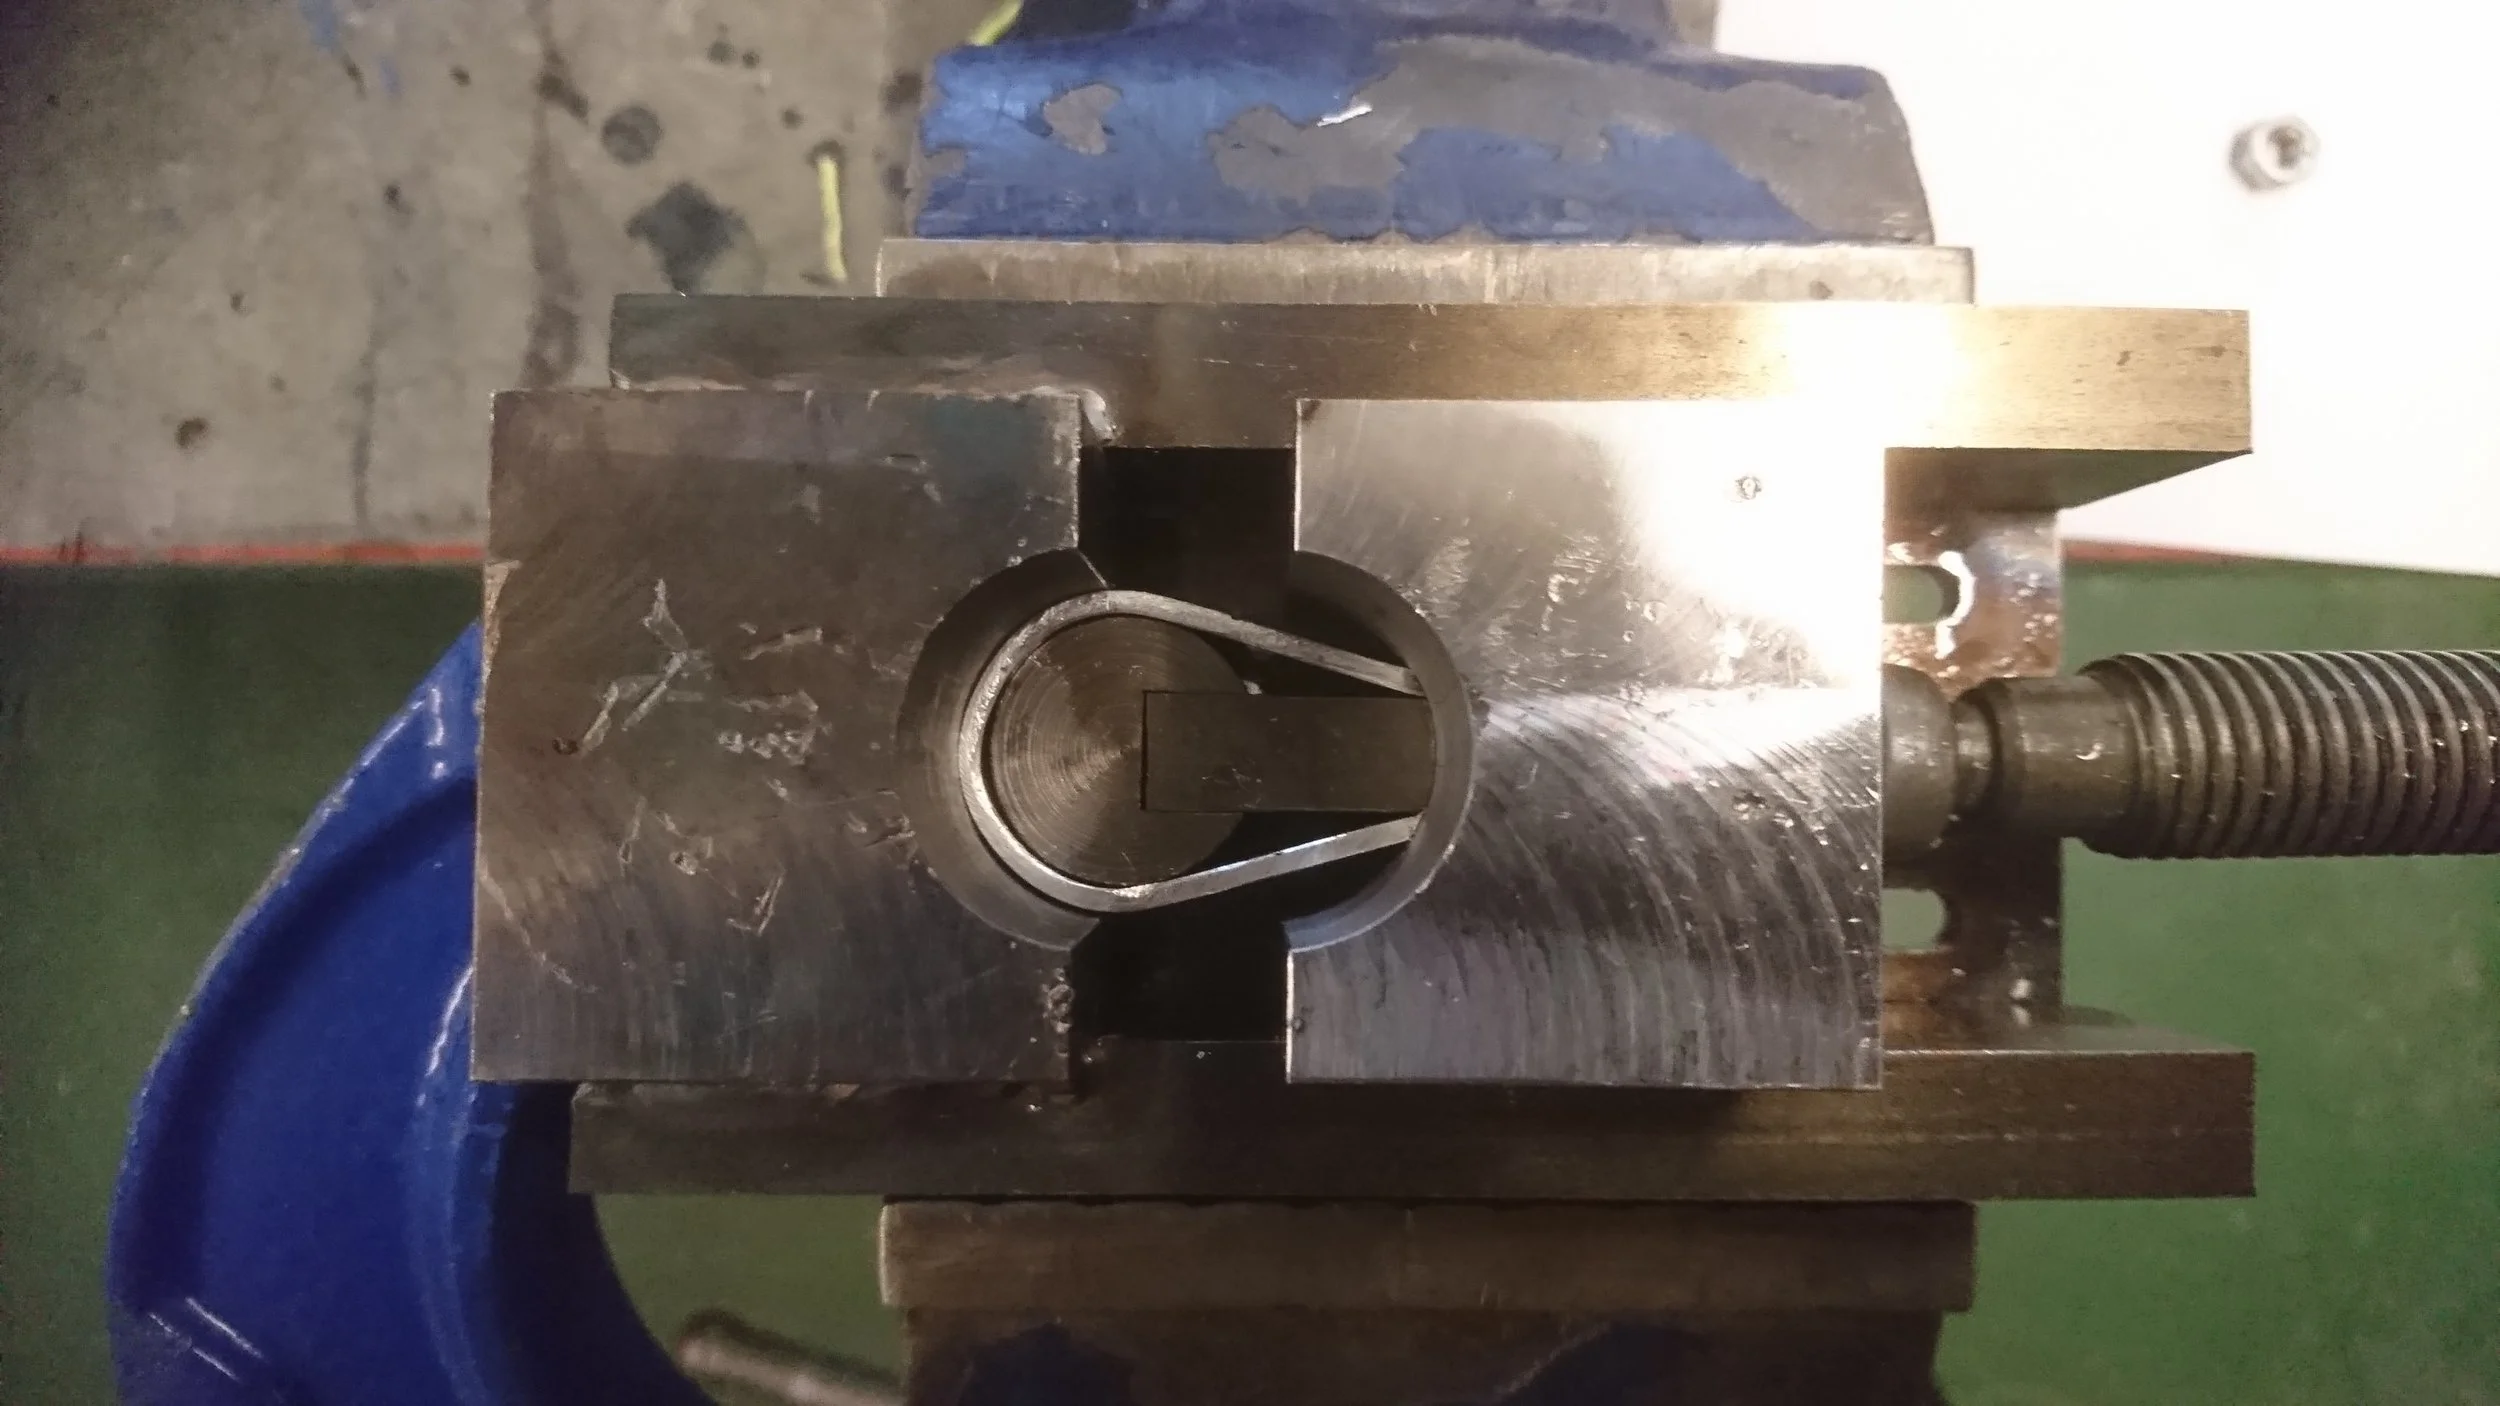
Partially compressed jig.
Continued addition of pressure...
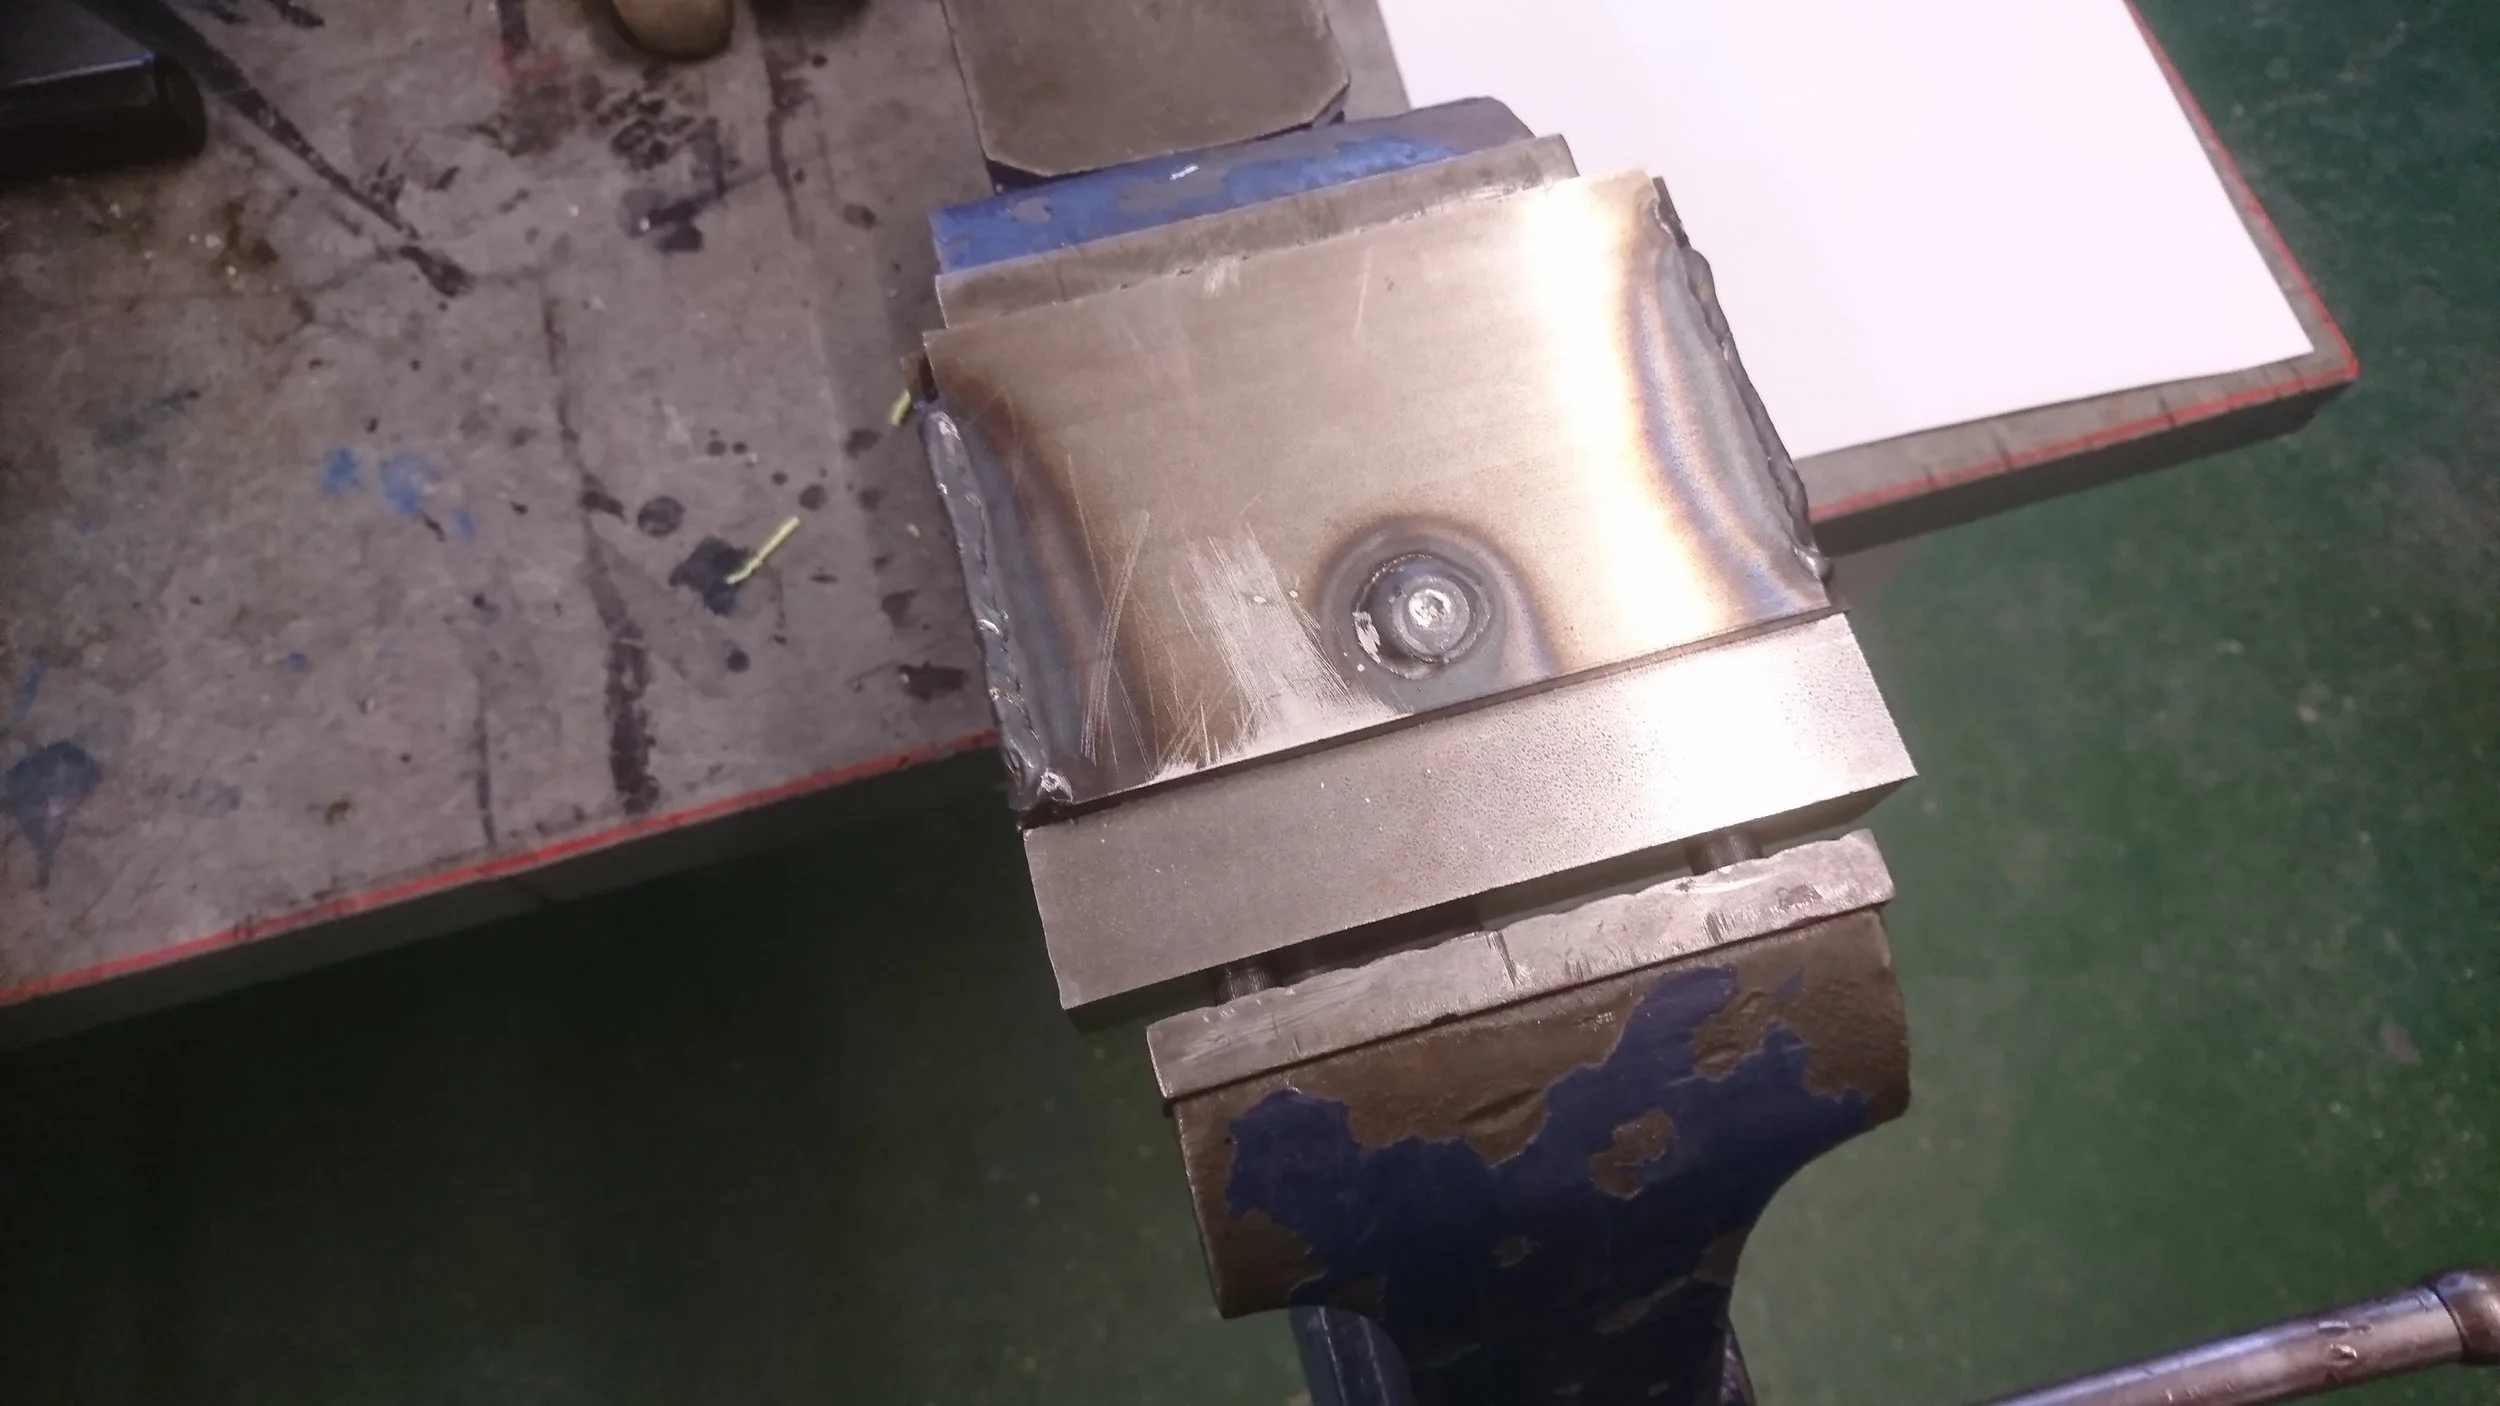
Until the steel bar forms a stop and confirms that the process is complete.

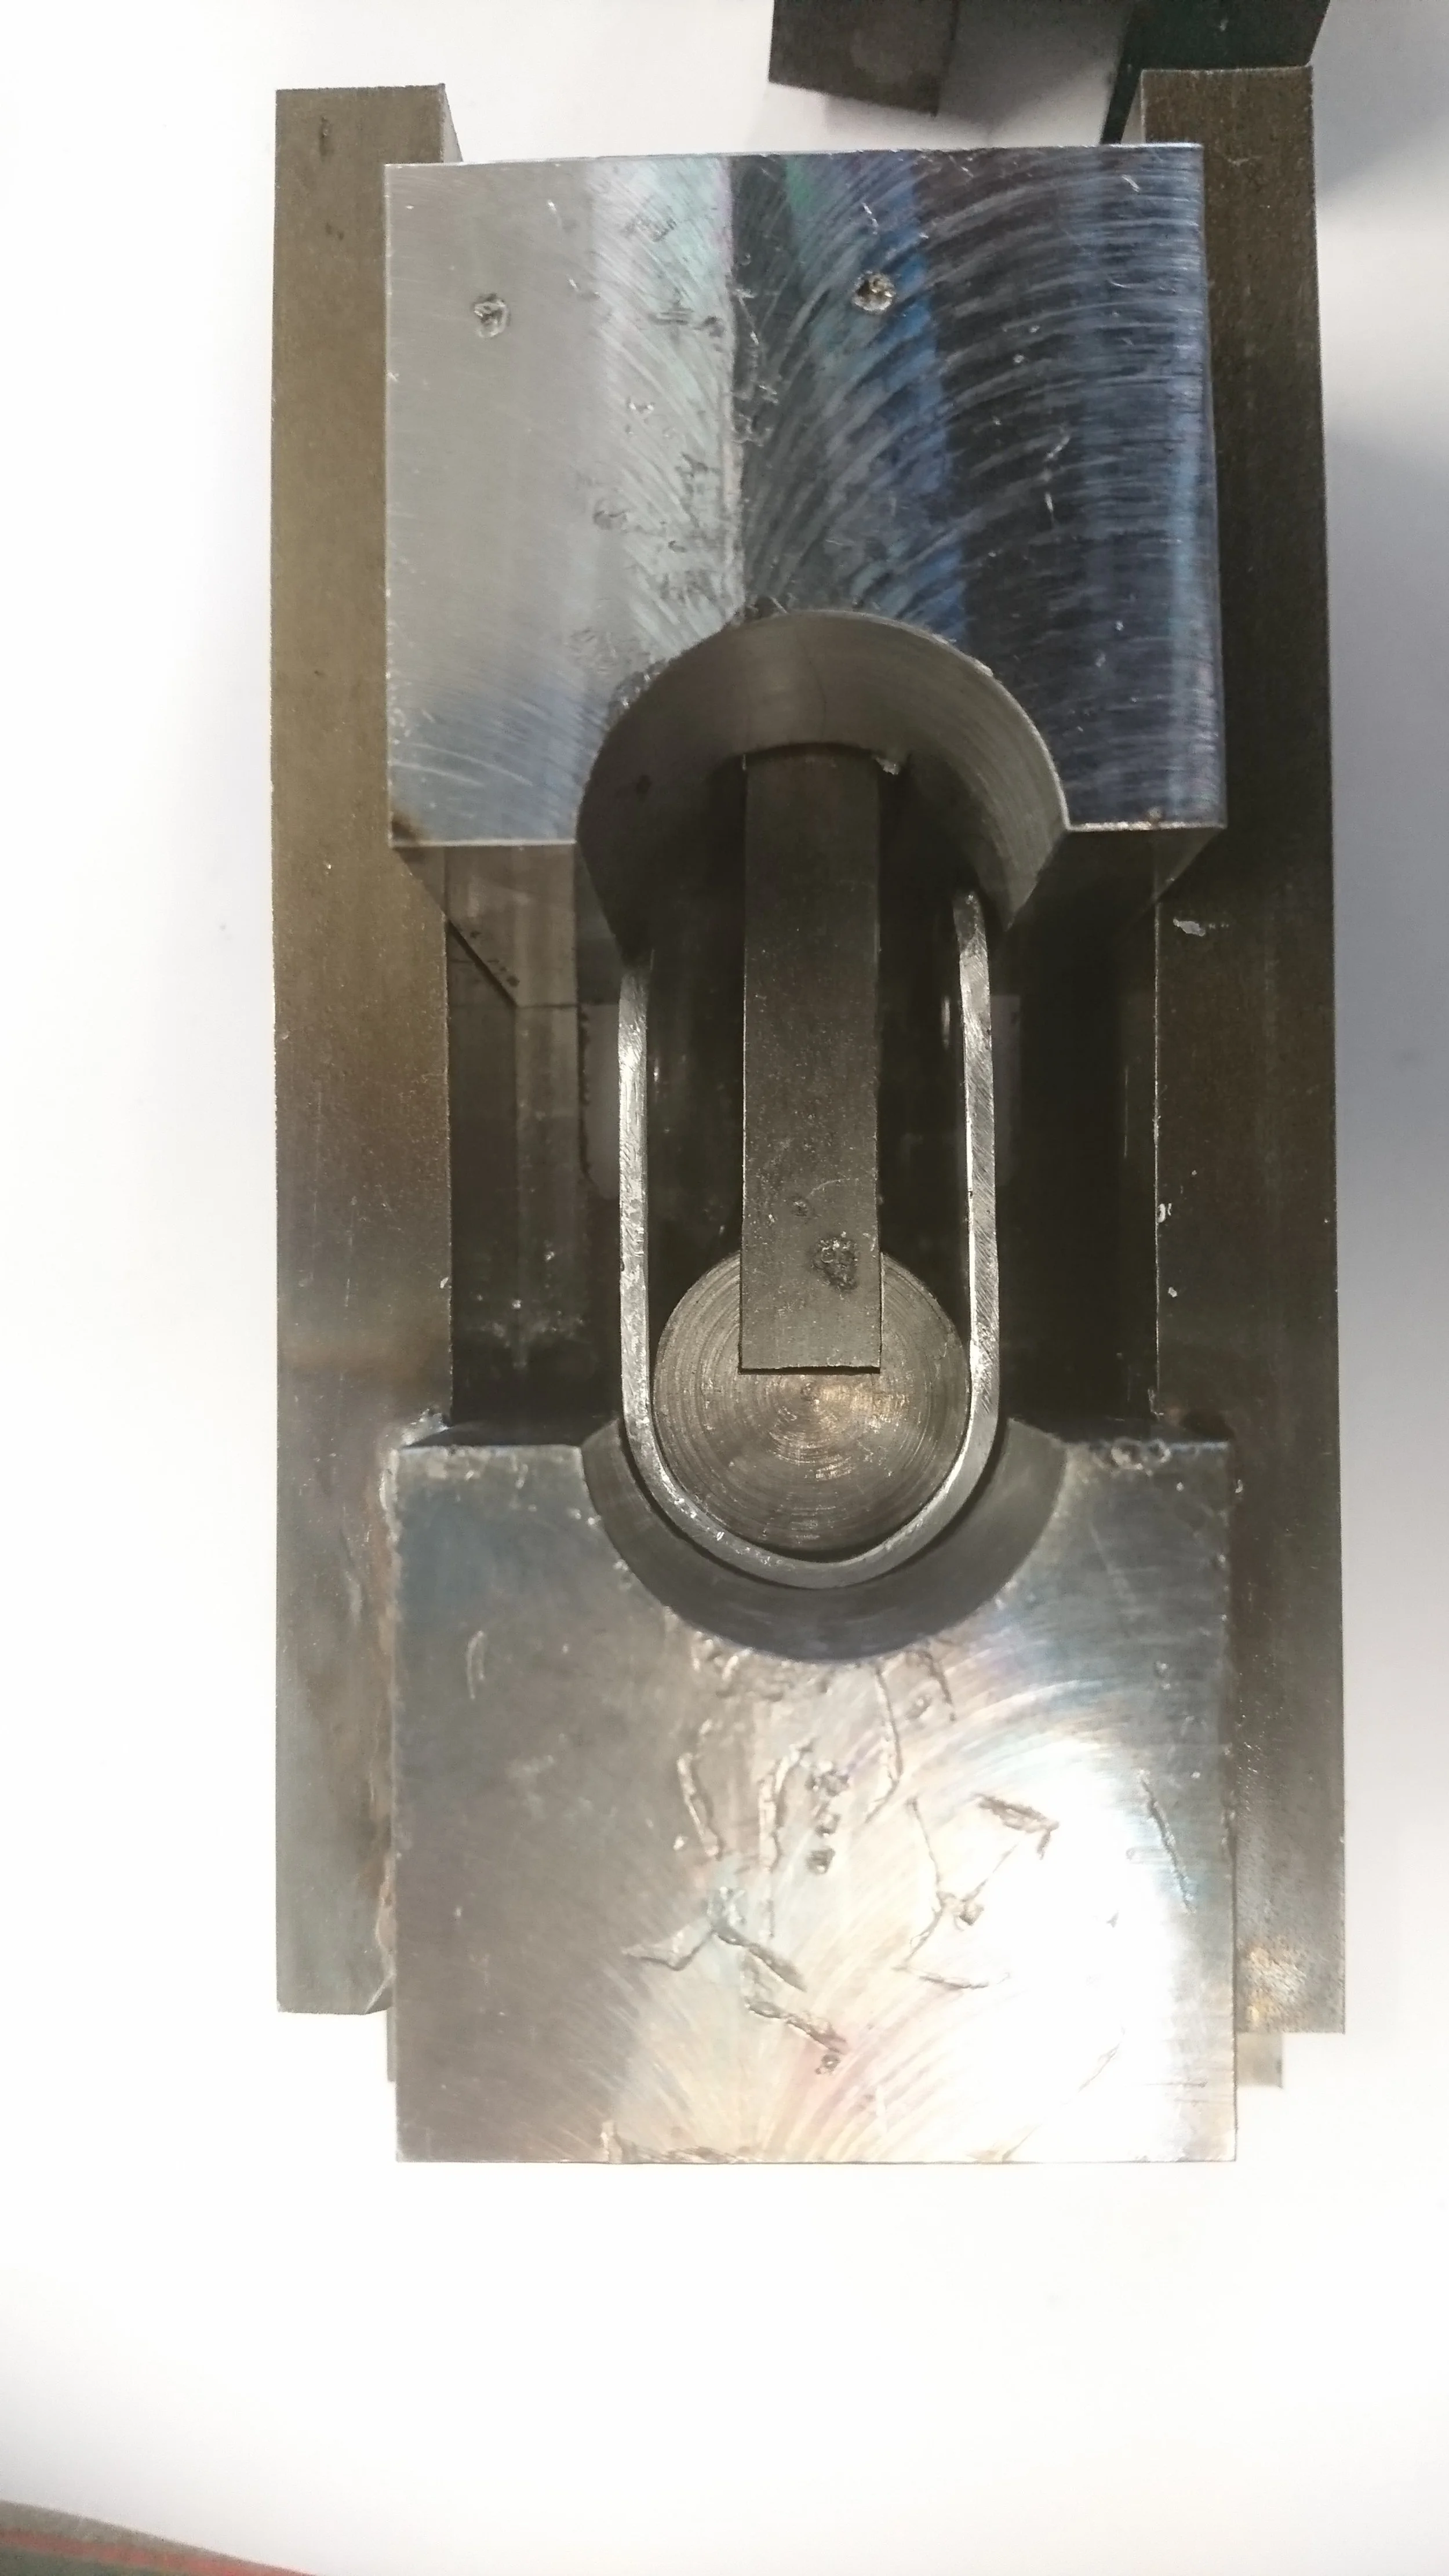
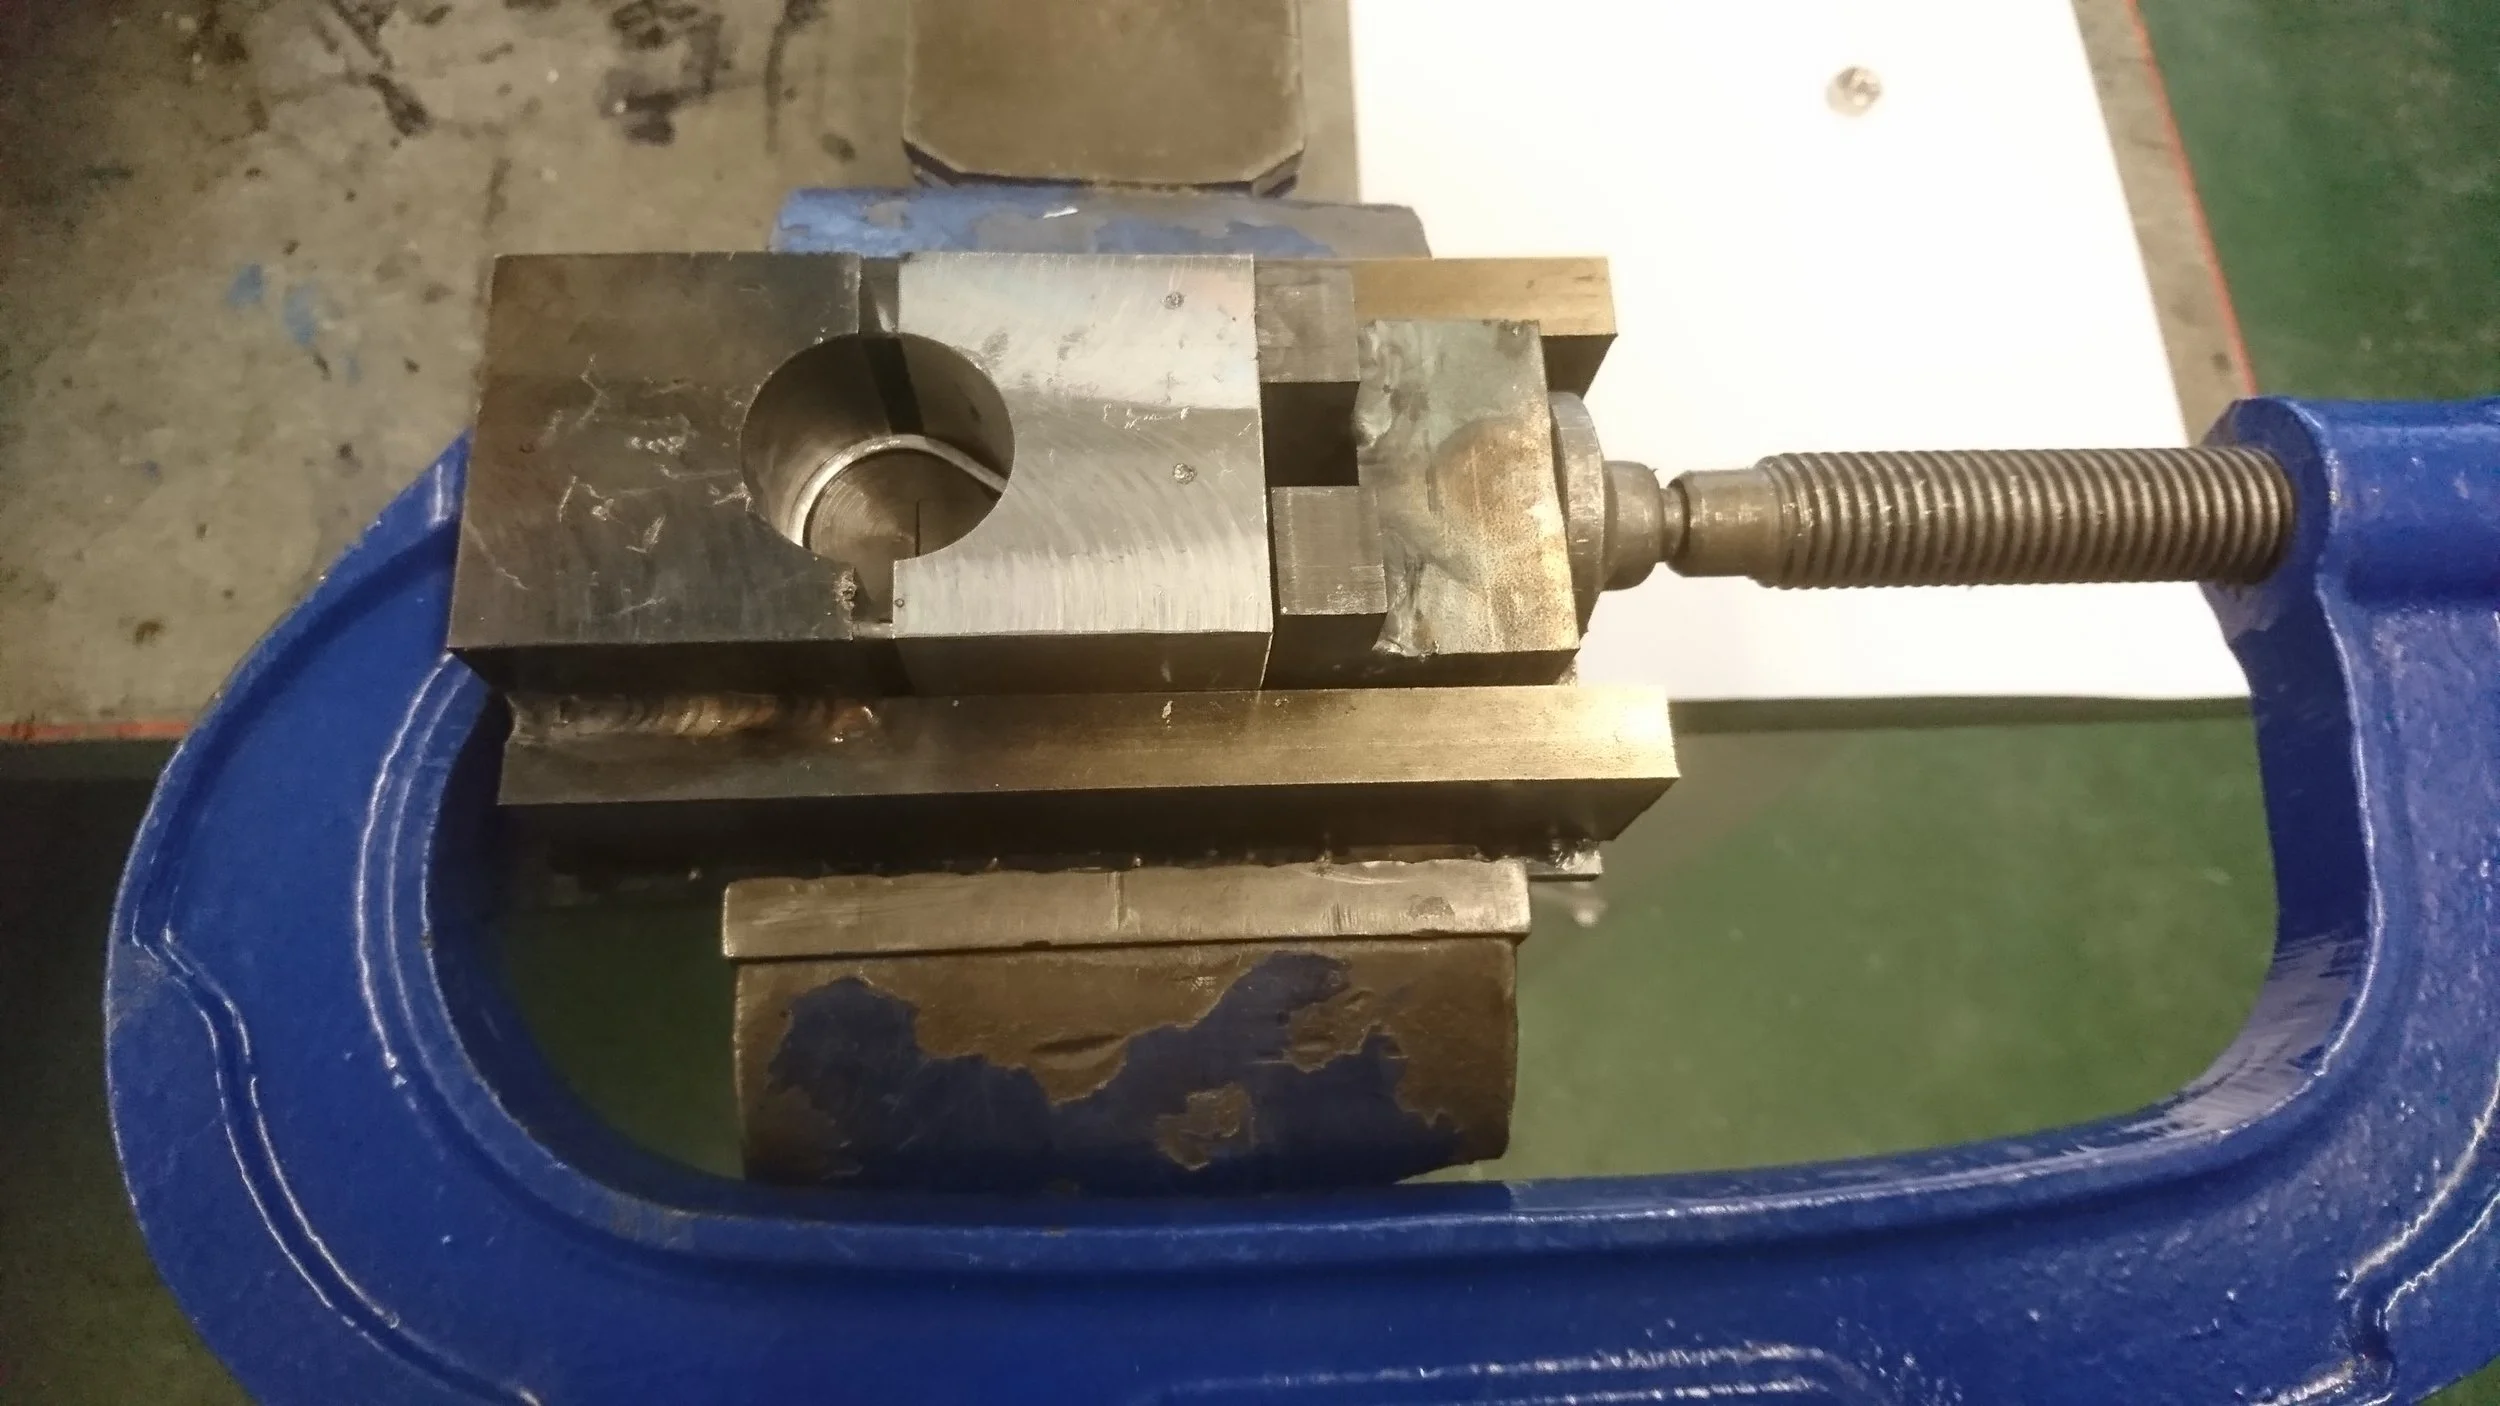
Removed from vise.
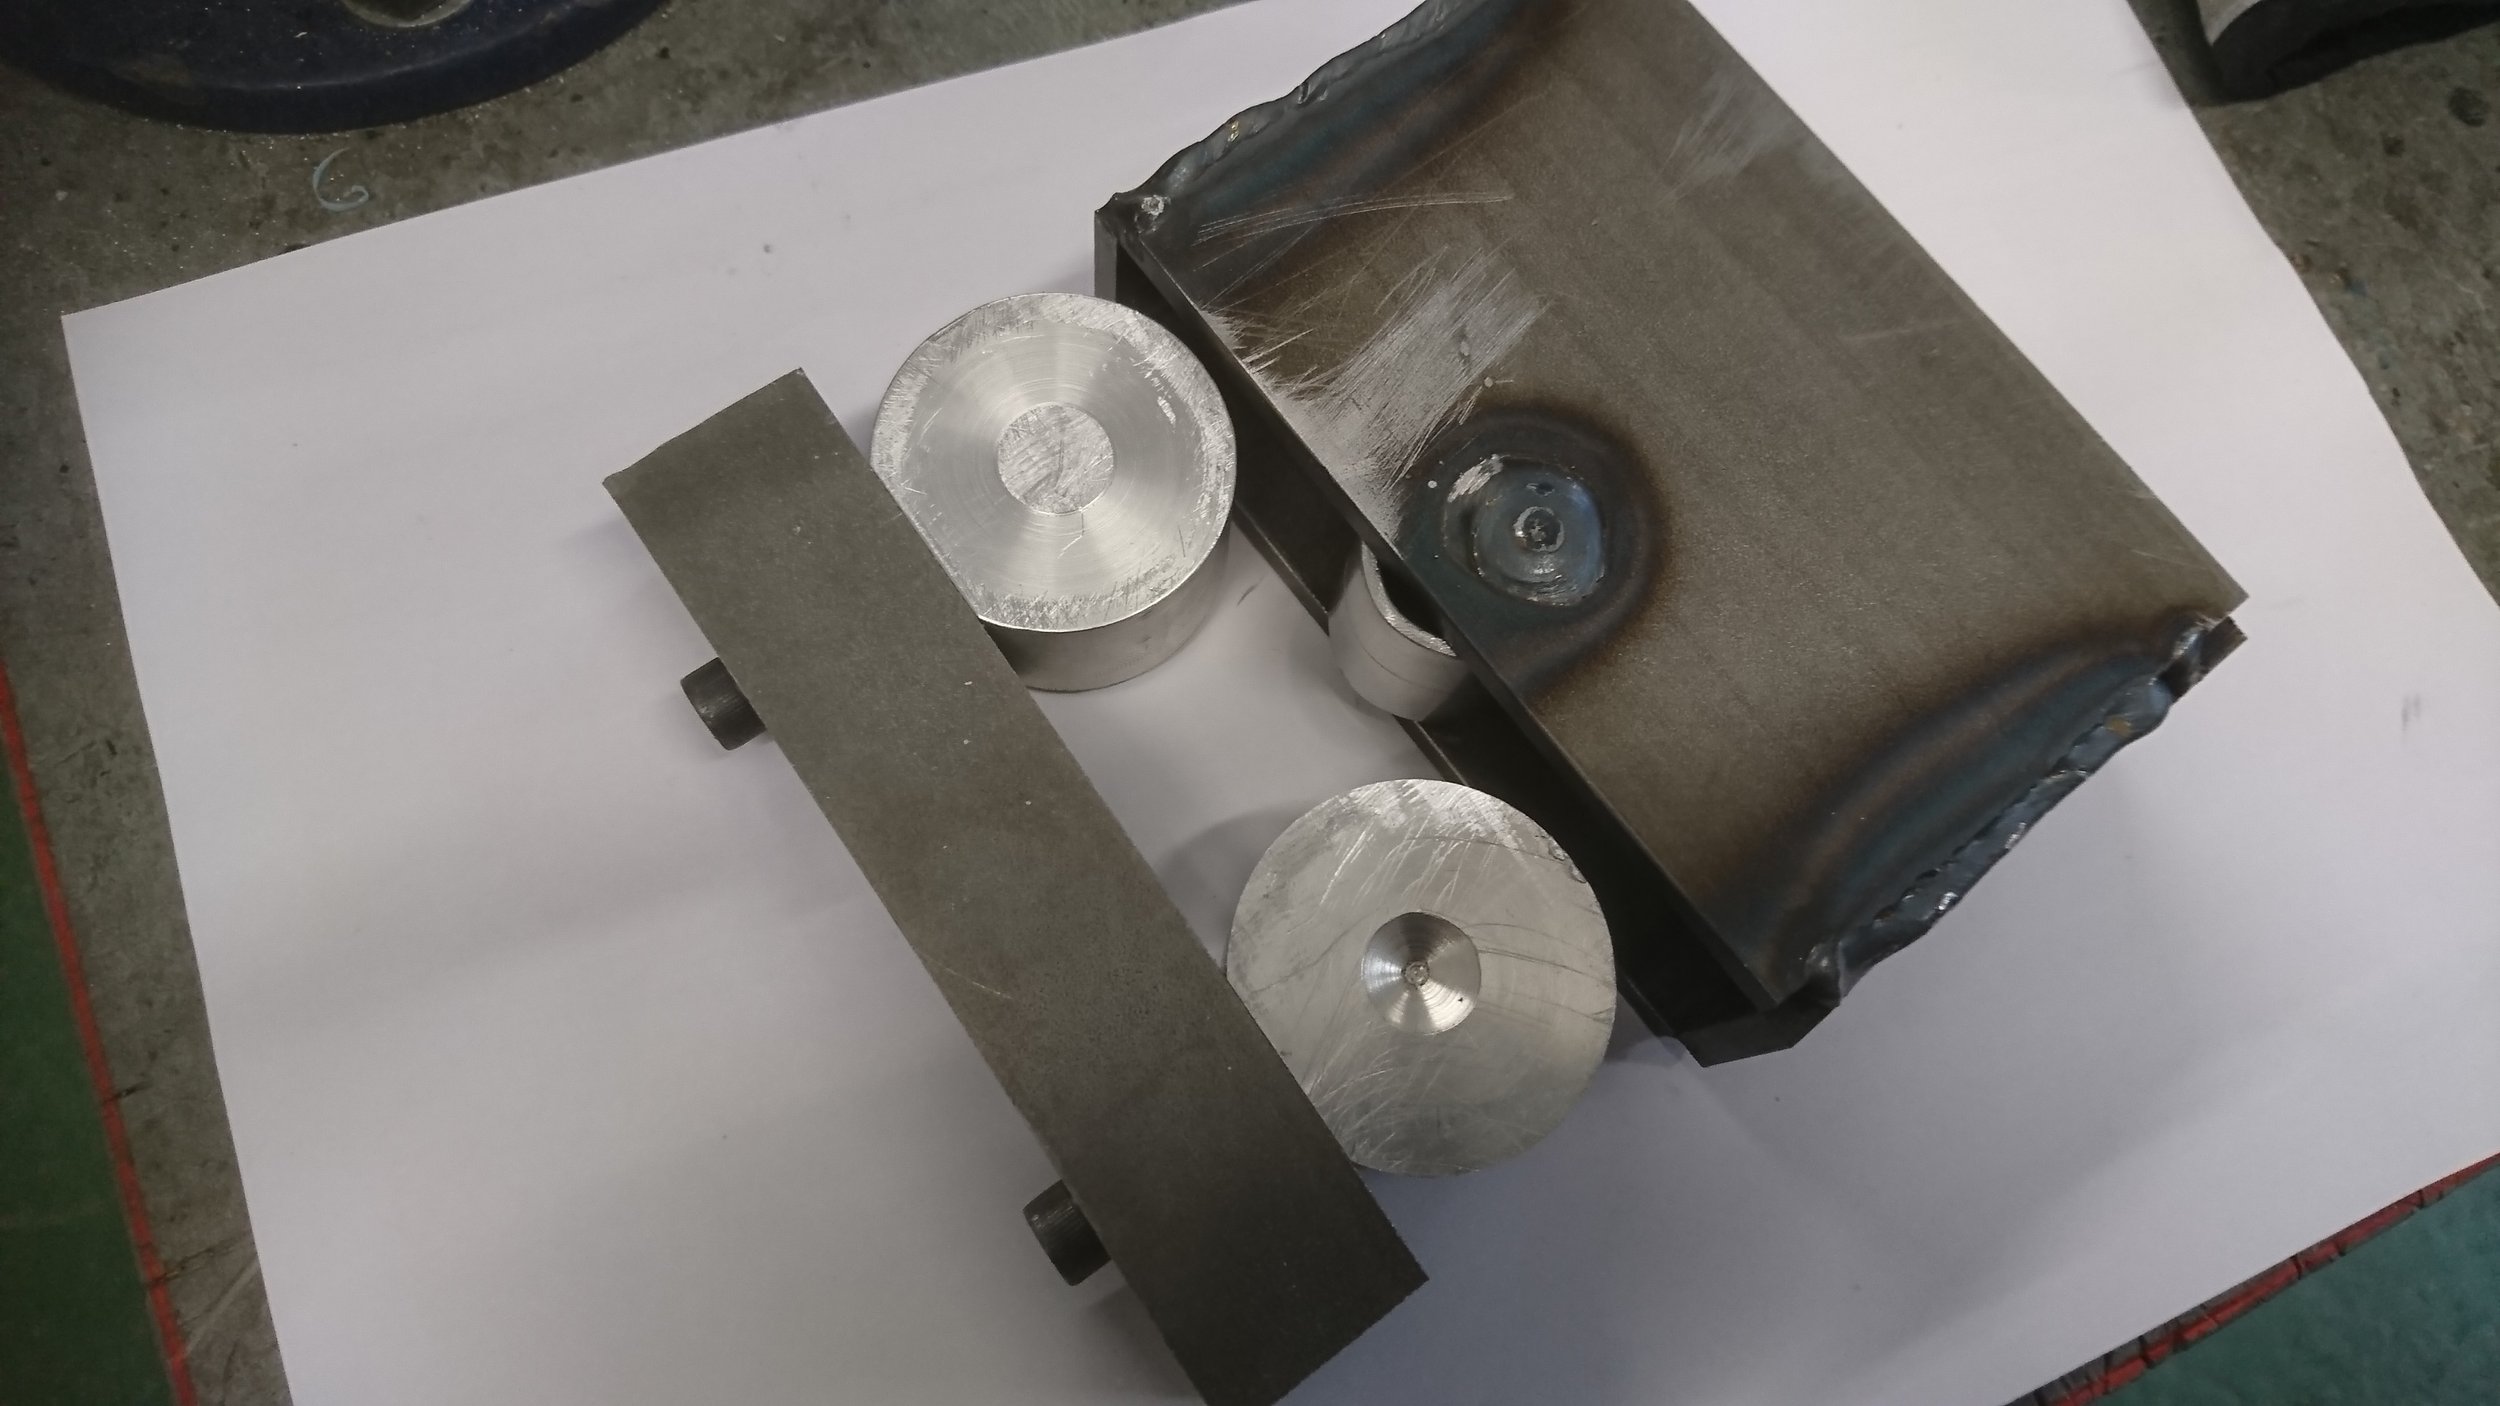
Upper jig component retracted.
Component removed from the jig.
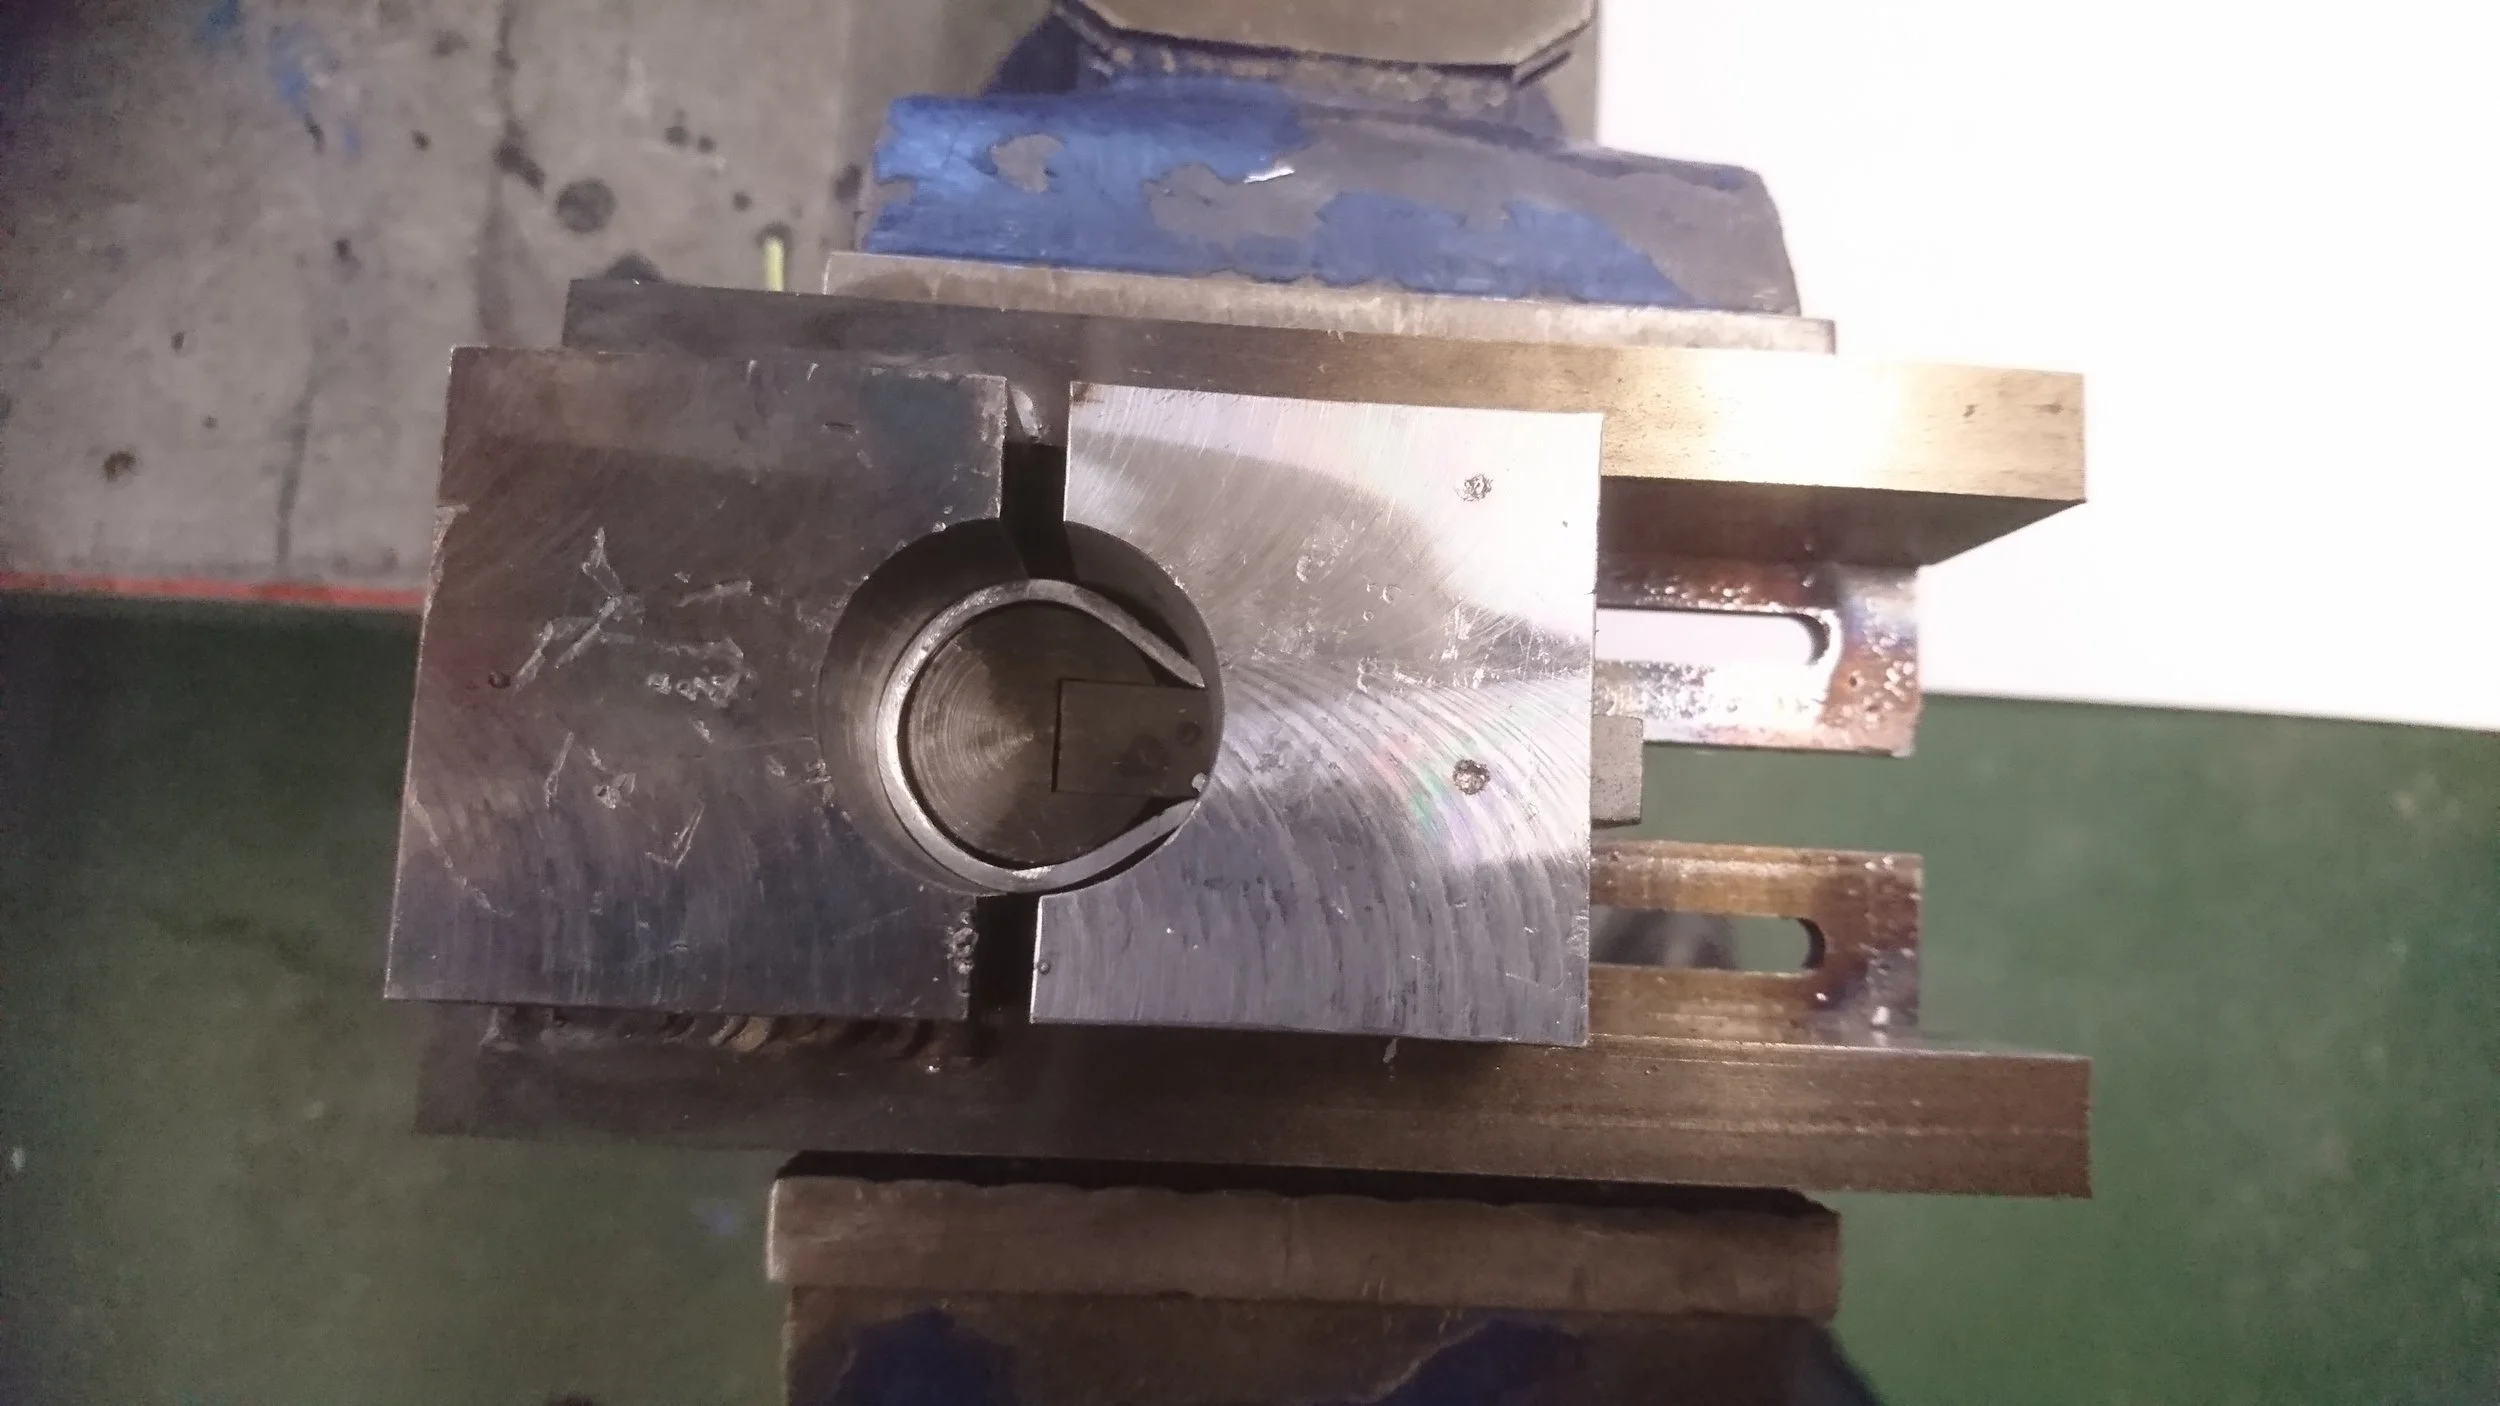
Step one complete. This initial bend is properly centred, holds the correct radius and is a uniform shape and size.
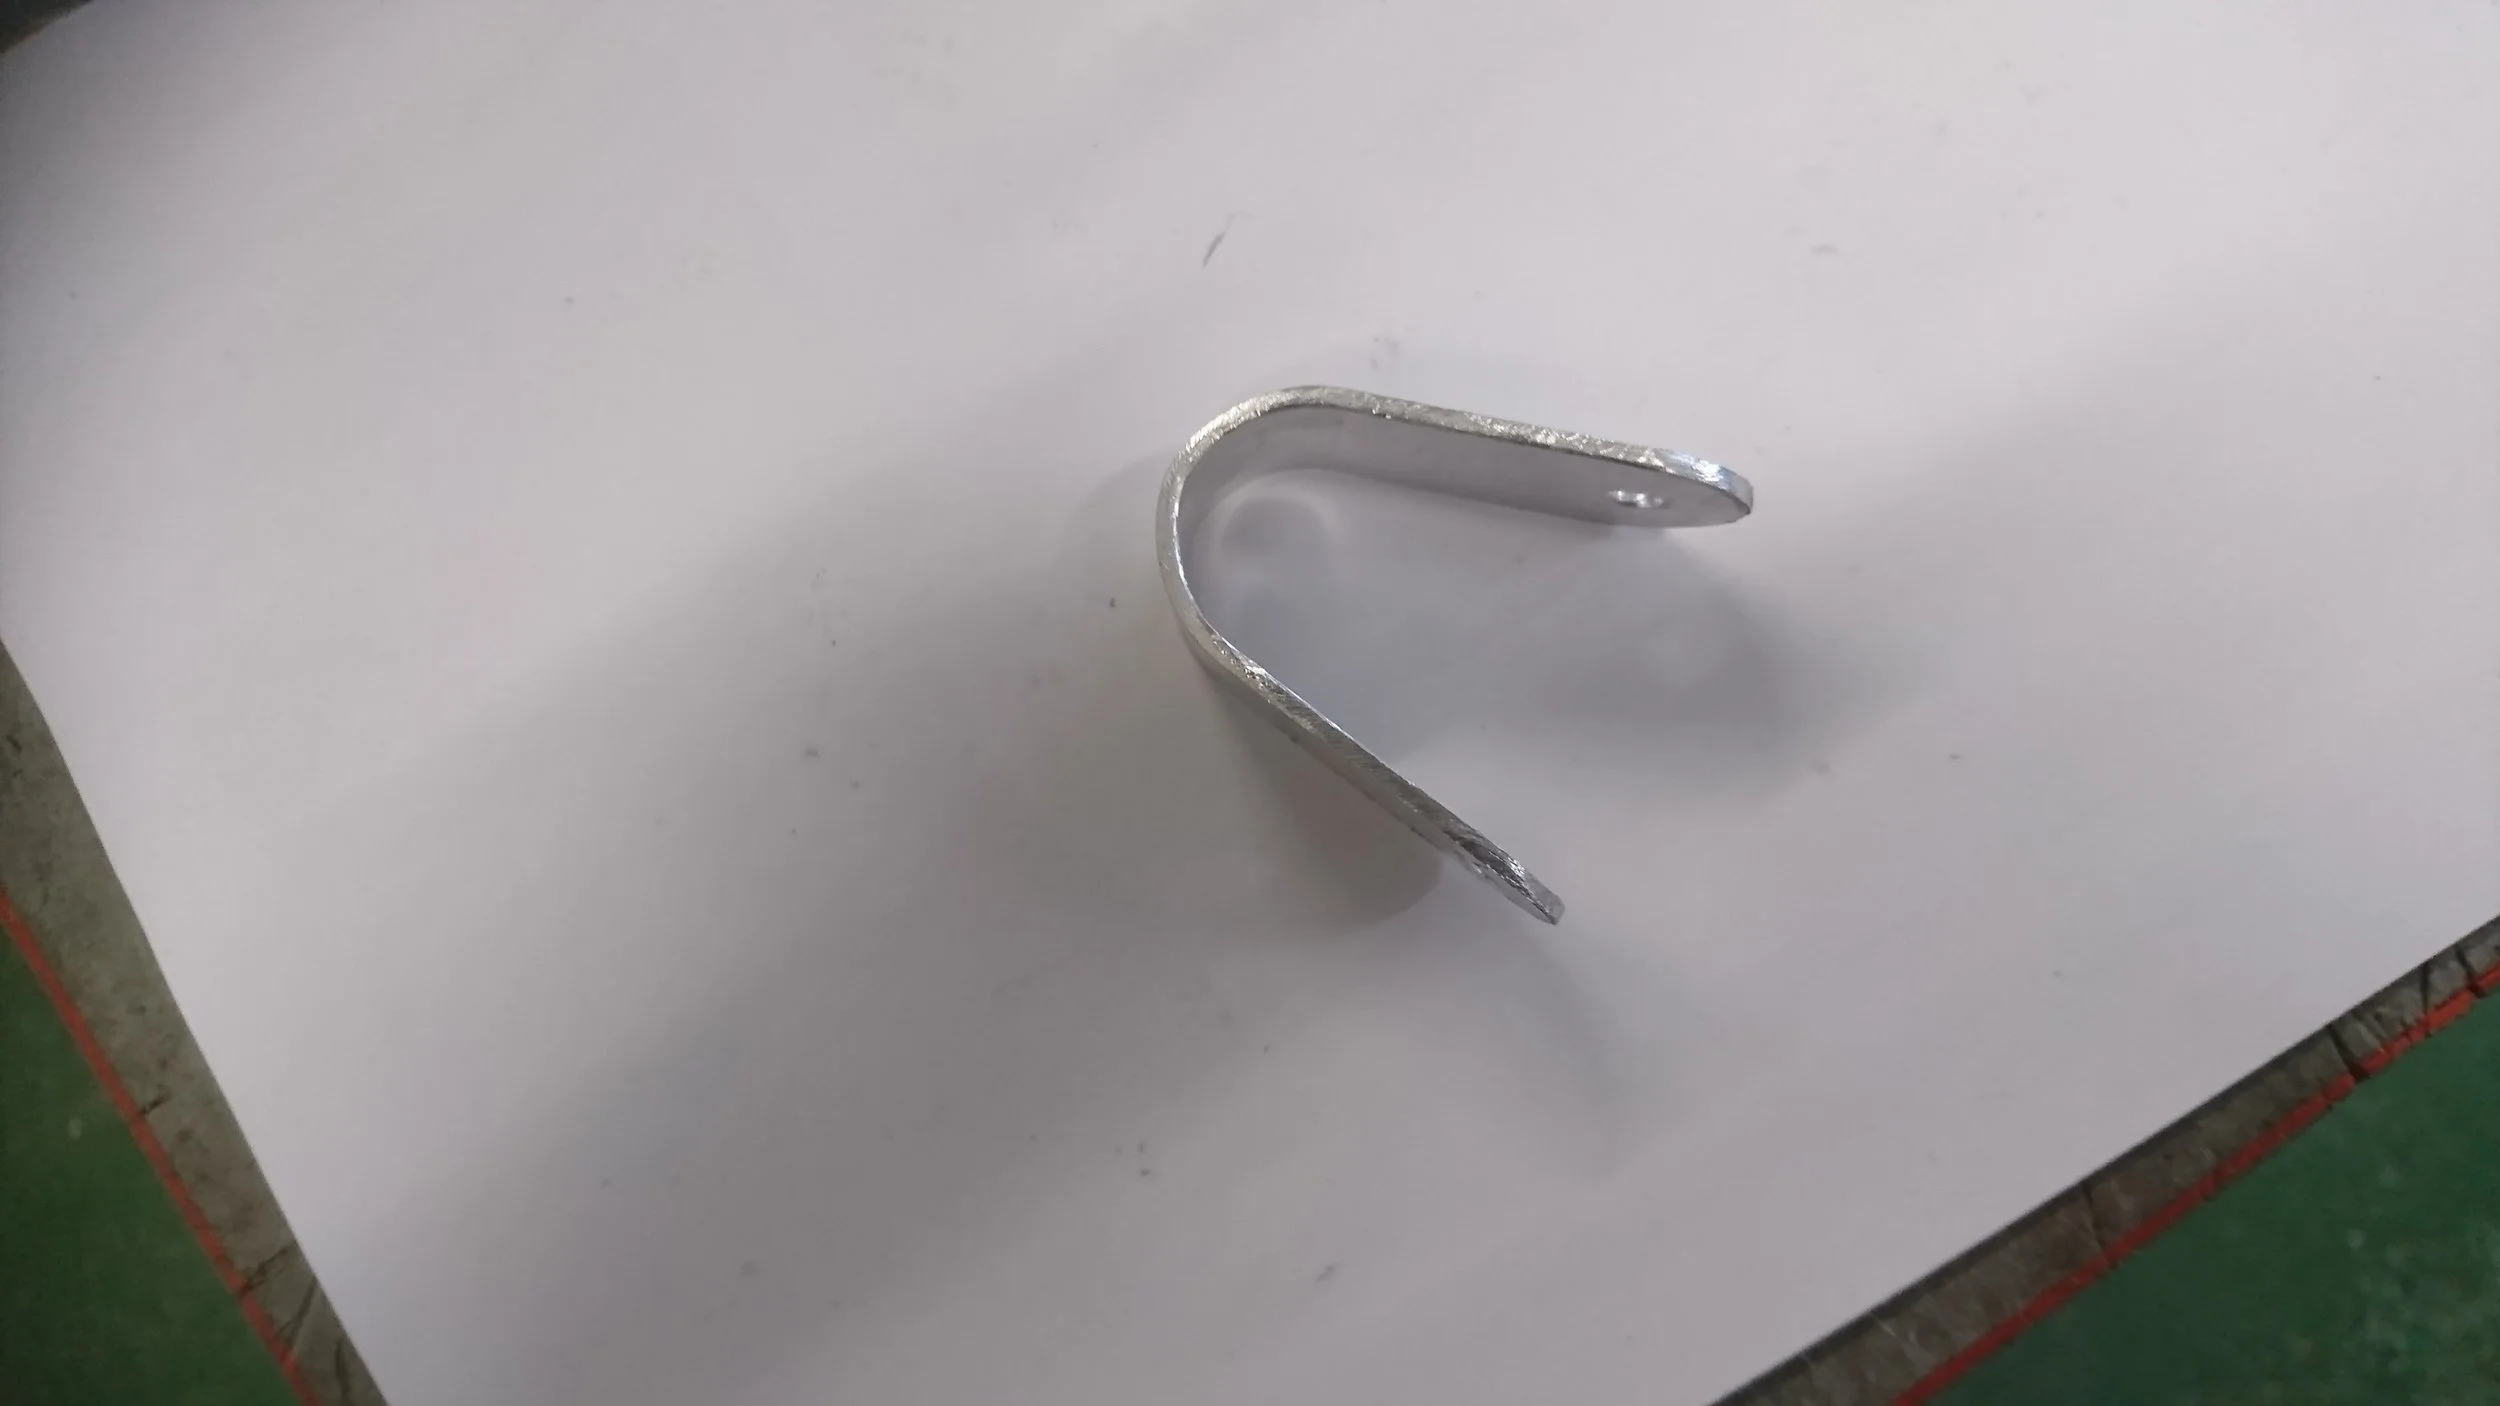
The view from above shows perfect symmetry.
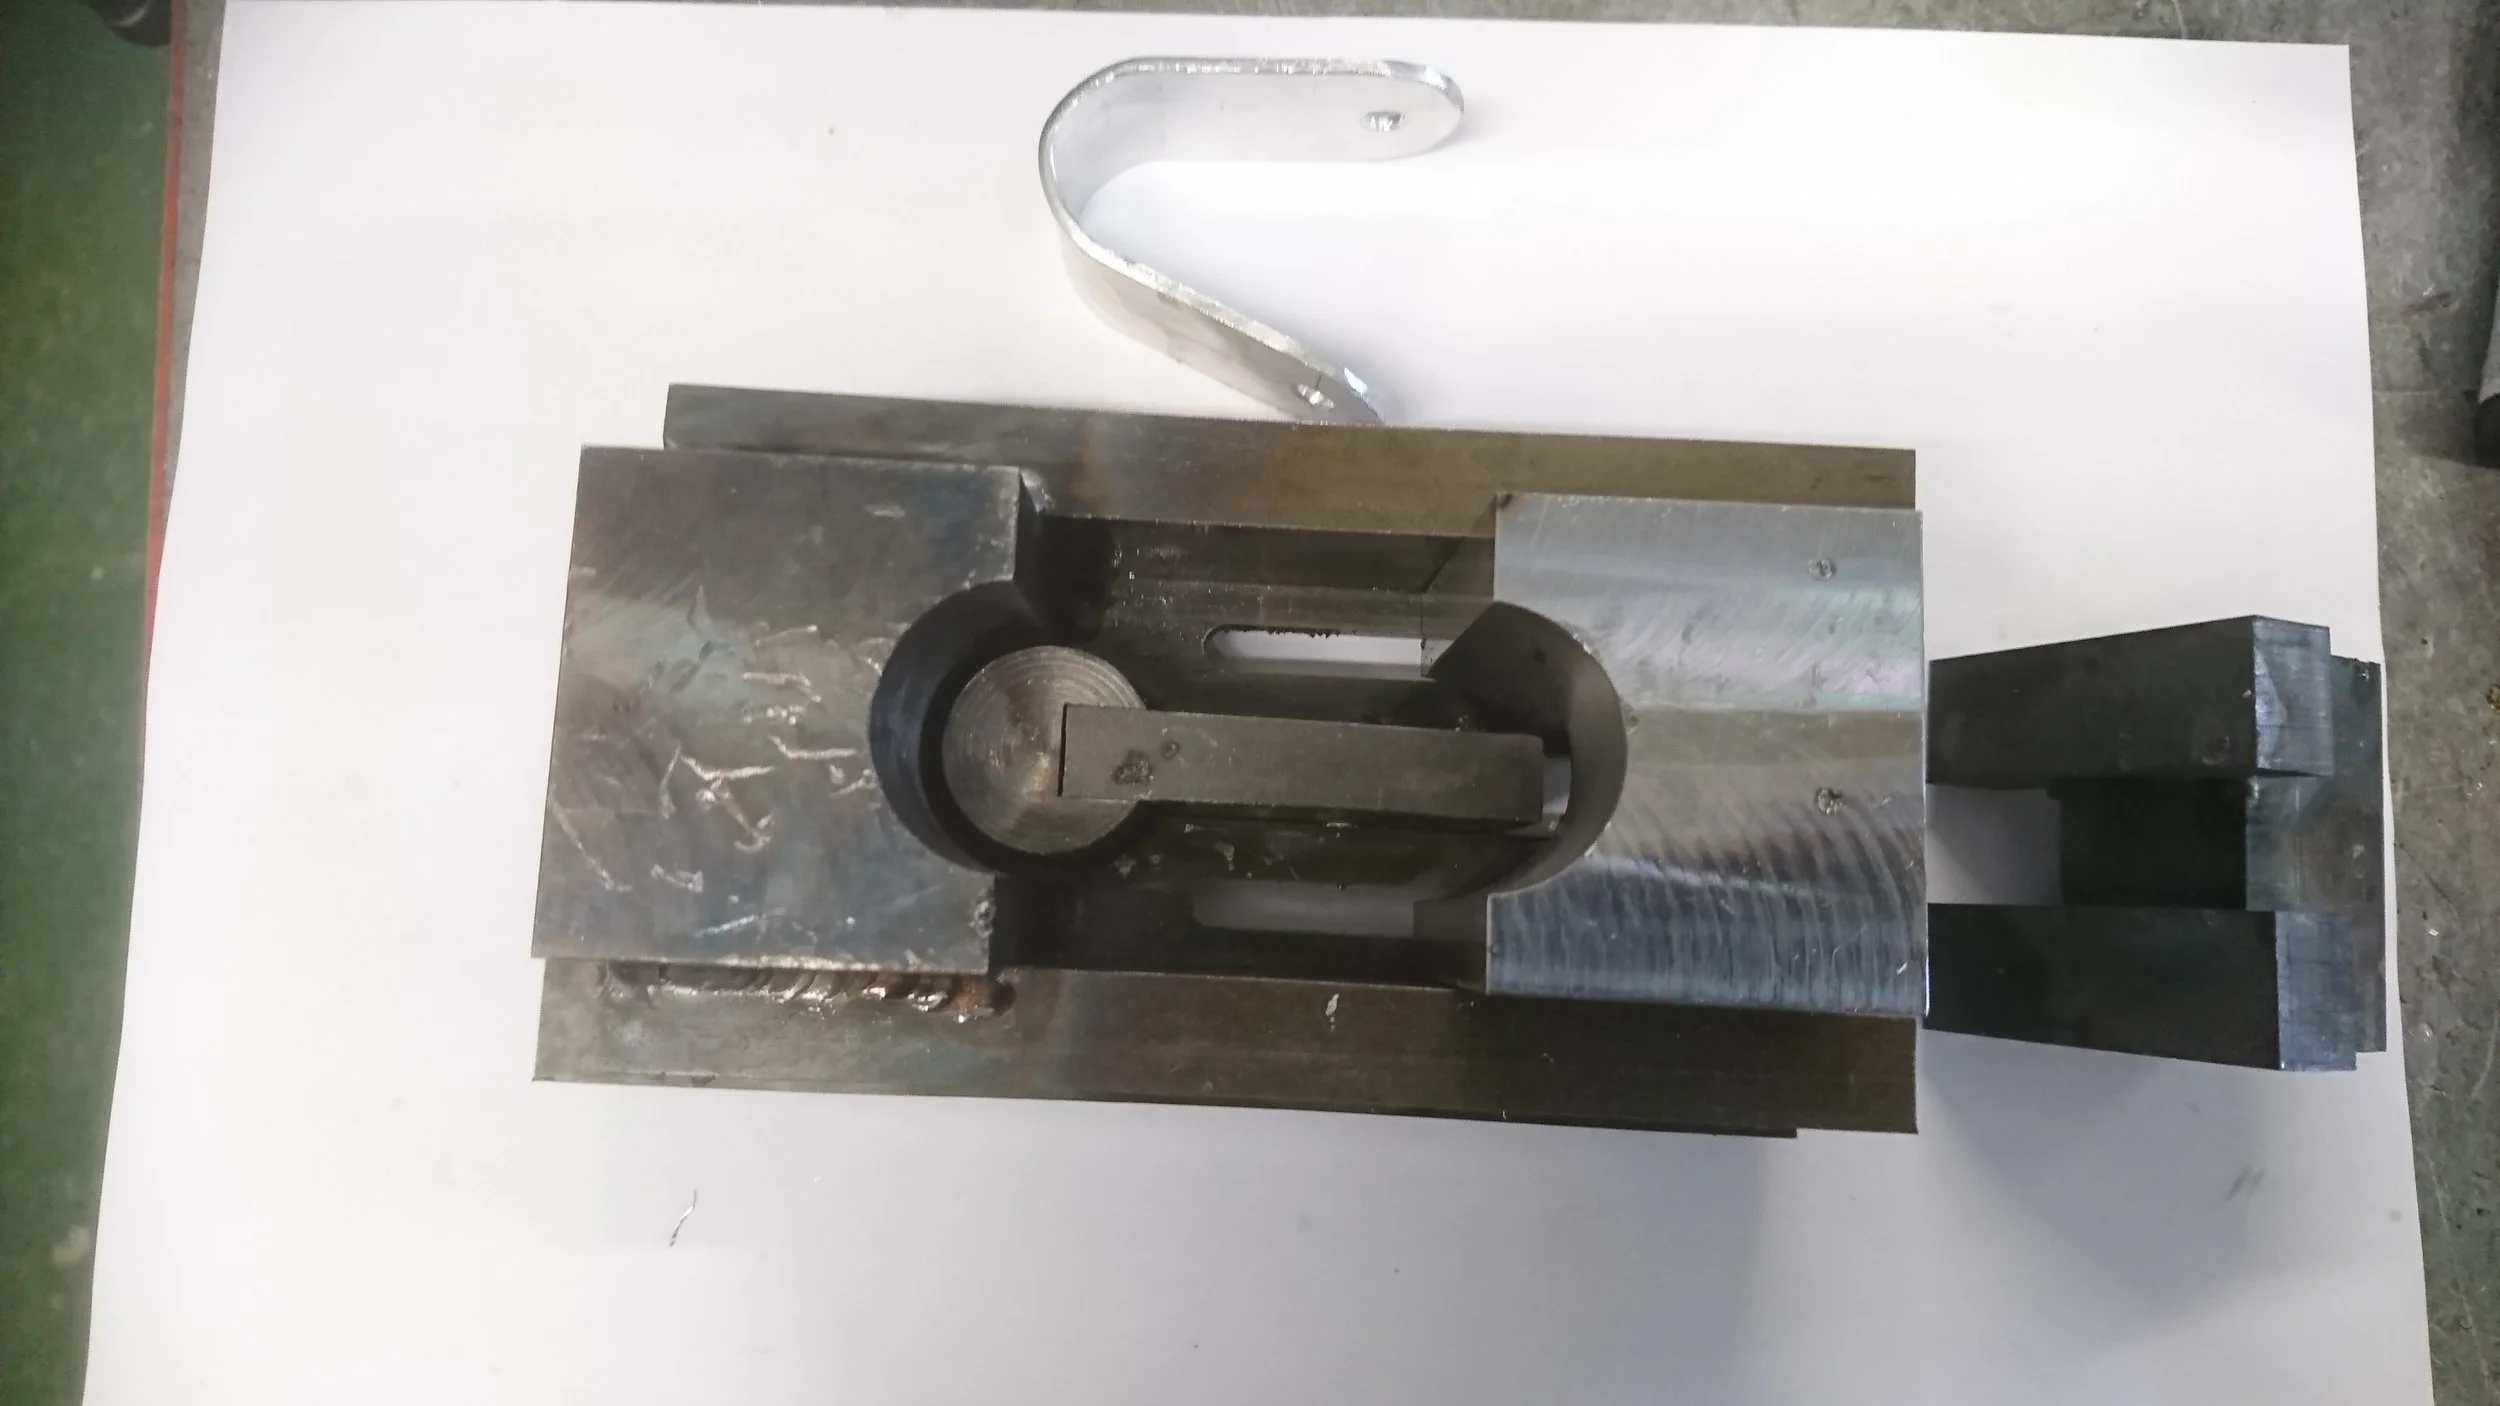
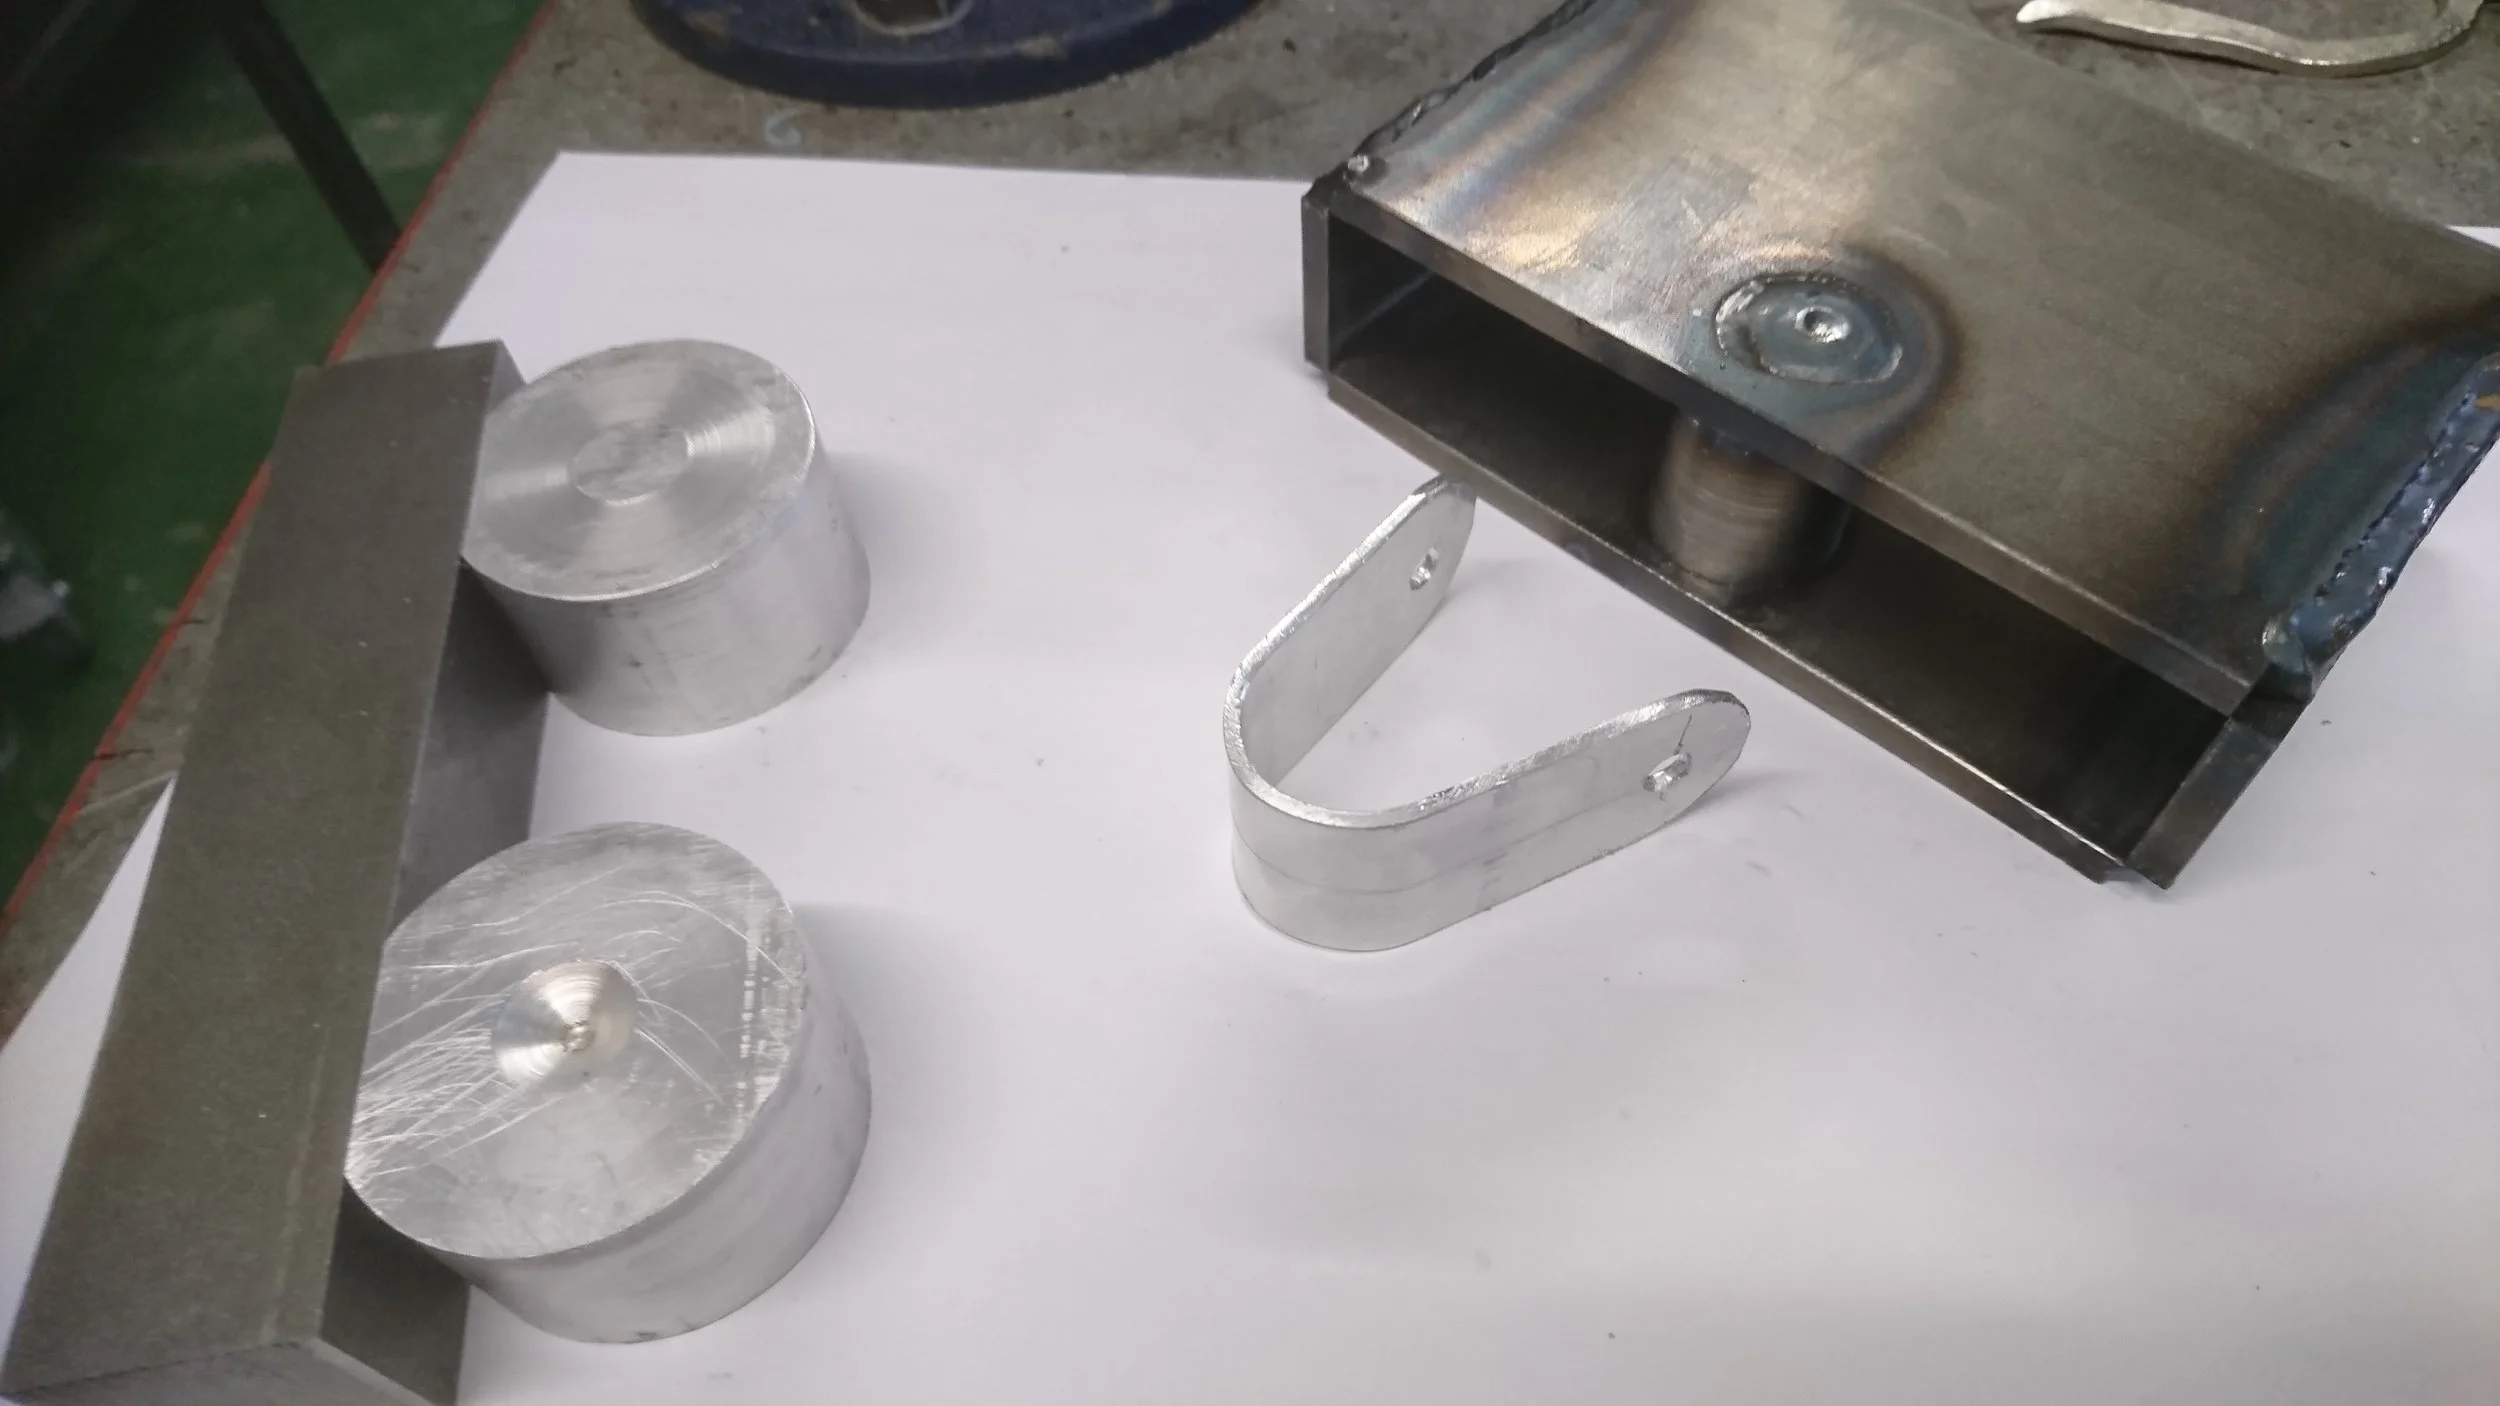
Jig 2.
Inserting the stage 1 component.
Component properly located at the bottom of the jig.
Some manual manipulation was required. There were several aspects to these jigs that with more testing could have been improved. Unfortunately, these jigs fell into the 'good enough' category of projects that never quite met their full potential!
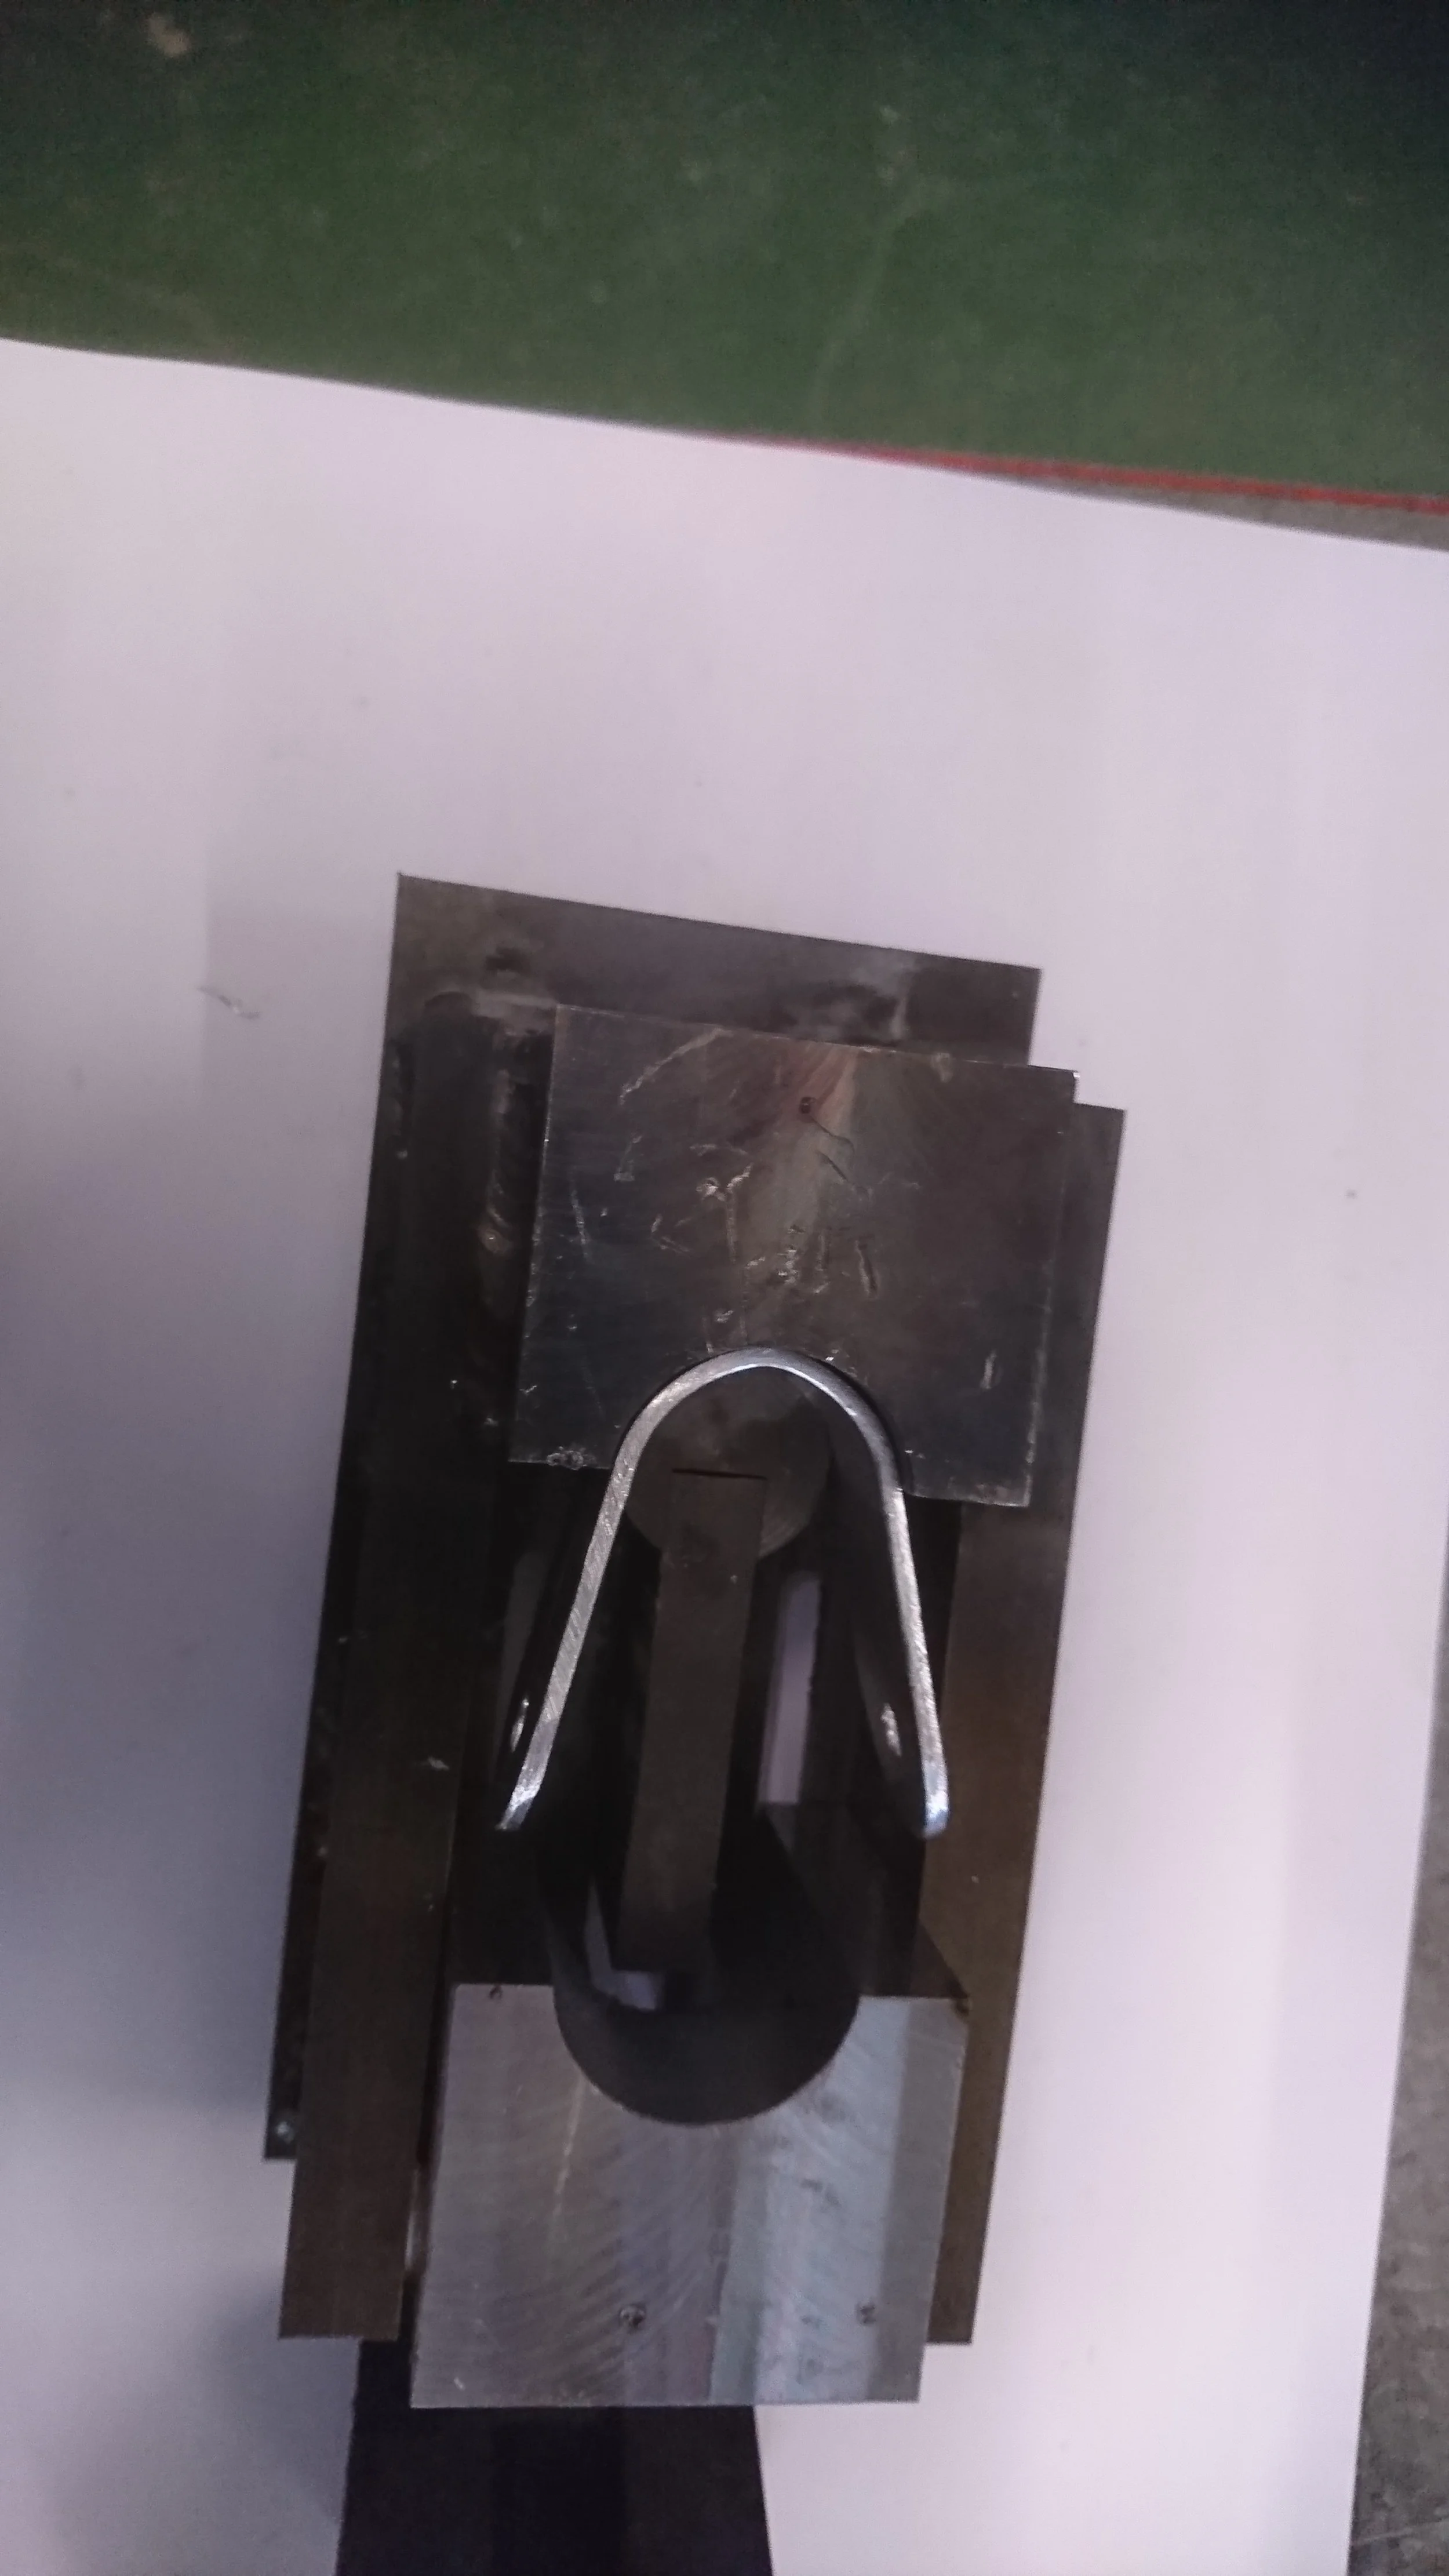
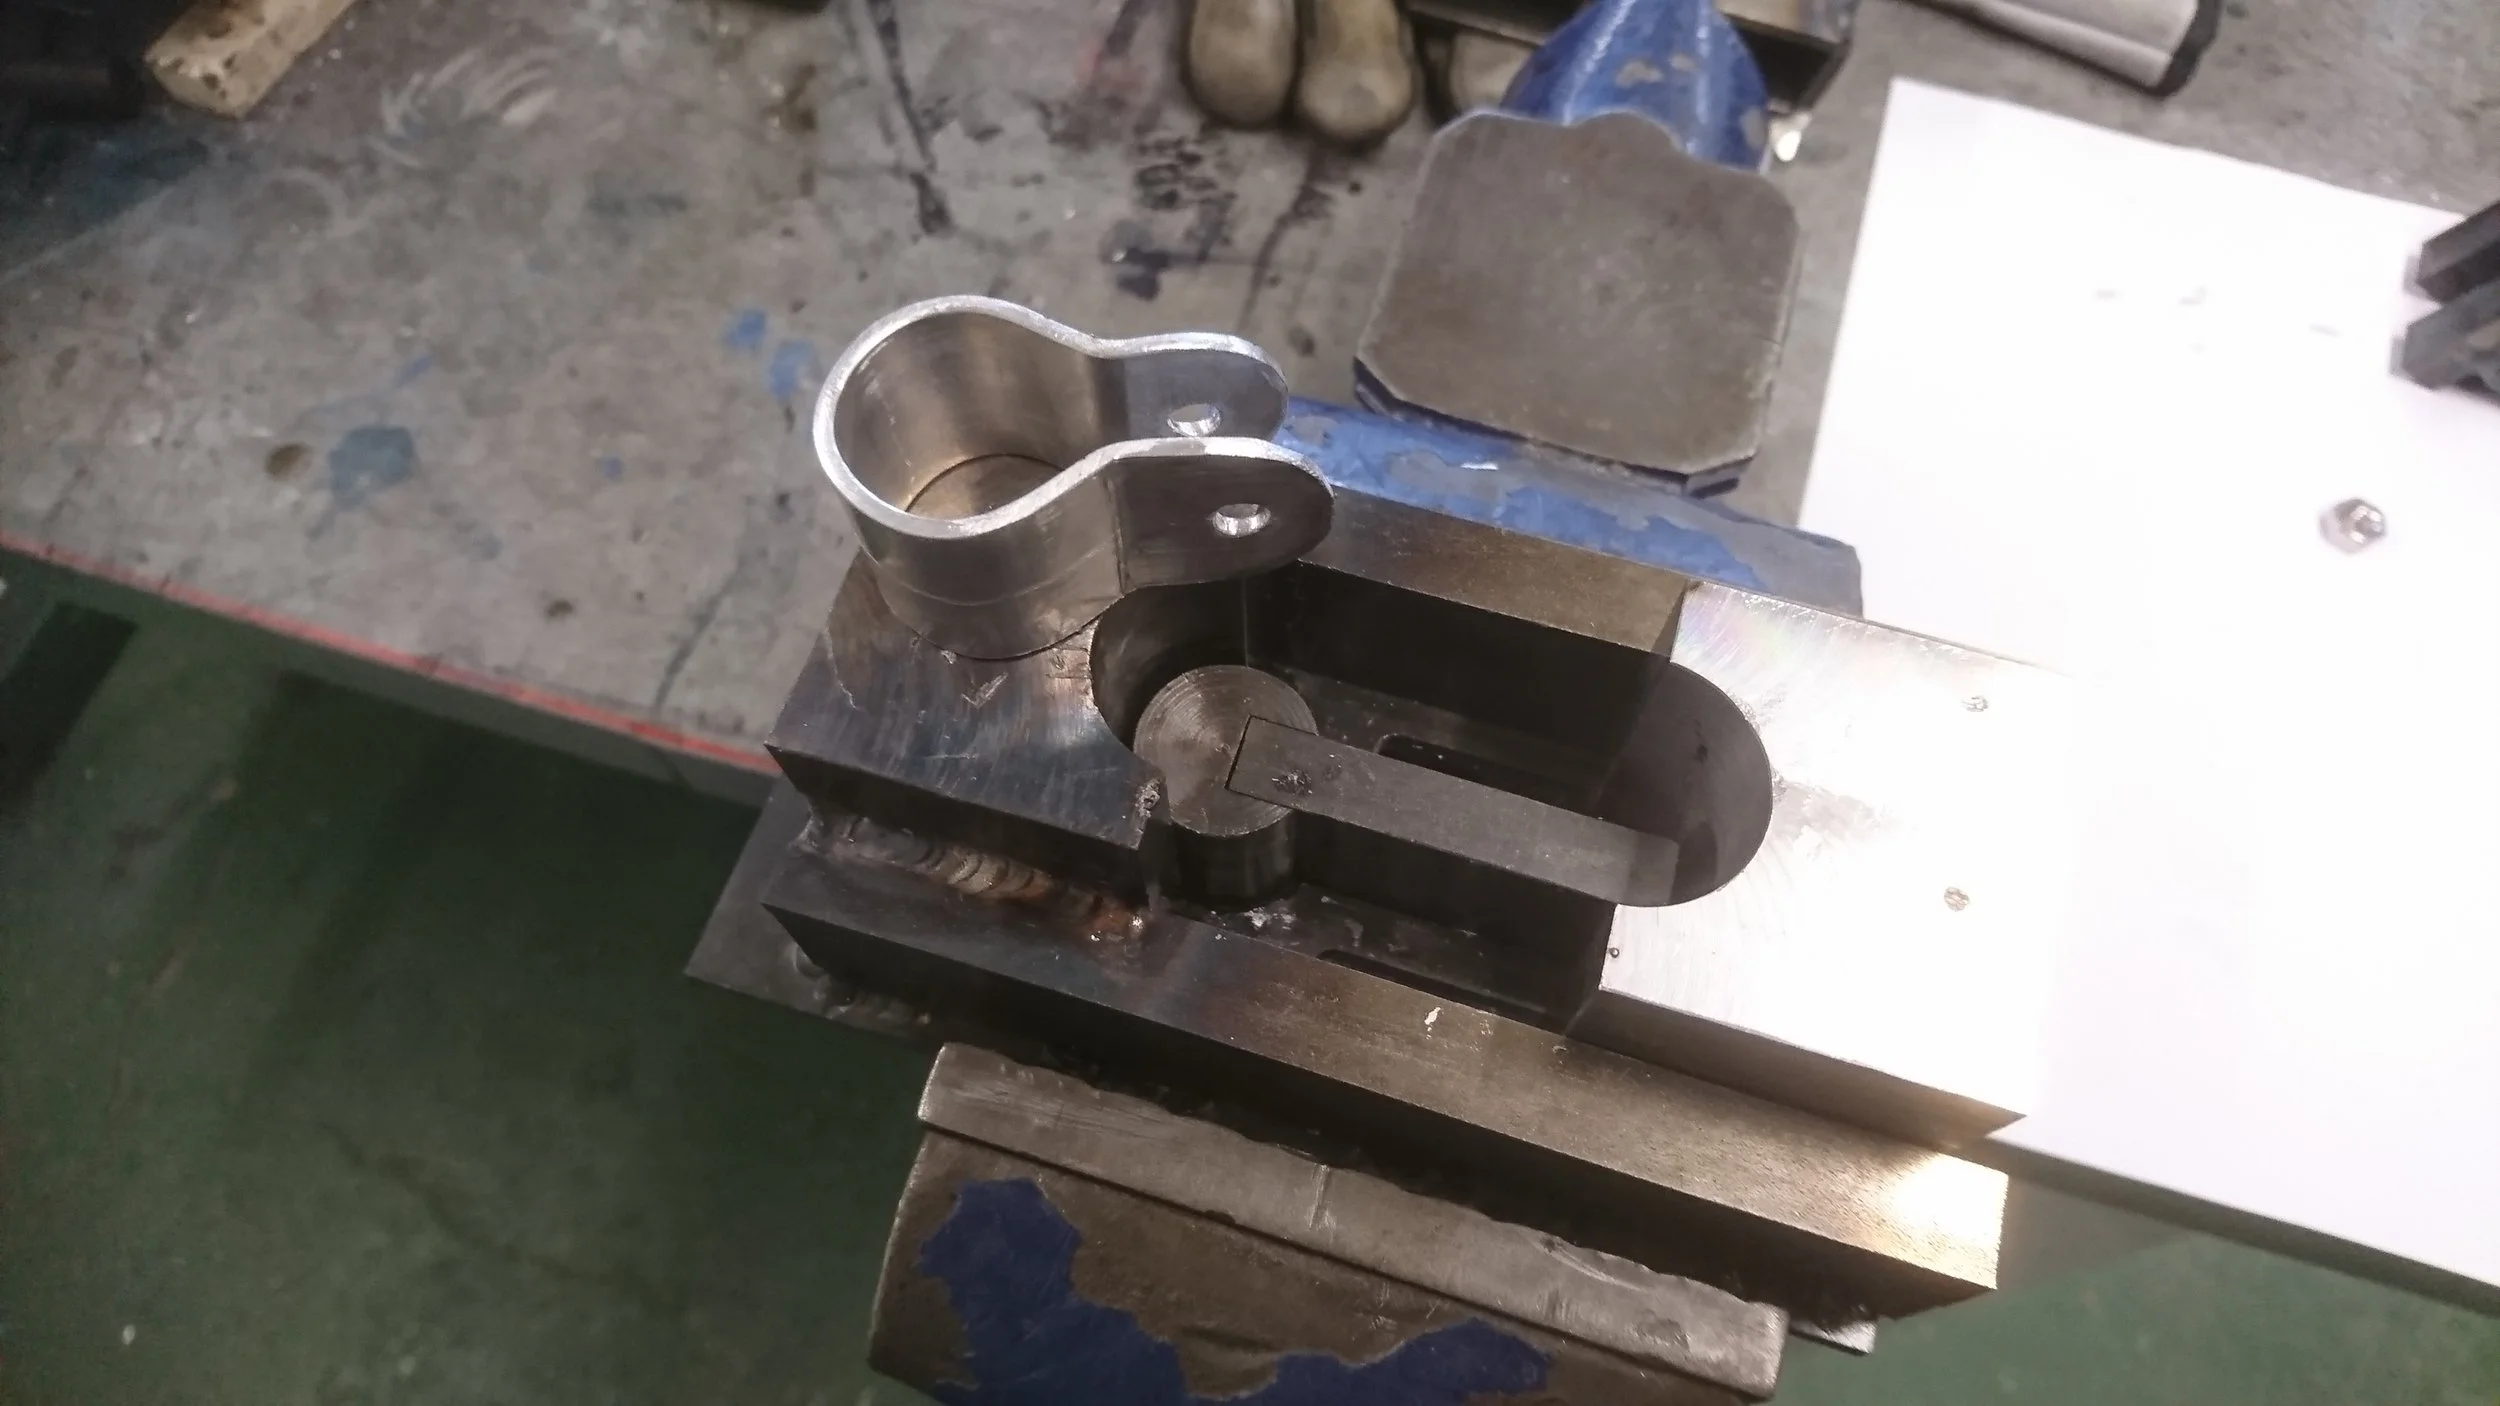
You can see from this angle, the way that this jig works.
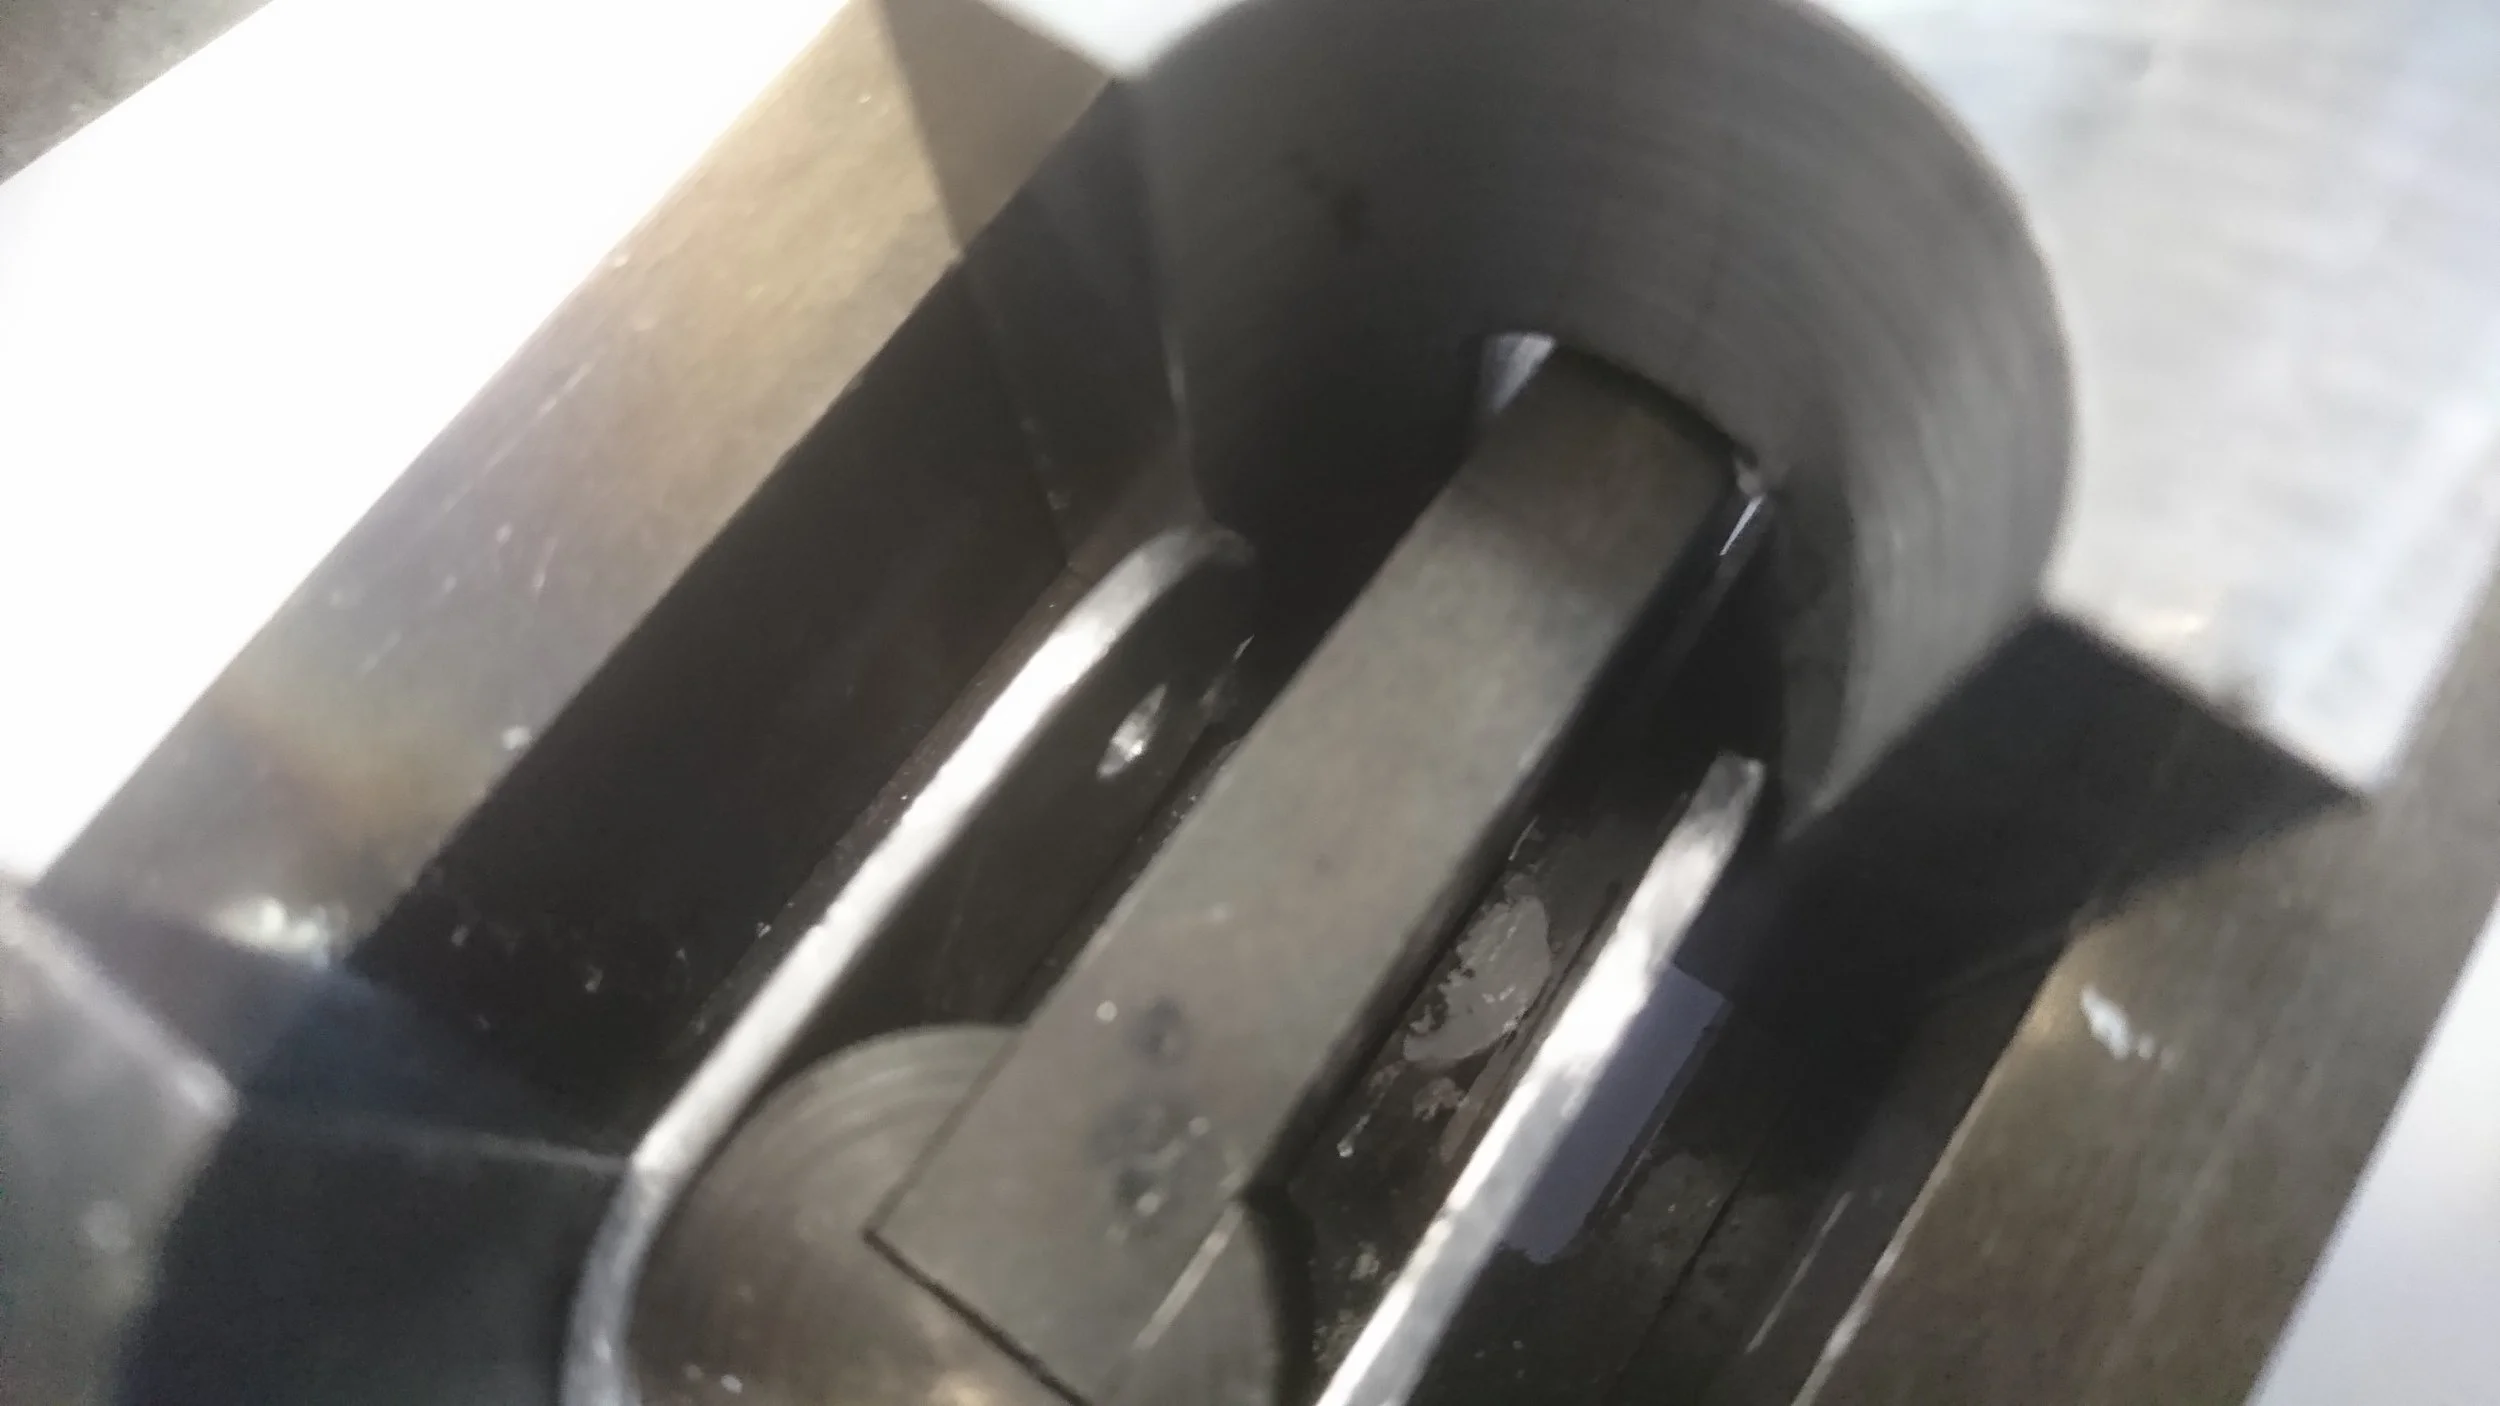
The lugs are squeezed toward the centre as the moving jaw is pushed toward the fixed jaw. They are then redirected by the central bar.
The jig is securely held in a vise, before being compressed with a G-clamp.
The shape is starting to appear.
This pushing block allows the lugs to protrude through the centre.

Forming complete.
G-clamp removed.

Jaws slid apart.
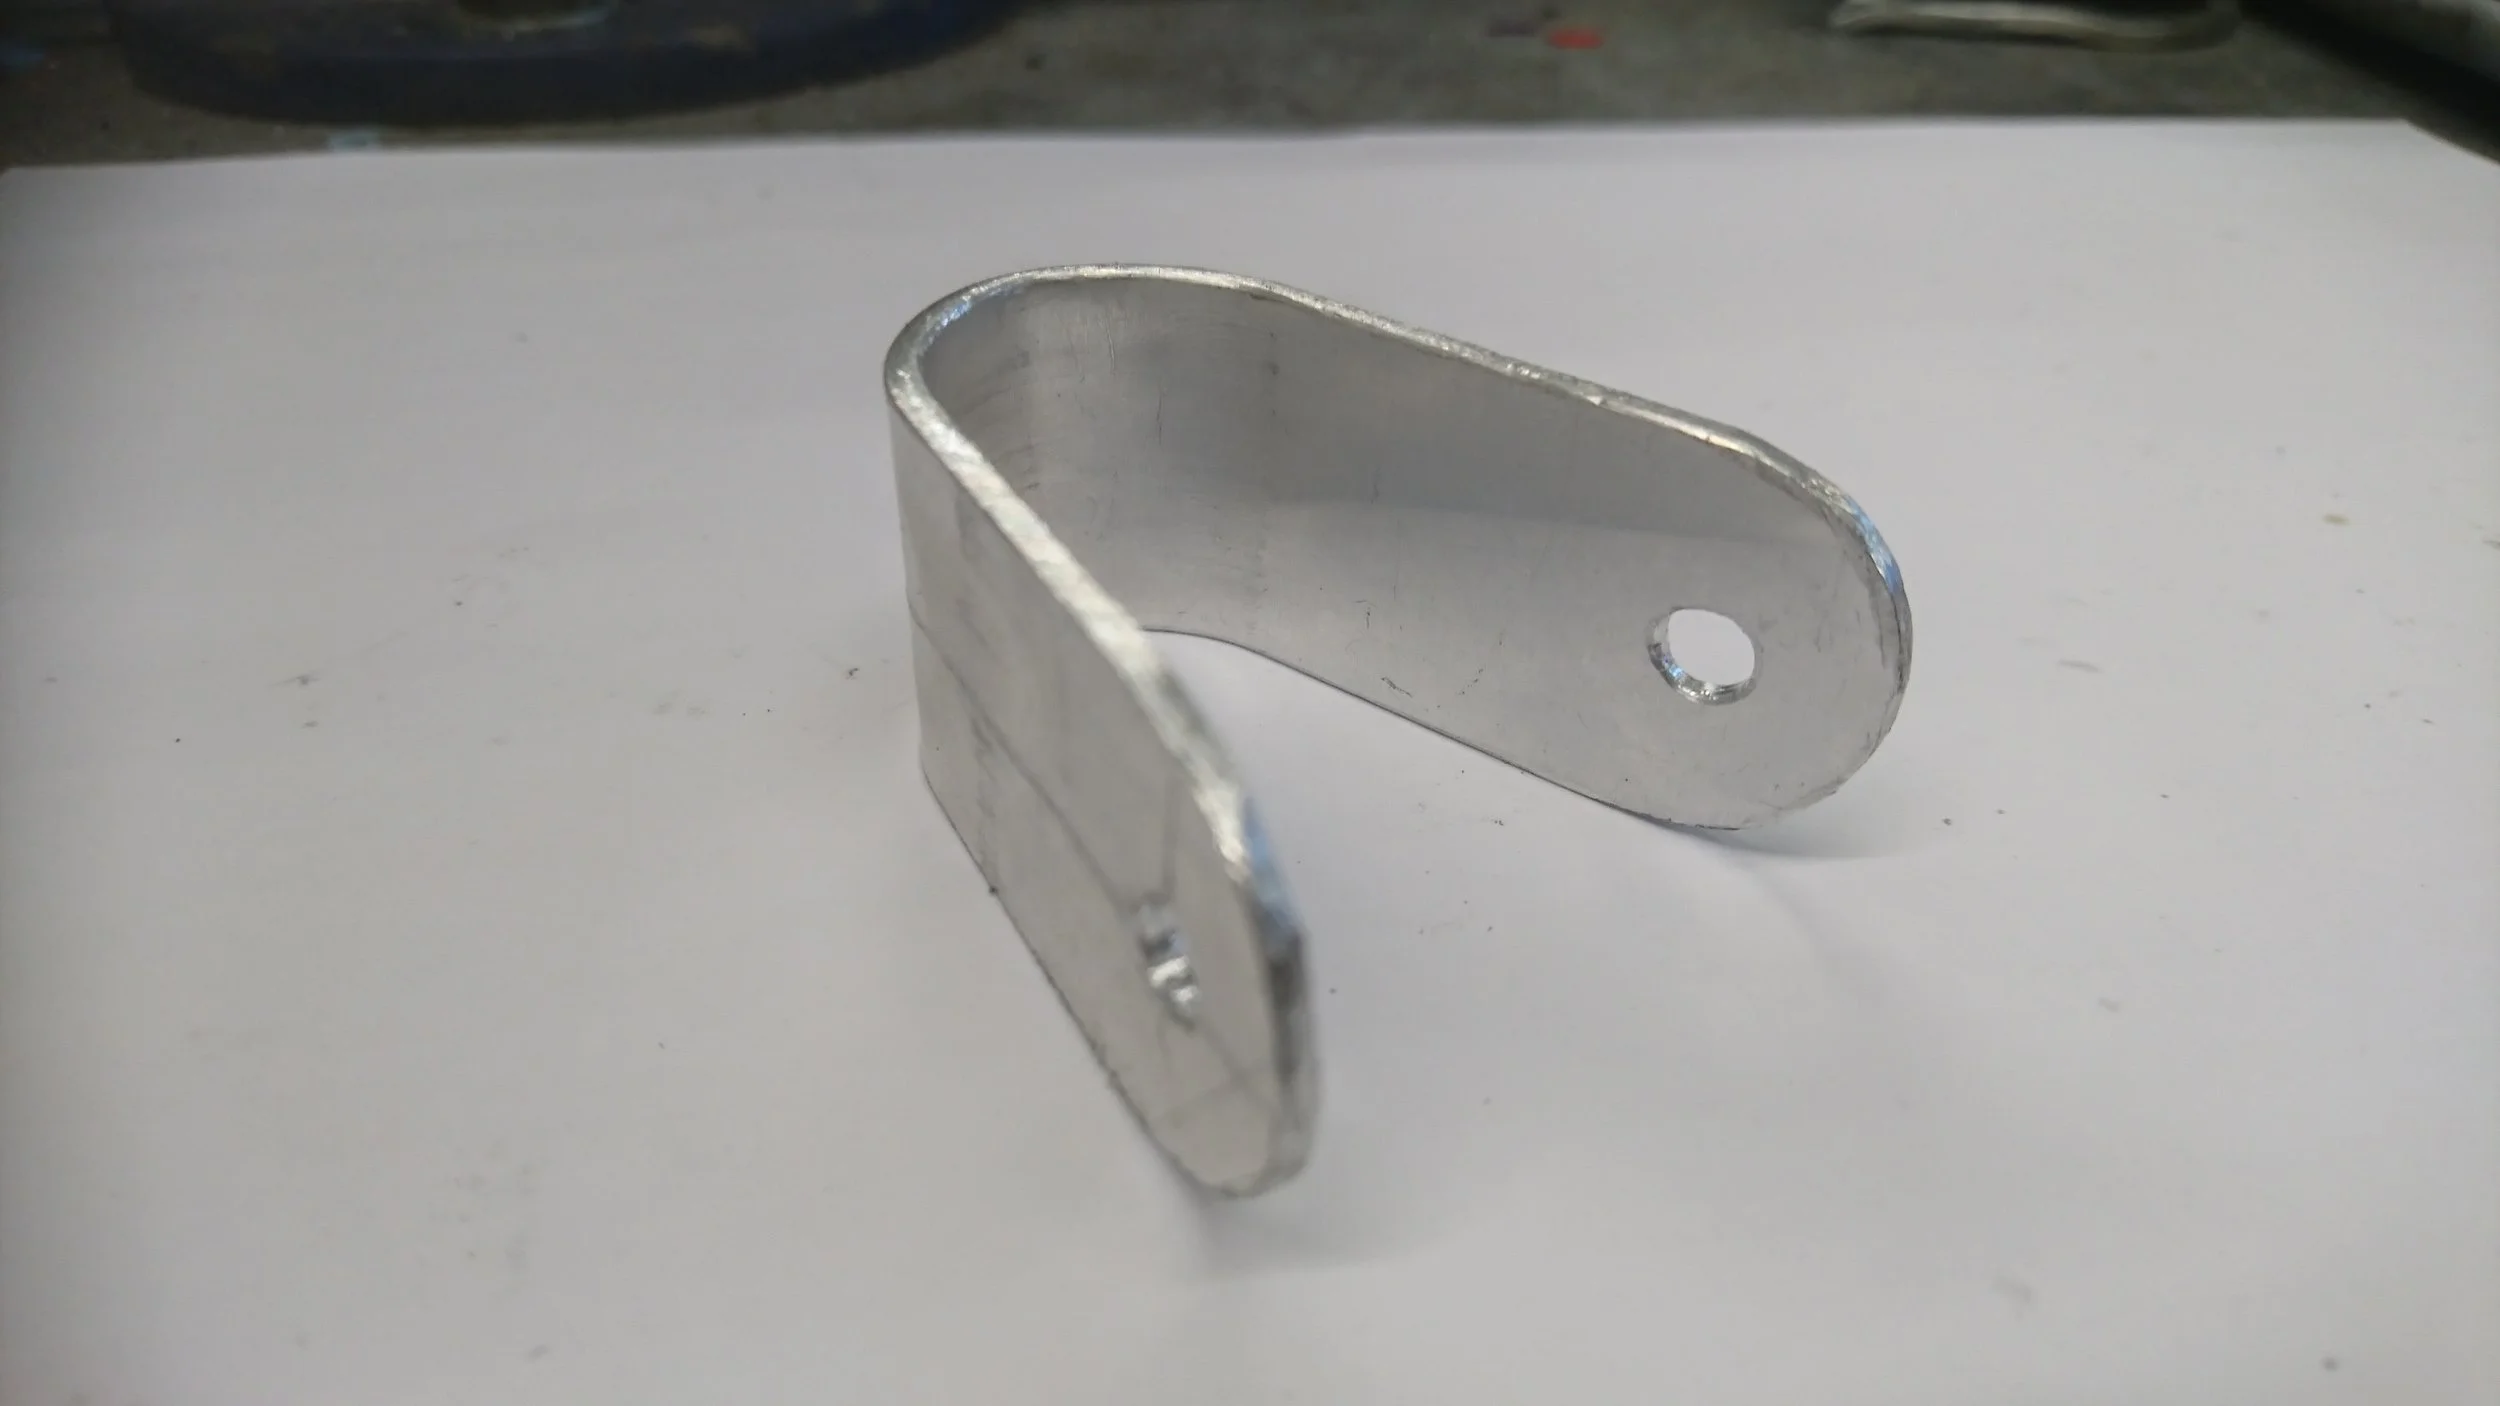
Complete component removed.

The final component, ready to be fitted to a bicycle handlebar.