
Gifts and Trophies
I have made numerous gifts and trophies in numerous materials and using a range of processes. These have been made for a range of purposes and for a diverse range of recipients.

A leaving gift for a science technician. Made from a broken bunsen burner mounted to a sapele base. The brass plaque was spray painted black, then the blank space engraved clean using the laser cutter, before a final clearcoat was applied.

The bunsen burner was sanded and painted as the well used original was looking its age.

A custom gift tag, drawn and laser engraved for the Food Tech department.
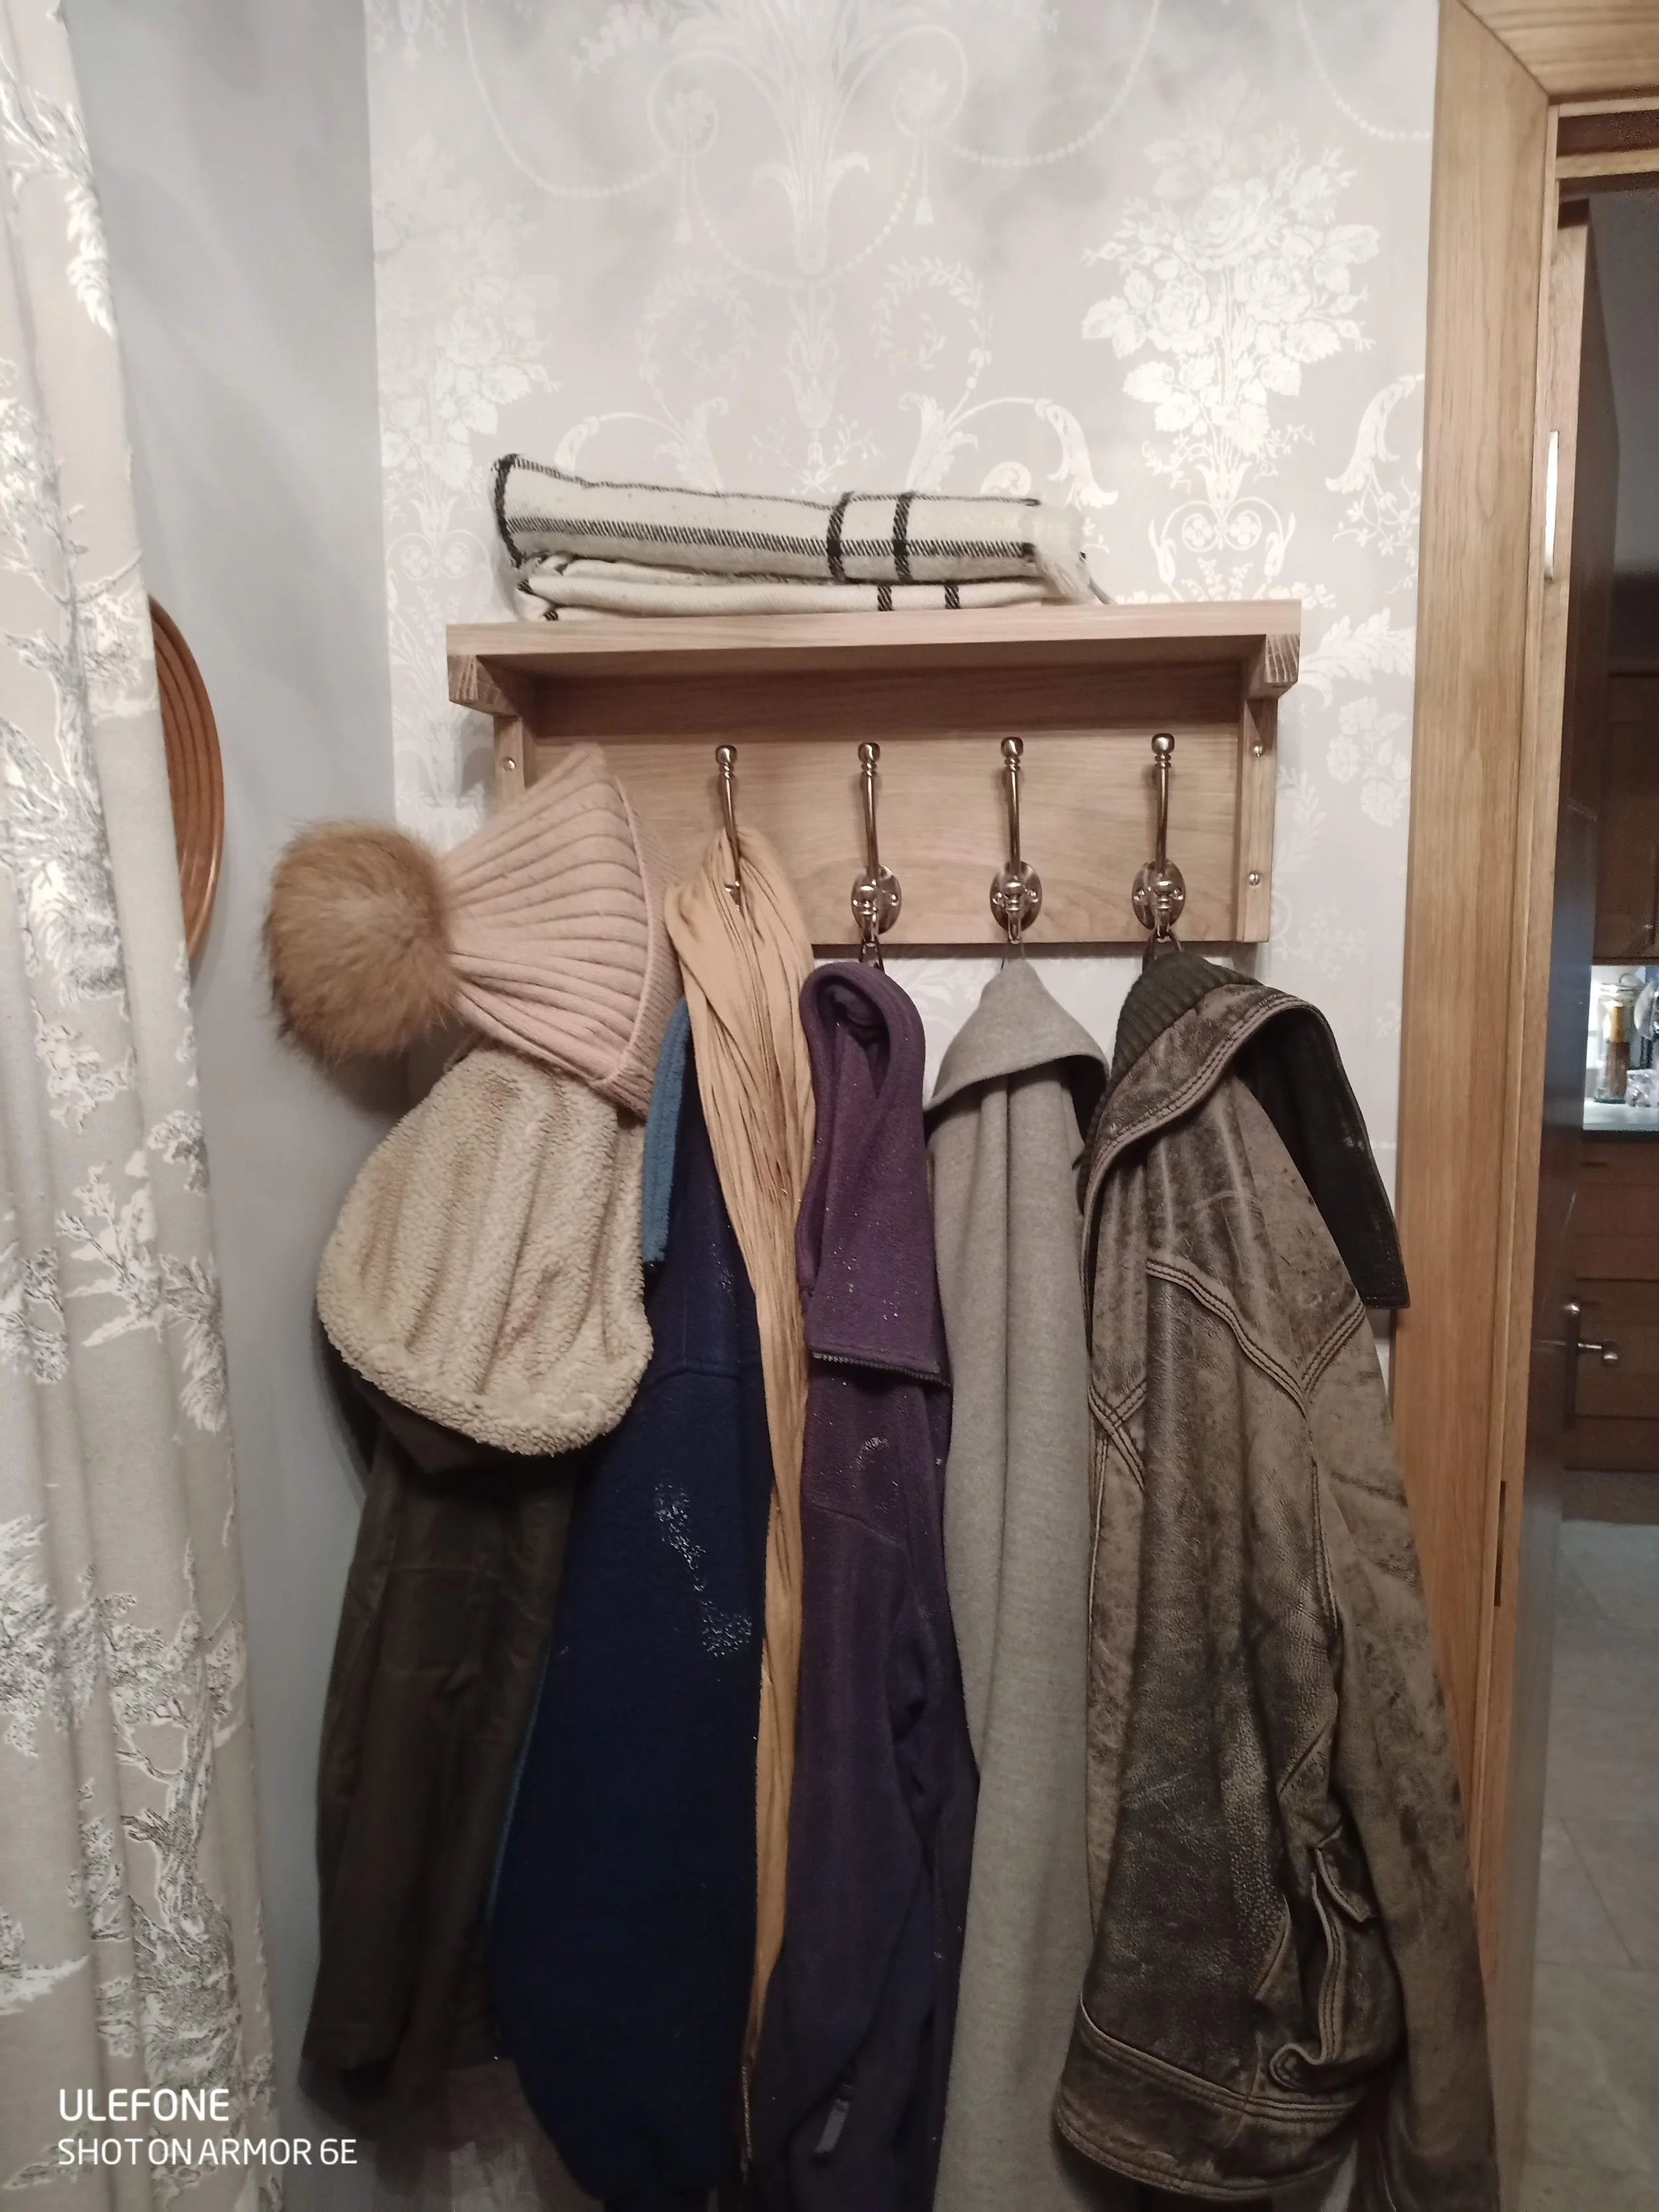
A coat hanger and entrance hall shelf, built from oak for my mother.
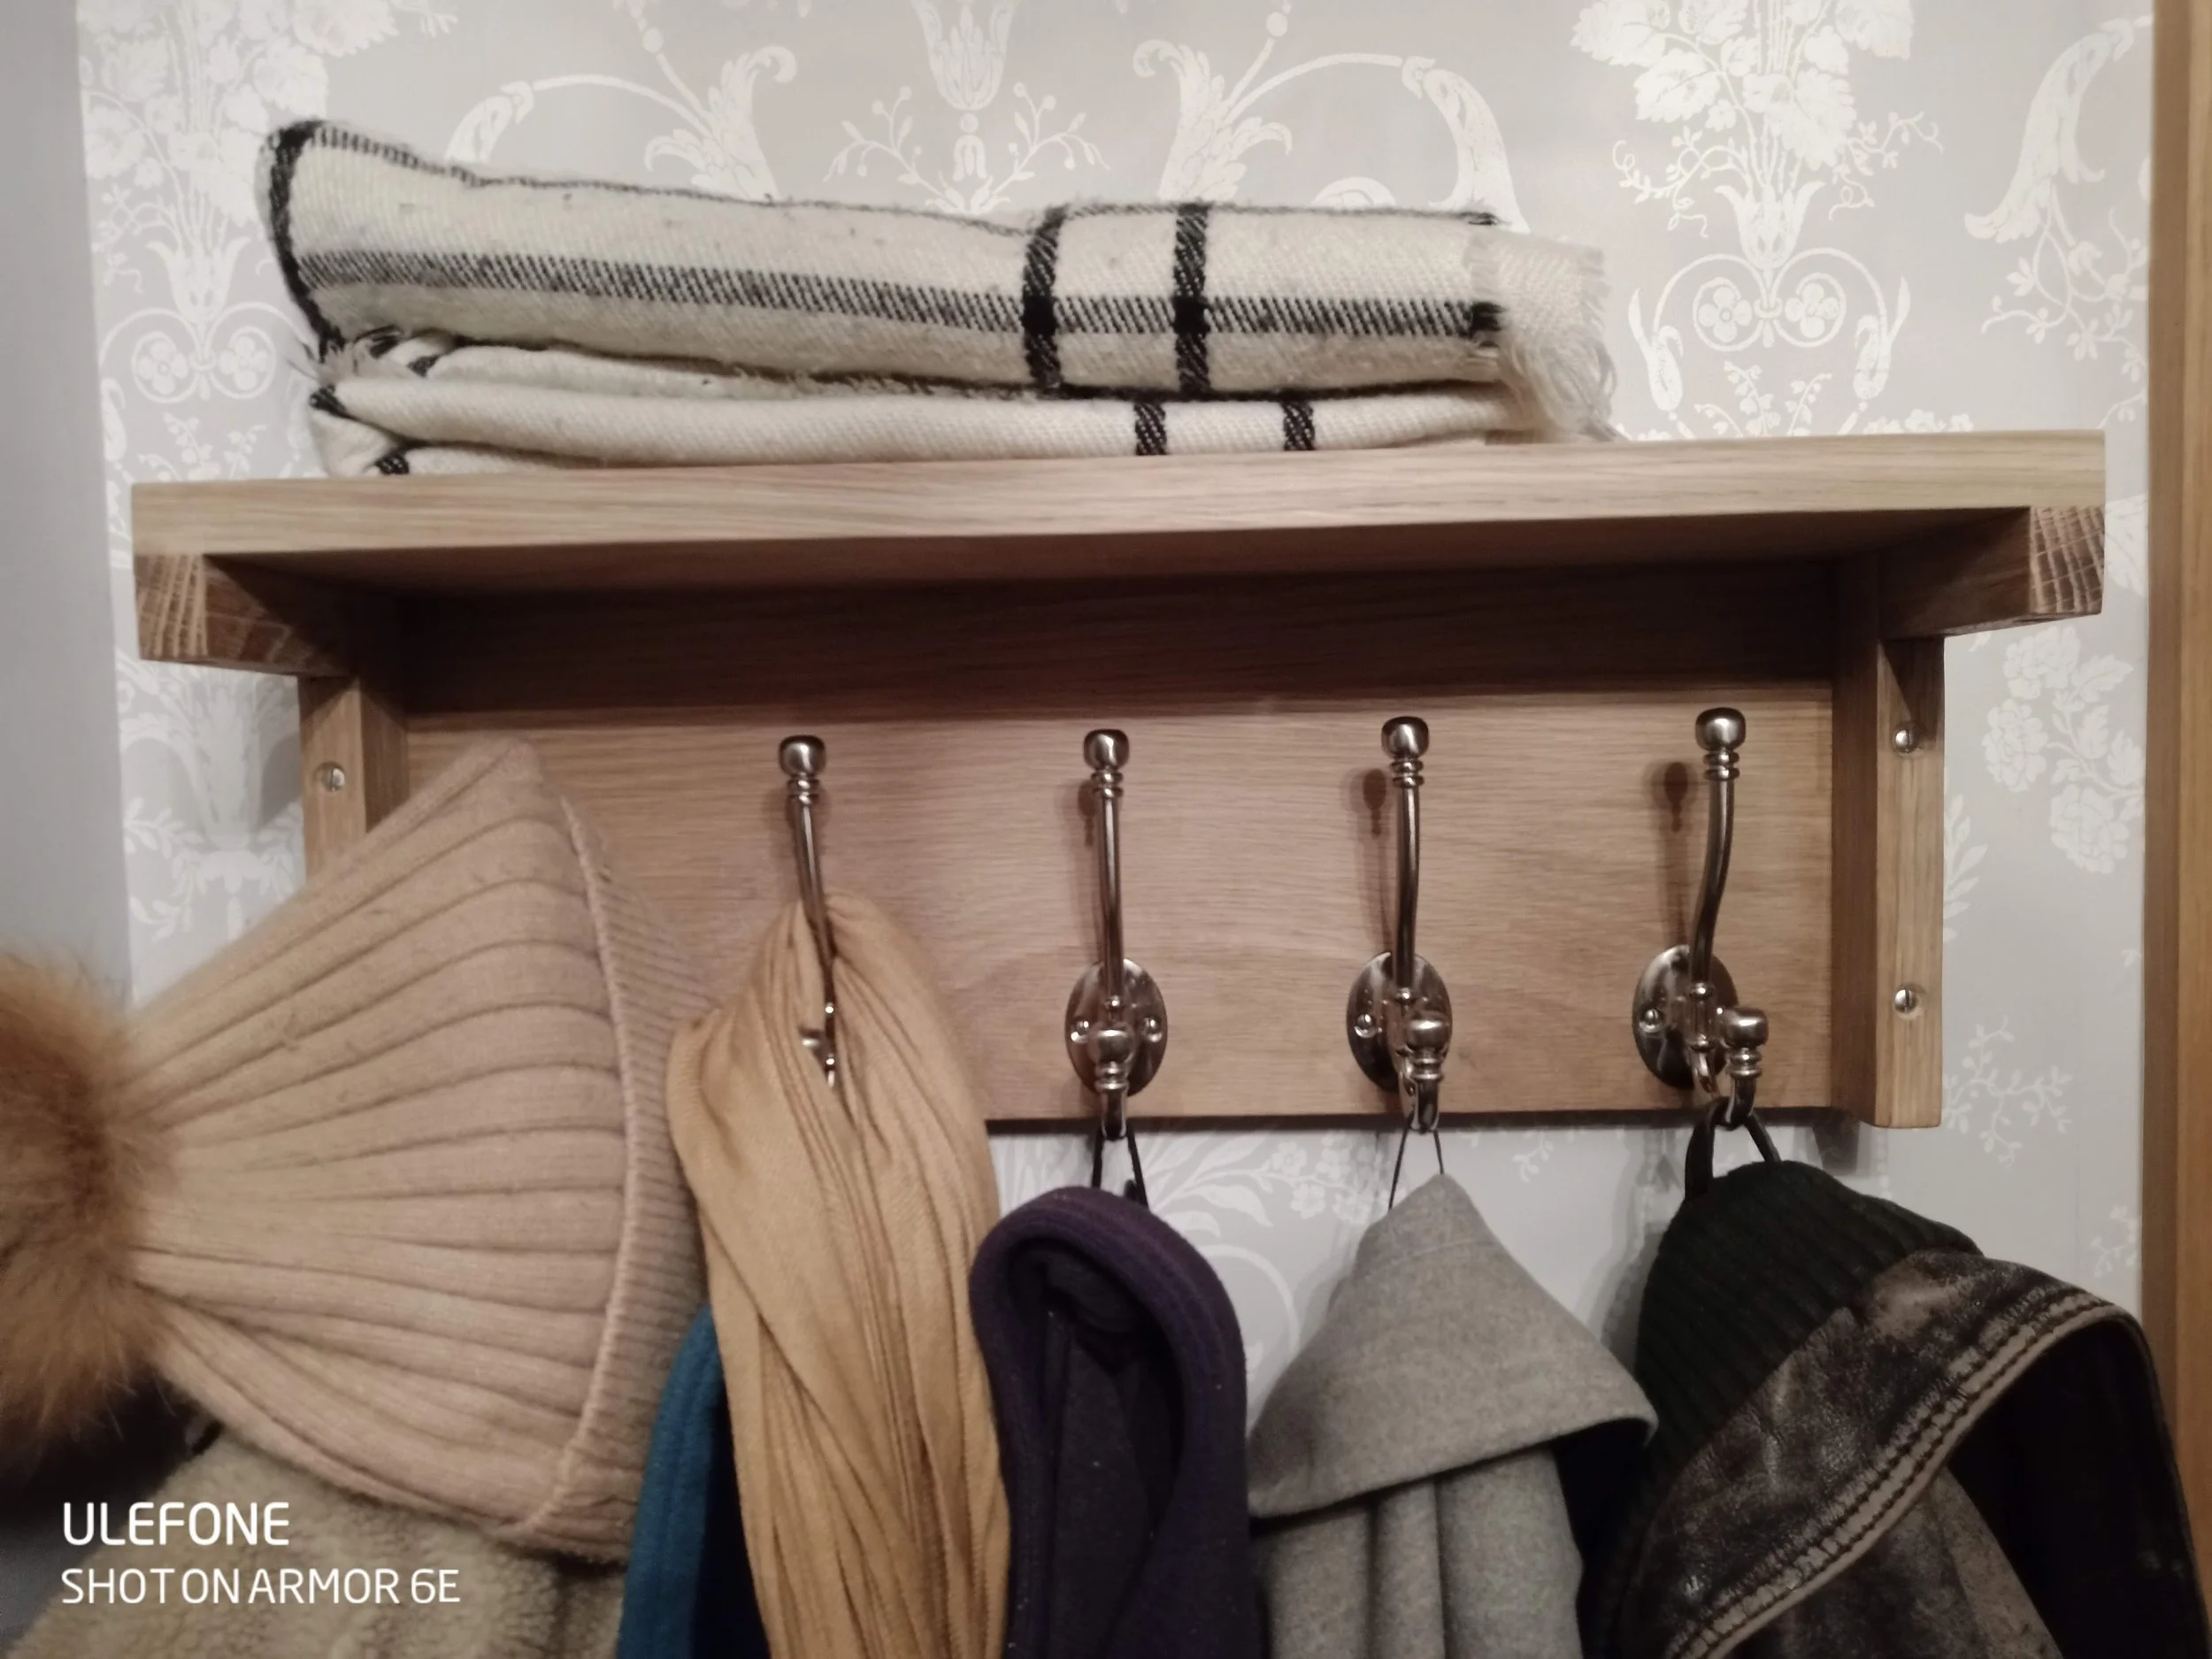
This simple design matched the oak staircase and flooring in this entrance room. It was assembled using dowel joints, and mounted using stainless steel screws.

5 equally spaced hooks and the shelf above provided plenty of storage for coats and other belongings.

I made this gingerbread wreath for a secret santa gift for a colleague
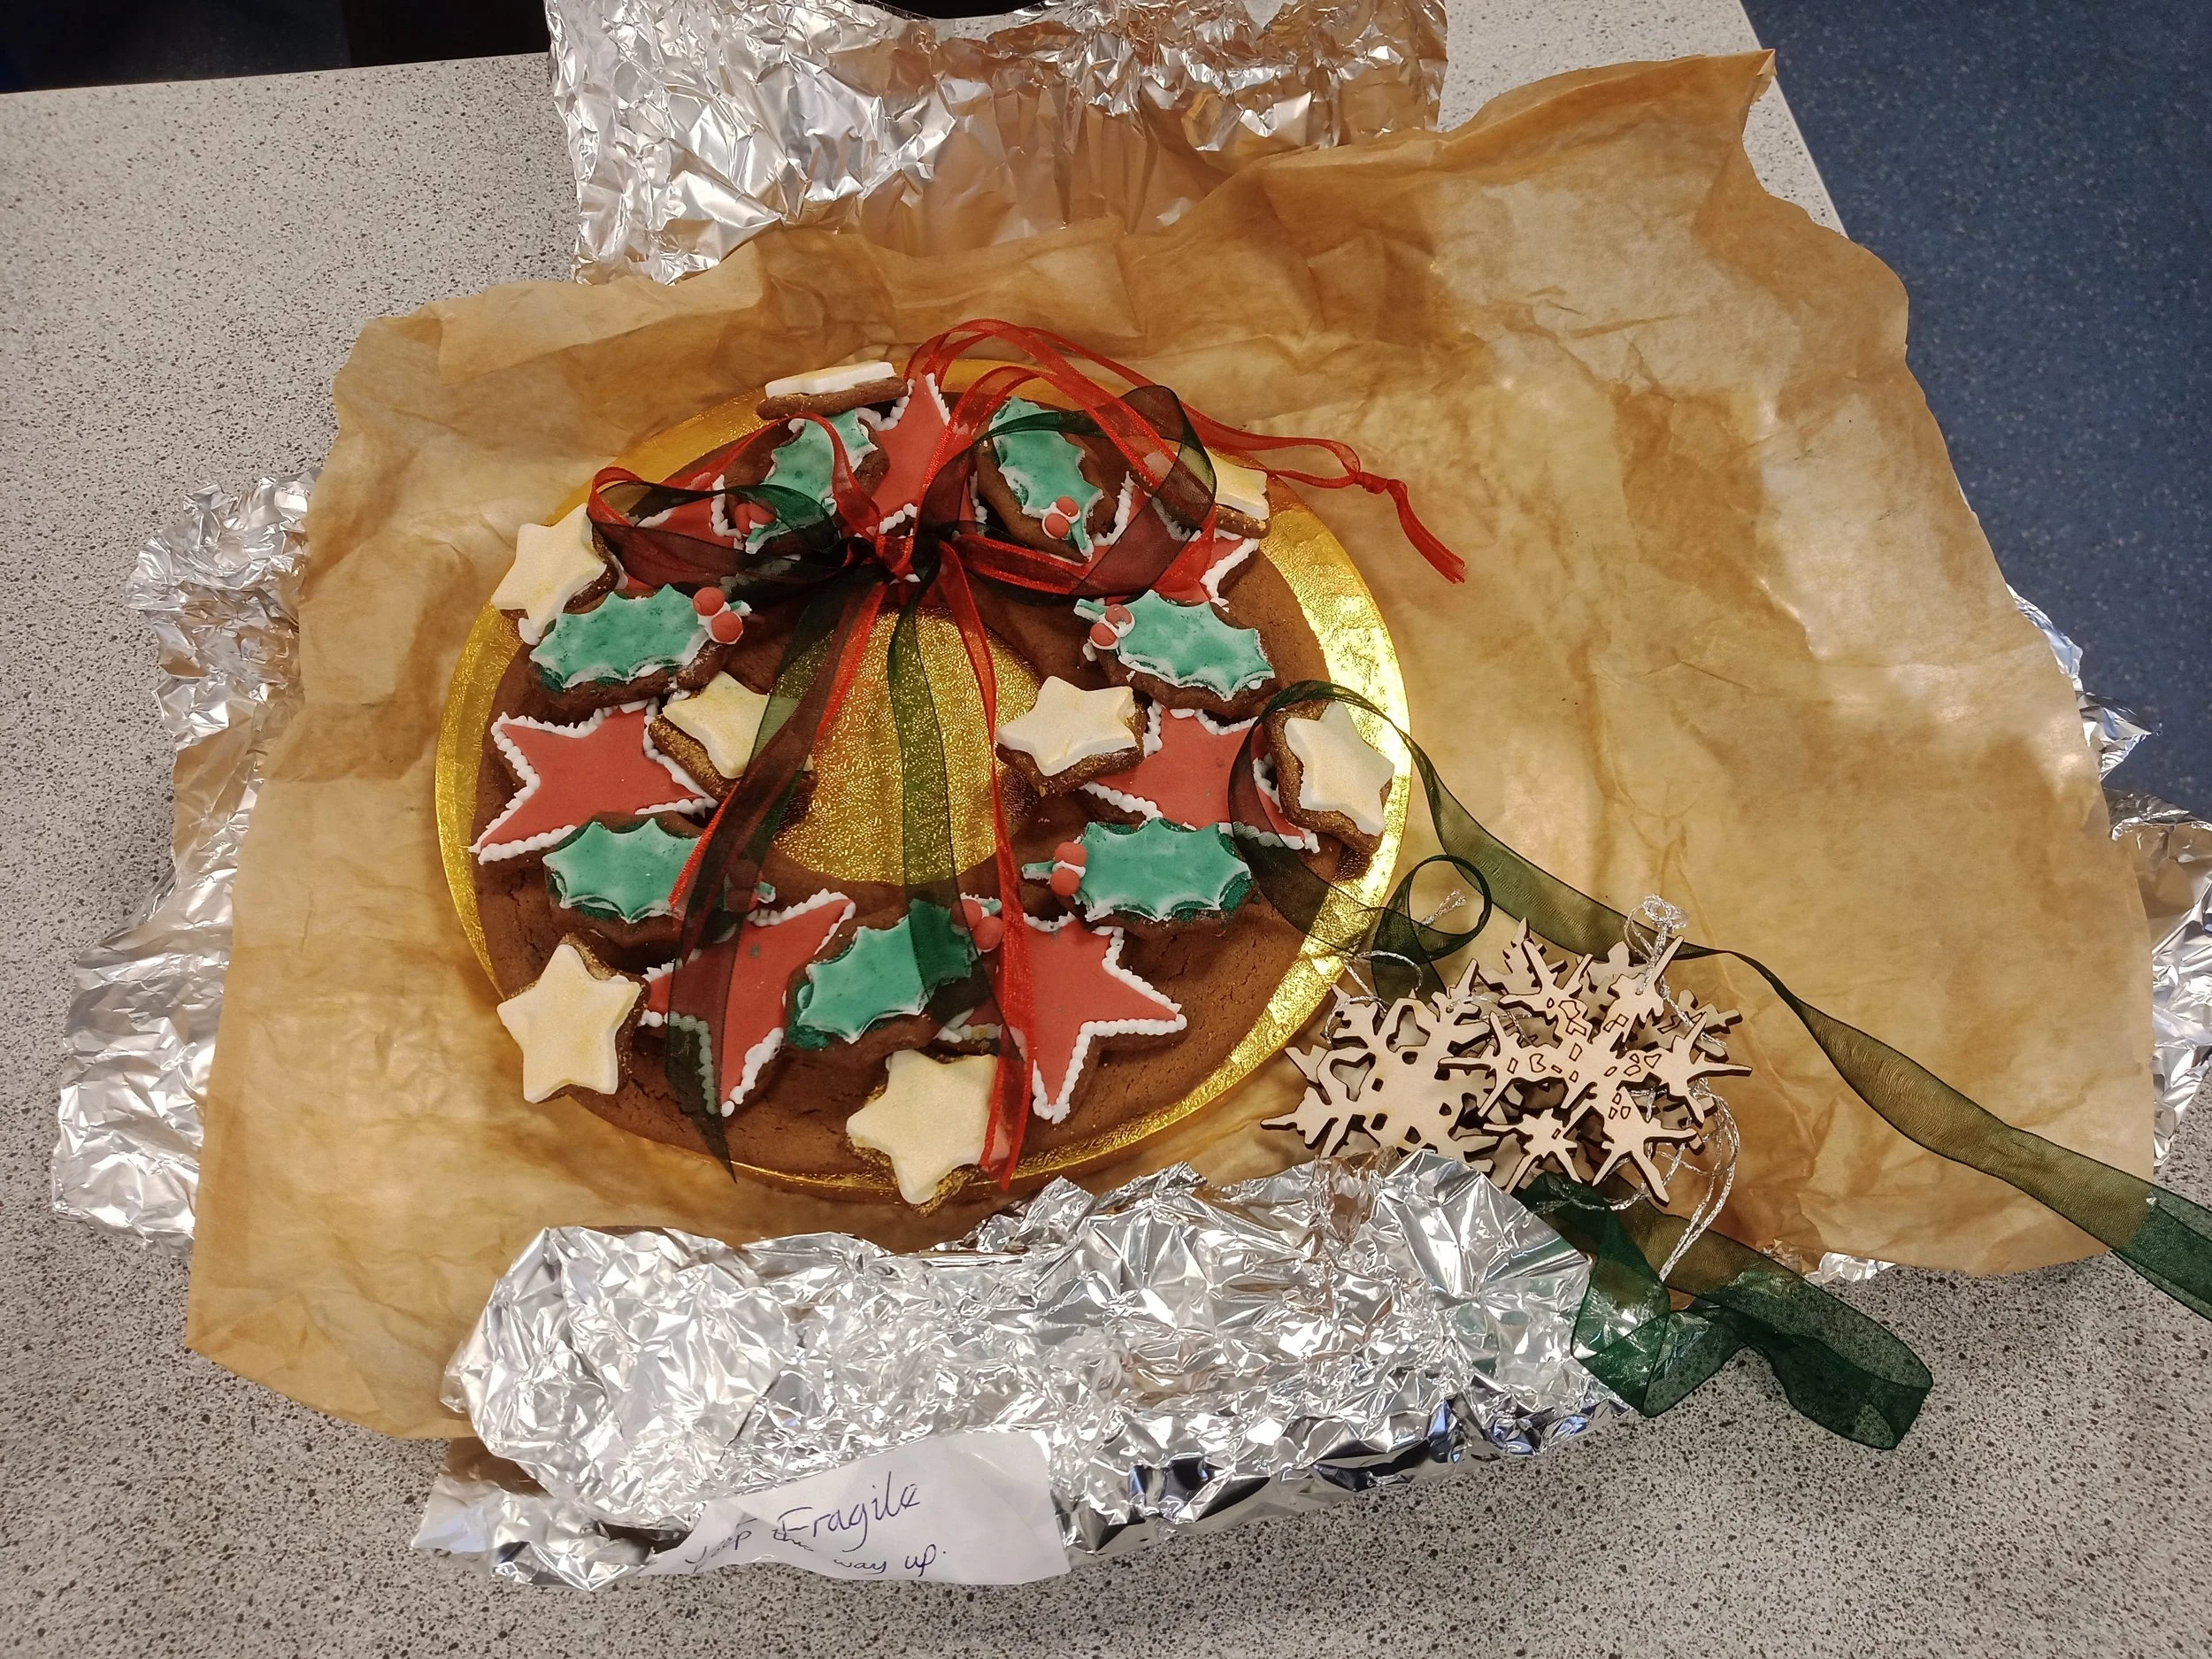
Laser cut birch ply snowflakes helped to decorate the wrapping.

When our headmaster announced that he was leaving to take up another position, I designed this motorcycle 3D model, due to his love of Harley Davidson.

Each laser cut component was designed in SolidWorks using a series of planes and hand drawn splines. I imported a background image and used it as a guide to create the outlines of each shape.

I tested the design and assembly process in MDF before the final article was cut from 3mm birch plywood.
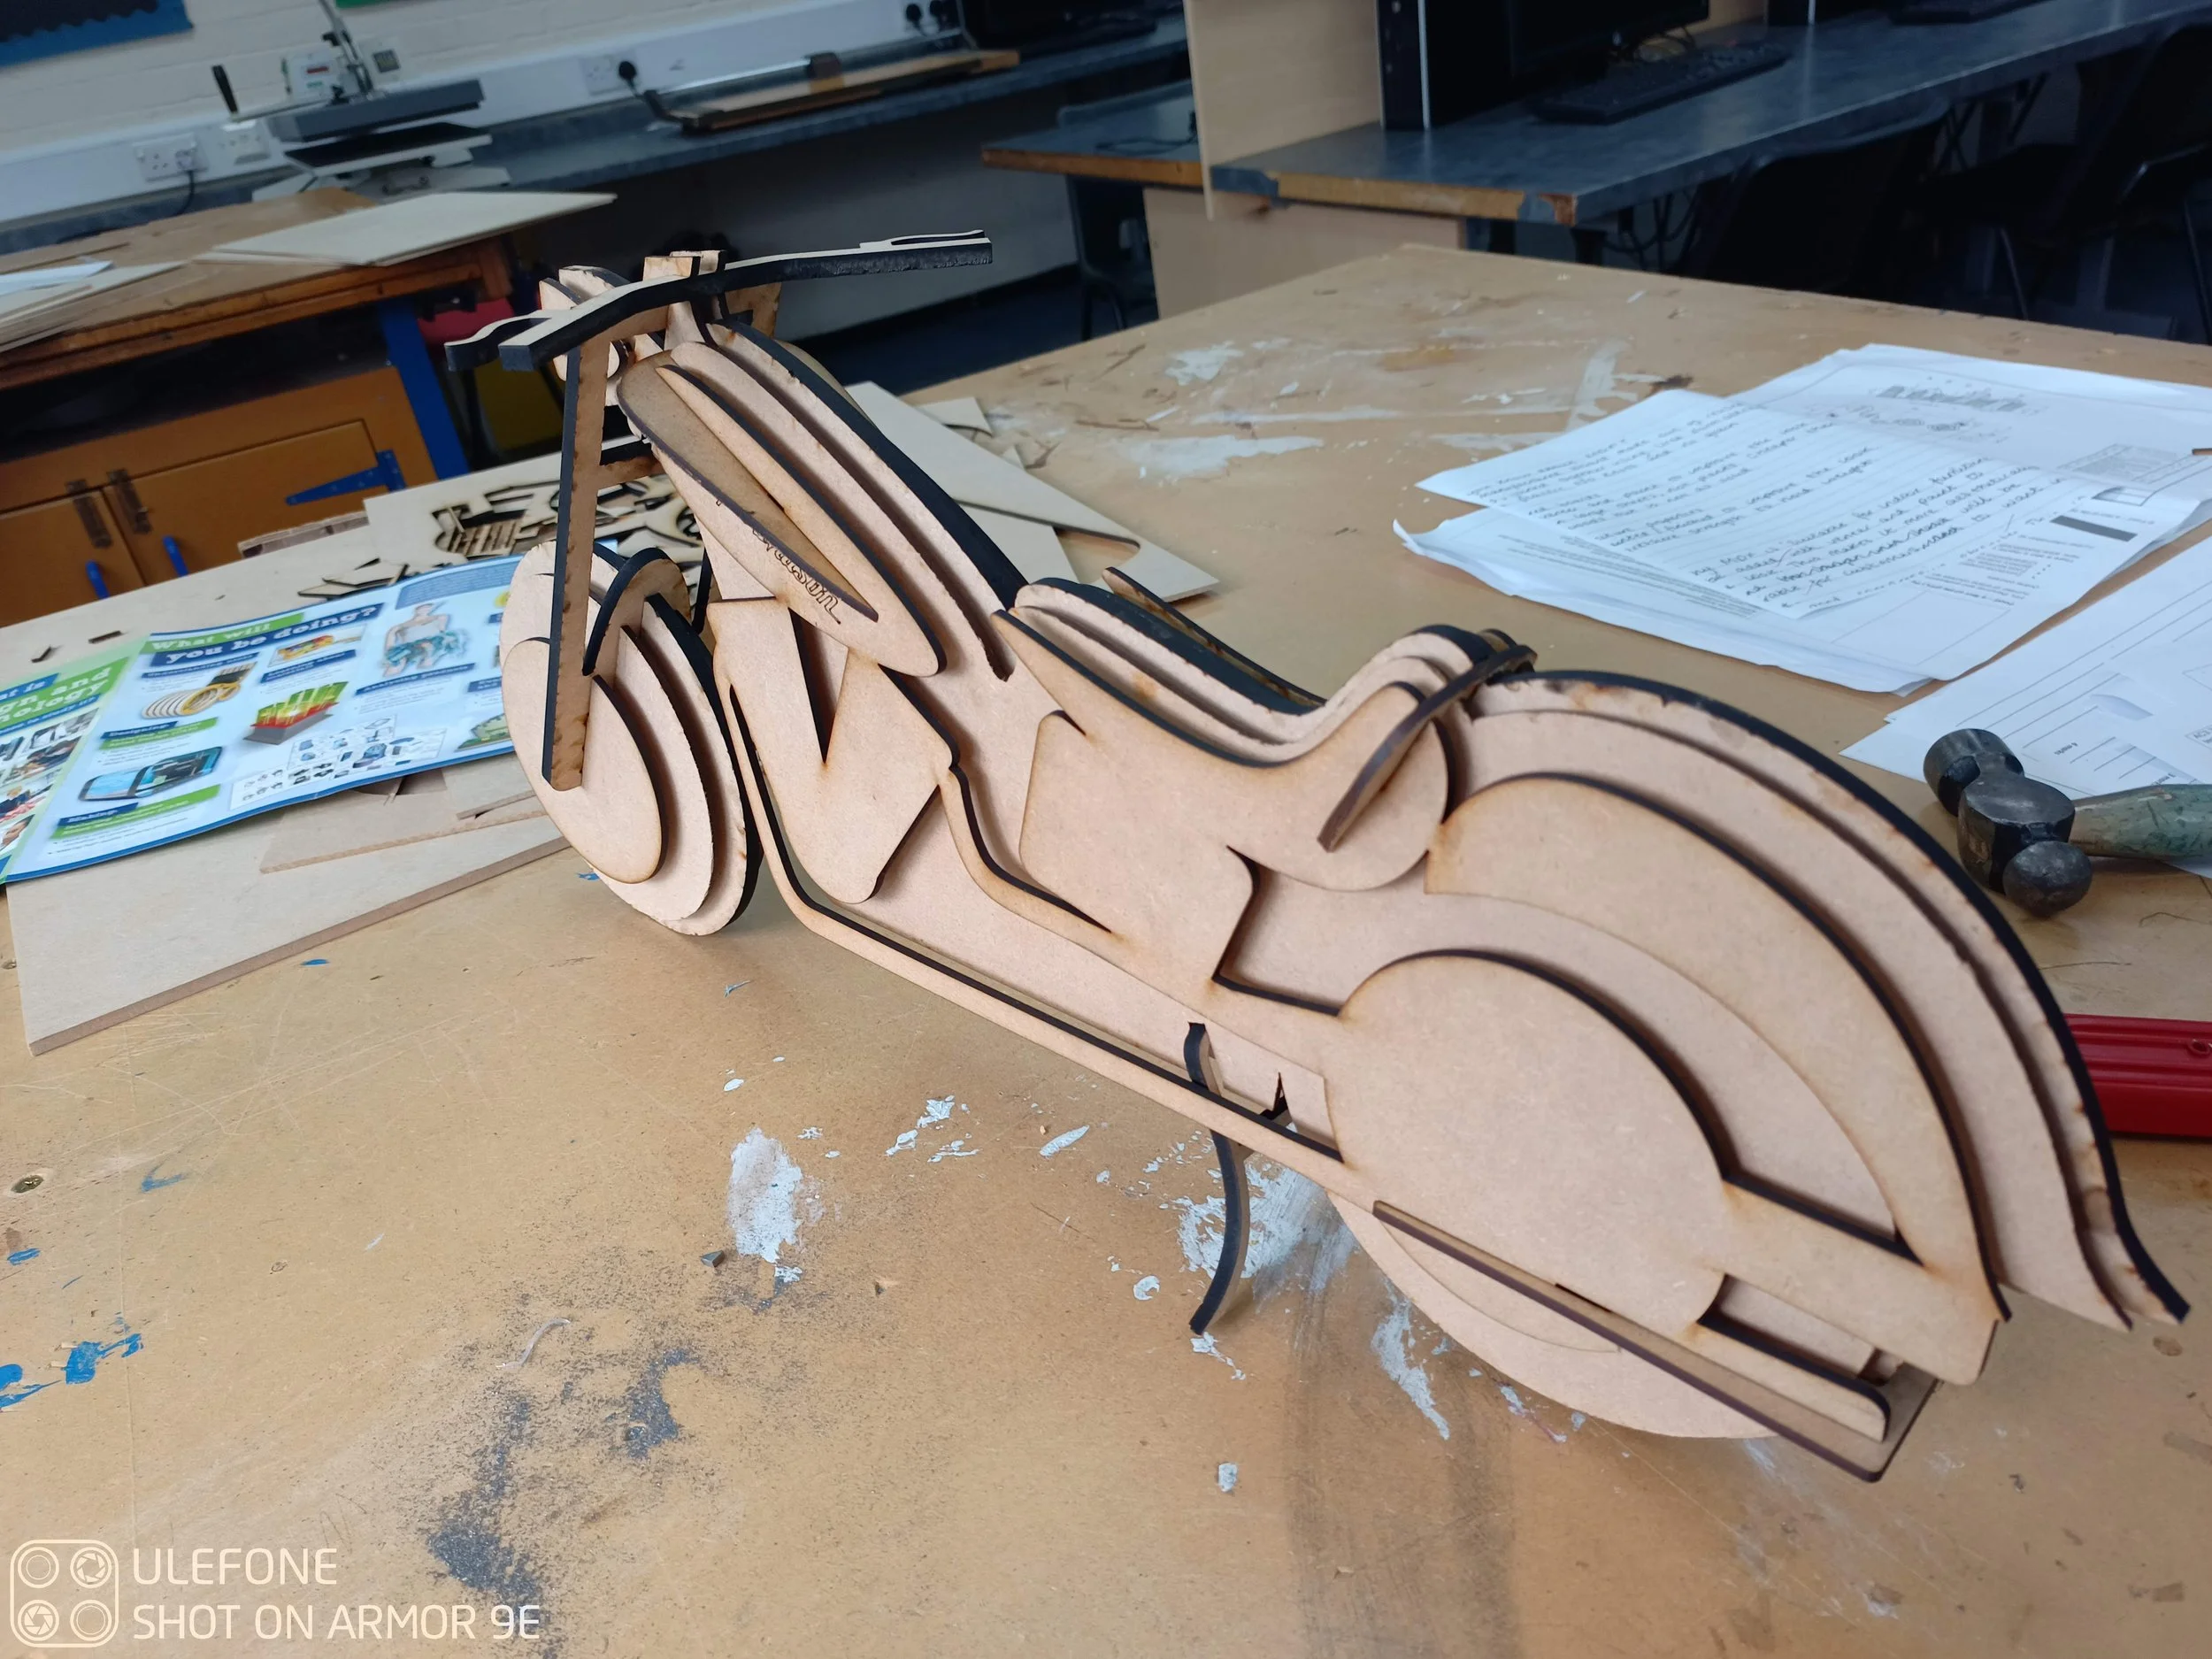
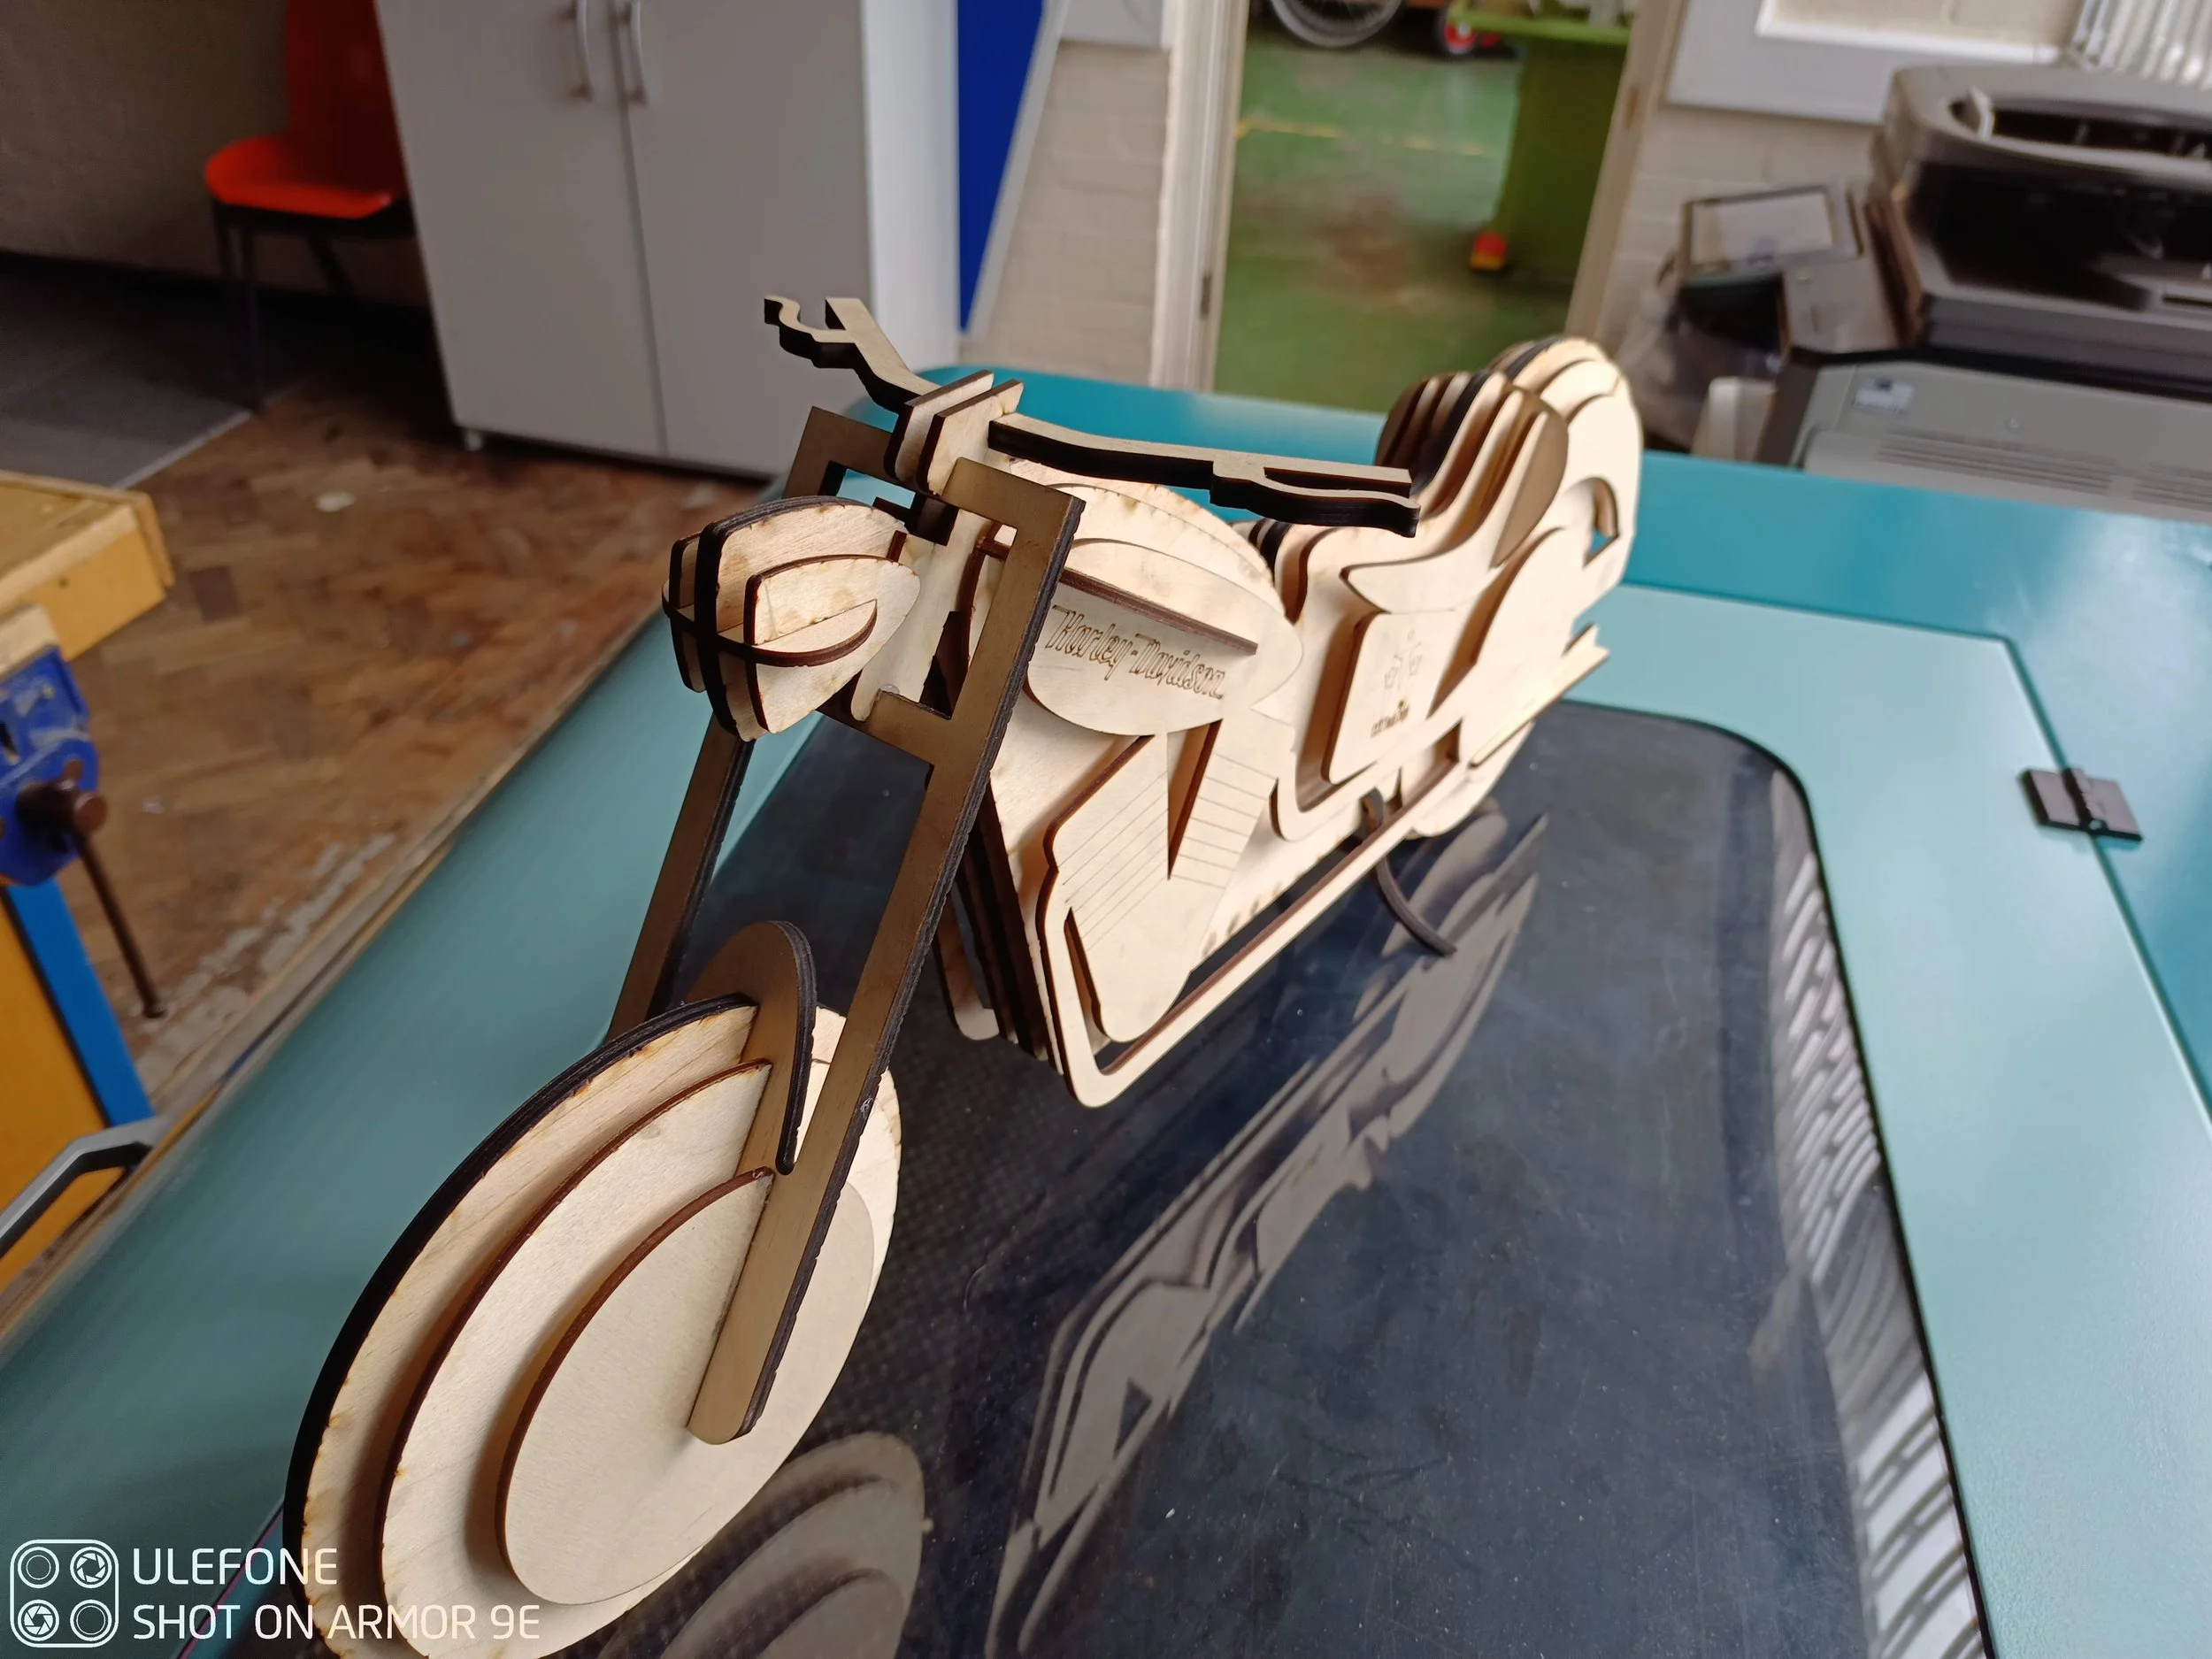
Each component slotted together and the finished design self supported using the centre stand.
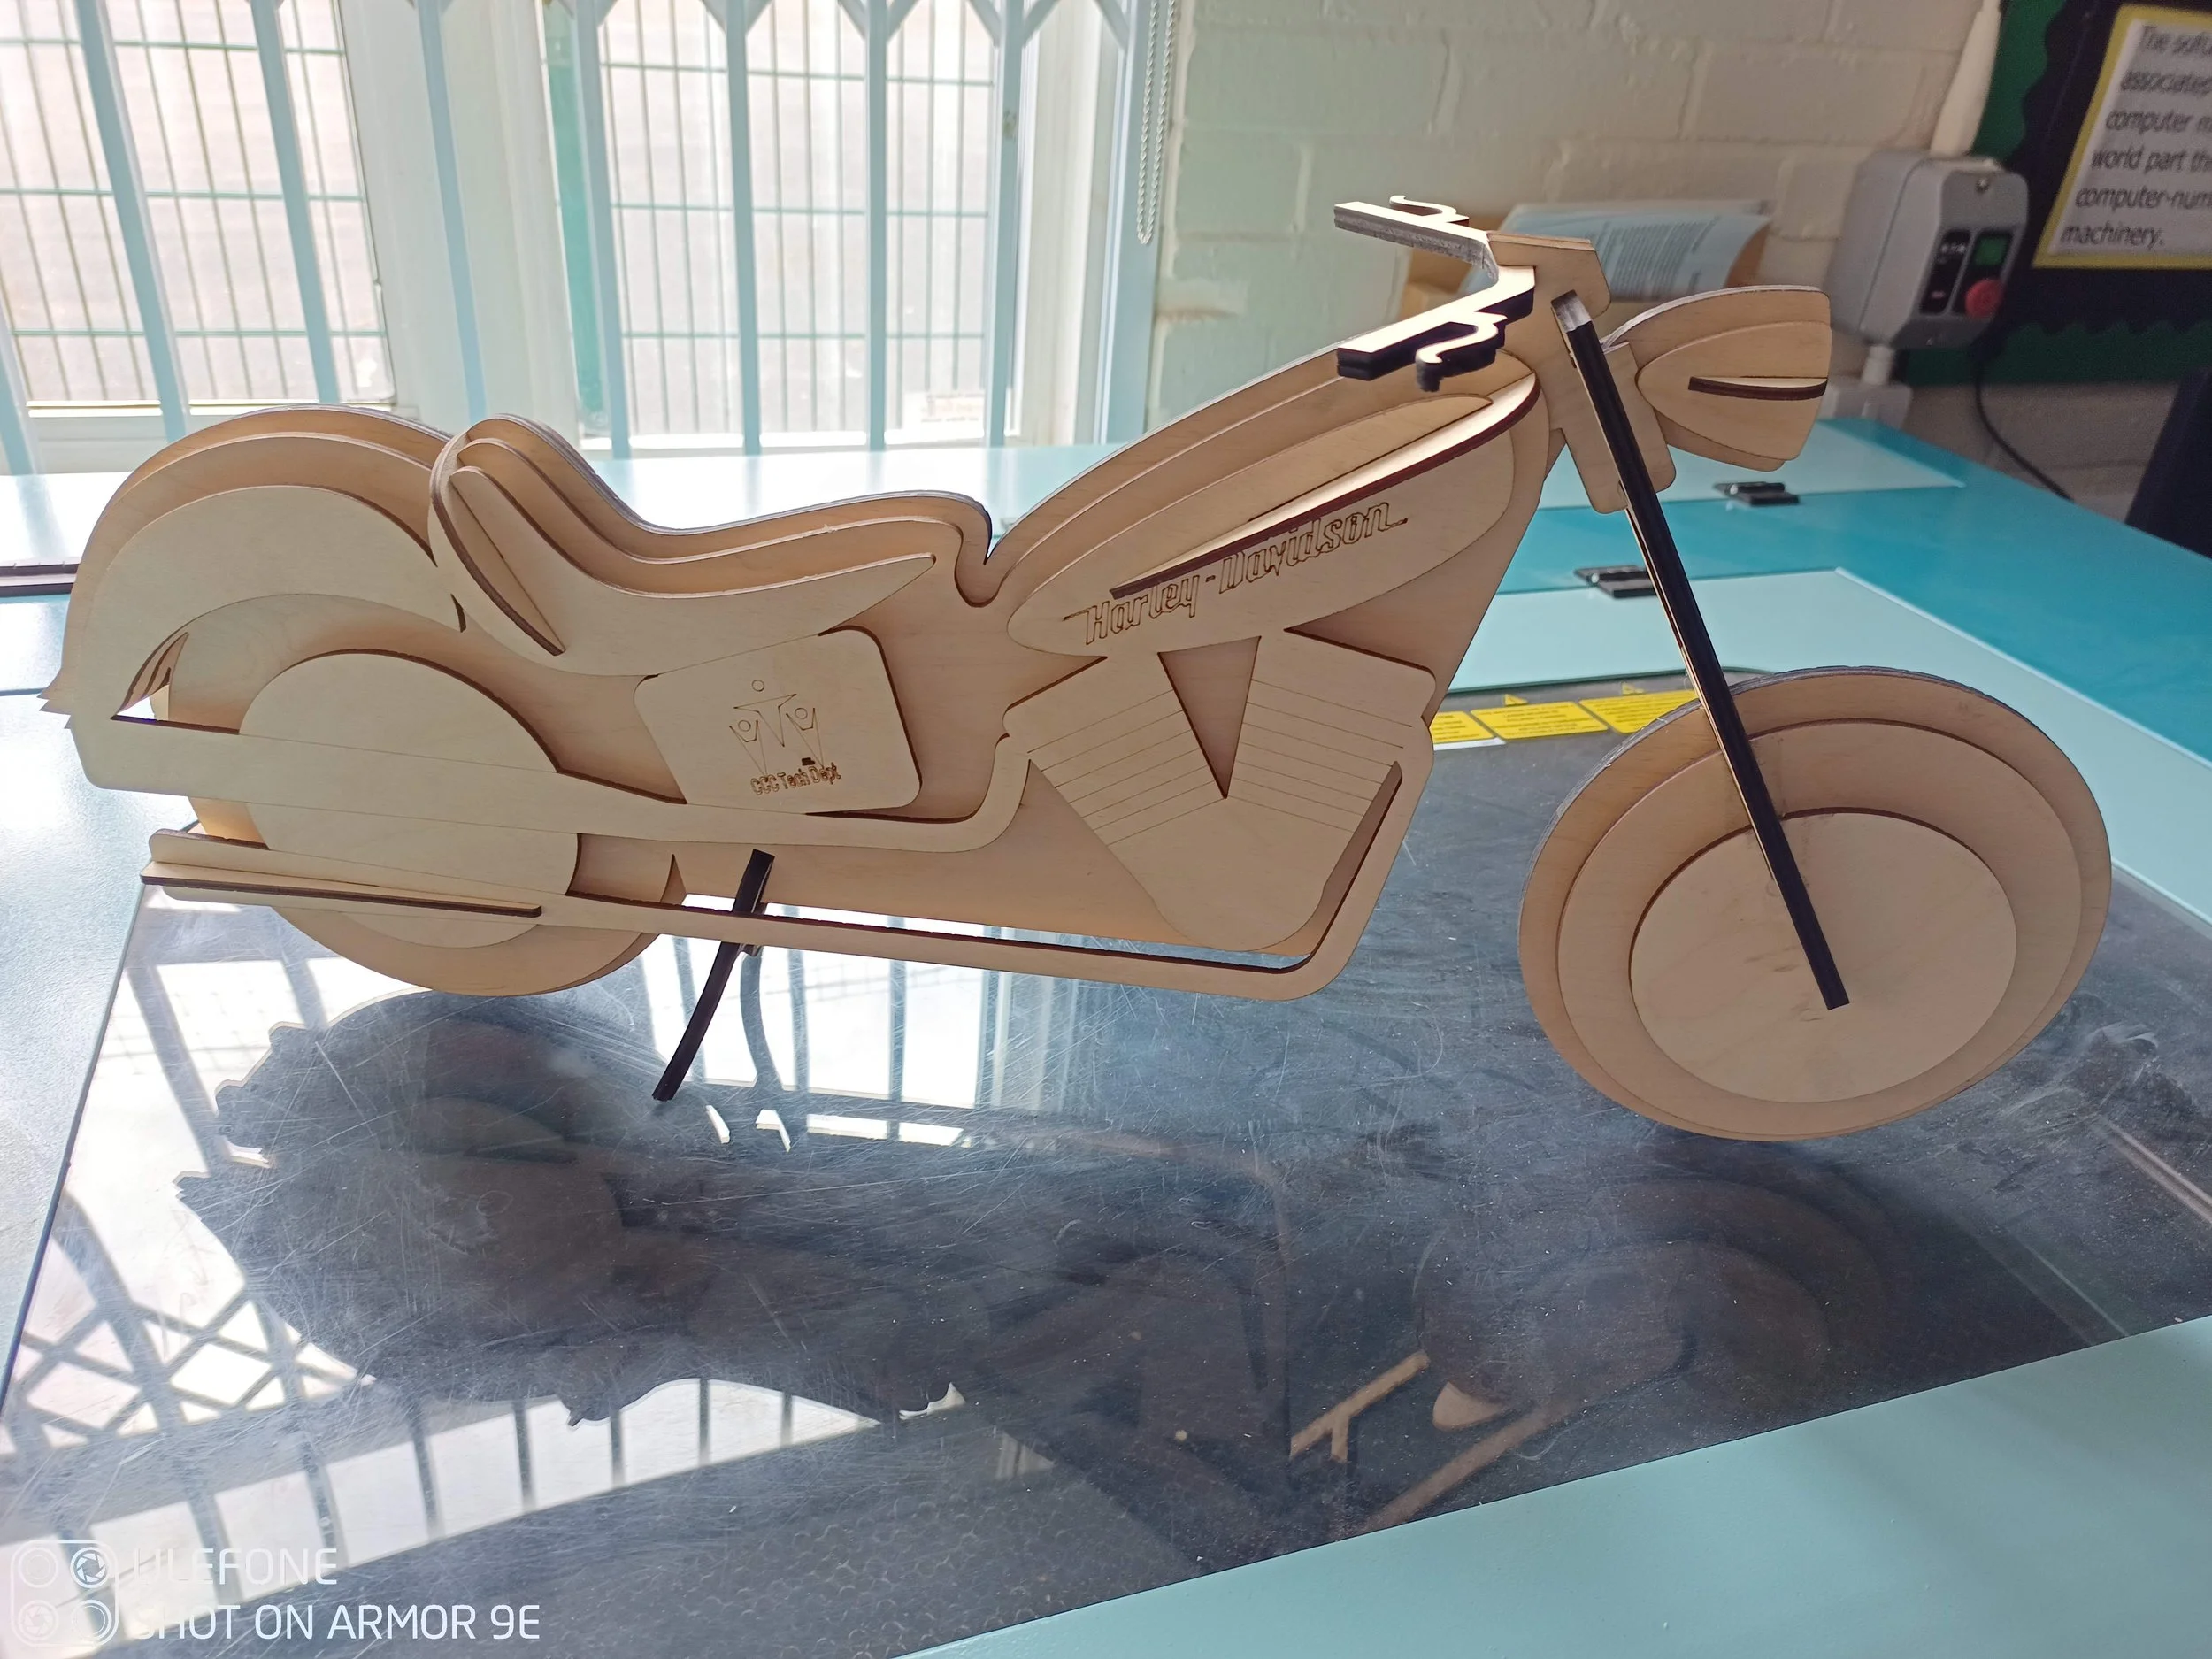
A series of interlocking components in orthogonal planes led to a design that self supported without the use of glue.

I was very happy with the finished product. It really captures the desired look.

The headmaster was very touched by the gift which, to my understanding, now takes pride of place on his mantelpiece.
The SolidWorks to complete this project was particularly complicated and I learnt that splines are best avoided due to the complexity involved in fully defining them. This led to a number of issues when it came to adjusting lines later in the project. a small change to one spline could wreak havoc on other components.

Looking magnificent on the top of the laser cutter, shortly before being presented to the headmaster.
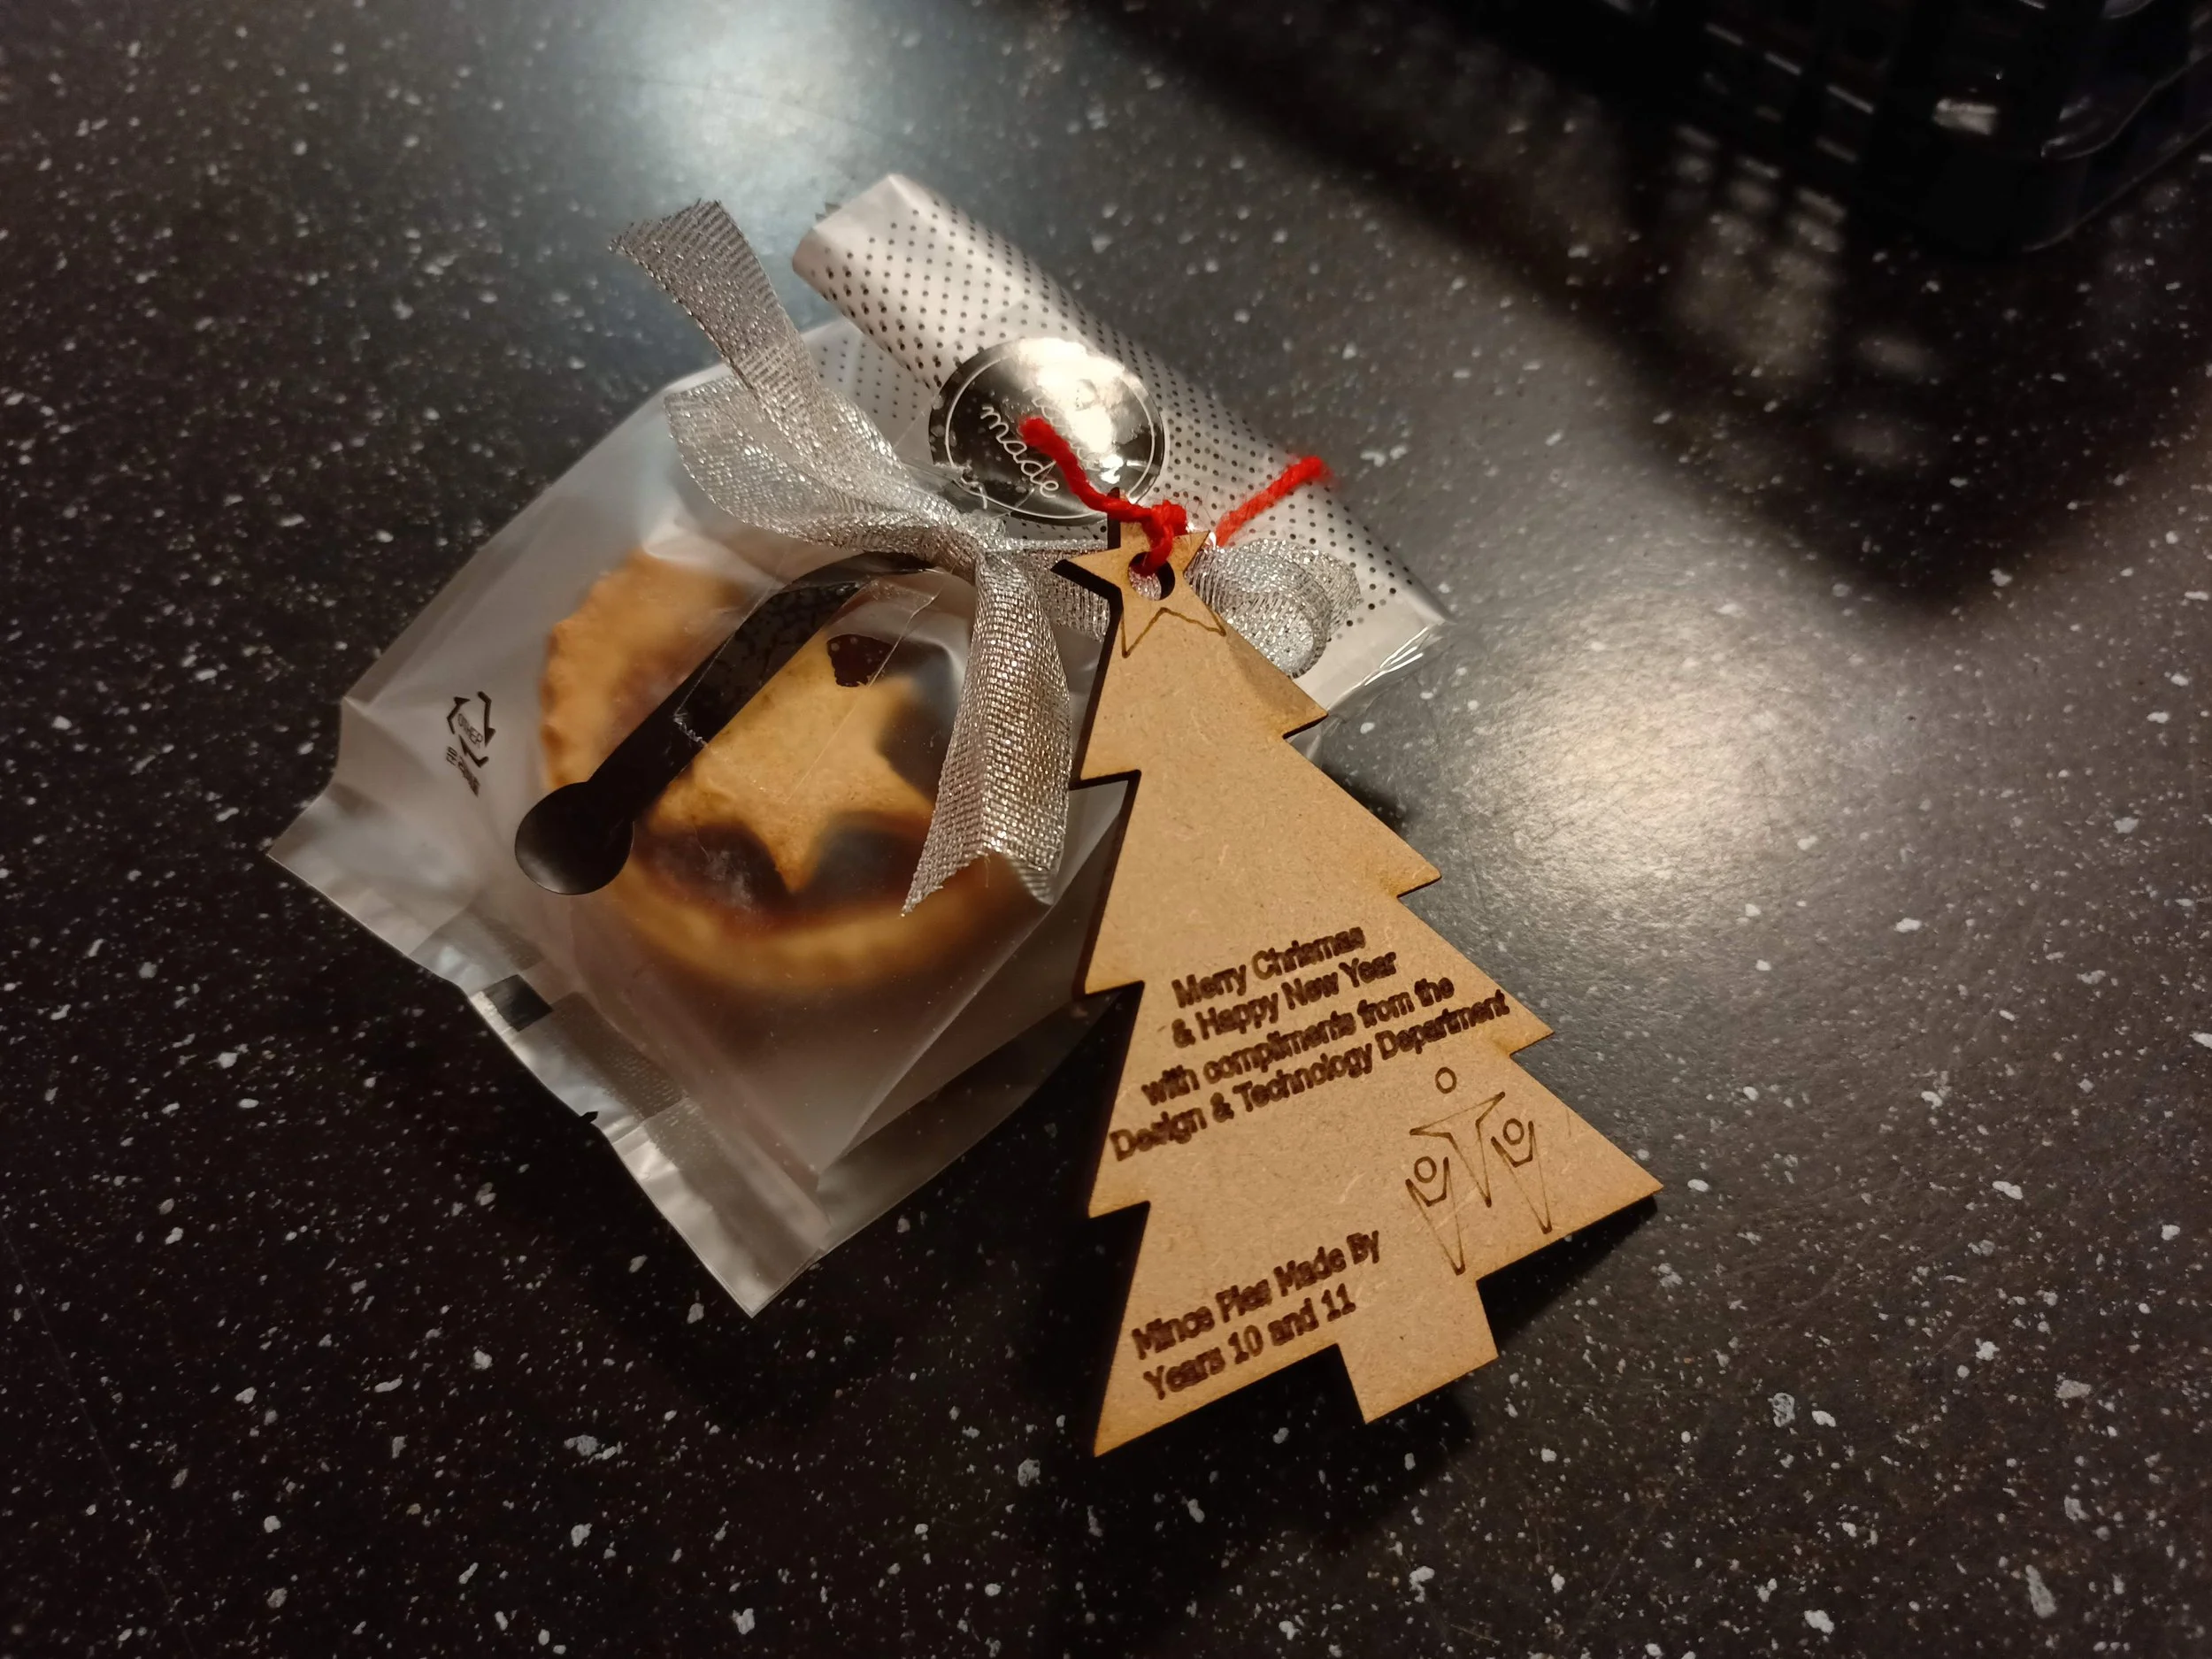
Another gift tag for the Food Technology department.

A gingerbread house made with my god-daughter and her sister for christmas.

And some gingerbread people to go with it!

A selection of laser cut christmas decorations made for numerous colleagues, friends and family. Note the snowflakes and the laser cut bauble.

This bauble was made of three layers. A fabric centre was laminated to two laser cut bauble shapes with detailed cut outs. The birch ply was sprayed with a glitter clearcoat that really caught the light. A red ribbon was then threaded through to hang the bauble. I made a set of 12 of these baubles in a laser cut gift/storage box for the quizmistress at the pub quiz that I and some of my colleagues attended.
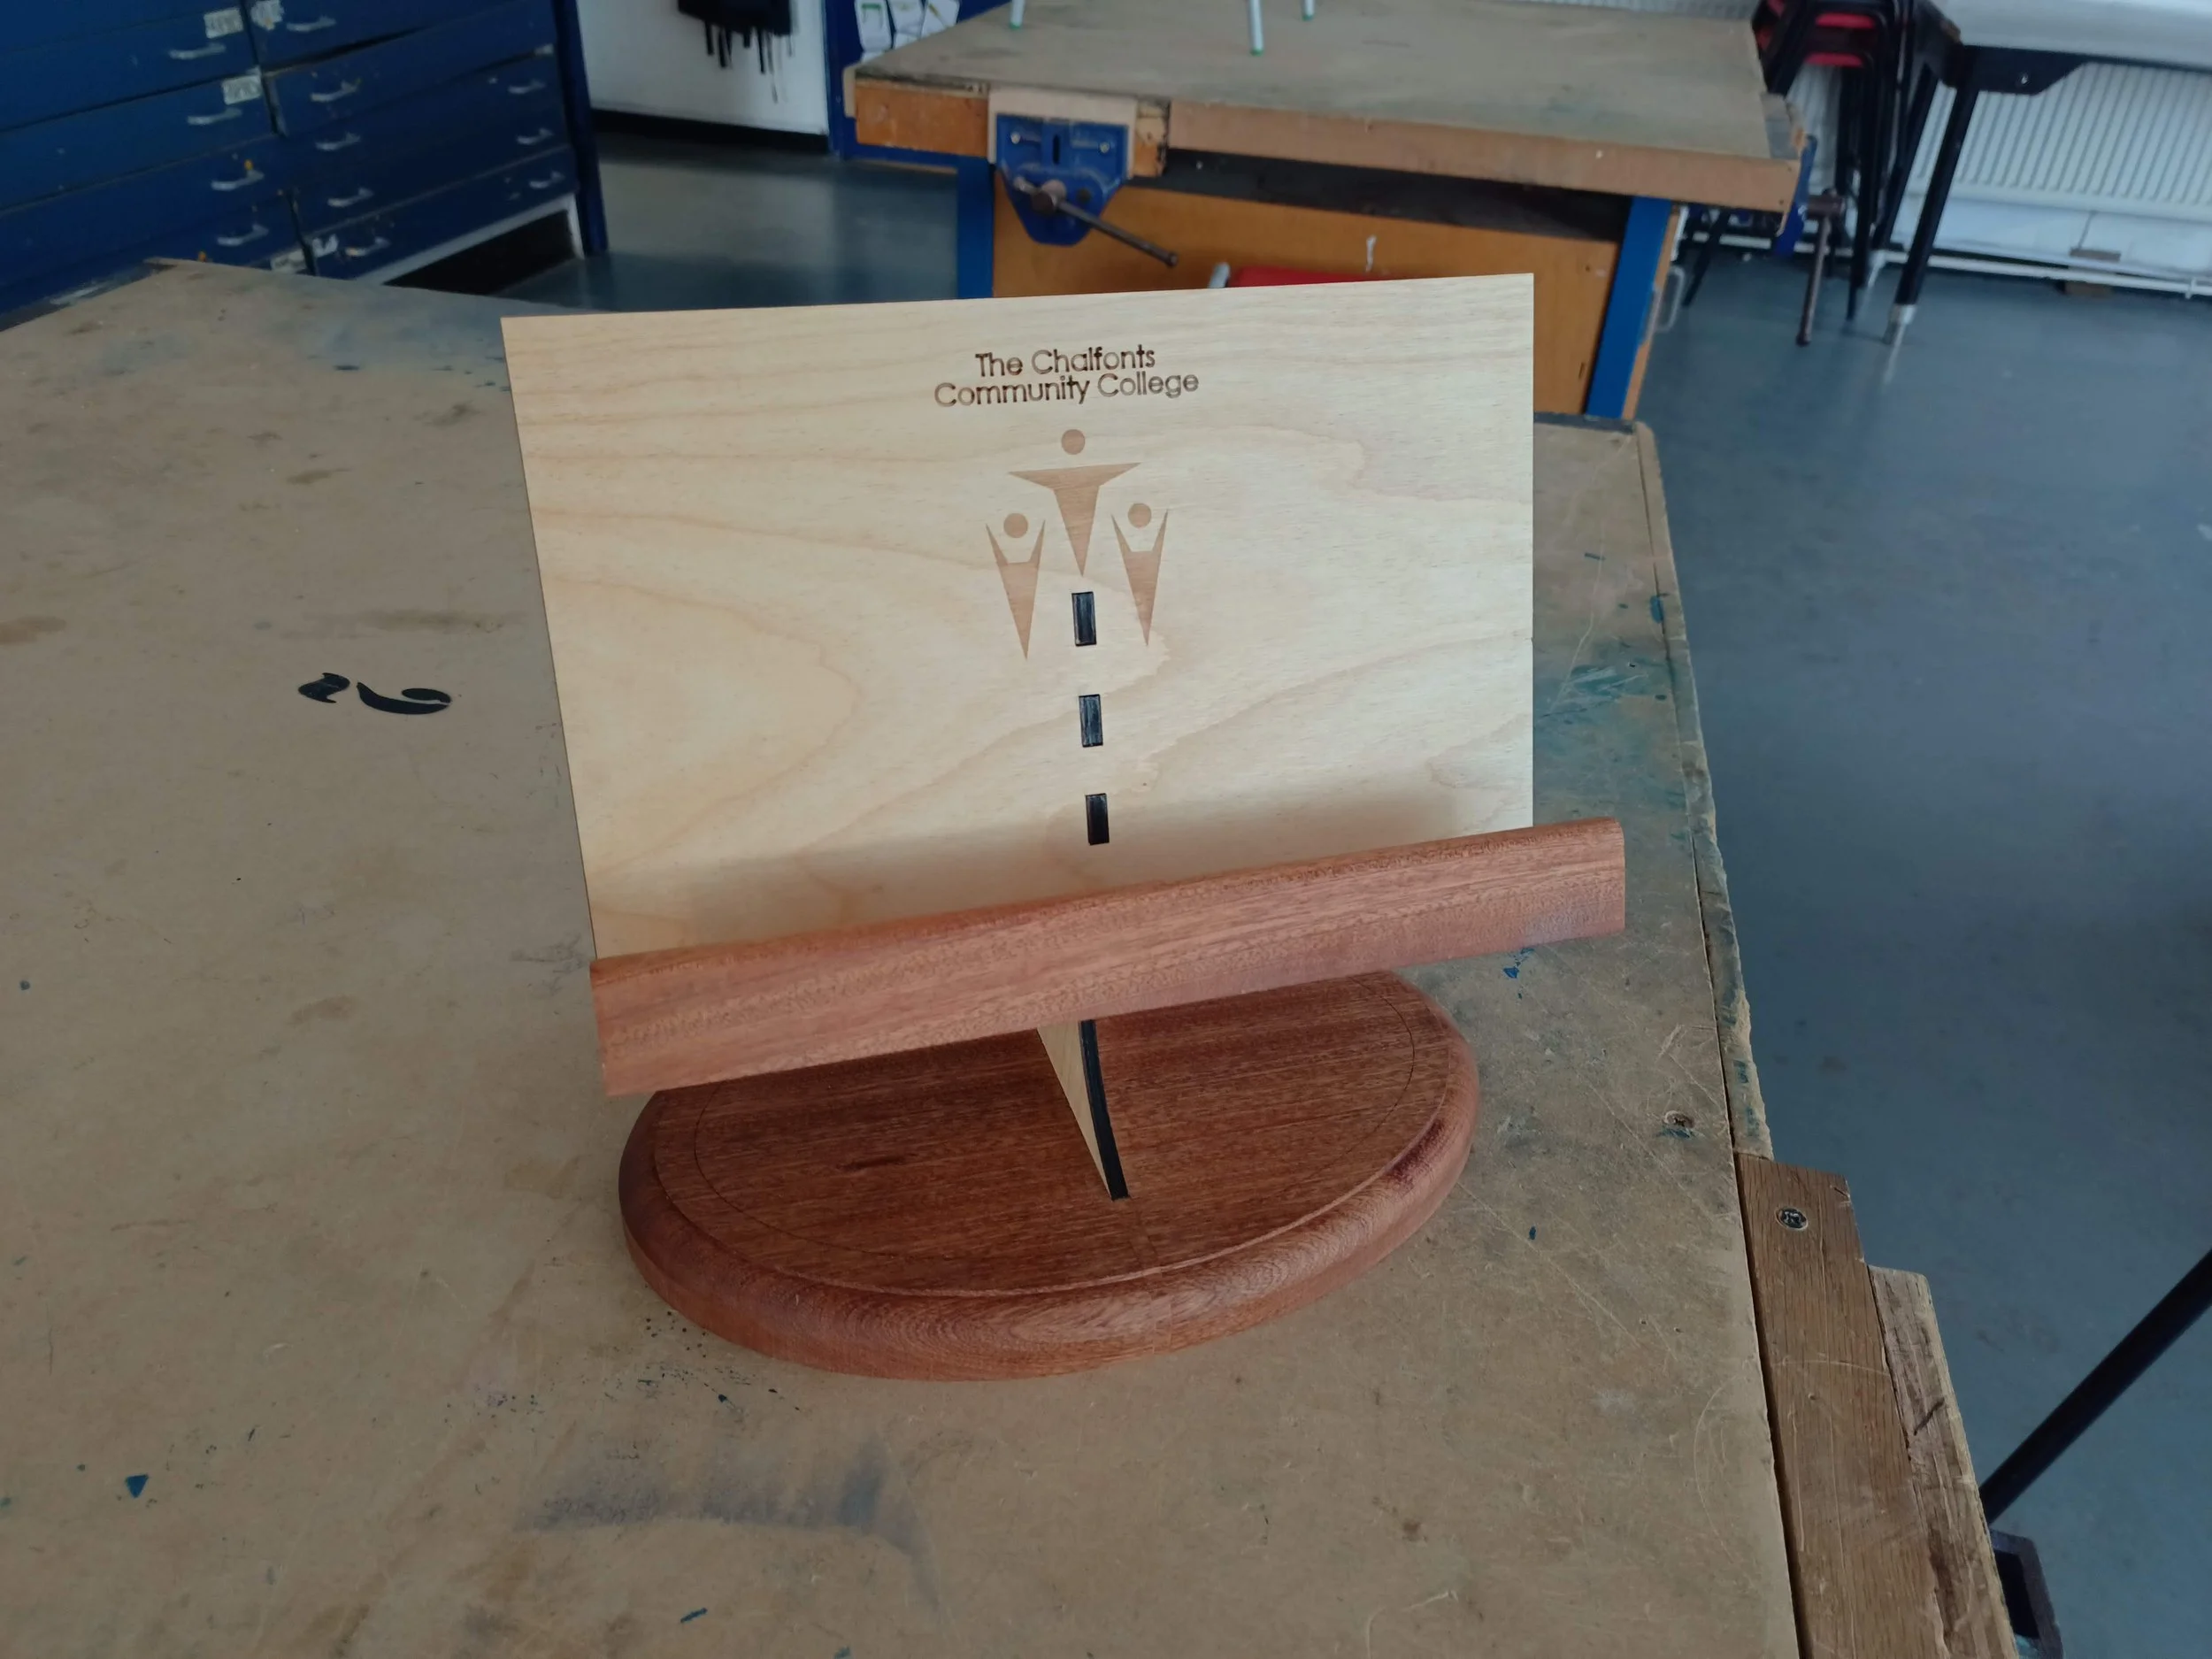
A recipe stand designed and manufactured for gifts for some visiting speakers to the Food Technology department. With the school's name and logo engraved in the front, this will be a reminder of their visit every time they cook.

The side profile shows the return that helps hold the book on the stand, while keeping the book open at the desired page.
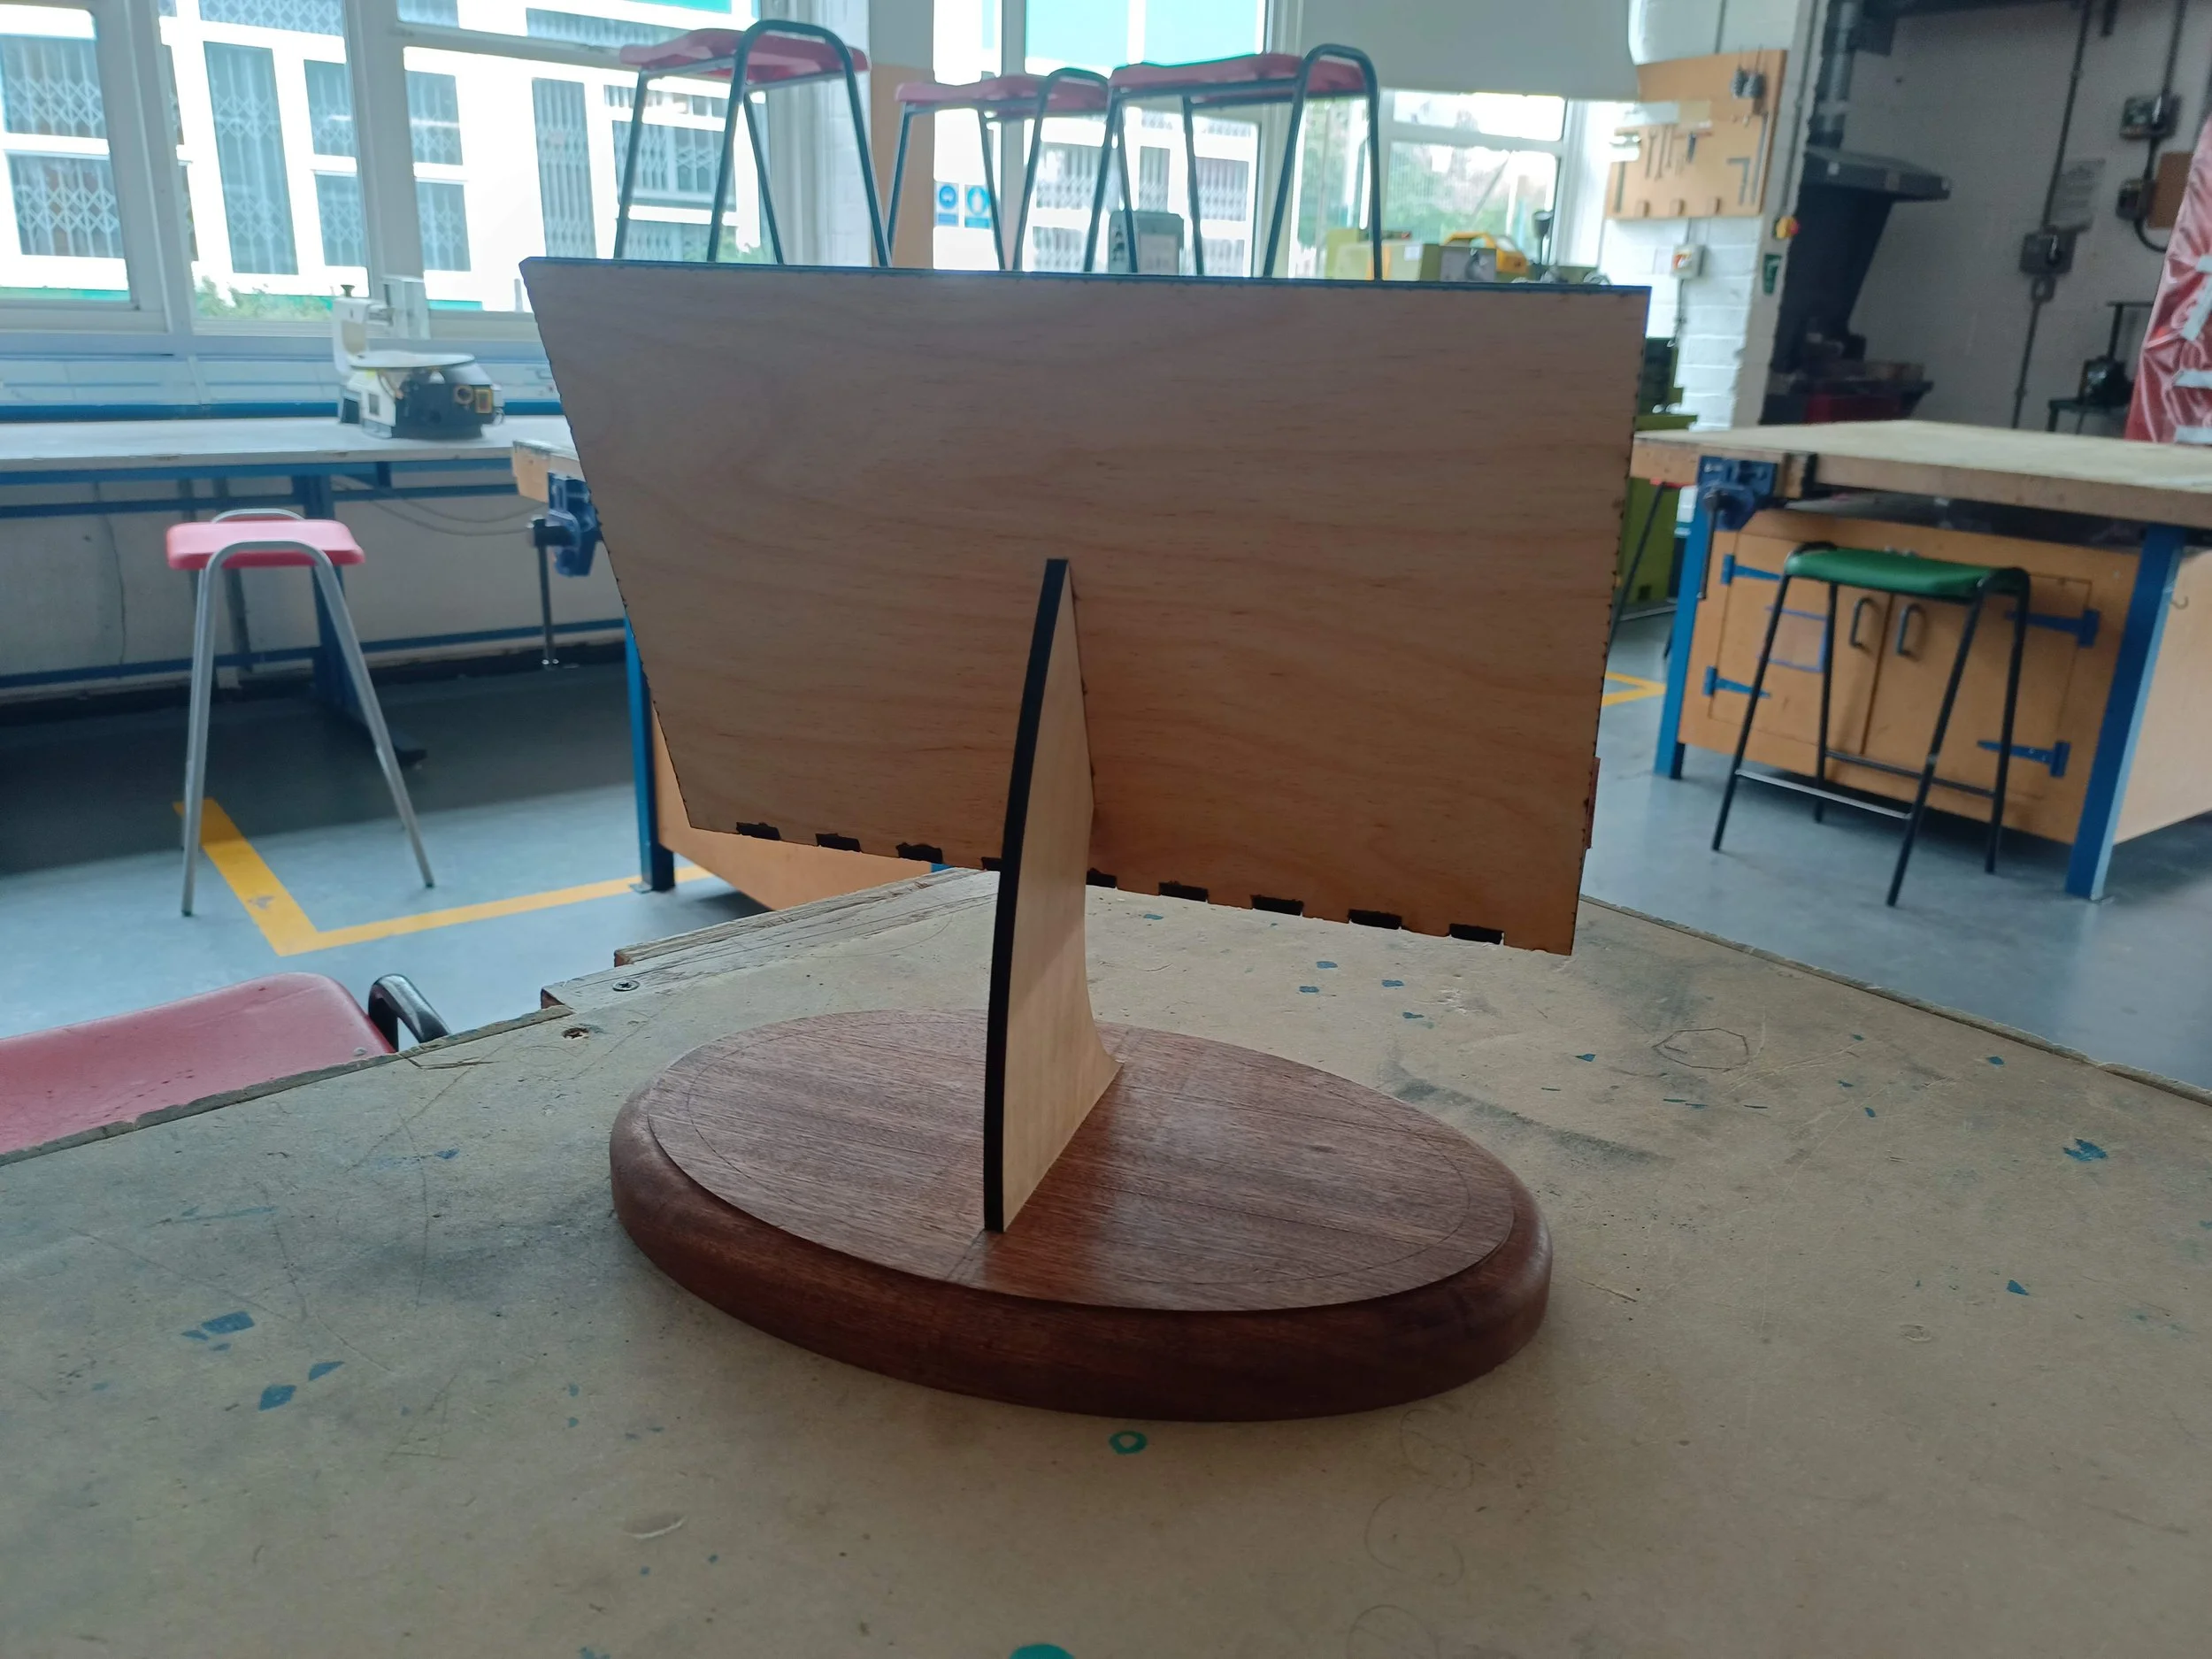
The reverse side. Each birch ply piece was laser cut, using box joints to connect them.

As the photo shows, the design worked well. A food safe wax finish protects the wood from stains and helps ensure that the stand remains hygienic.

The base was made from Sapele and features a routed ogee radius and mortise and tenon connection to the birch ply stand.
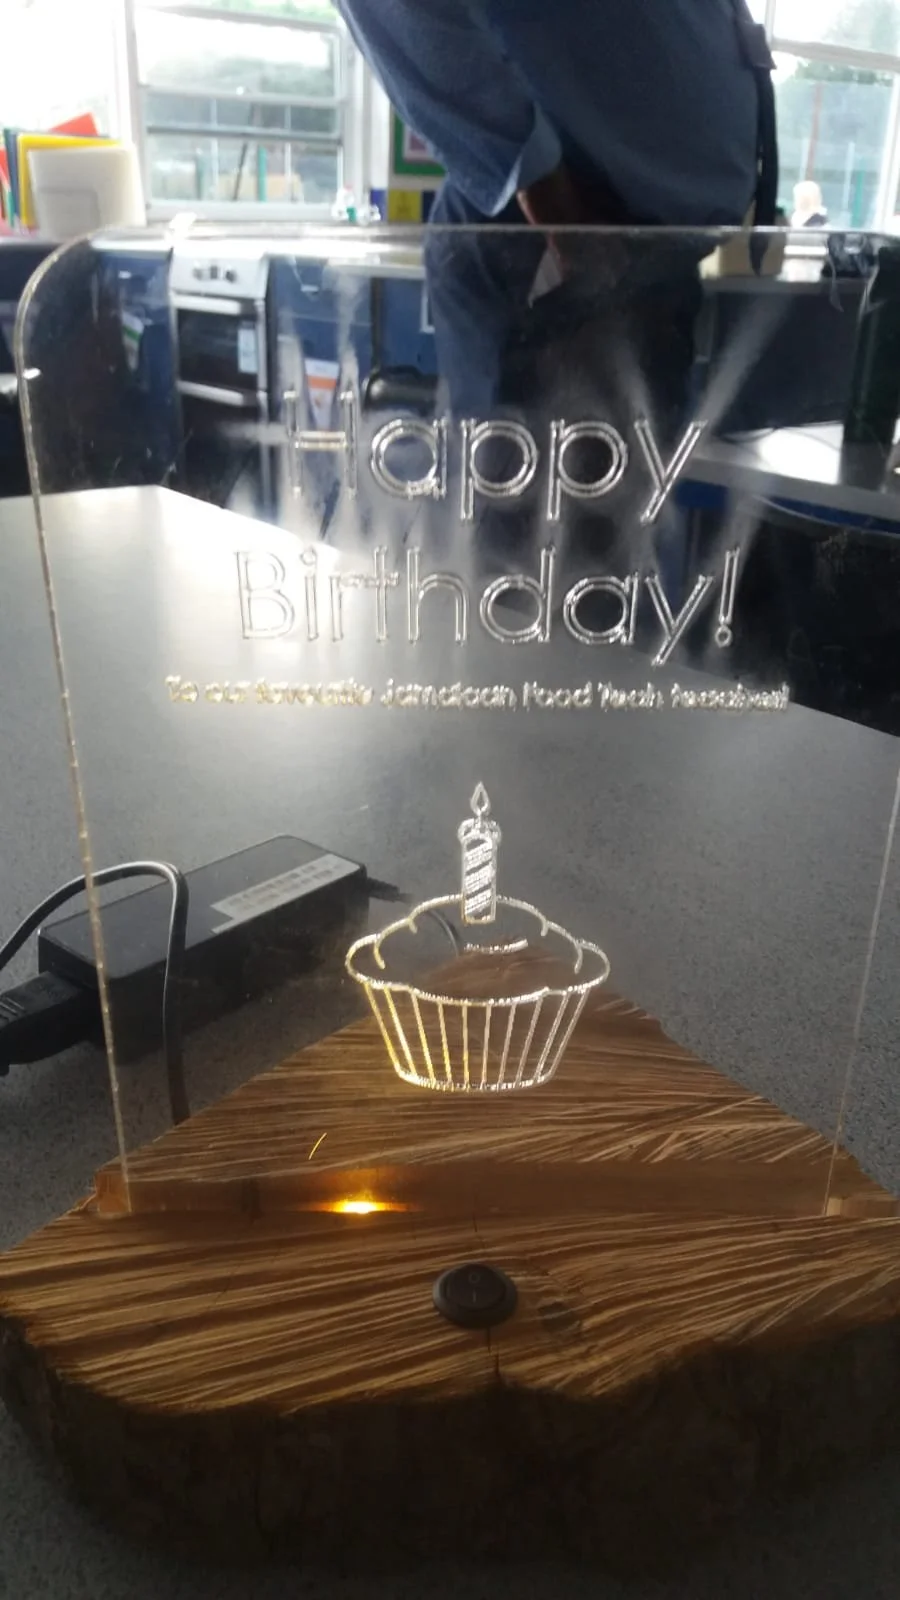
A laser engraved acrylic birthday card/gift, edge-lit from below provided a unique celebration for a colleague.

The batteries, LED and resistor were buried in the live edge piece of wood forming the base, with a switch inset to turn the light on and off. A cover plate screwed on from below gives access to the batteries when they need changing.

Edge-lighting really helped make this pop.

My colleague was very pleased with her gift.
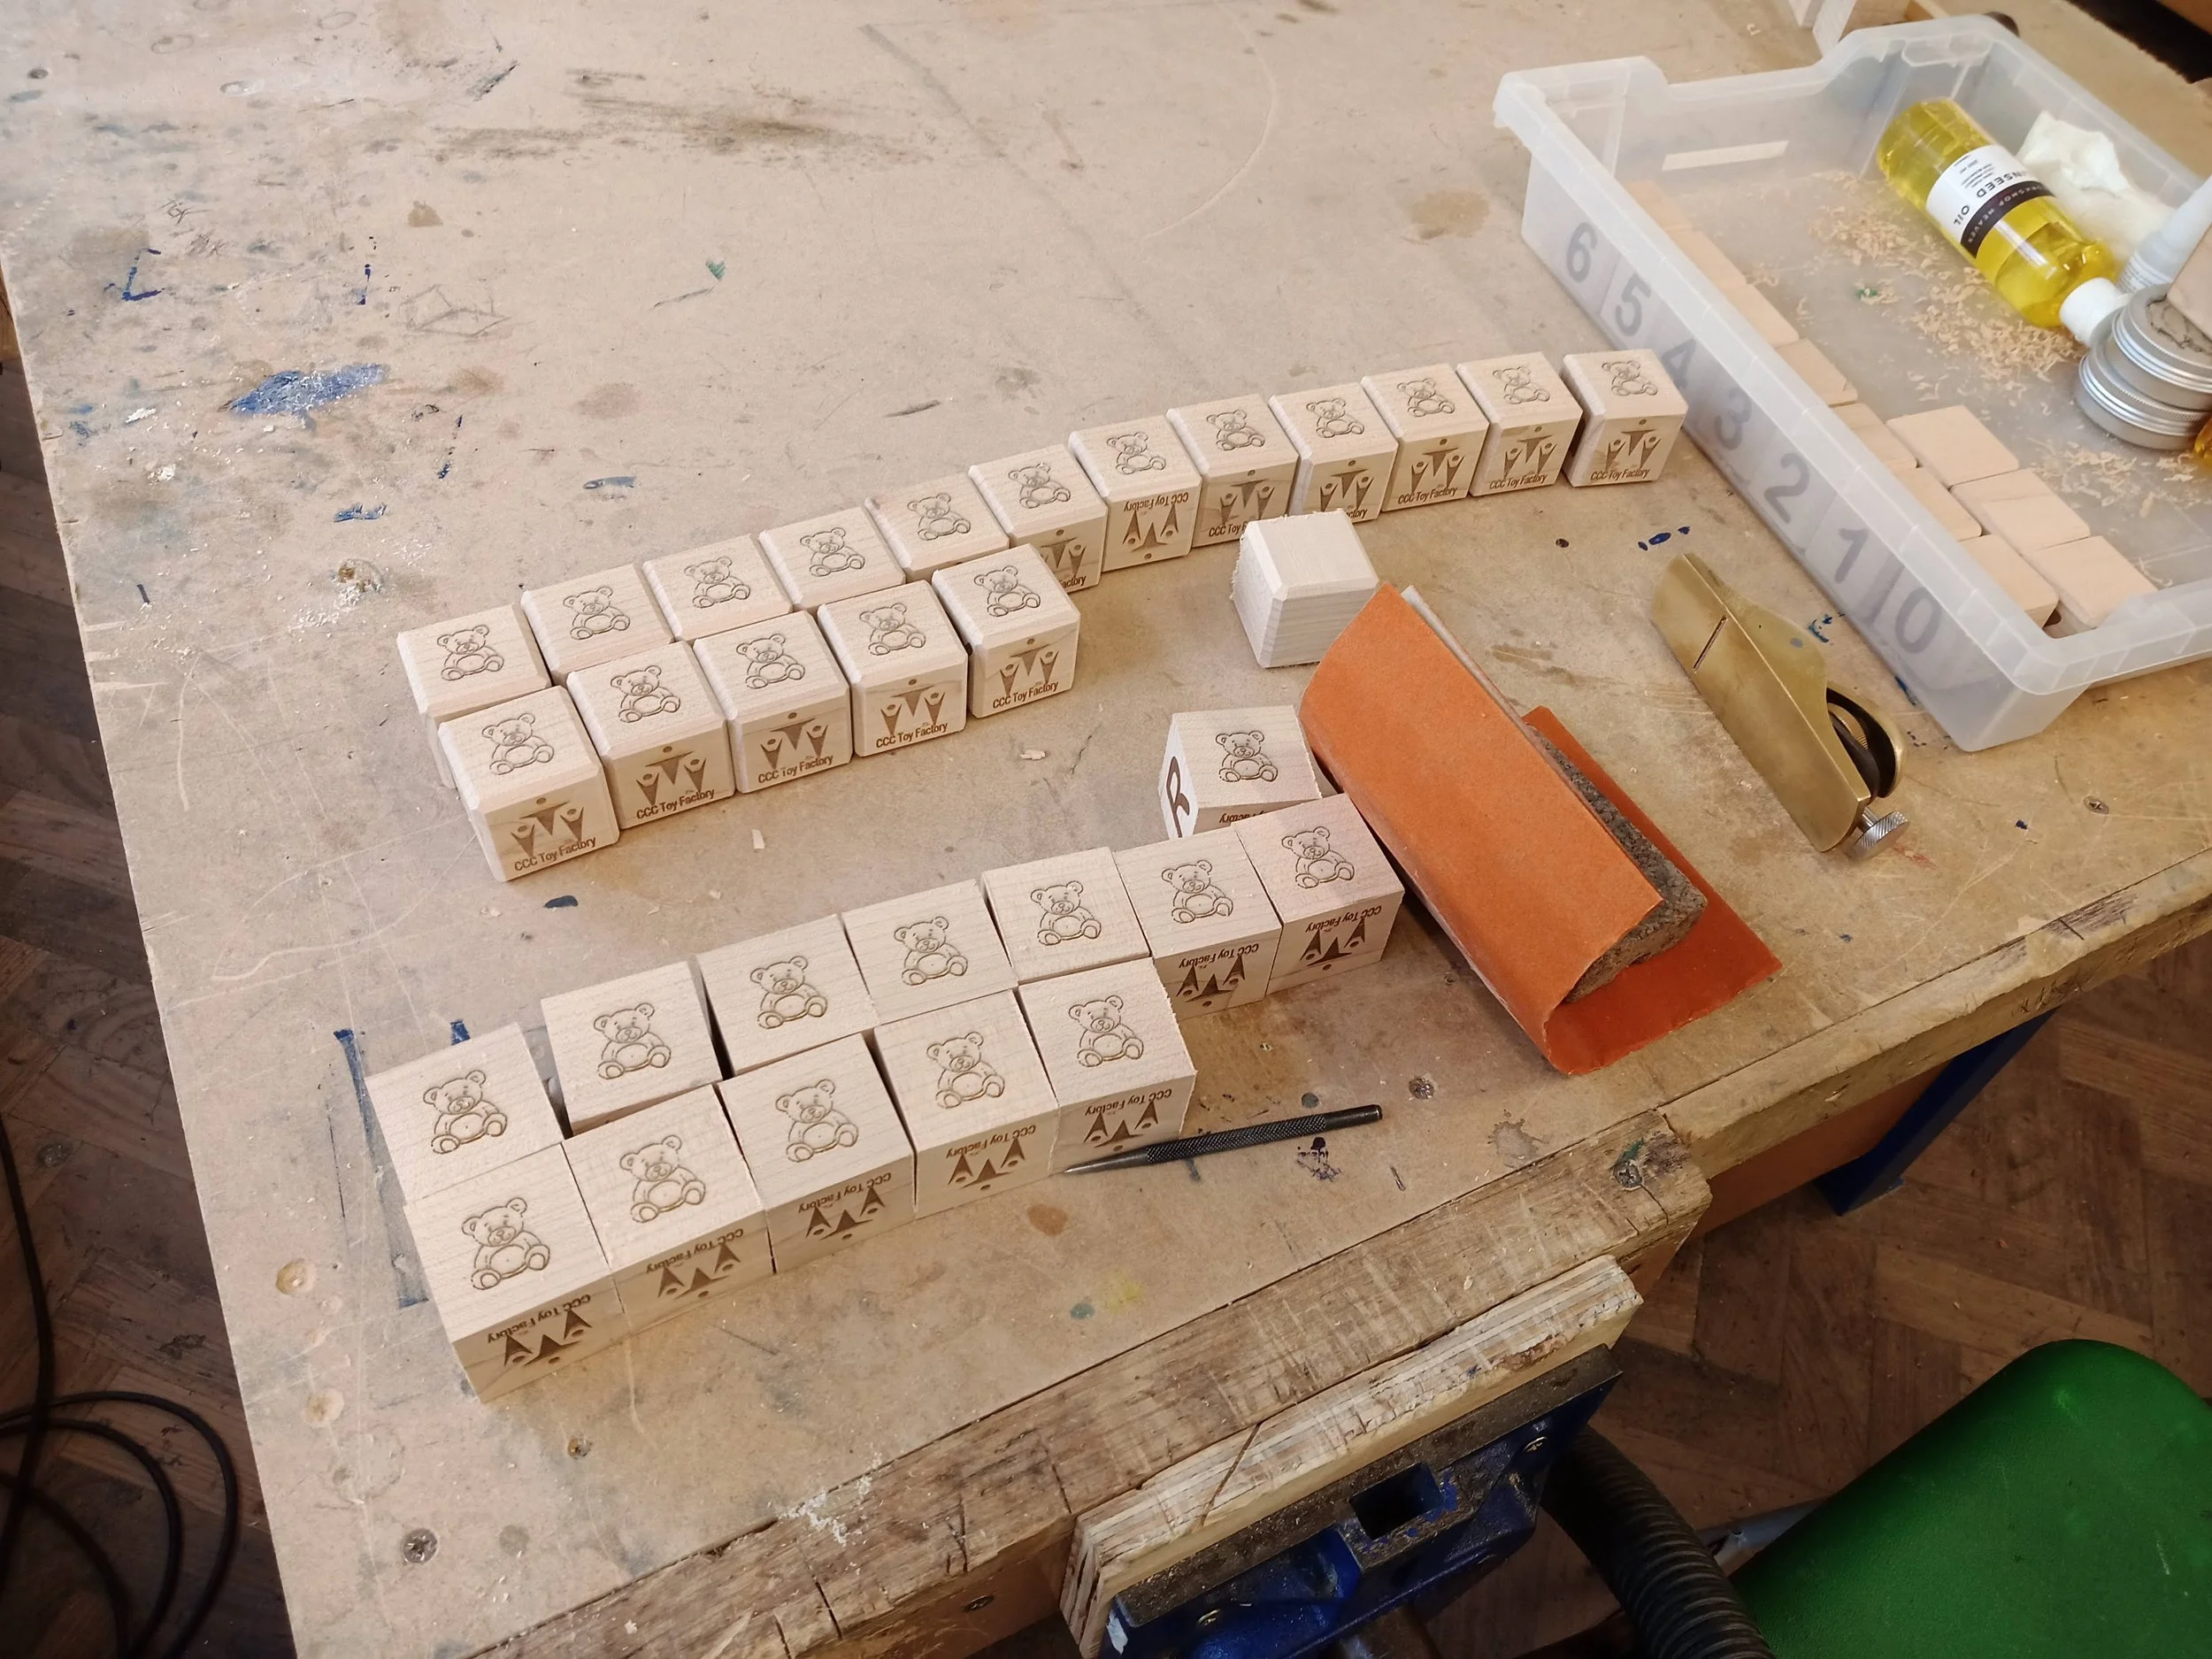
When my colleague had her first child, I made a set of beech stacking blocks, laser-engraved with the letters of the alphabet and numbers 0-9. Each block also had the school's logo and a teddy bear.
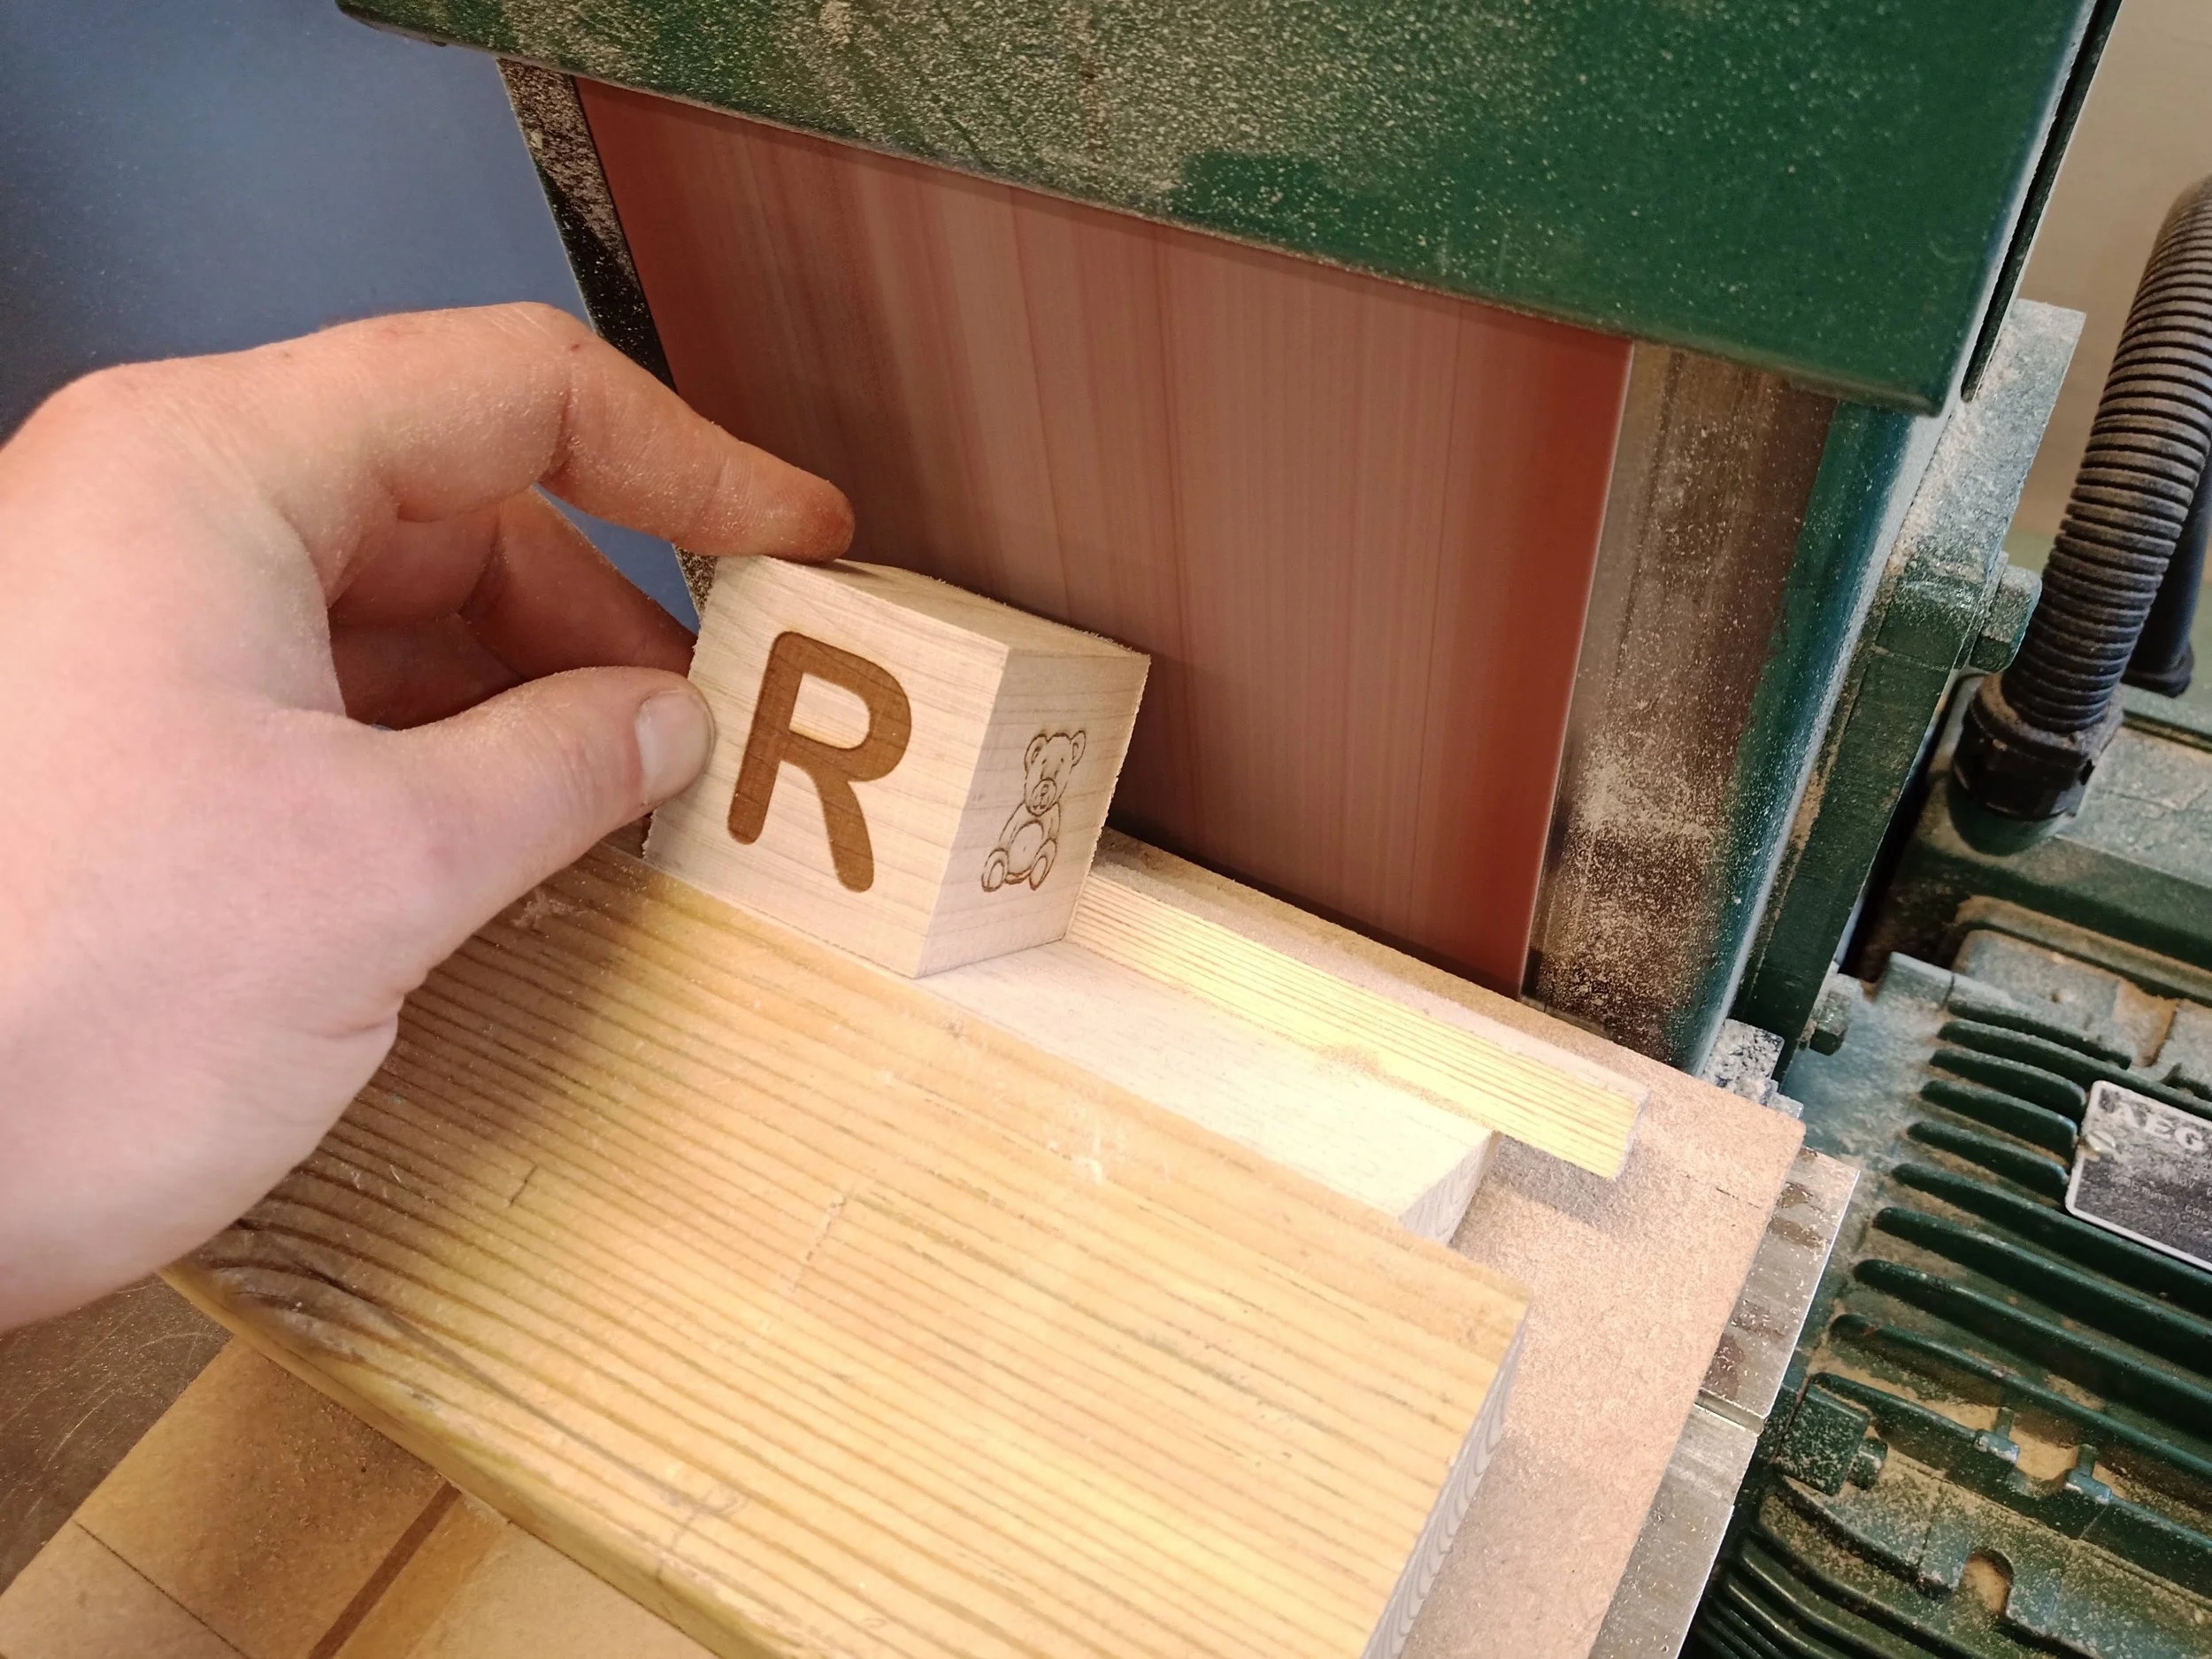
I made a sanding jig to get consistent chamfers on each corner and had previously used a jig to ensure proper alignment for laser engraving.
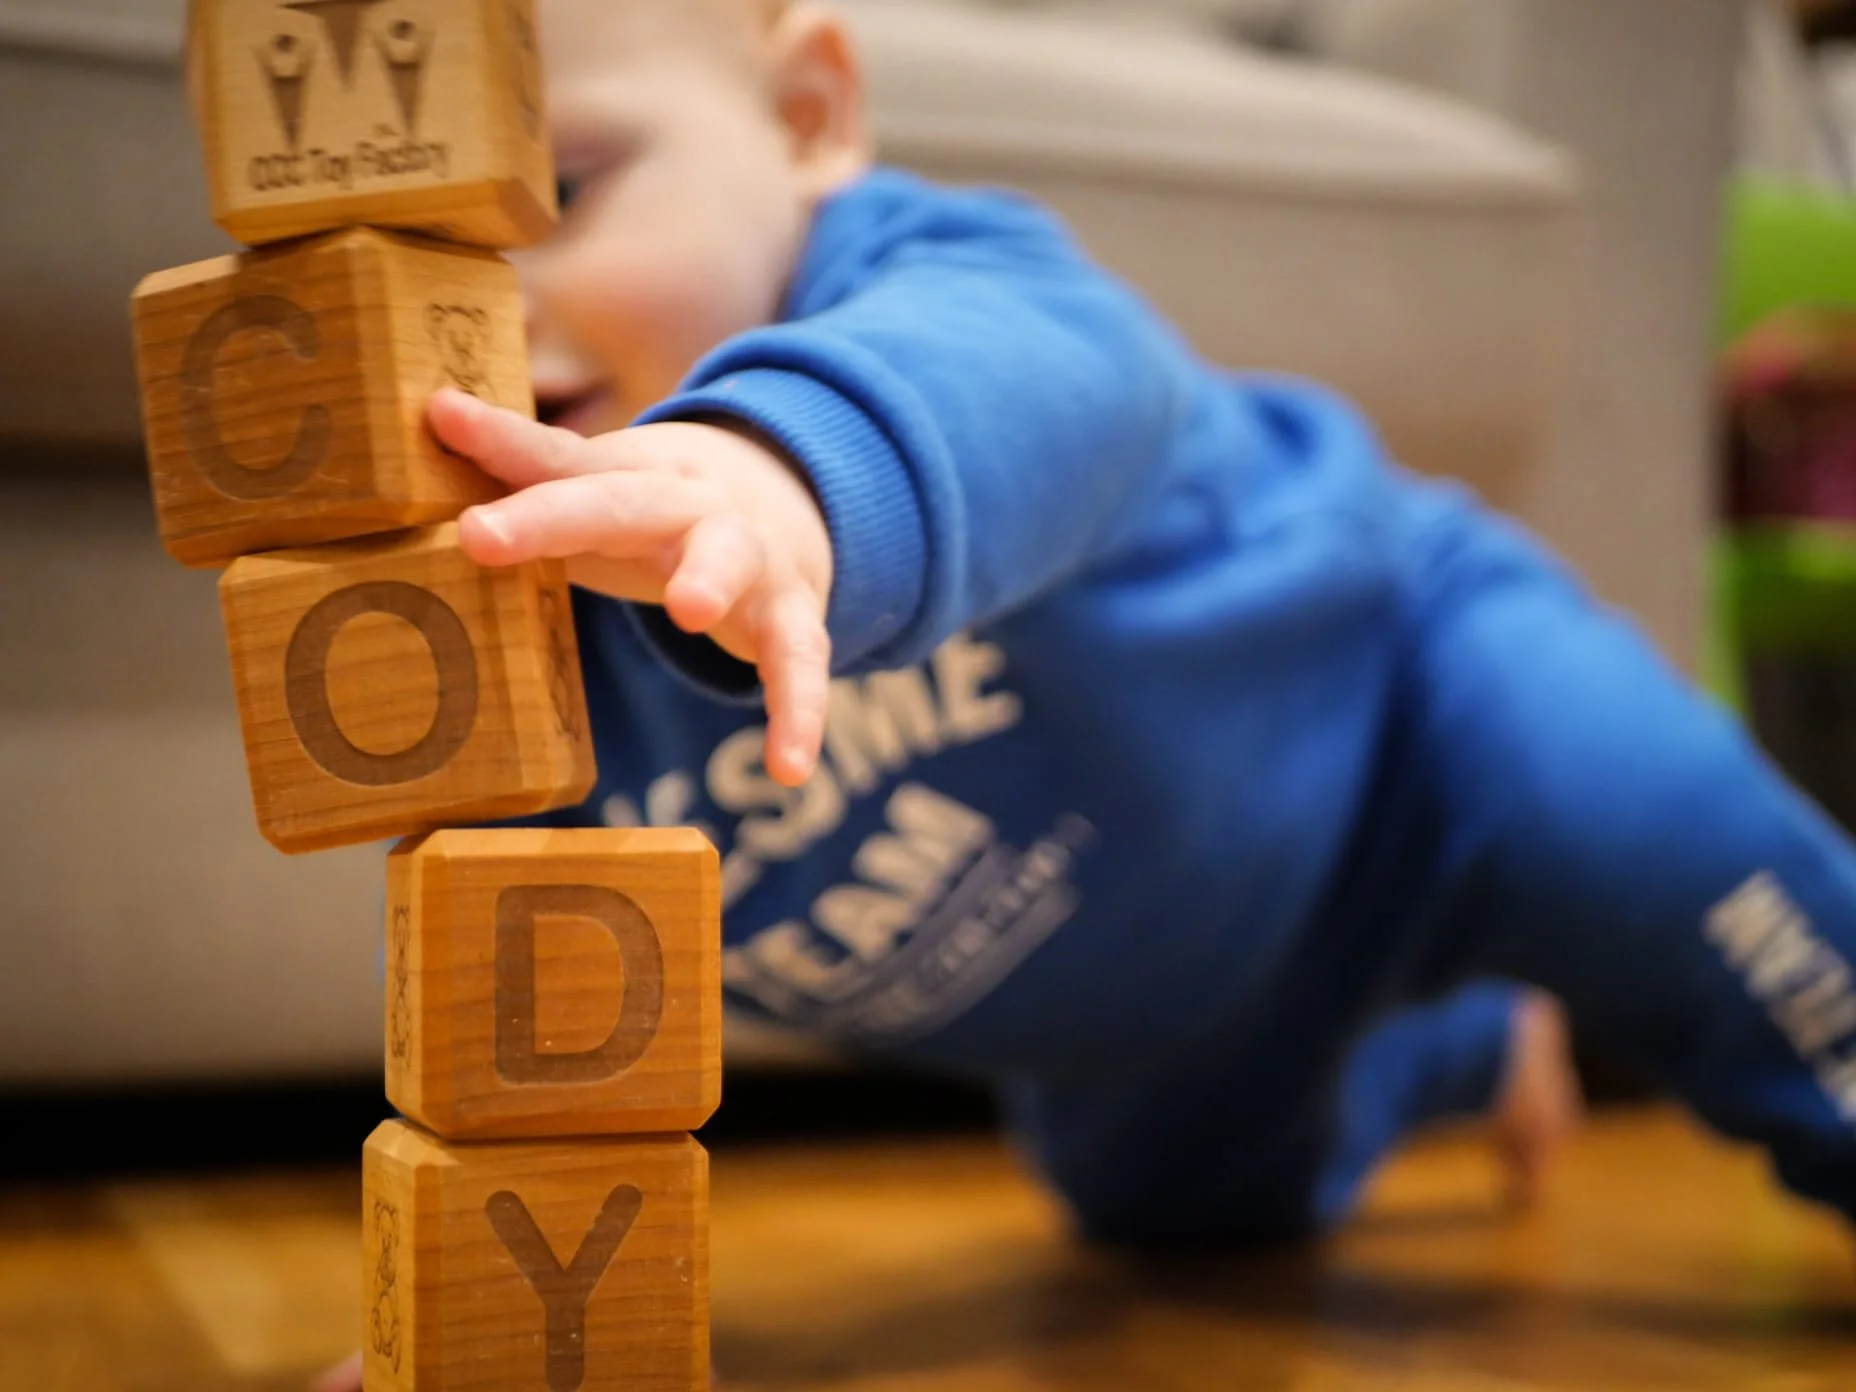
The blocks were still in use a few years later with her second child. The large chamfers have ensured that the blocks handle rough treatment well and are as safe as can be when thrown across the floor!

I made the blocks using beech due to its non-toxic, tough, splinter resistant grain and finished each block with a food grade hypo-allergenic beeswax. These blocks are quite capable of handling teething children safely!

For the grand-daughter of another colleague, I produced a puzzle in the shape of her name. Each piece was in laser-cut birch ply and the background was stained before the whole puzzle was finished with beeswax.

Each letter had dowels to give good hand holds for small fingers.

For our head of department's maternity party, I designed and laser cut this rocking crib (at 3/4 scale to fit each piece onto the laser bed) from 6mm MDF.
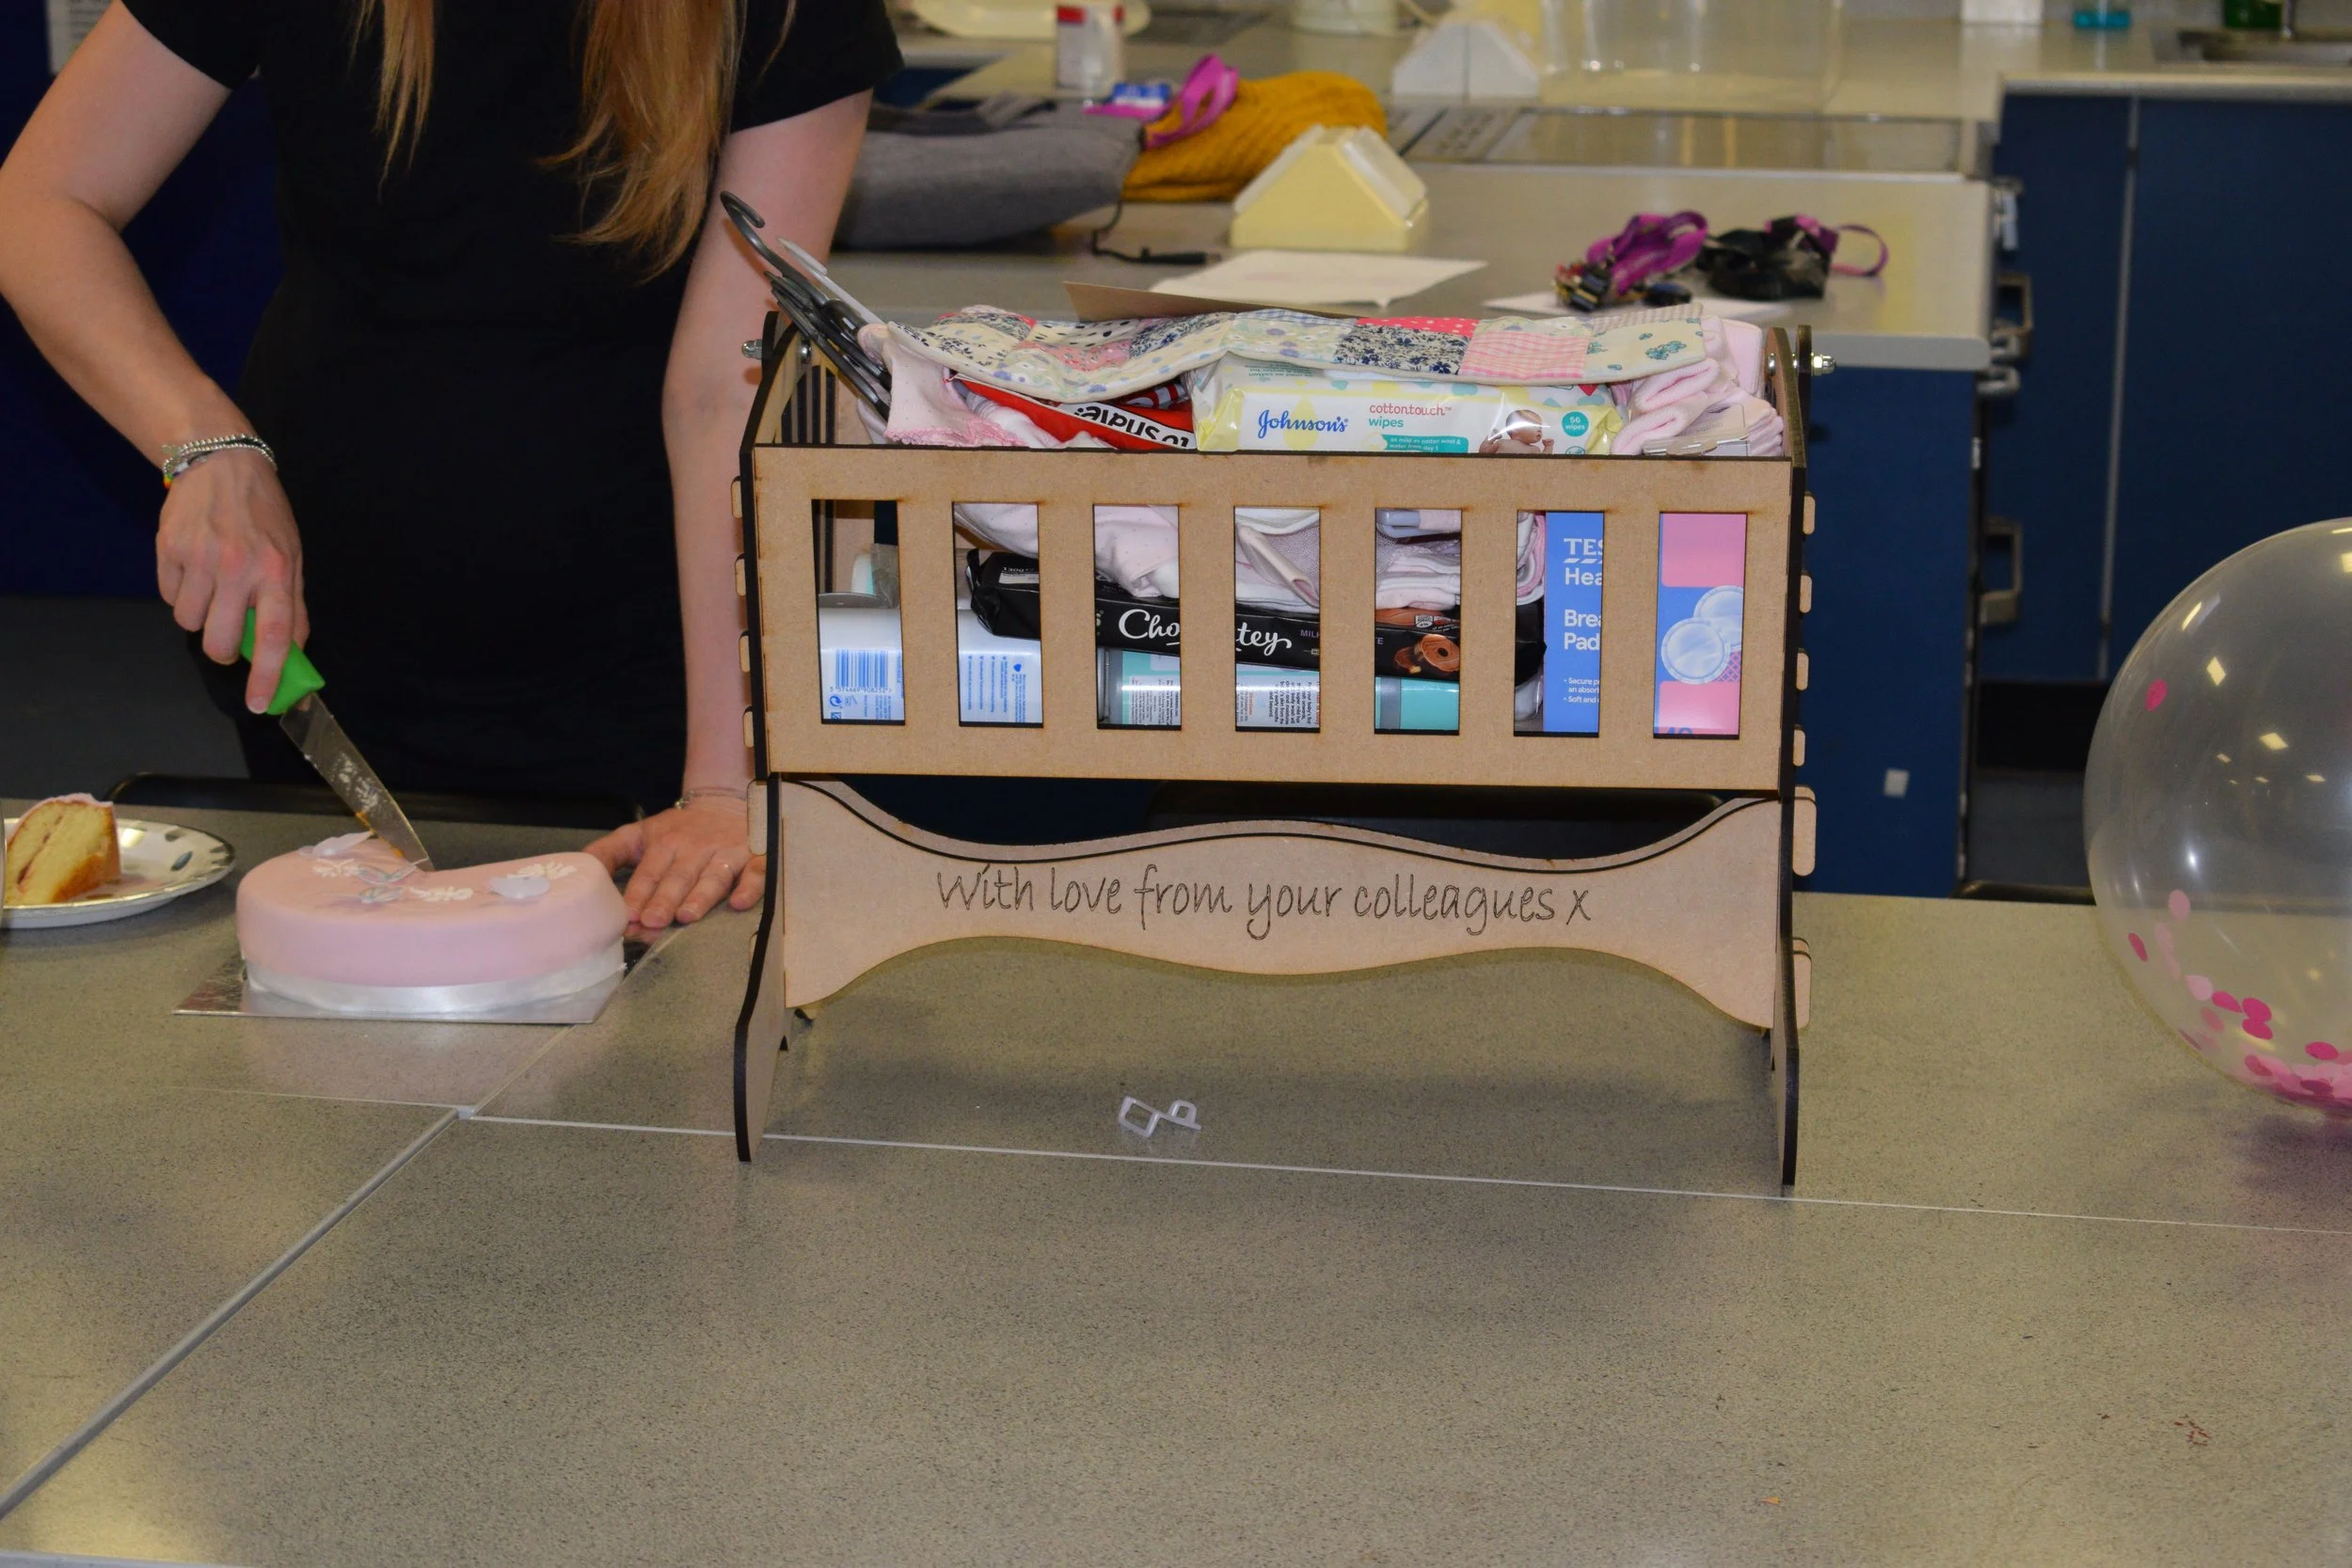
My colleagues and I filled the crib with gifts essential to an expecting/new mother.
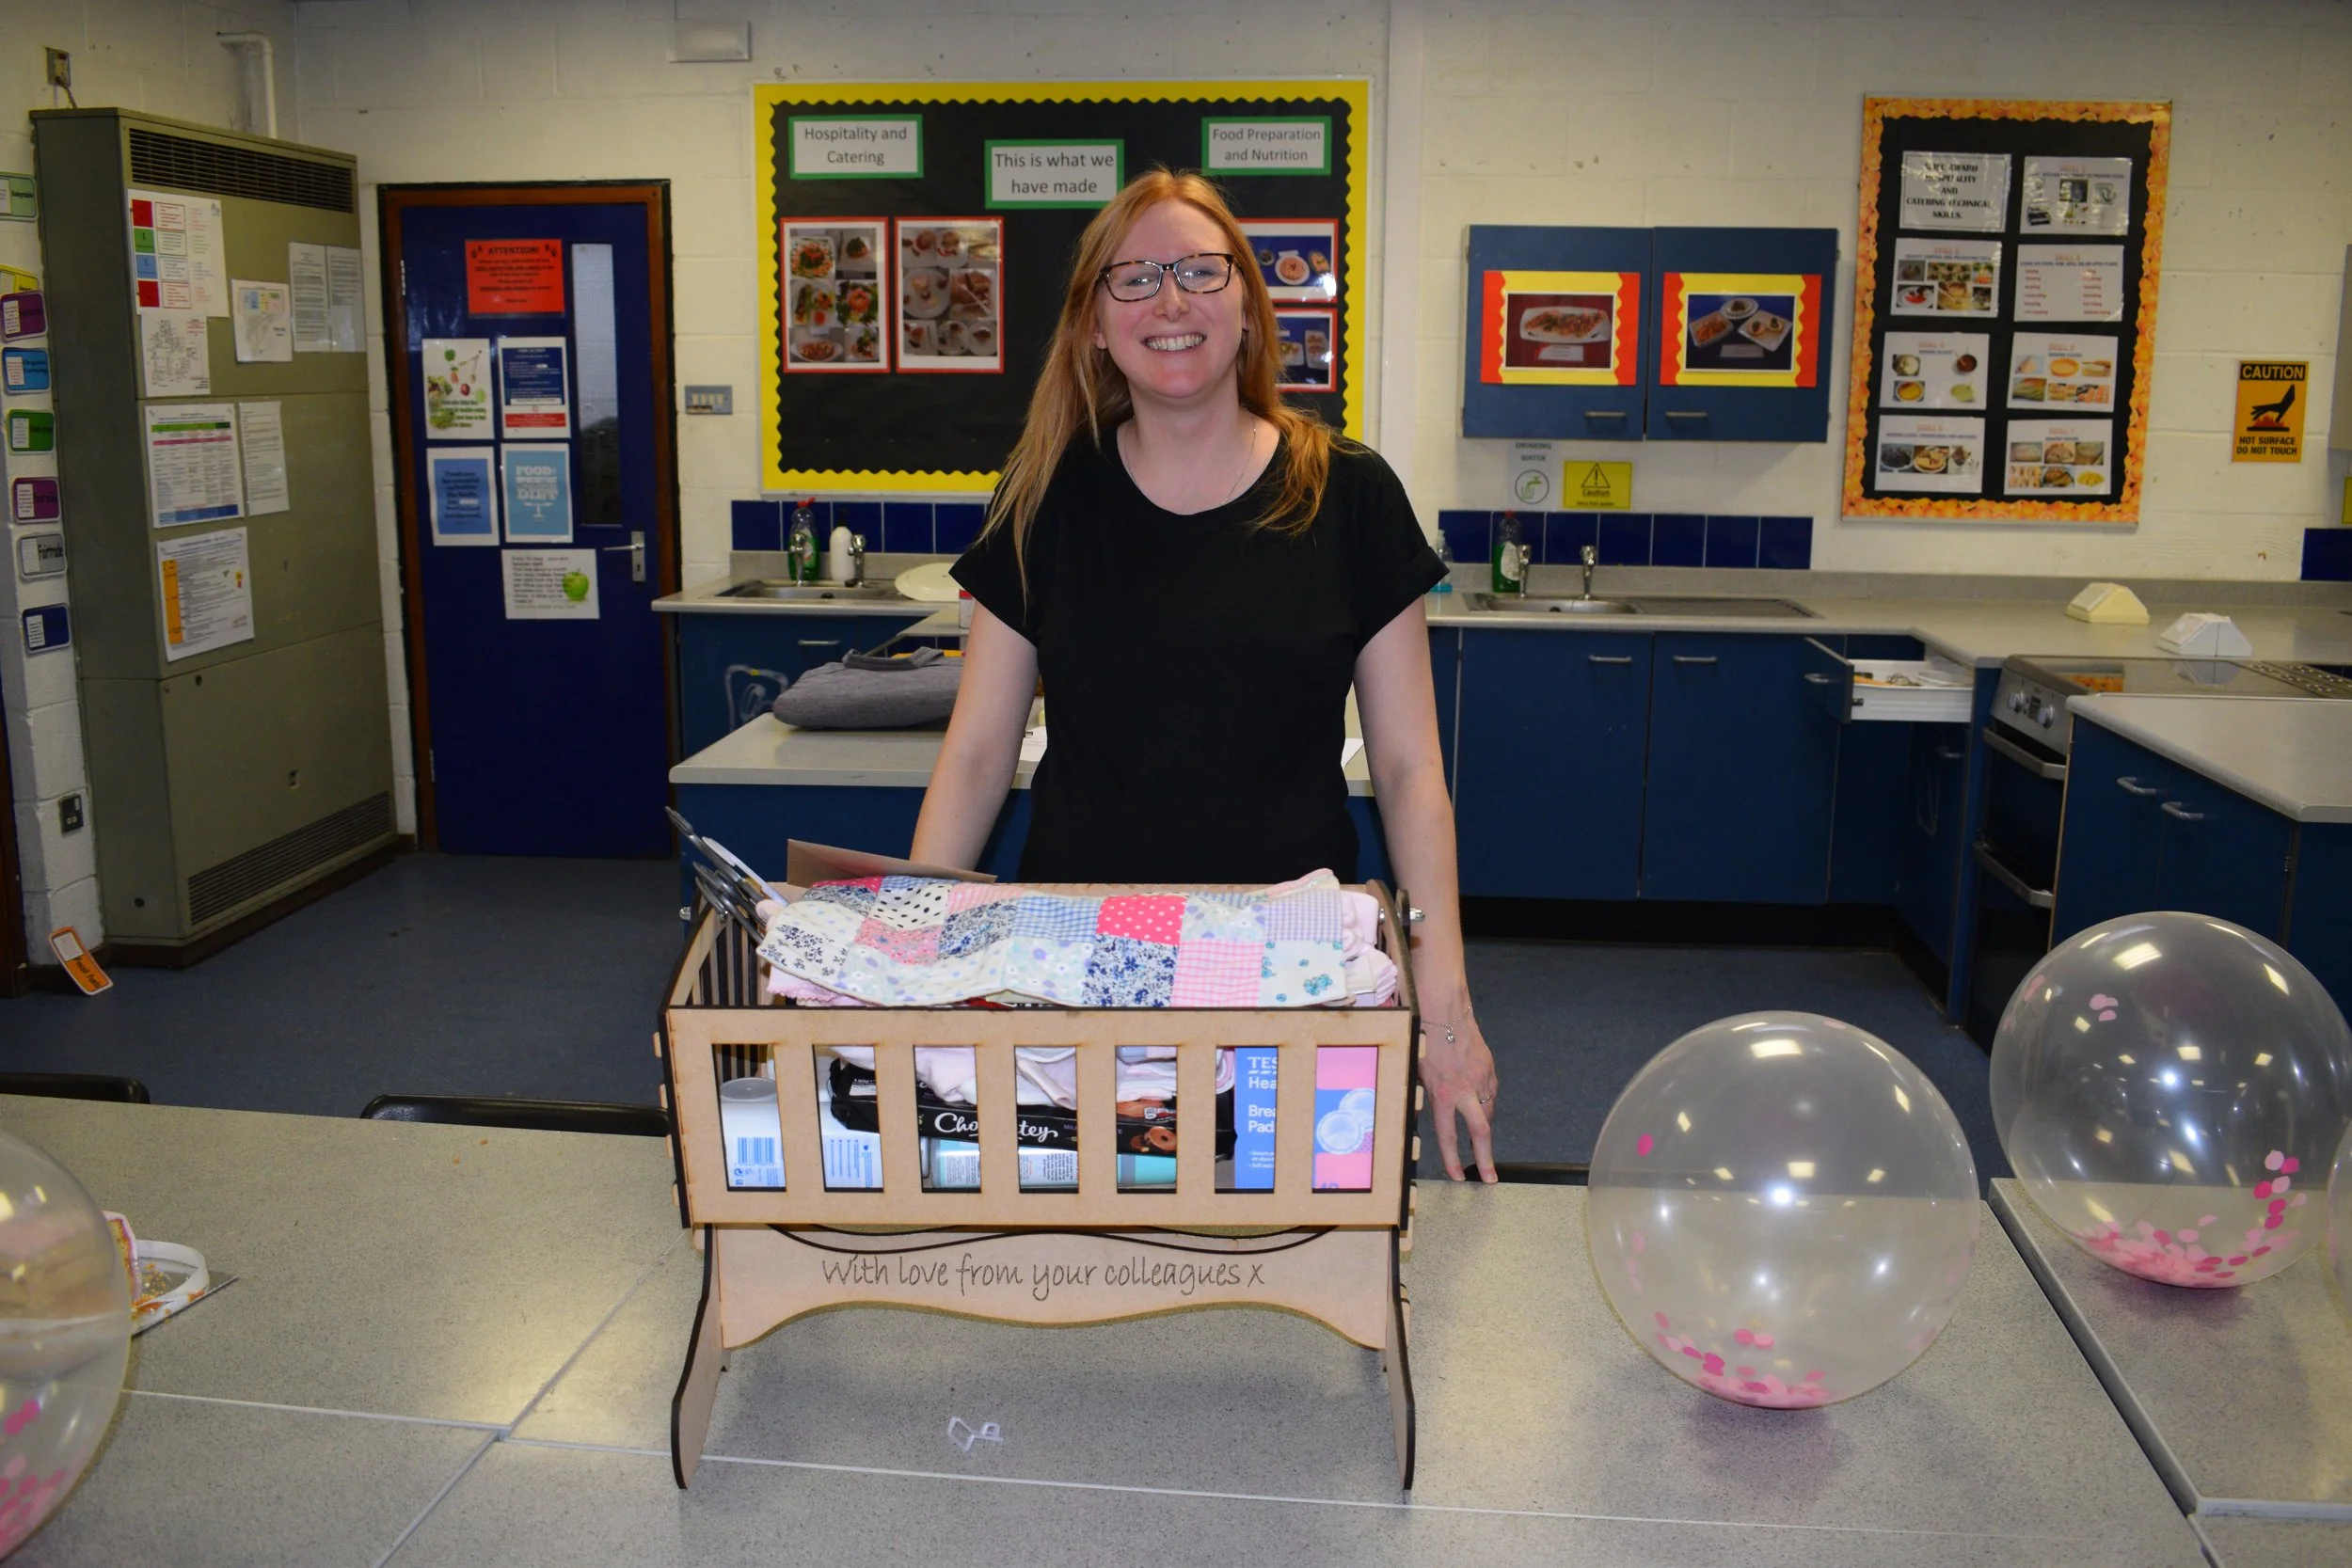
Note the miniature quilt covering the crib. I made this in the textiles department from assorted scraps of fabric. The whole effect was really cute.
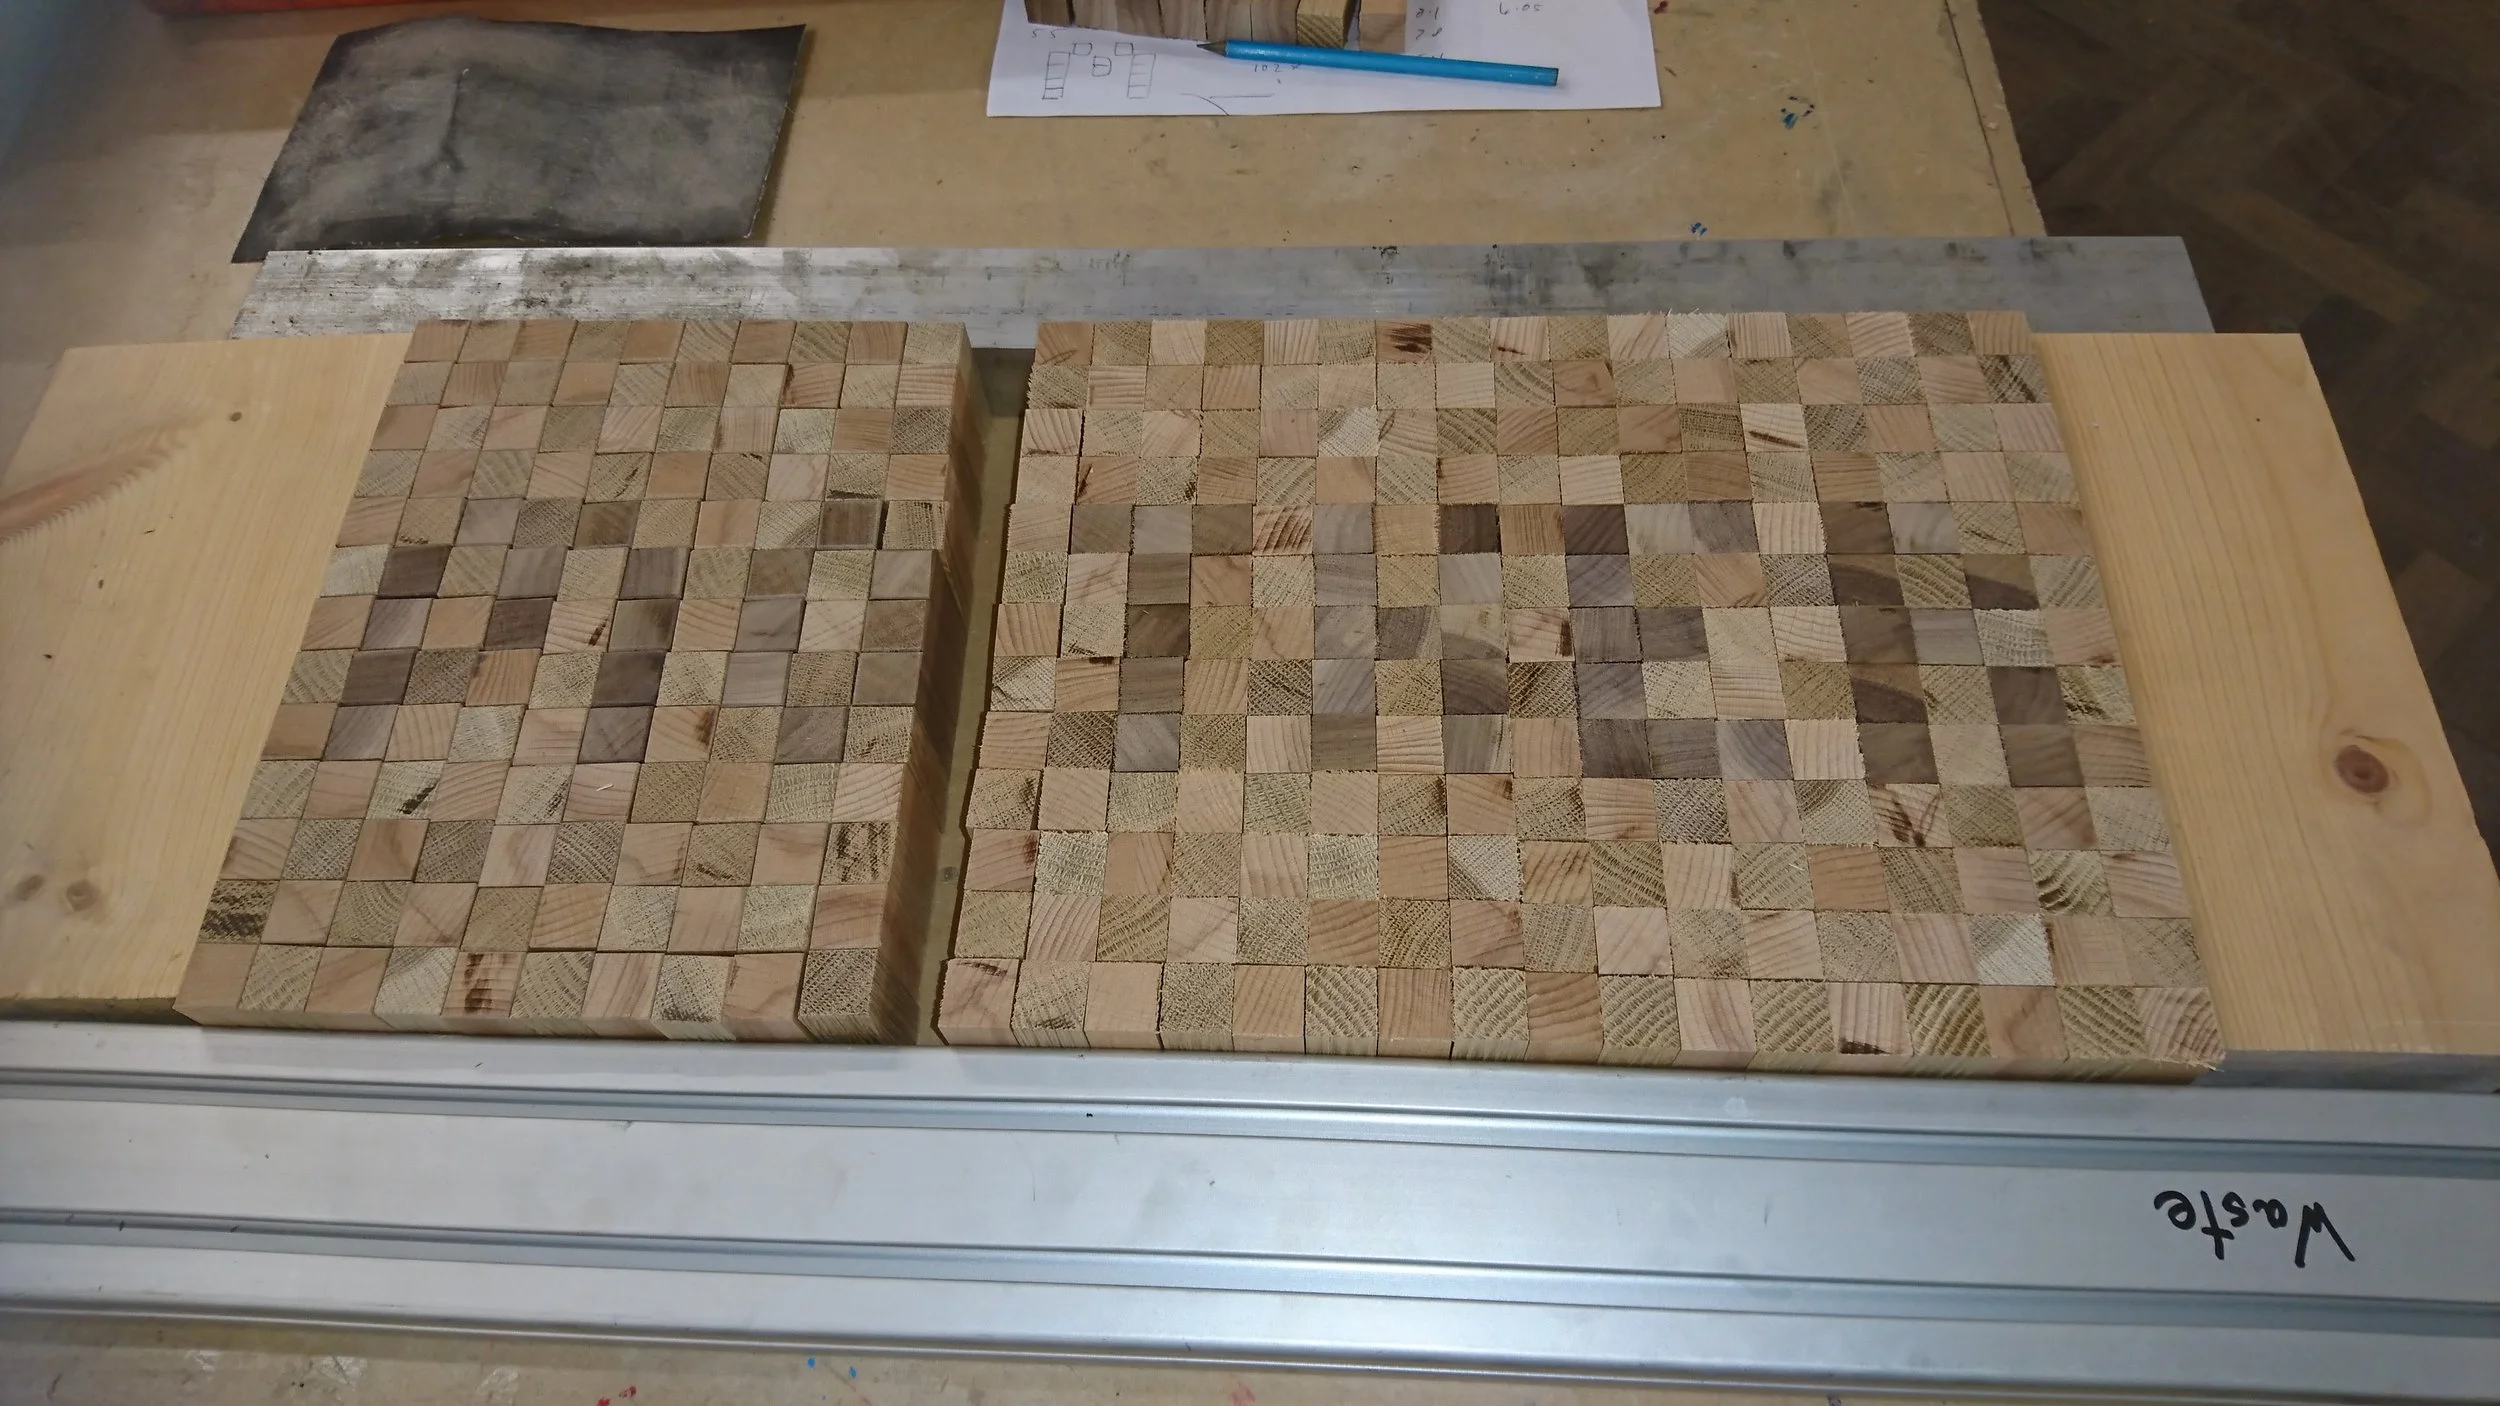
As a Mother's day gift, I decided to make an end-grain cutting board. I used a combination of Oak, Beech and Black Walnut to create the board, which spelled out 'Mother'.
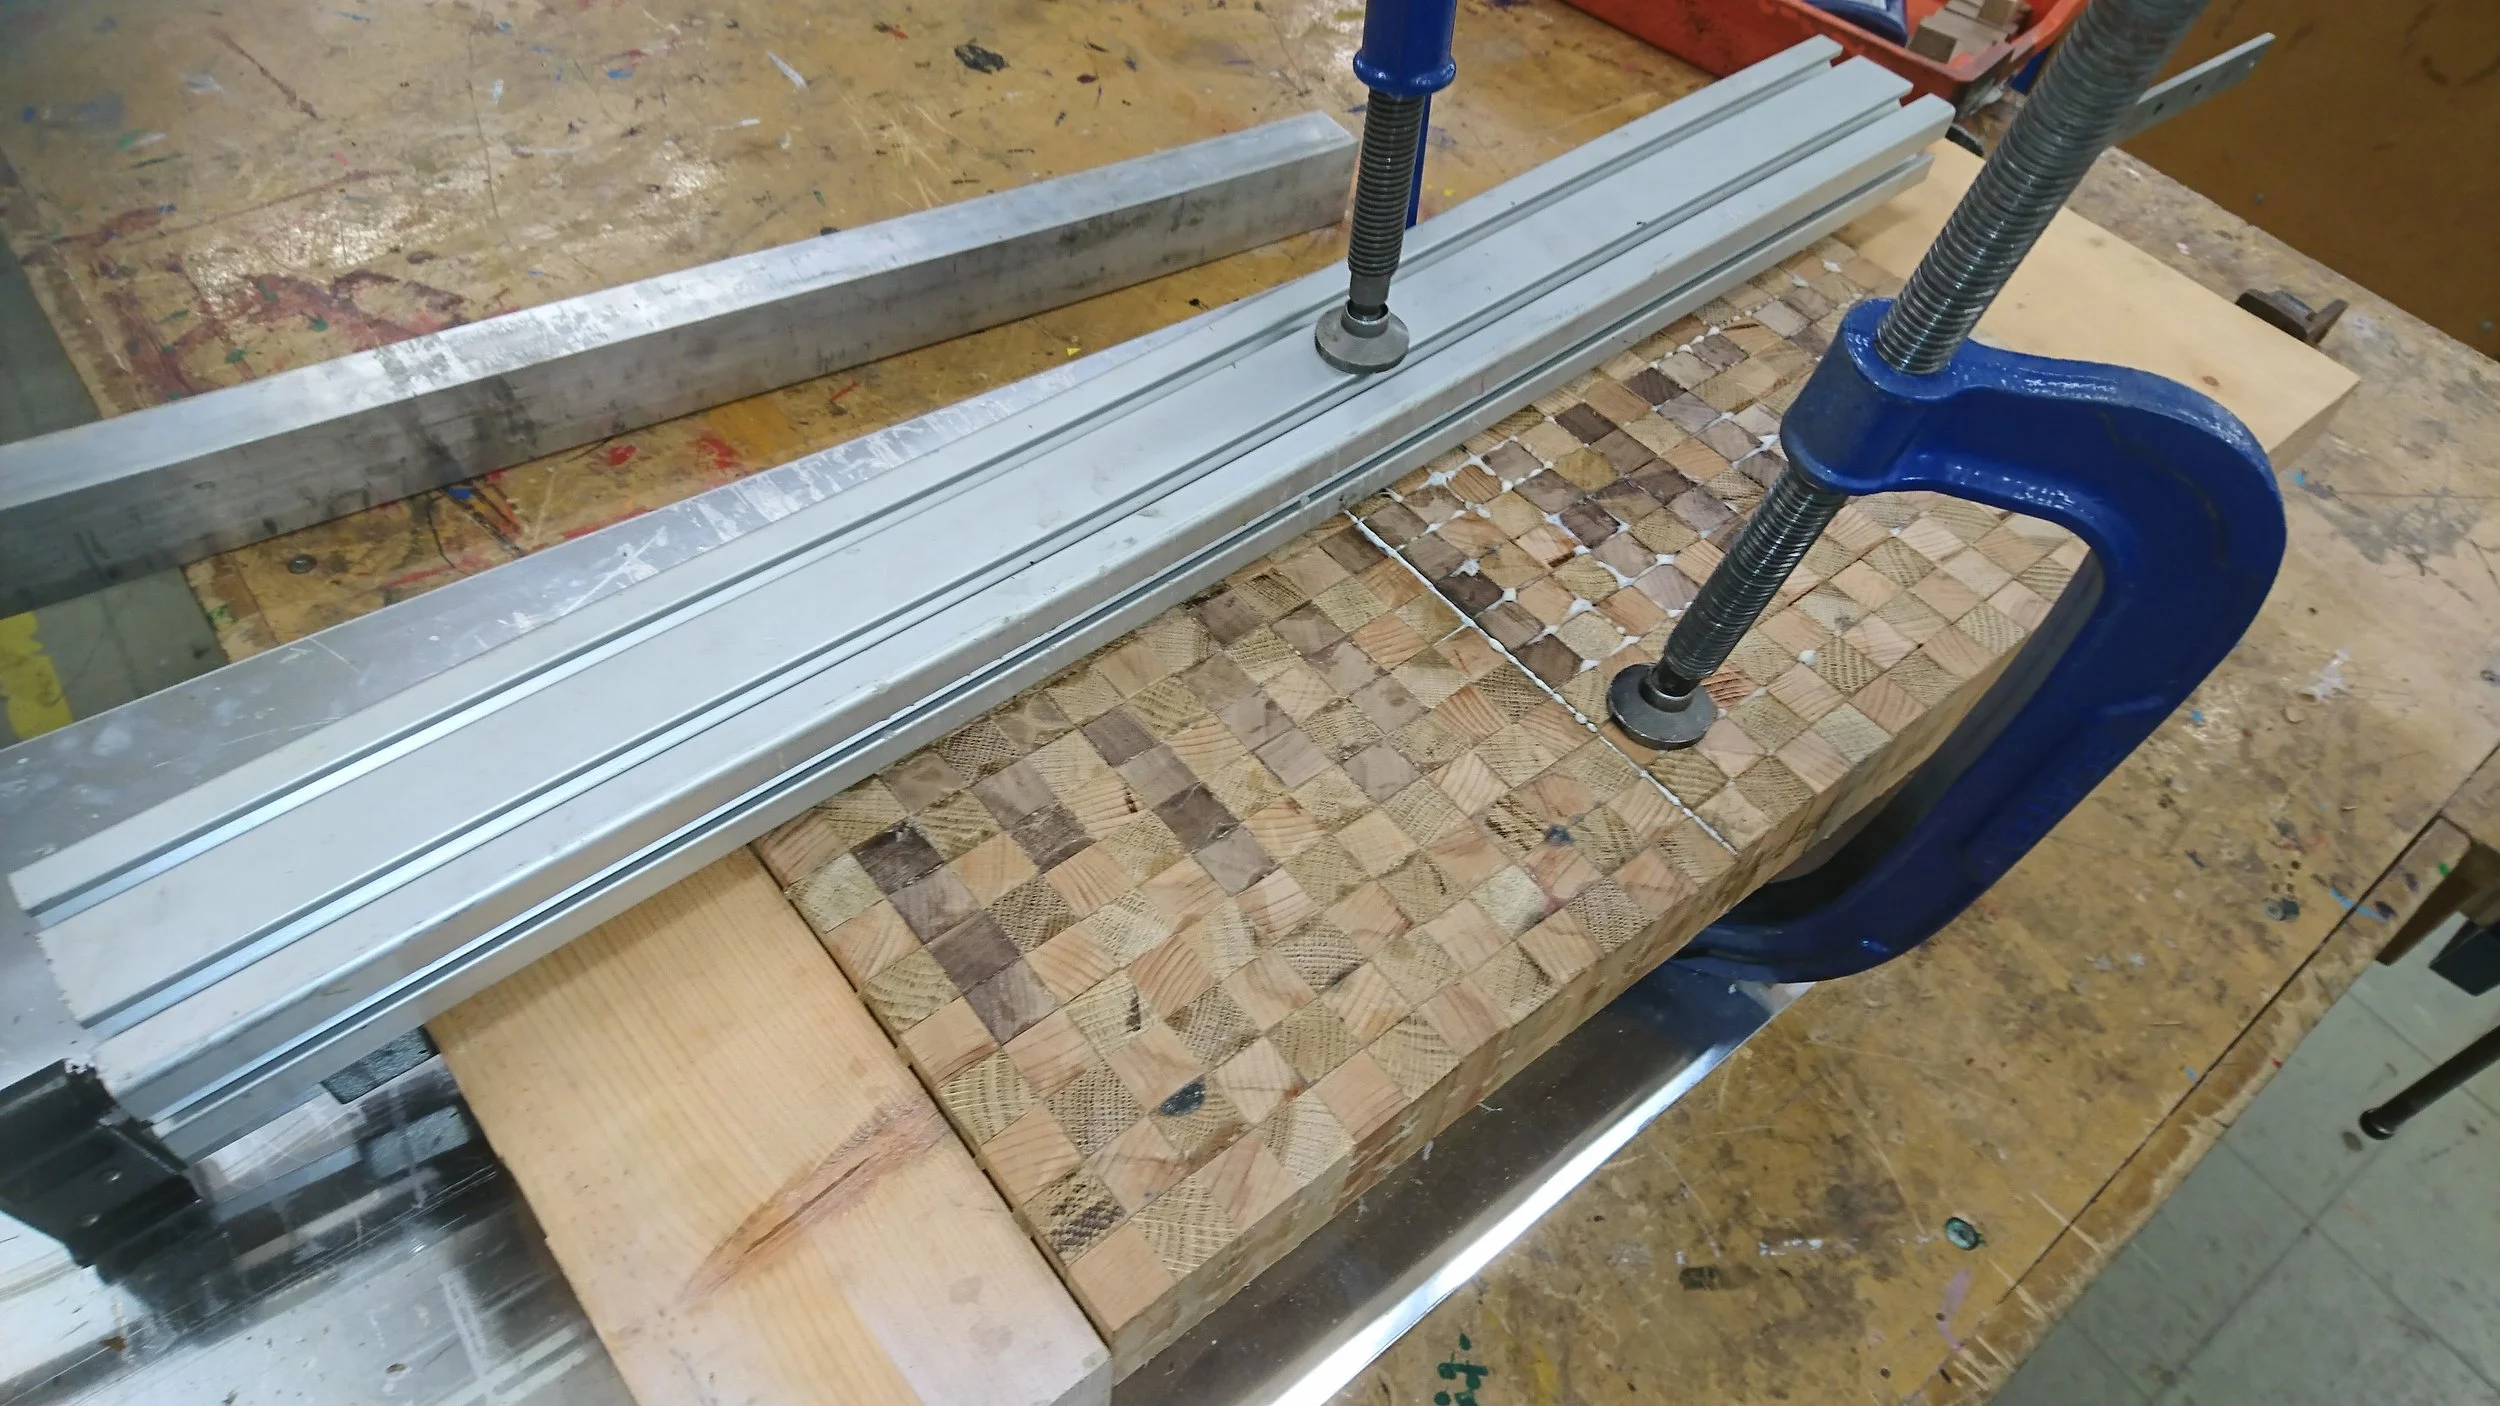
With hindsight, my glue-up strategy could have been improved. Nevertheless, the finished article turned out well, albeit with rather more stress than I would have liked!

I designed and manufactured this giant pegboard at the request of a colleague, who was in charge of organising the Y11 Prom. She requested a 'Donut Wall' to be displayed in the prom marquee.

I designed a system based around two heavy MDF plinths, which would ensure stability, combined with a pine frame, enclosing 3 vertical panels. Each pine vertical was rabbetted to accept a stack of laser-cut peg boards, plus a title space. The top of each vertical was then dowelled together with a top rail. All components were able to be disassembled for transportation in a standard car.

Testing the board with the first donuts. The whole board had capacity for 360 donuts! In case of any doubt, gluing 360 dowels into 360 holes is incredibly tedious. Thankfully the holes themselves could be laser cut, rather than needing to be individually drilled!