Grease! Prop Car
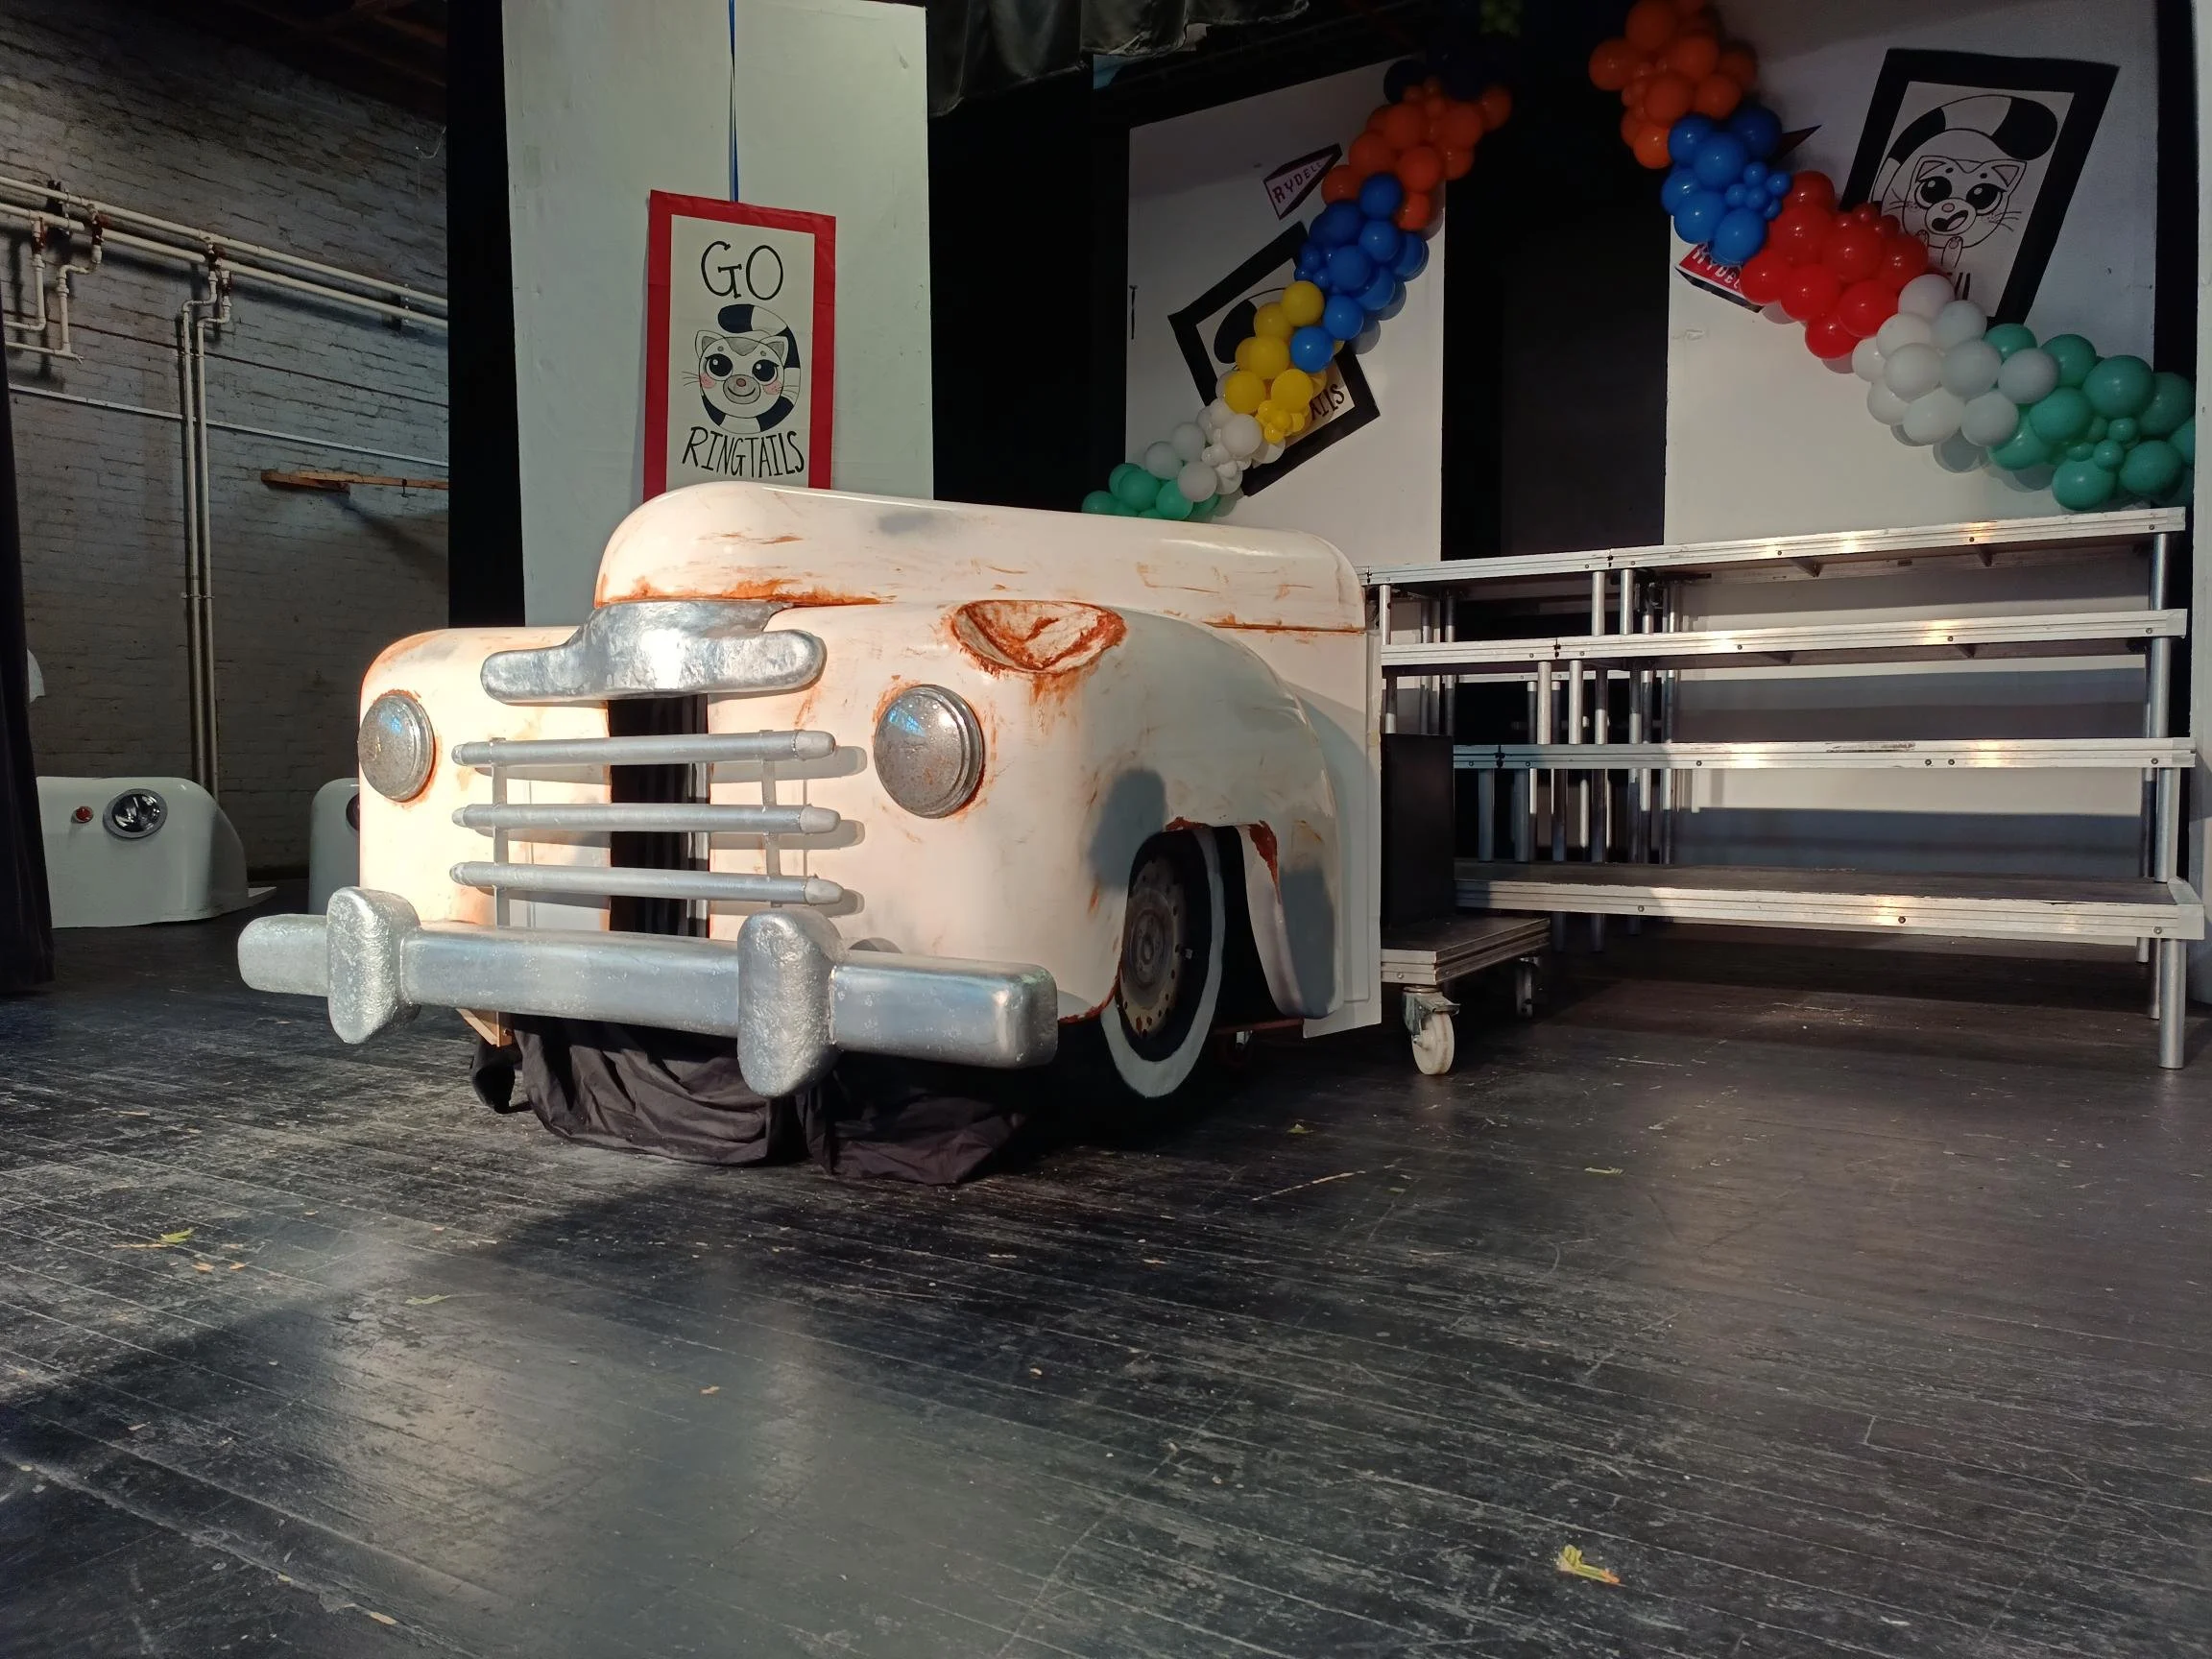
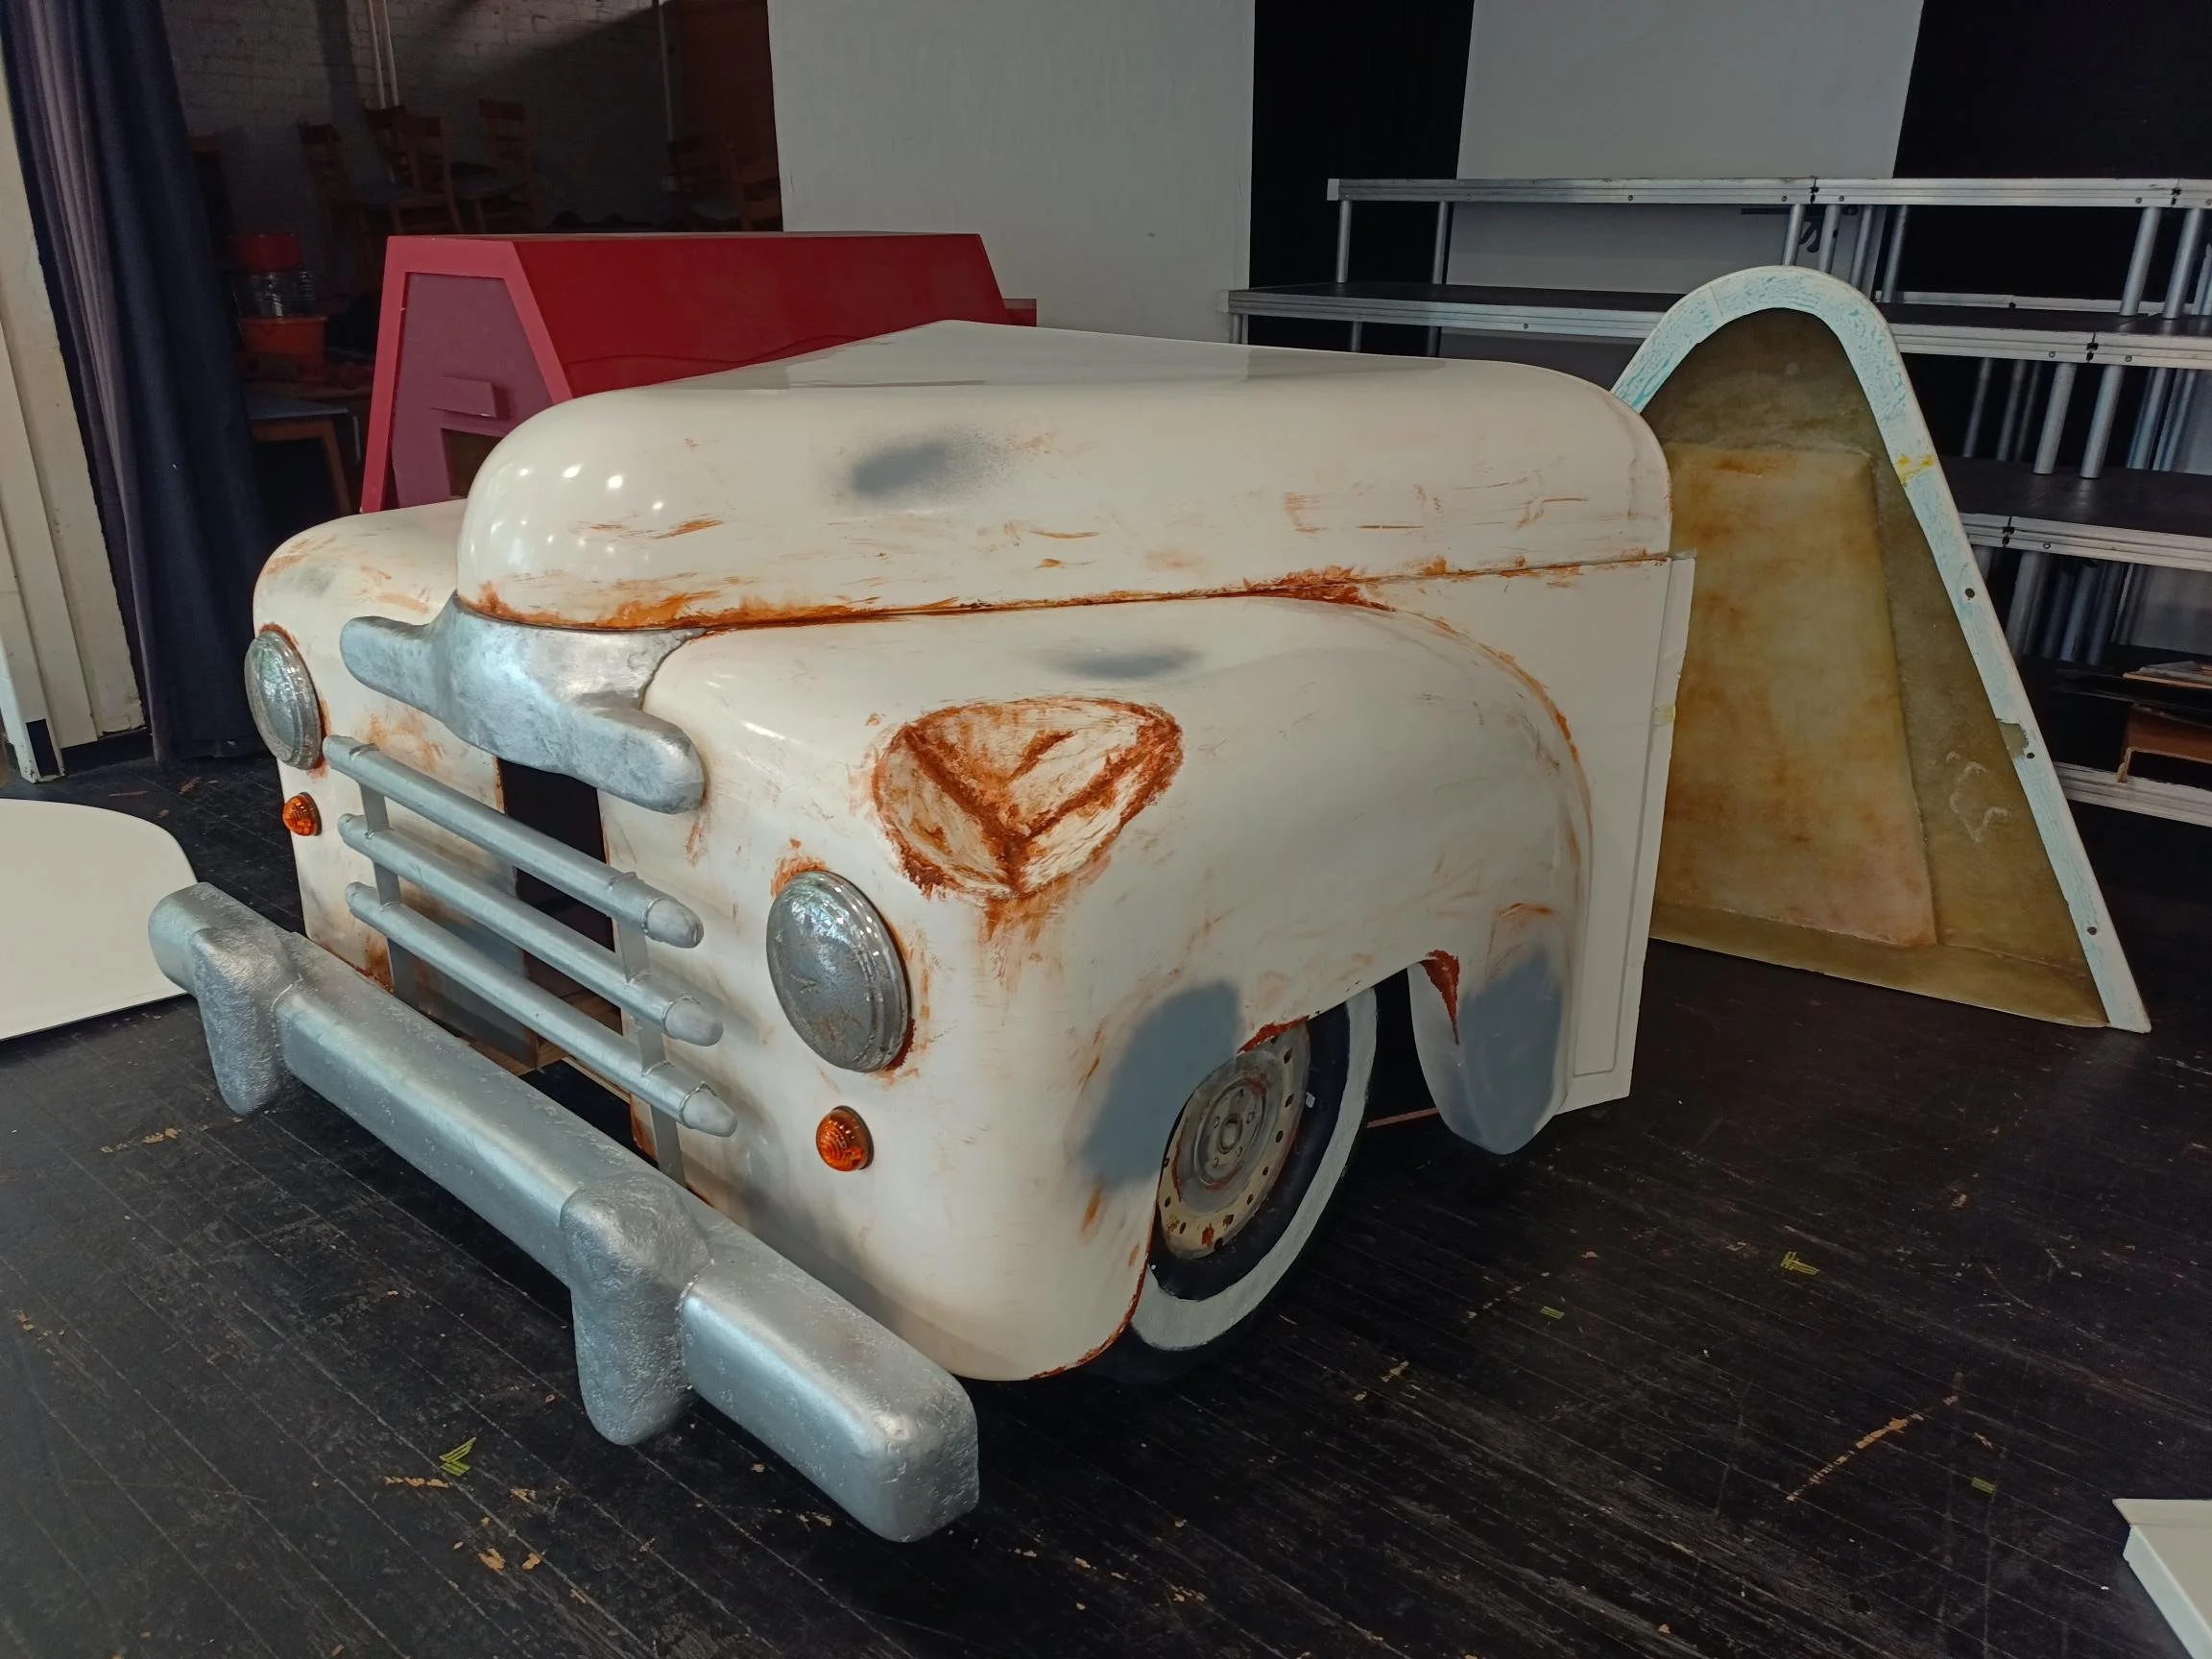
When the Drama department decided that they were going to put on a whole school musical and chose Grease! they realised that they needed a set-piece prop to make the show stand out. I offered to build something for them and we sat down, approximately 9 months before the opening night to determine the requirements. The specification was that they required a prop resembling the front end of a car that could be wheeled on and off stage, stored in a pre-determined and limited dimension space backstage and that was sturdy enough and safe enough to be danced on/stood on. They also wanted to have two different versions that showed the tatty wreck of a vehicle purchased by the character (Kenickie) at the beginning of the show and then the ‘hero’ vehicle that they imagine it could be. This should be convertible within a brief blackout/scene change. From these details I determined that to achieve the necessary aesthetic and functional requirements, the best design choice was to hang fibreglass panels on a mobile frame structure. As two sets of panels were going to be required, I decided to produce a set of female moulds from which I could retrieve consistently shaped panels. This required a set of plugs to be produced from which to take moulds. This was a huge project that I managed alongside my day job, with assistance at various points from several students and some additional last-week labour from my father. In all, there was something in the order of 500-600 hours of planning and labour carried out to a large extent on my own time and alongside my own department obligations. The final results speak for themselves and the car had even more stage presence in person than the images can do justice to. Since the show, we have also managed to rent out the car to a couple of other schools/colleges, which has helped offset some of the build cost.
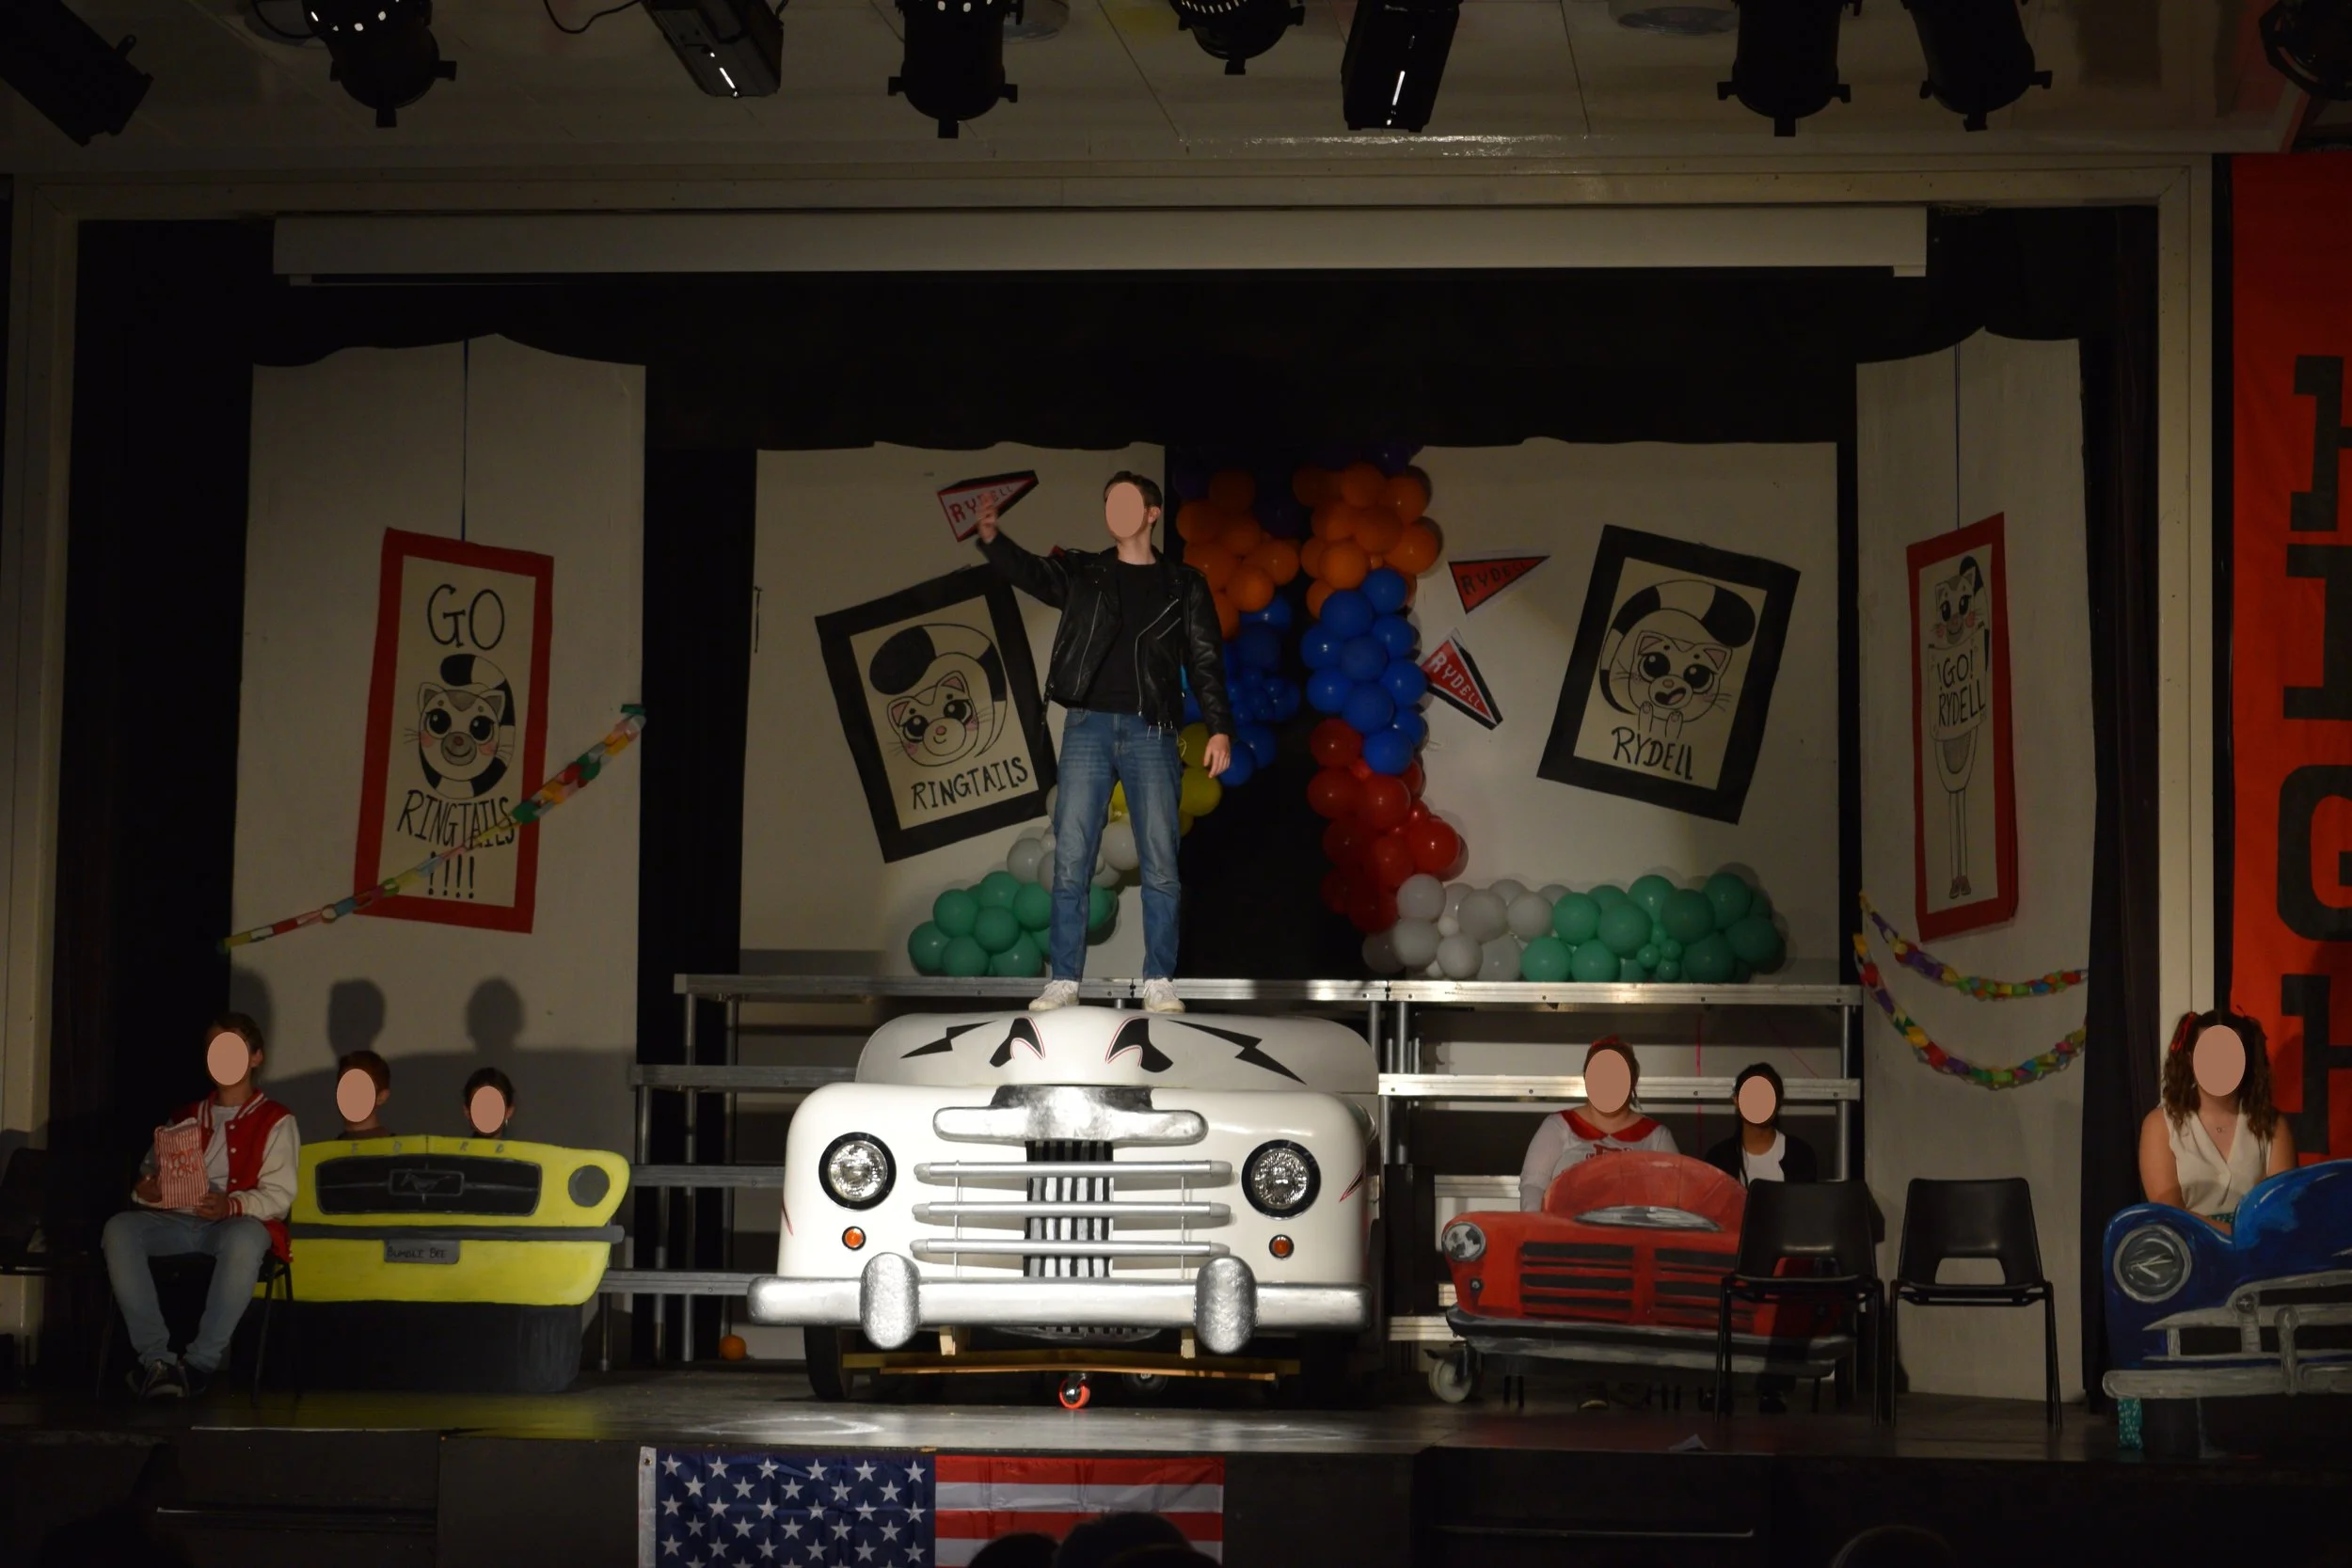
On stage during the first performance.

Grease Lightning, on stage under the lights, captured between shows.

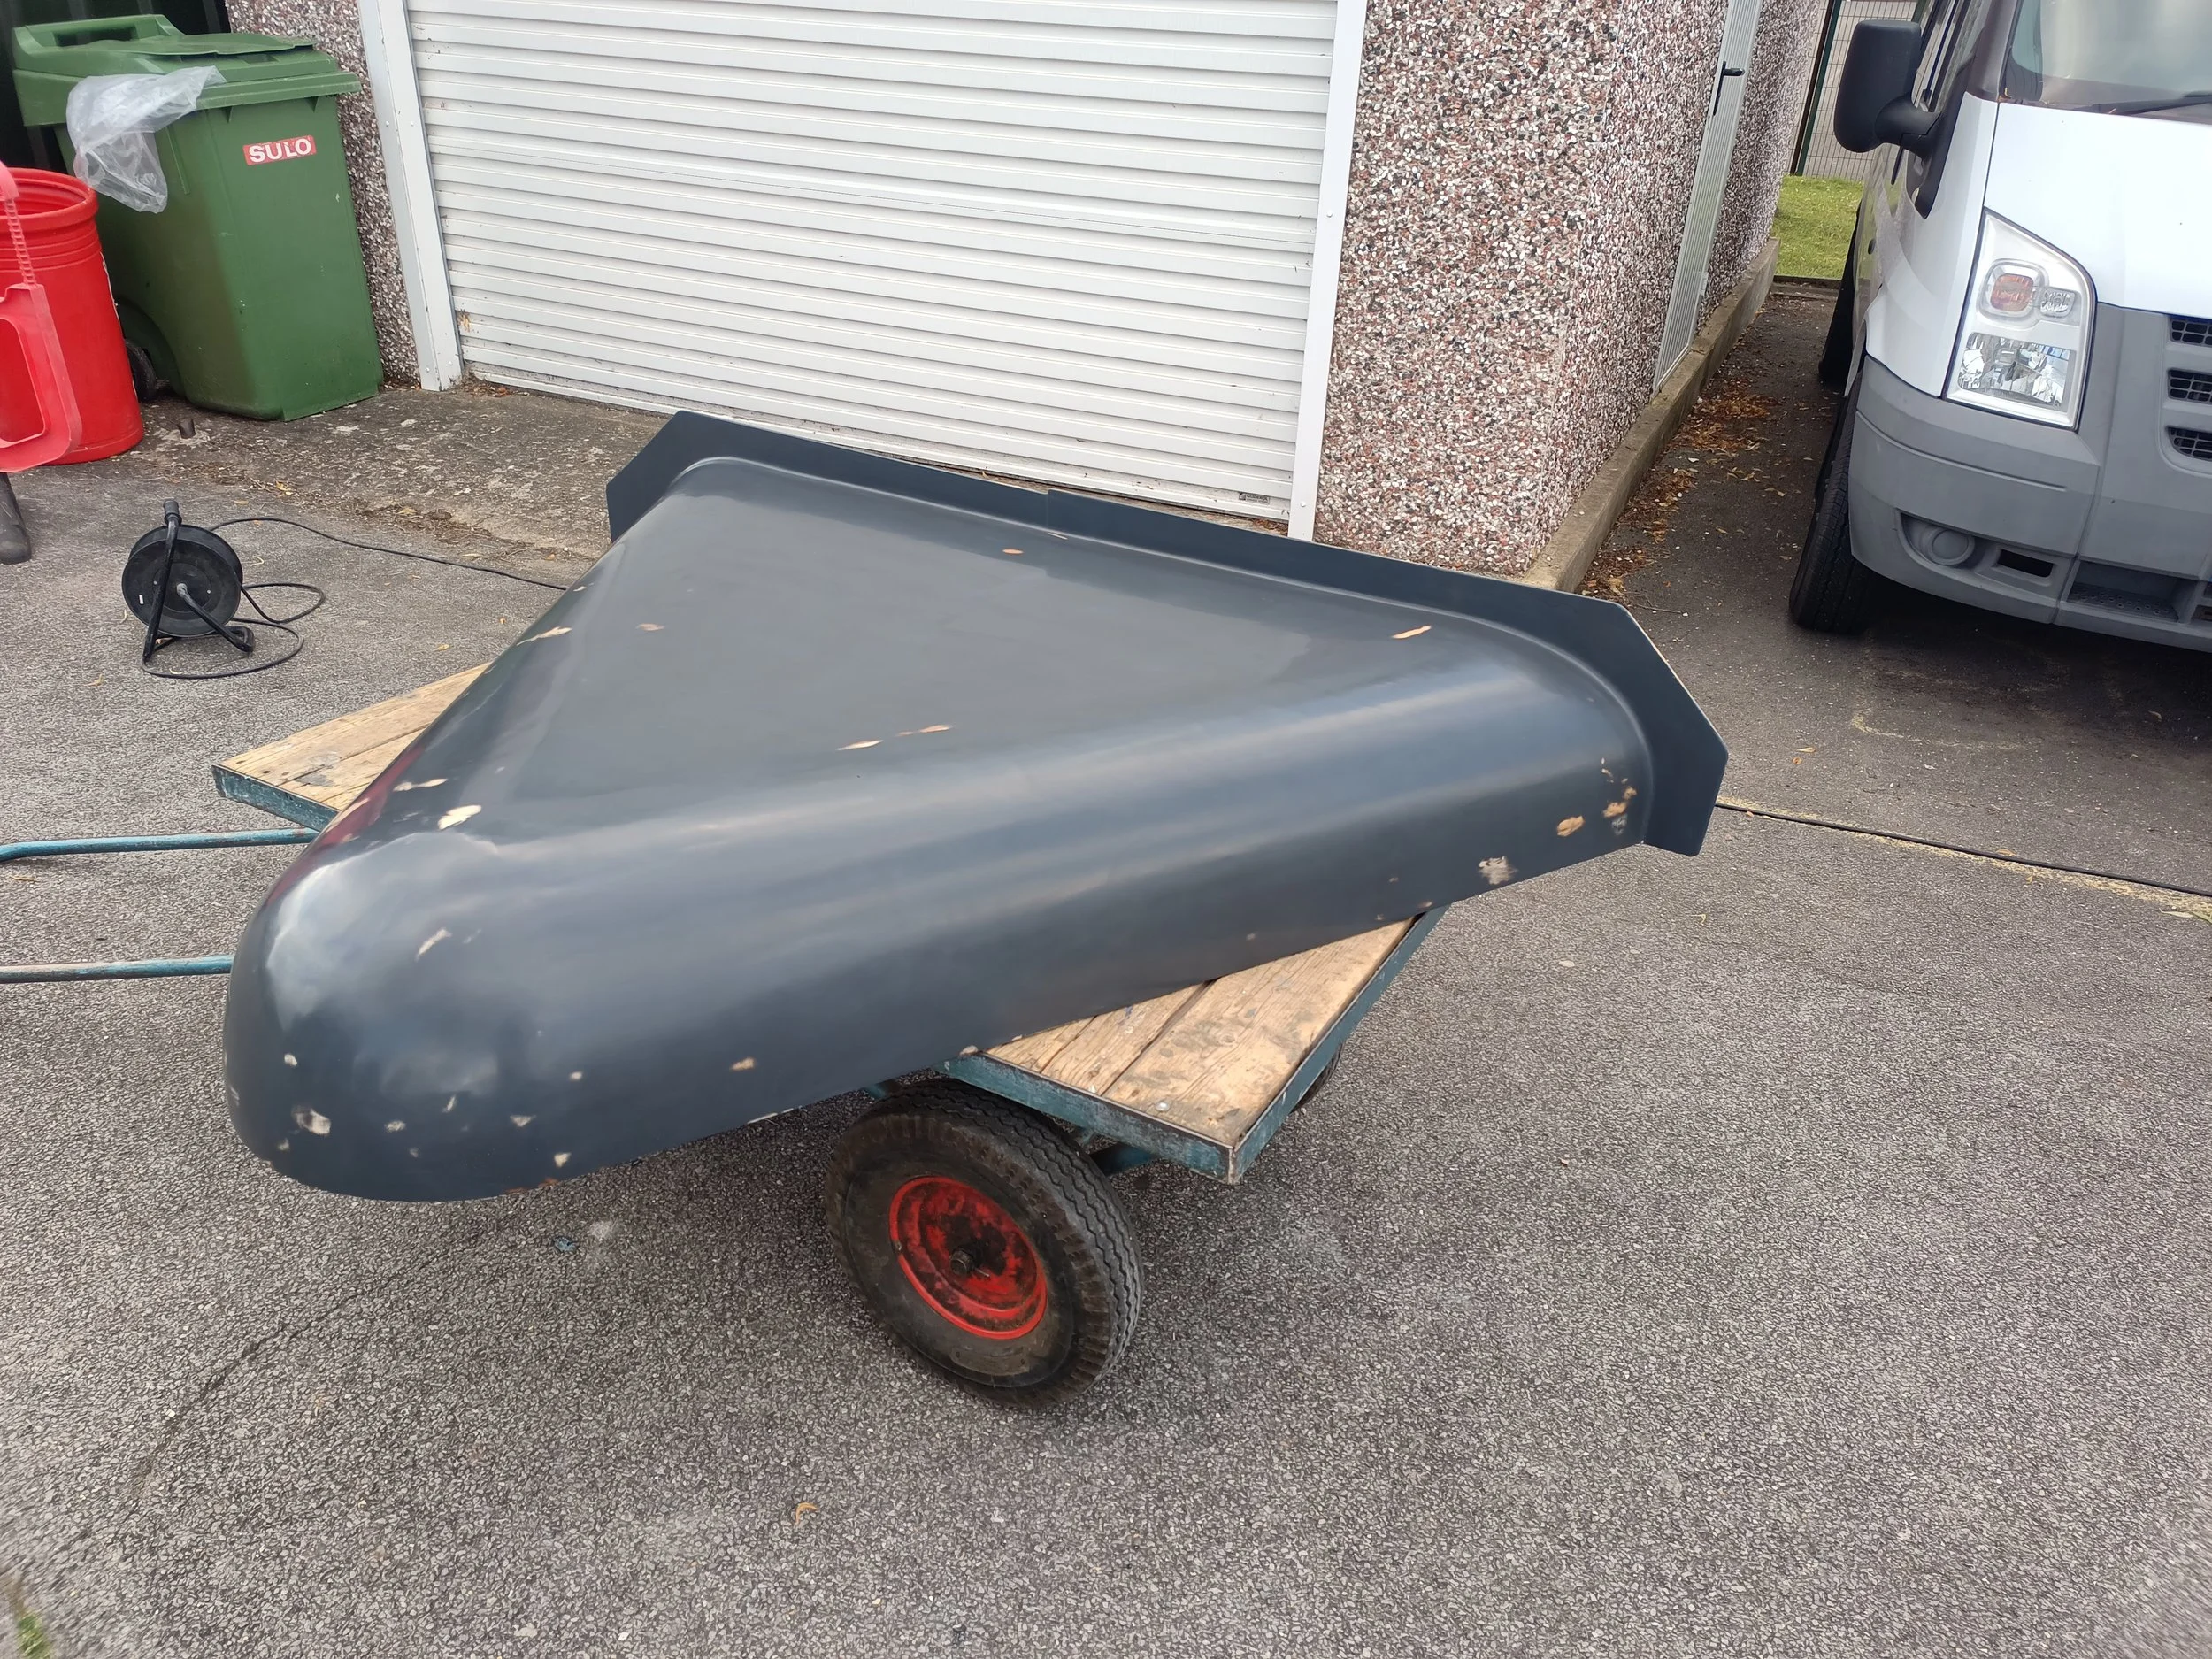
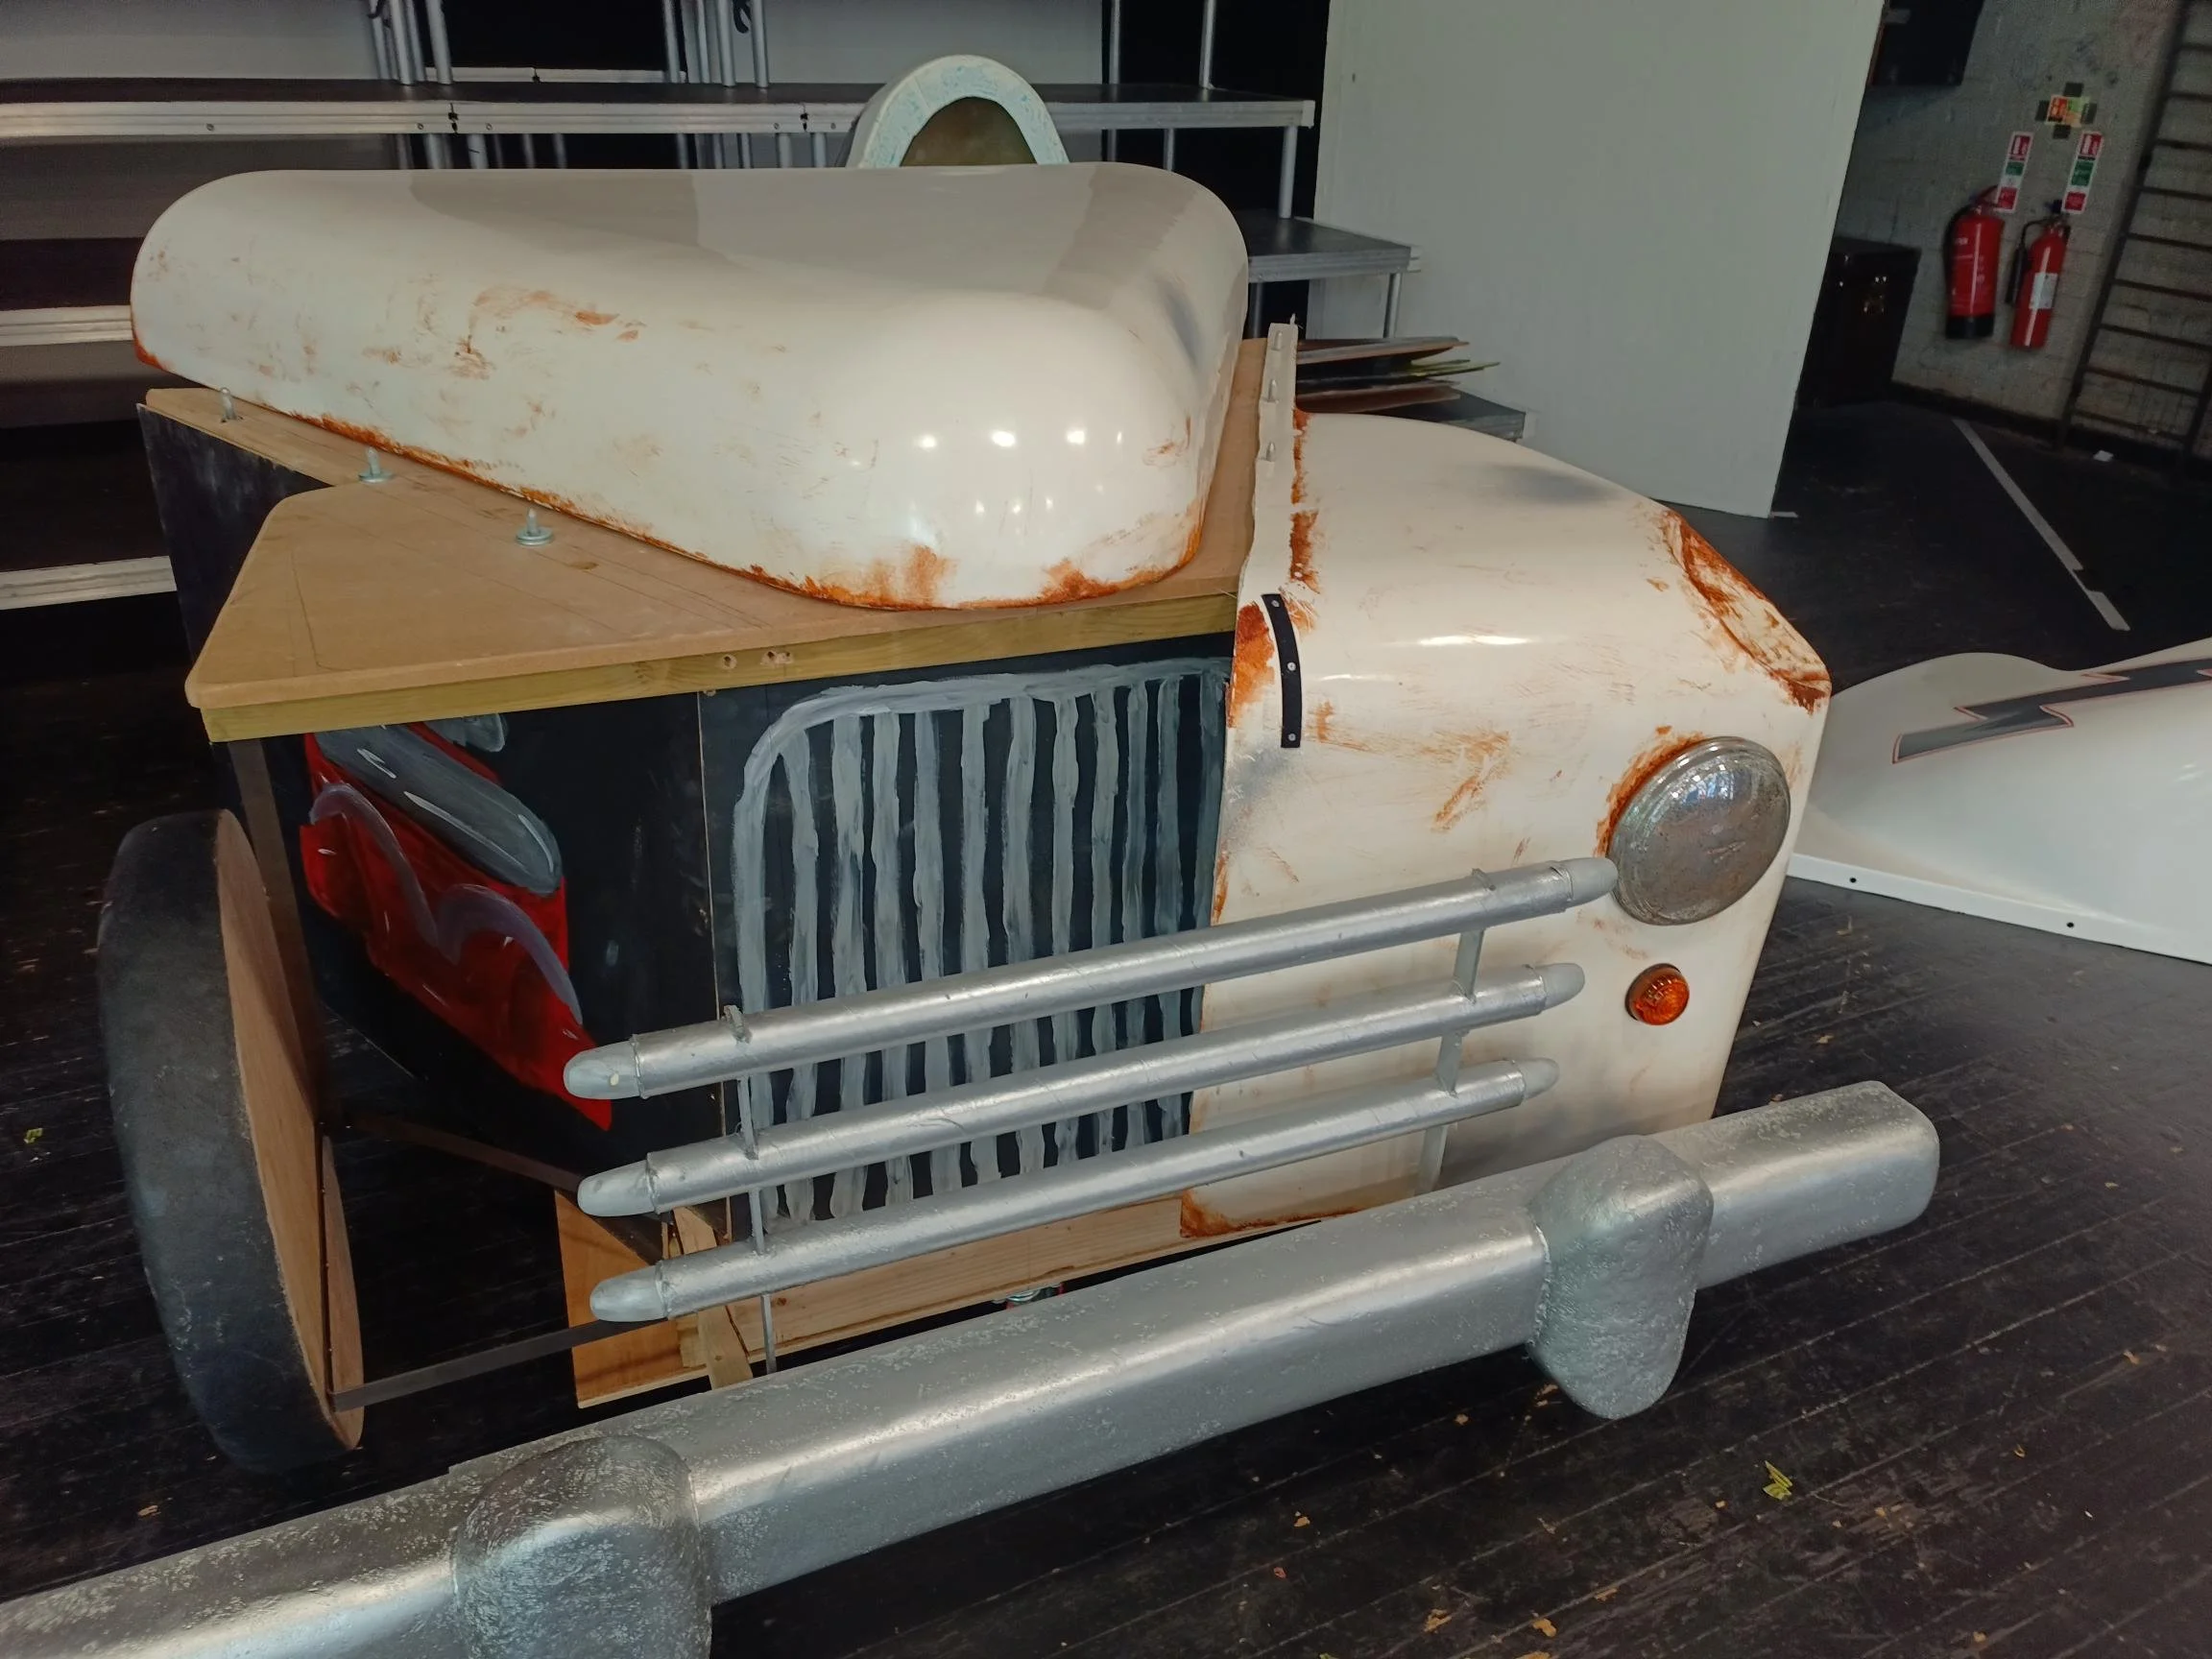
Note the premature aging created by a combination of an off-white gelcoat pigment and a rust coloured metallic paint, with sand for texture. A little spray primer in a few locations and you would think this vehicle had been neglected for several decades!

The rather large dent in this wing was achieved by building out the female mould with plasticine/seam wax. It really adds to the abused aesthetic!

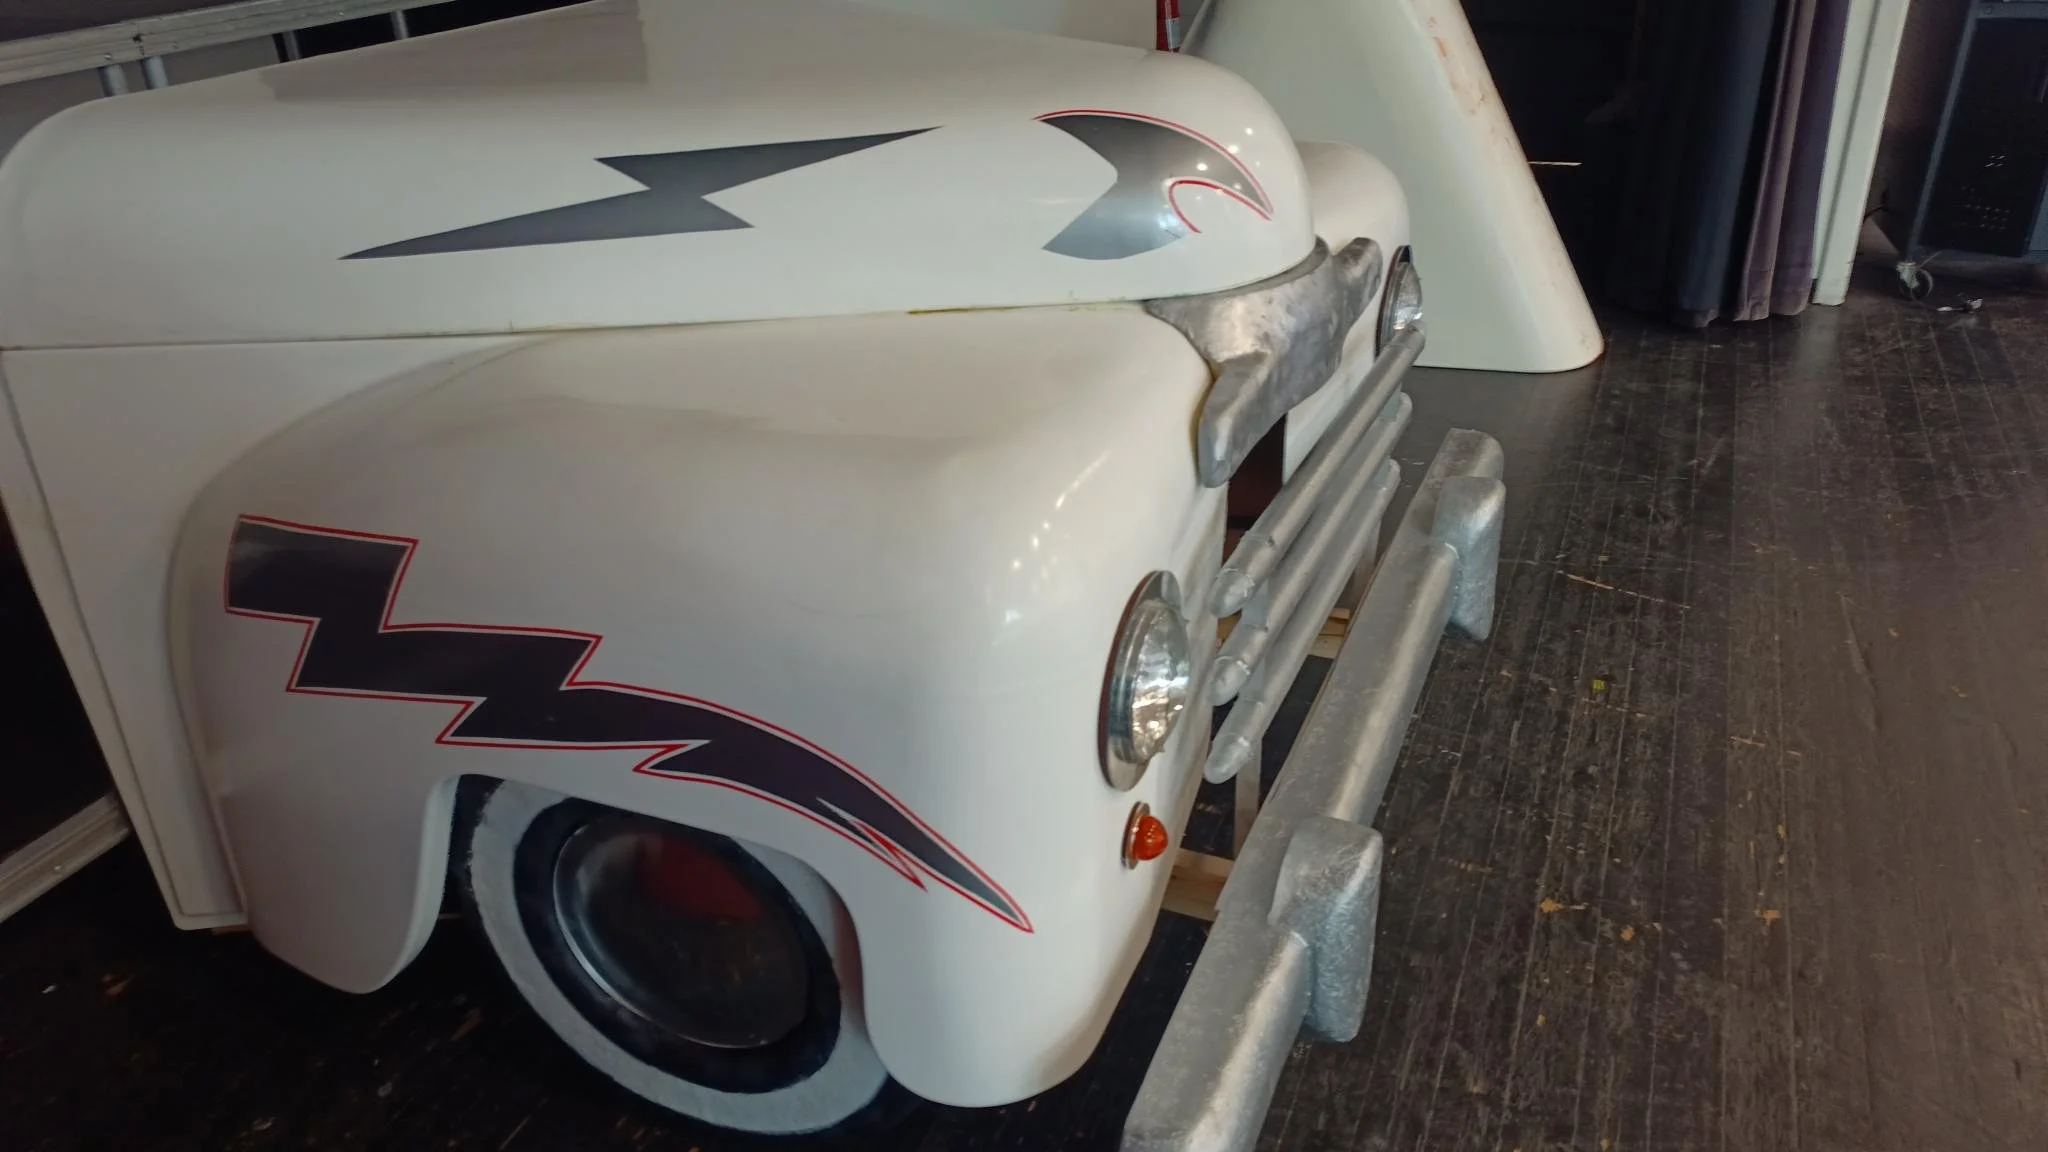
And what a change to the 'hero car' that the T-Birds dream of. Gloss white gelcoat, with silver vinyl lightning bolts and red vinyl tape outlines. Note also the 'chrome' hubcaps.
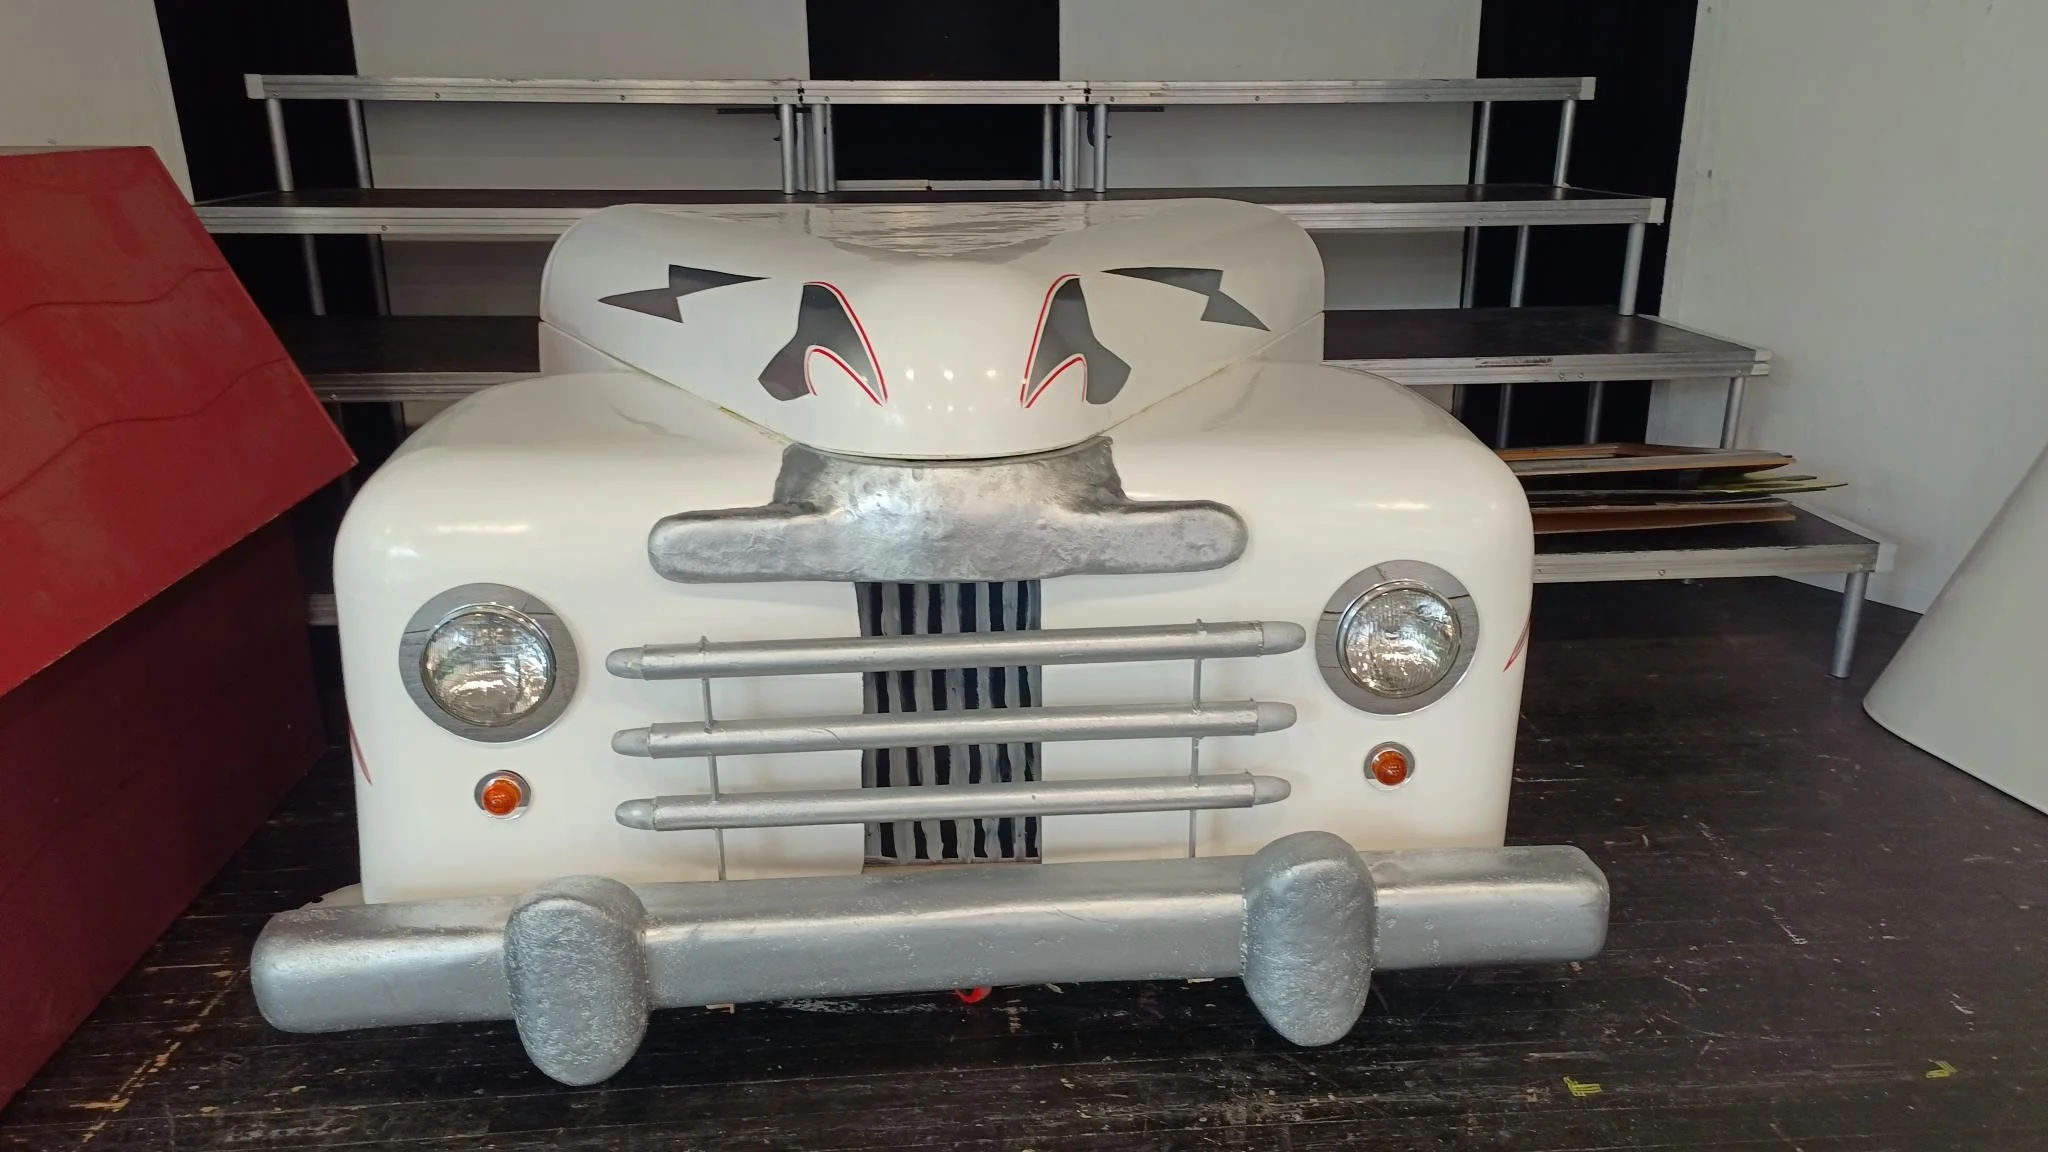
Using real headlights and 'chrome' acrylic bezels, with real indicator lenses, the front view really glints.
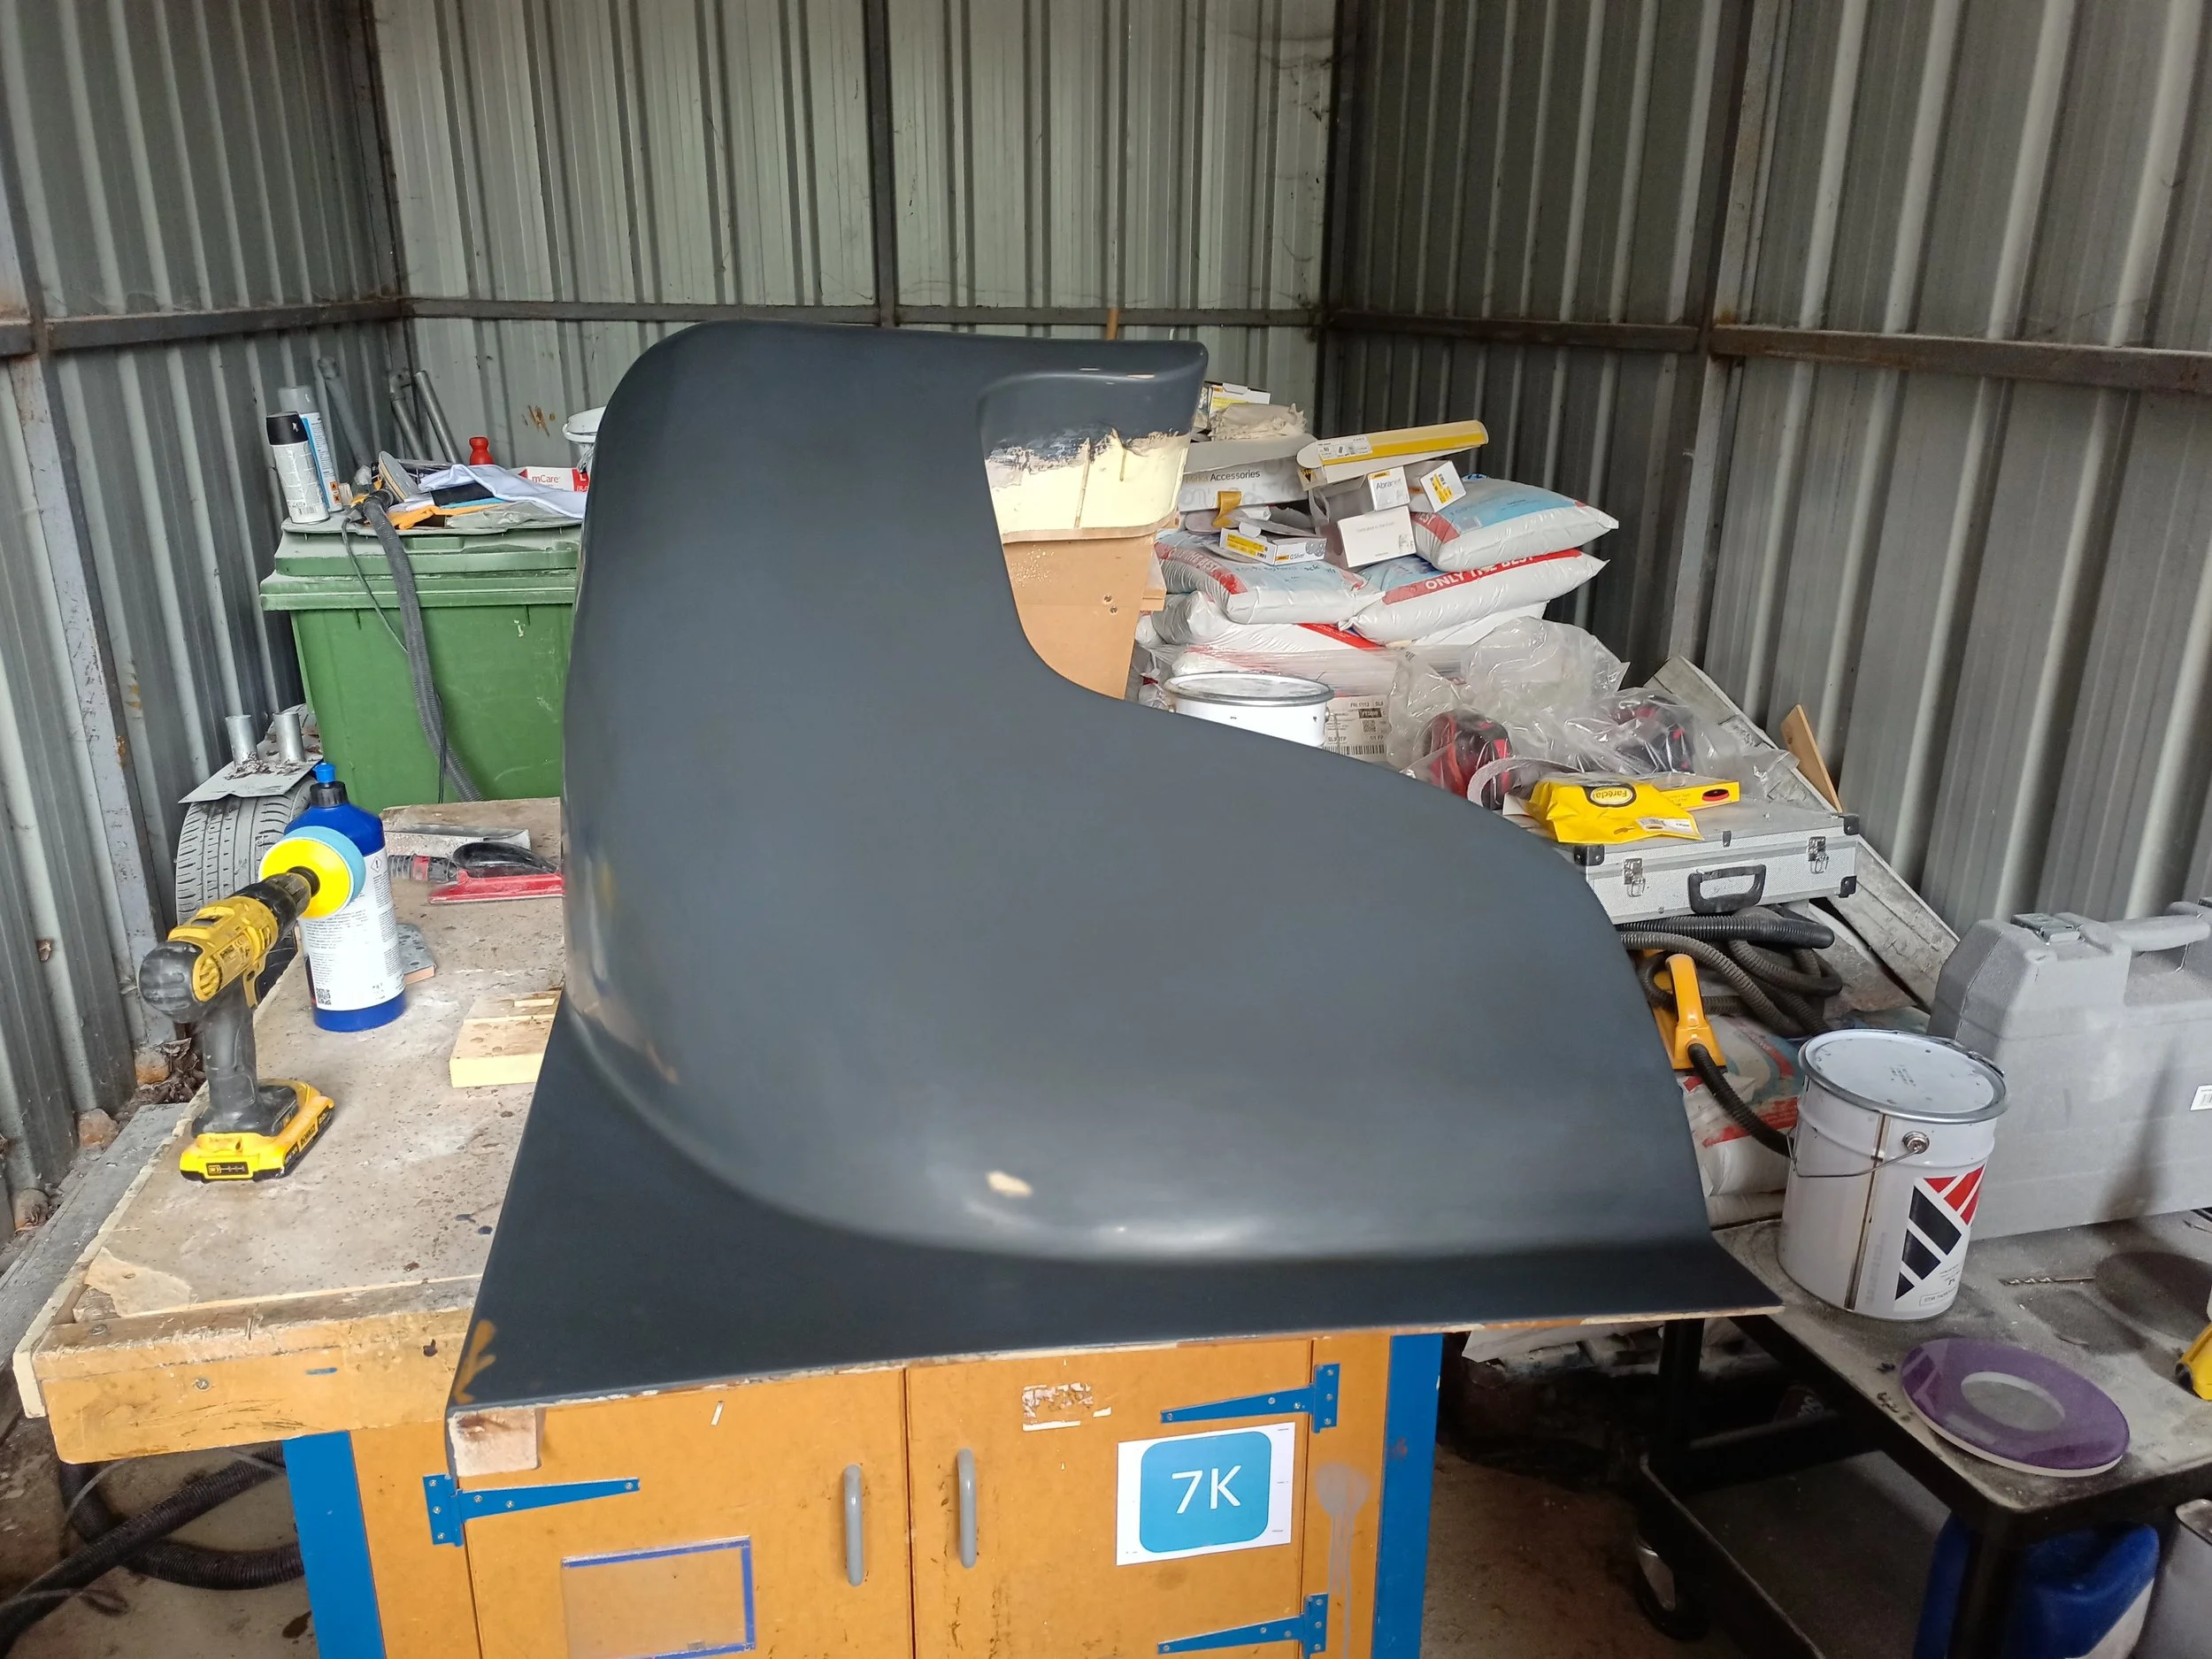
Note the unusually flat surfaces on the top of the wings and bonnet. These were designed to support being stood on.

This image gives the game away that the 'wheels' aren't real. Braked castors, weight-rated appropriately, were used to allow the car to be transferred easily to and from the wings.

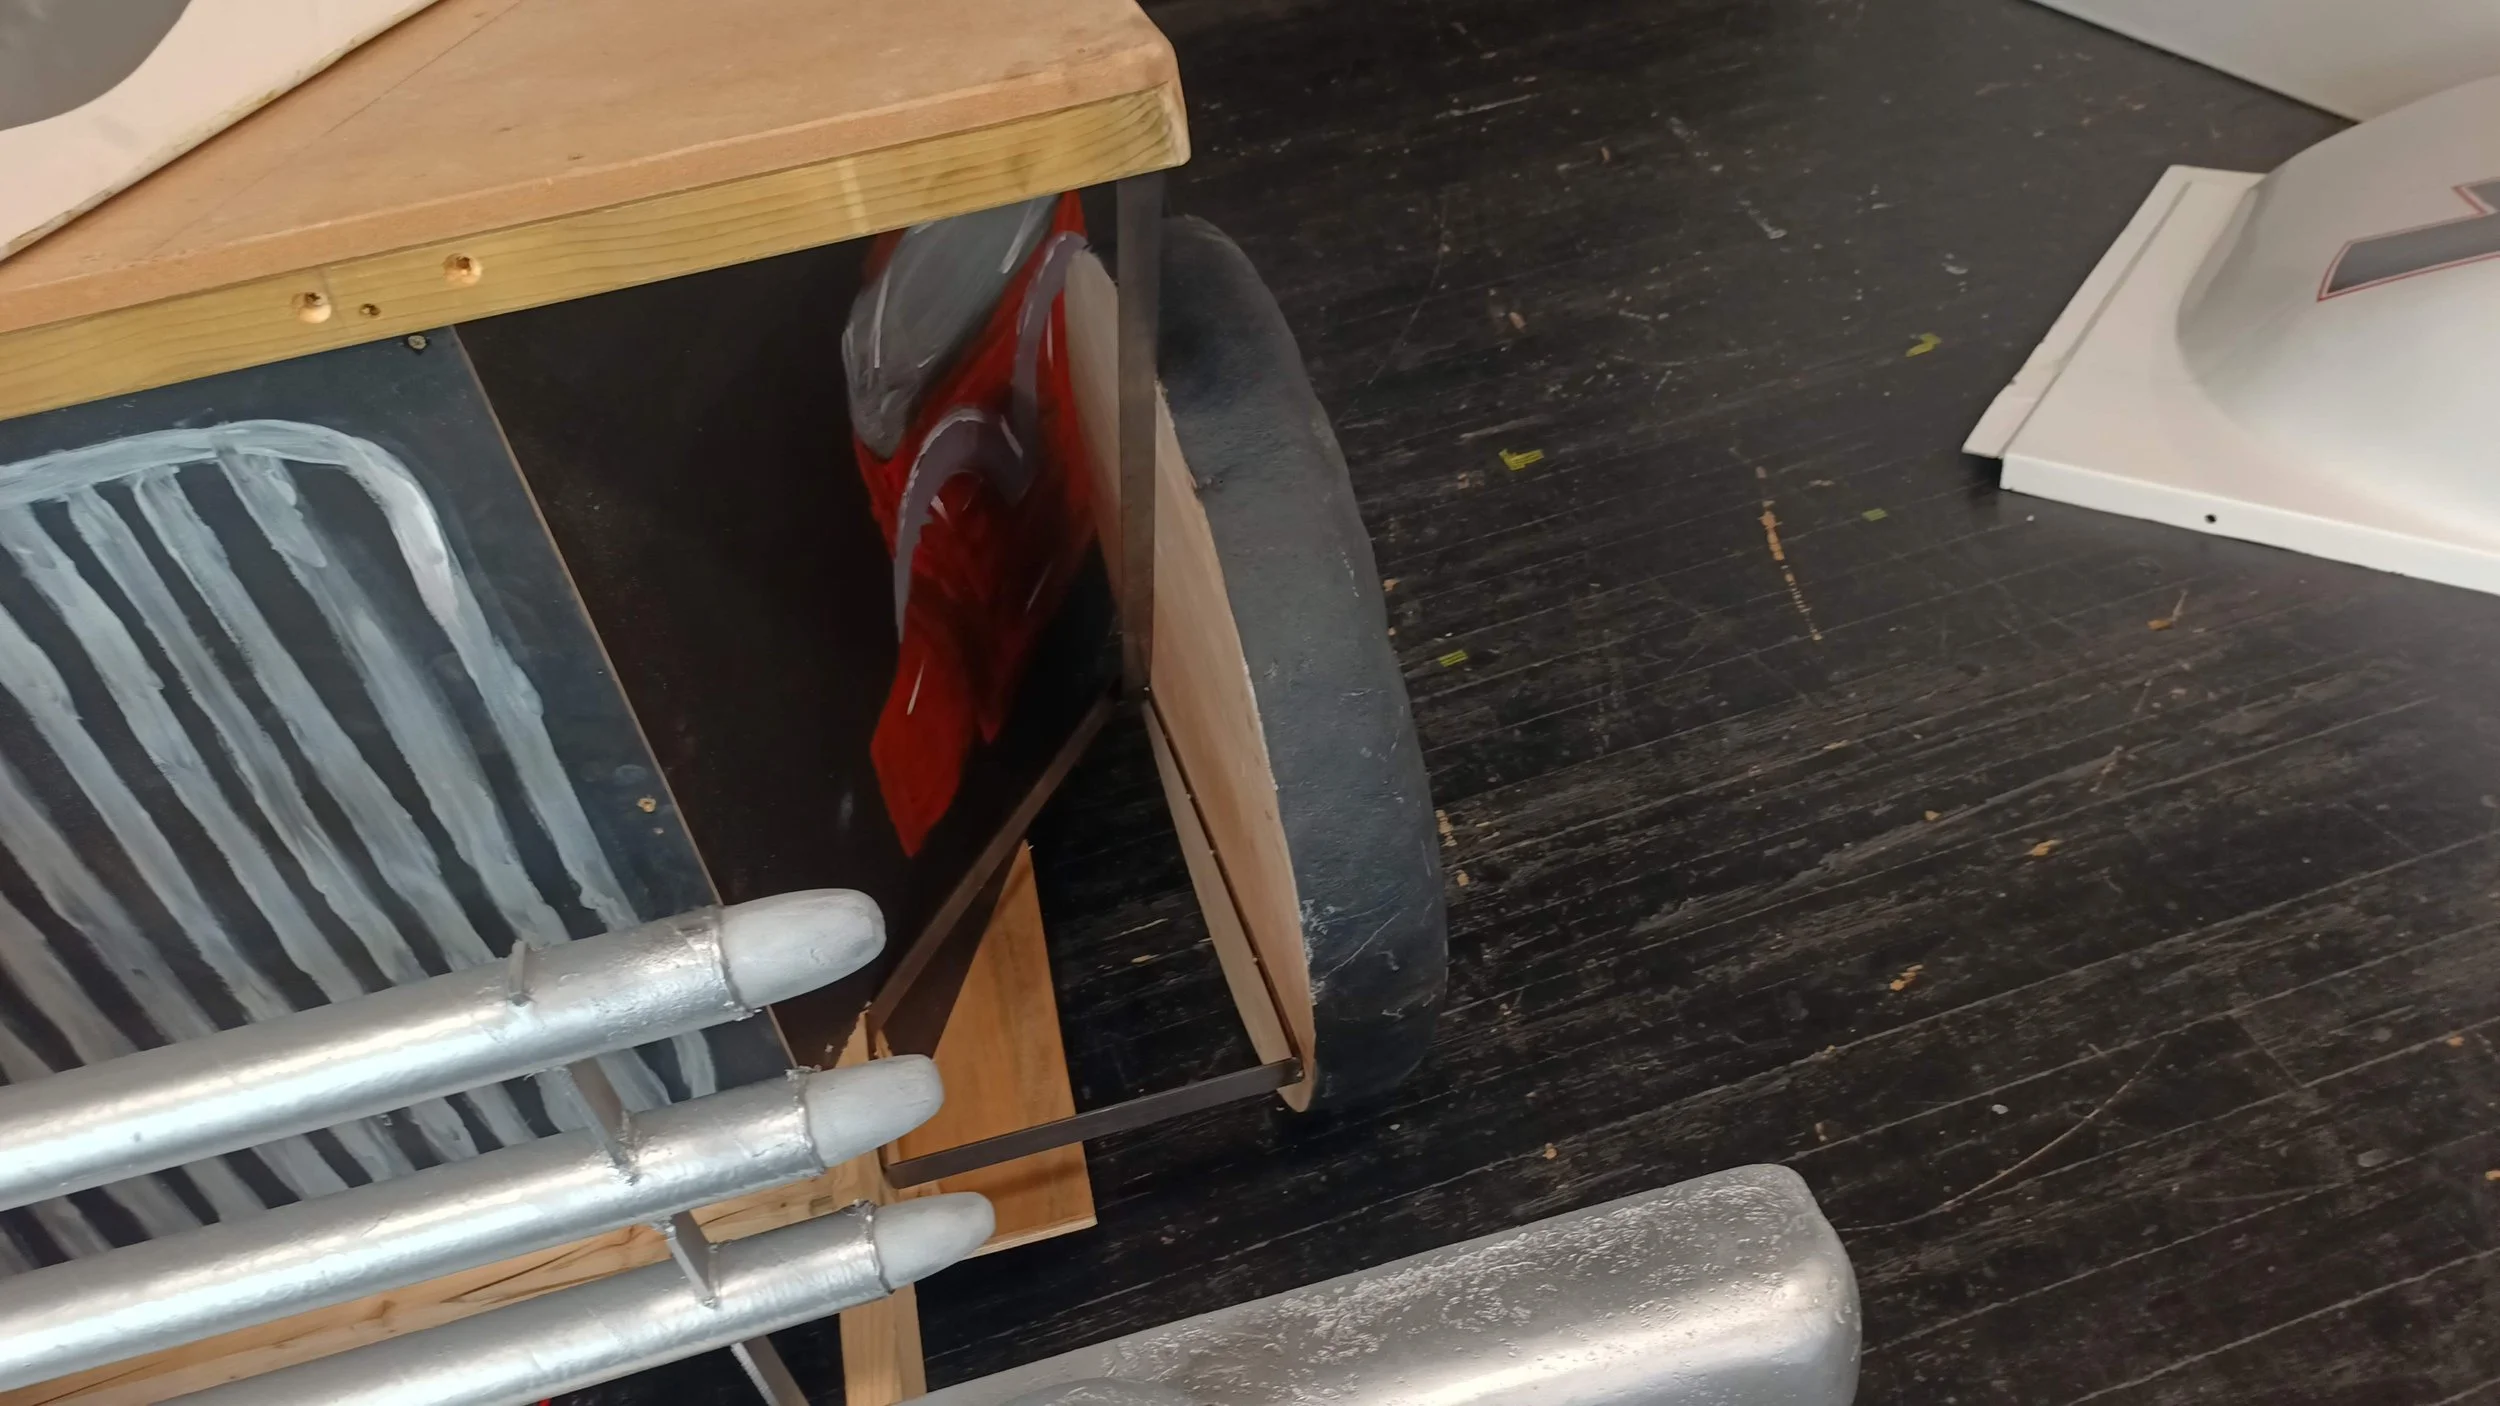
This image shows some of the artwork done by one of the A-level art students to suggest the presence of an american V8 engine and radiator. You can also see the support structure for the wings, including the locating studs that enabled secure attachment of the wings and bonnet to the base structure, but also easy panel replacement during a scene change.
This shot demonstrates the additional fibreglass covered foam stiffening provided underneath the bonnet to enable it to be walked on.
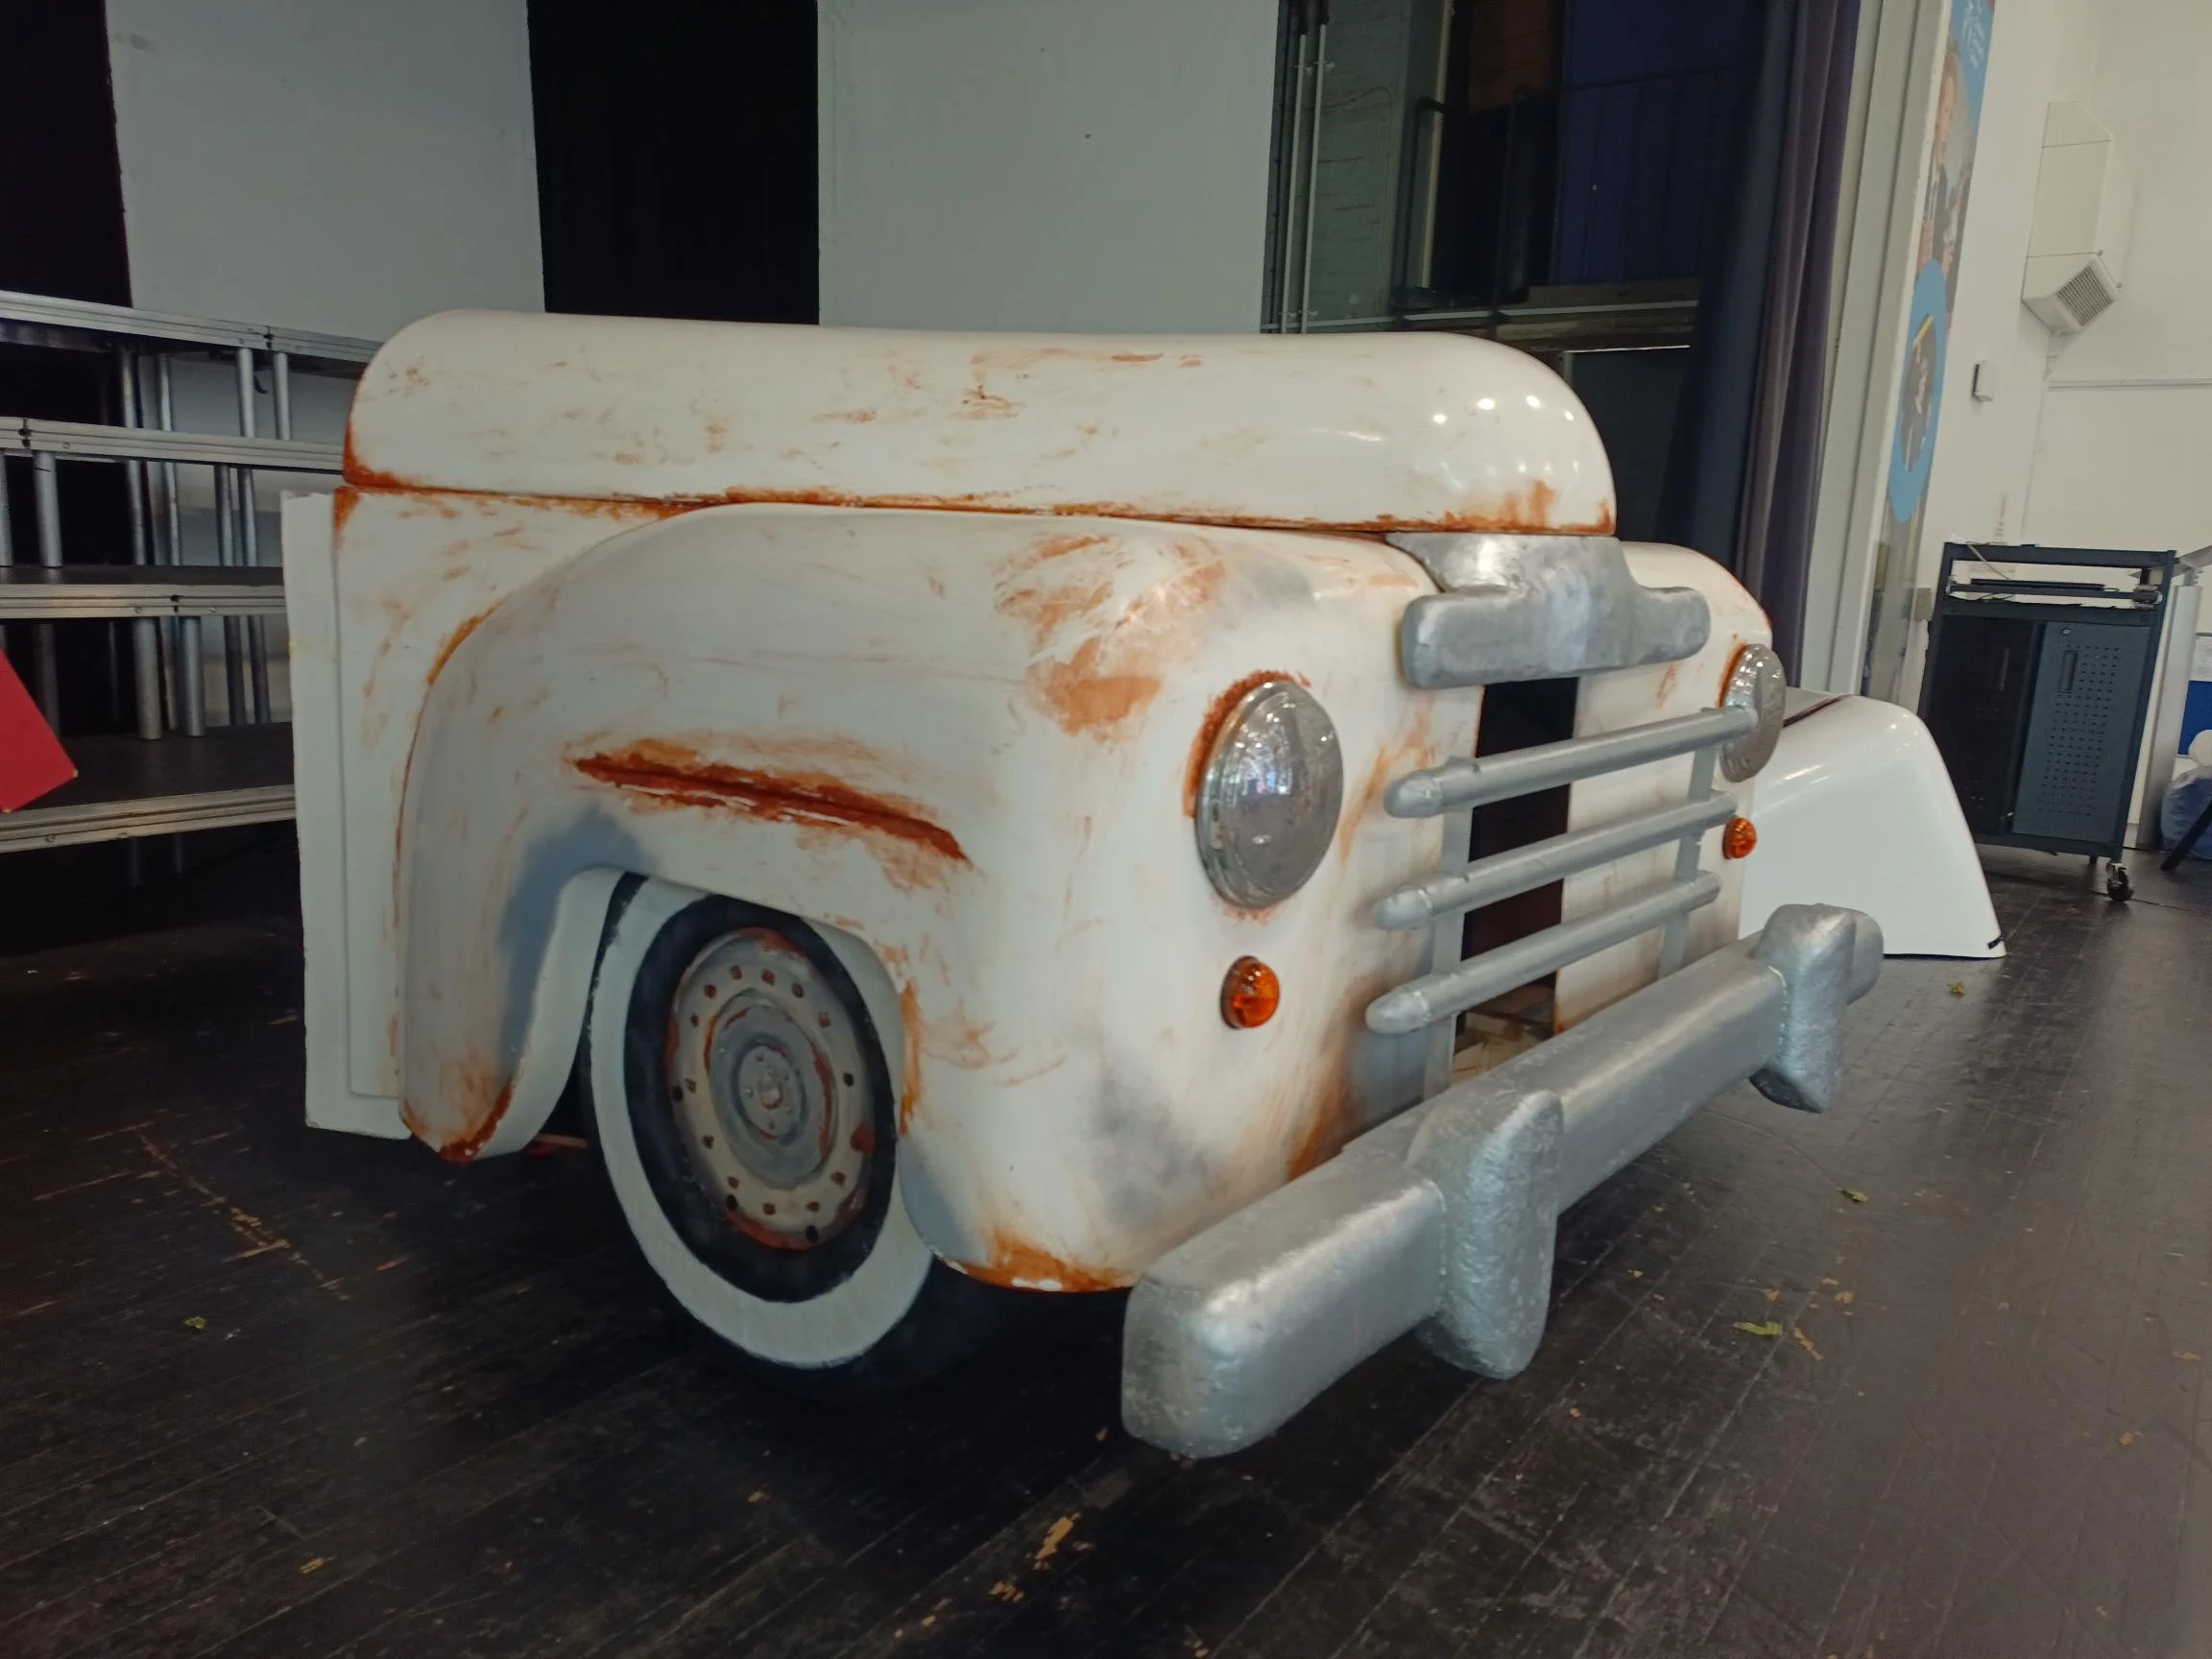
This image shows the 'accident damage' scar produced also using plasticine in the mould. You can also see more of the decorative artwork for the wheels.
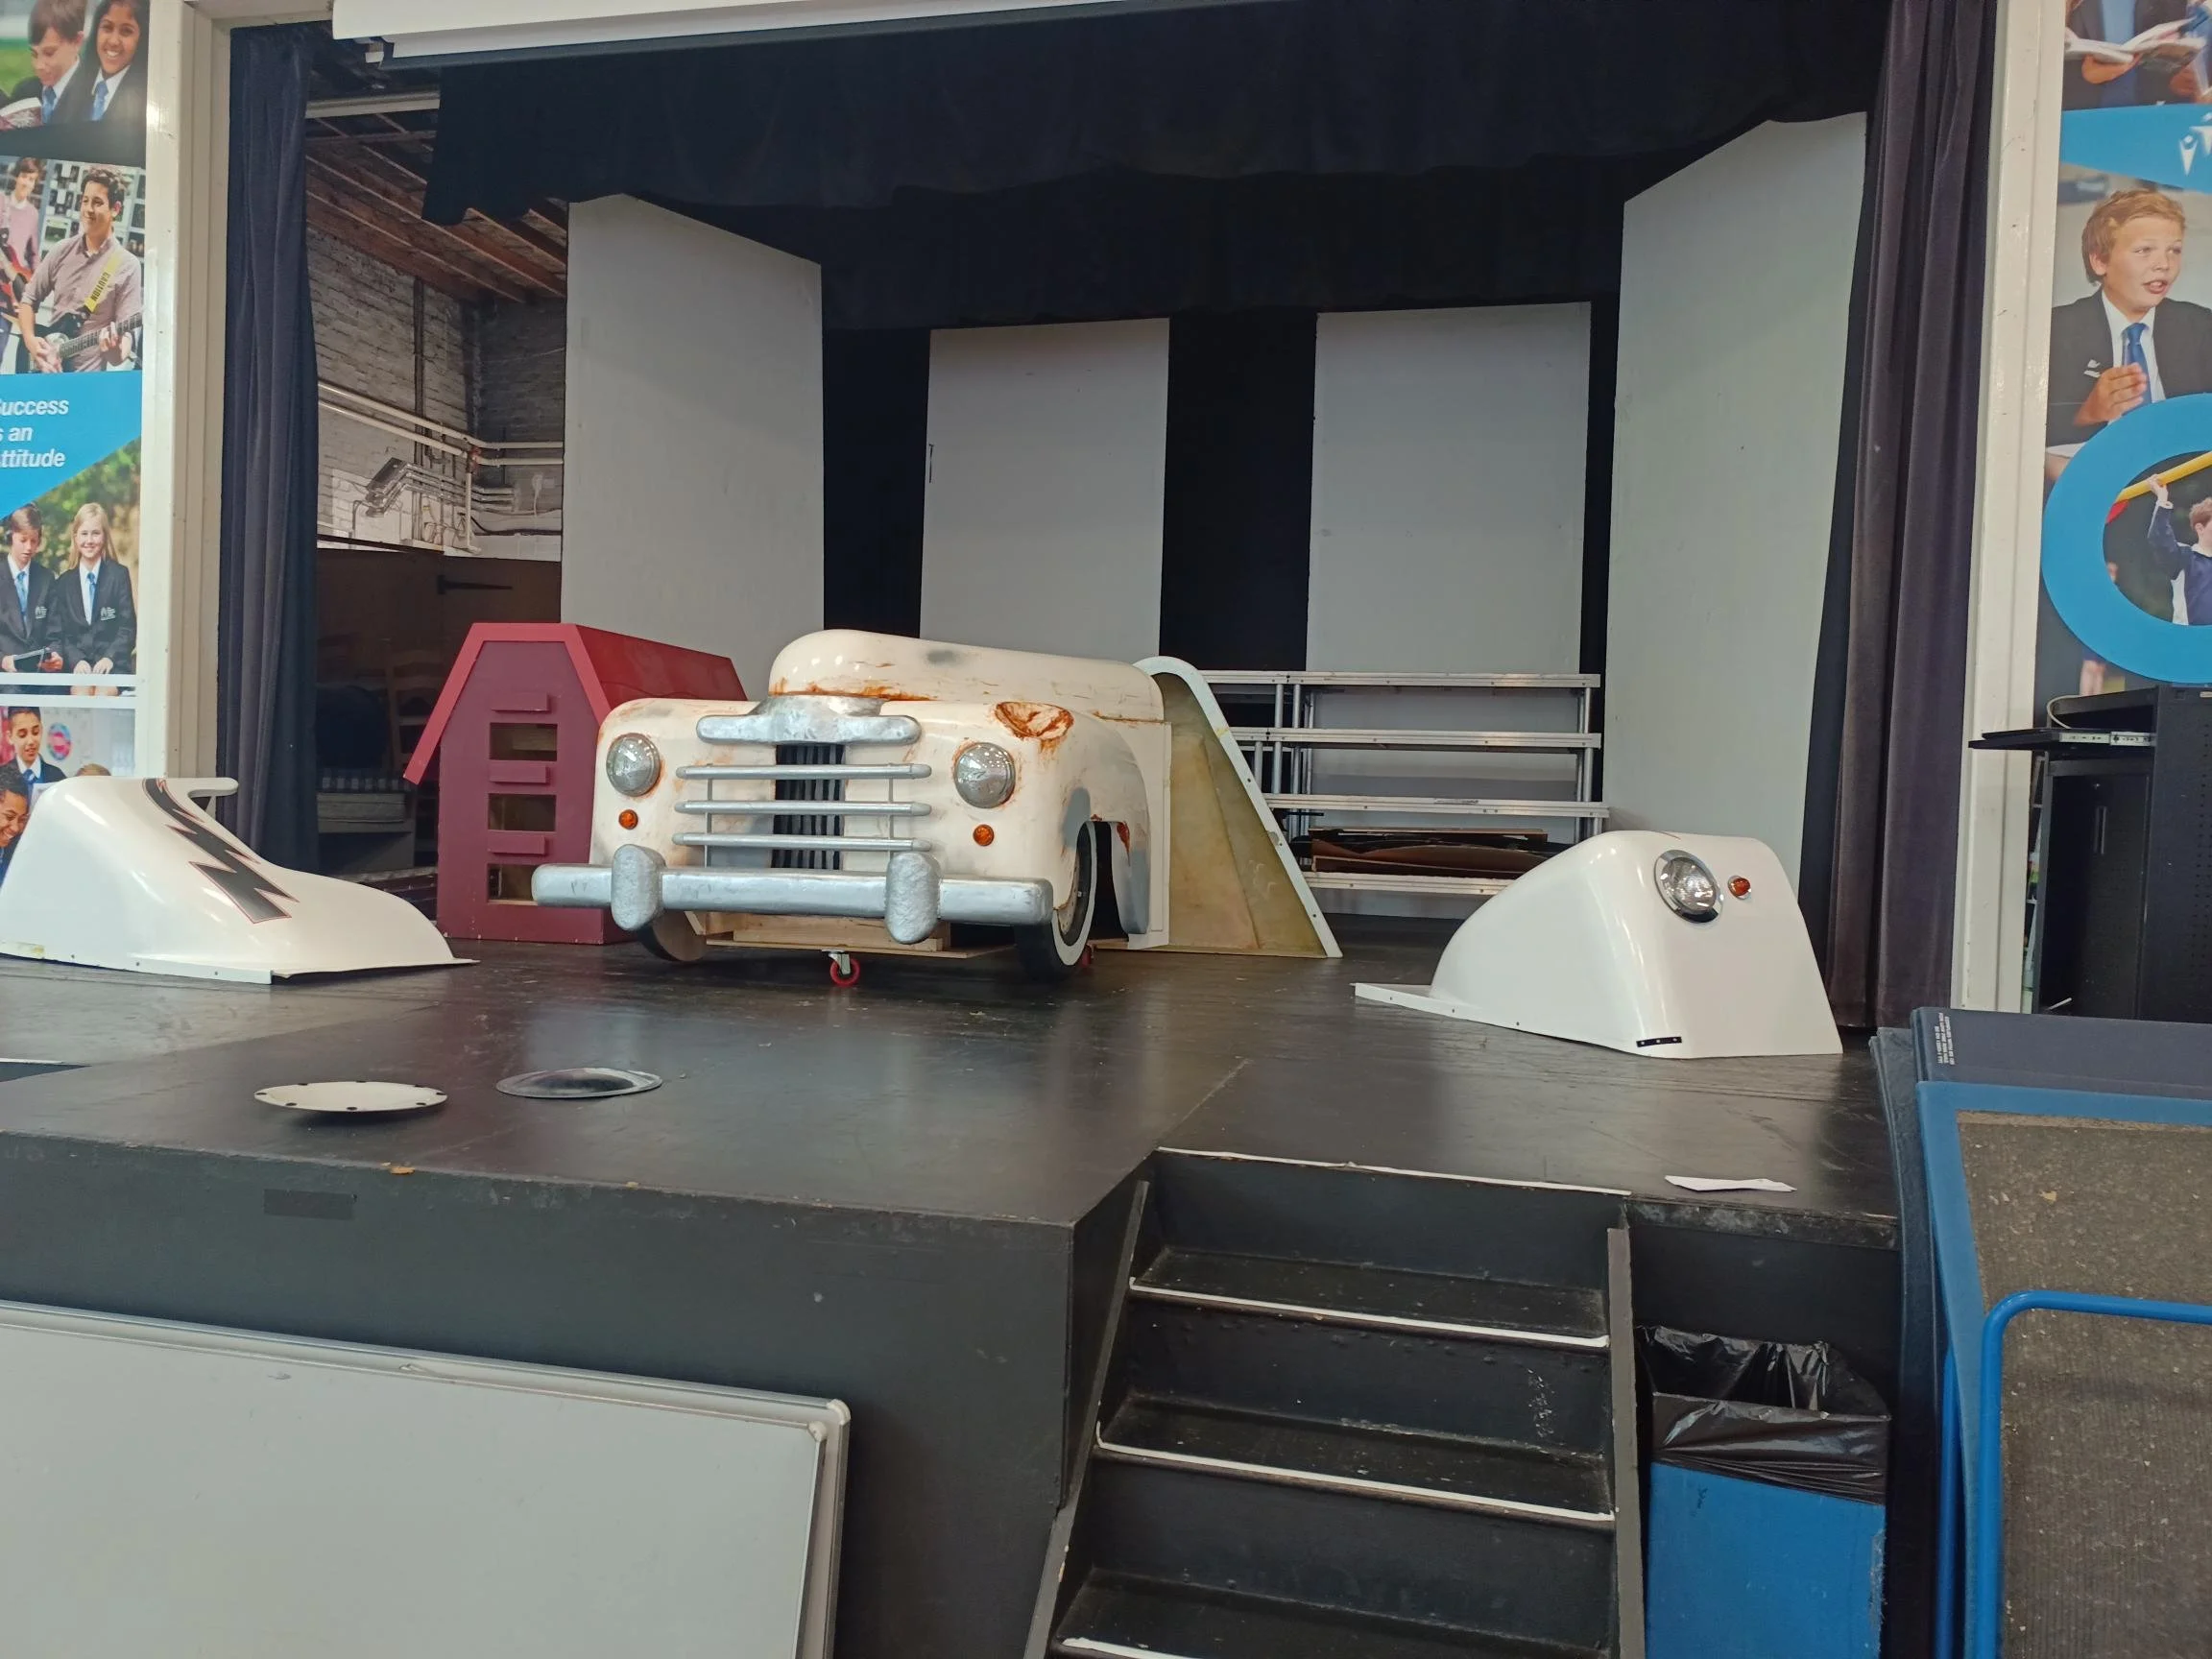
All of the panels on the stage together.

The first physical parts of the process, producing the bonnet plug. The dimensions were scaled from an image of a 1940 Ford Super Deluxe and converted into a SolidWorks model.

Flexi-ply and polyurethane foam provided the curved surfaces.
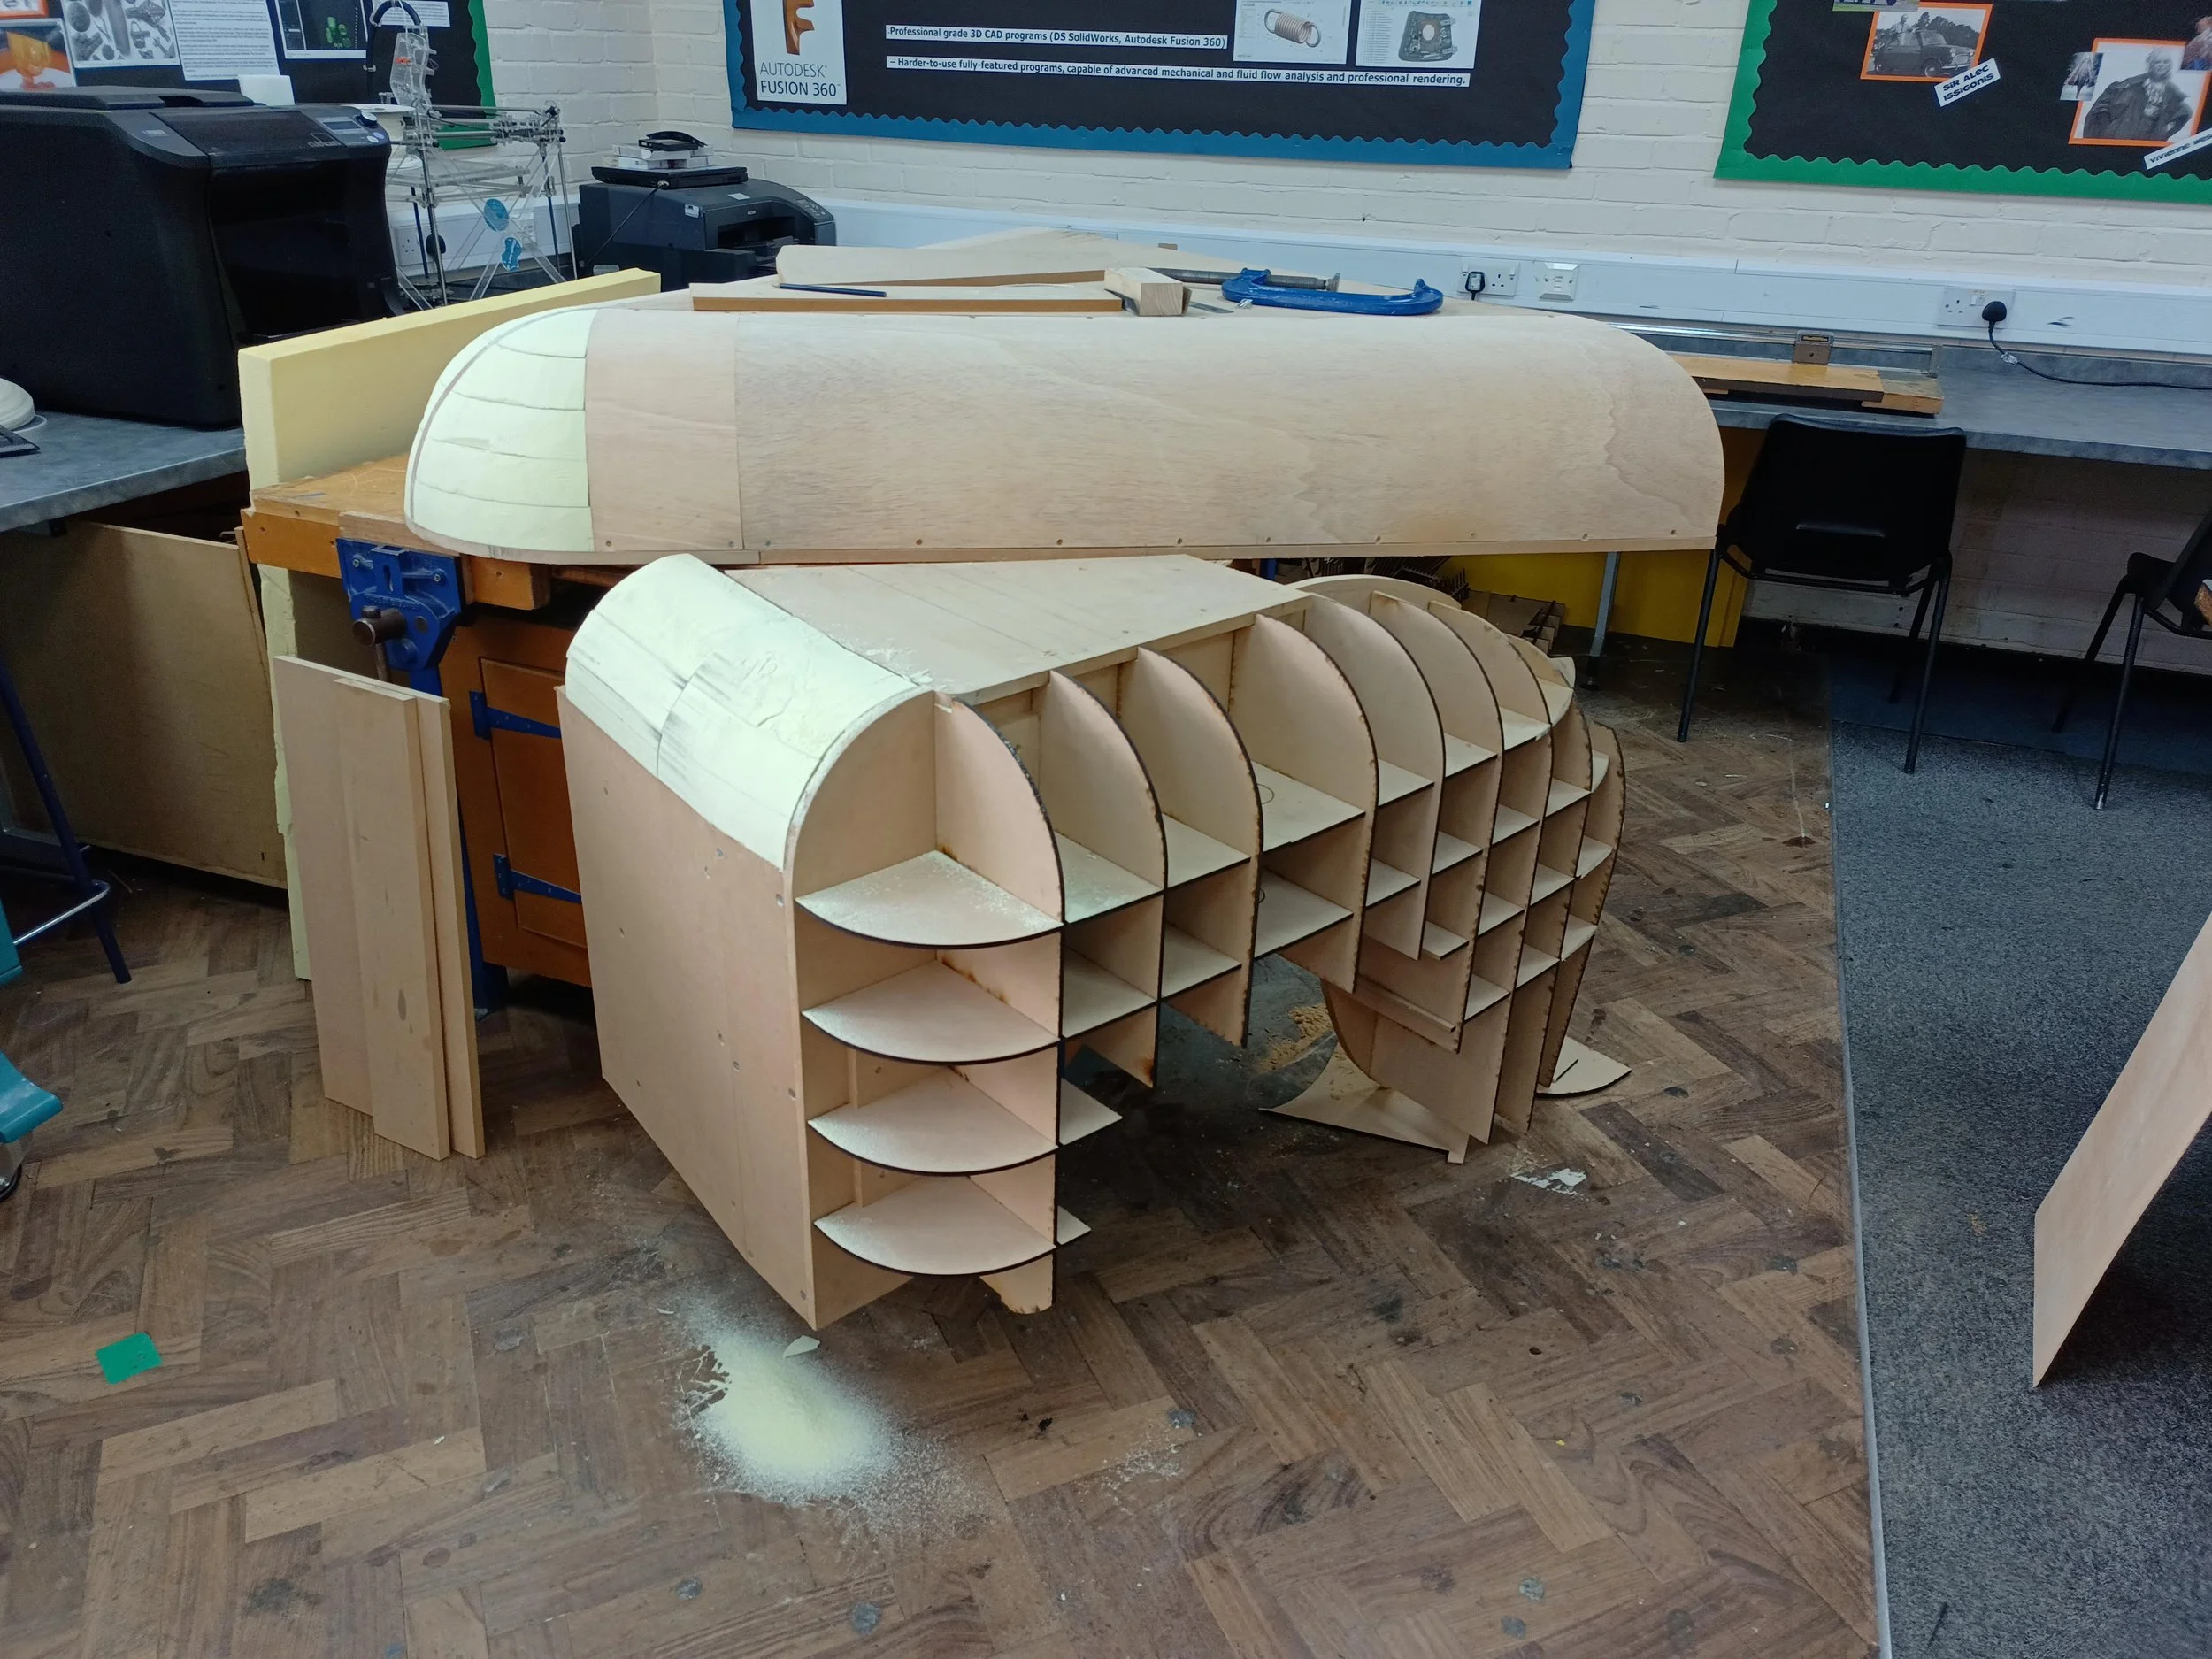
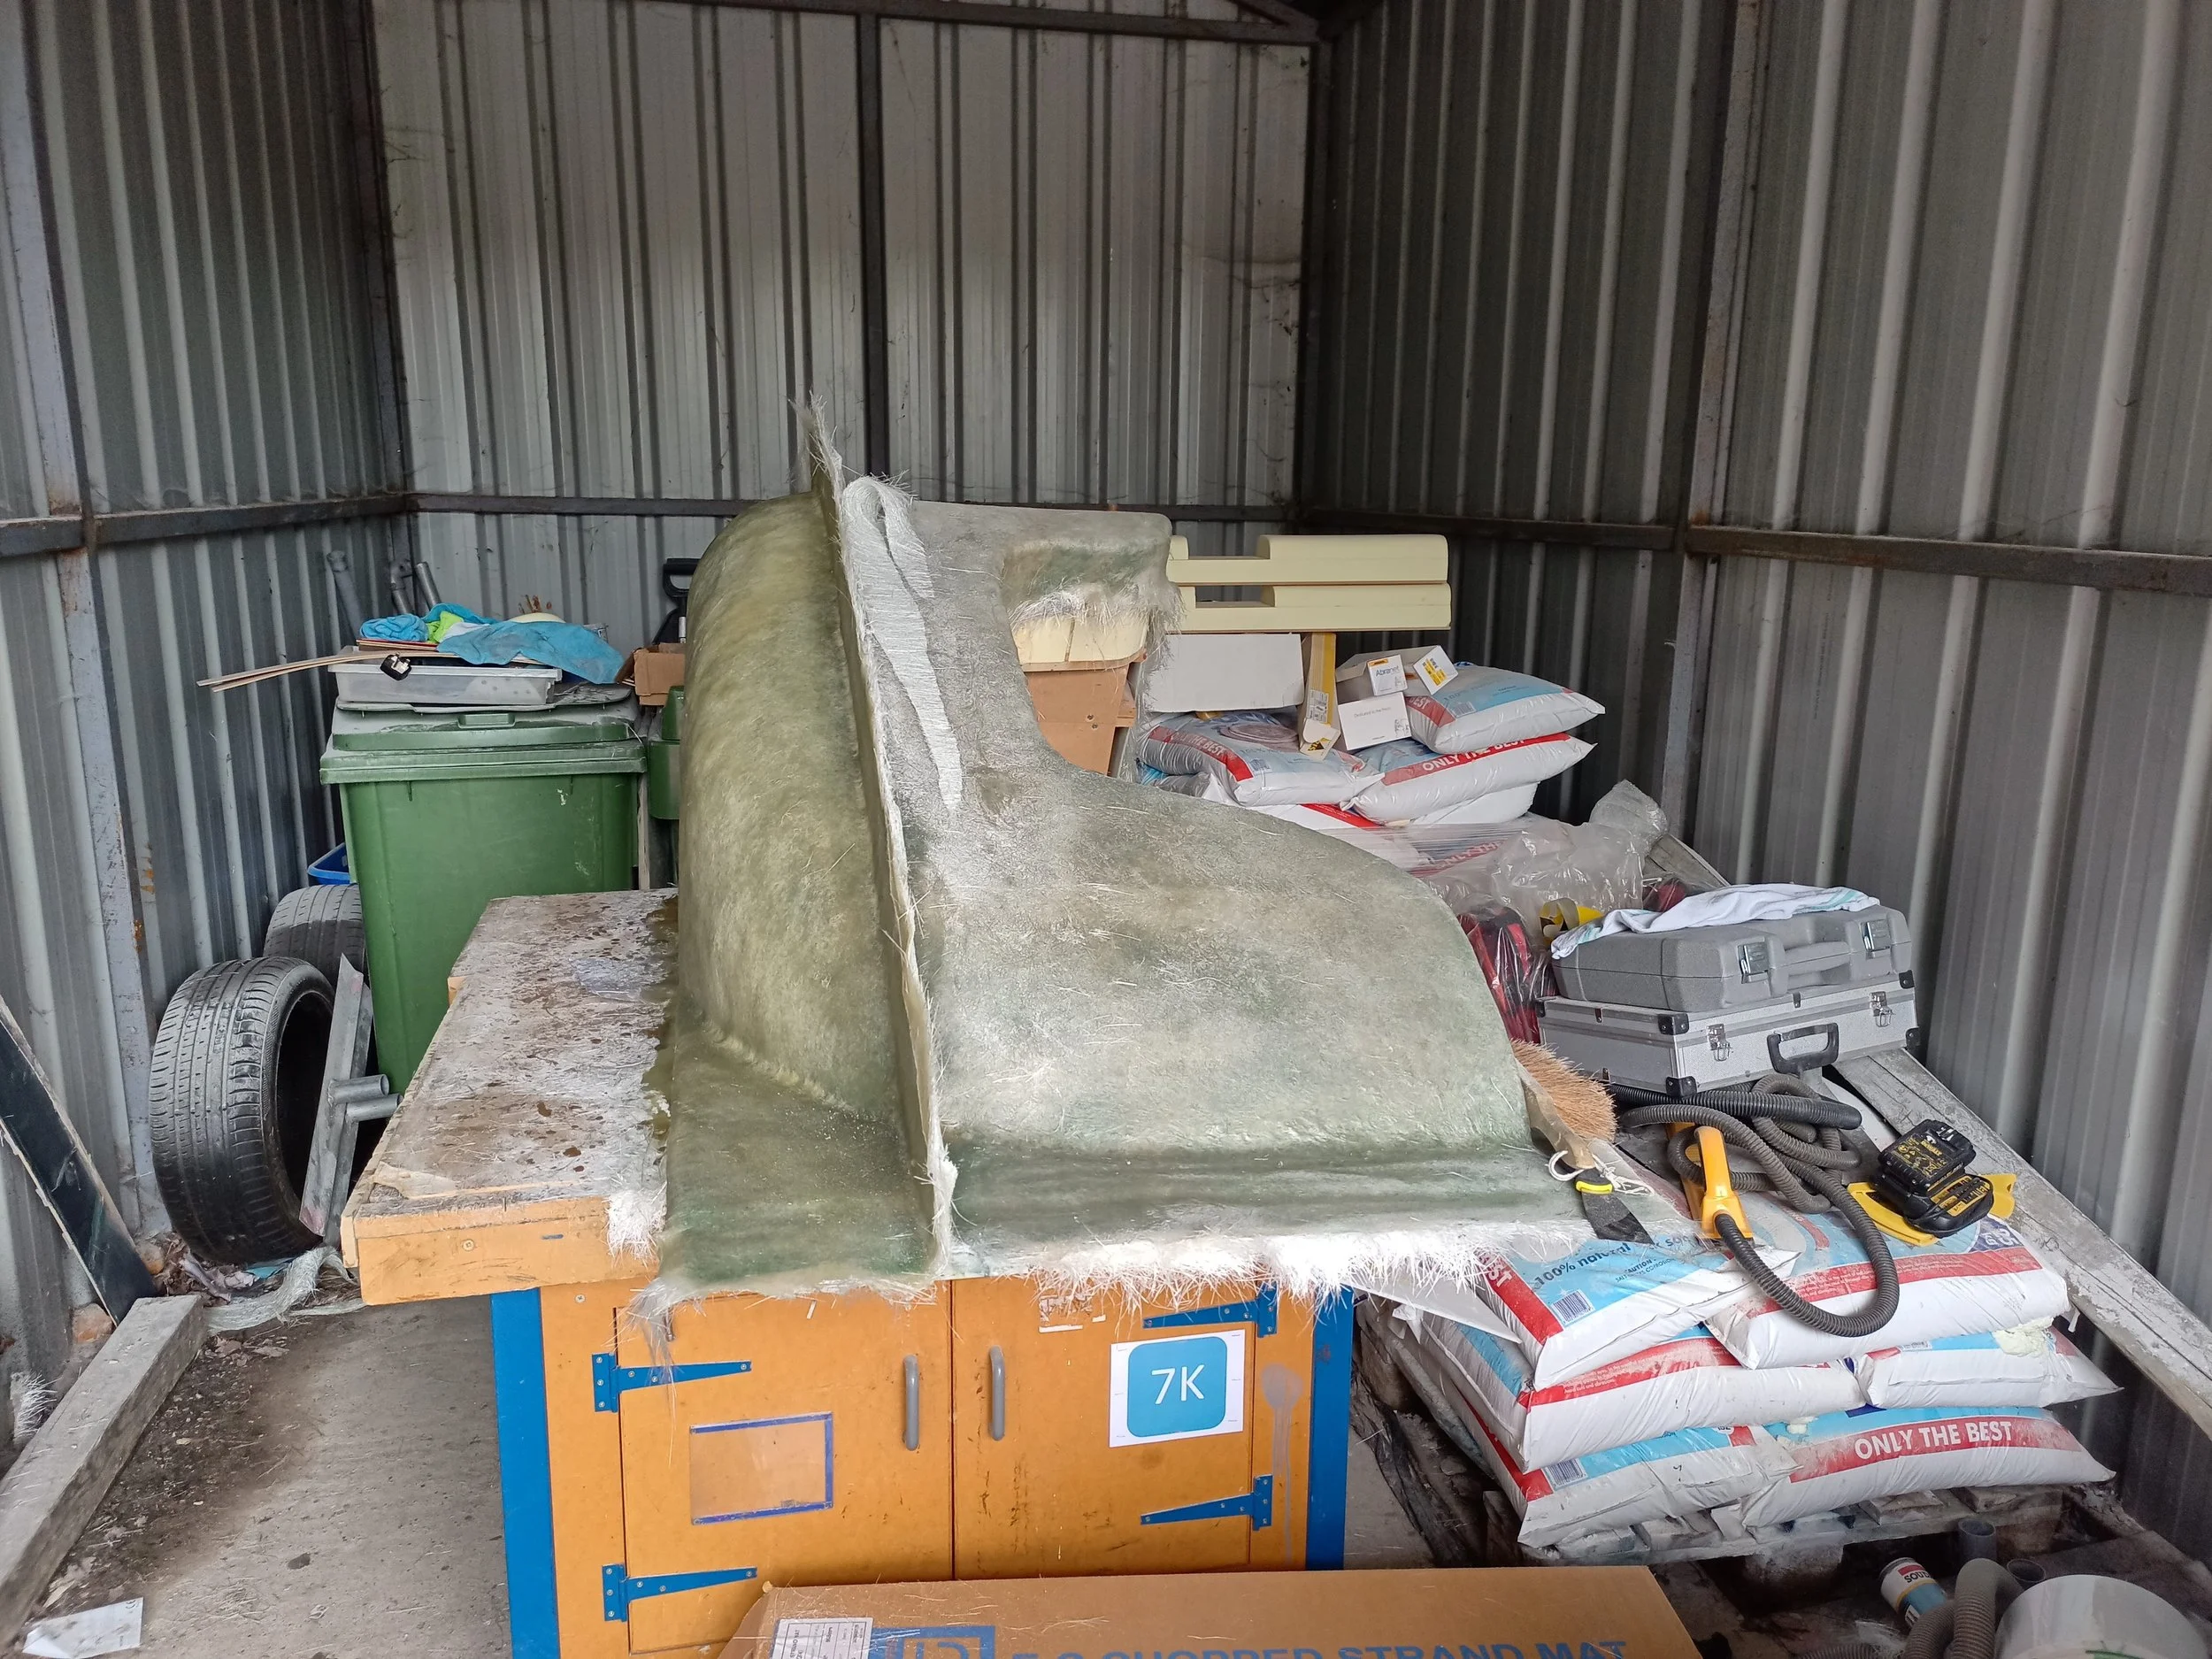
The wing plugs were formed in a similar fashion, this time using a laser-cut grid extracted directly from the Solidworks model.

The wing plugs, of course needed to be handed. This image shows a bit more of the plug structure.

Polyurethane foam infills enabled further shaping.

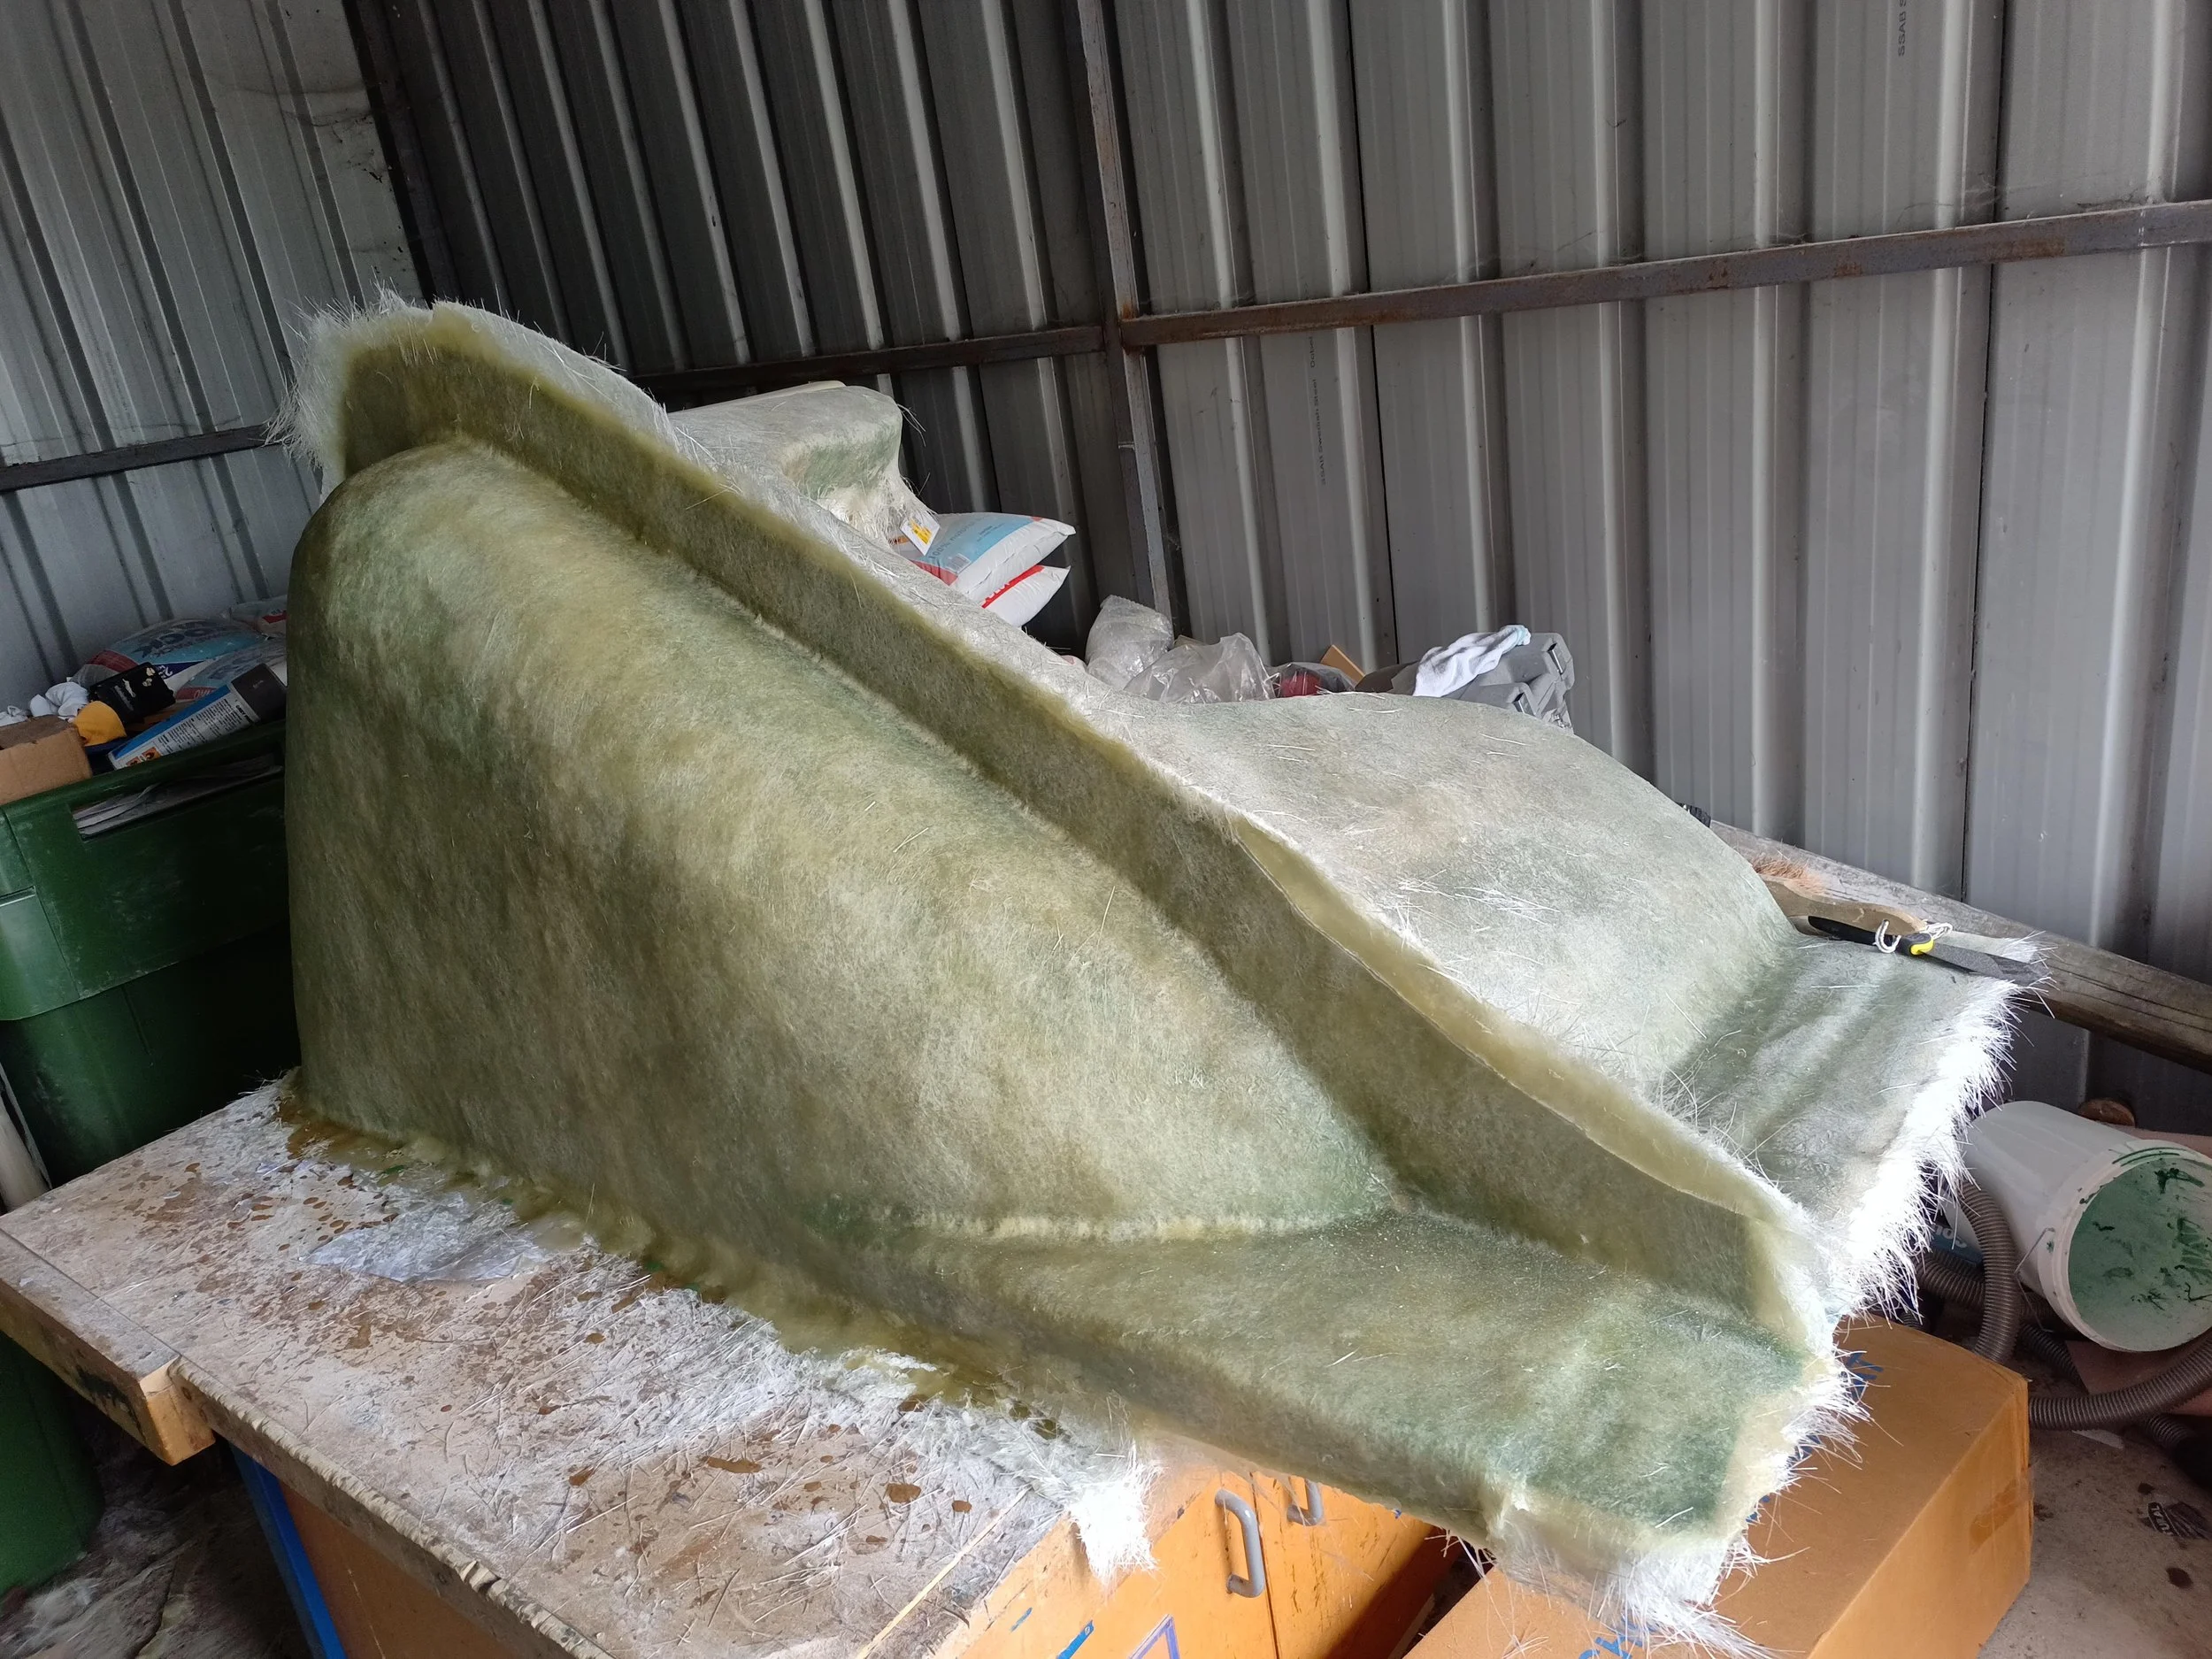
A combination of rasps, surforms and coarse grit sandpaper on a longboard got the foam to follow the profile created by the laser-cut grid.

Car body filler helped solidify the surface and produce a smooth even surface. Note the change of scenery: this is a covered shelter/open garage in the carpark. The volatile organic solvents in the polyester body filler (and the polyester resin used for the GRP) would be hazardous in an enclosed environment. Proper respirators for organic solvents were still required in the immediate vicinity.

Significant amounts of filling and sanding ensued to get a smooth fair surface.

The outer surface was looking fairly smooth by now.

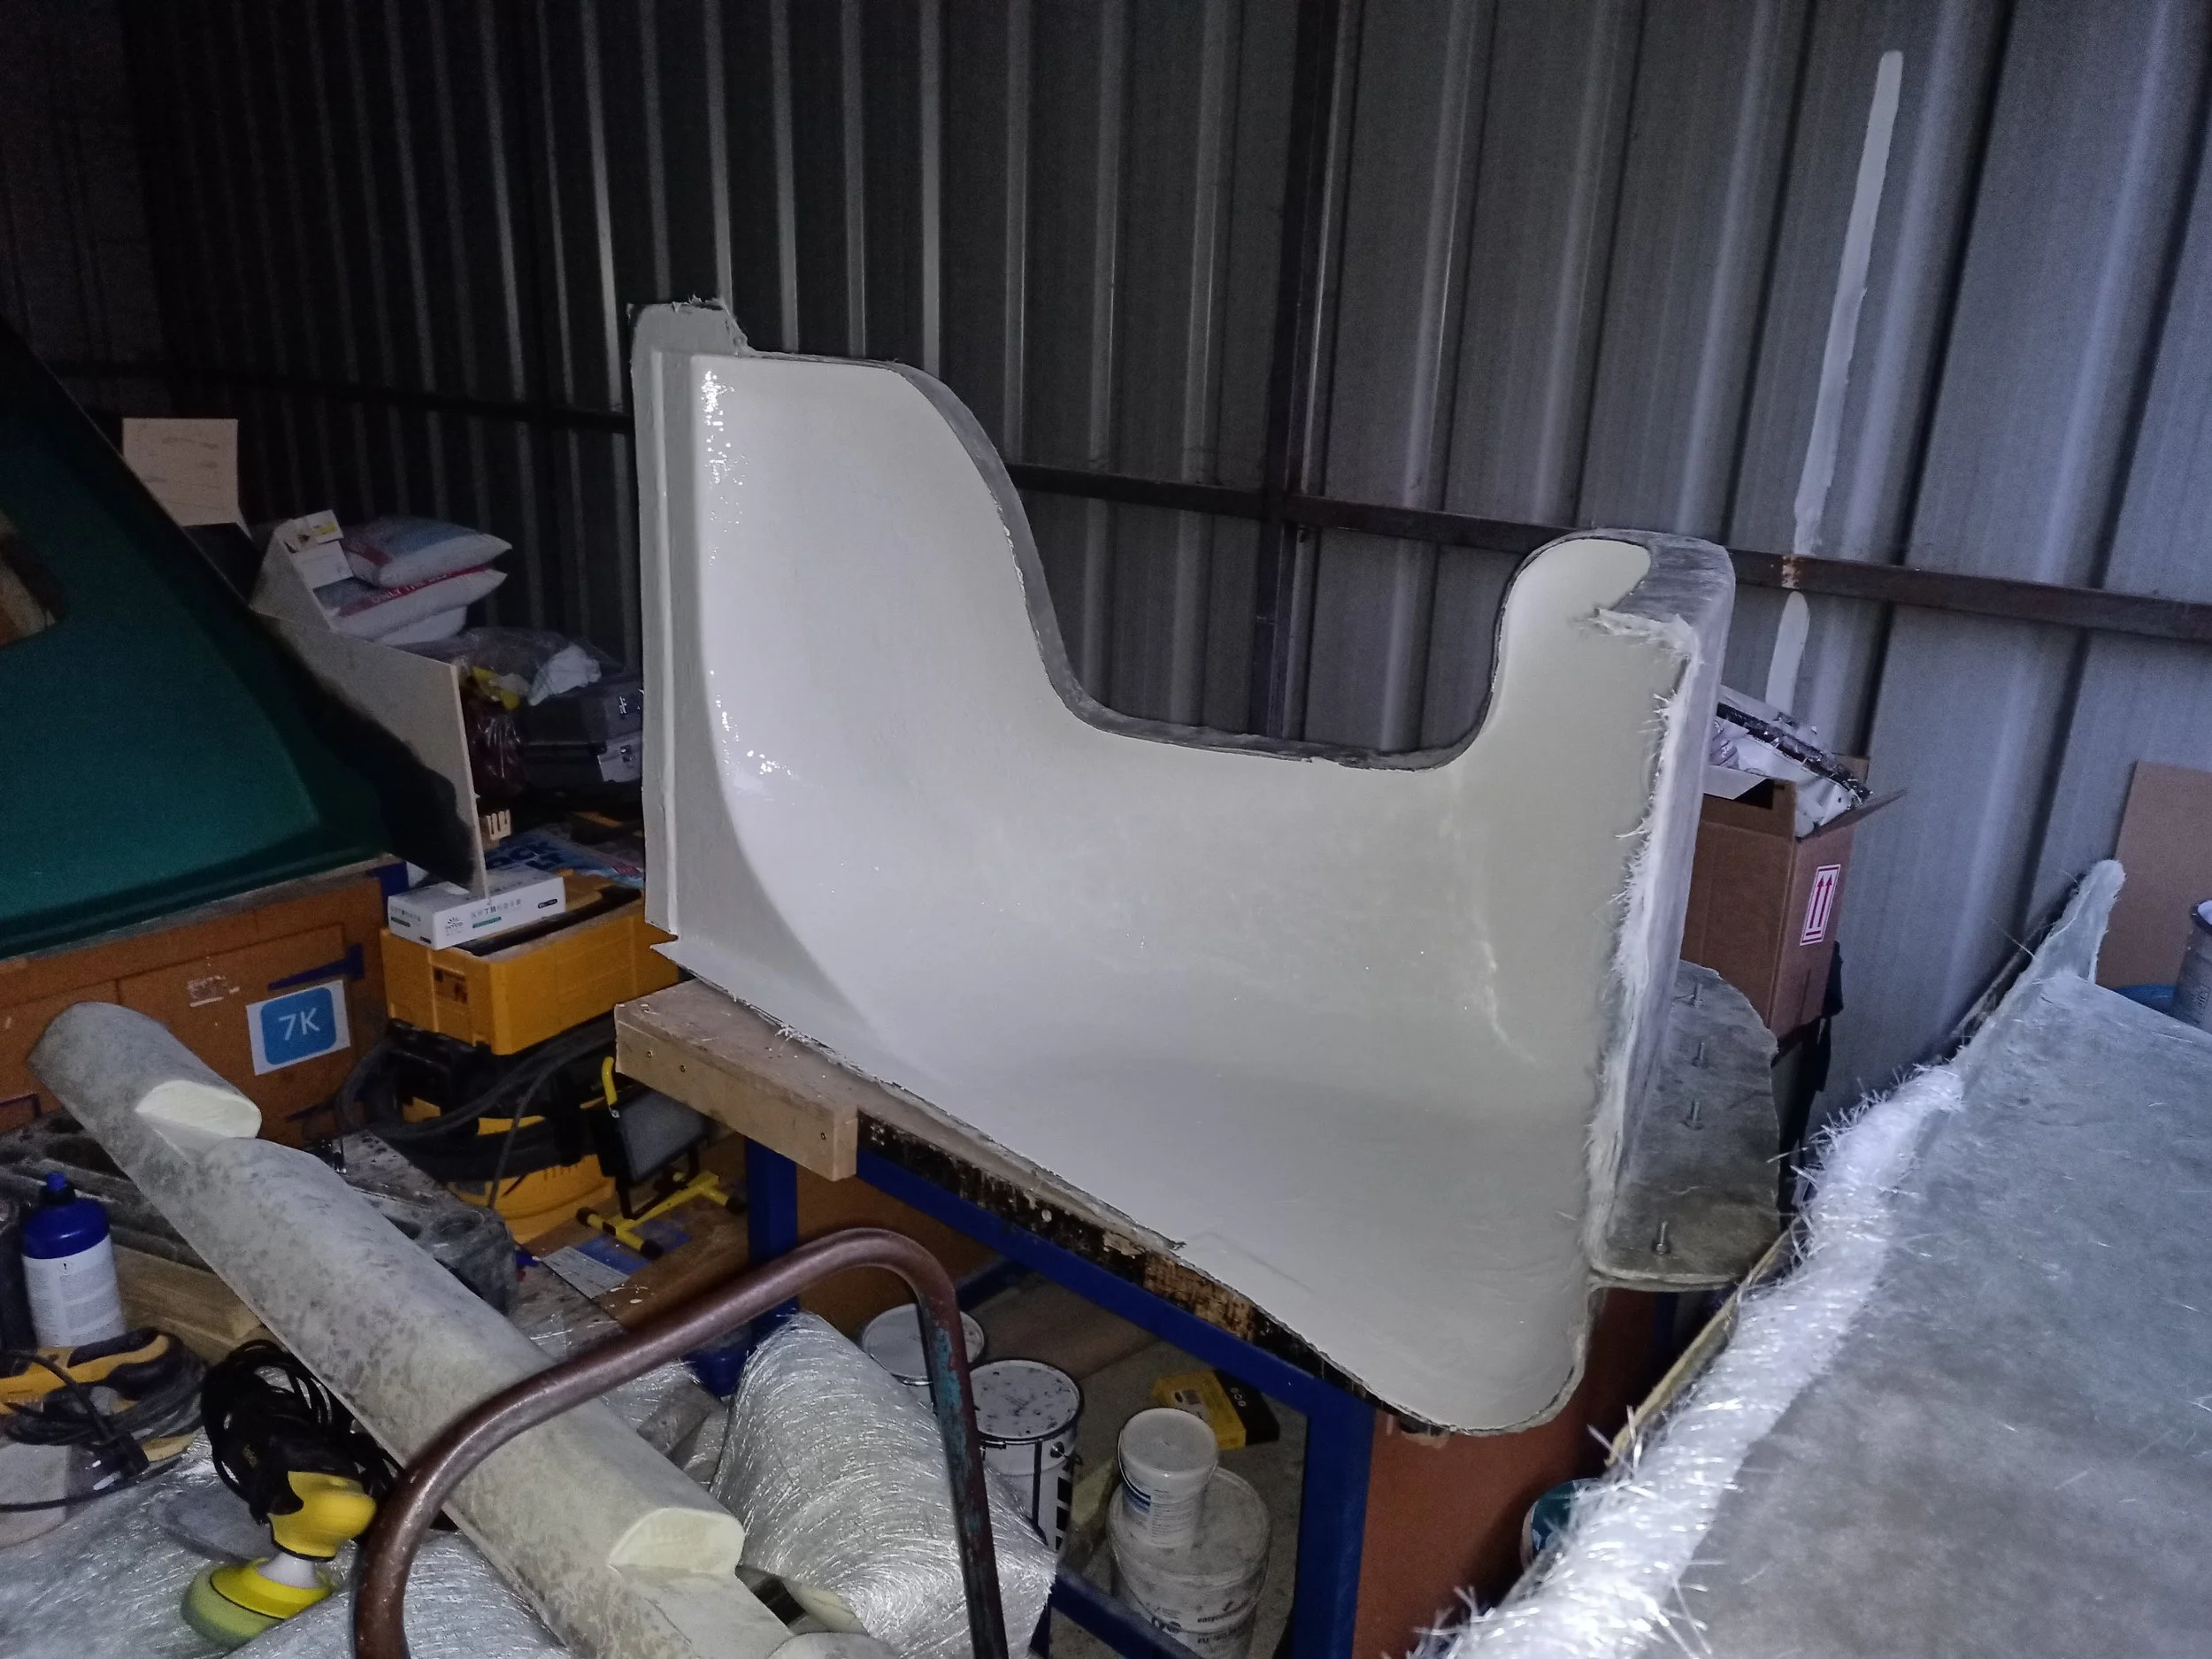
The inside edge of the wheel arches needed to be turned in, both for stiffness of the finished panel, but also to ensure that any sharp edges/fibreglass shards would be facing away from the actors.

Several coats of a high build primer designed for GRP plugs, brought the finish to a super smooth pinhole free finish.
Wax and a lot of polishing brought the surface to a gloss finish, with a mould-release agent, ready to produce the female GRP moulds.

A parting surface made from MDF helped to produce a two-part mould. This MDF was painted with the same primer and release-agent combination as the plug. A seam sealing wax made the joint between it and the plug perfectly gap free.
The first layer of mold gel-coat was applied. Note the plasticine mold locating points on the joint face.
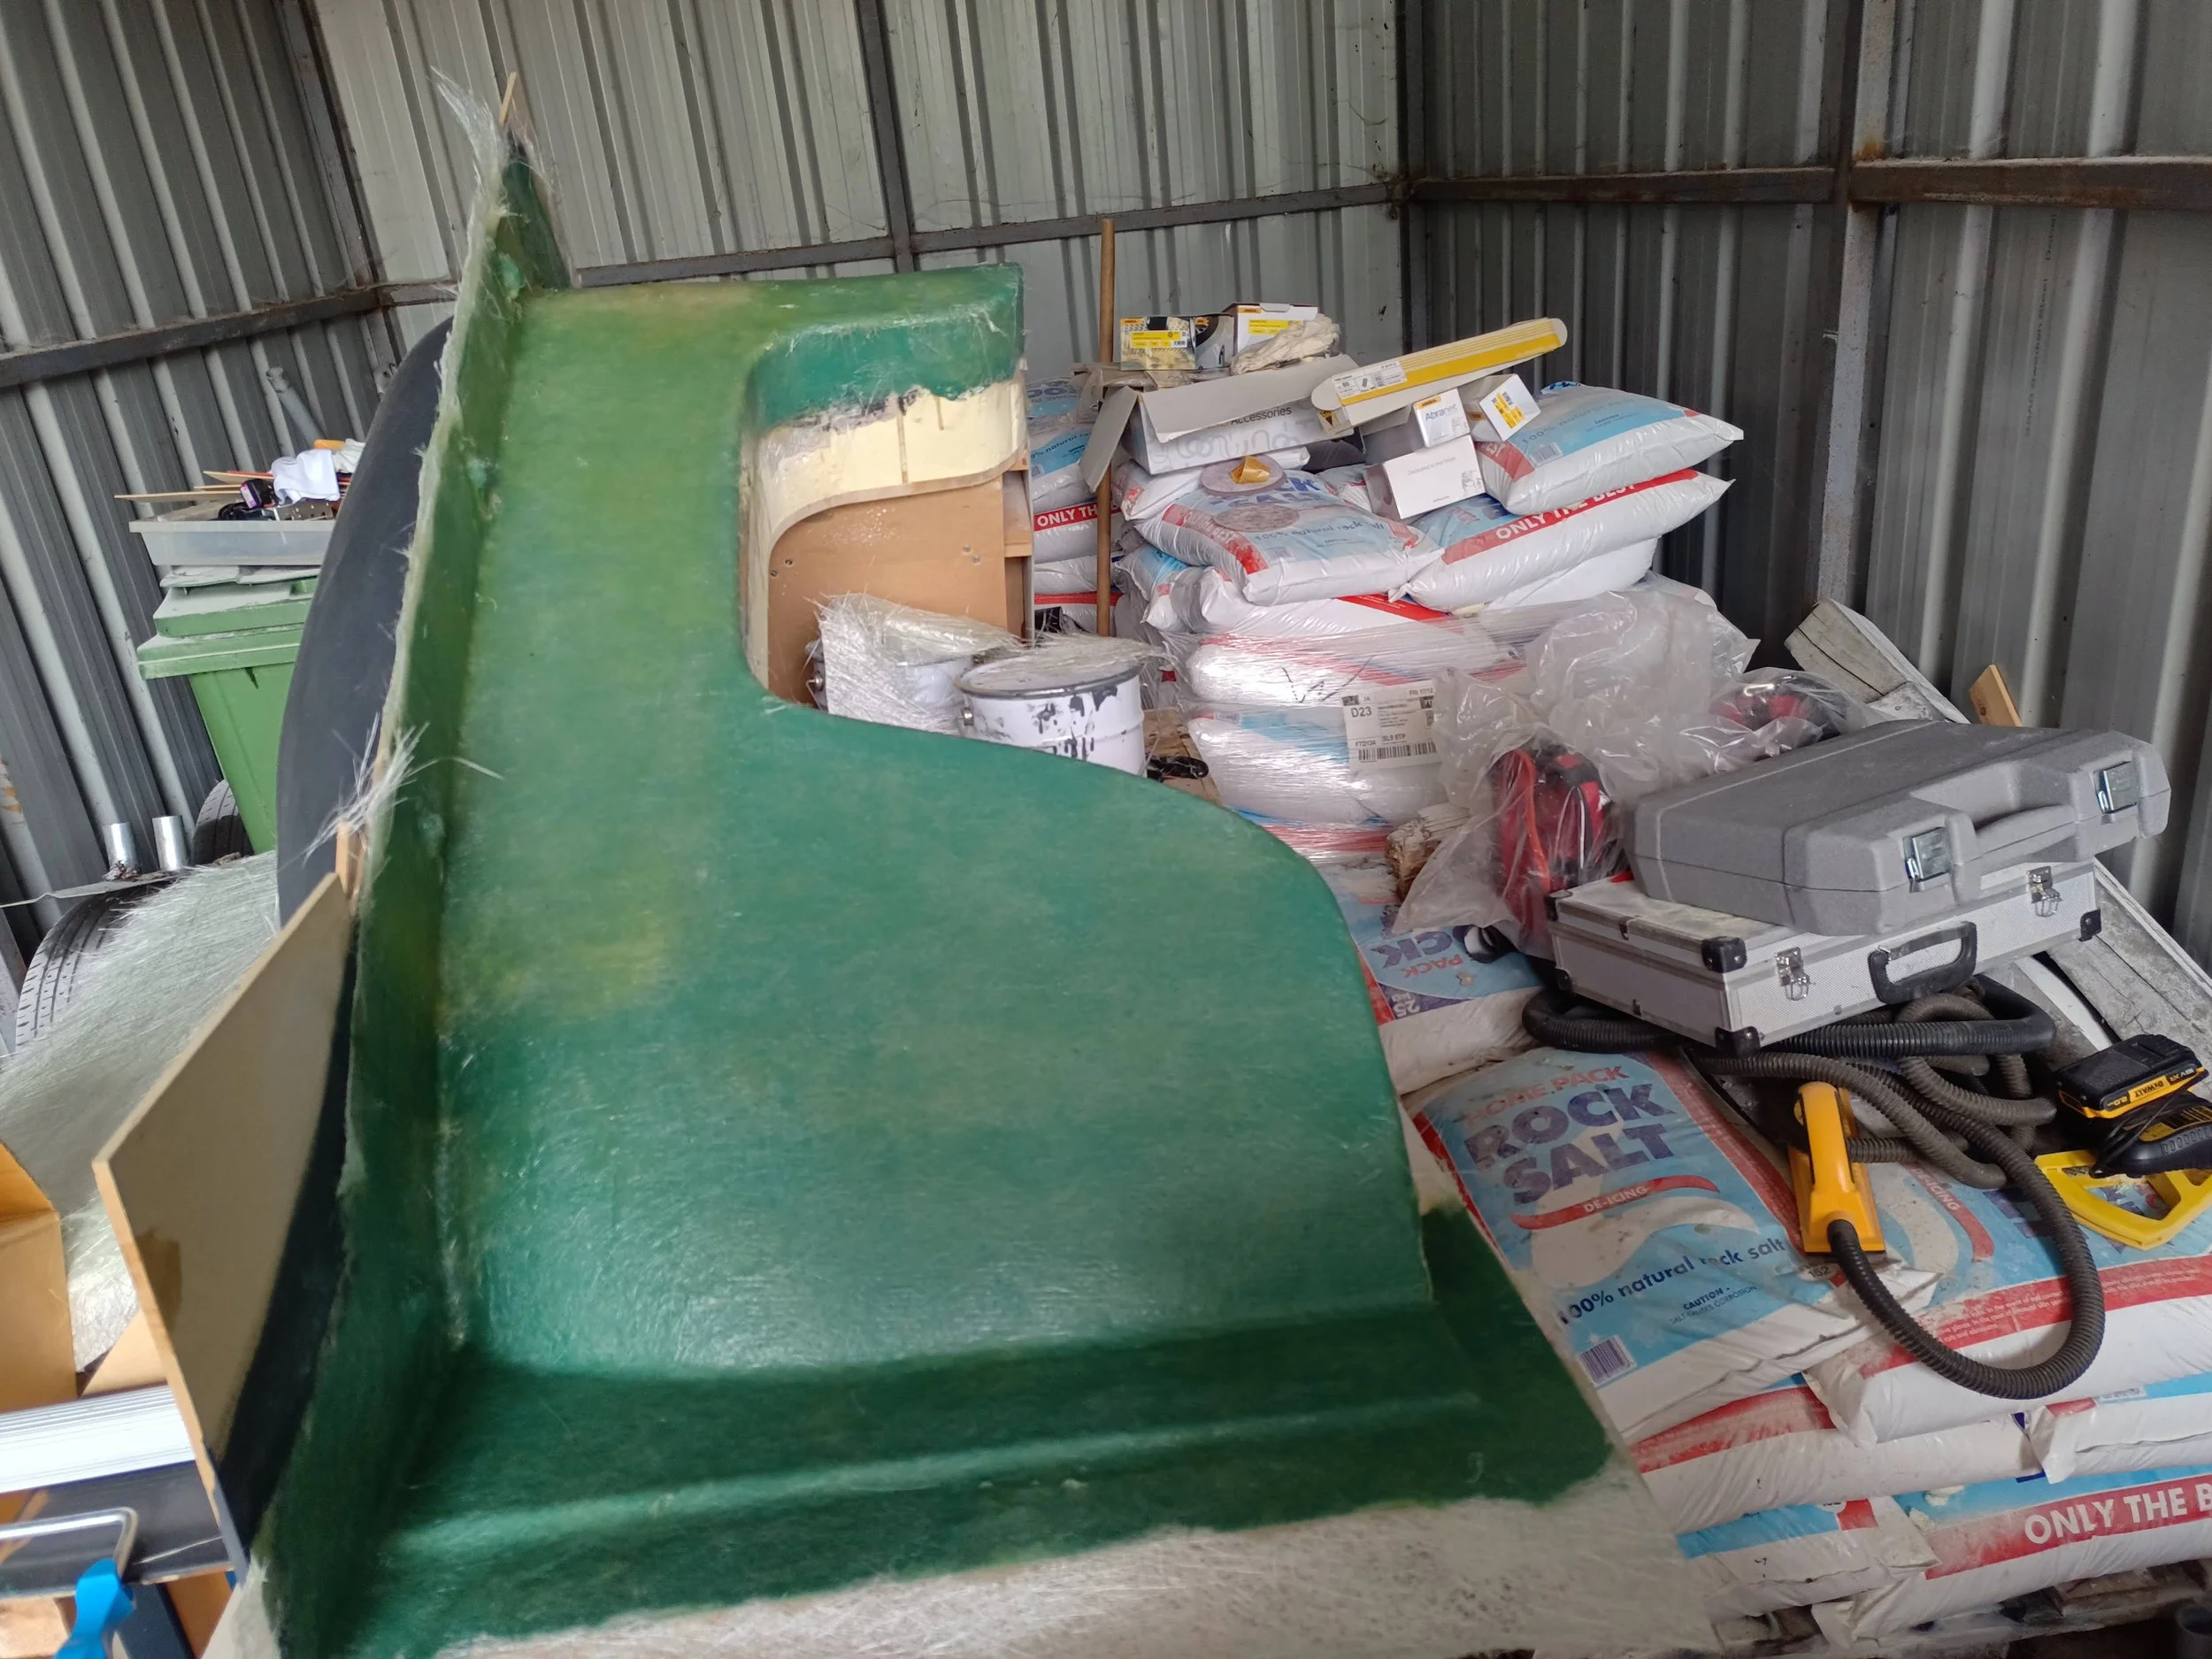
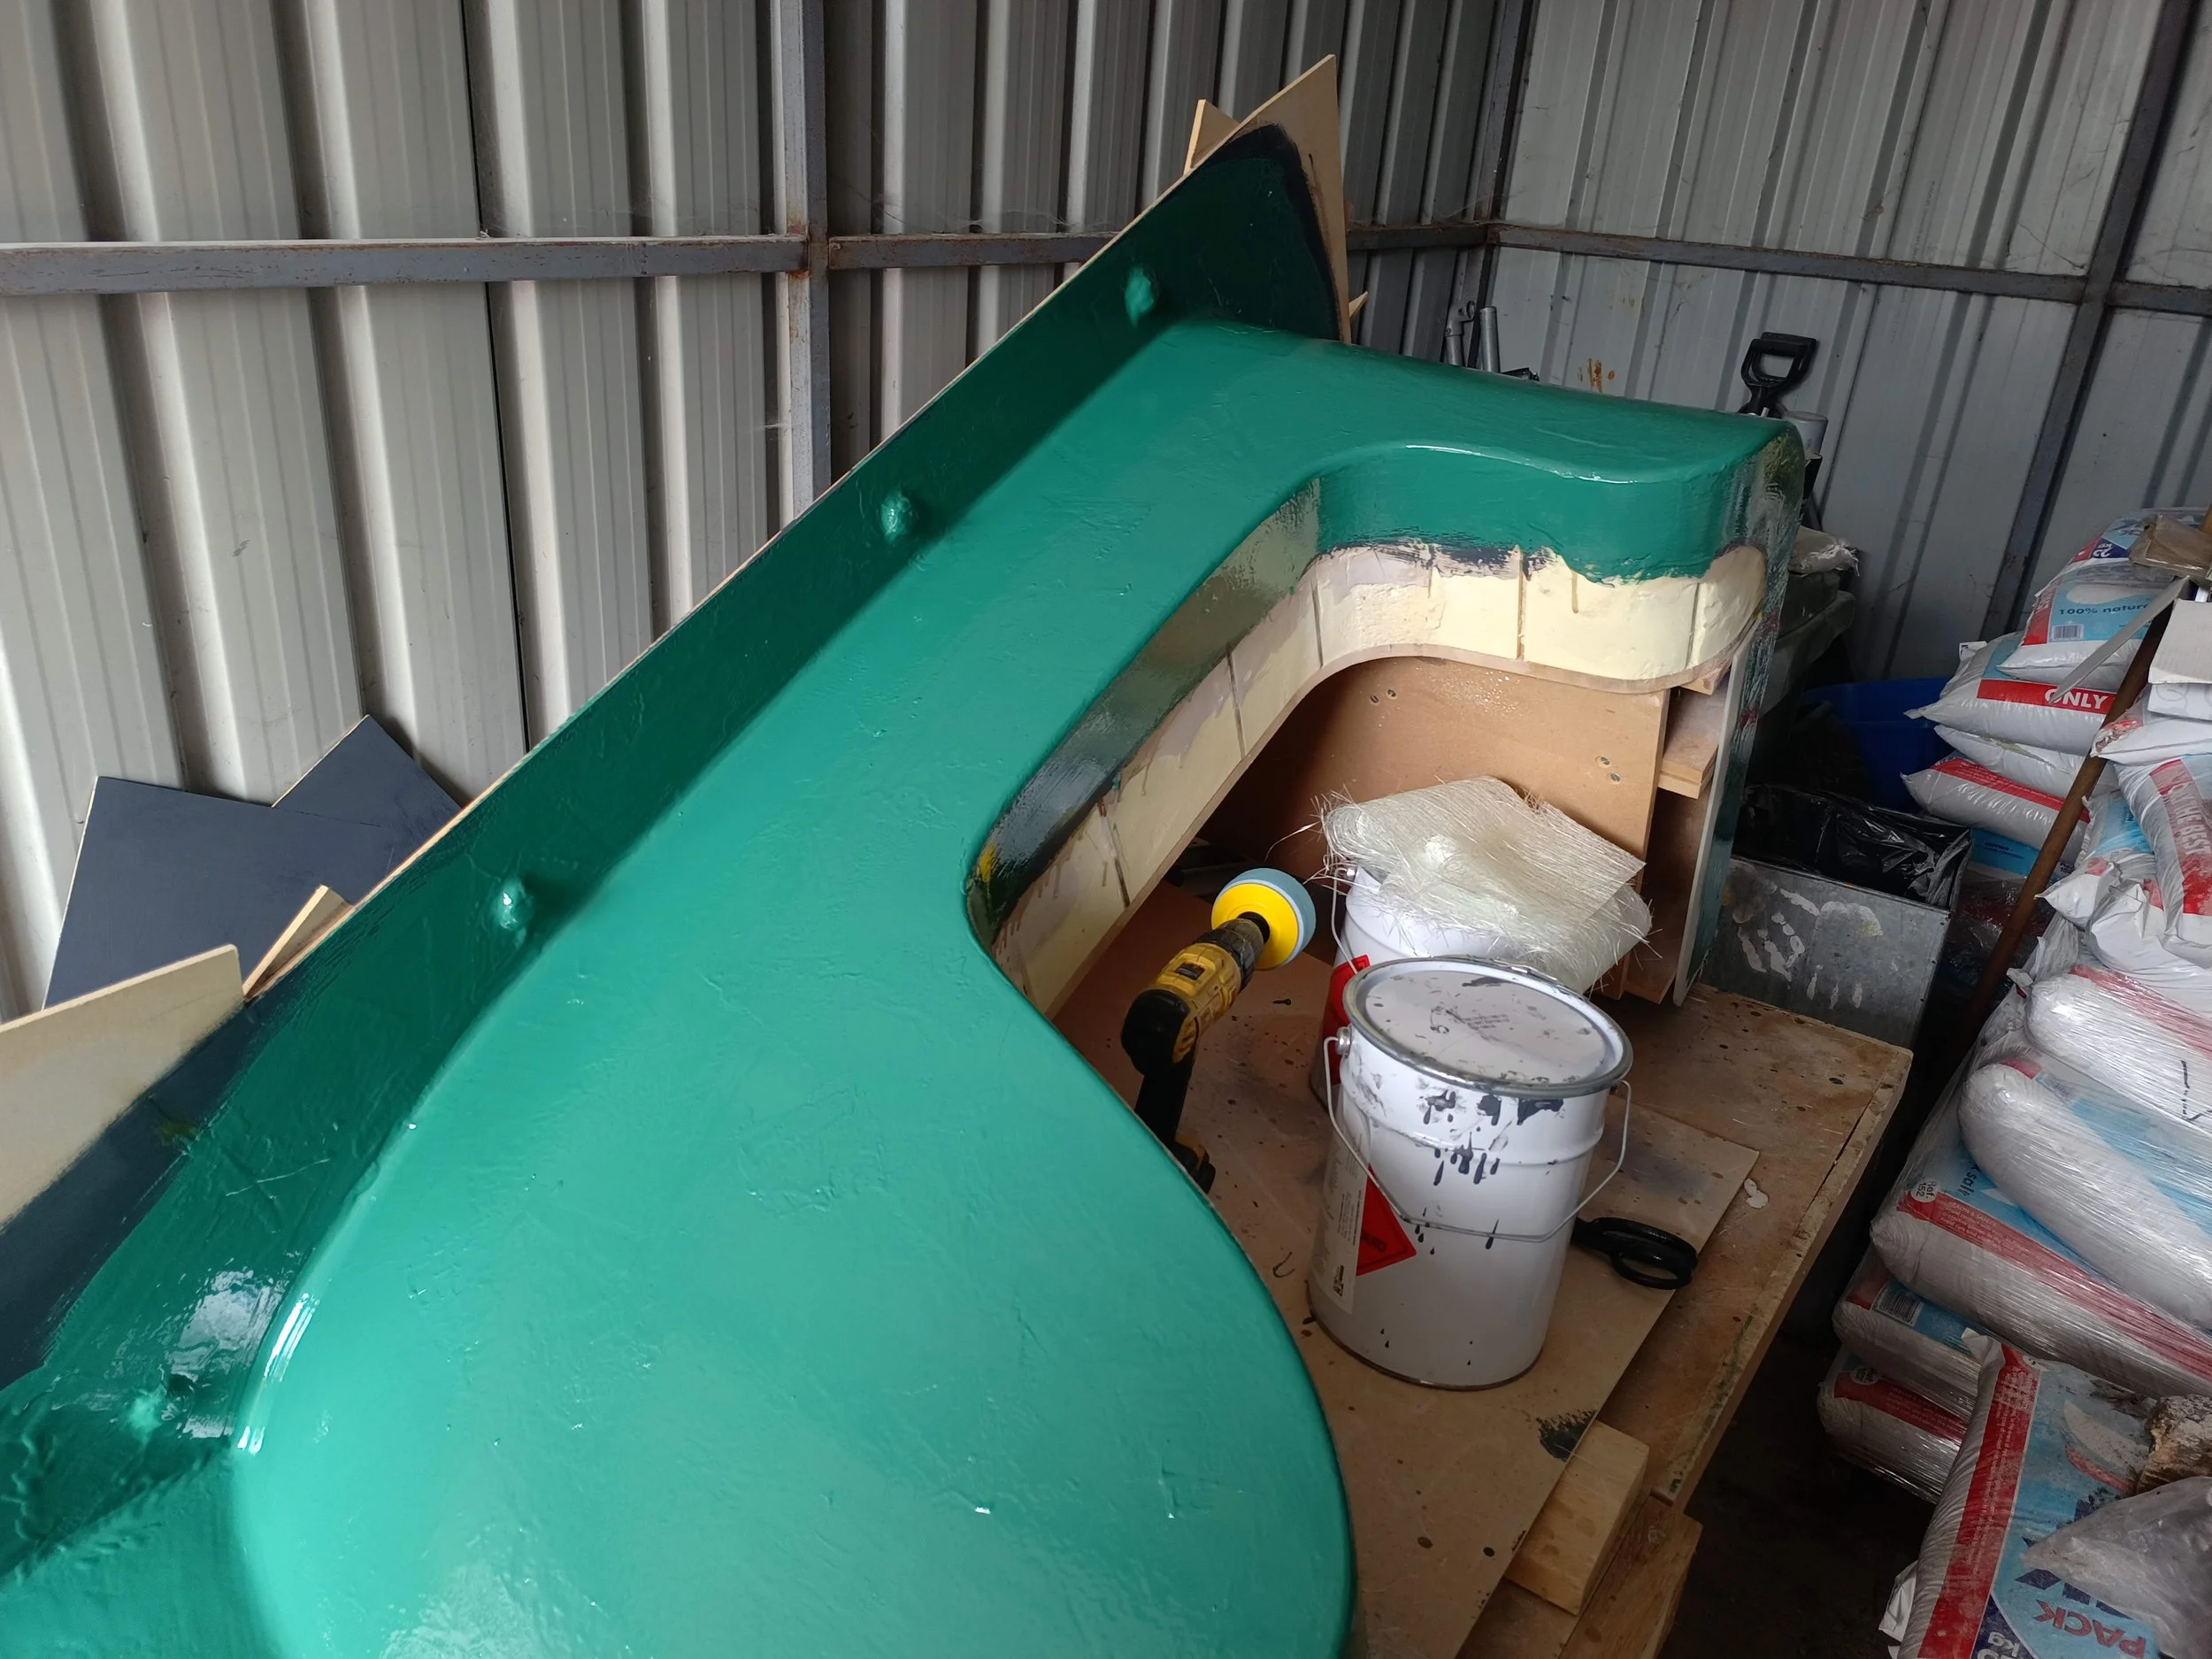
The first layers of GRP.

The inside edges of the wheelarch were allowed to run over long. They were later cut back to a consistent flange length to enable mould release.
A fully primed and waxed bonnet mould, also fitted with a flange along the rear edge.

Gelcoat now applied to the bonnet plug.

The first layers of GRP also applied to the bonnet plug.

The second half of the wing mould. By removing the MDF flange (along with the plasticine locating points) and applying mould release wax to the surface left behind, this part can then be perfectly realigned every time.

You can see the colour change as the resin cures. Cured on the right, uncured on the left.
The second half of this wing mould, now fully laminated.
Just some trimming now, plus a few assembly bolt holes to drill to complete the moulds.
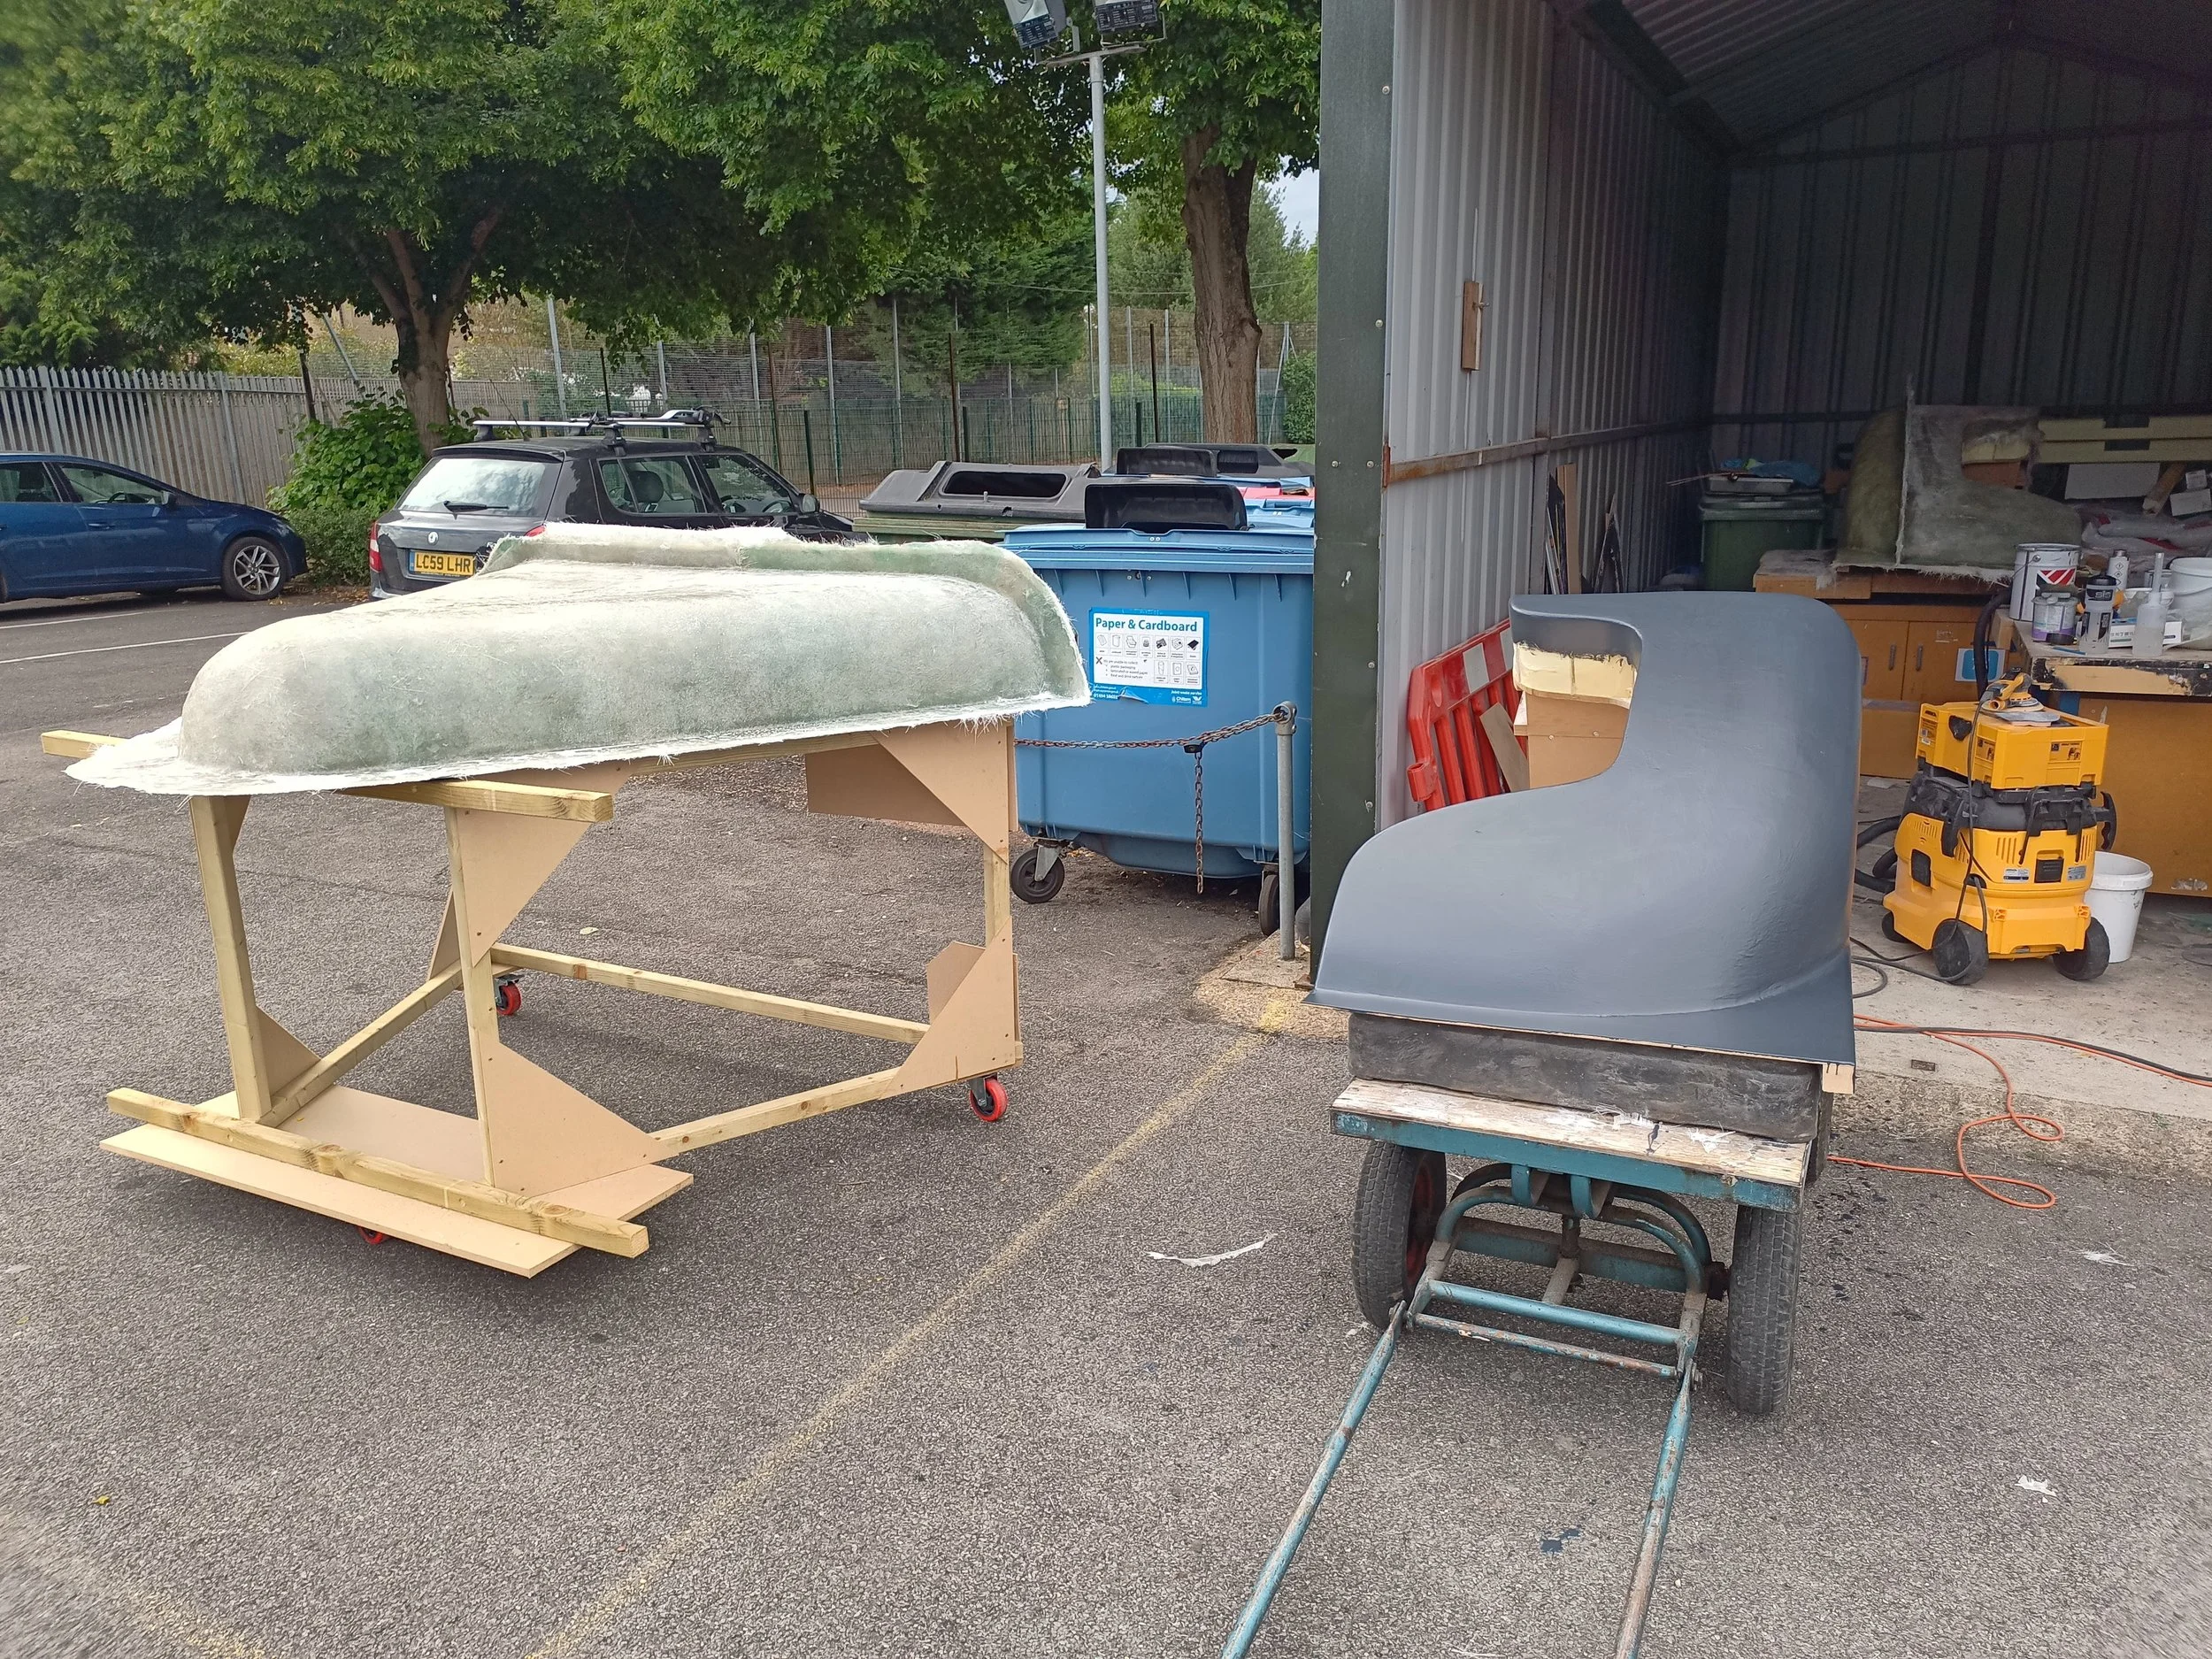
The bonnet mould now sat on an early concept for the frame. Several tweaks were made before I was happy with the finished version.

Applying mould release wax to one of the wing moulds.

The bonnet mould also ready for mould release wax.
The first actual panel, now in gelcoat.

Finally, a complete (albeit untrimmed) panel, released from the mould.
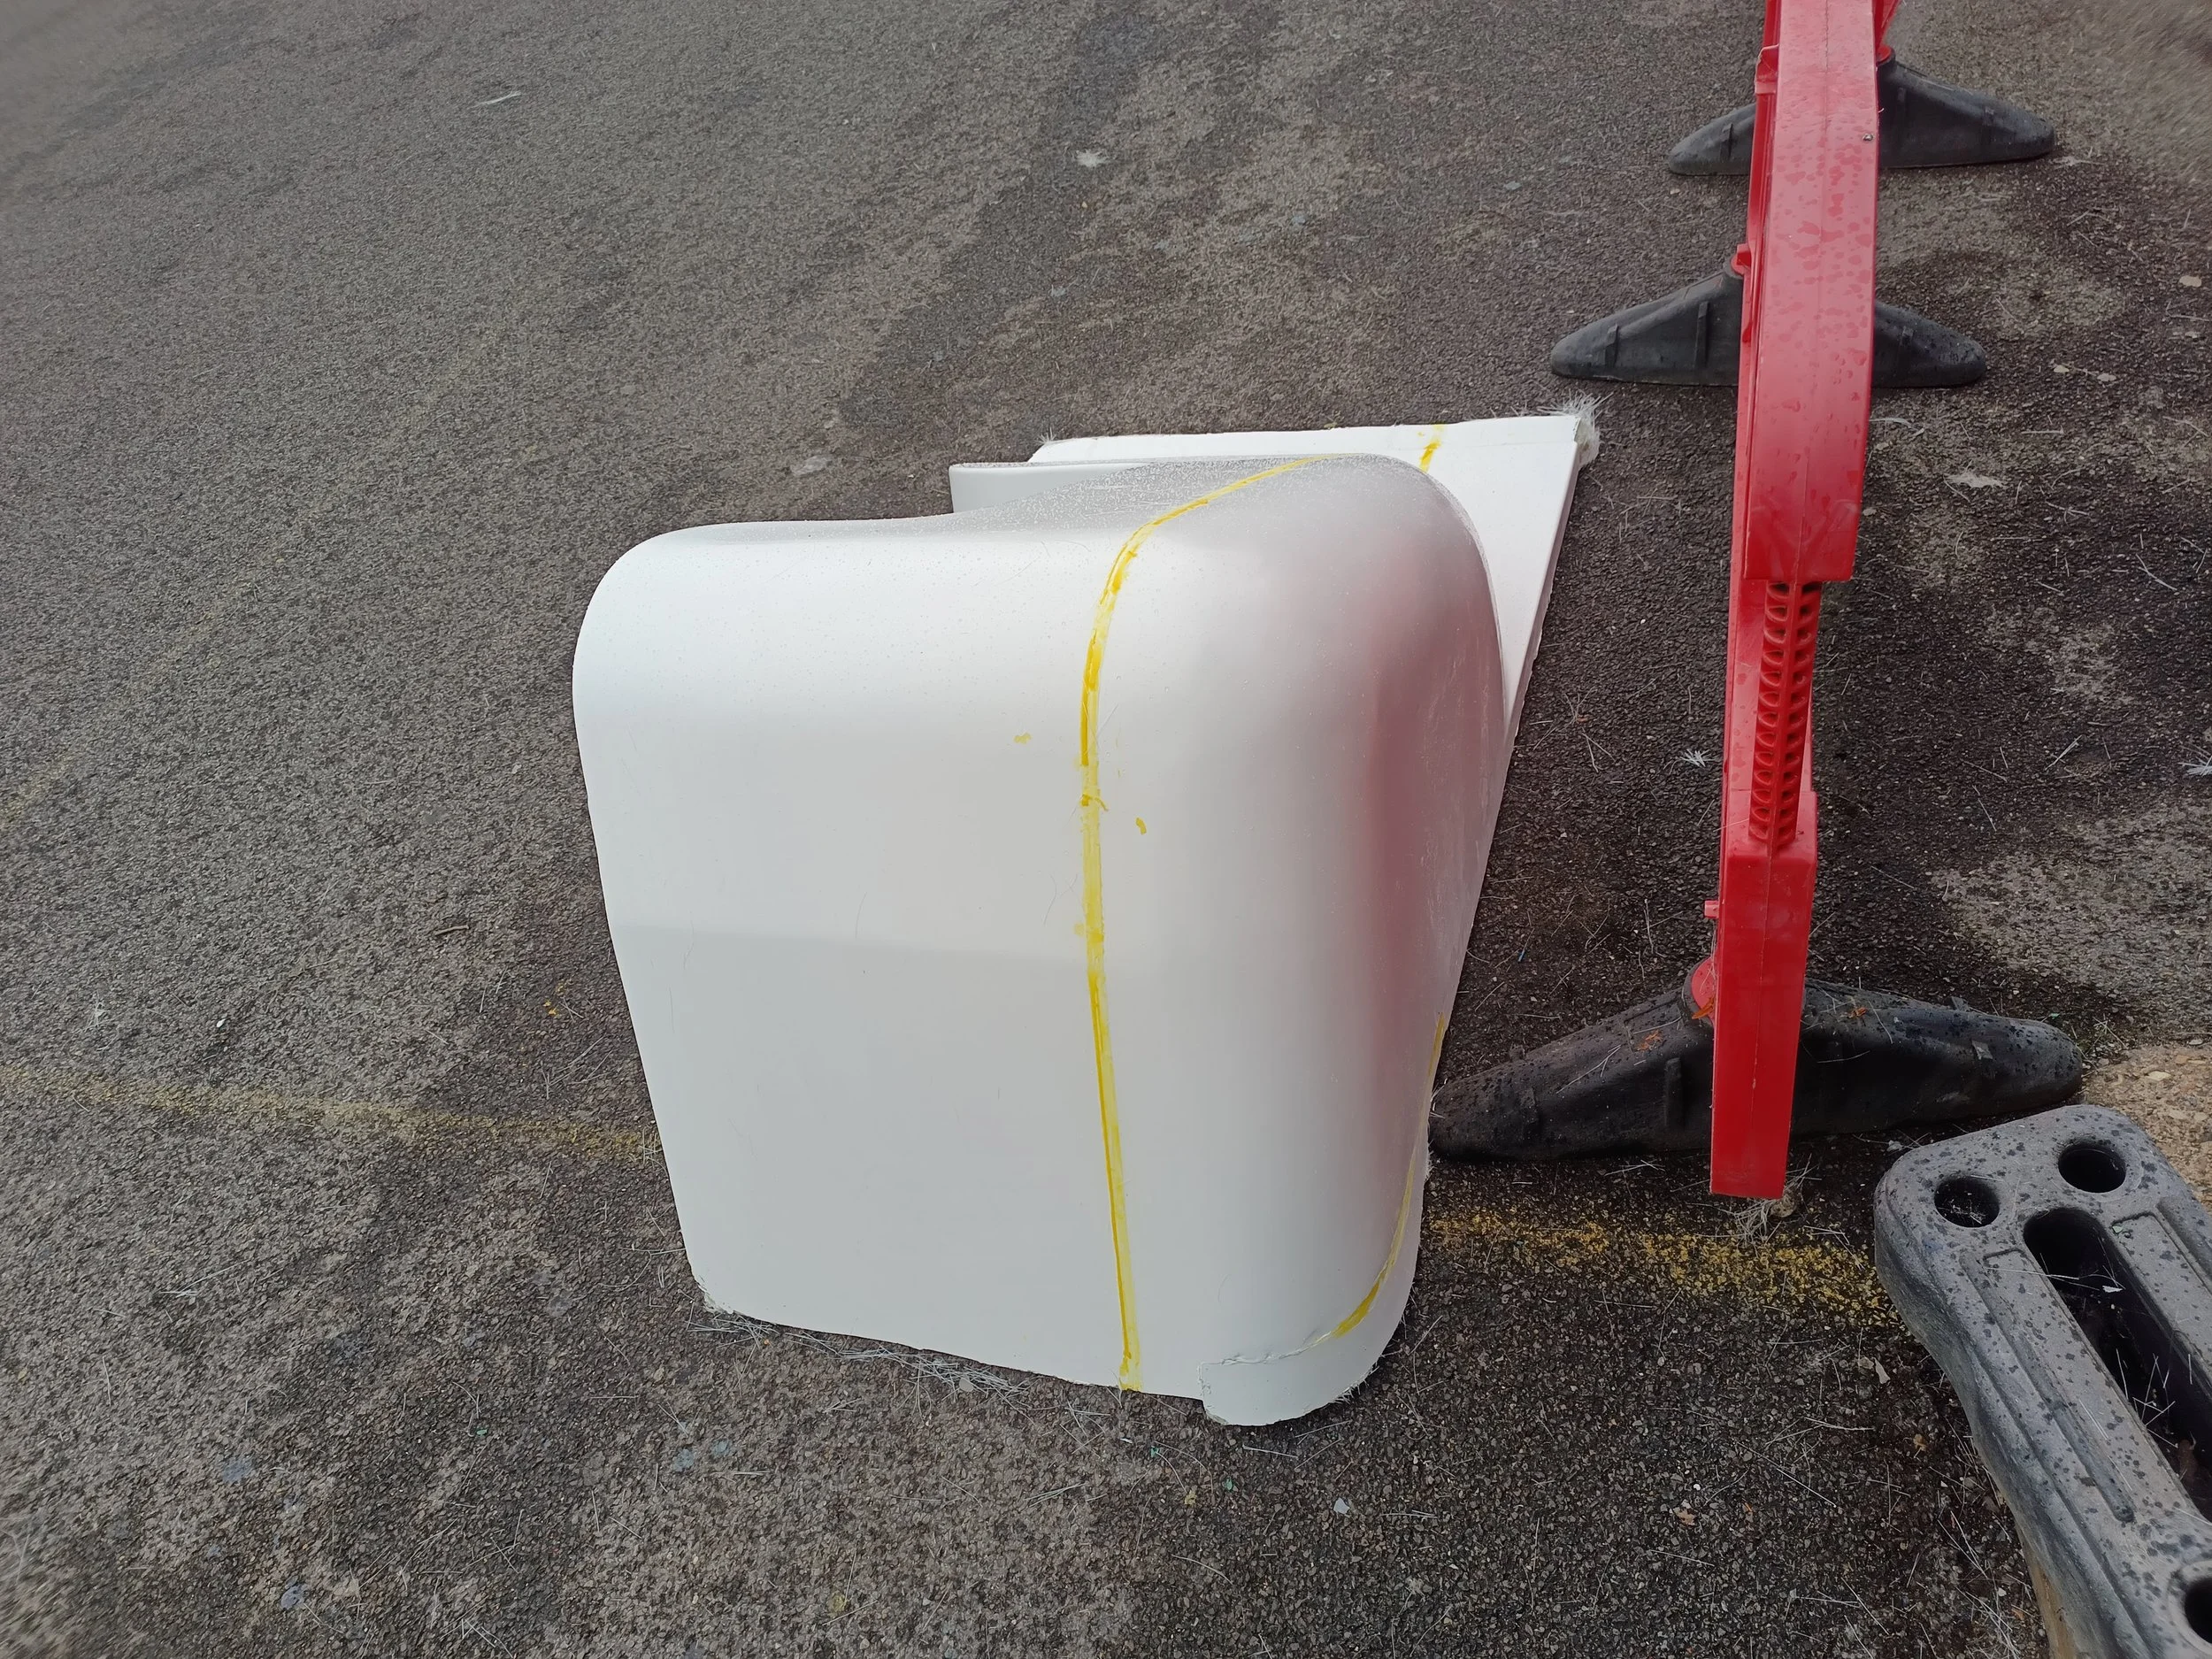
The yellow seam is the seam-sealing wax, showing the parting line of the two-piece mould.
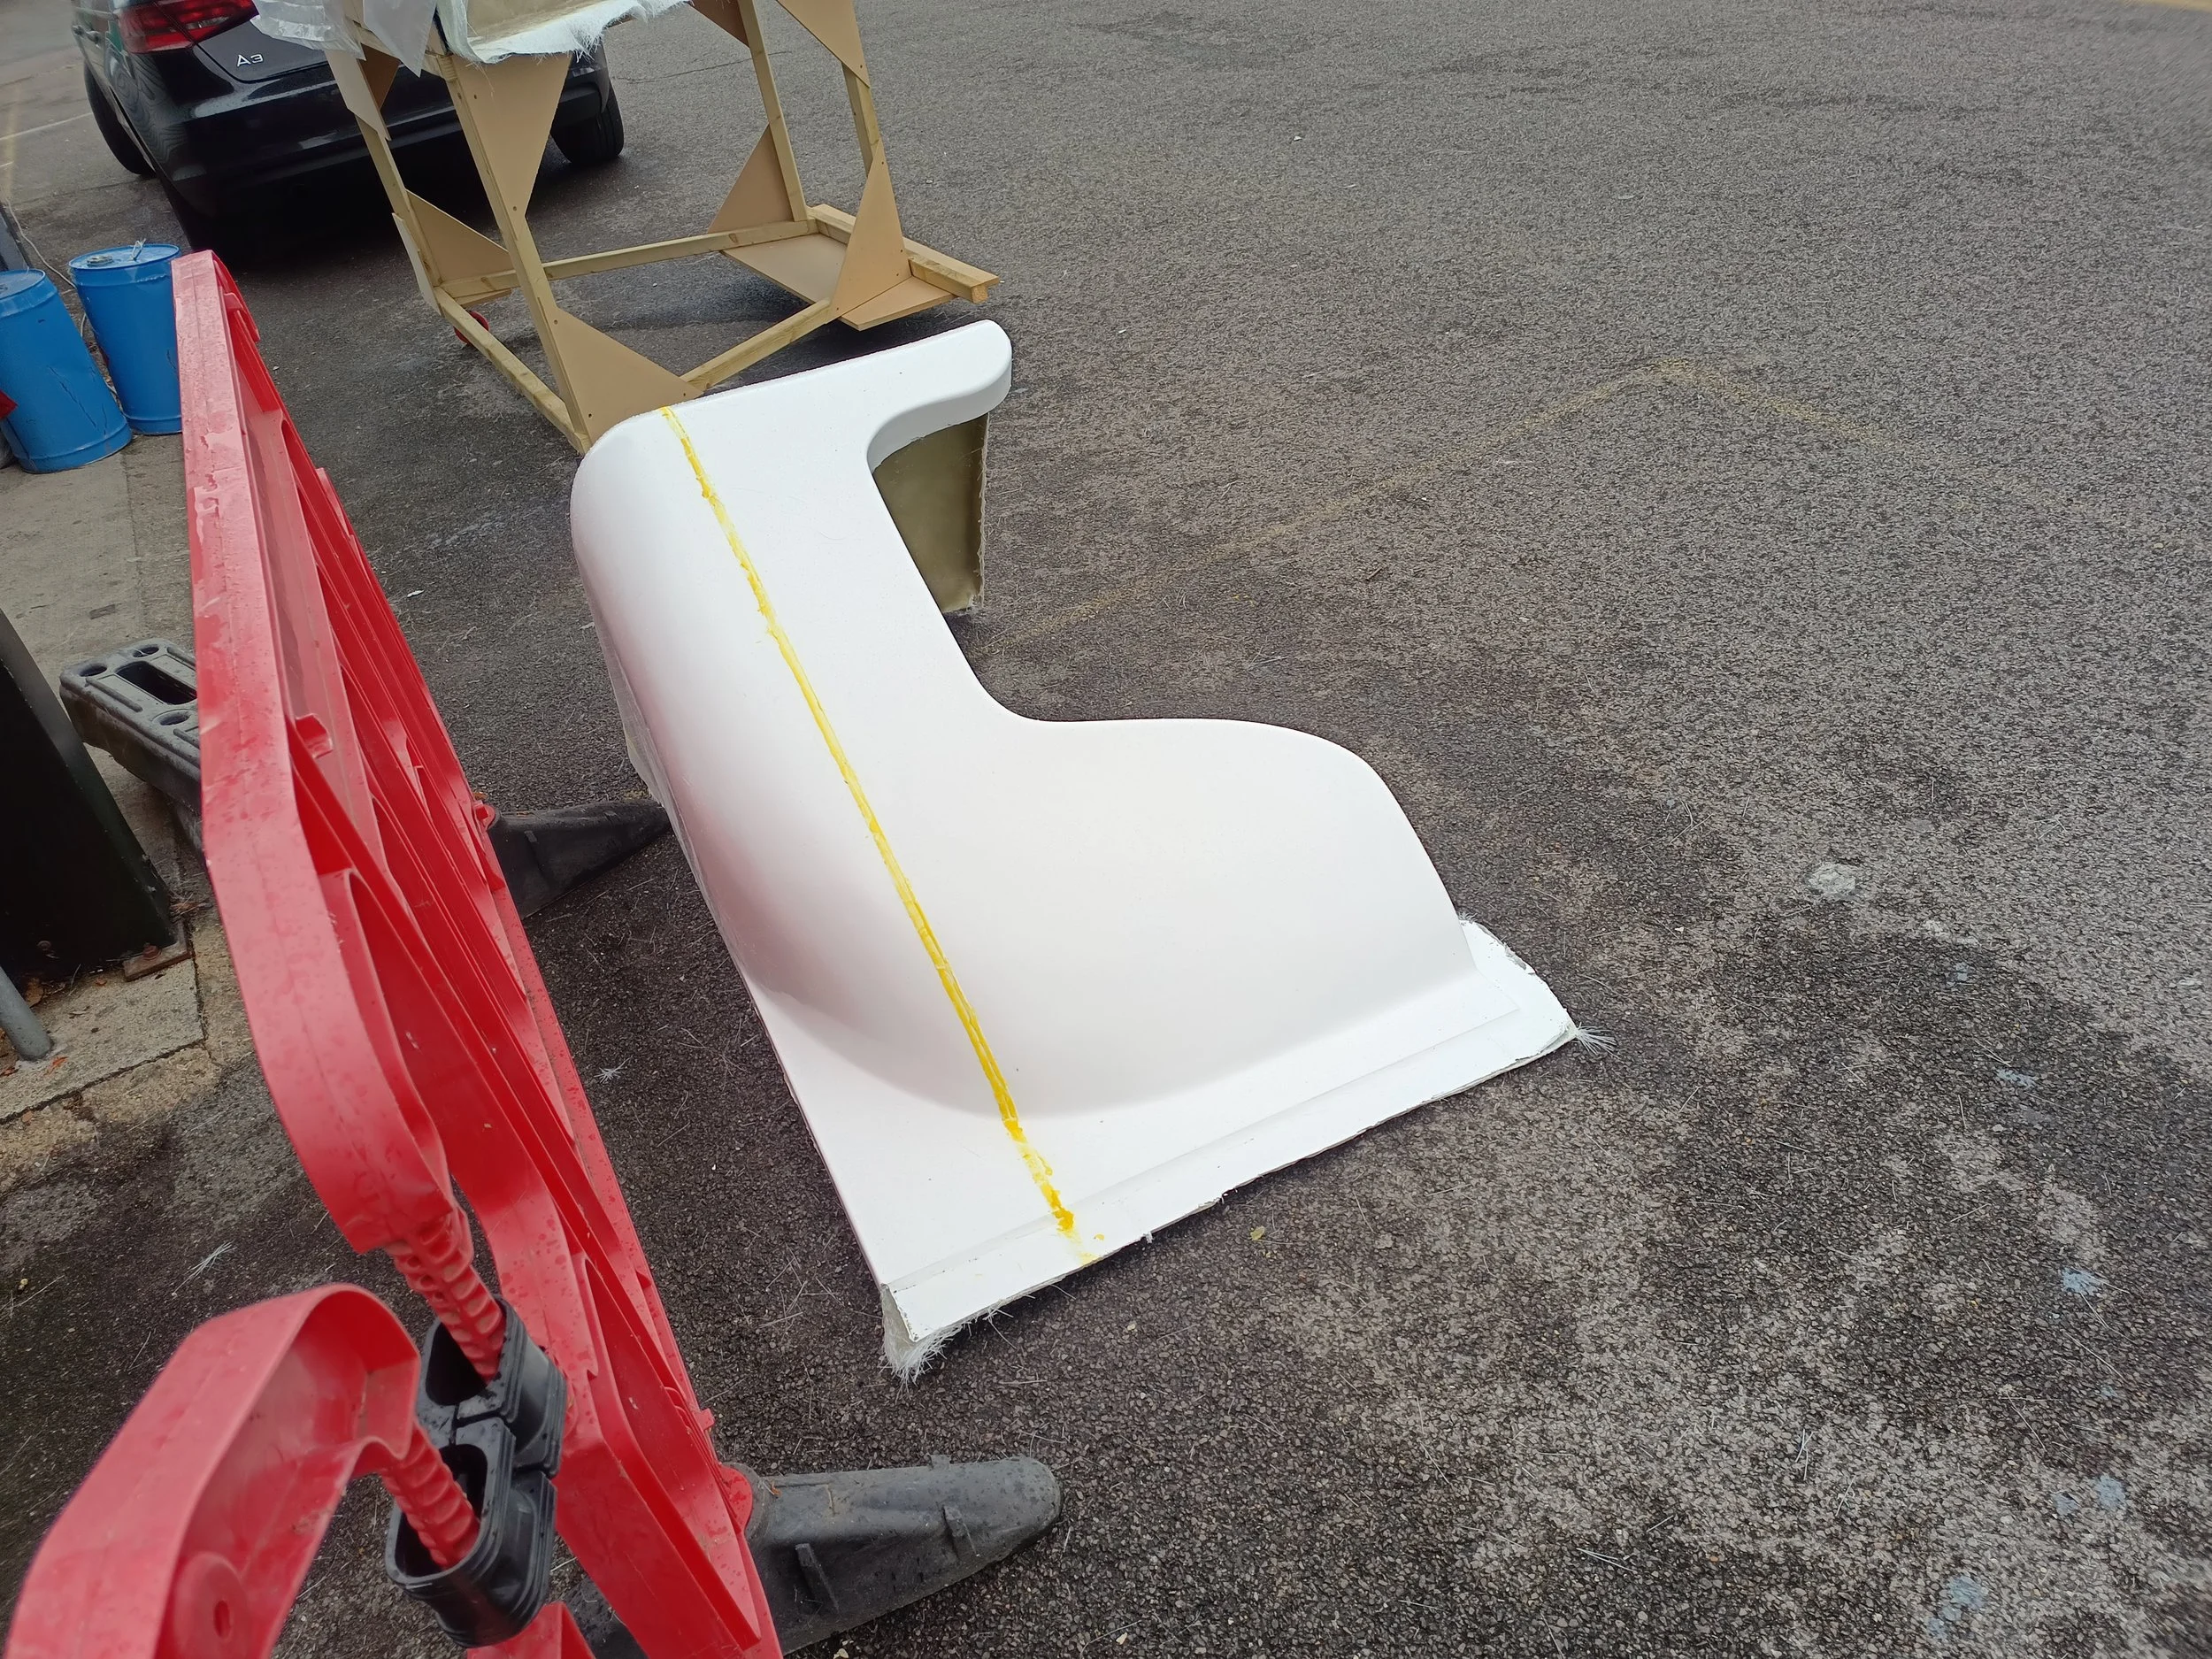
Pretty from every angle!

Some last-minute grille-trim. Test fitting the foam base structure.

A little fairing enable a closer fit.

An up-close look at the artwork and panel locating pins.
The wheels were made from plywood, with grp coated foam tires and 6mm MDF wheel centres. The wheels were hung from a set of brackets that I fabricated to attach them to the main frame. They sat about 15-20mm above the stage floor.
The bumper was also formed from a foam covered MDF structure. This was then faired with body filler before painting with a 'chrome' paint.

To convert the wheels for the hero-car, I blow-moulded these hubcaps from mirrored acrylic. They were attached using velcro dots.