
Kayak Build
When the first Covid lockdown left me at home, with no access to the school network and thus with very little that I could do productively for school, I was left with a golden opportunity to undertake a project that I had collected the materials for some months earlier. A cedar strip kayak, to a design by Nick Schade. I had already got a set of full-size plans and some cedar planks and suddenly I had time to undertake the project.

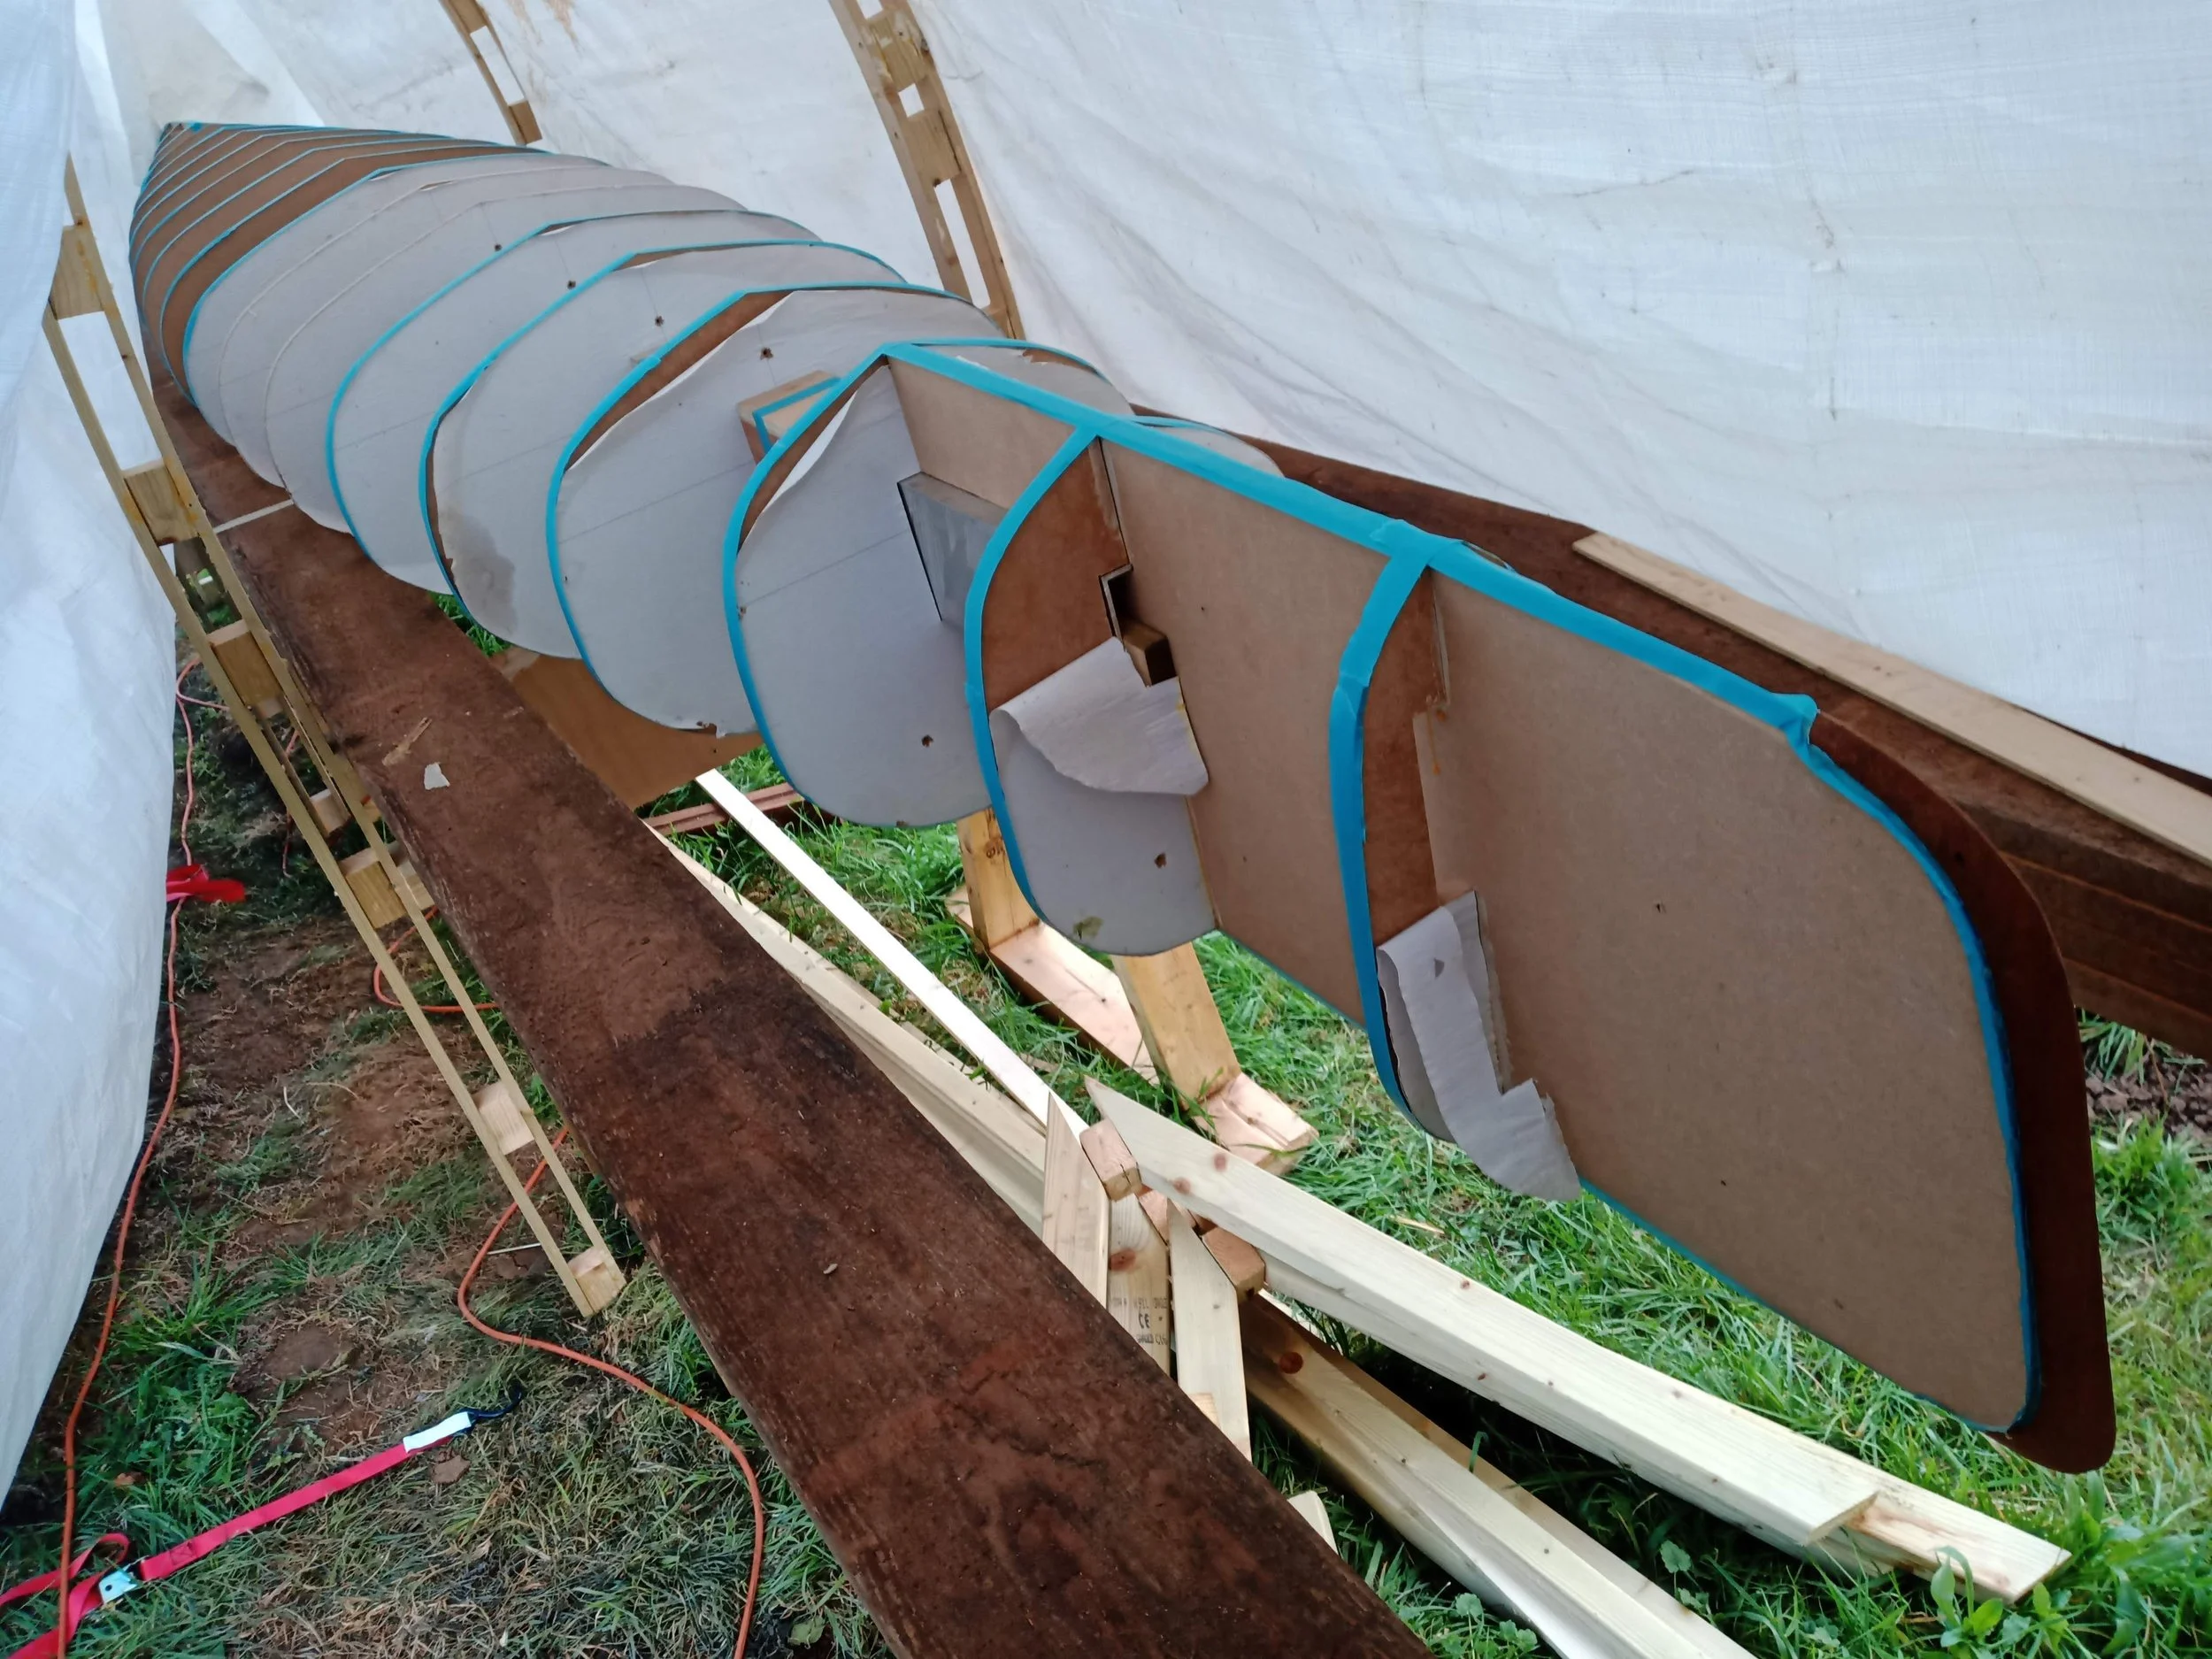
Setting up the strongback. Each of these MDF forms were cut with a jigsaw from a full-size template that I spray glued to the MDF. The design drawings were purchased from Nick Schade at Guillemot Kayaks.

Each MDF form was located on a 4" x 2" Aluminium rectangular hollow section. They were spaced using these plywood U-shaped spacers that slotted over the tube.
The central spacer was split in two and plywood wedges were used to apply compression to the whole stack.

Shaping the inner stem and stern pieces. These were roughed out with the jigsaw, before refining with a block plane and rasp.

This little brass block plane is a joy to work with. It nestles perfectly into my palm and cuts beautifully.

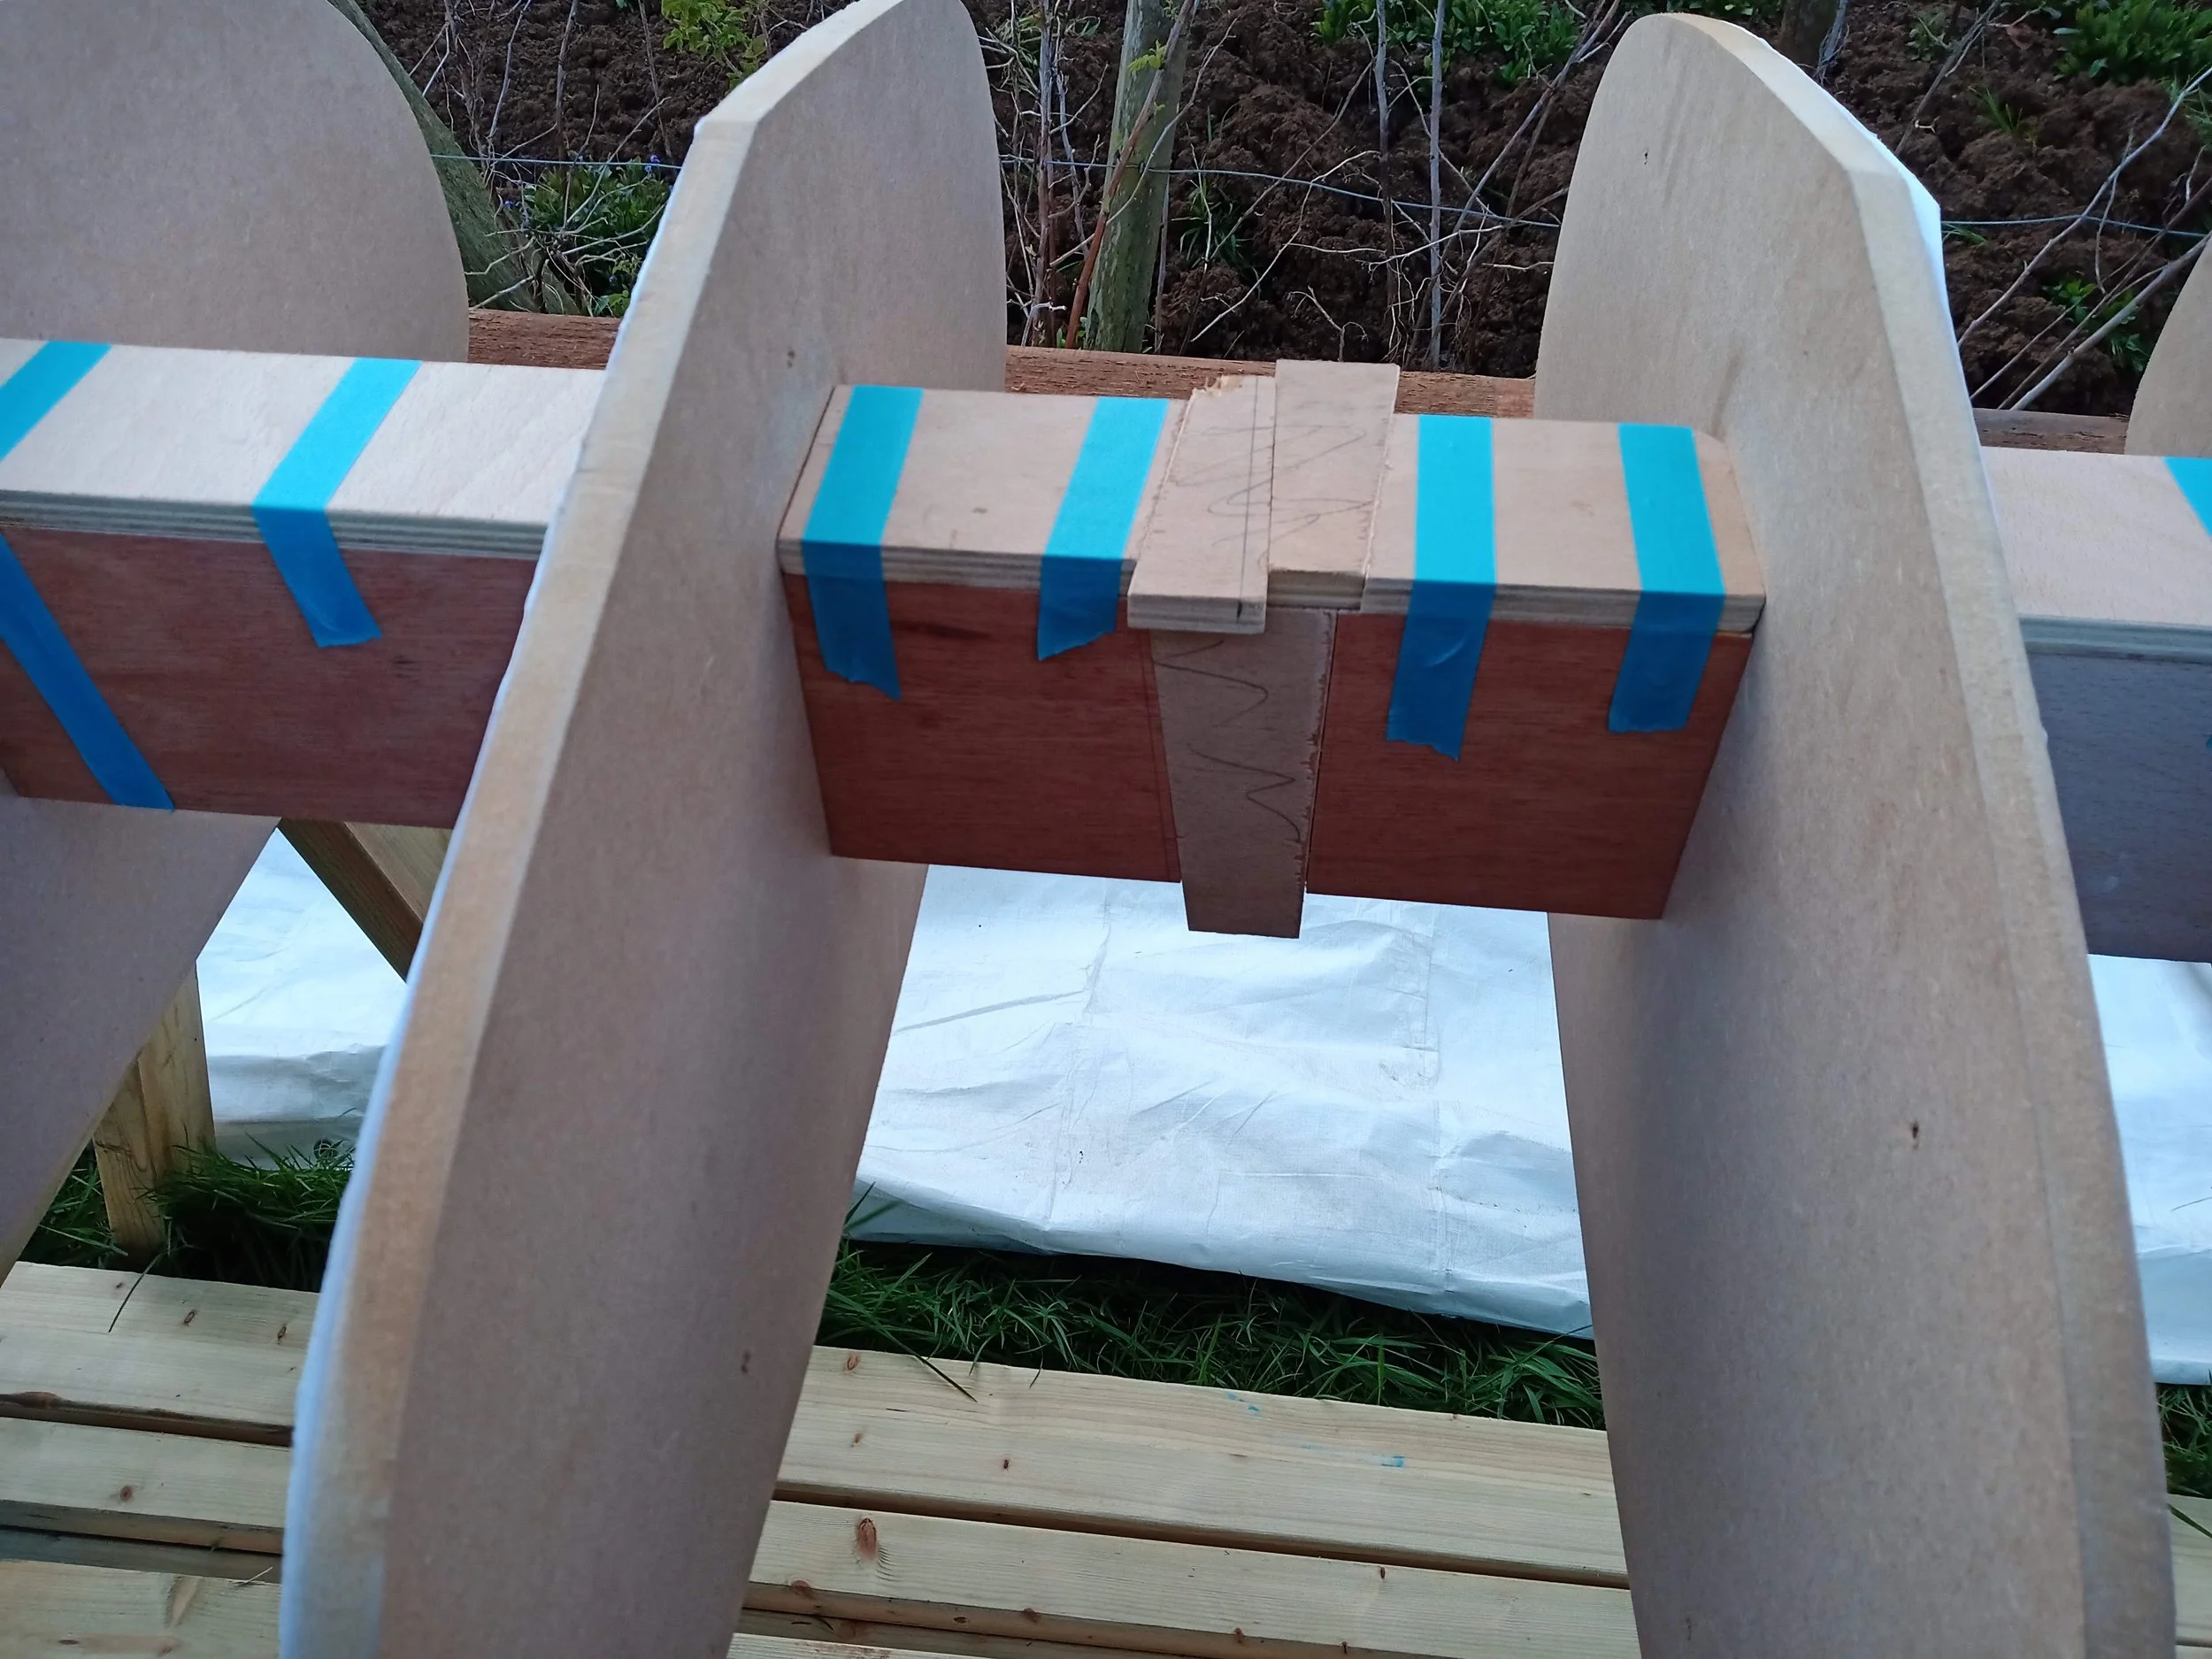
Using a homemade fixture to laminate some 'boatshed' beams.
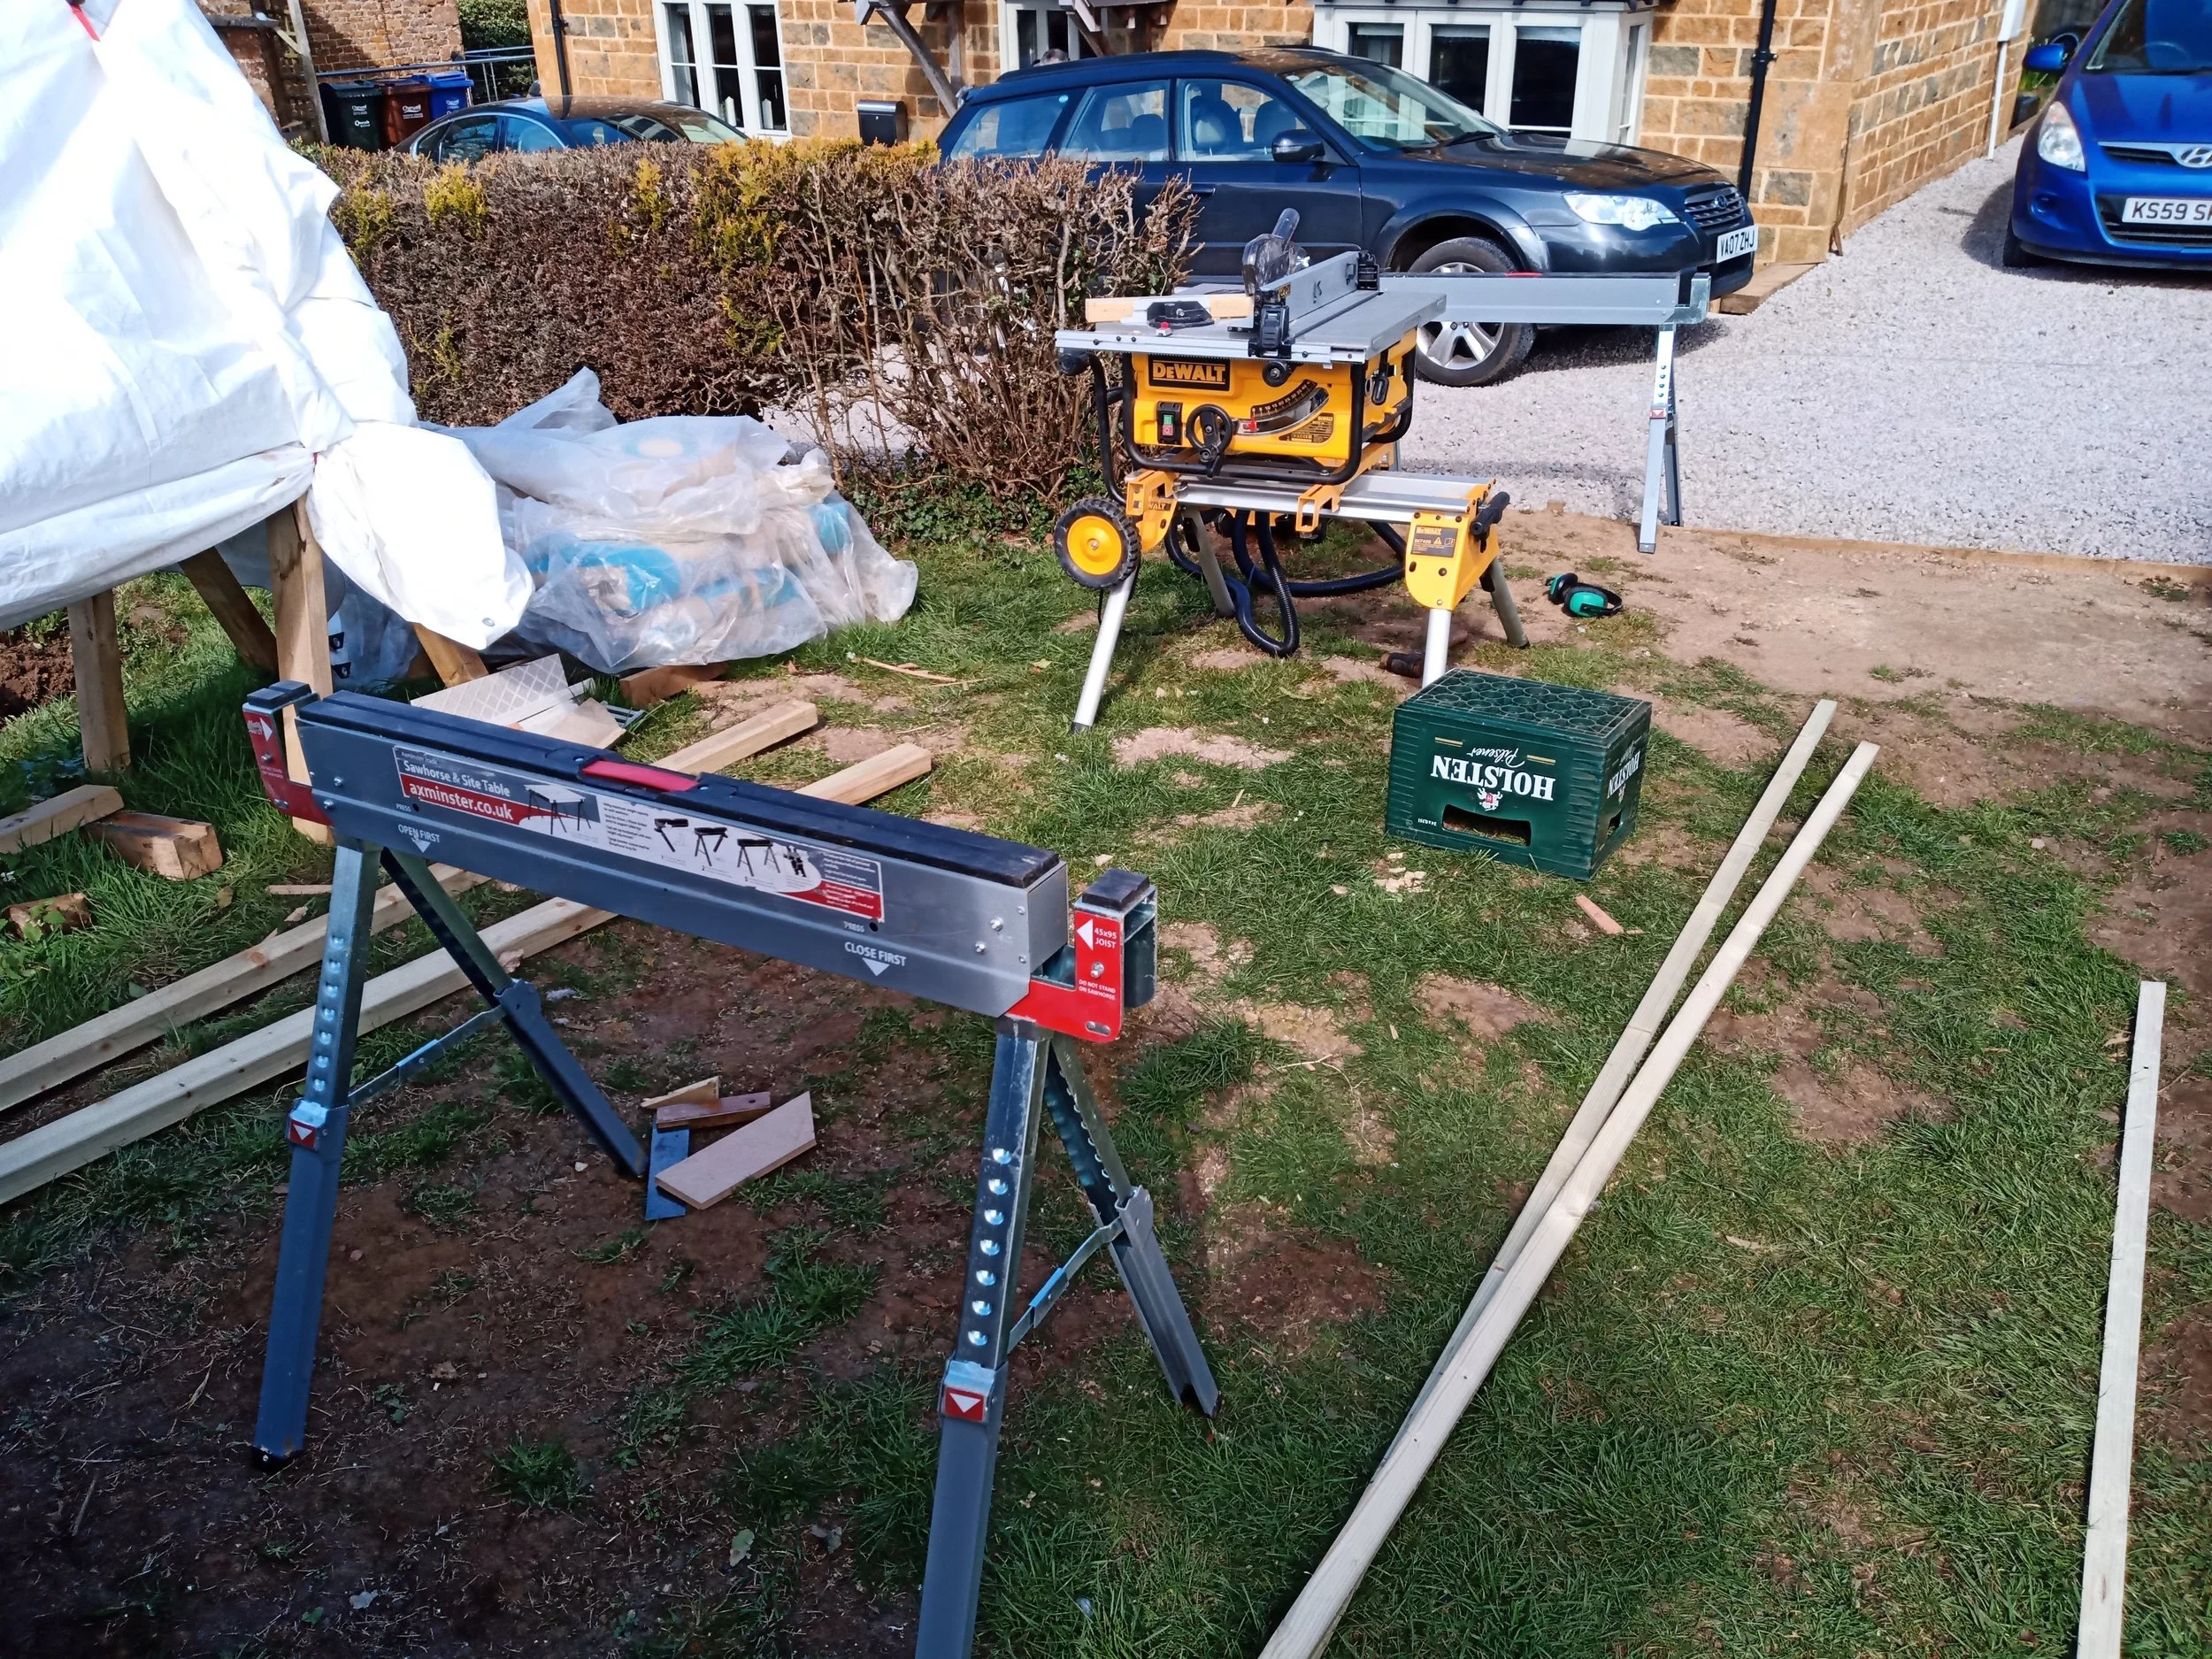
Workshop setup... Outside with a jobsite table saw and a trestle or two!

The 'boatshed' required several long beams. I glued up a few scarf joints, including for the ridge, a stop-splayed, undersquinted, tabled and wedged scarf joint. Why? Because I thought it would be fun to have a go at and I figured that it would also add strength!

Inner stem and stern attached to the bow and stern forms. Hot glue on masking tape. This fancy hot glue gun heats up in no time and was absolutely game-changing on this project.
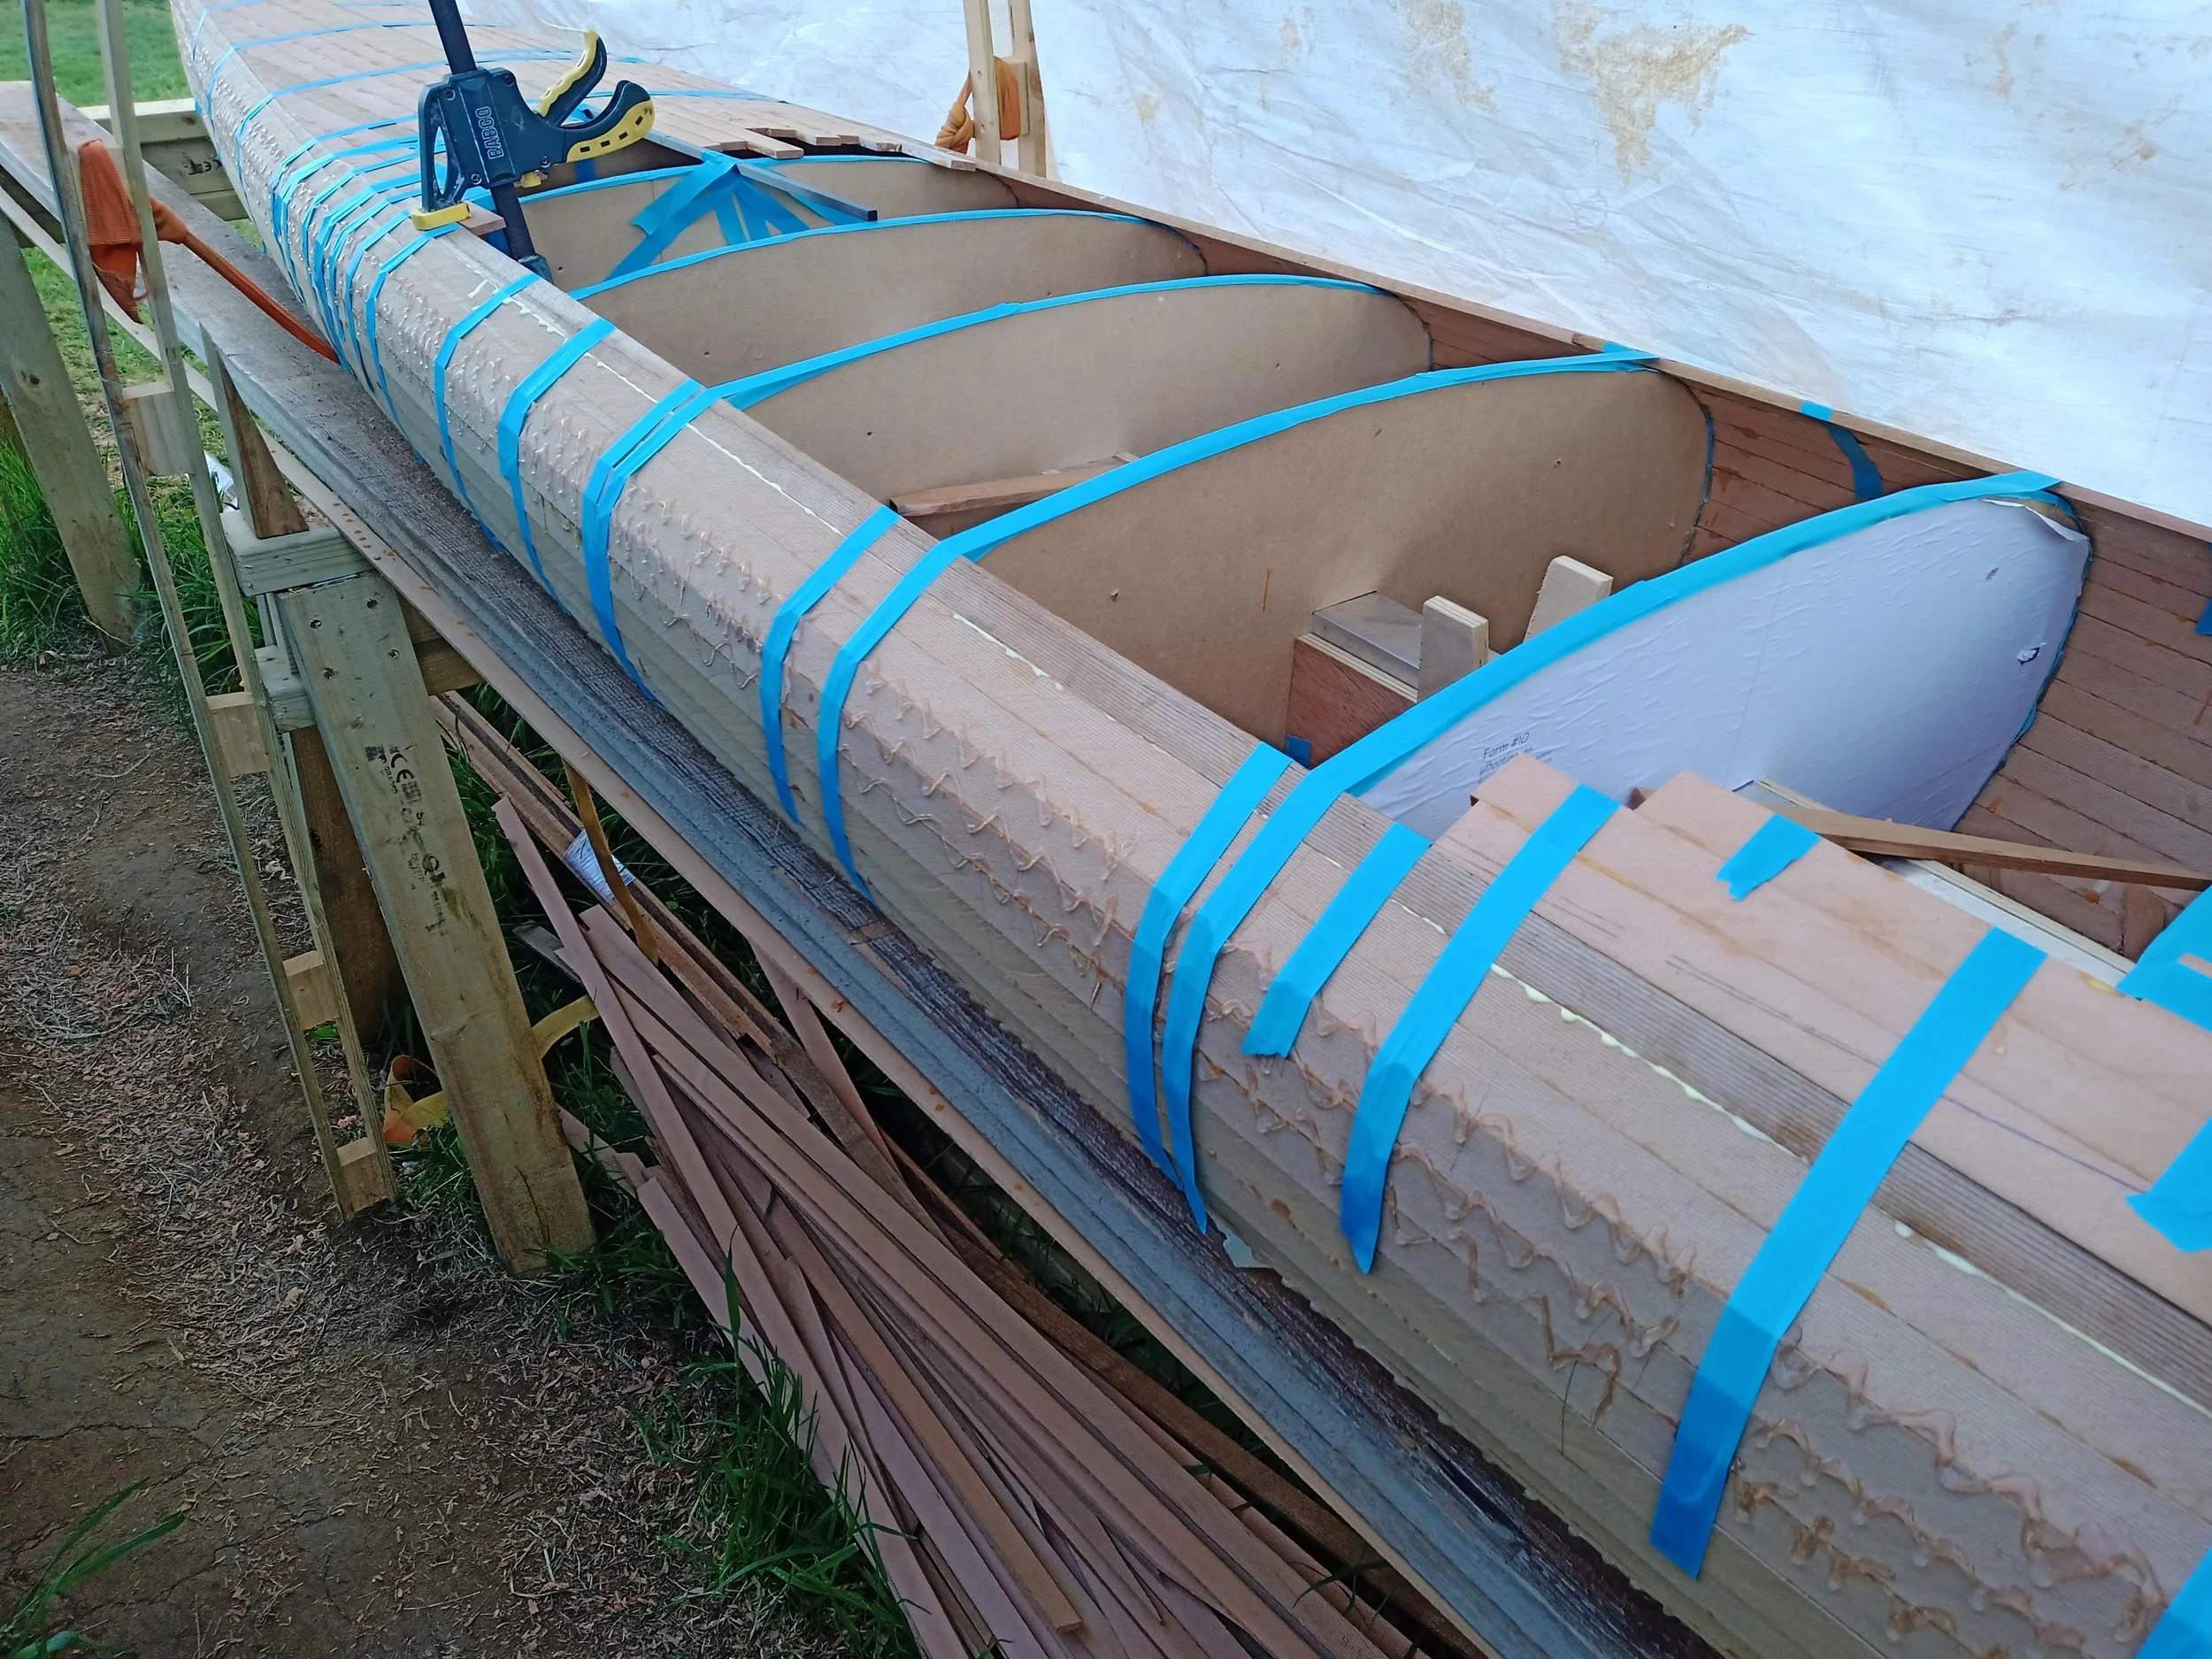
All of the edges of the forms were also taped to facilitate removal of the moulds from the finished kayak.

Setting up to cut strips. I had purchased my timber in 1" thick slabs from a single 6" x 4" piece of cedar. This enabled me to book match the strips.

Feather board and outfeed guide wedge clamped in place.

All of the strips, in order, ready for bookmatching.
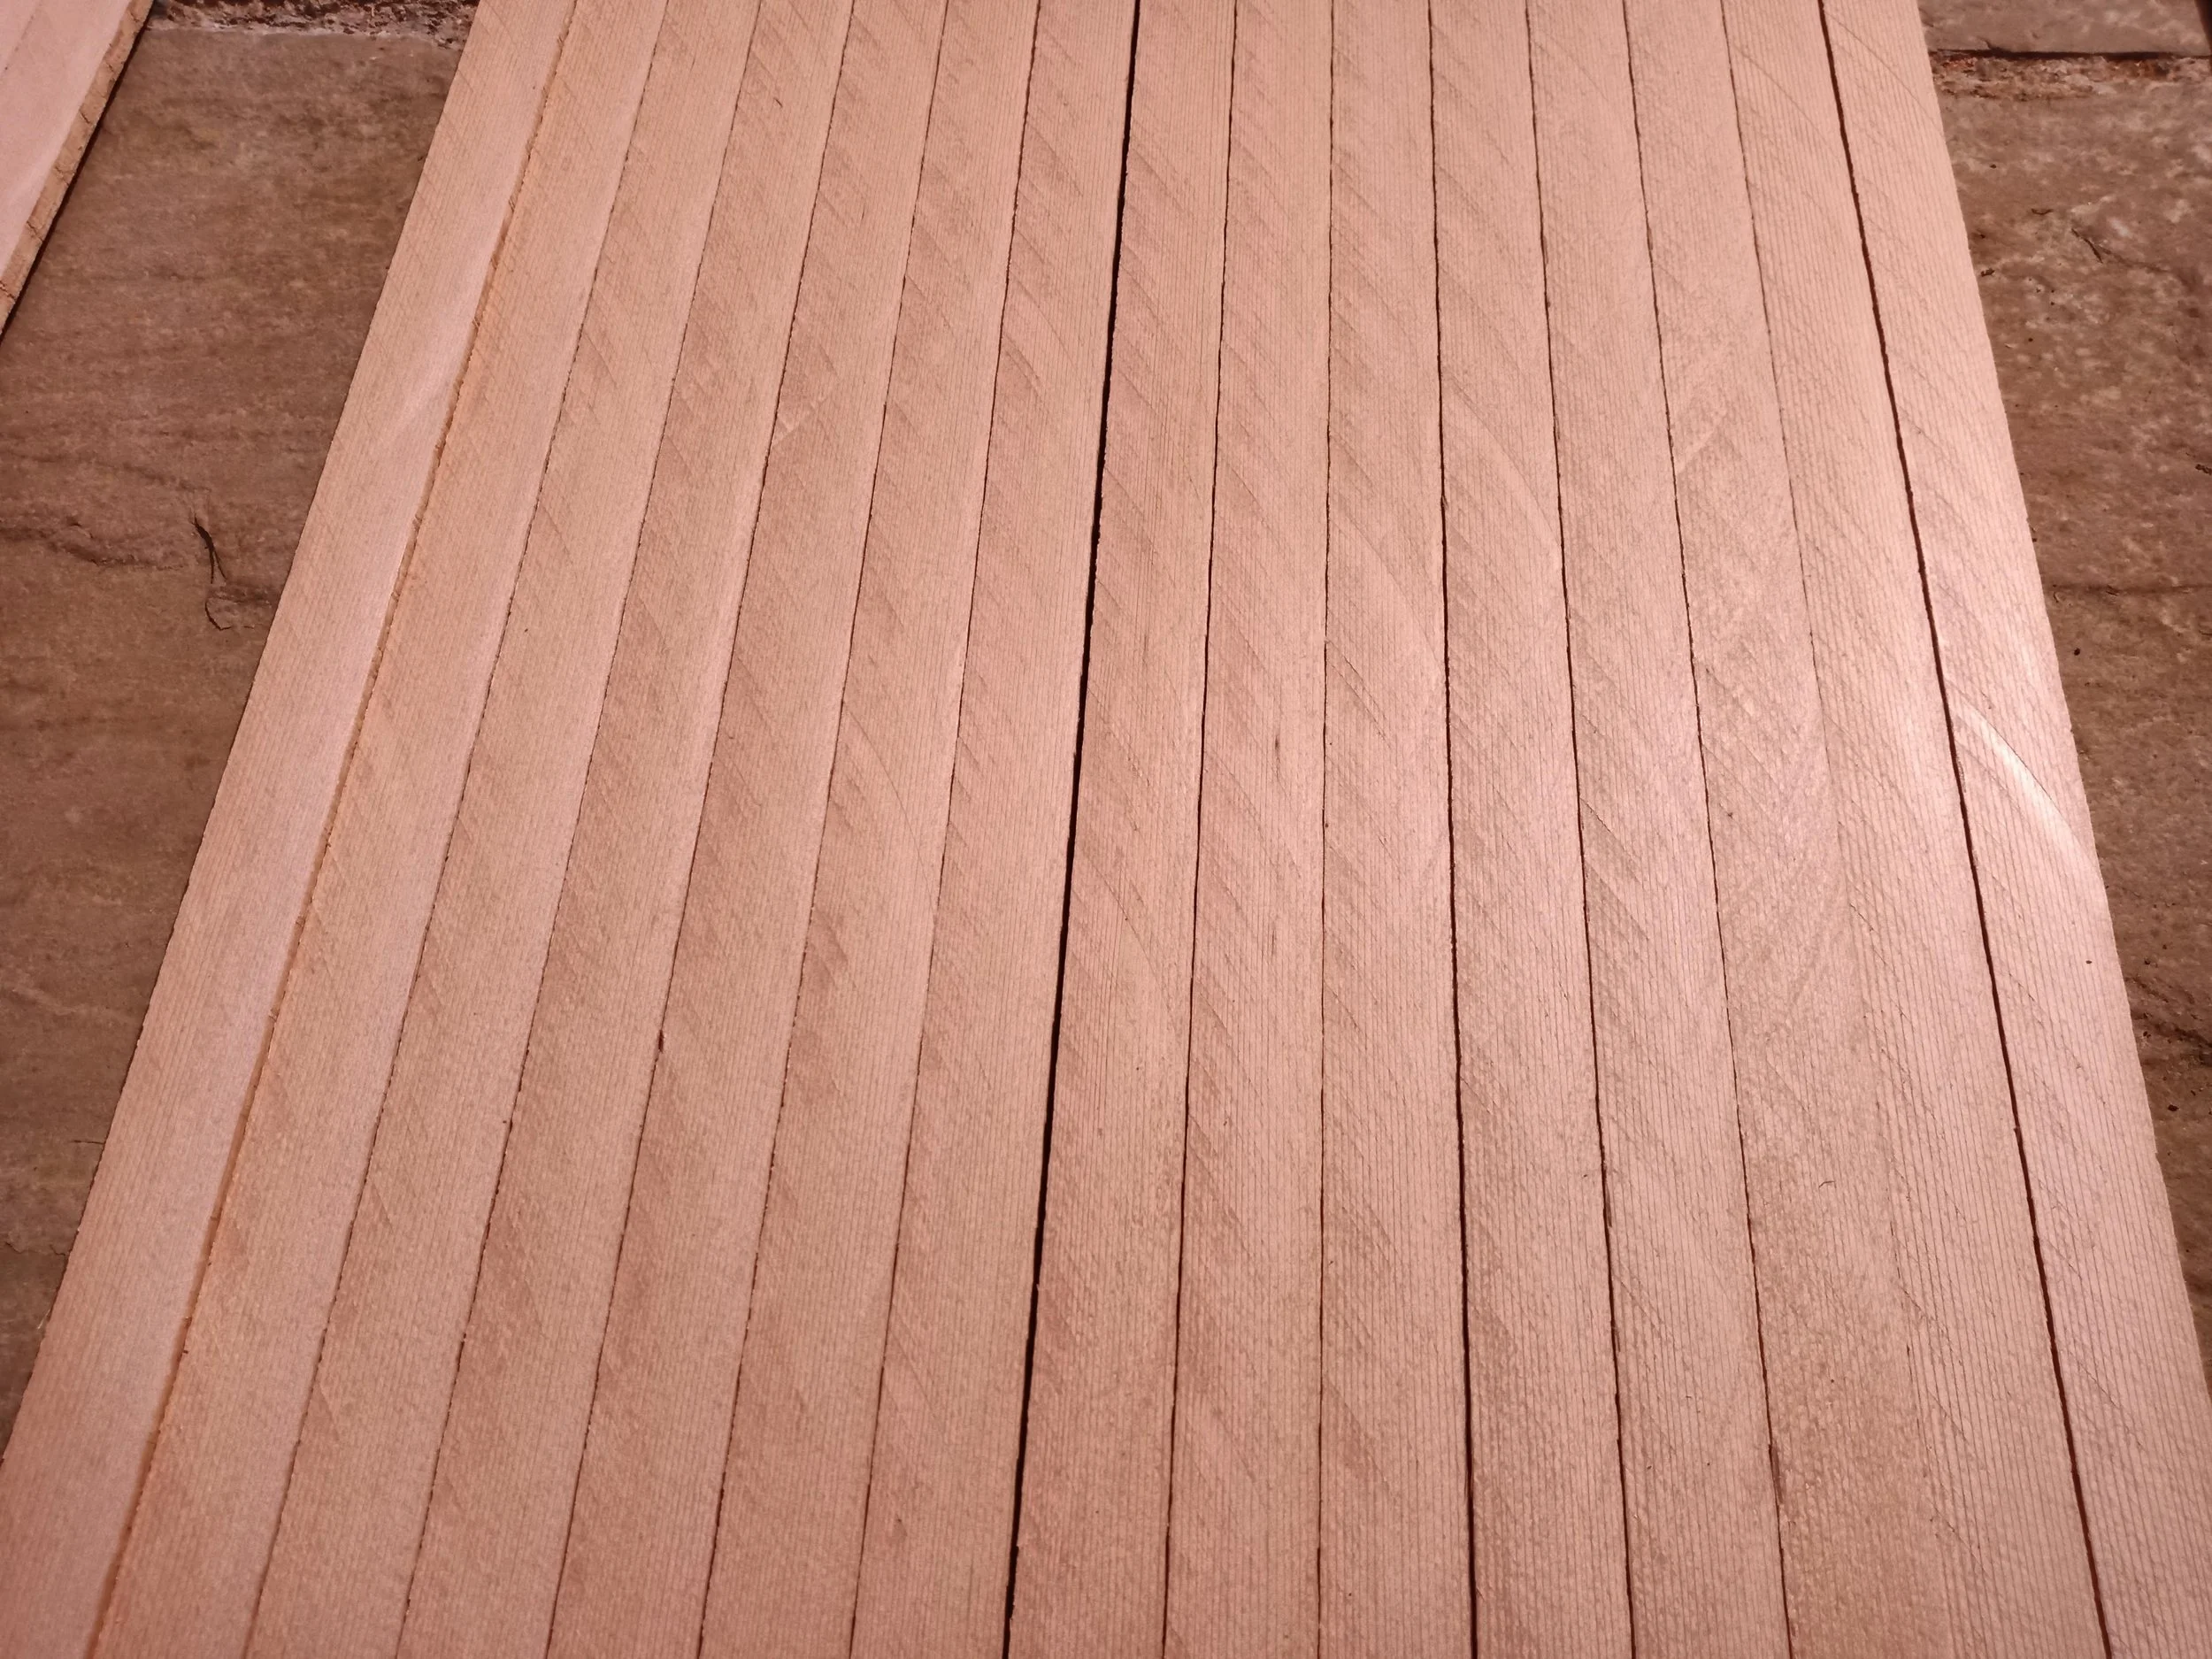
They all looked beautiful.

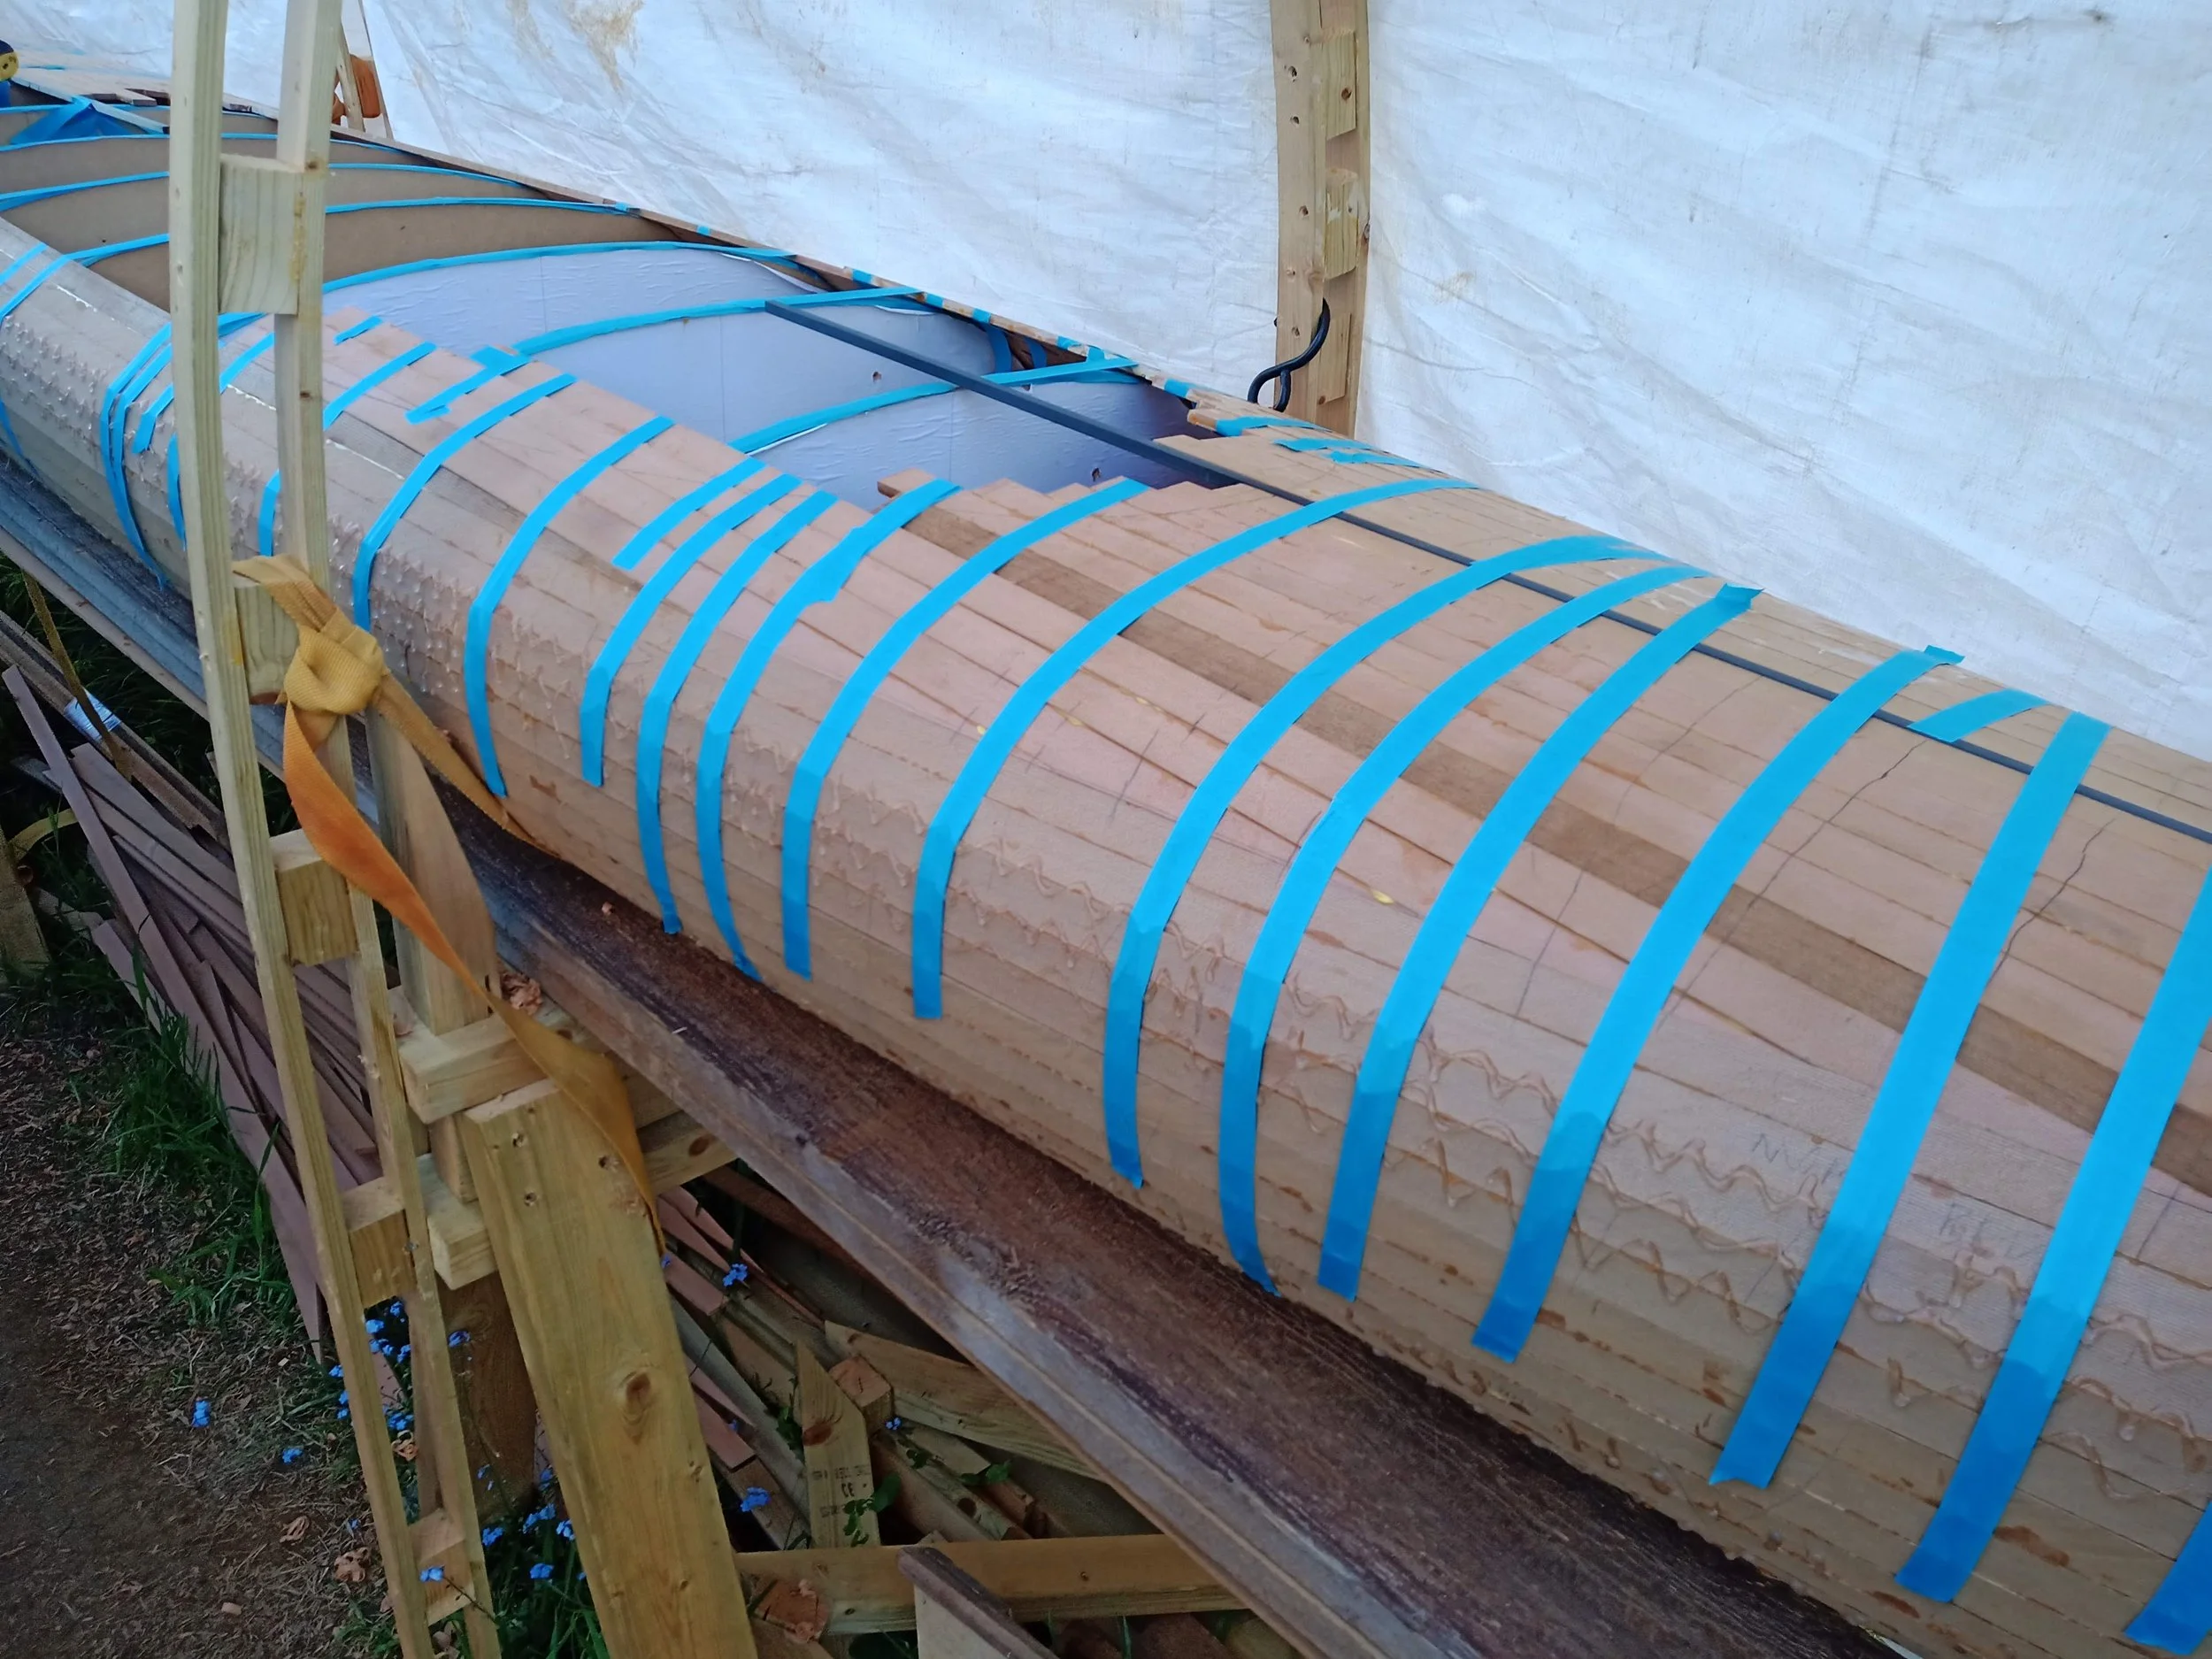
First strip, hot glued to the forms, except at the stem and stern where wood glue was used to attach to the inner stem and stern pieces. This strip sat with its lower edge perfectly on the parting line of the hull and deck. It was crucial to take time to ensure a fair curve for this strip.

Gradually edge gluing planks together, while hot gluing them to the forms. The tool with the two doorknobs attached (sitting on the cedar on the left of the image) carries a small rebating plane to help produce the continuously changing bevel between each strip and ensure that each strip glues seamlessly to the previous one, while also conforming to the lines of the forms.

Hot glue and masking tape help hold each new strip in place while the wood glue cures.

Arthur, the Shih Tzu, coming out to say hello!

As I work up mostly on one side, the strips are allowed to run long. They will be cut back to the centre line in a later step.

The hull shape is really coming together.

The centreline cut was completed with a japanese pull saw. The second side of the hull is now ready for planking.

On the second side, each plank end had to be scarfed in to match the angle formed between the centreline and the previous strip. The other side then had to be completed before gradually planing small amounts from one end until the overall length was also perfect.

Yet more tape and hot glue.

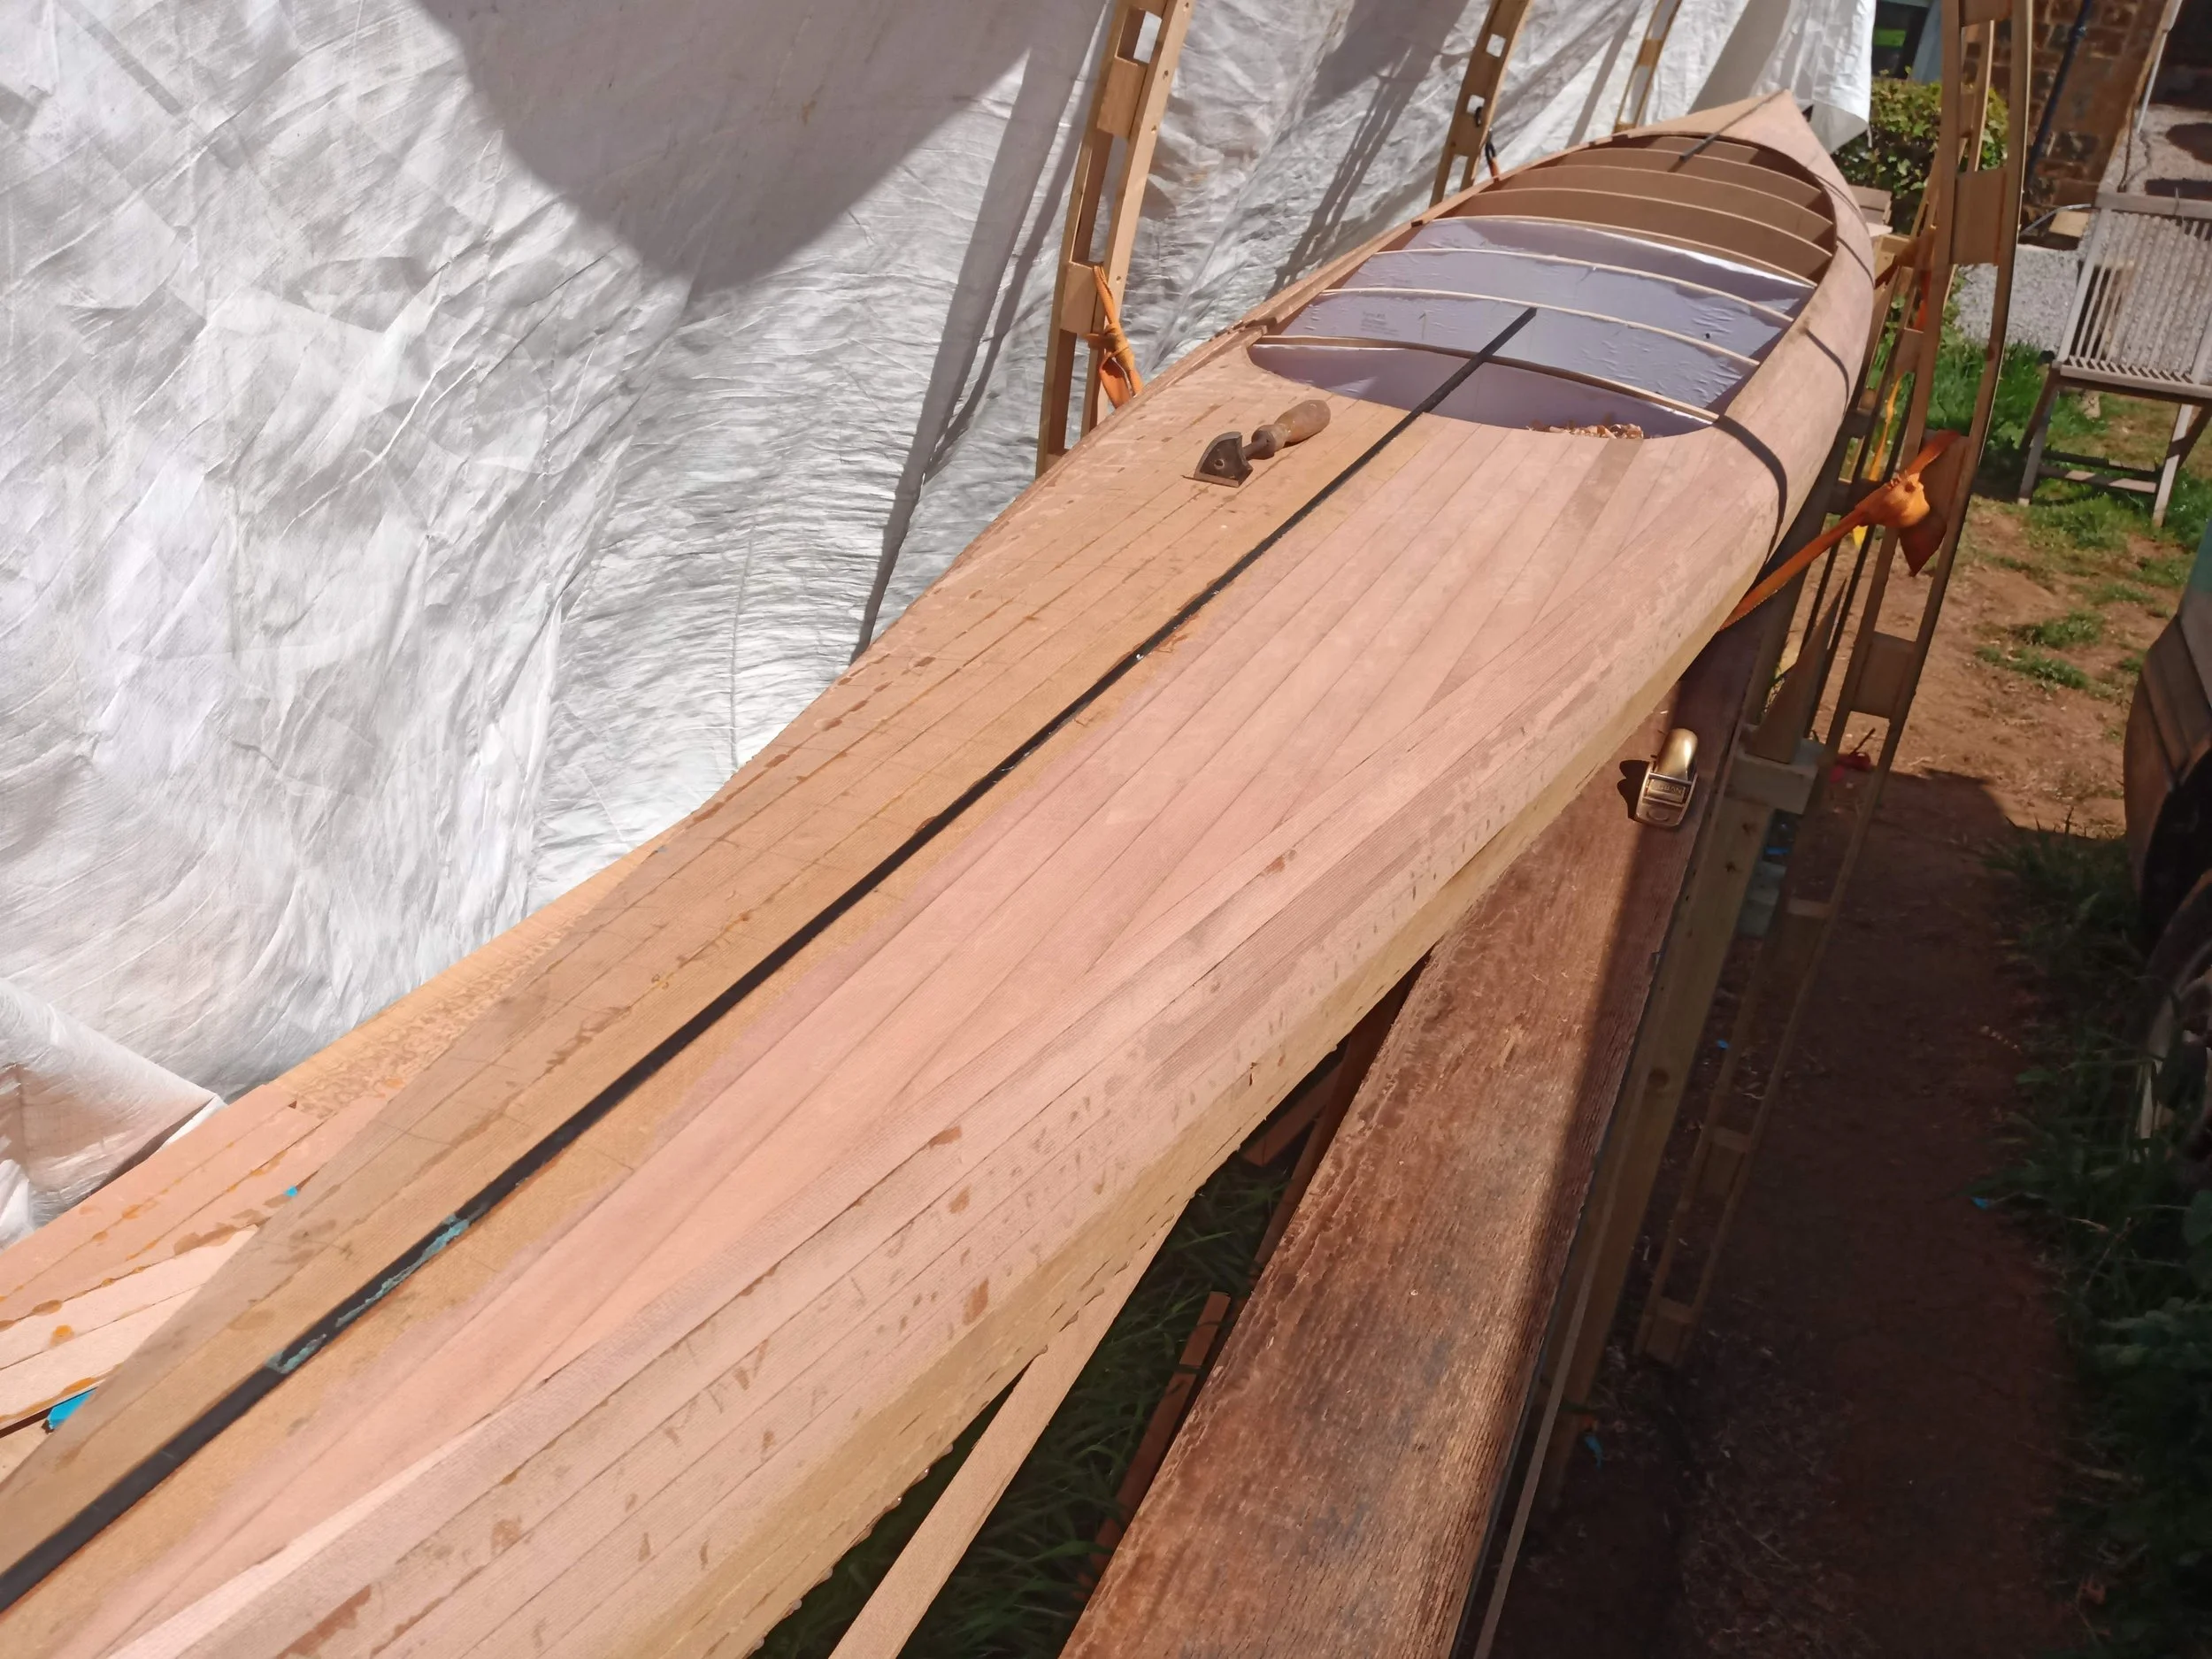
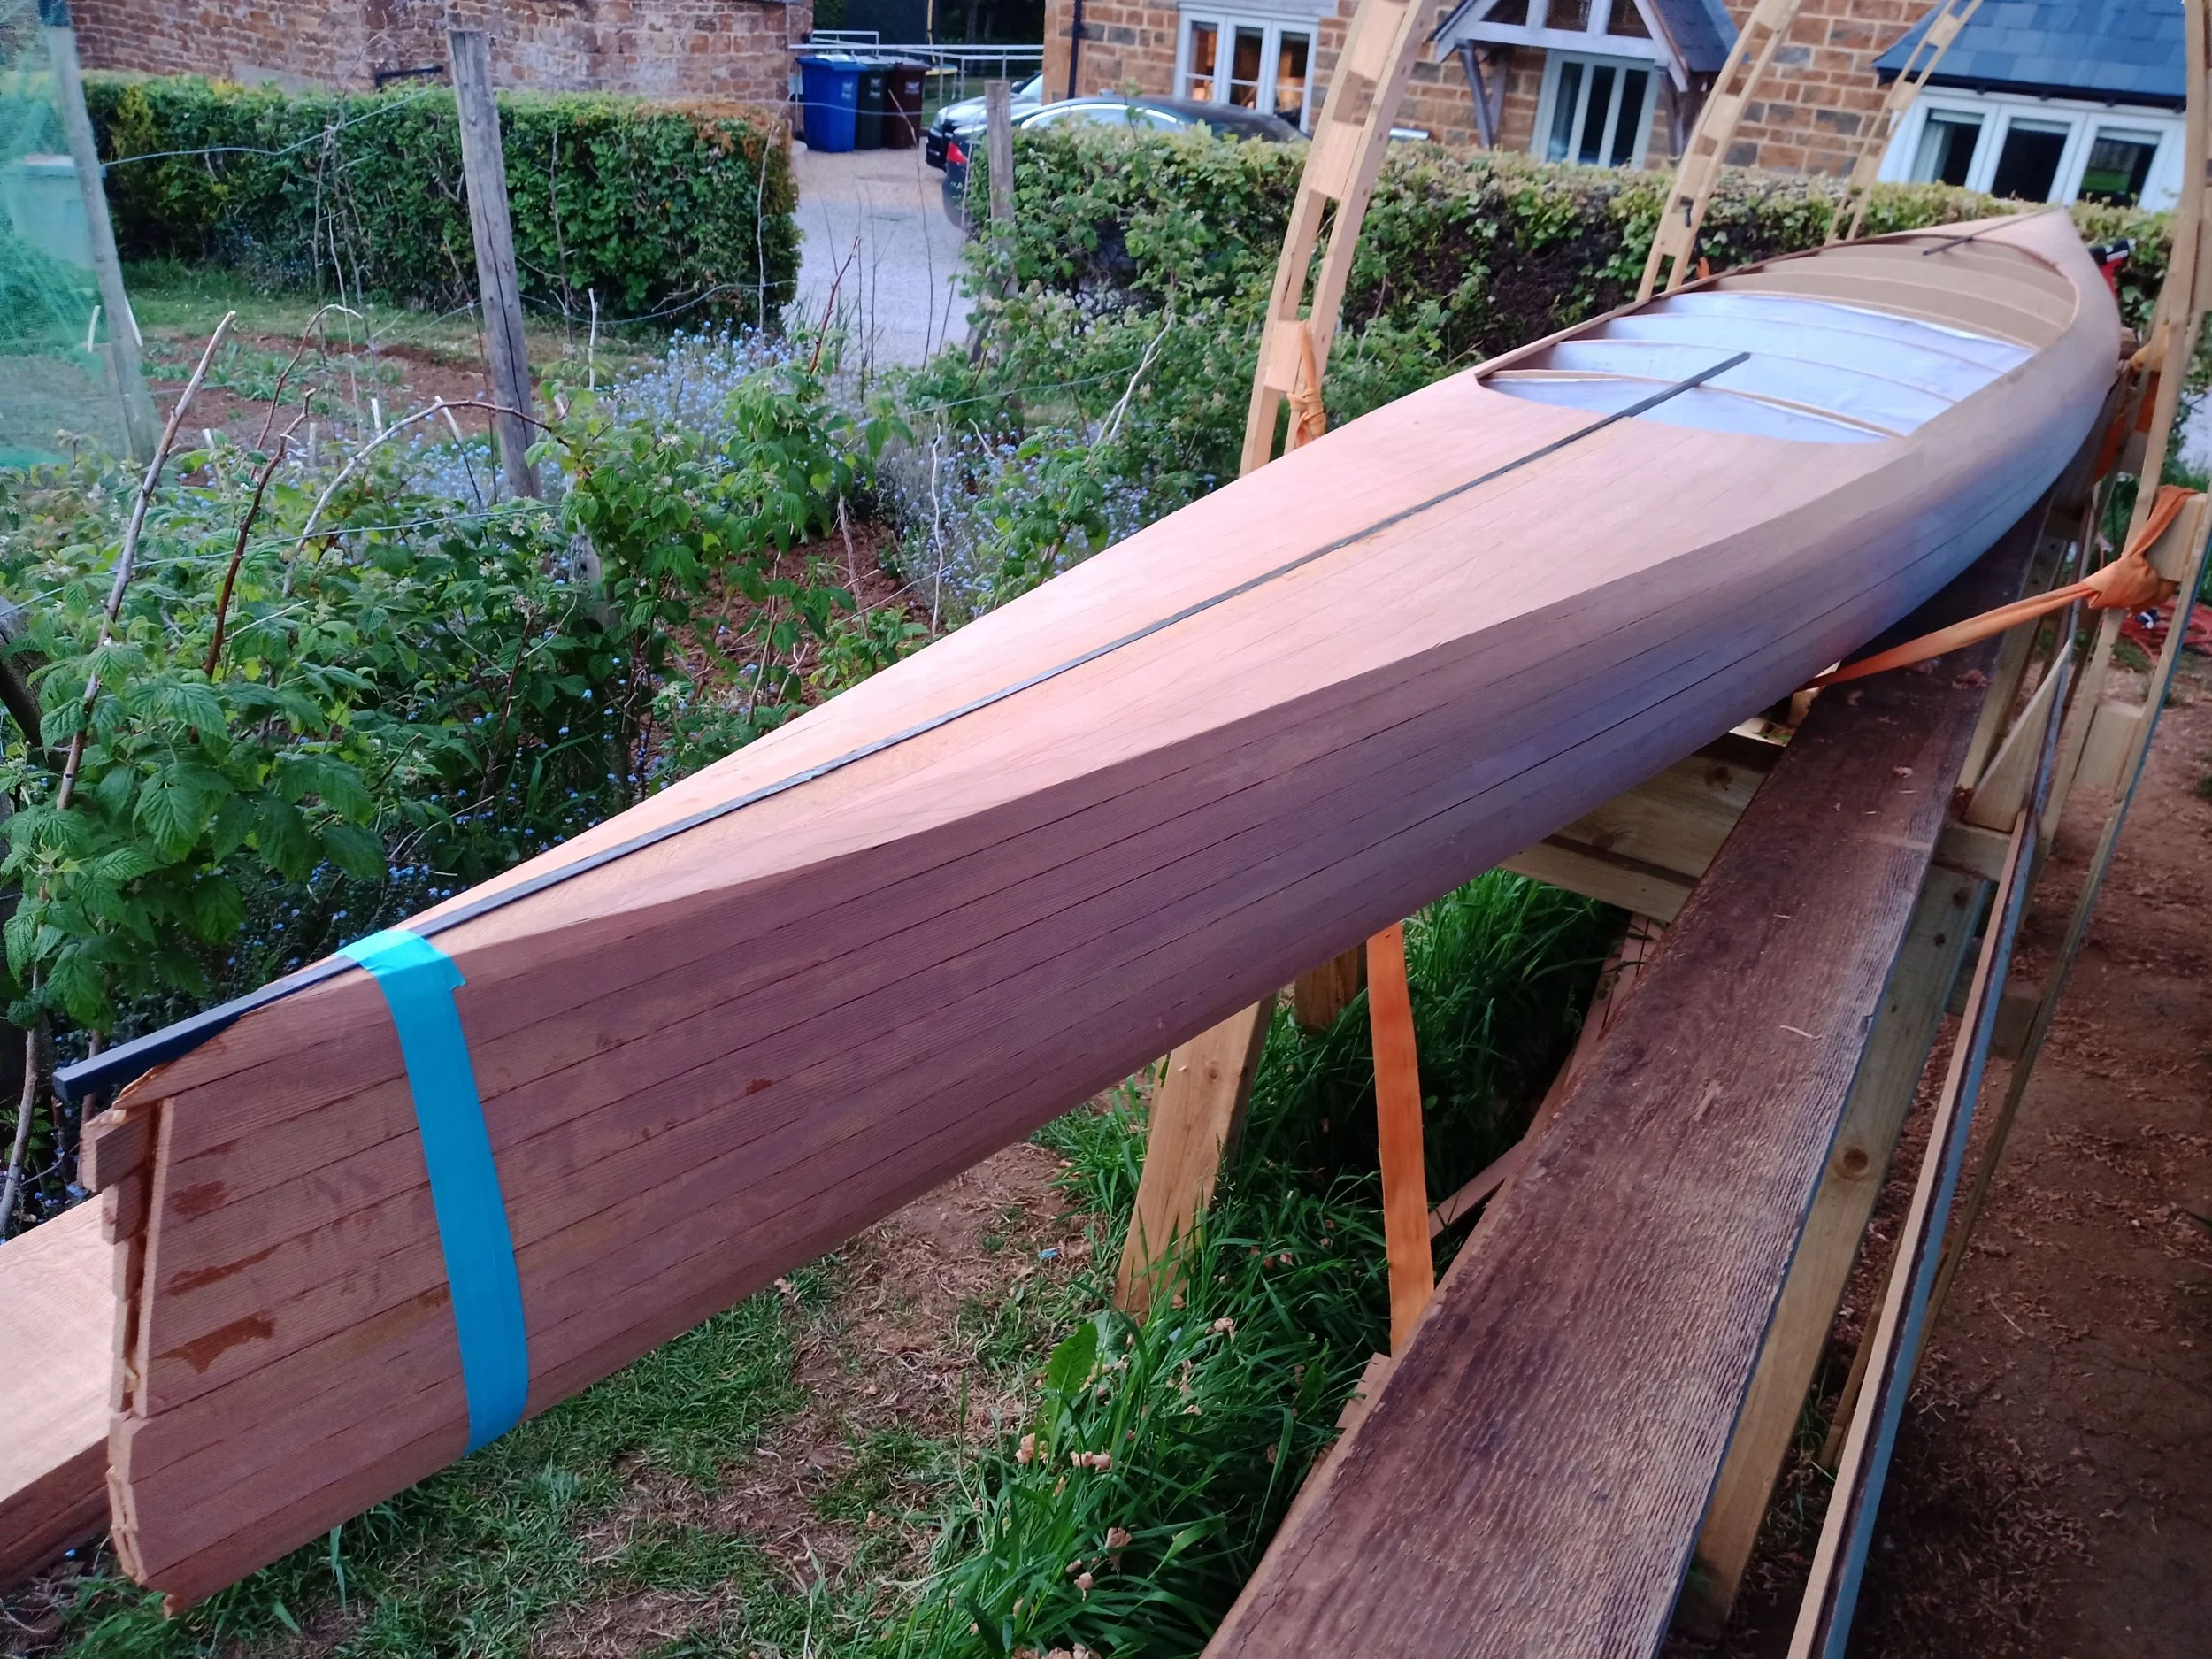
The same process was followed for the deck after flipping the form over. The parting line remains unglued. At this point I am gluing in a decorative unidirectional carbon fibre square rod along the centreline of the deck.
You can see the rough outline of the cockpit coaming. The strips were left long to enable cutting the correct profile later.
Gluing in the last strips.

Keeping pressure to help bond the carbon fibre centre strip in place. This was glued to the deck with G-Flex epoxy.

Cockpit outline cut and epoxy curing.
Tape finally removed! Initial fairing has begun with a selection of card scrapers. The first task was to knock down the corners where each strip joined with the next.

After initial scraping, the shape was refined with sandpaper on a long board.
Still more fairing. This tape was just to hold the deck and hull together while the boat was being regularly turned over to access different sections of the hull.

Final fairing on this carbon strip was hard work, especially compared with the soft cedar.

The cockpit coaming was formed from lots of short edge glued pieces of cedar, all glued to the edge of the cockpit cut-out. A thickened epoxy fillet helped strengthen the joint and allowed fibreglass cloth to flow smoothly from the deck up the side of the coaming.

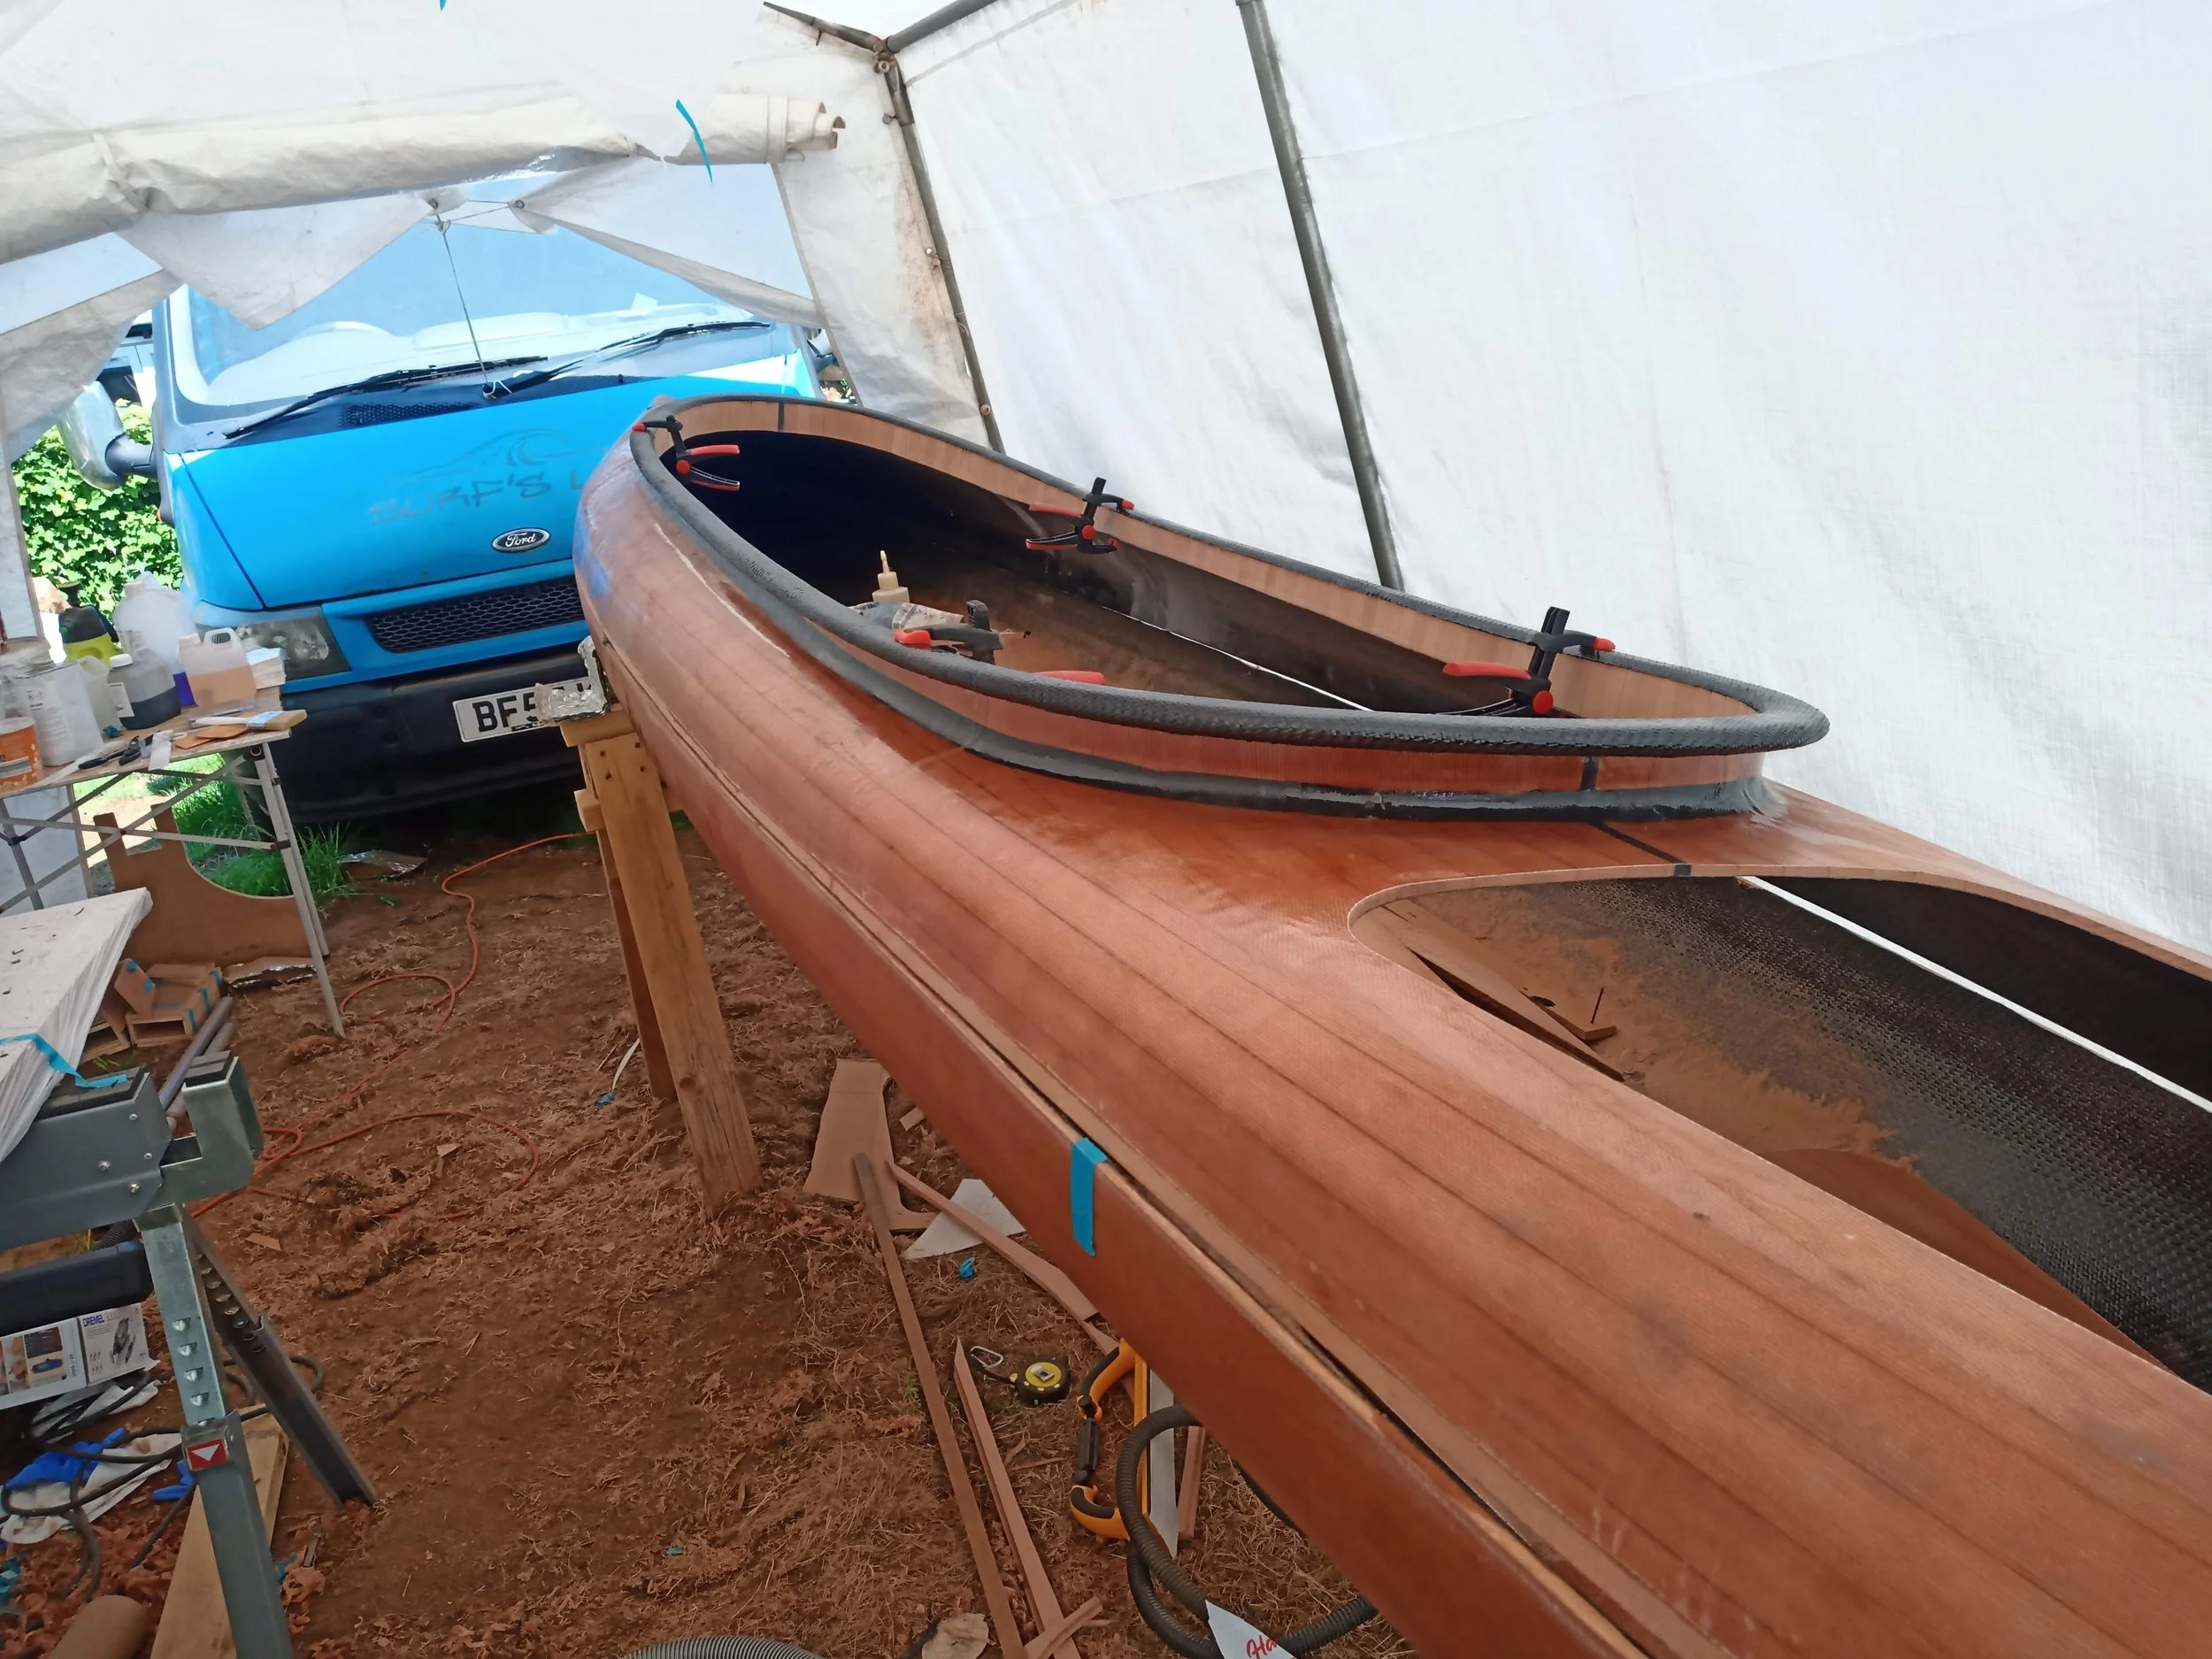
Doesn't the boat look good with her first layers of fibreglass cloth?! A single layer of 300g woven cloth for the deck and two layers on the hull.
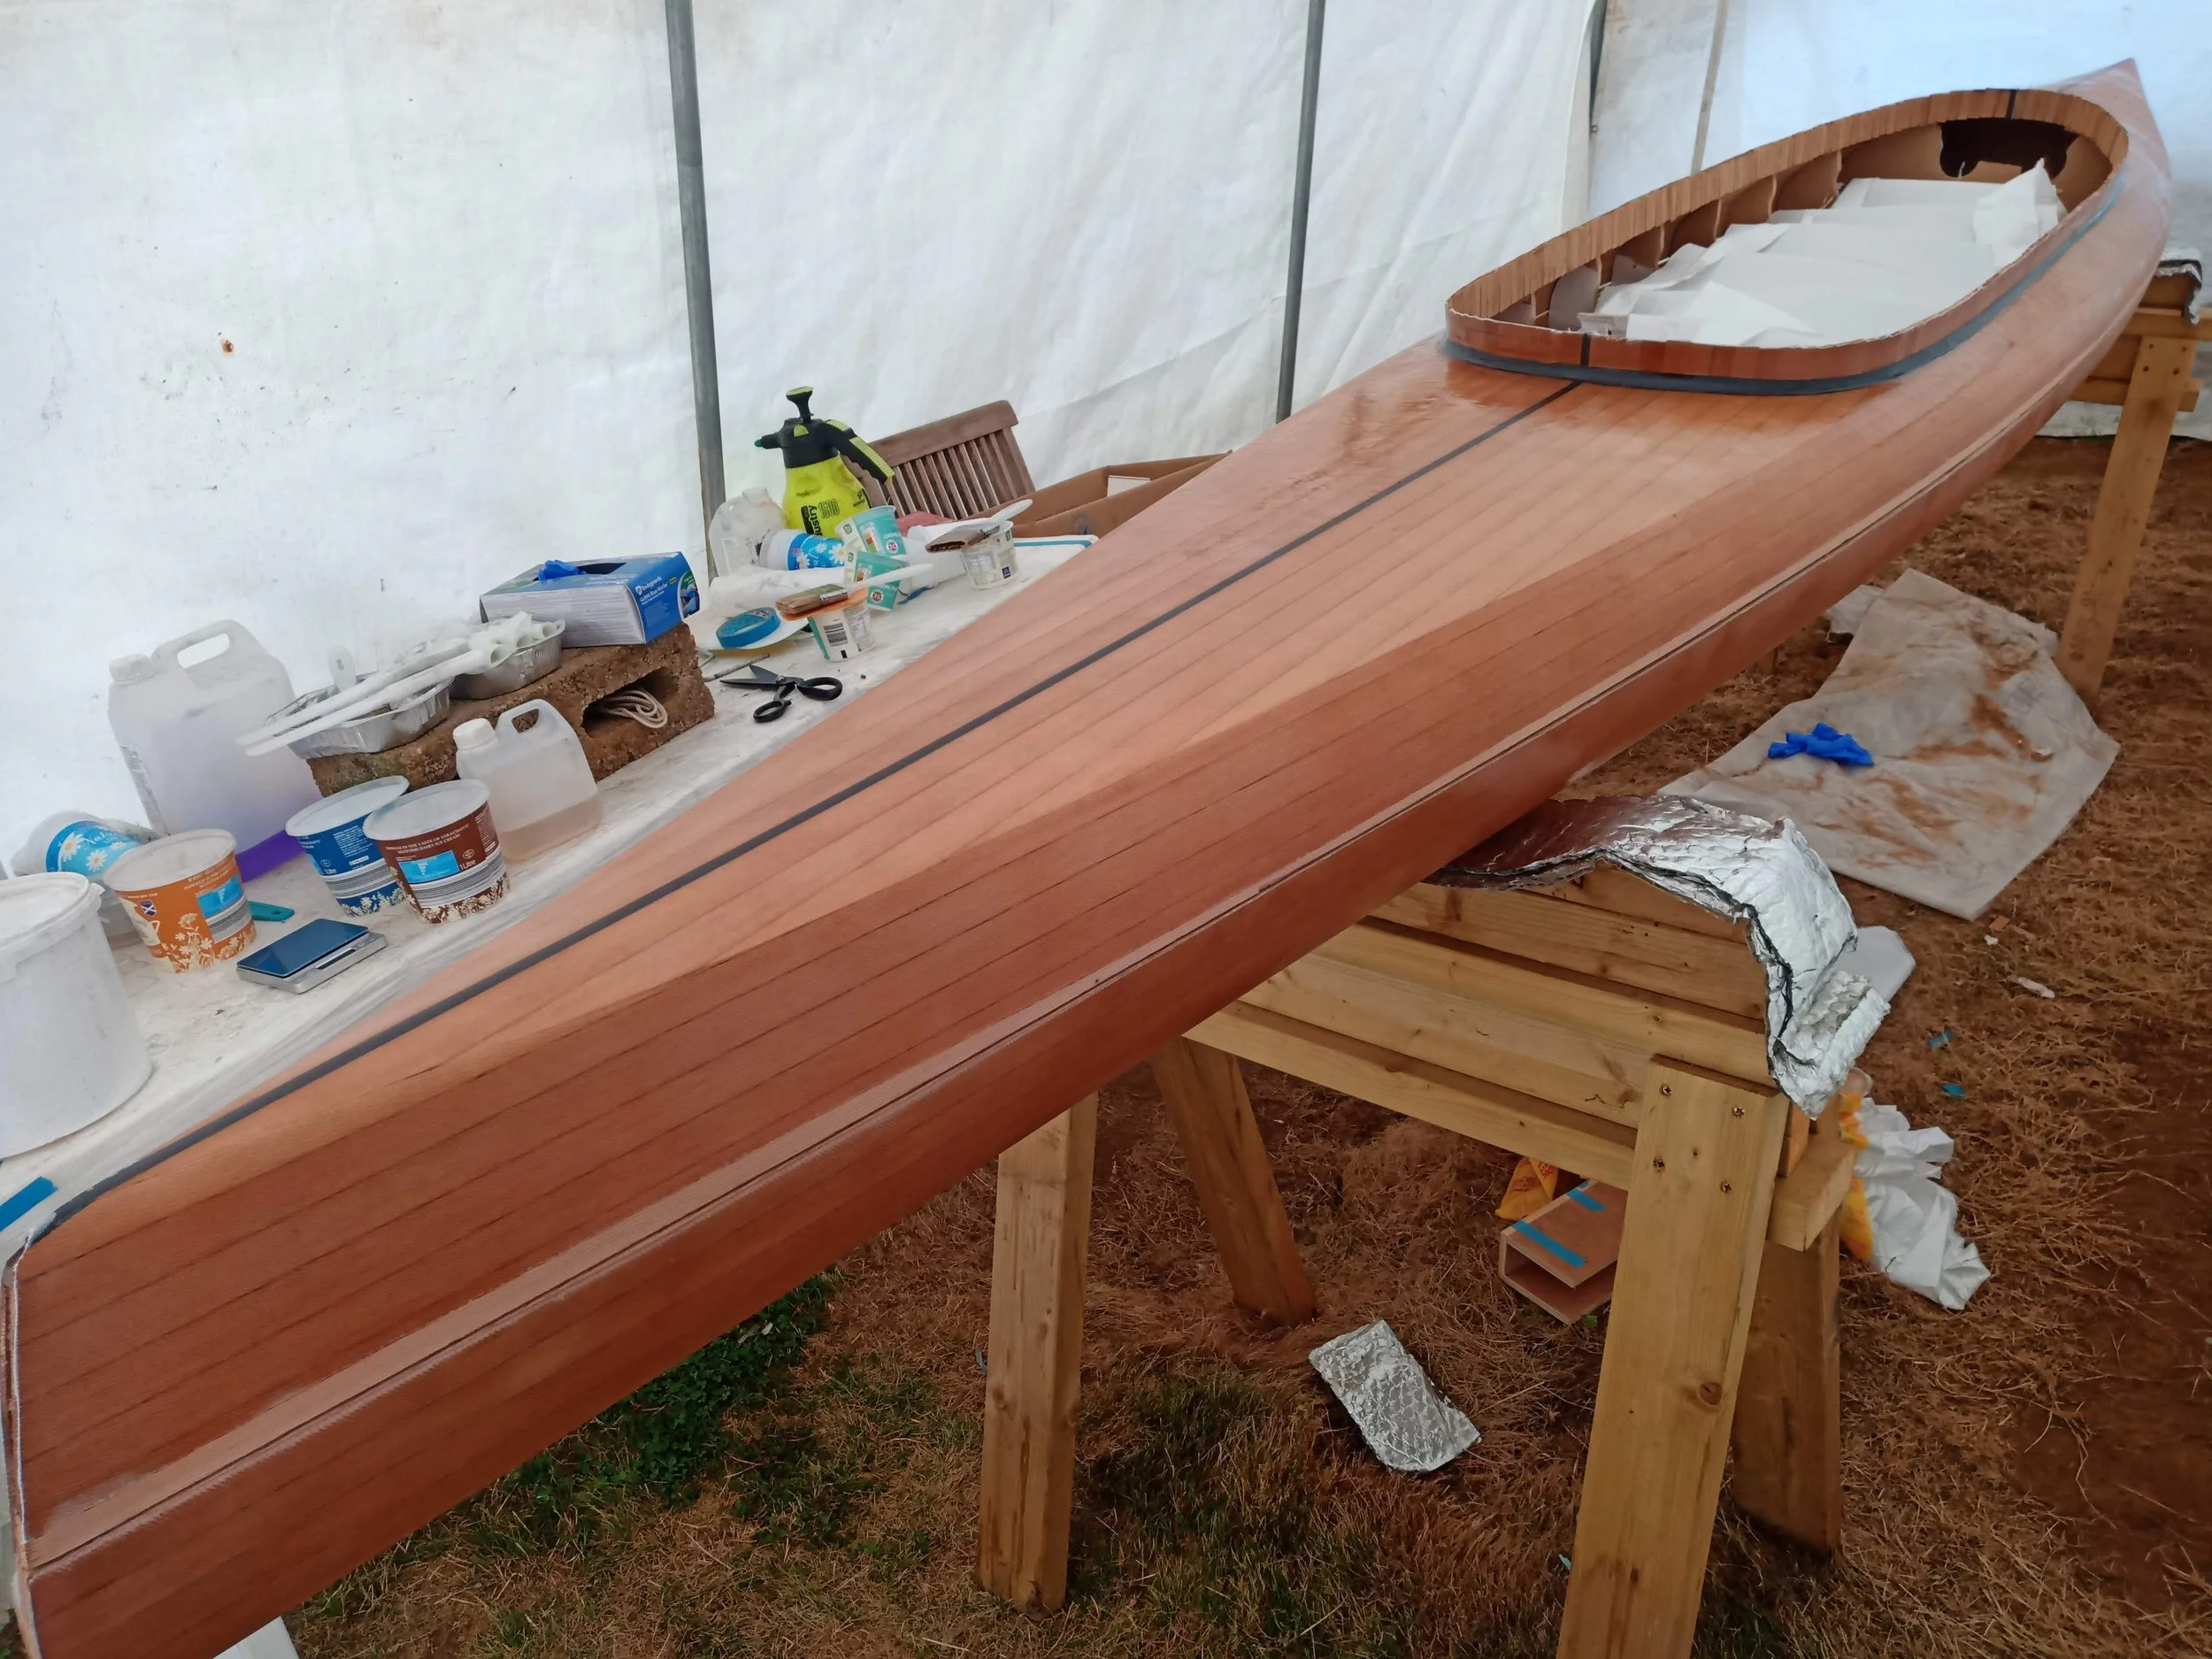
The epoxy resin really brings out the grain. Notice how there is an un-laminated strip along the deck-hull parting line.
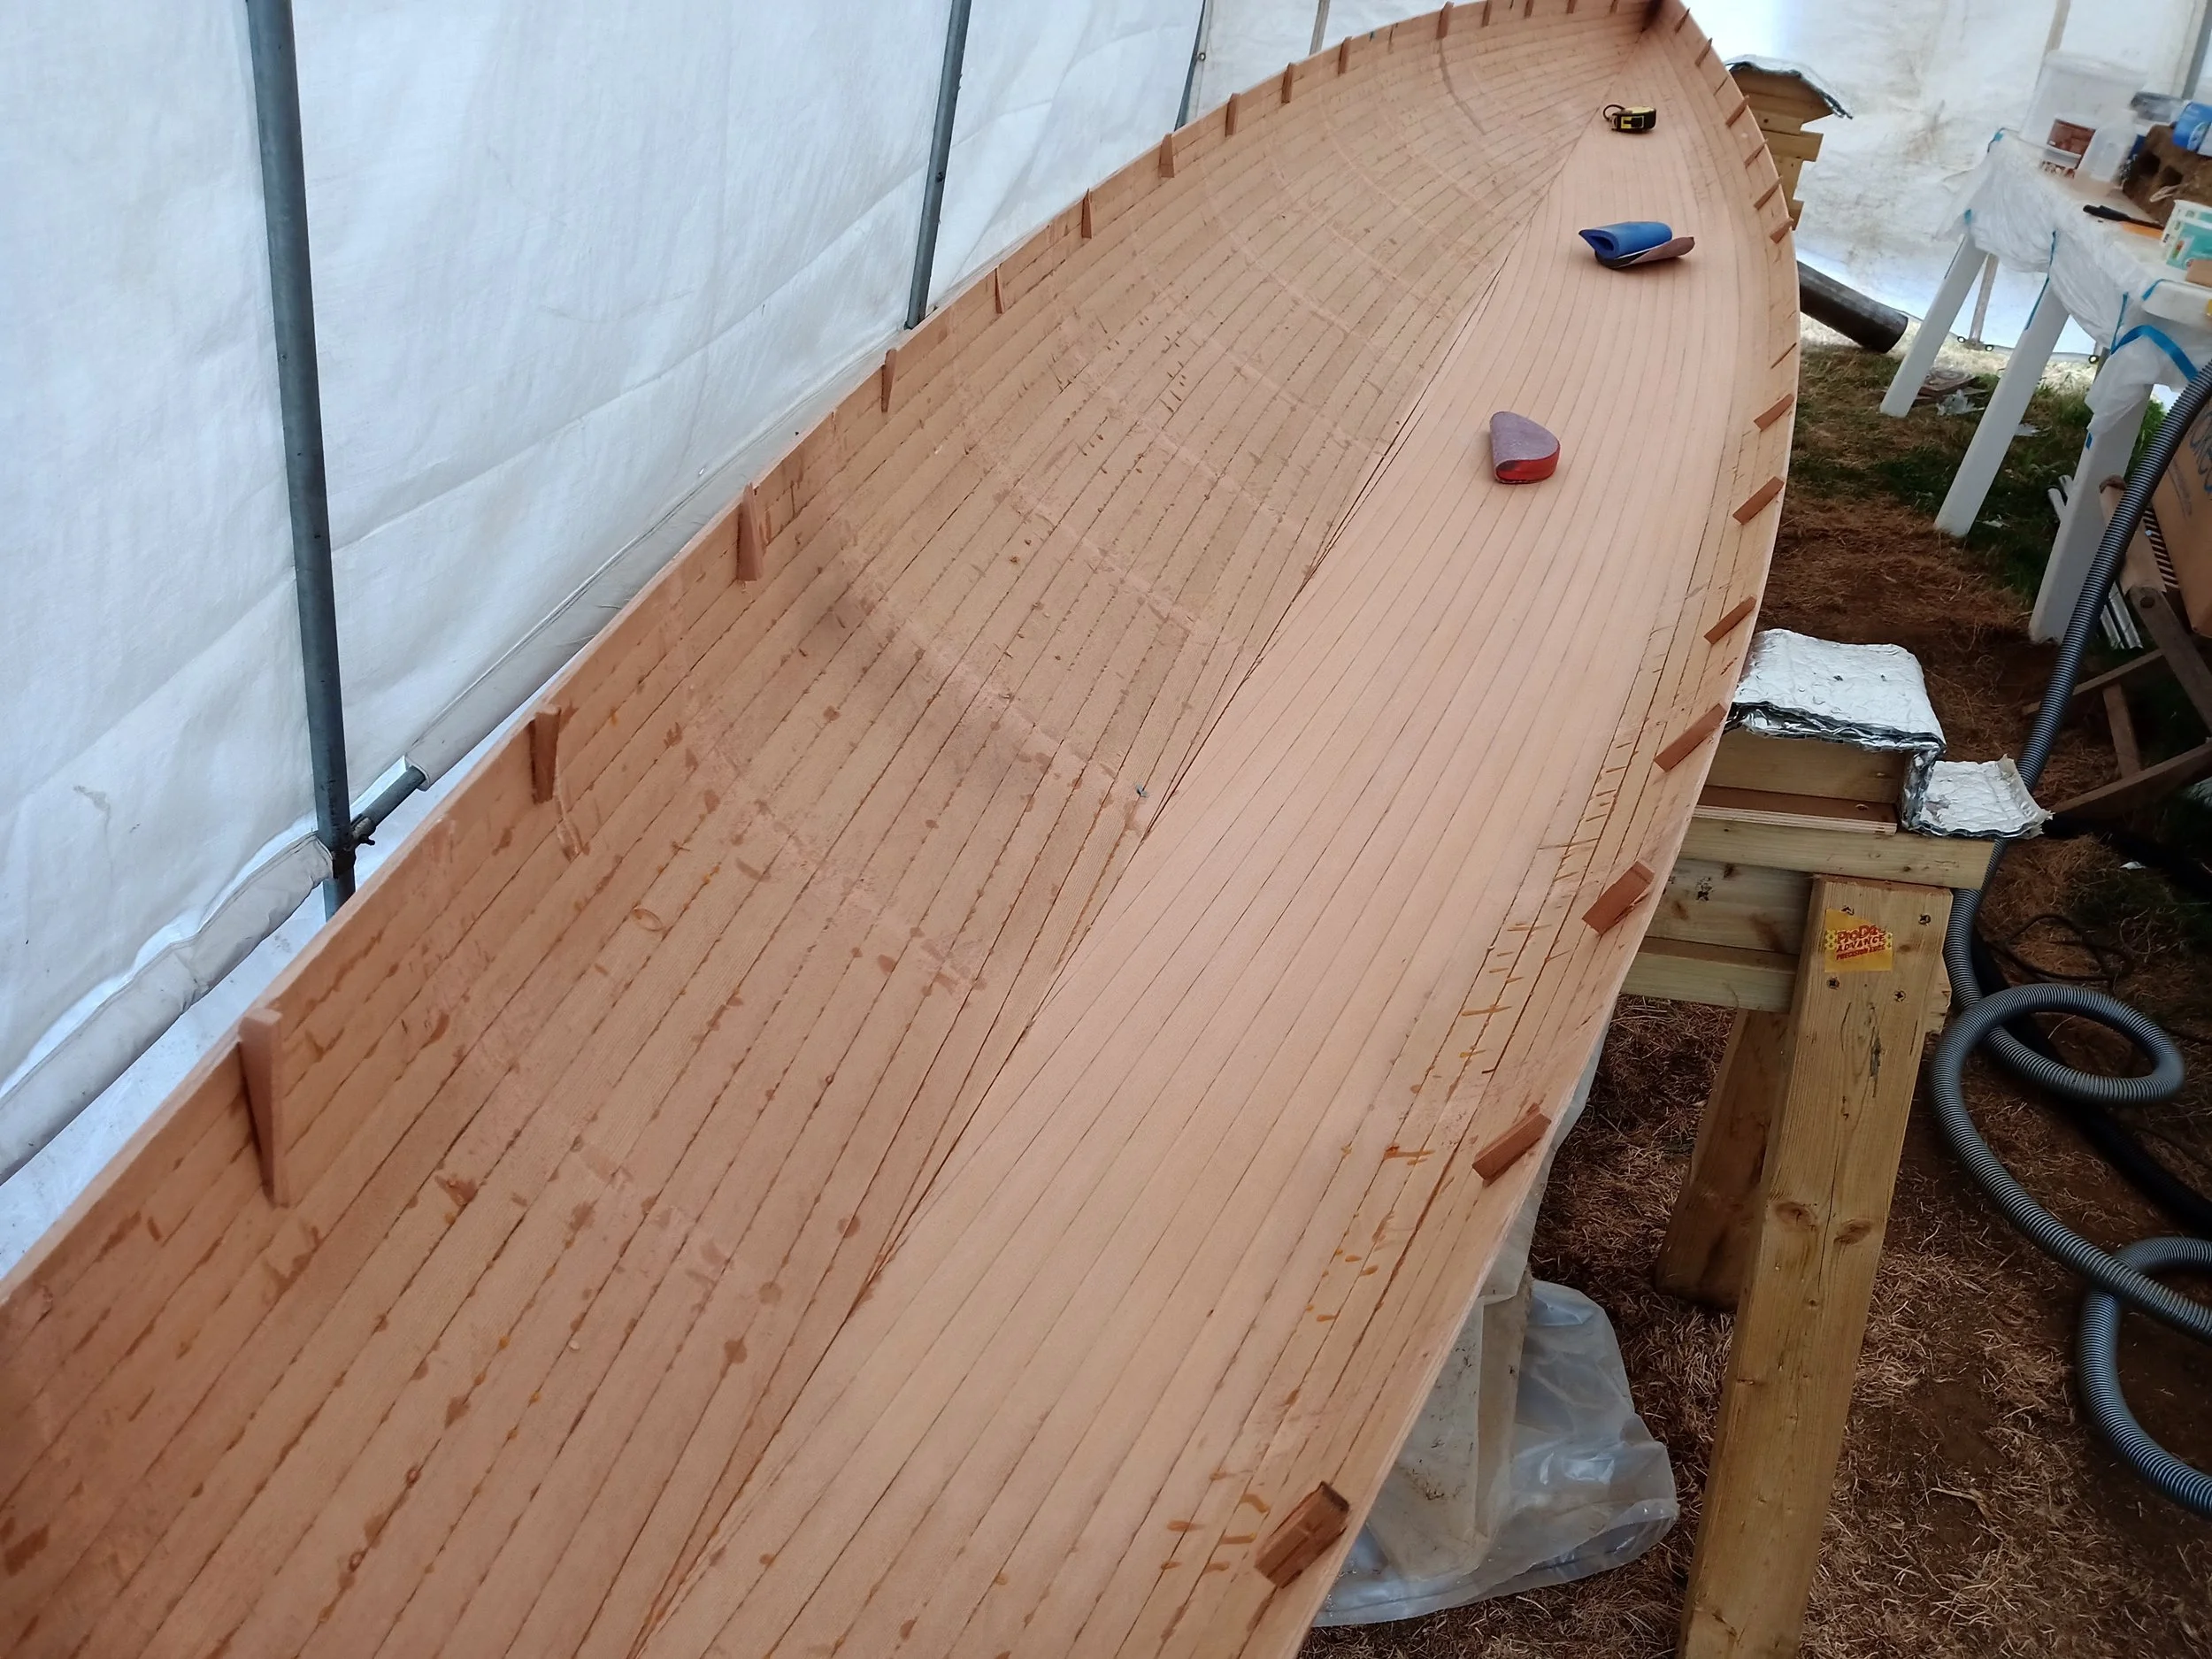
This unbonded parting line enables separation of the deck and hull to enable fairing the inside of the hull. Notice the small cedar alignment dogs, hot glued to the inside of both deck and hull.

Fairing the inside of the hull was even more time consuming and tricky than the outside.

But it was all worth it upon application of the carbon kevlar cloth.
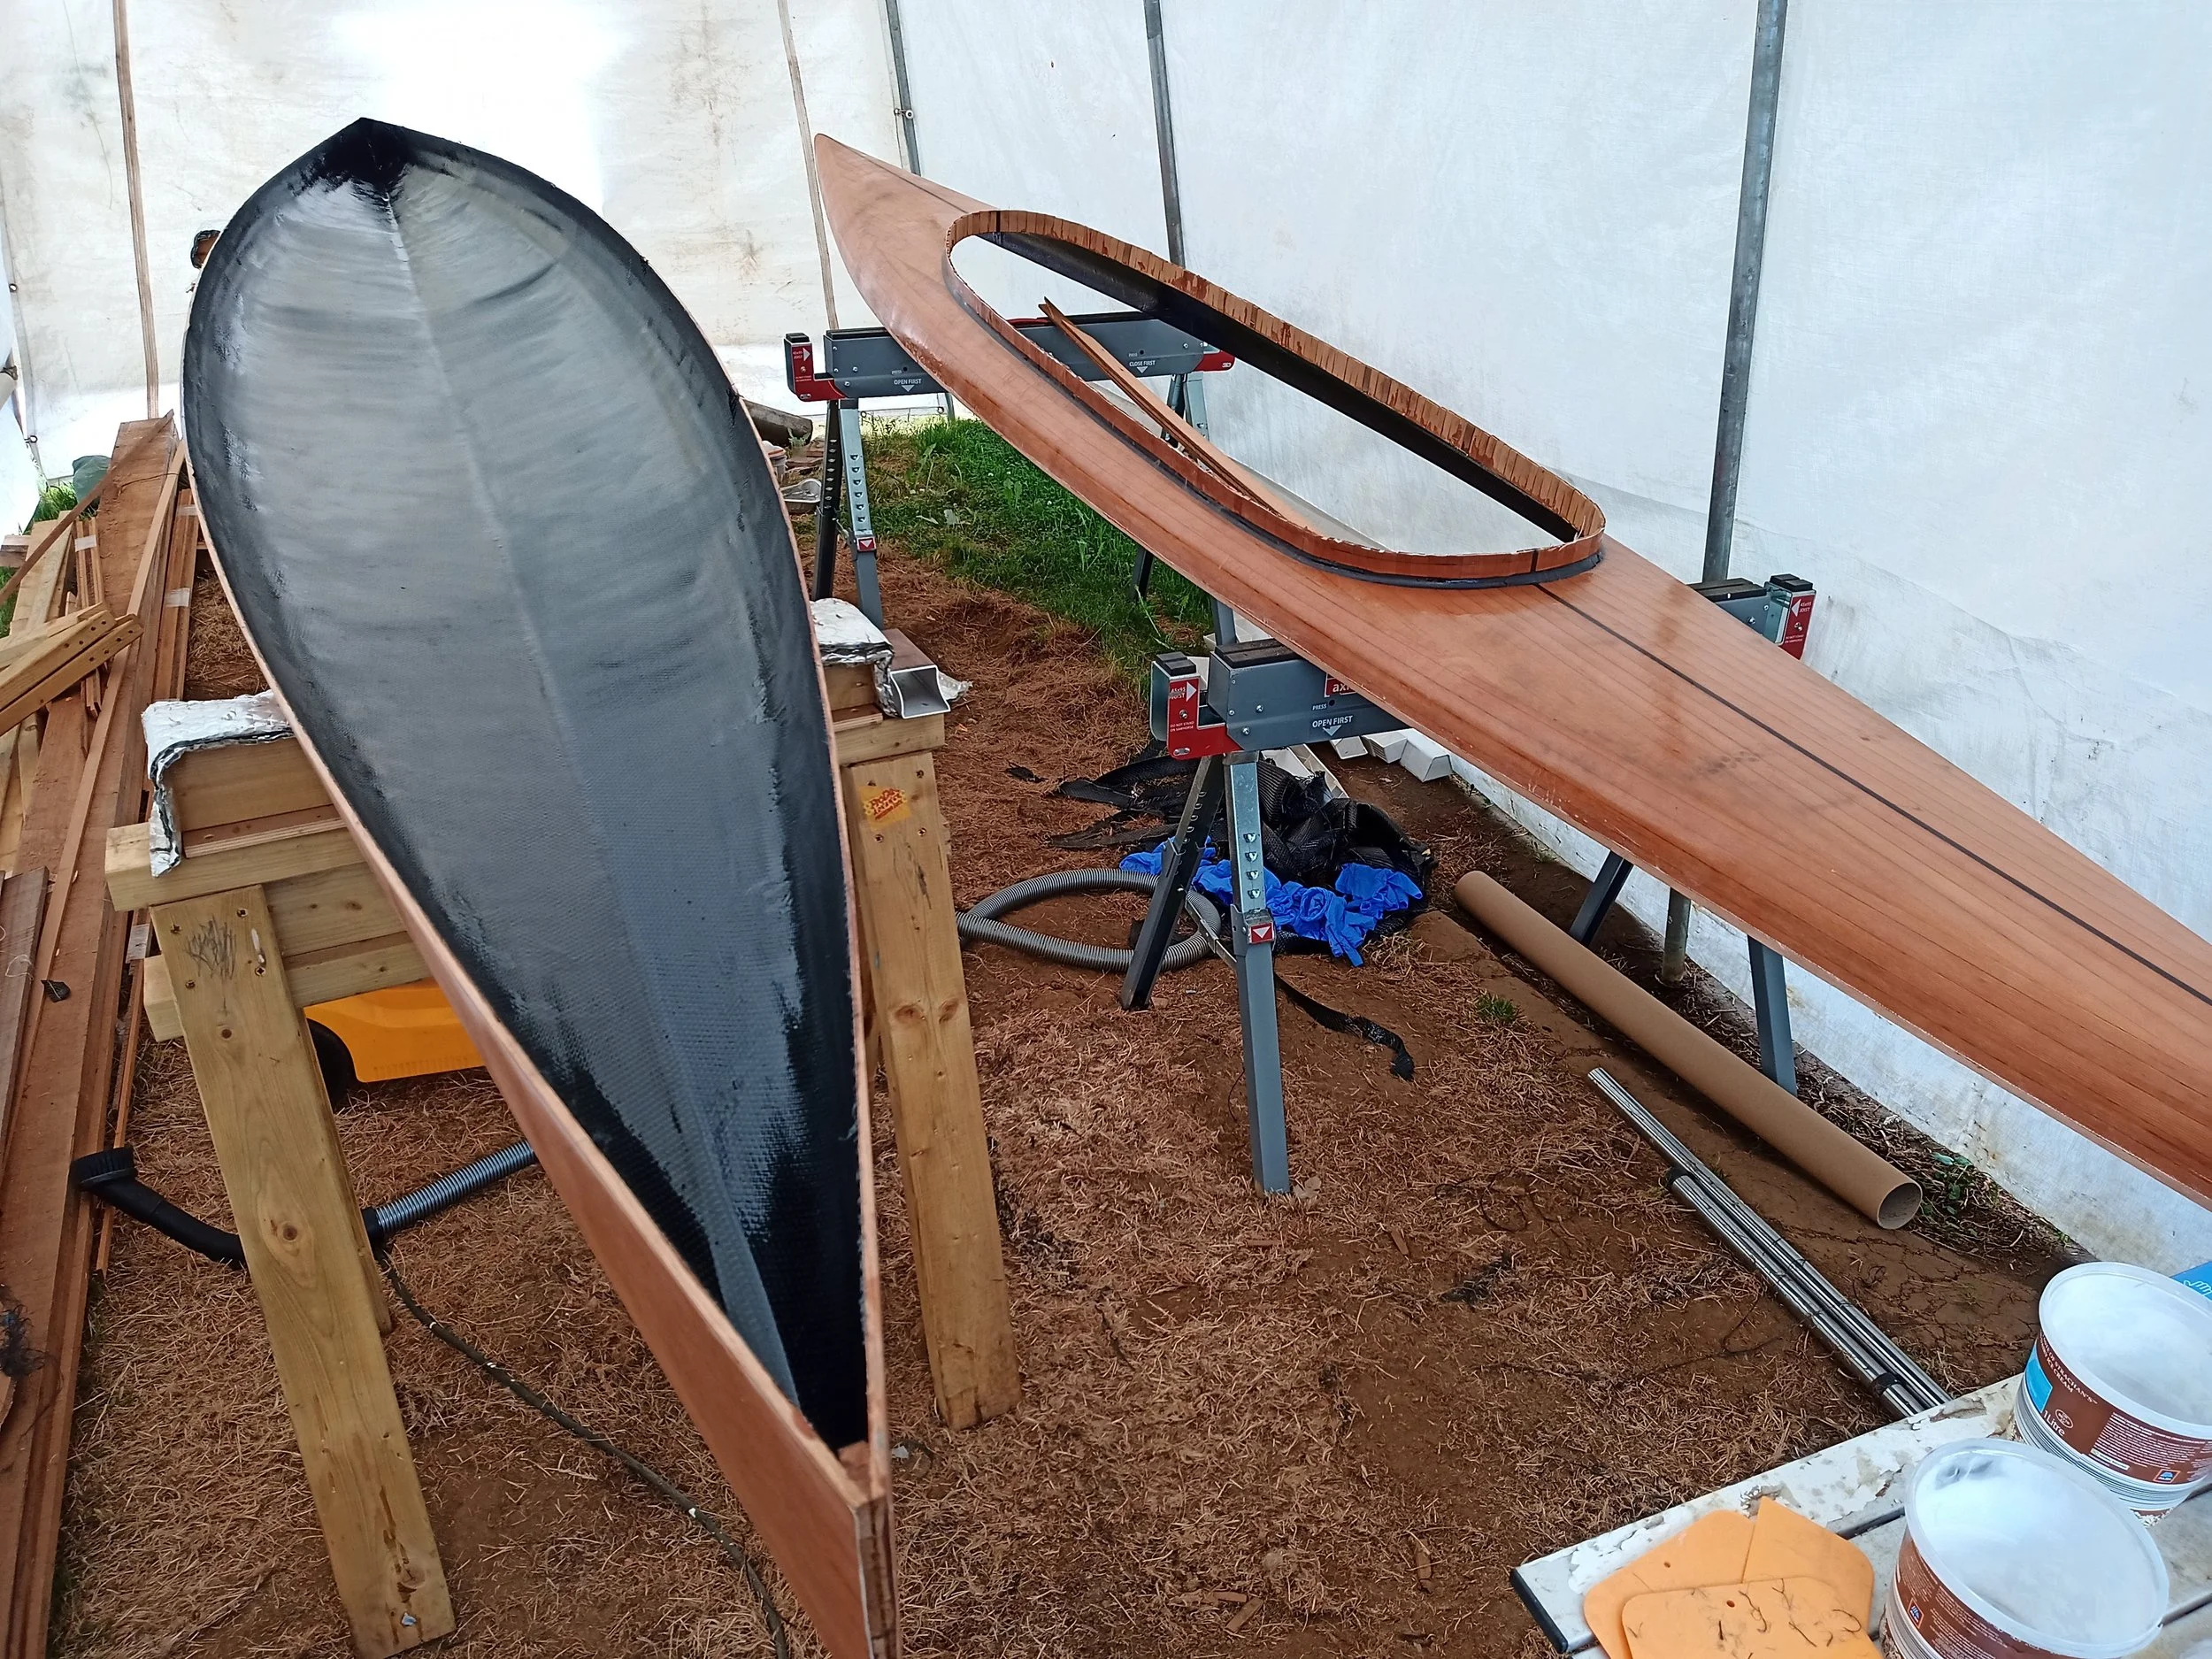
Doesn't the black carbon look great against the orange coloured cedar?
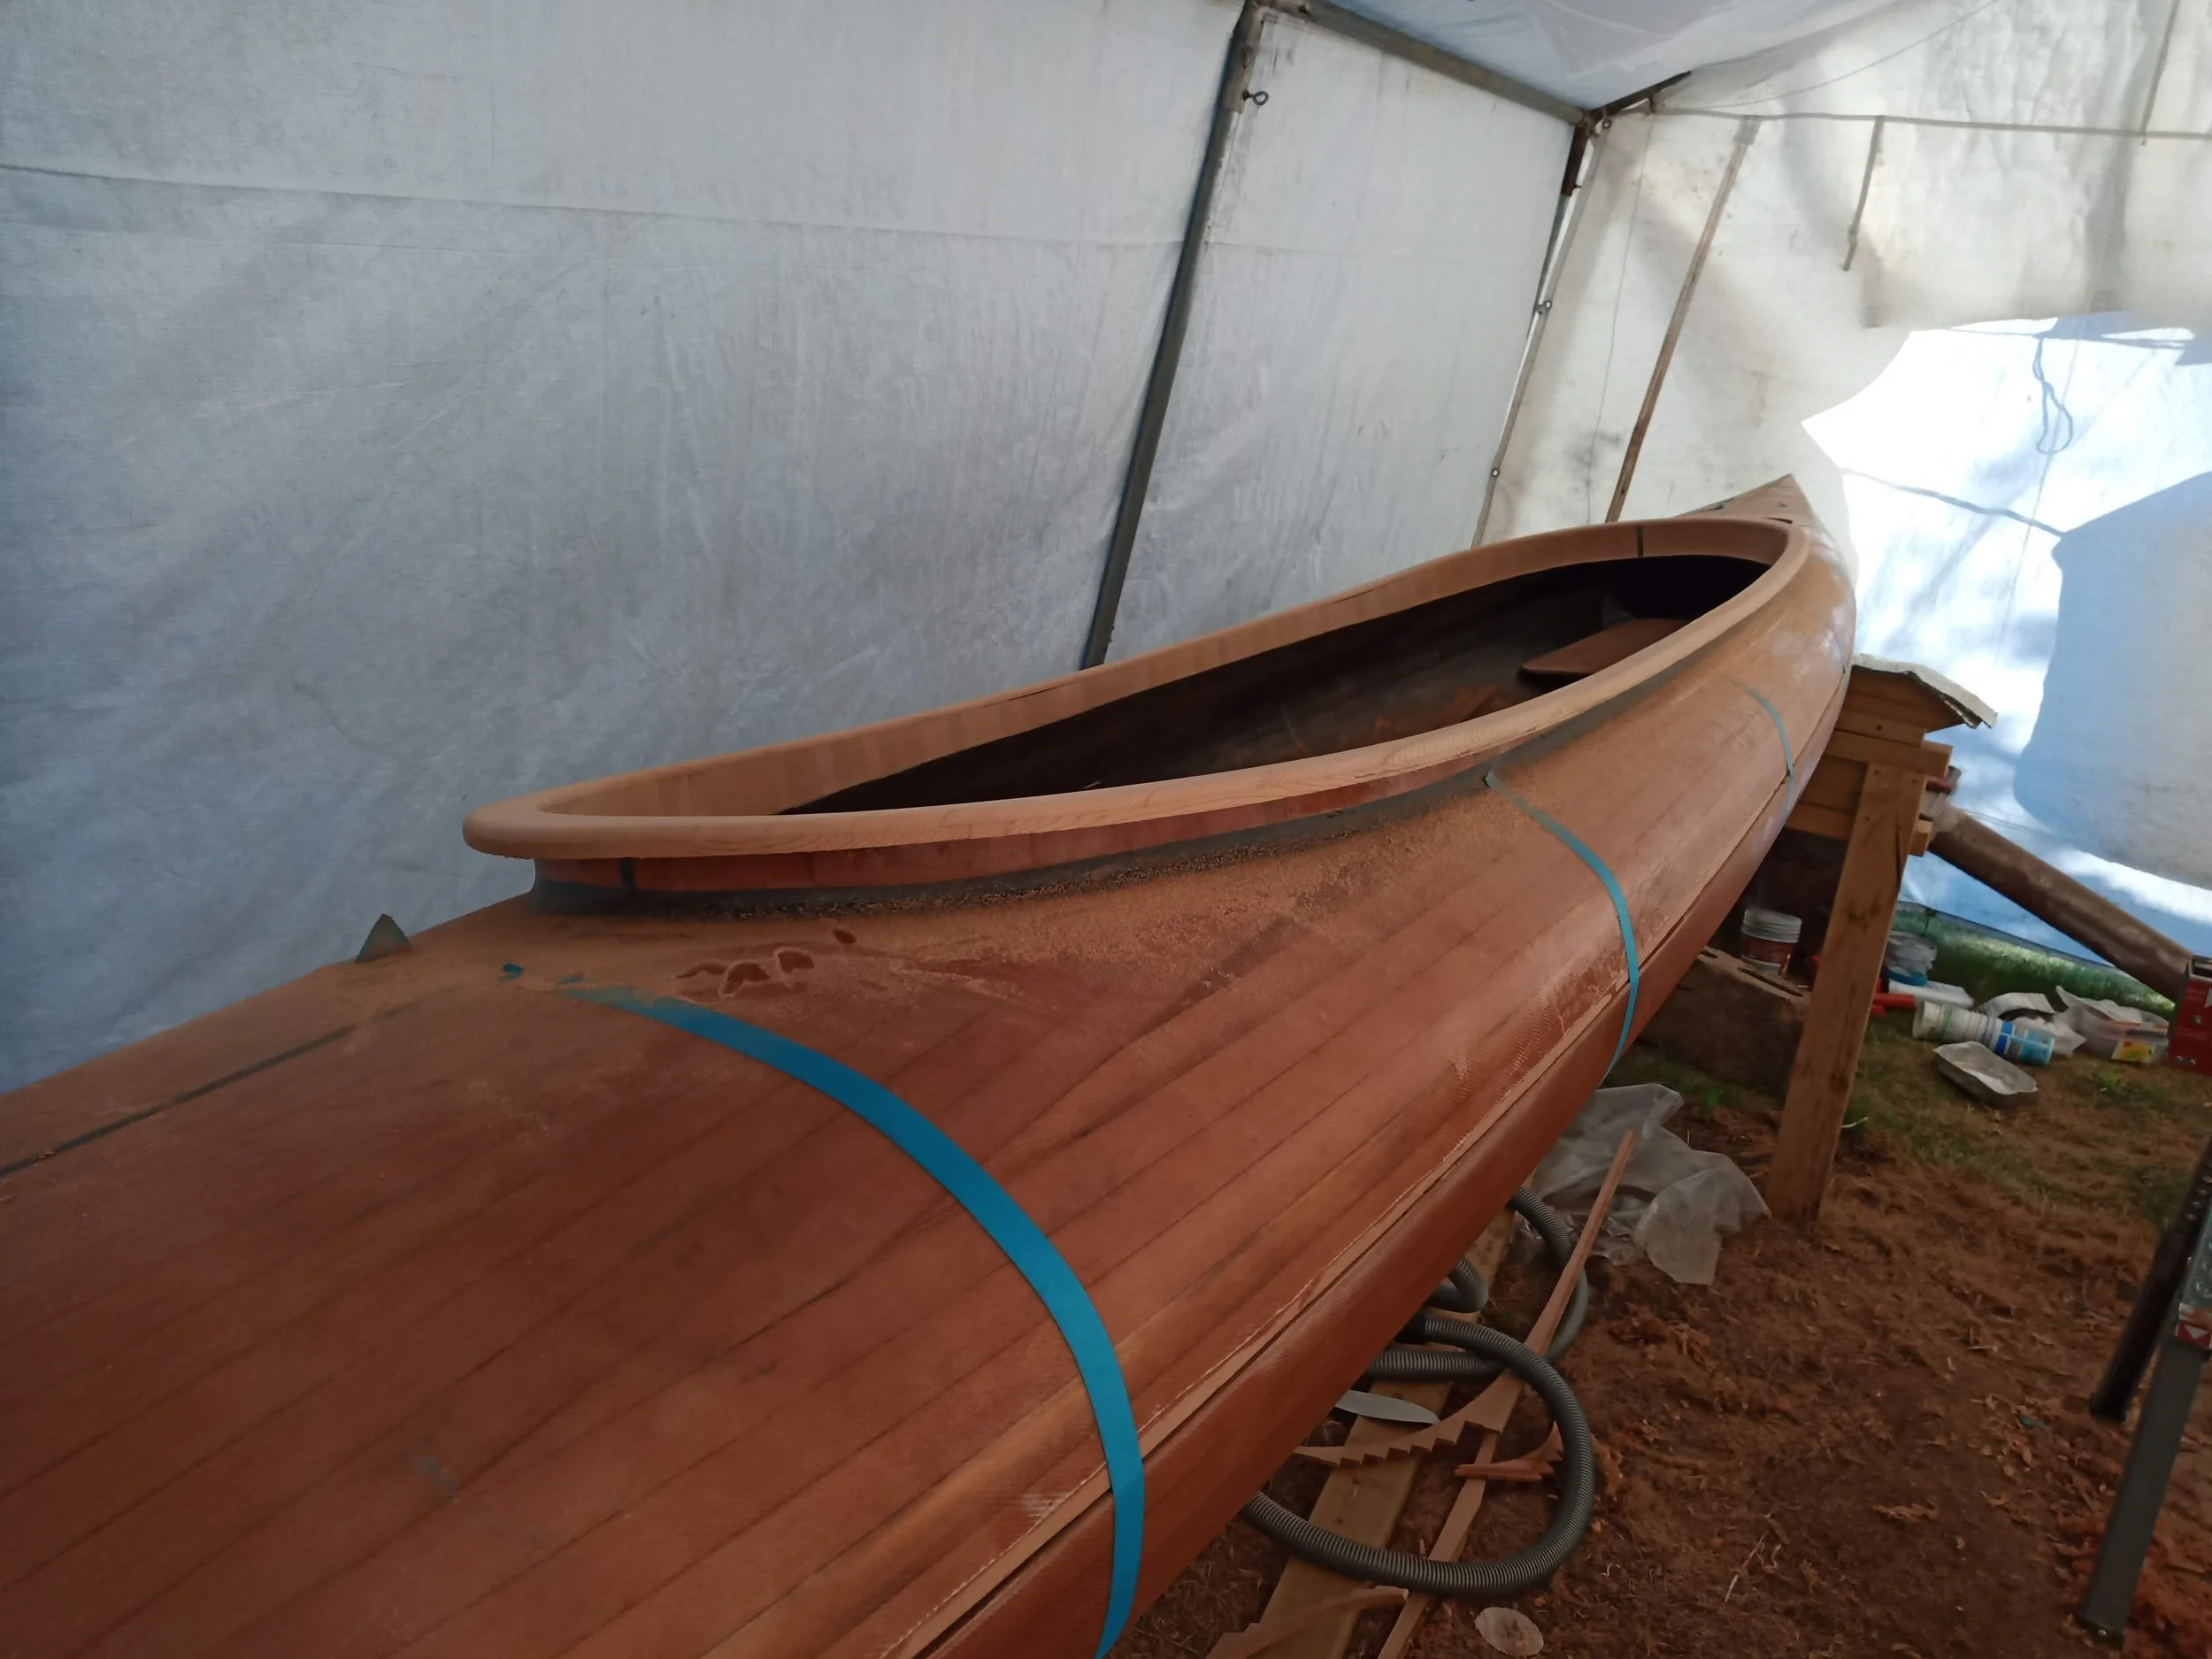
Forming the cockpit coaming. This was done with more cedar, carefully scribed and scarfed together to create a continuous ring. Loads of sanding and fairing later, the shape is looking good.
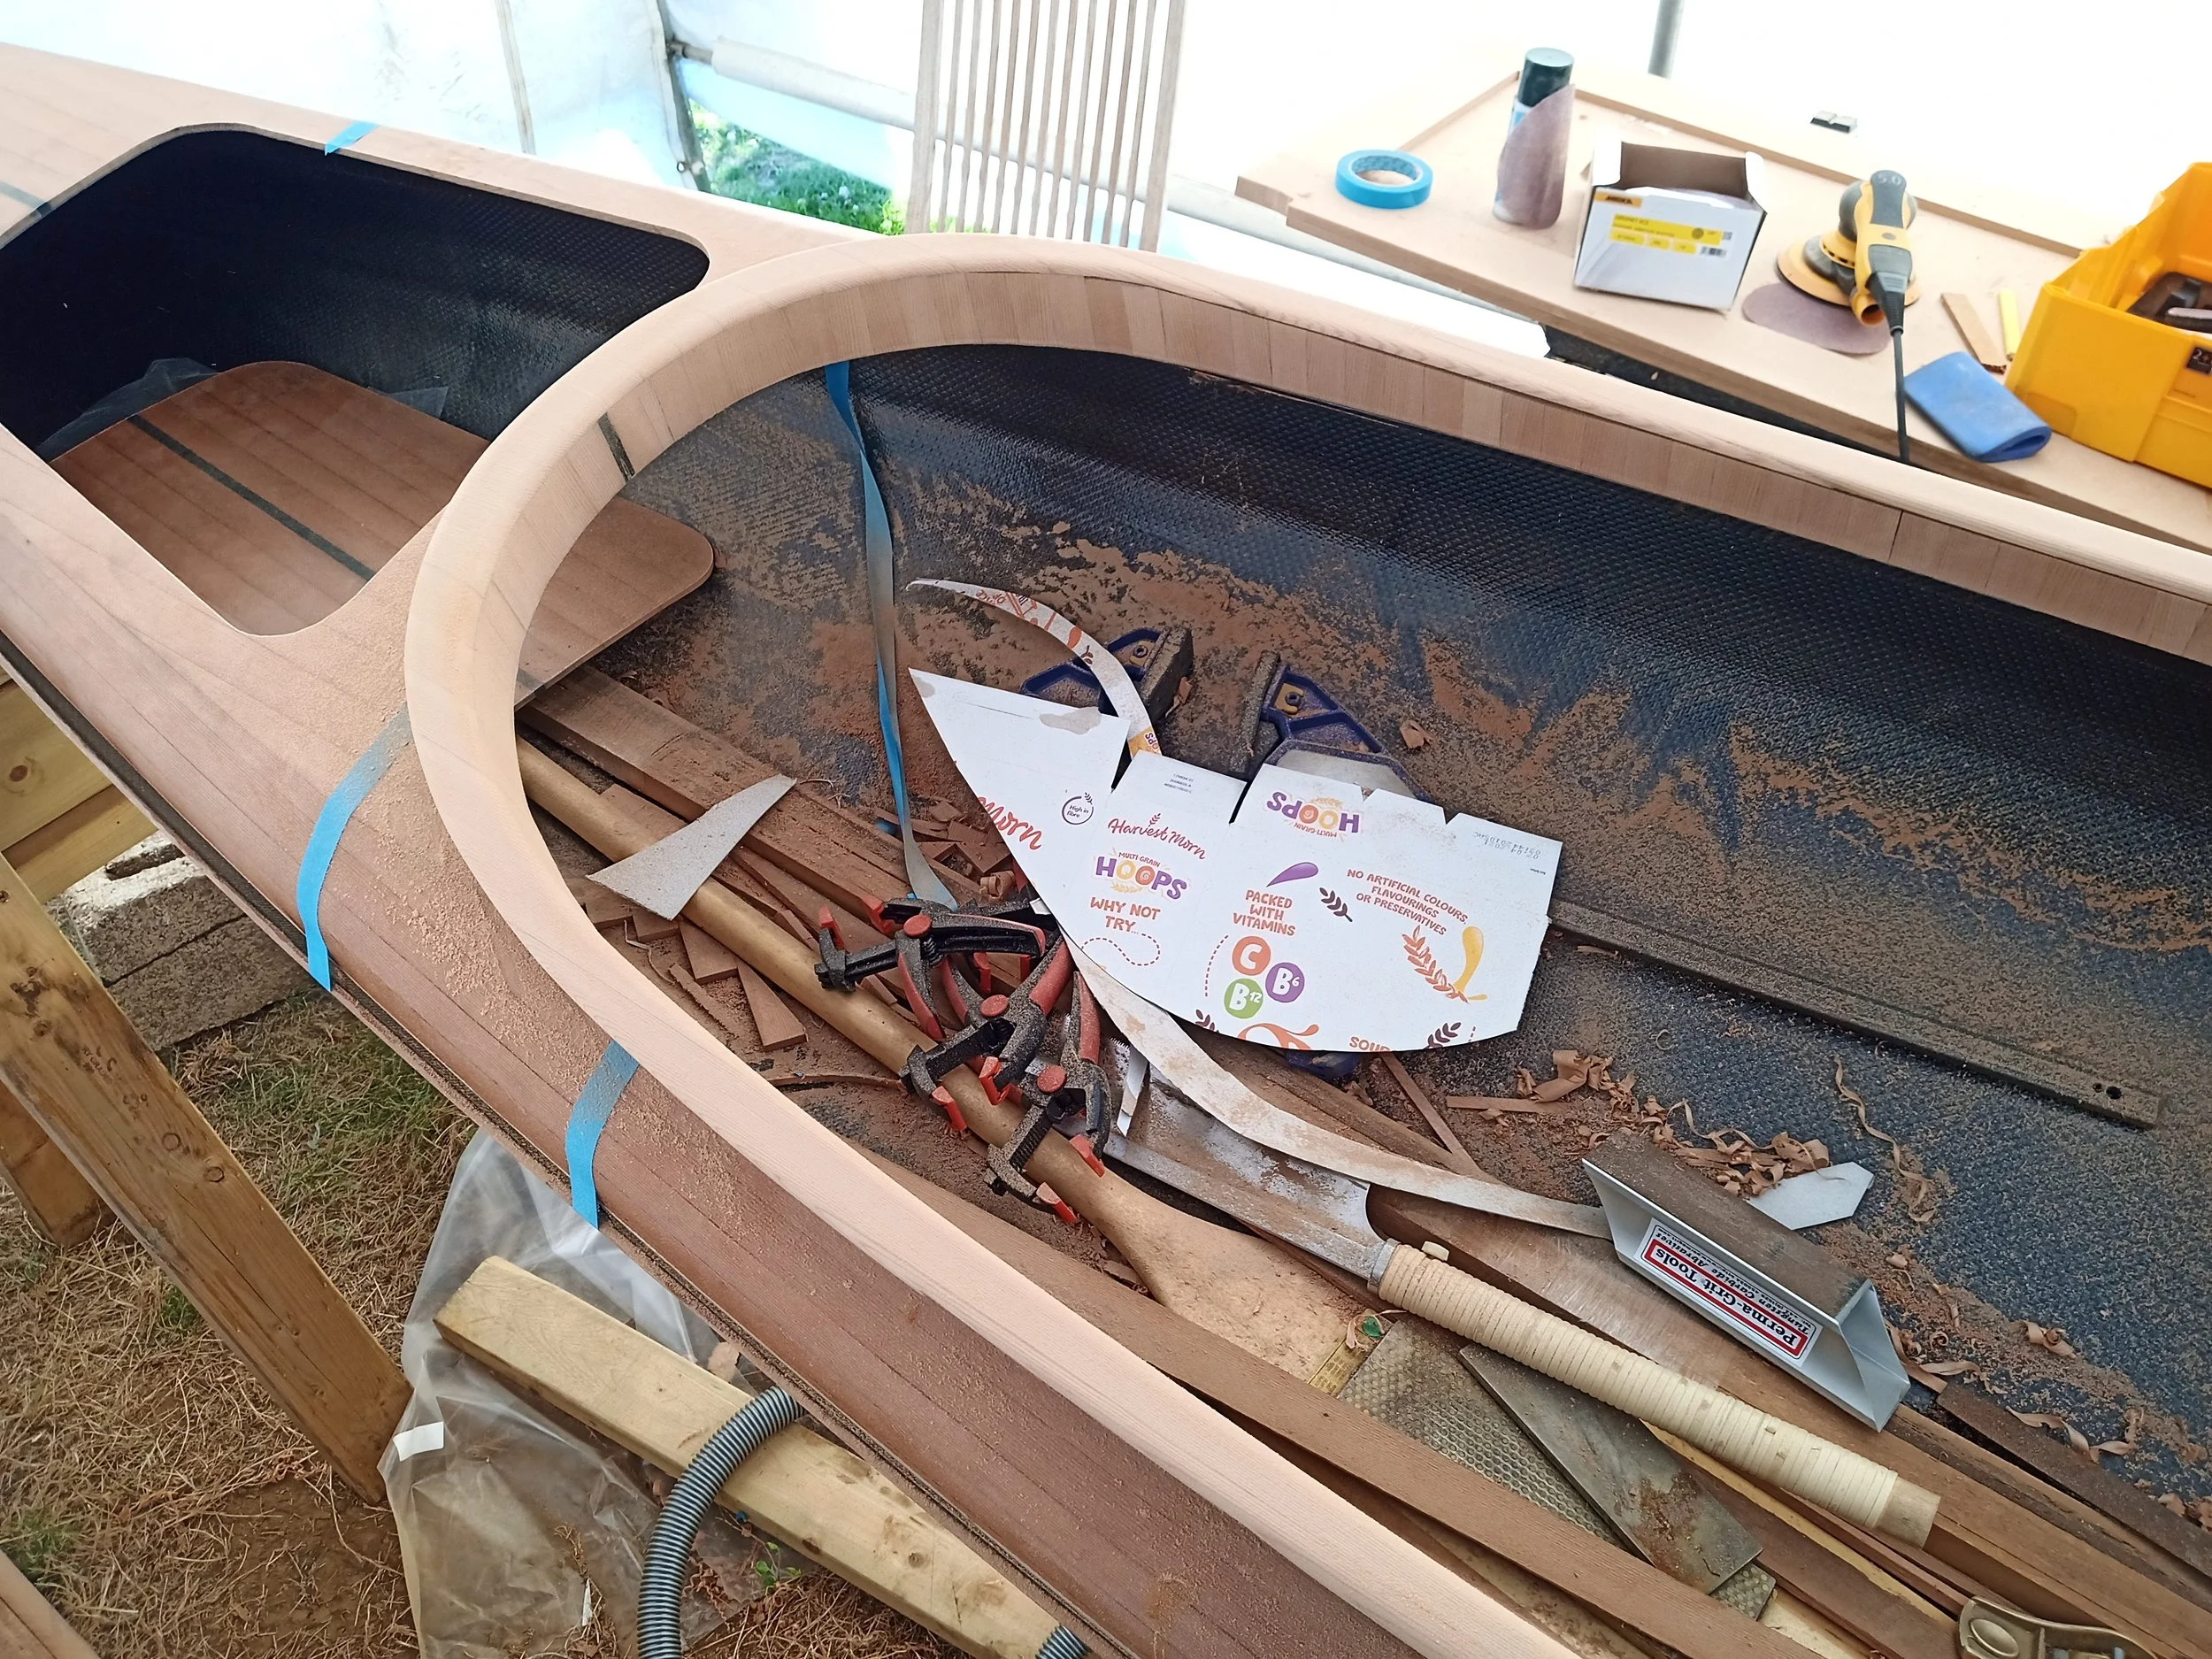
Accumulated sawdust and scraps in the bottom of the hull. Notice that the rear hatch is now cut out.

Carbon lamination to the cockpit coaming and a continuous overlay of 300g woven glass ensure that the coaming is very strong and solidly attached to the deck structure.
Shape looking good from either direction.

The underside of the rear hatch, showing the carbon kevlar weave.

Fairing the fibreglass deck-coaming joint.

The sealing ring for the rear hatch. Laminated with carbon kevlar over a non-stick polymer form.

Catches and hinges installed.
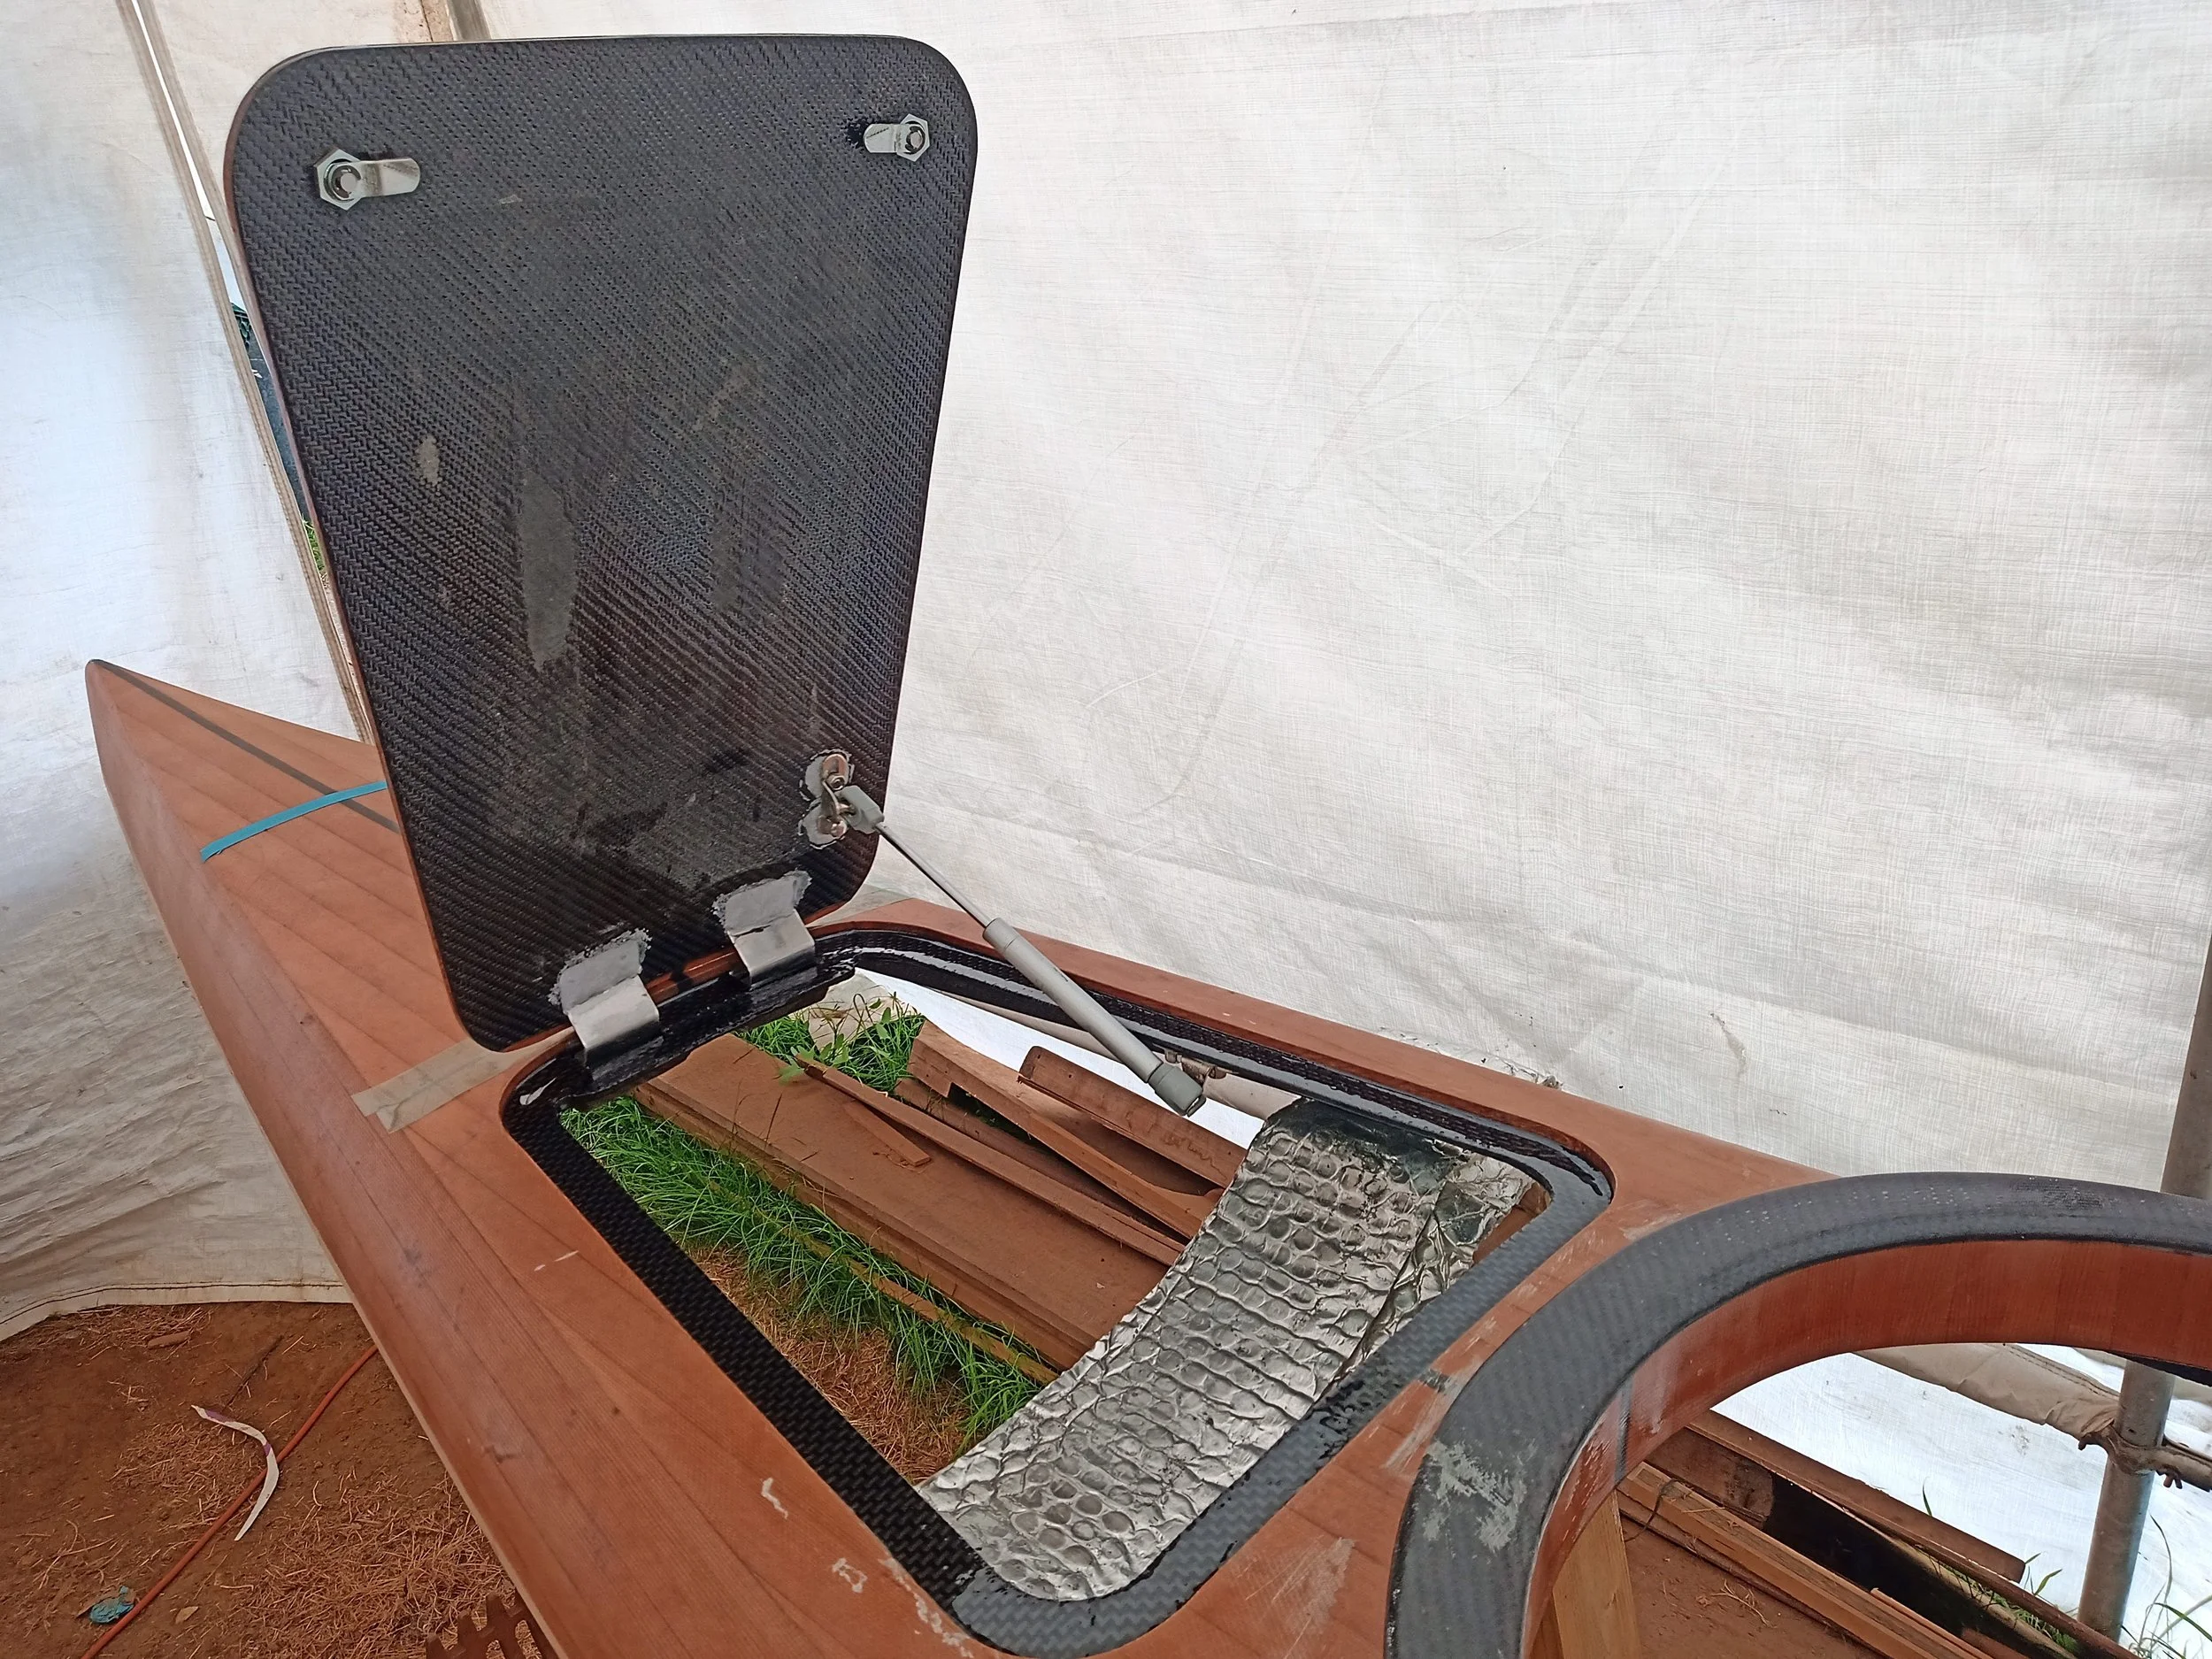
A gas strut holds the hatch open. Stainless hardware was chosen for corrosion resistance. Hinges were bonded to the hatch with epoxy to enable a strong, low profile joint.

Rolling out the carbon tape that finally joins the deck and hull together on the inside. Long hair, epoxy and confined spaces... Not a great combination! A brush on a stick was used to help roll out and stipple down the tape, which had been pre-saturated outside on a prep-table.
A combination of tape and ratchet straps helped to hold the boat on its side and with proper deck-hull alignment while the interior joints were taped.

Finally, one joined hull and deck, looking glorious in the sun!

And from the stern!
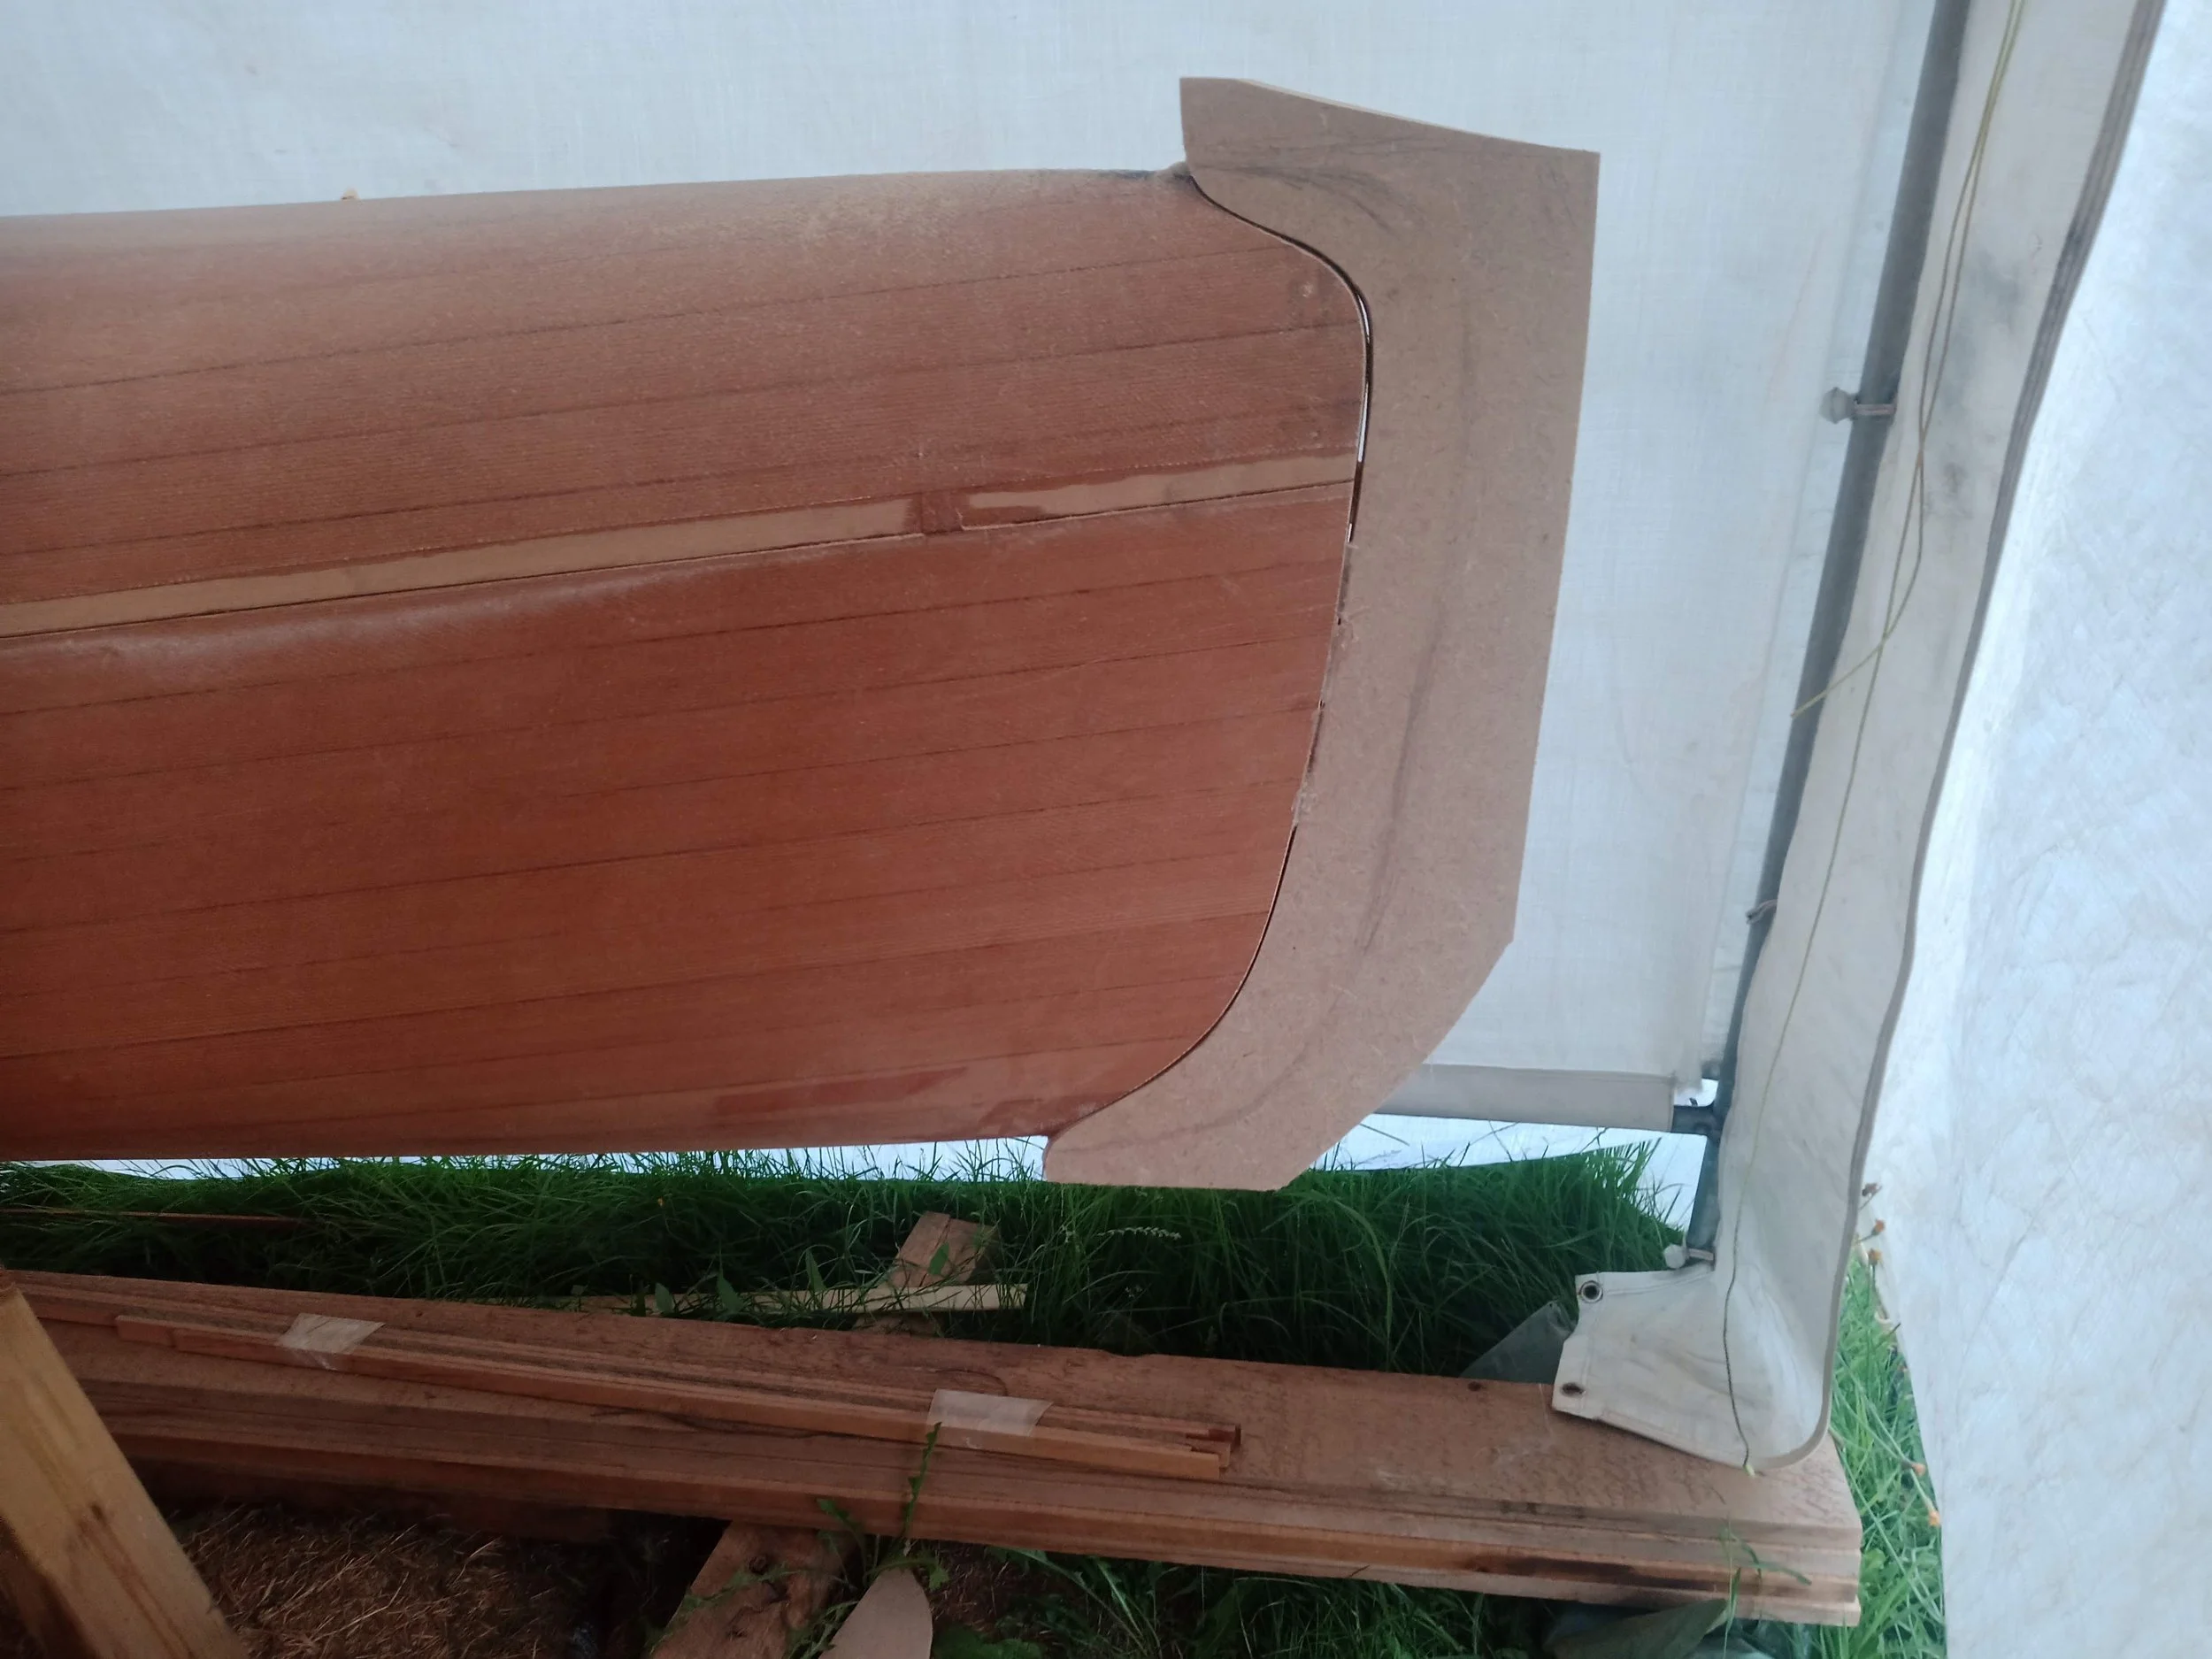
Templating the outer stem and stern pieces.
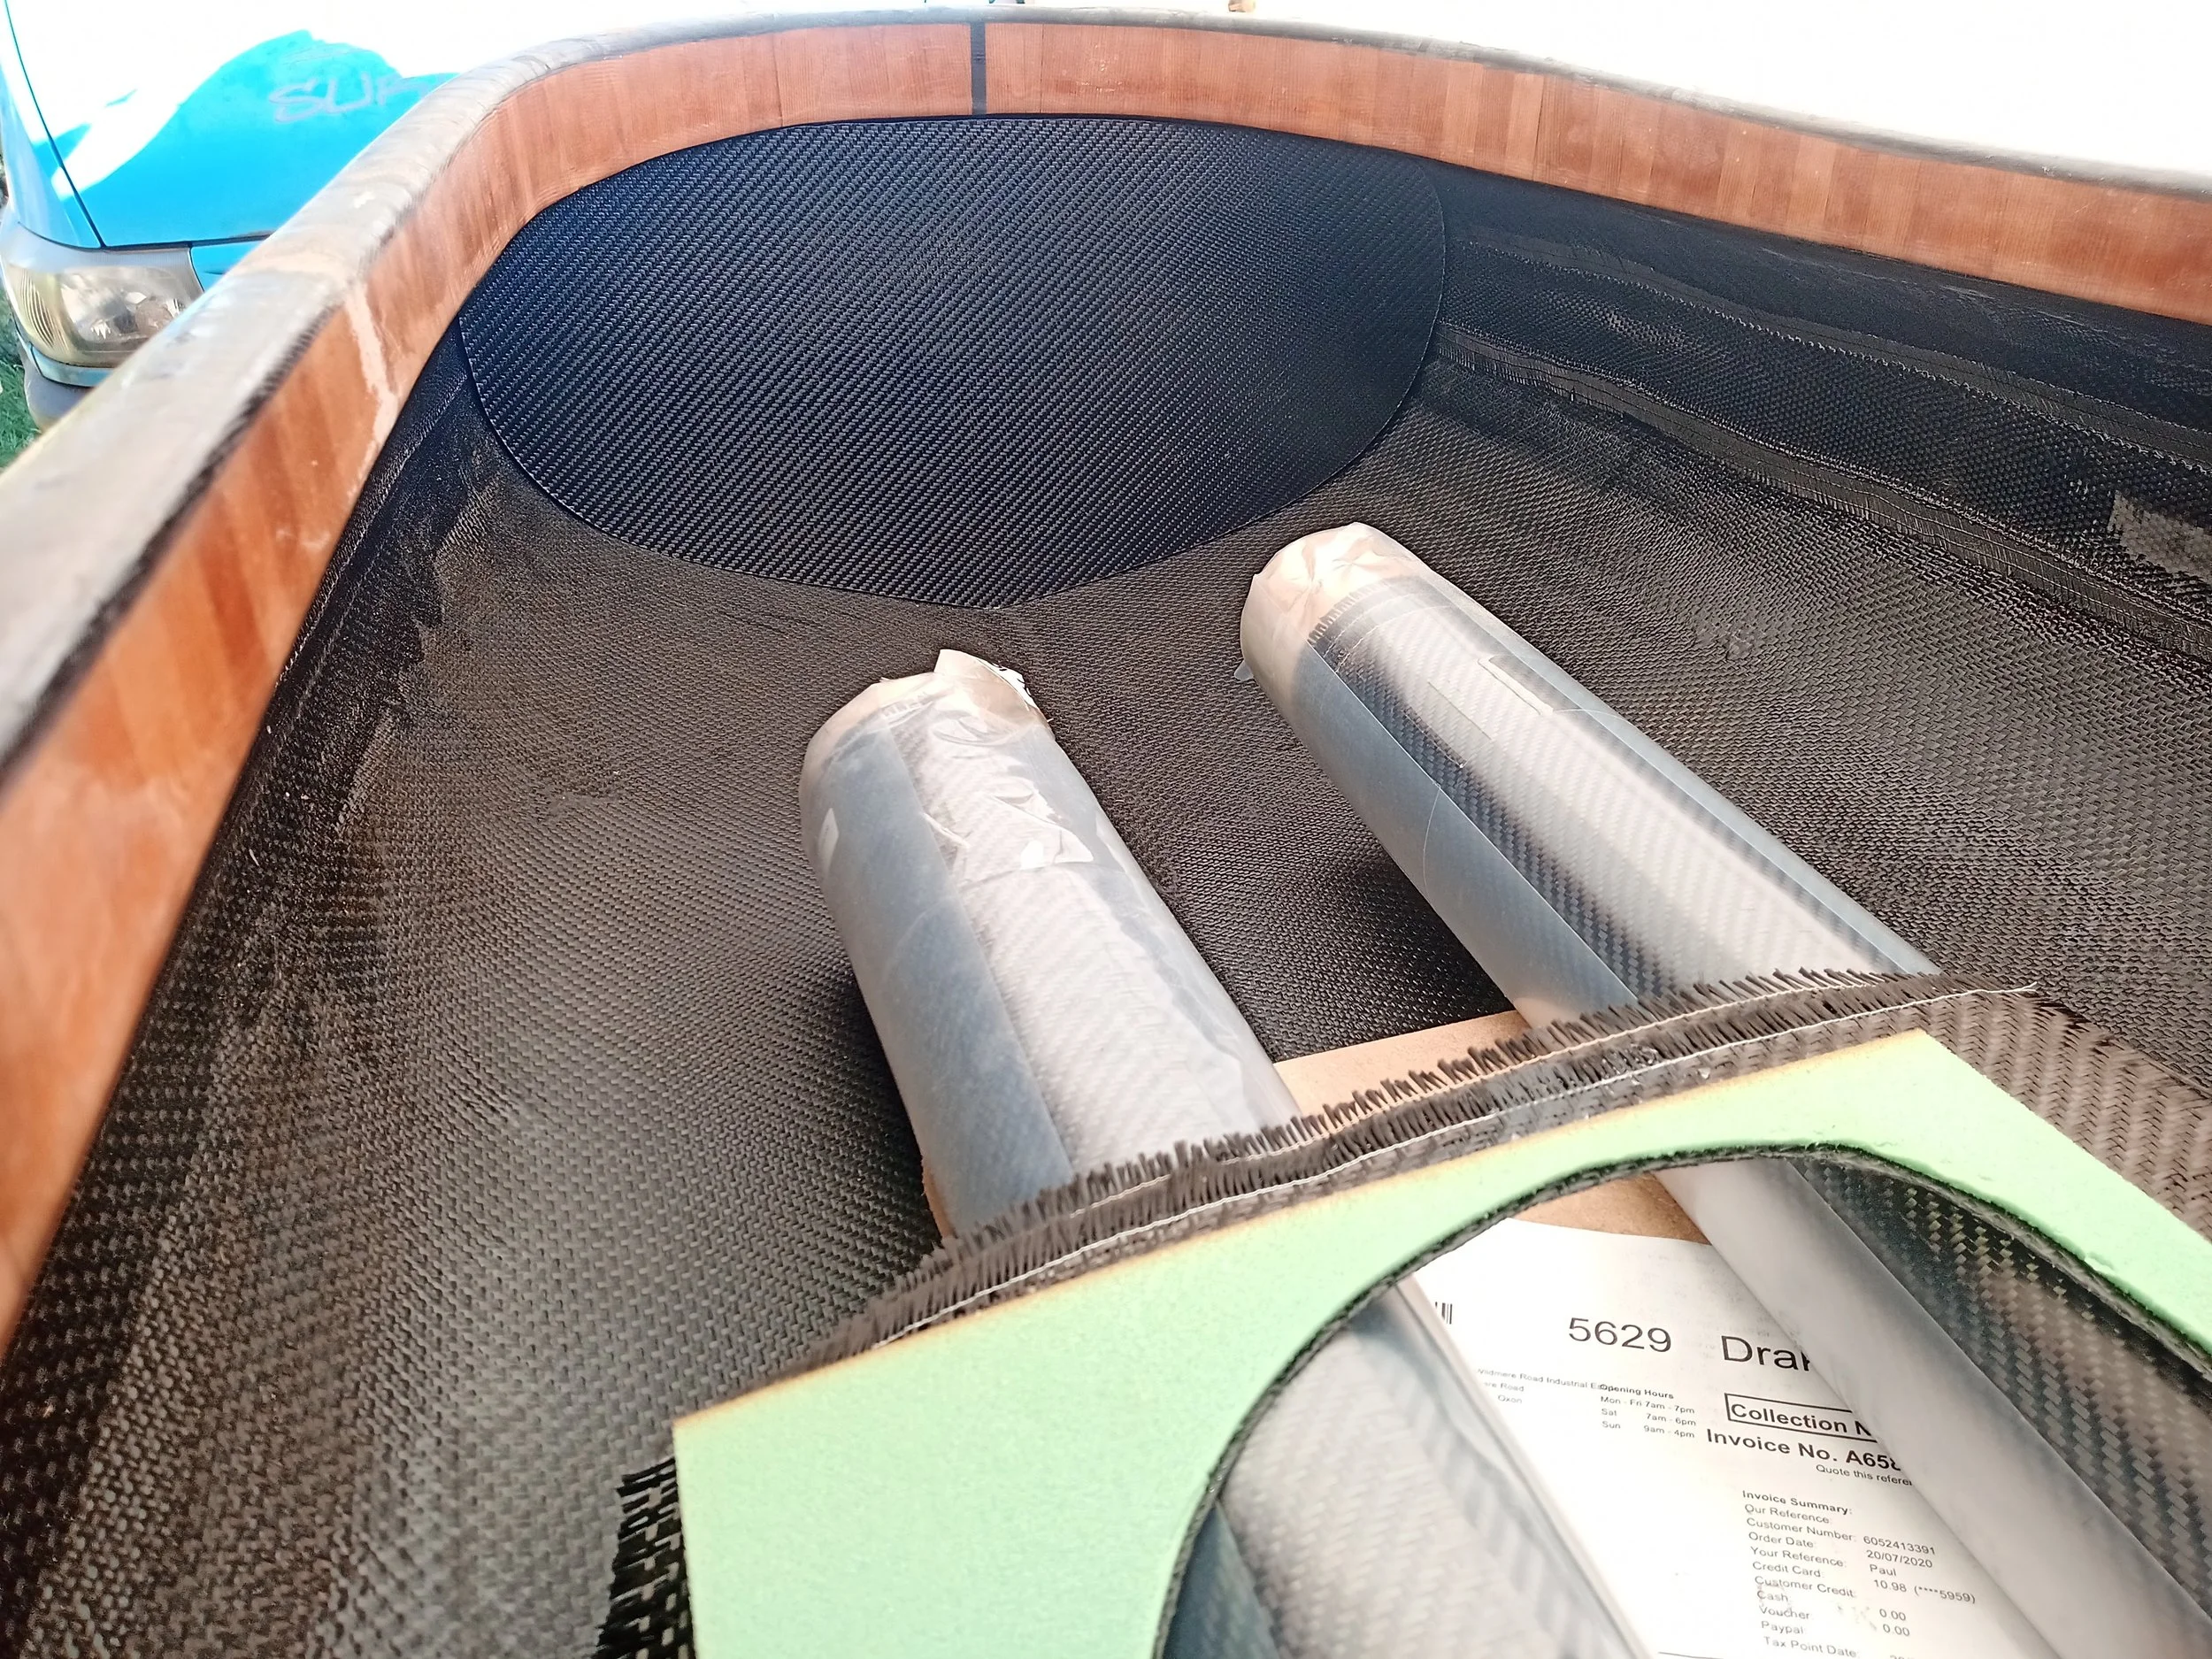
The rear bulkhead, separating the main cockpit from the stern storage locker, was made from 5mm PU foam, laminated with carbon kevlar on either side. It was remarkably stiff and strong for such a thin piece. It was glued and tabbed in place with carbon kevlar and epoxy.

At the far ends of the hull, a watertight bulkhead helped strengthen the stem and stern and create a sealed crash bulkhead.

Two part moulds for the carbon outer stem and stern pieces. Made from a sort of epoxy putty with glass strand reinforcement.

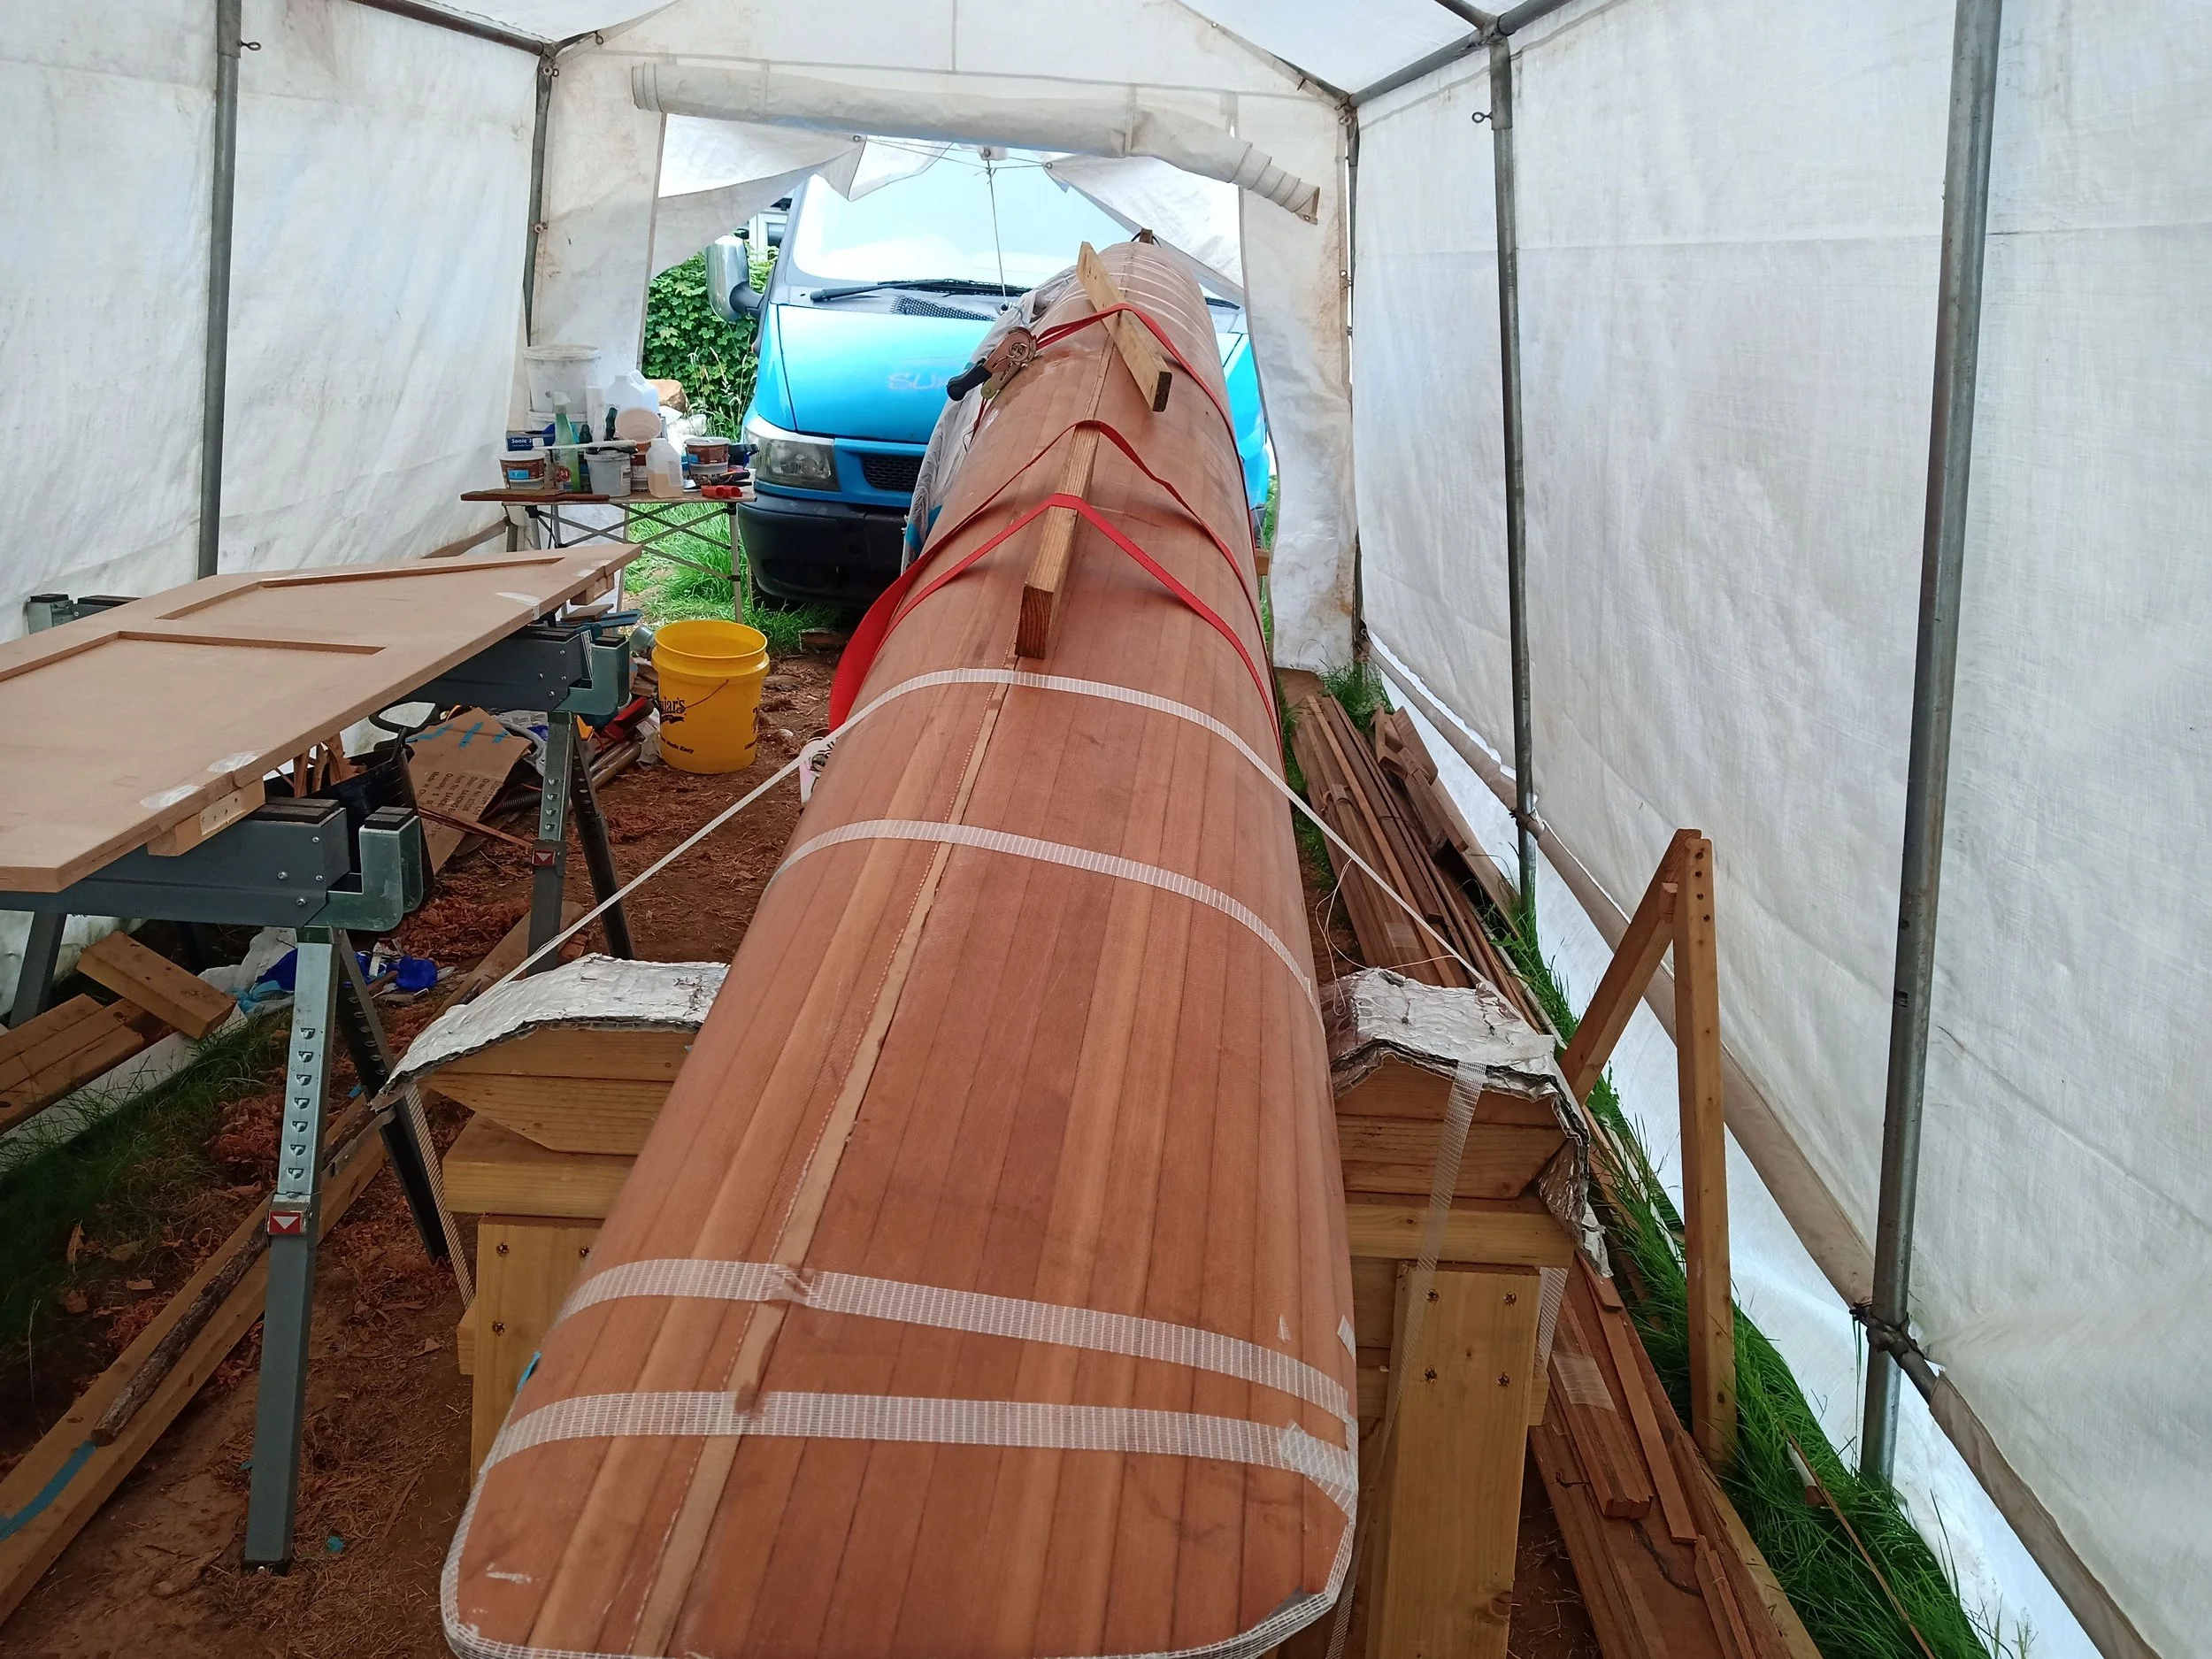
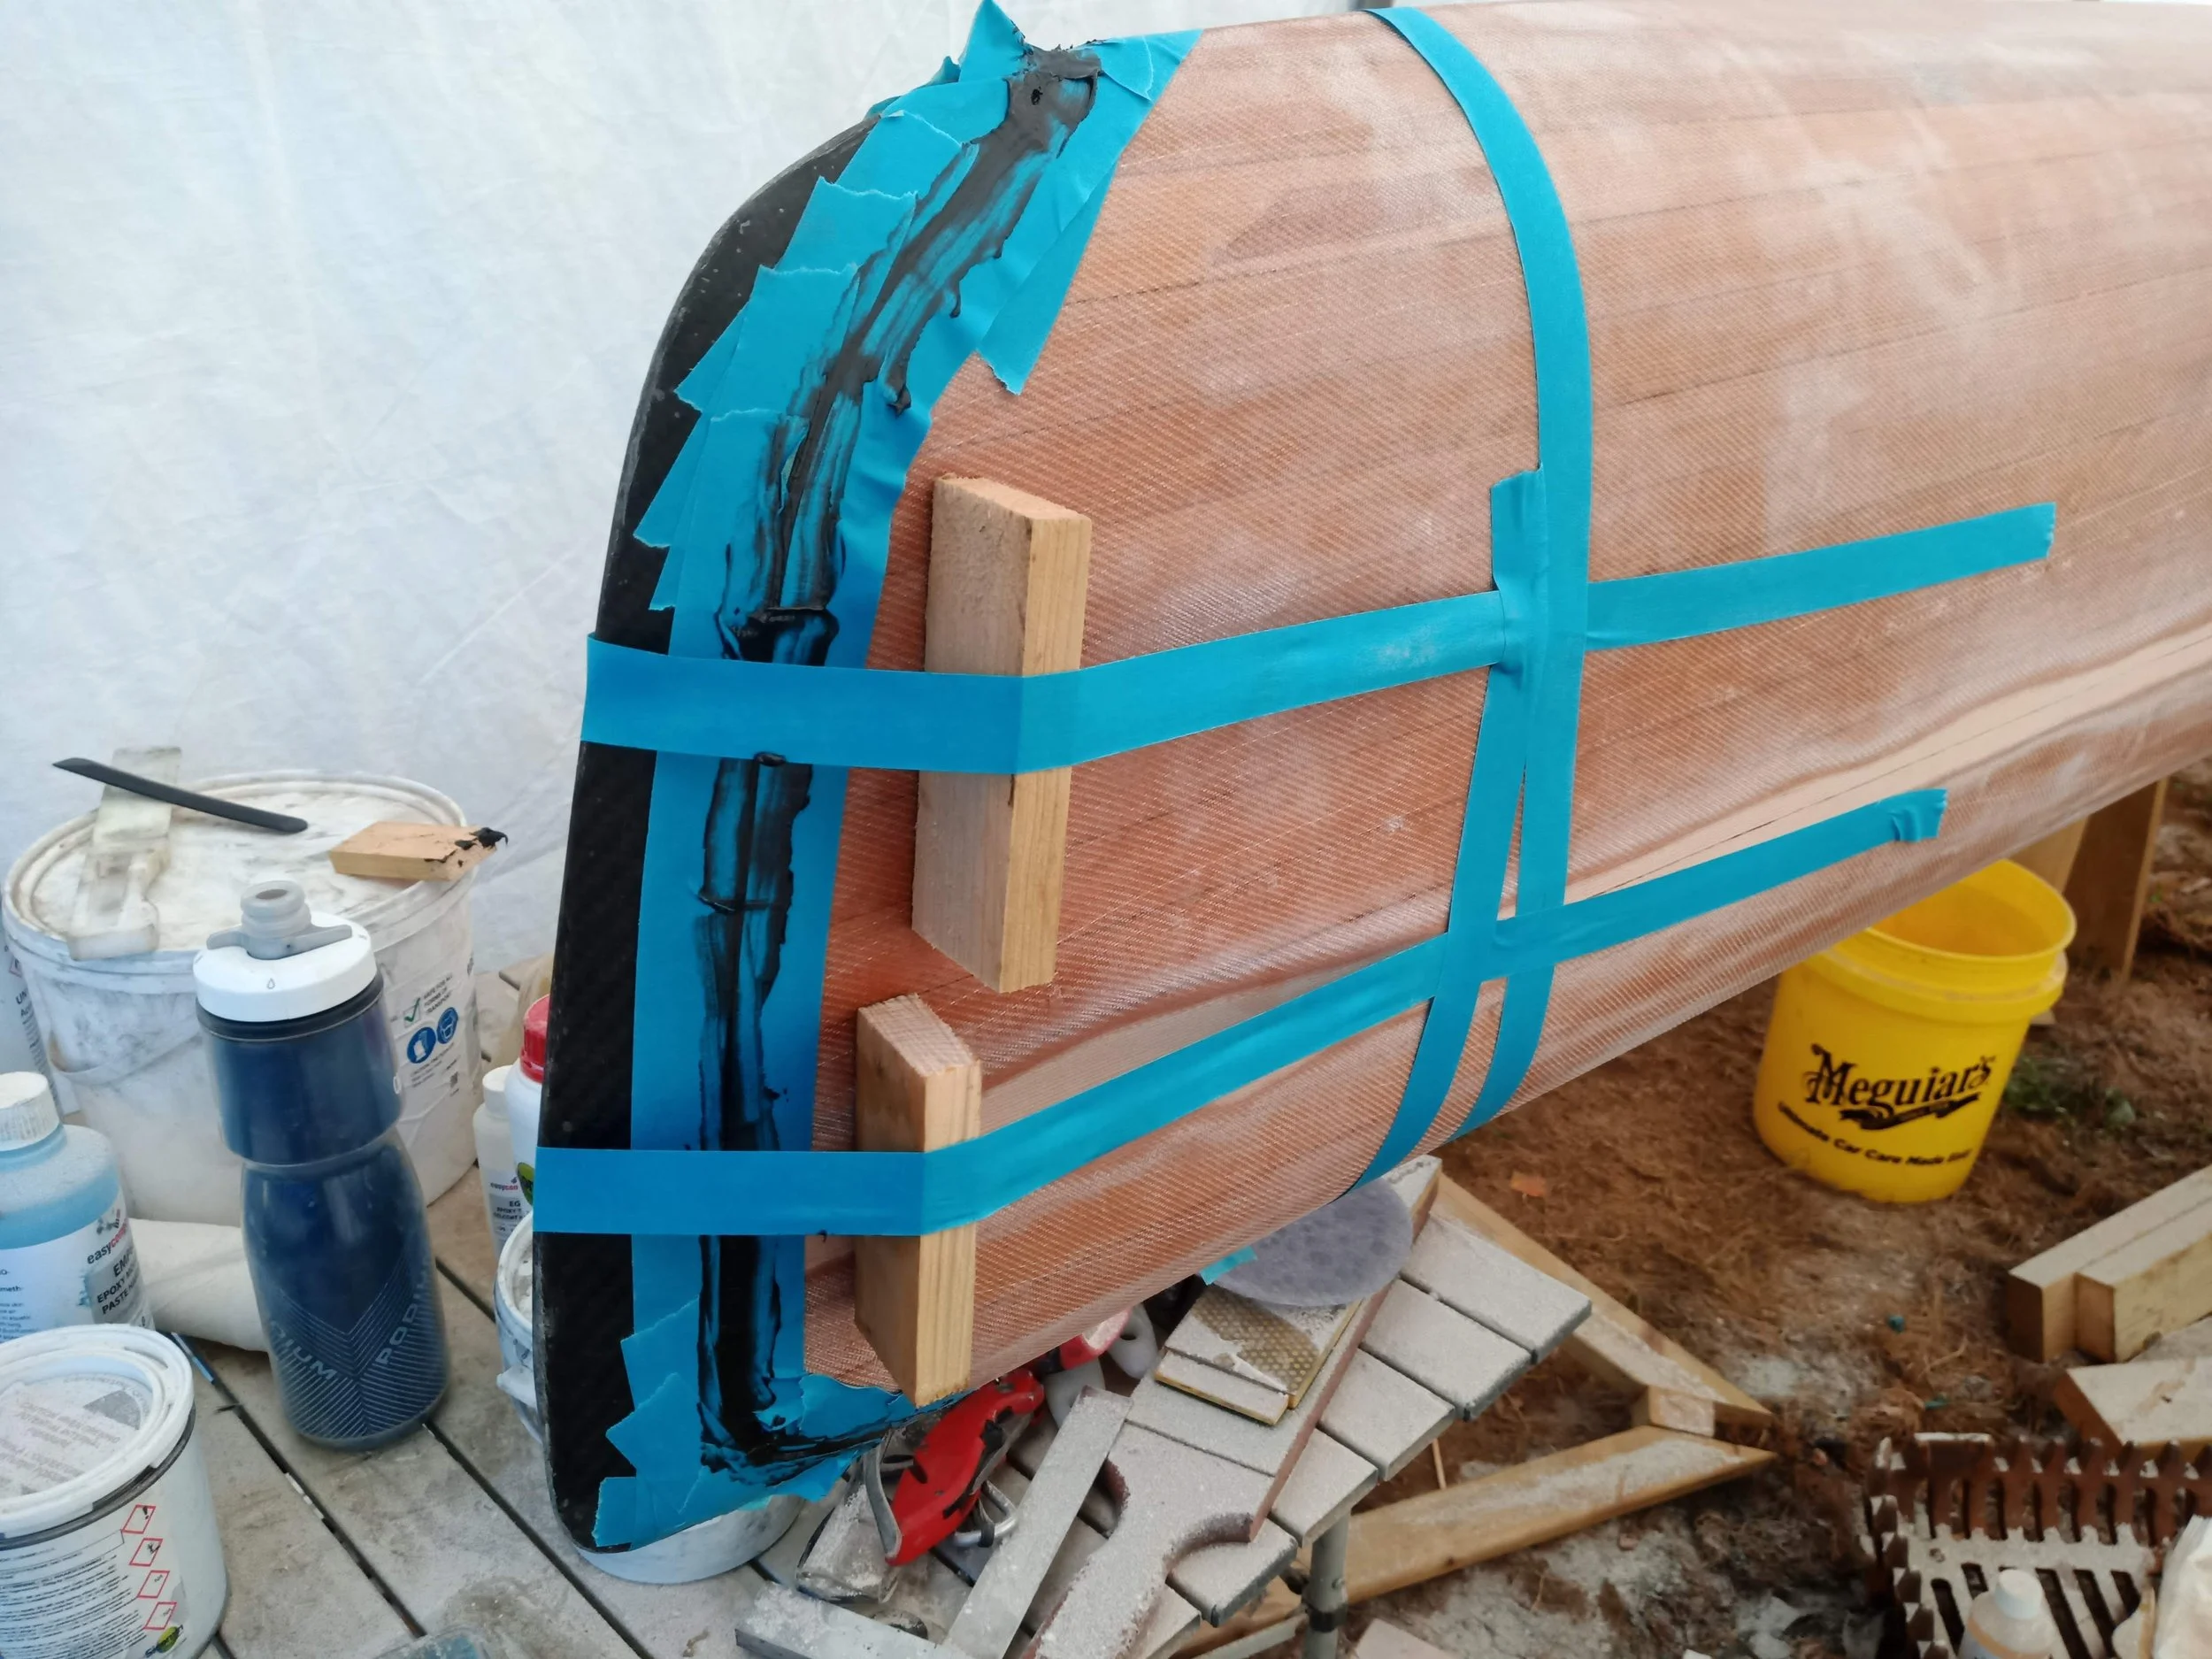
Sanding the hull for the last time.

New carbon stem and stern pieces. These were moulded one side at a time, joined, then filled with epoxy foam.
Before being attached to the hull.

A final layer of glass over the hull, overlapping the deck-hull parting line, completed the connection and properly attached the stem and stern pieces.

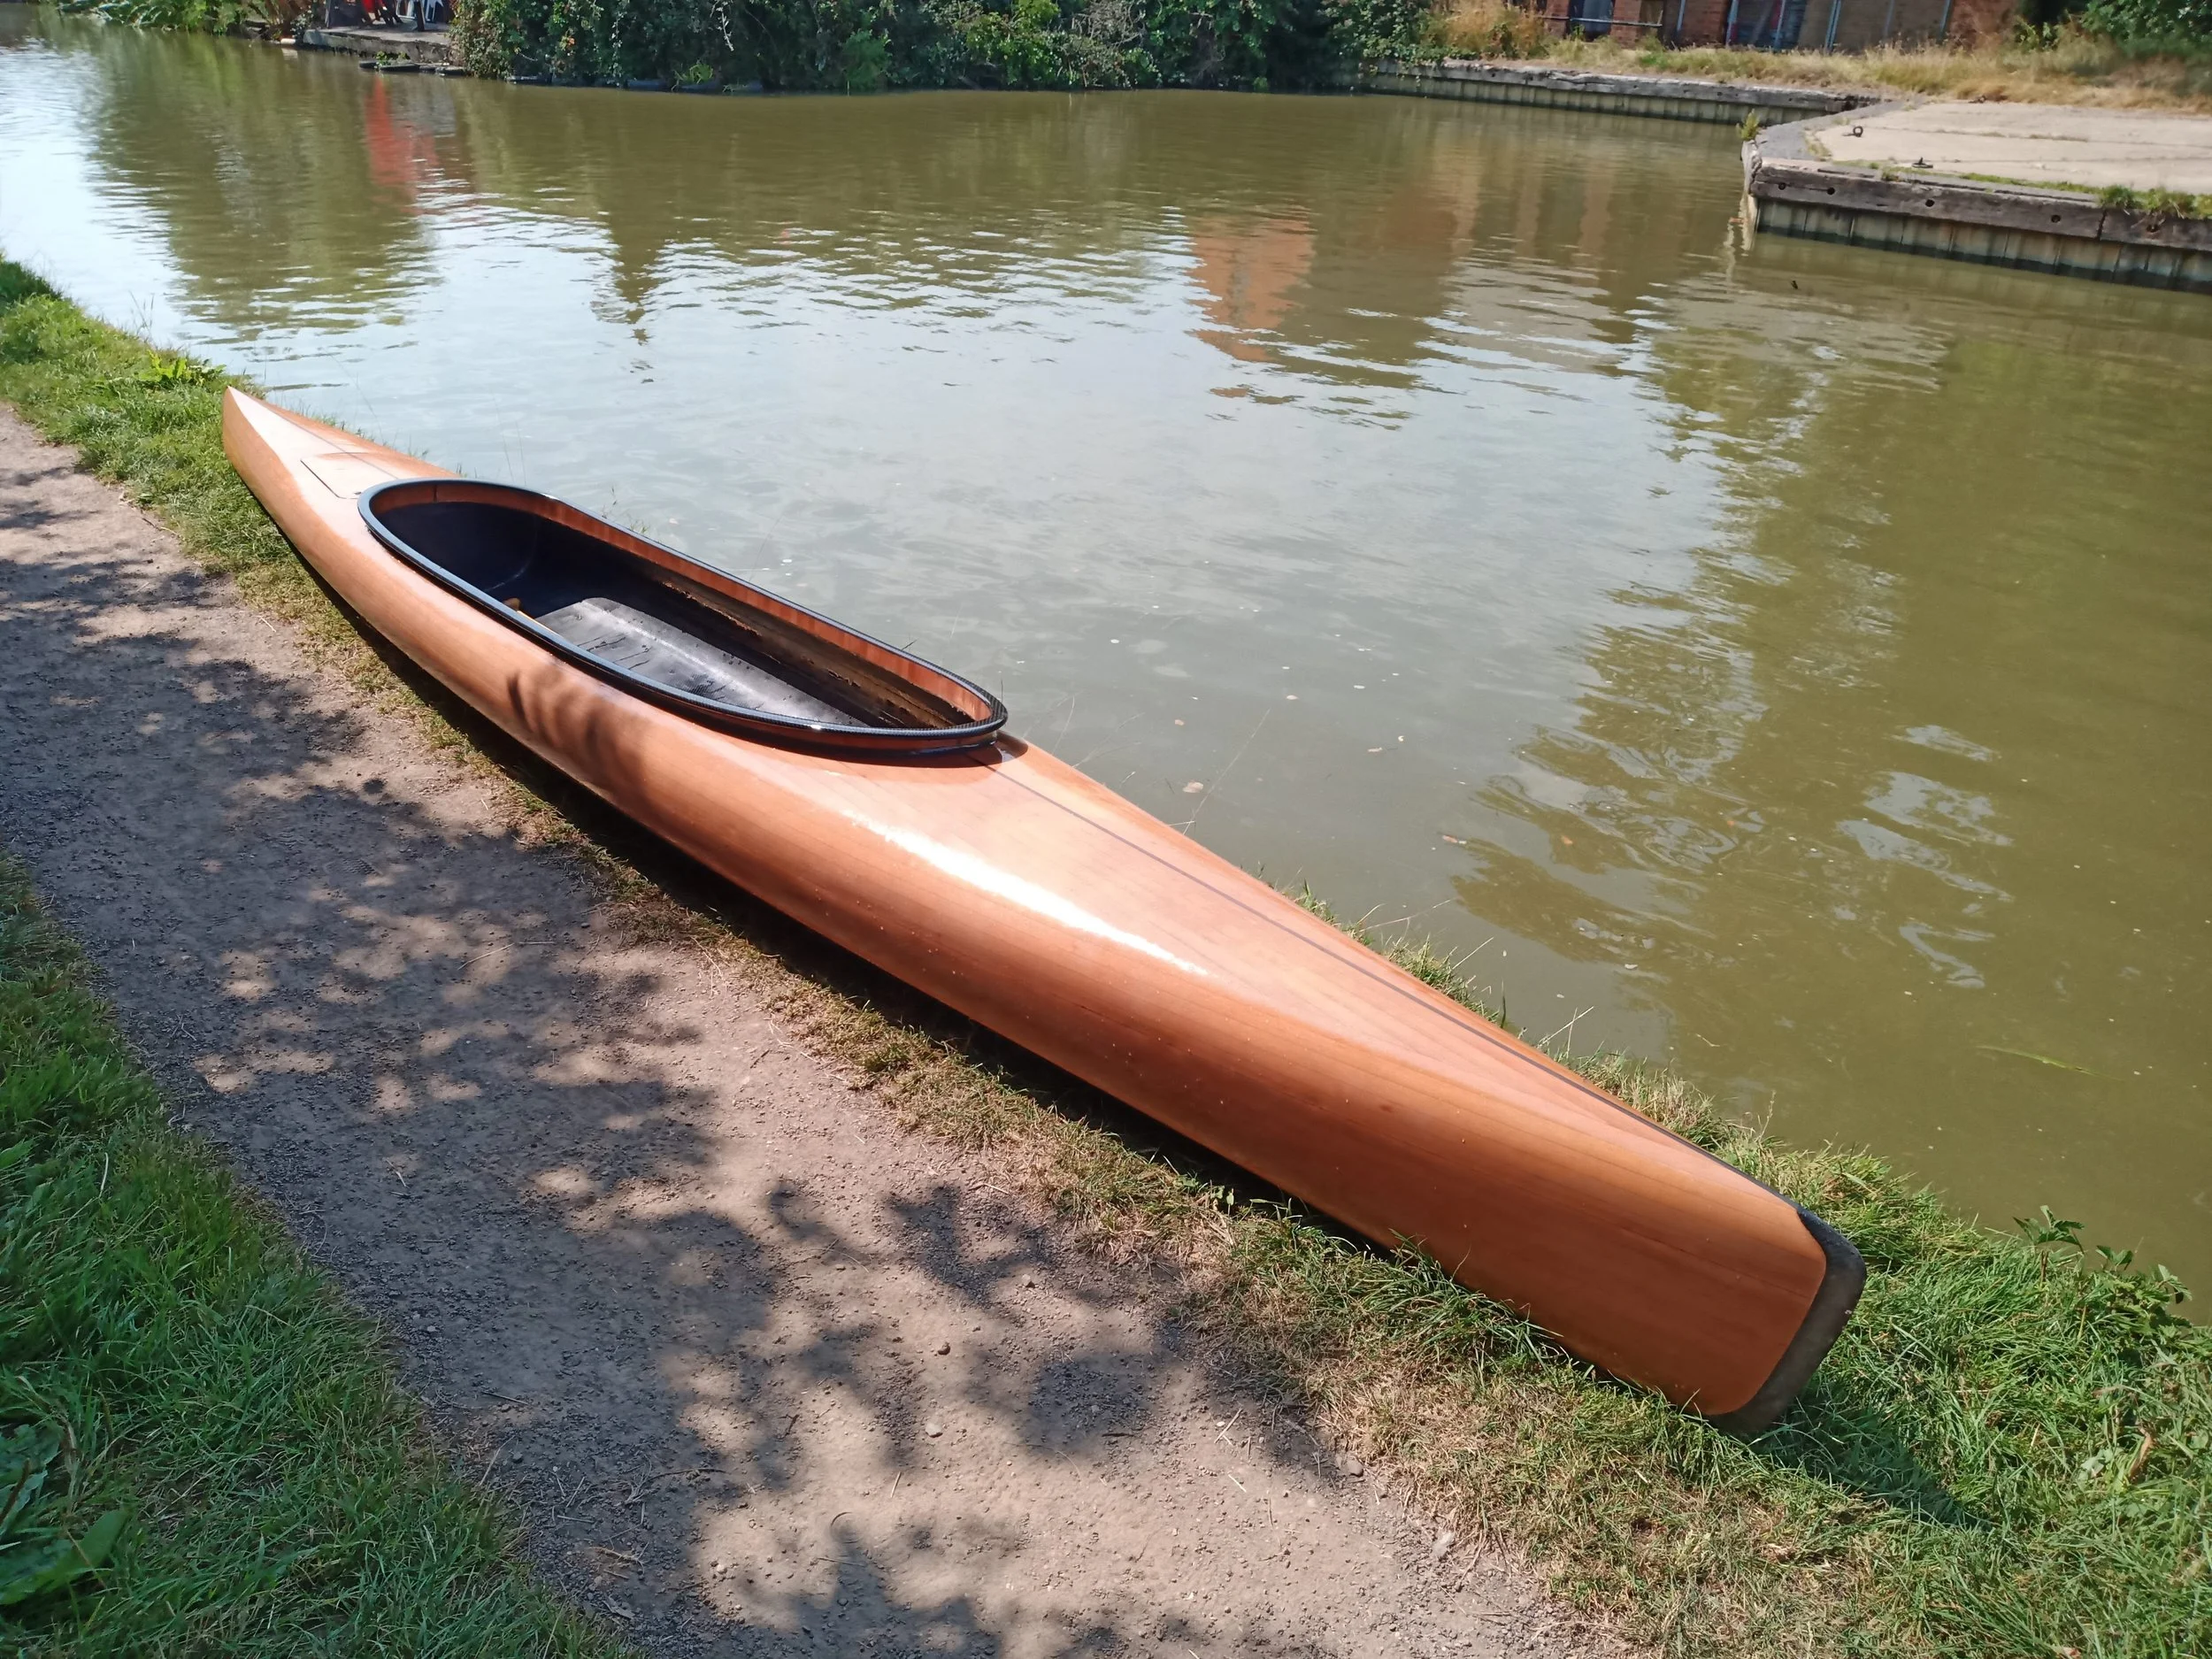
Looking stunning.

Mirror perfect!

Christening the kayak!

First time in the water at the local canal!

Getting in for the first time. As you can tell, this a tandem kayak.

This paddle was less than ideal, but I had not managed to build a proper set yet!
Looking beautiful.
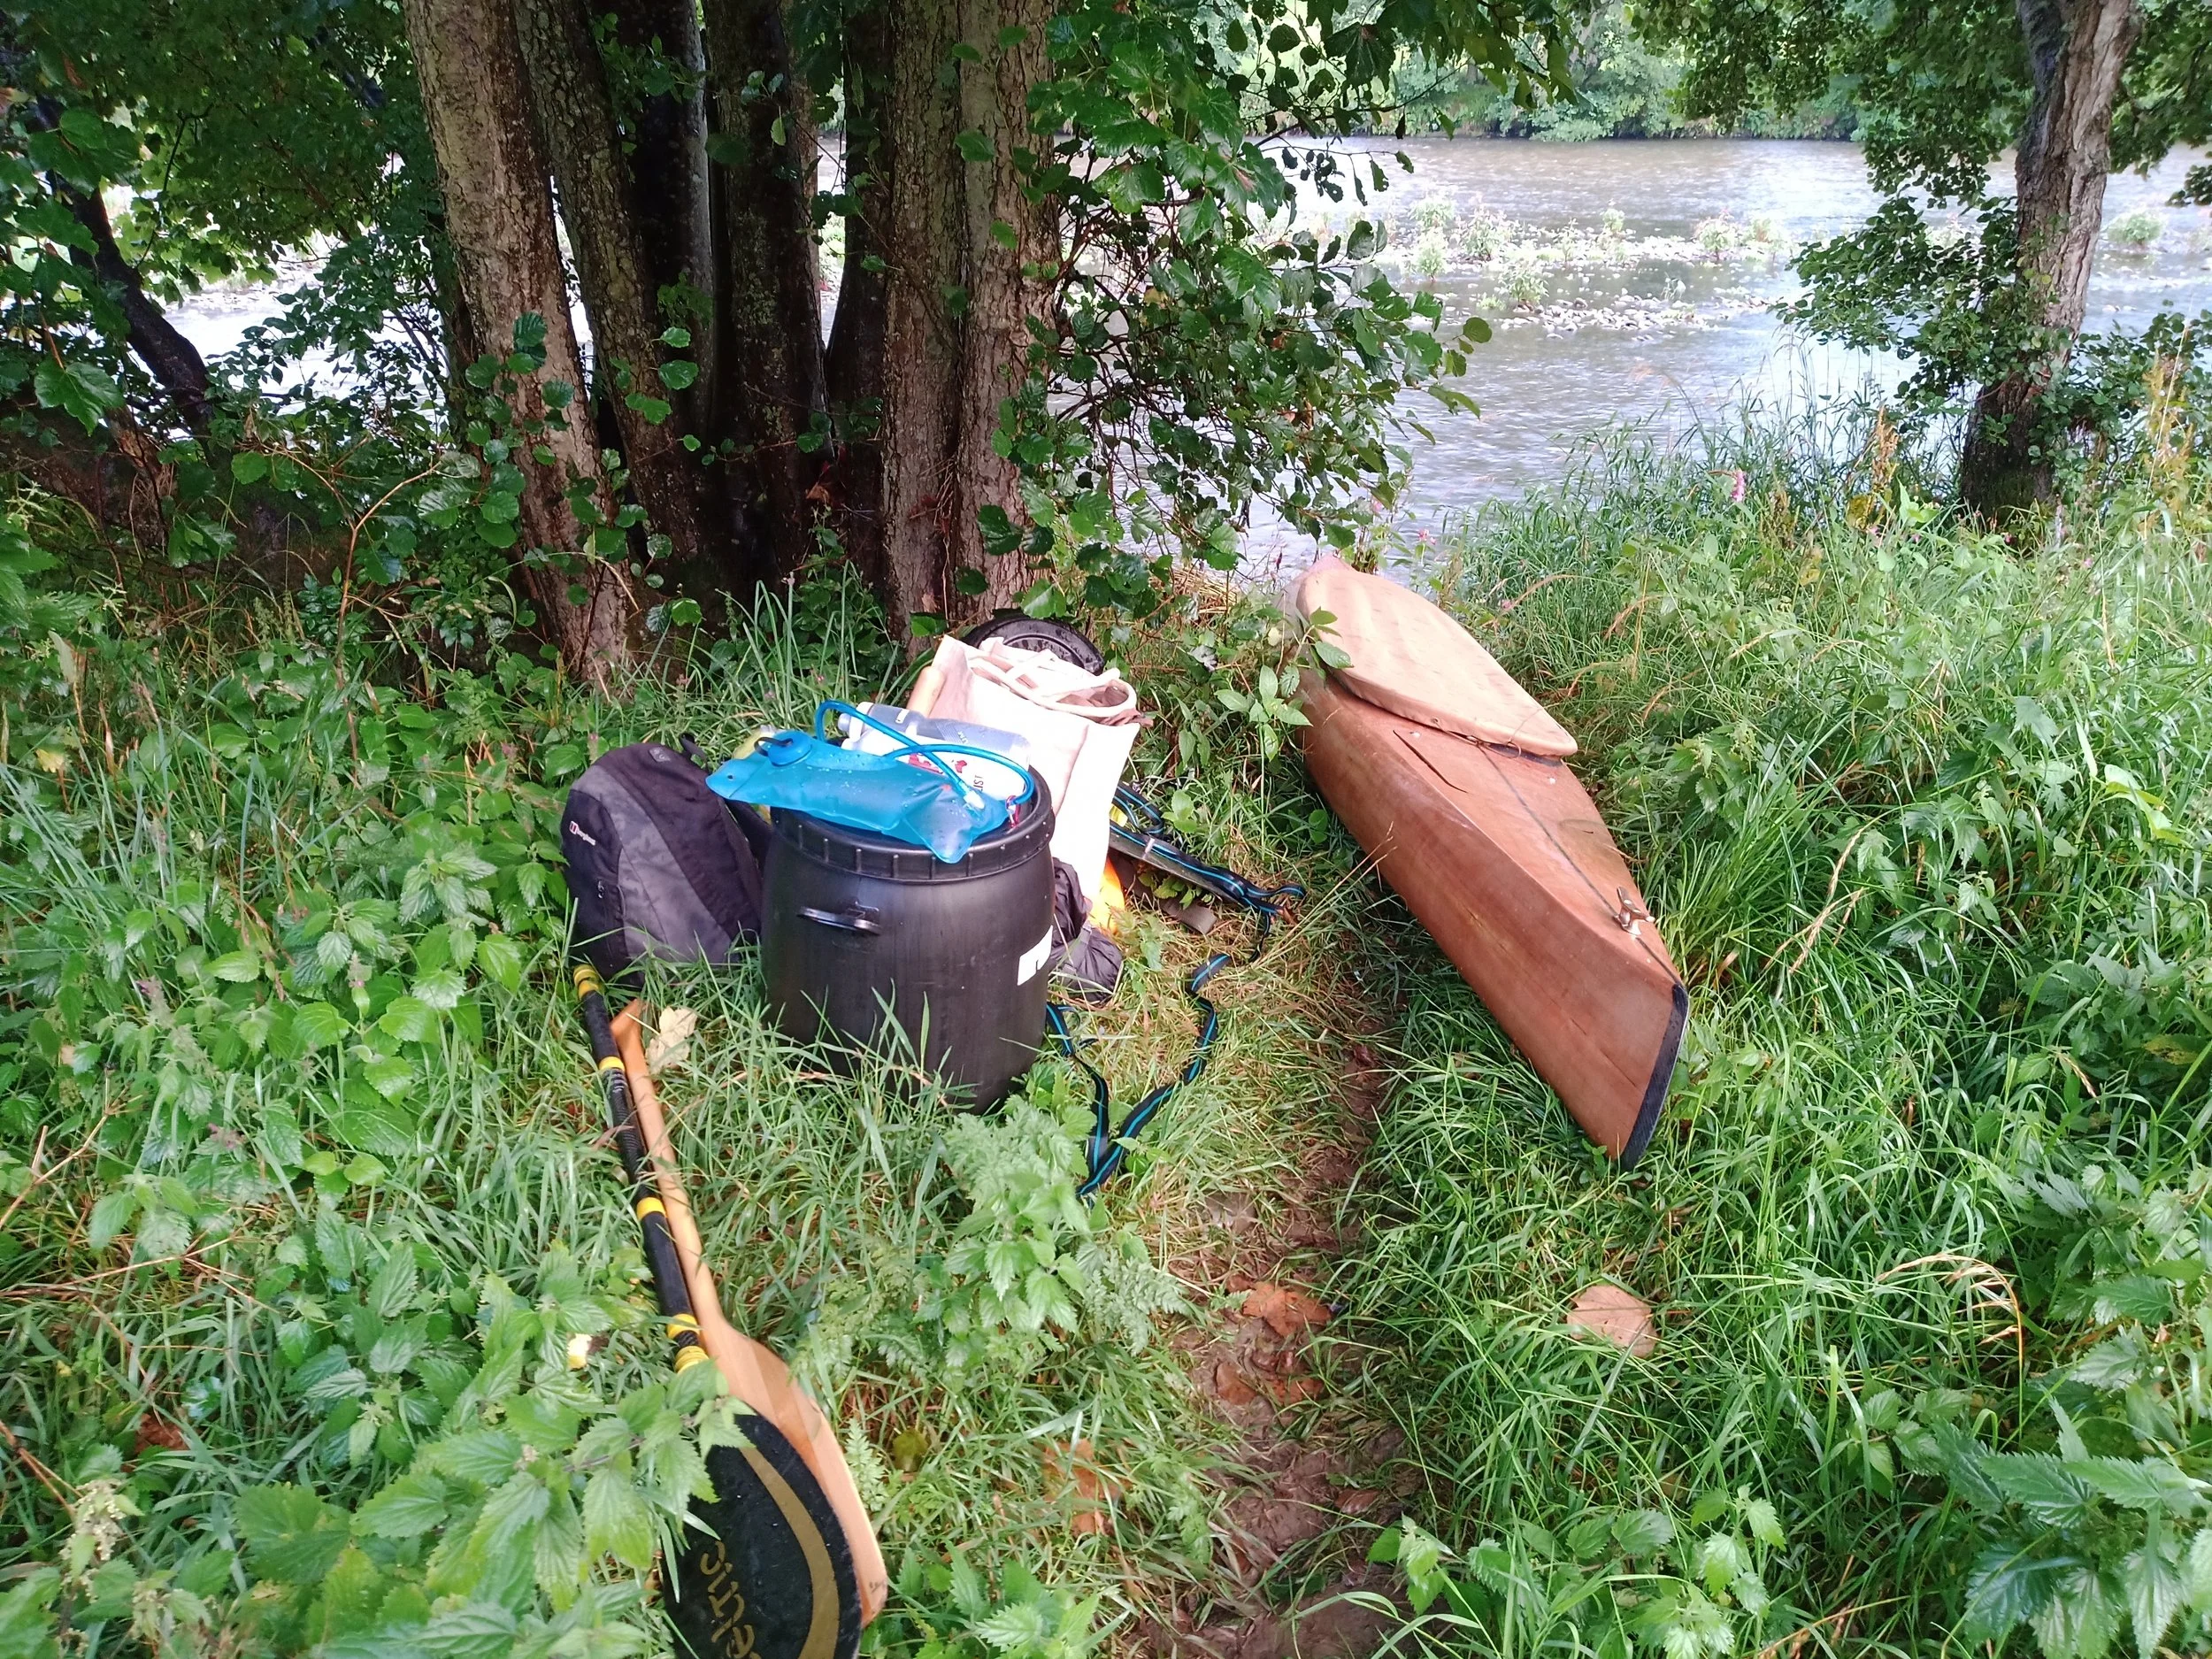
First proper trip out, about to set out on the River Tweed. Note the canvas cockpit cover that I sewed.

Plenty of space for kit.

This is where she was meant to be!

Enjoying my paddle. This was also my first proper kayaking trip!

Camped up for the night on the banks of the Tweed.
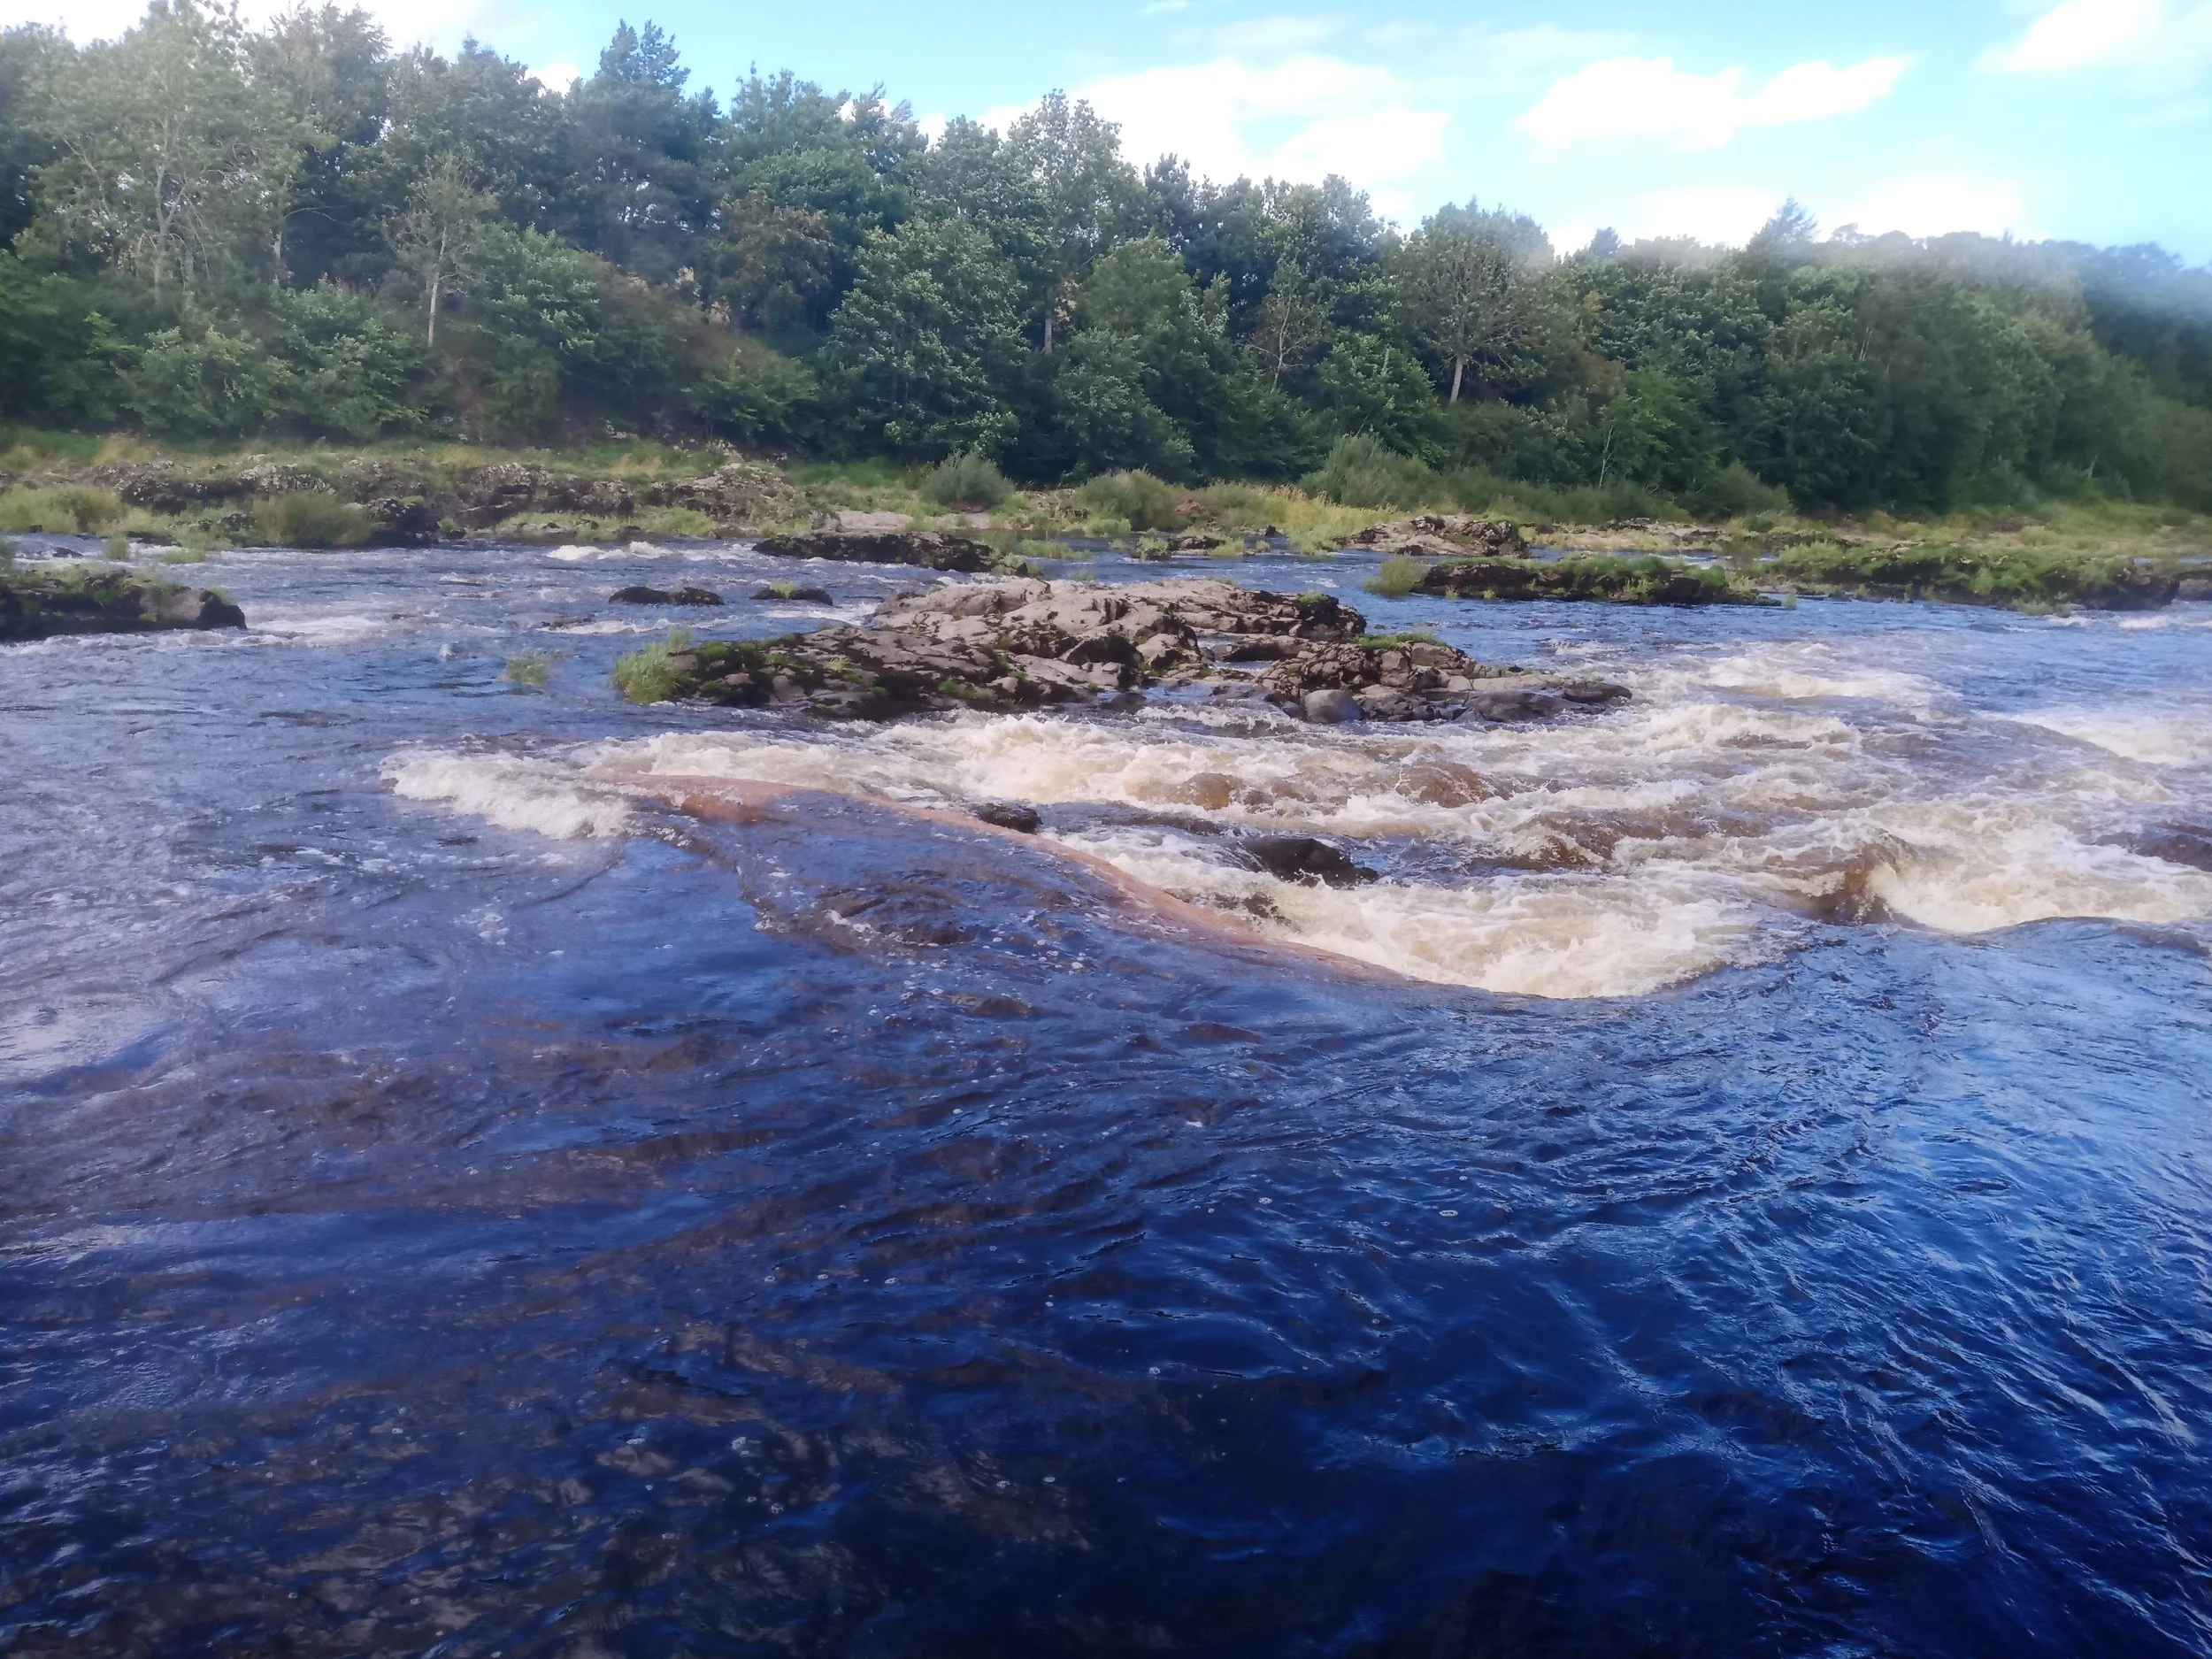
Disaster! I misjudged a set of rapids and got the boat lodged firmly on a rock. She is in frame, just with water flowing over every surface!

Several weeks later, after a call from Berwick police. She had been found on the beach, having sailed herself, unaccompanied, 40 miles down river, through yet more sets of rapids, out to sea and then back in on the tide. I collected her from Berwick police station!