Lathe Tool Holder
When a shortage of lathe tool holders was slowing down workflow on student projects, I looked into acquiring new tool holders. I realised very quickly that they were far more expensive than I could spare budget for and so I decided to make some new ones myself. I selected a free-cutting EN1A for ease of machining and took detailed measurements from one of the existing tool holders to enable the creation of a drawing. After a couple of successful tool holders had been made, I modified the design for a boring bar holder and made a couple of those too. I realised that the skills required made for an interesting student project and so I incorporated it into our EAL Diploma coursework and guided a class of students through the process of machining a tool holder. Students were successfully able to hold the +/- 0.1mm tolerance that I set for them and found the project more fulfilling and with more real-world utility than the suggested practice block originally set by the exam board.
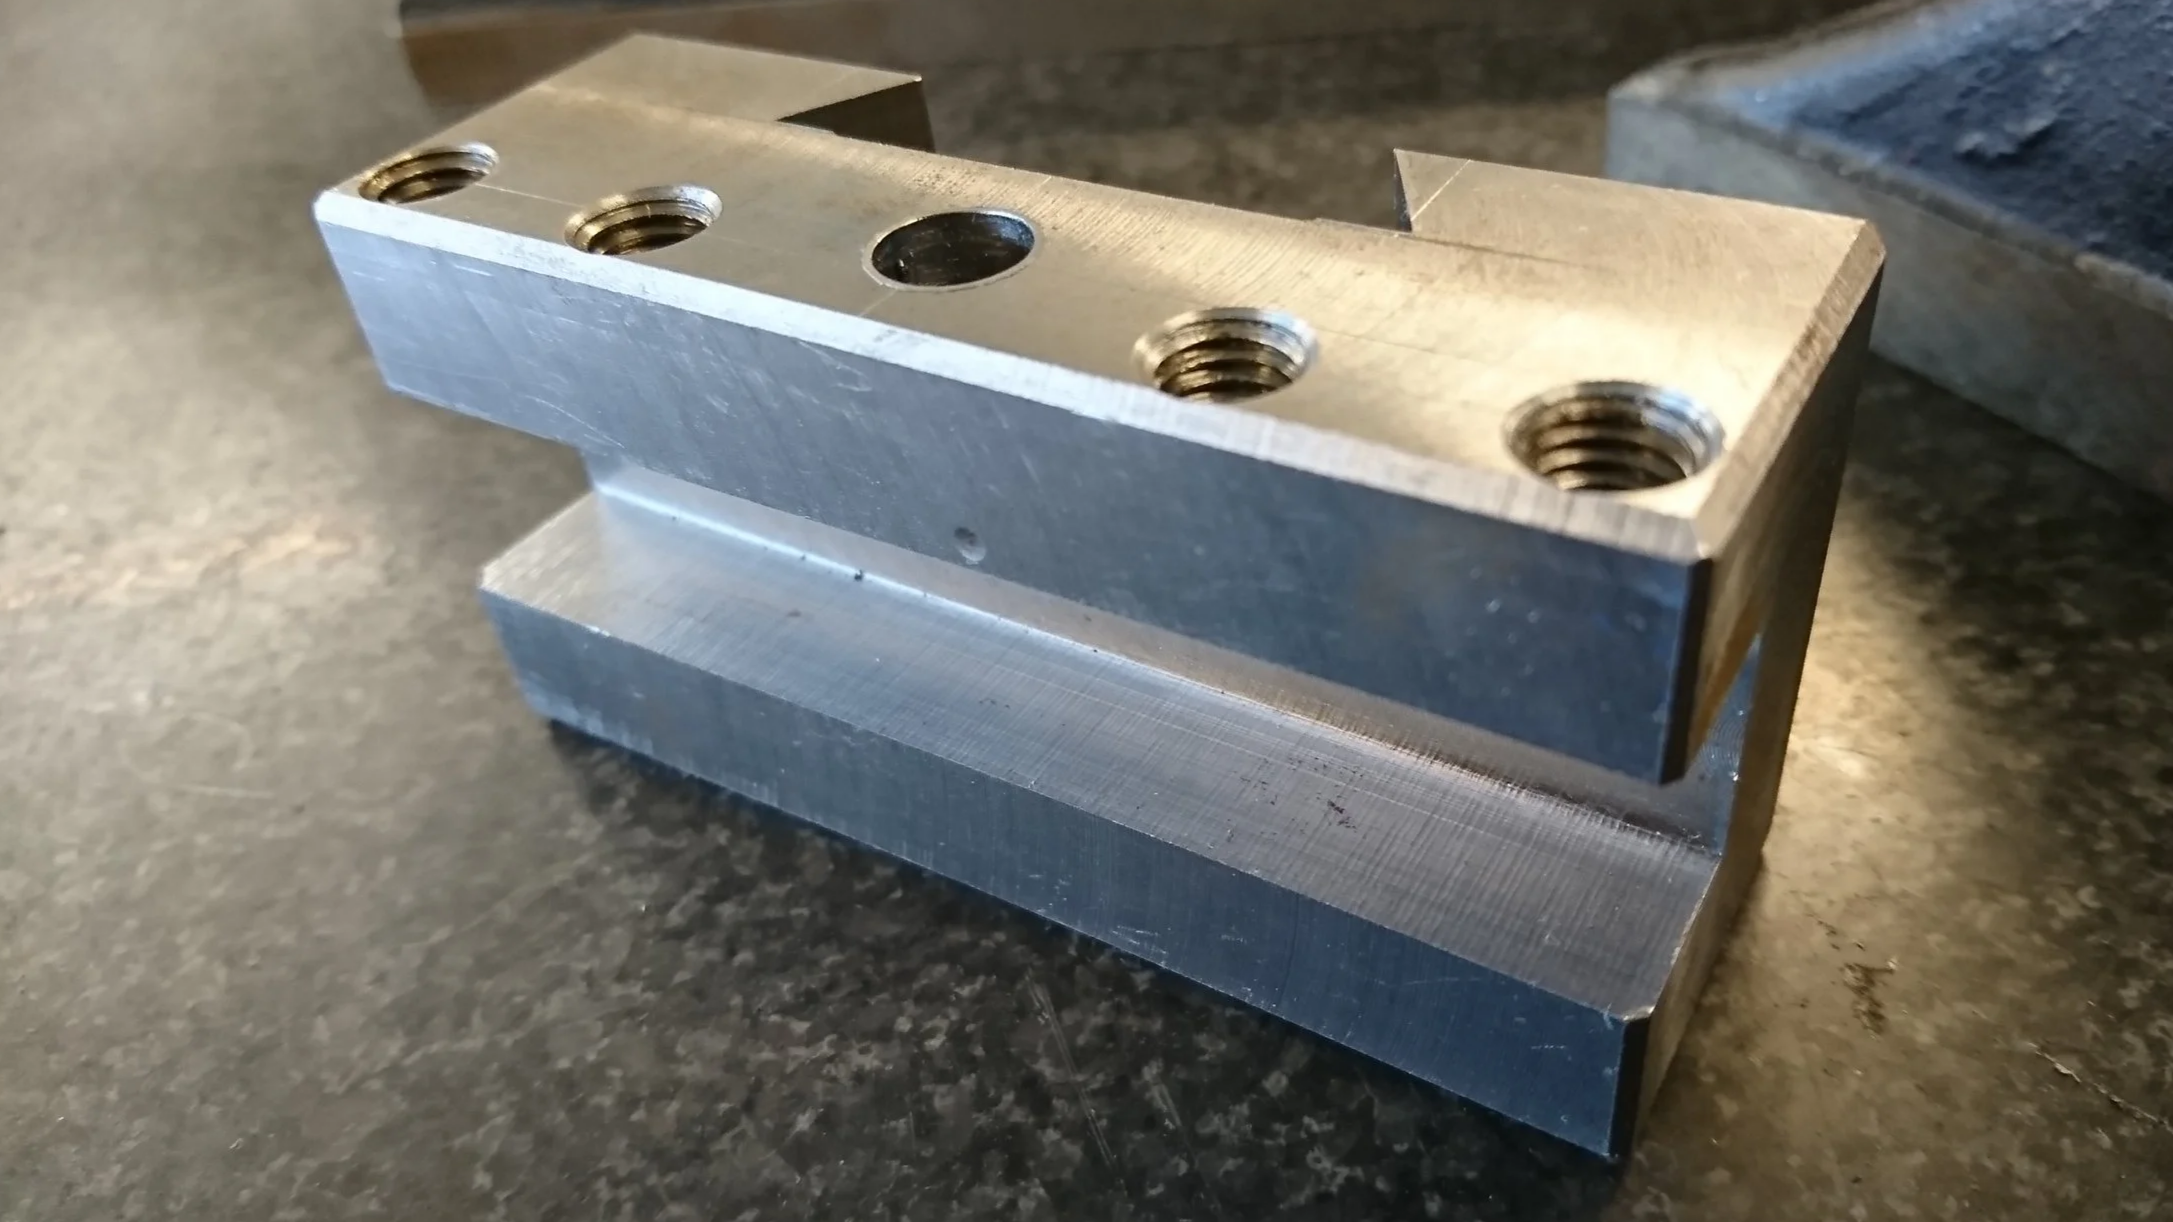
The first student-completed lathe holder.

This block is within a +/- 0.1mm tolerance.

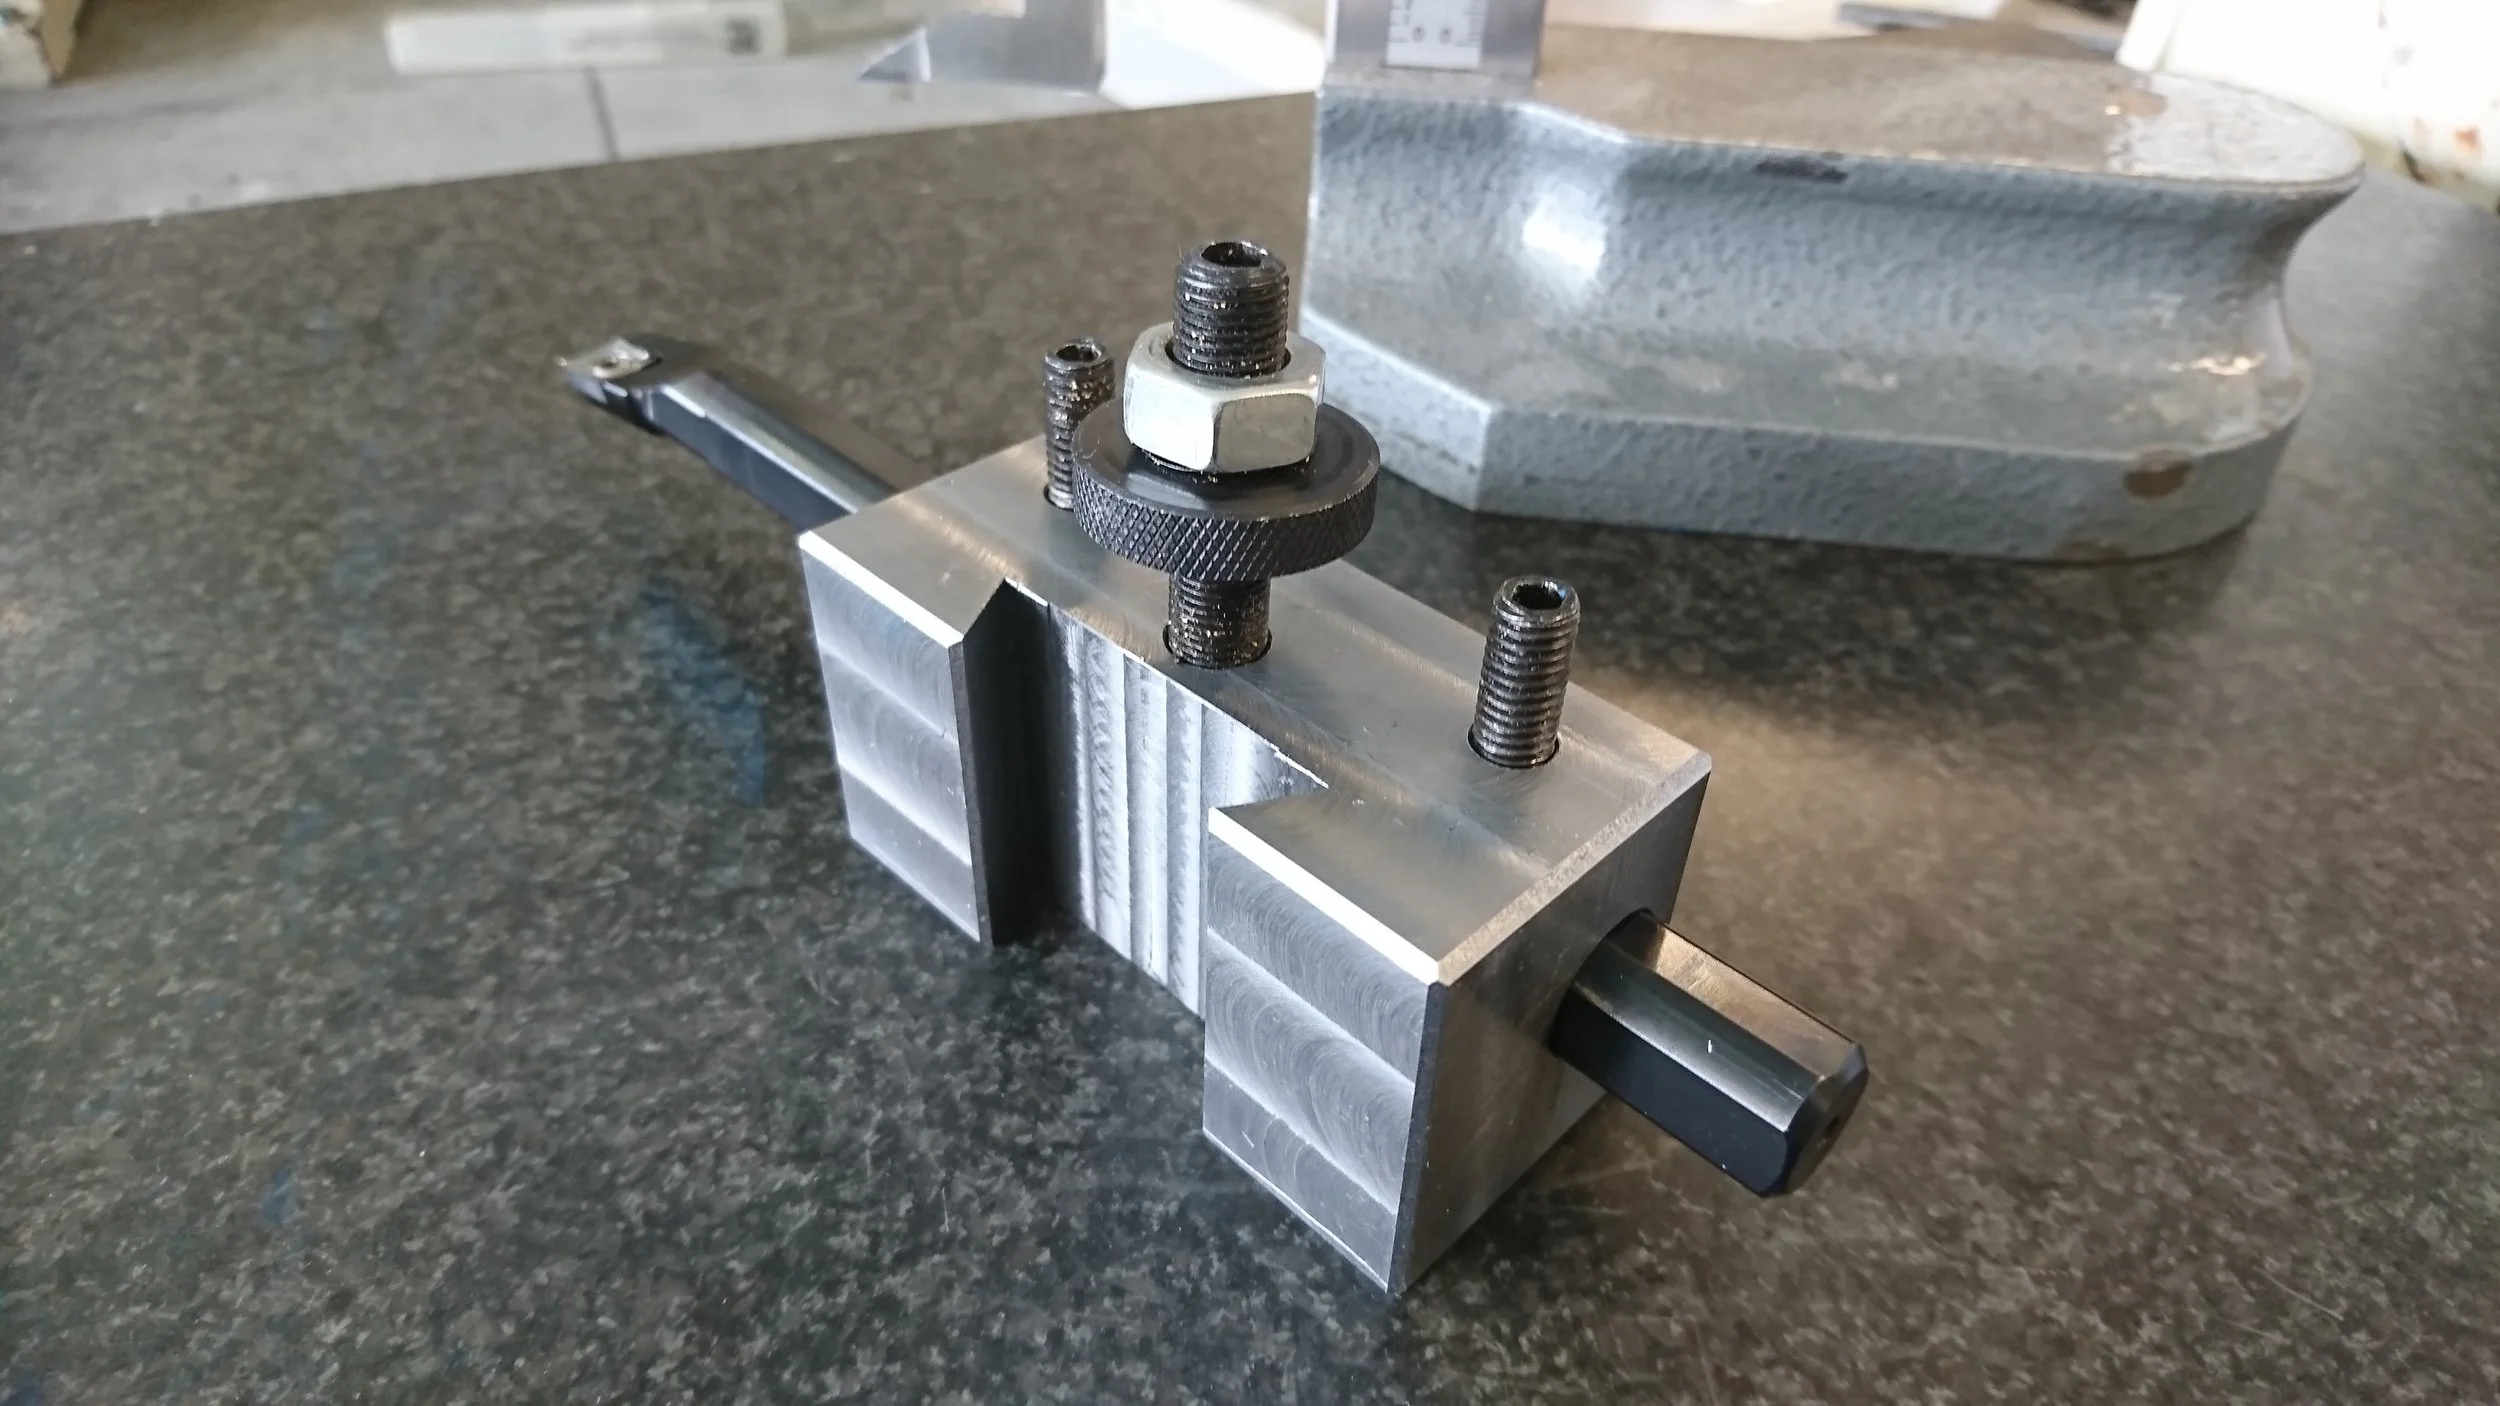
There is nothing quite like a machined chamfer. Three meeting at a vertex like this looks very professional!
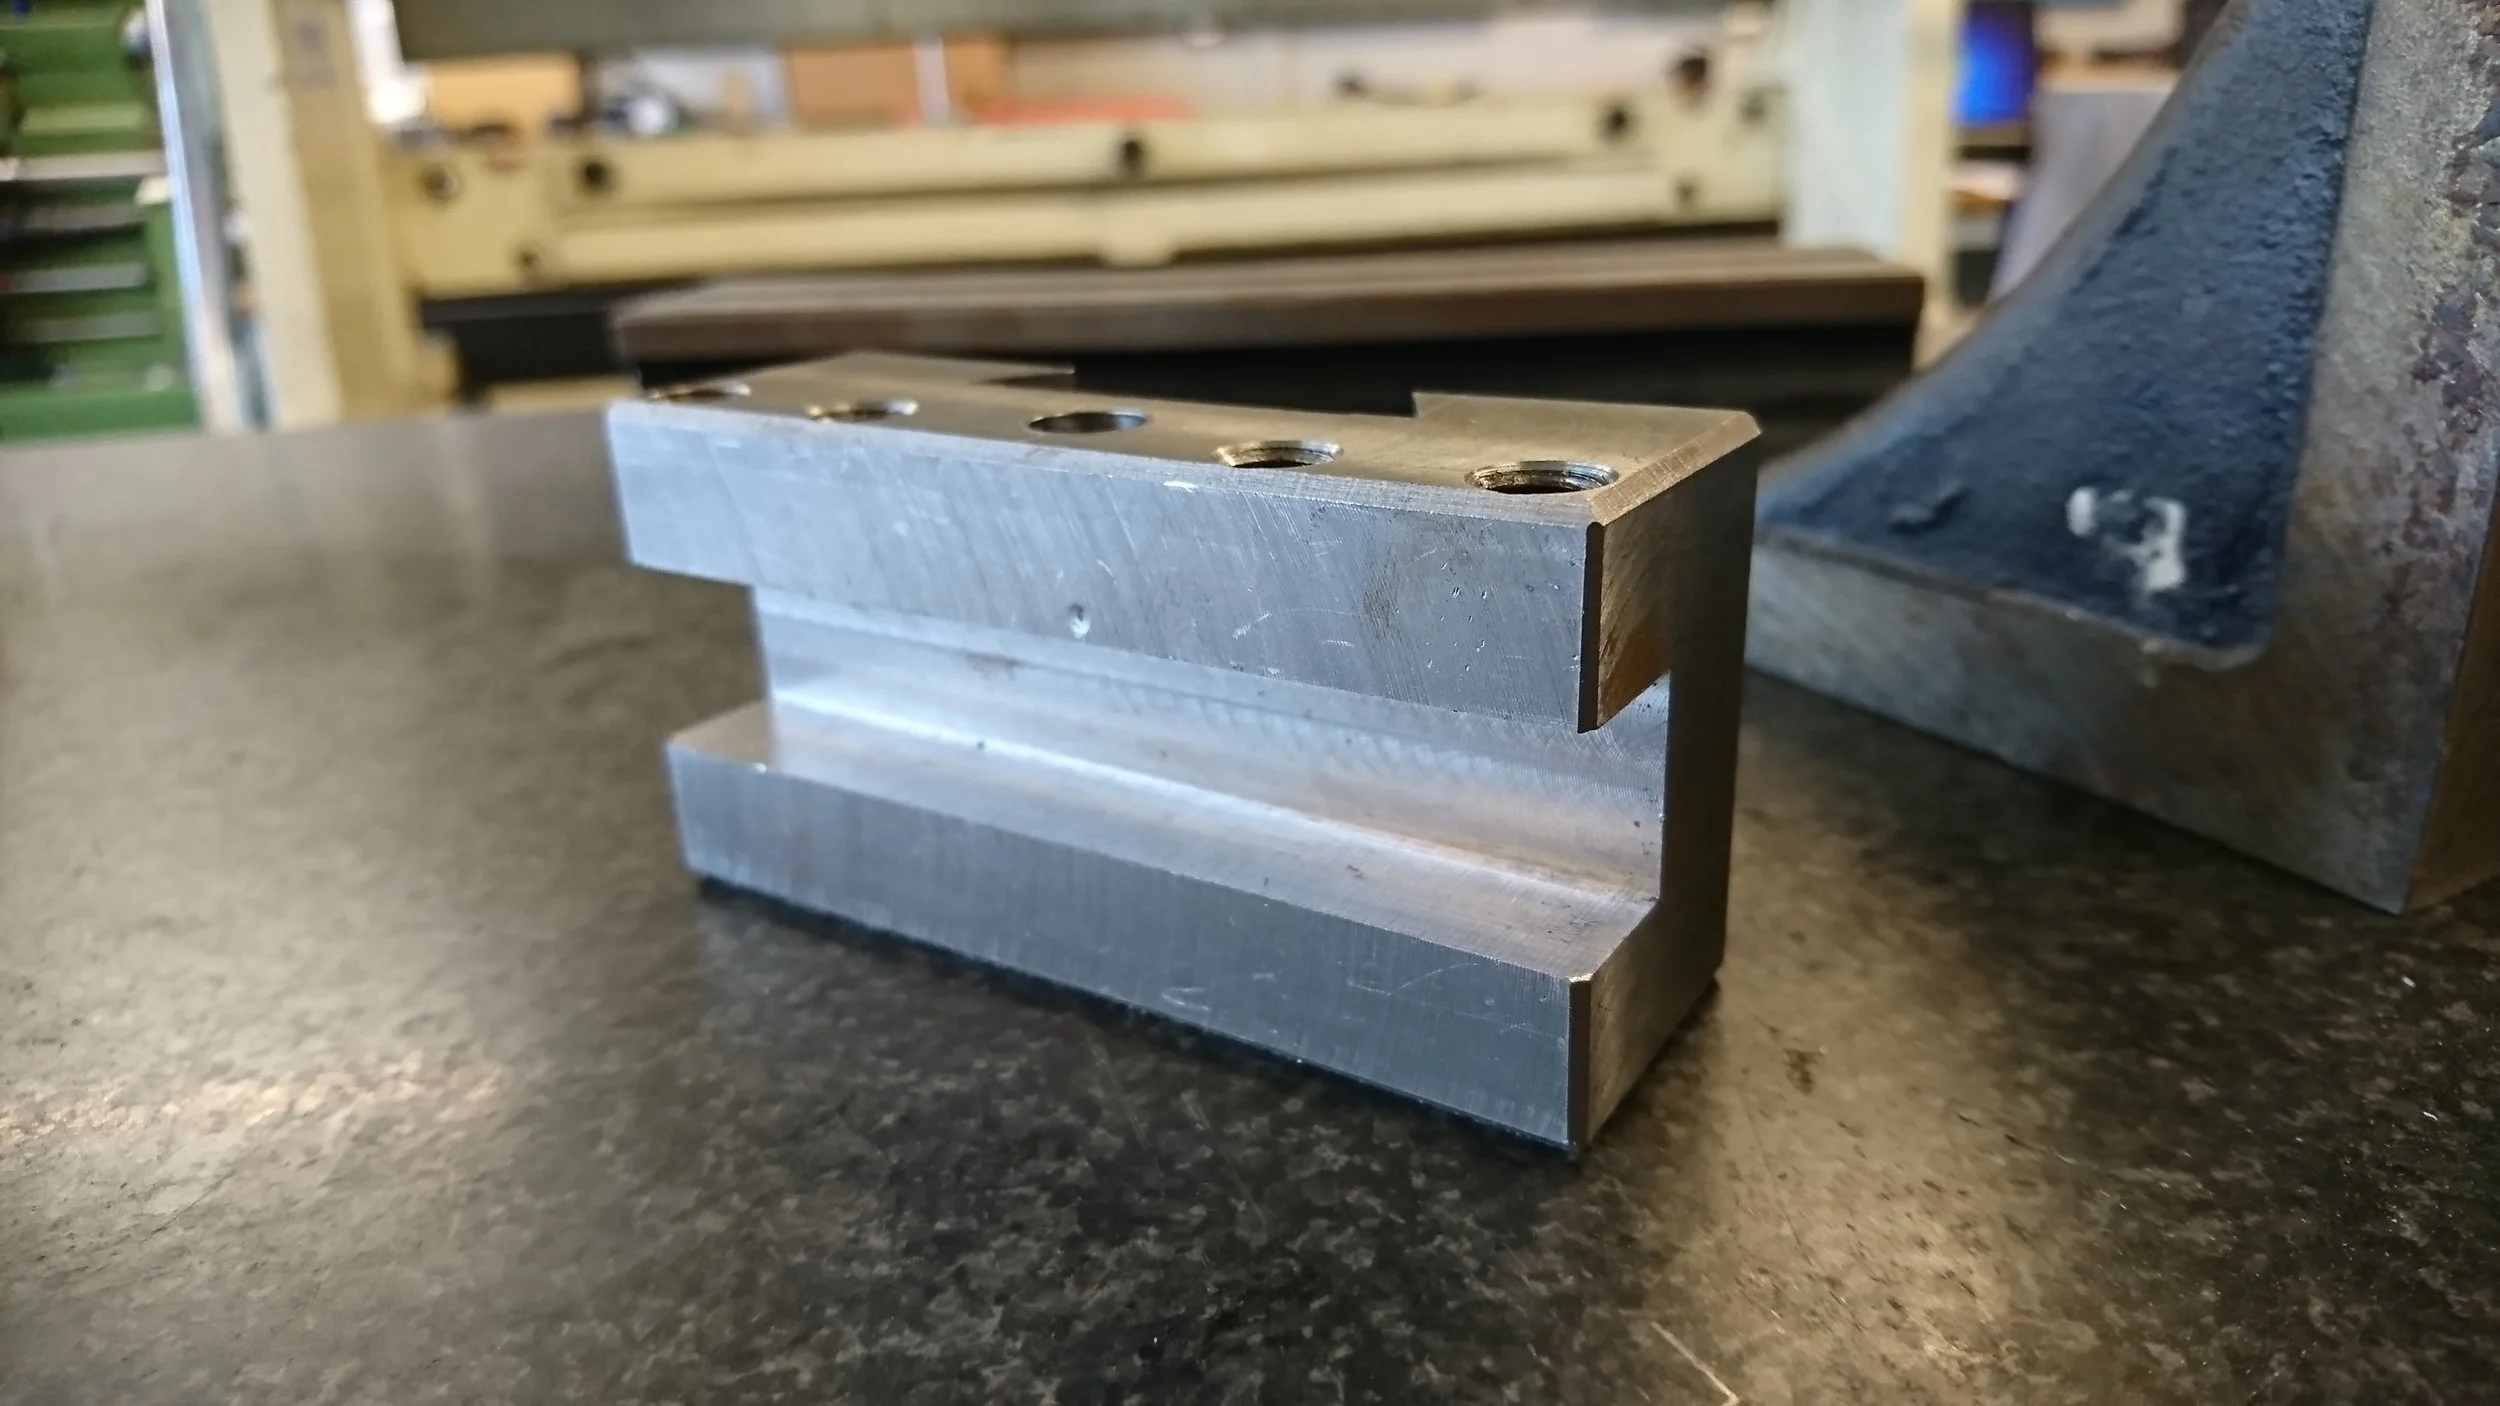
The small relief step is noticeable in this shot. It's a small detail, but radically cuts down on friction while installing the tool.
This dovetail is quite tricky to measure, but after I made a go/no-go gauge, it became a lot easier!
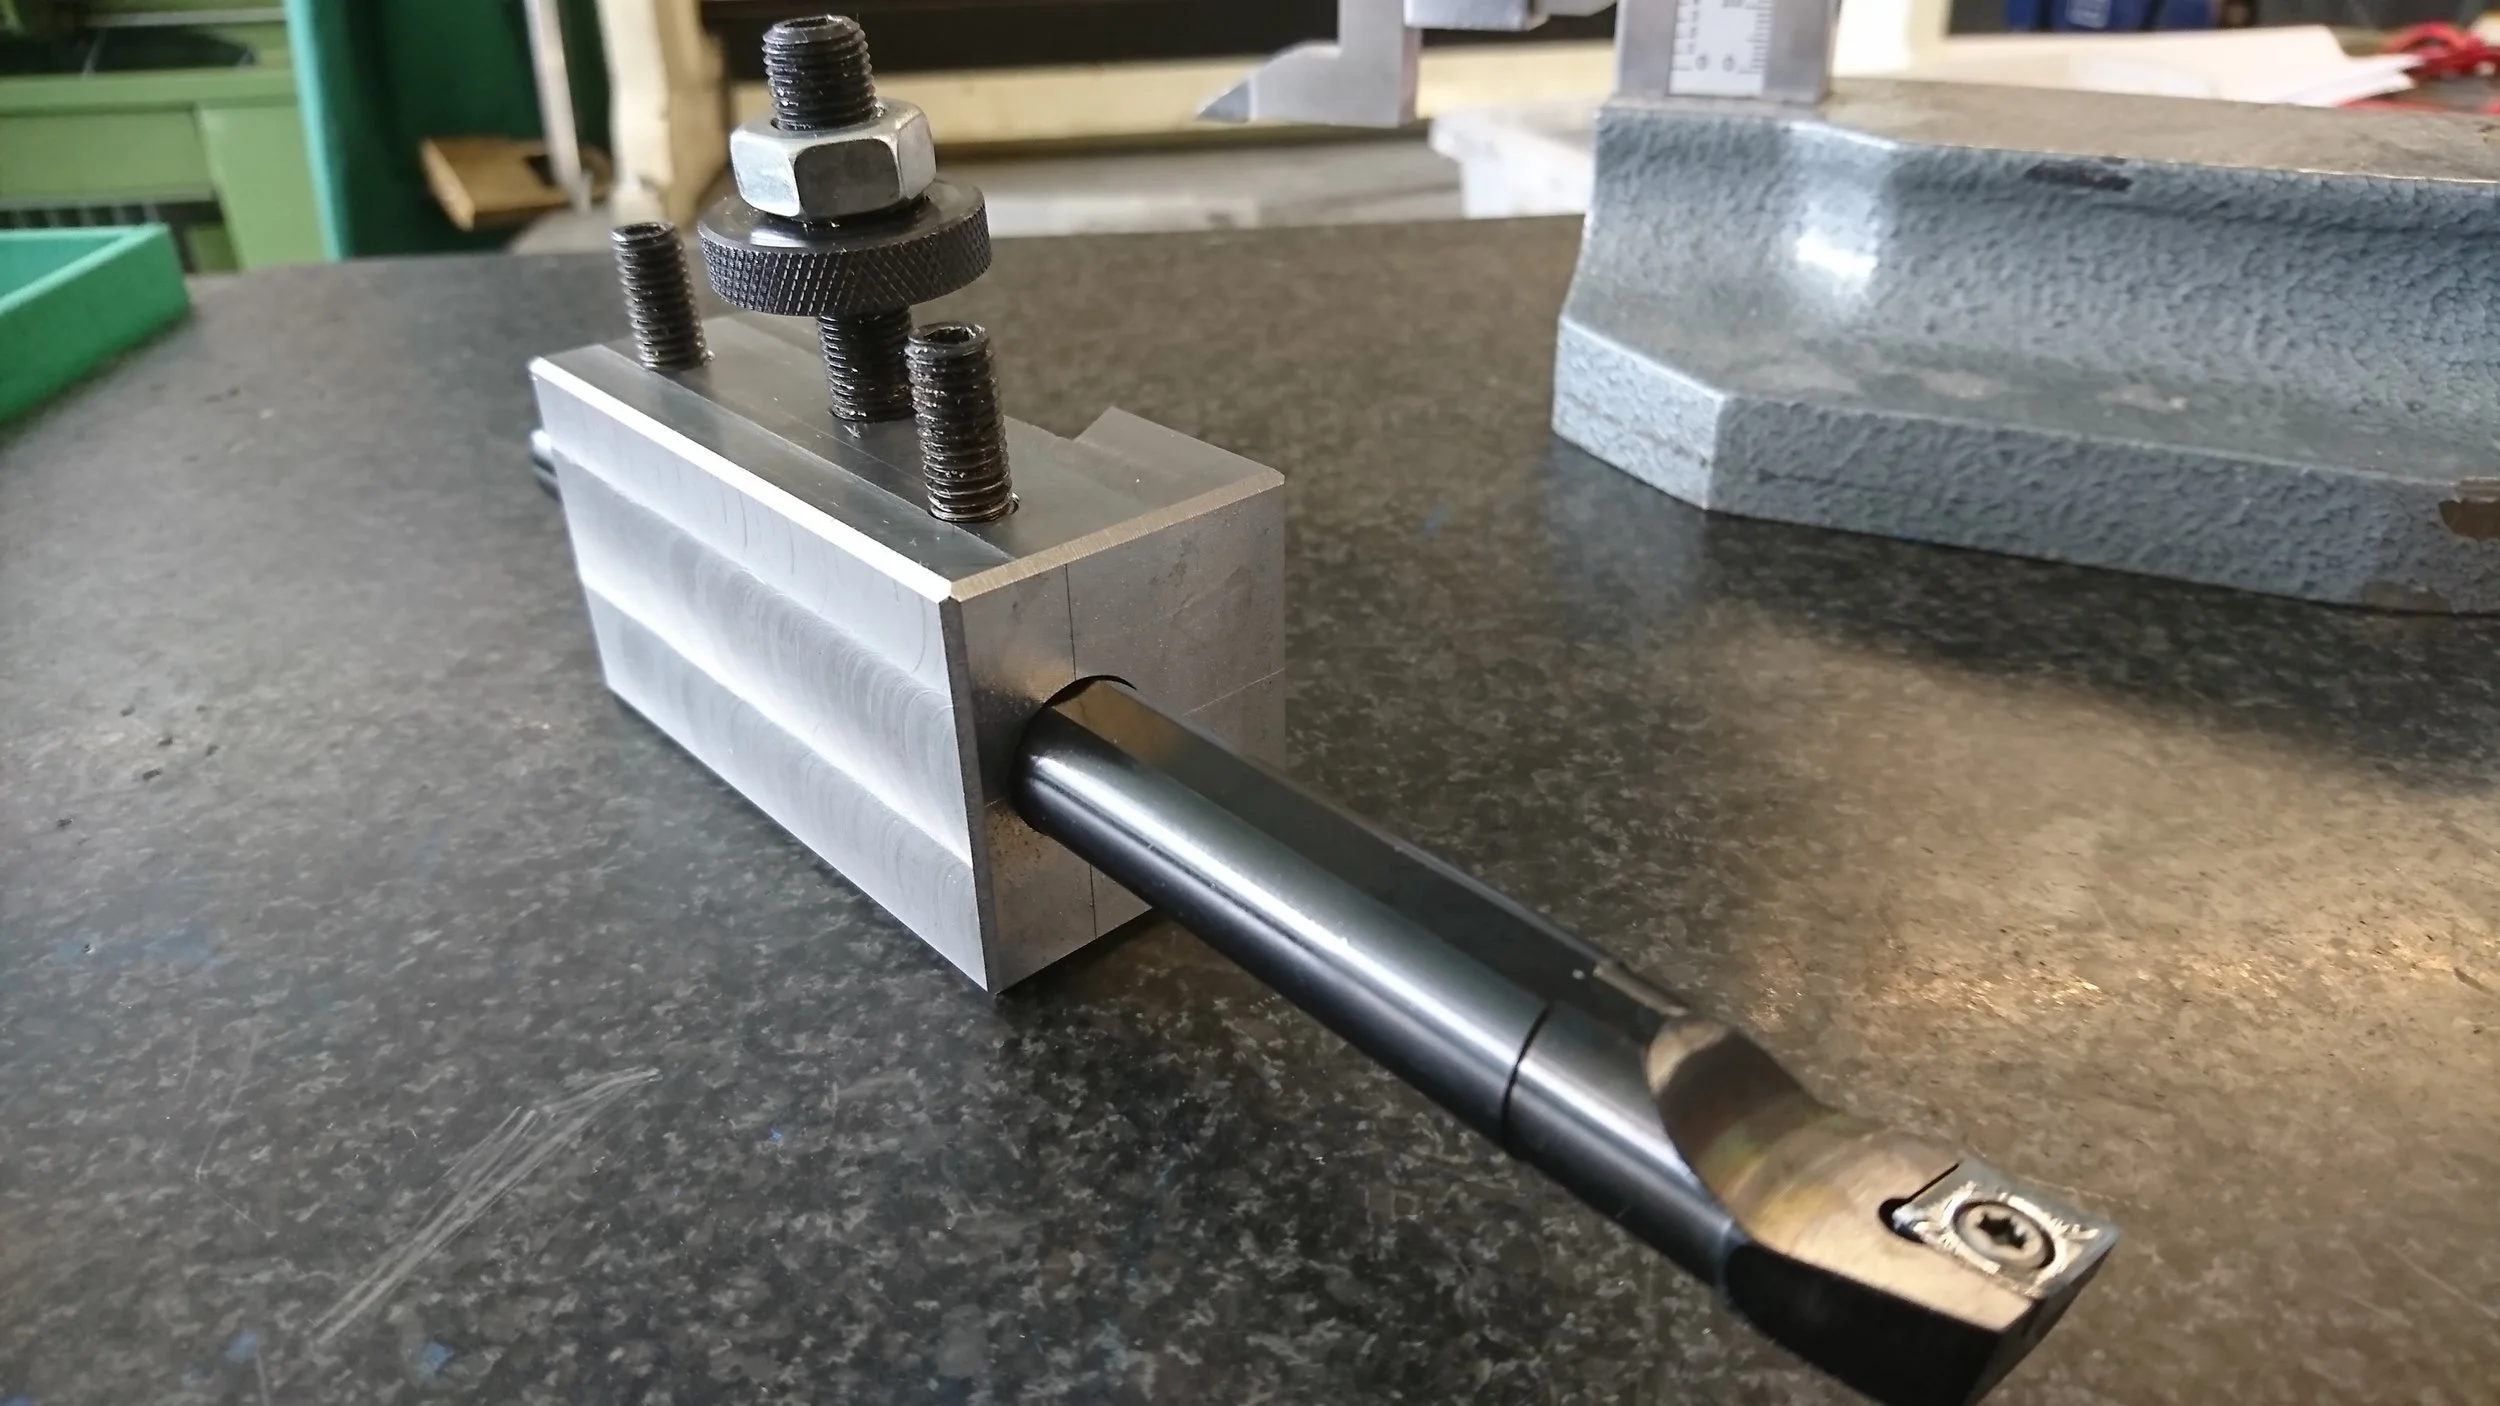
A minor design change to the original design was required in order to hold this boring bar. I made a pair; one for each lathe.
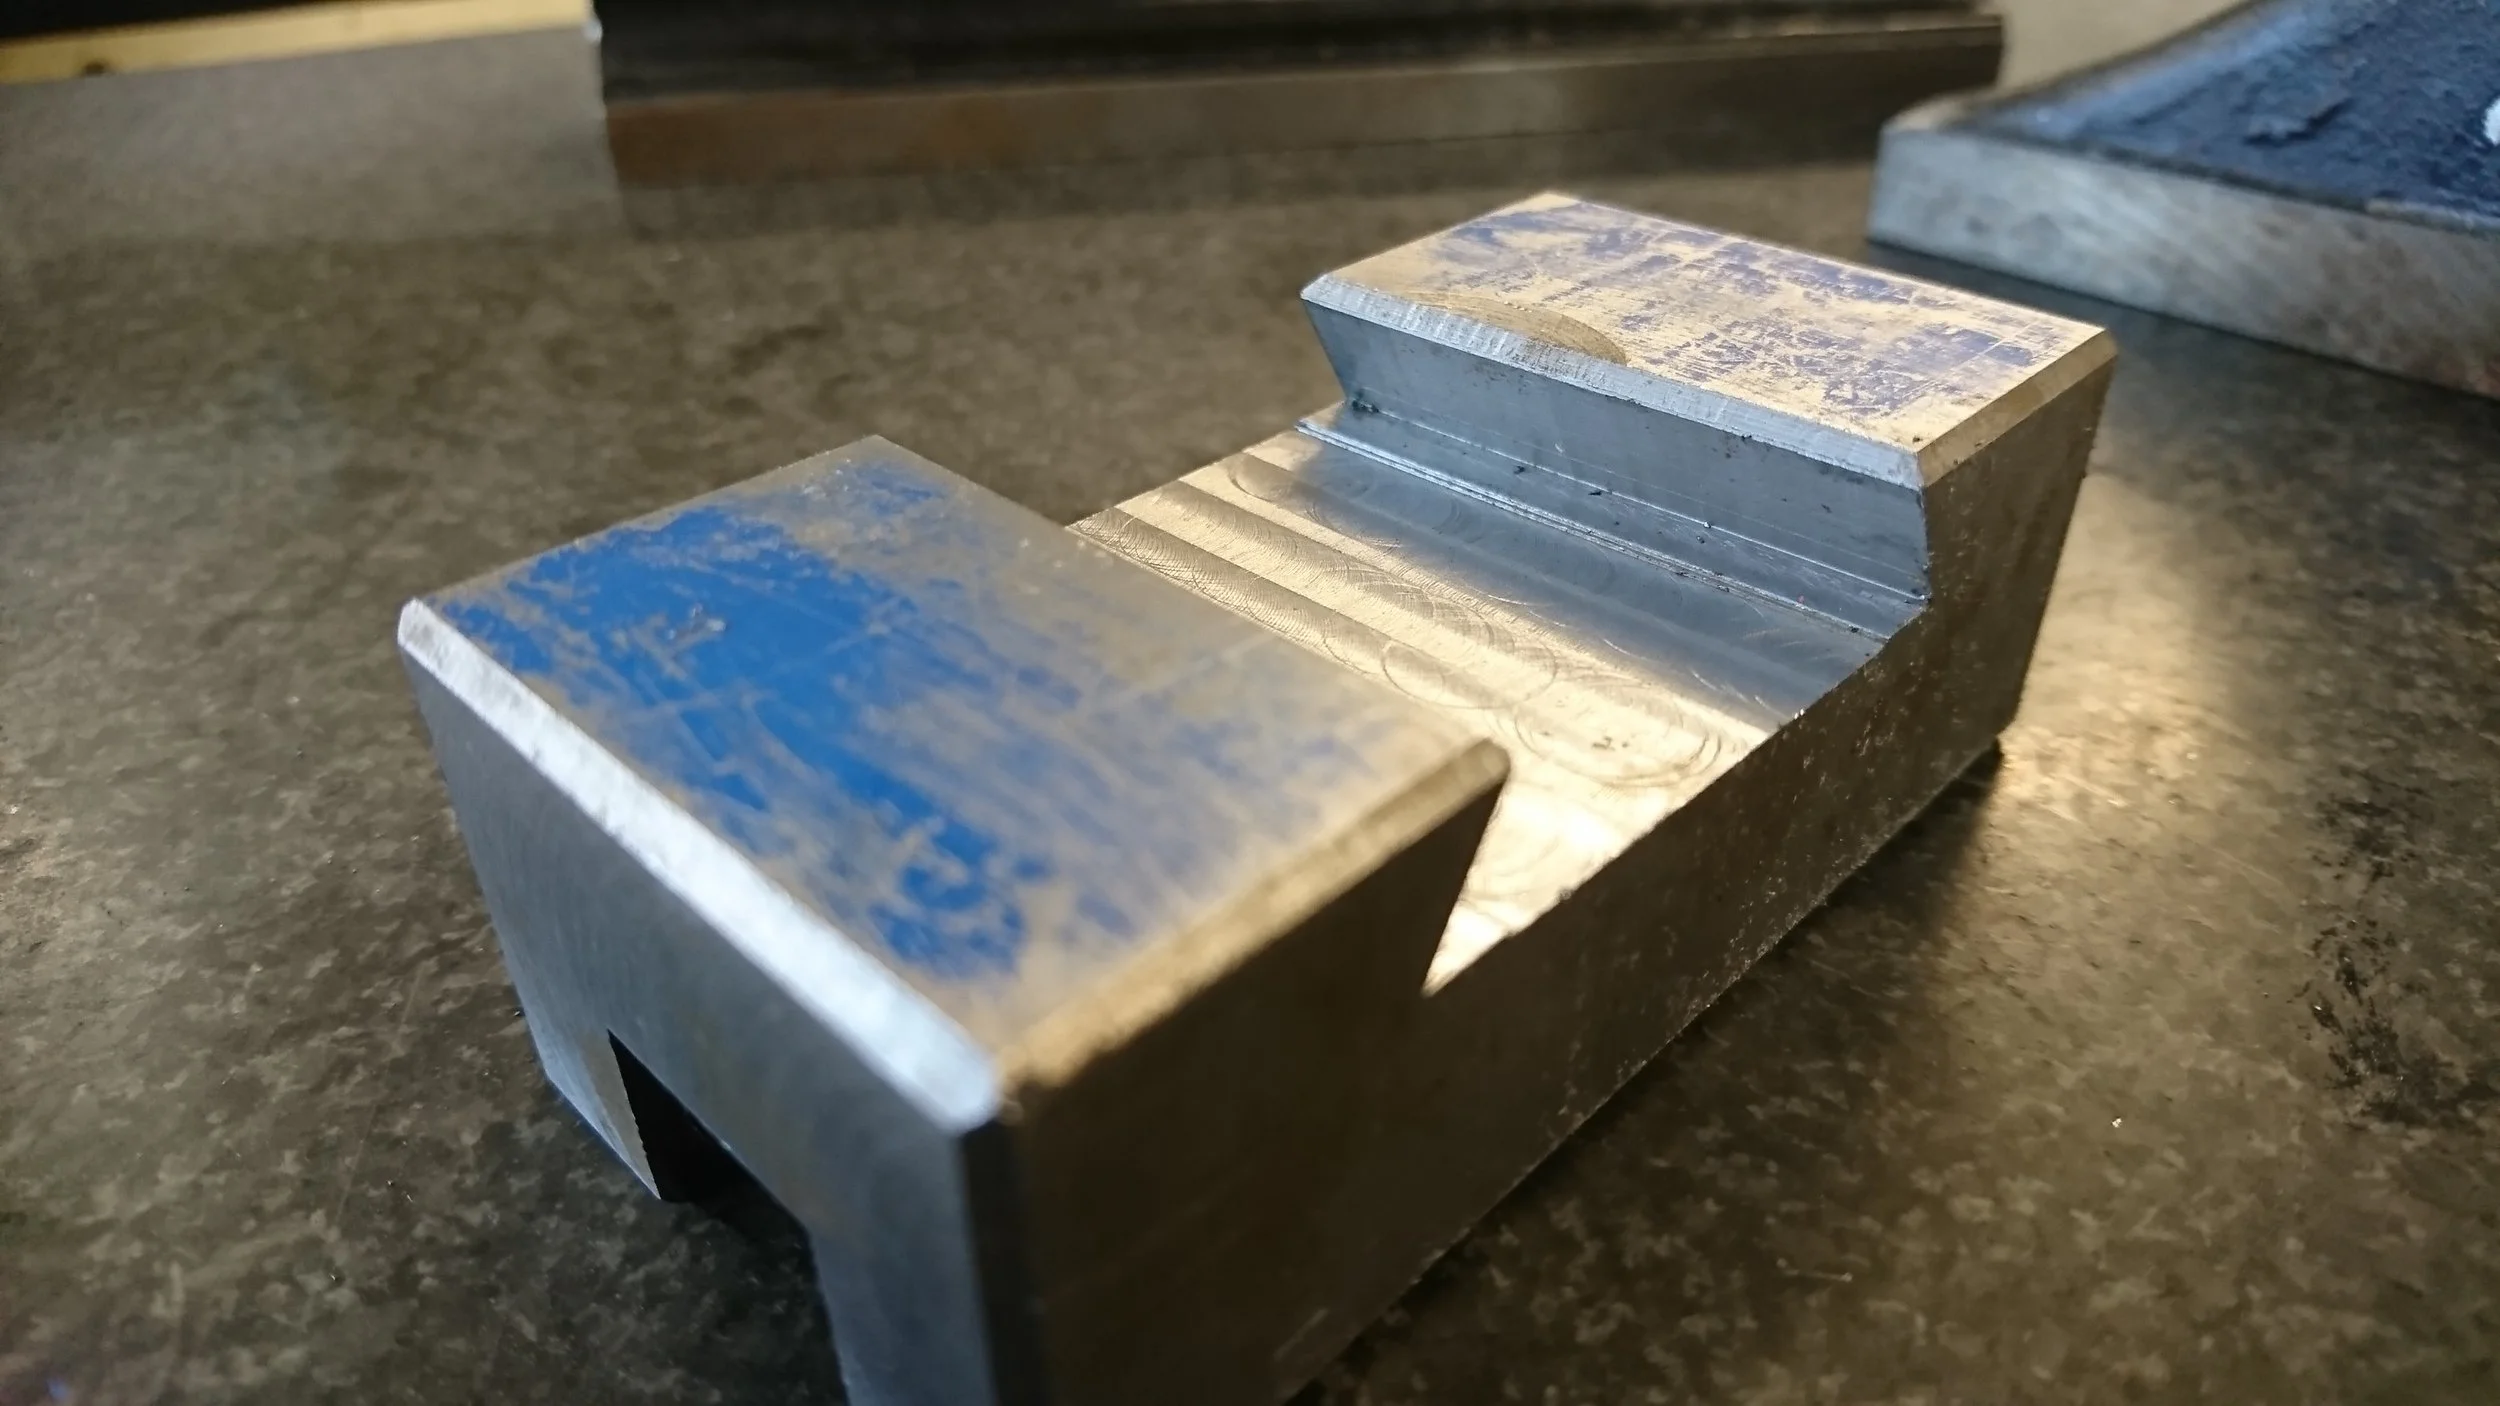
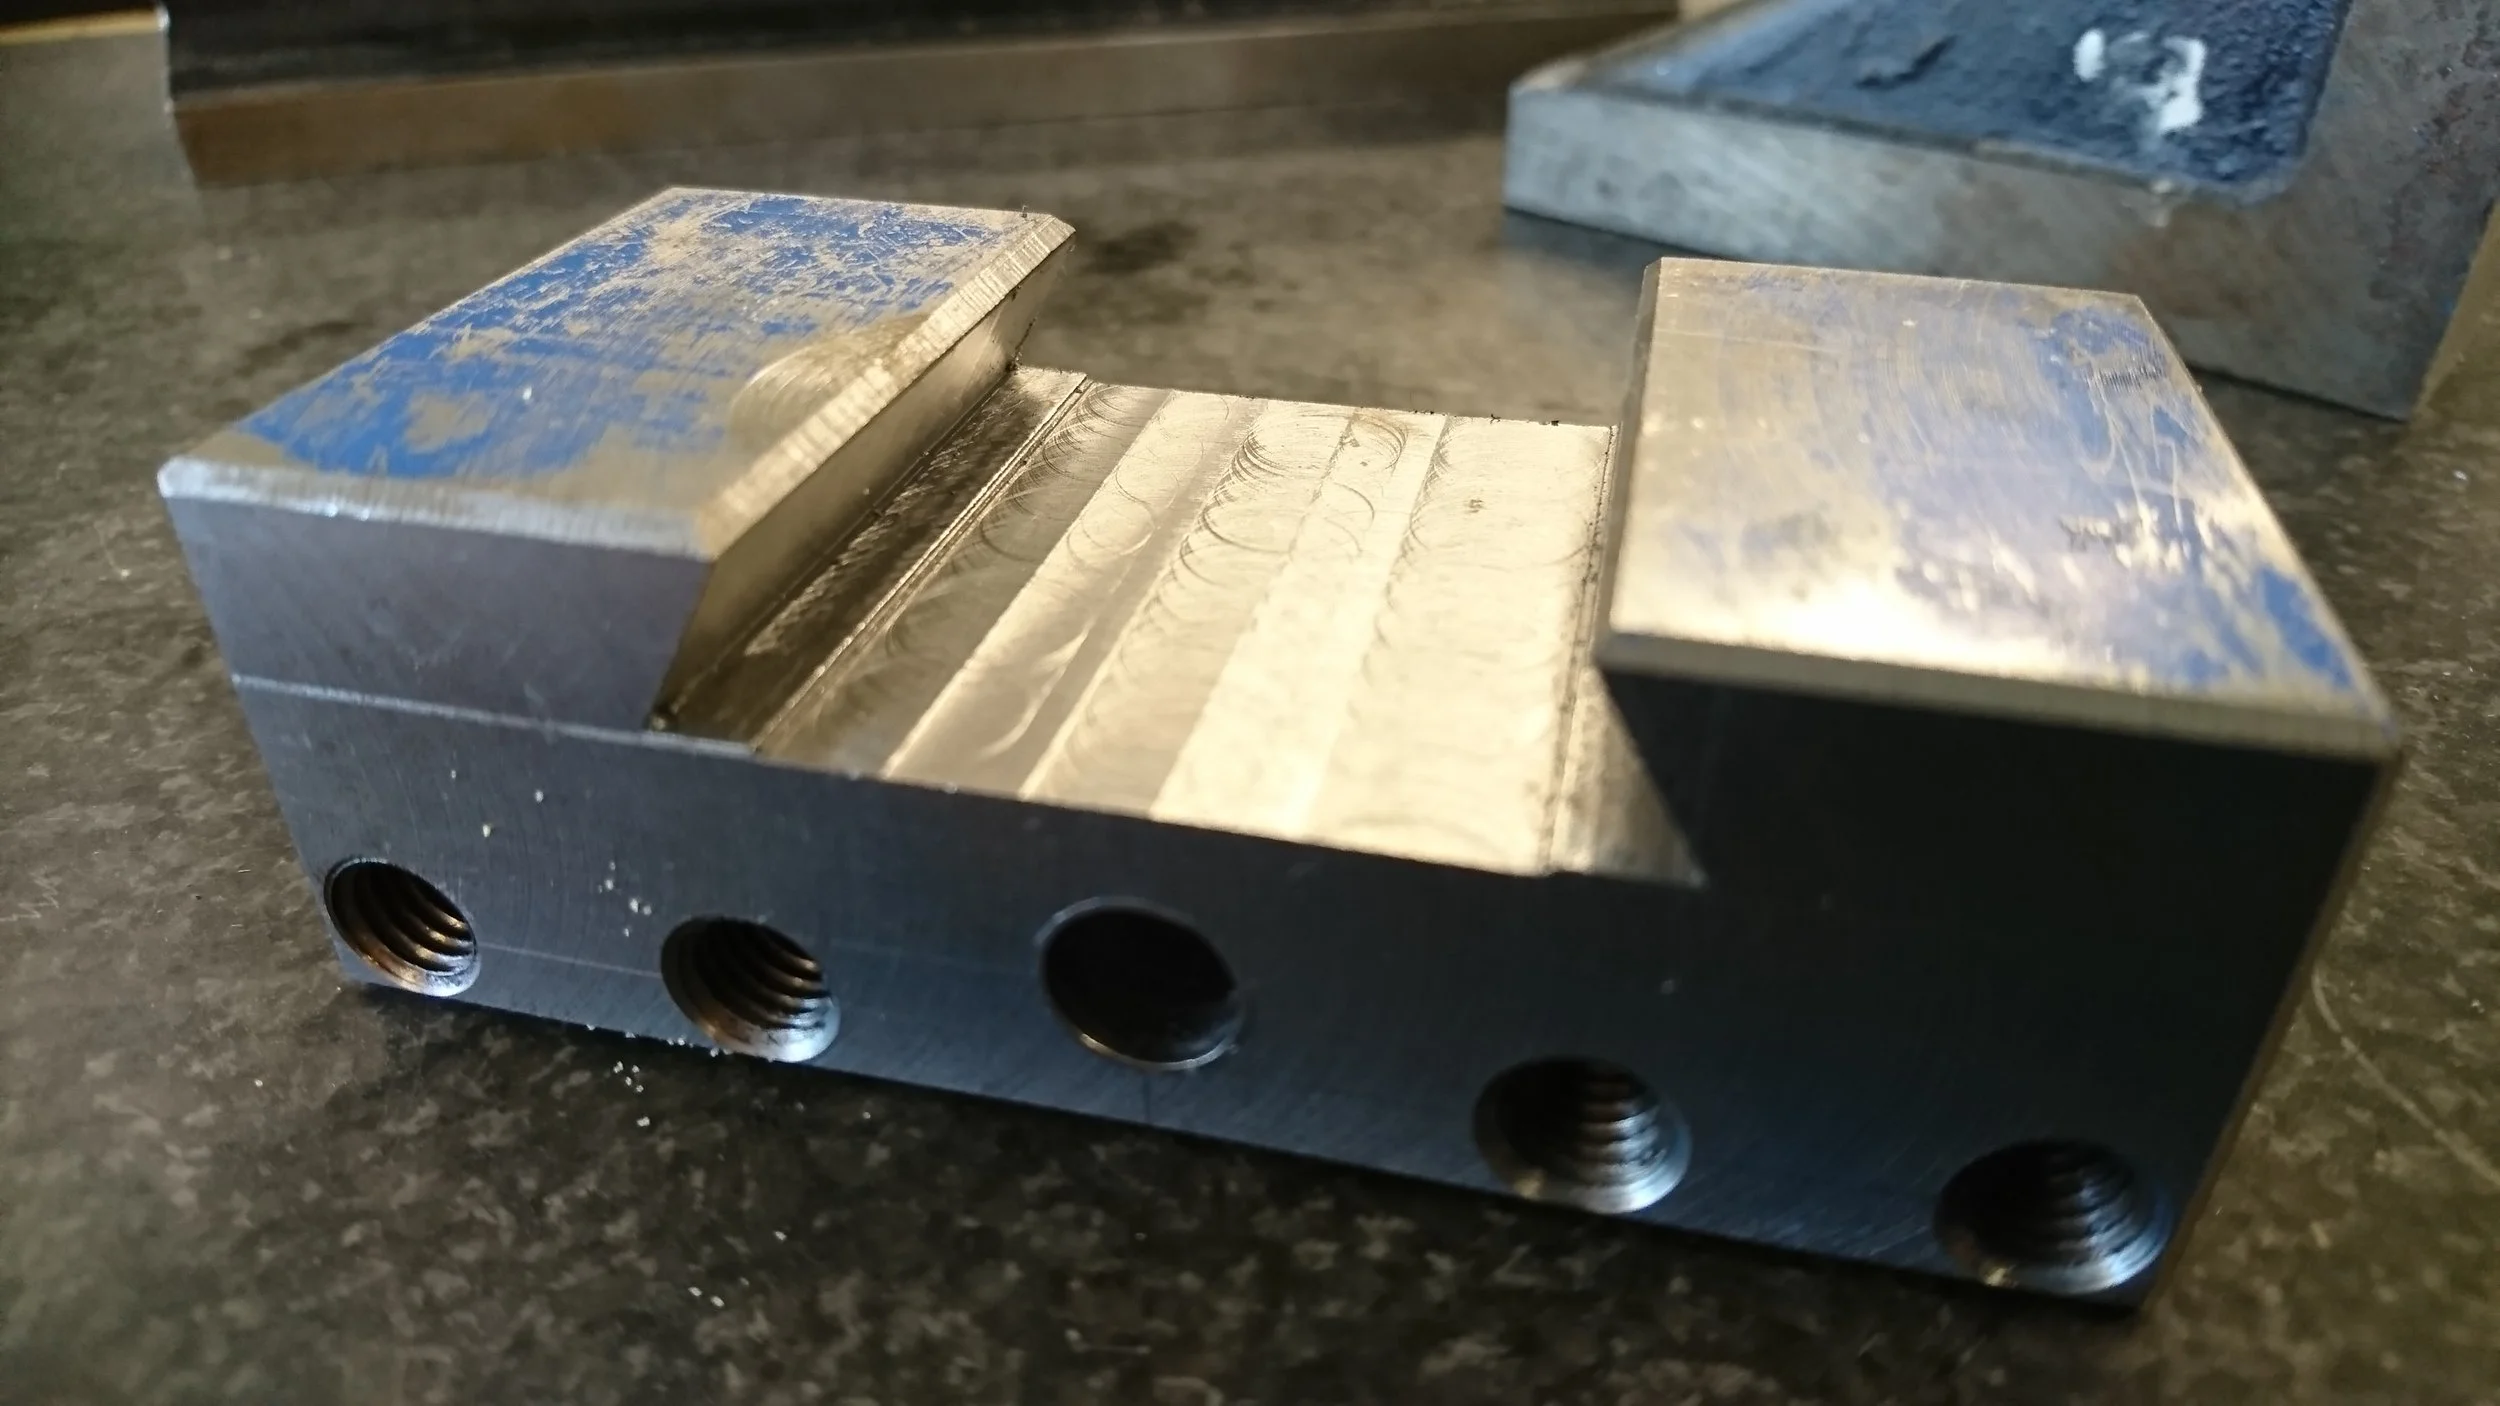
The lay of the end mill is clearly visible in this image. Getting a really good surface finish on mild steel is fairly difficult, especially with a relatively light-weight milling machine.
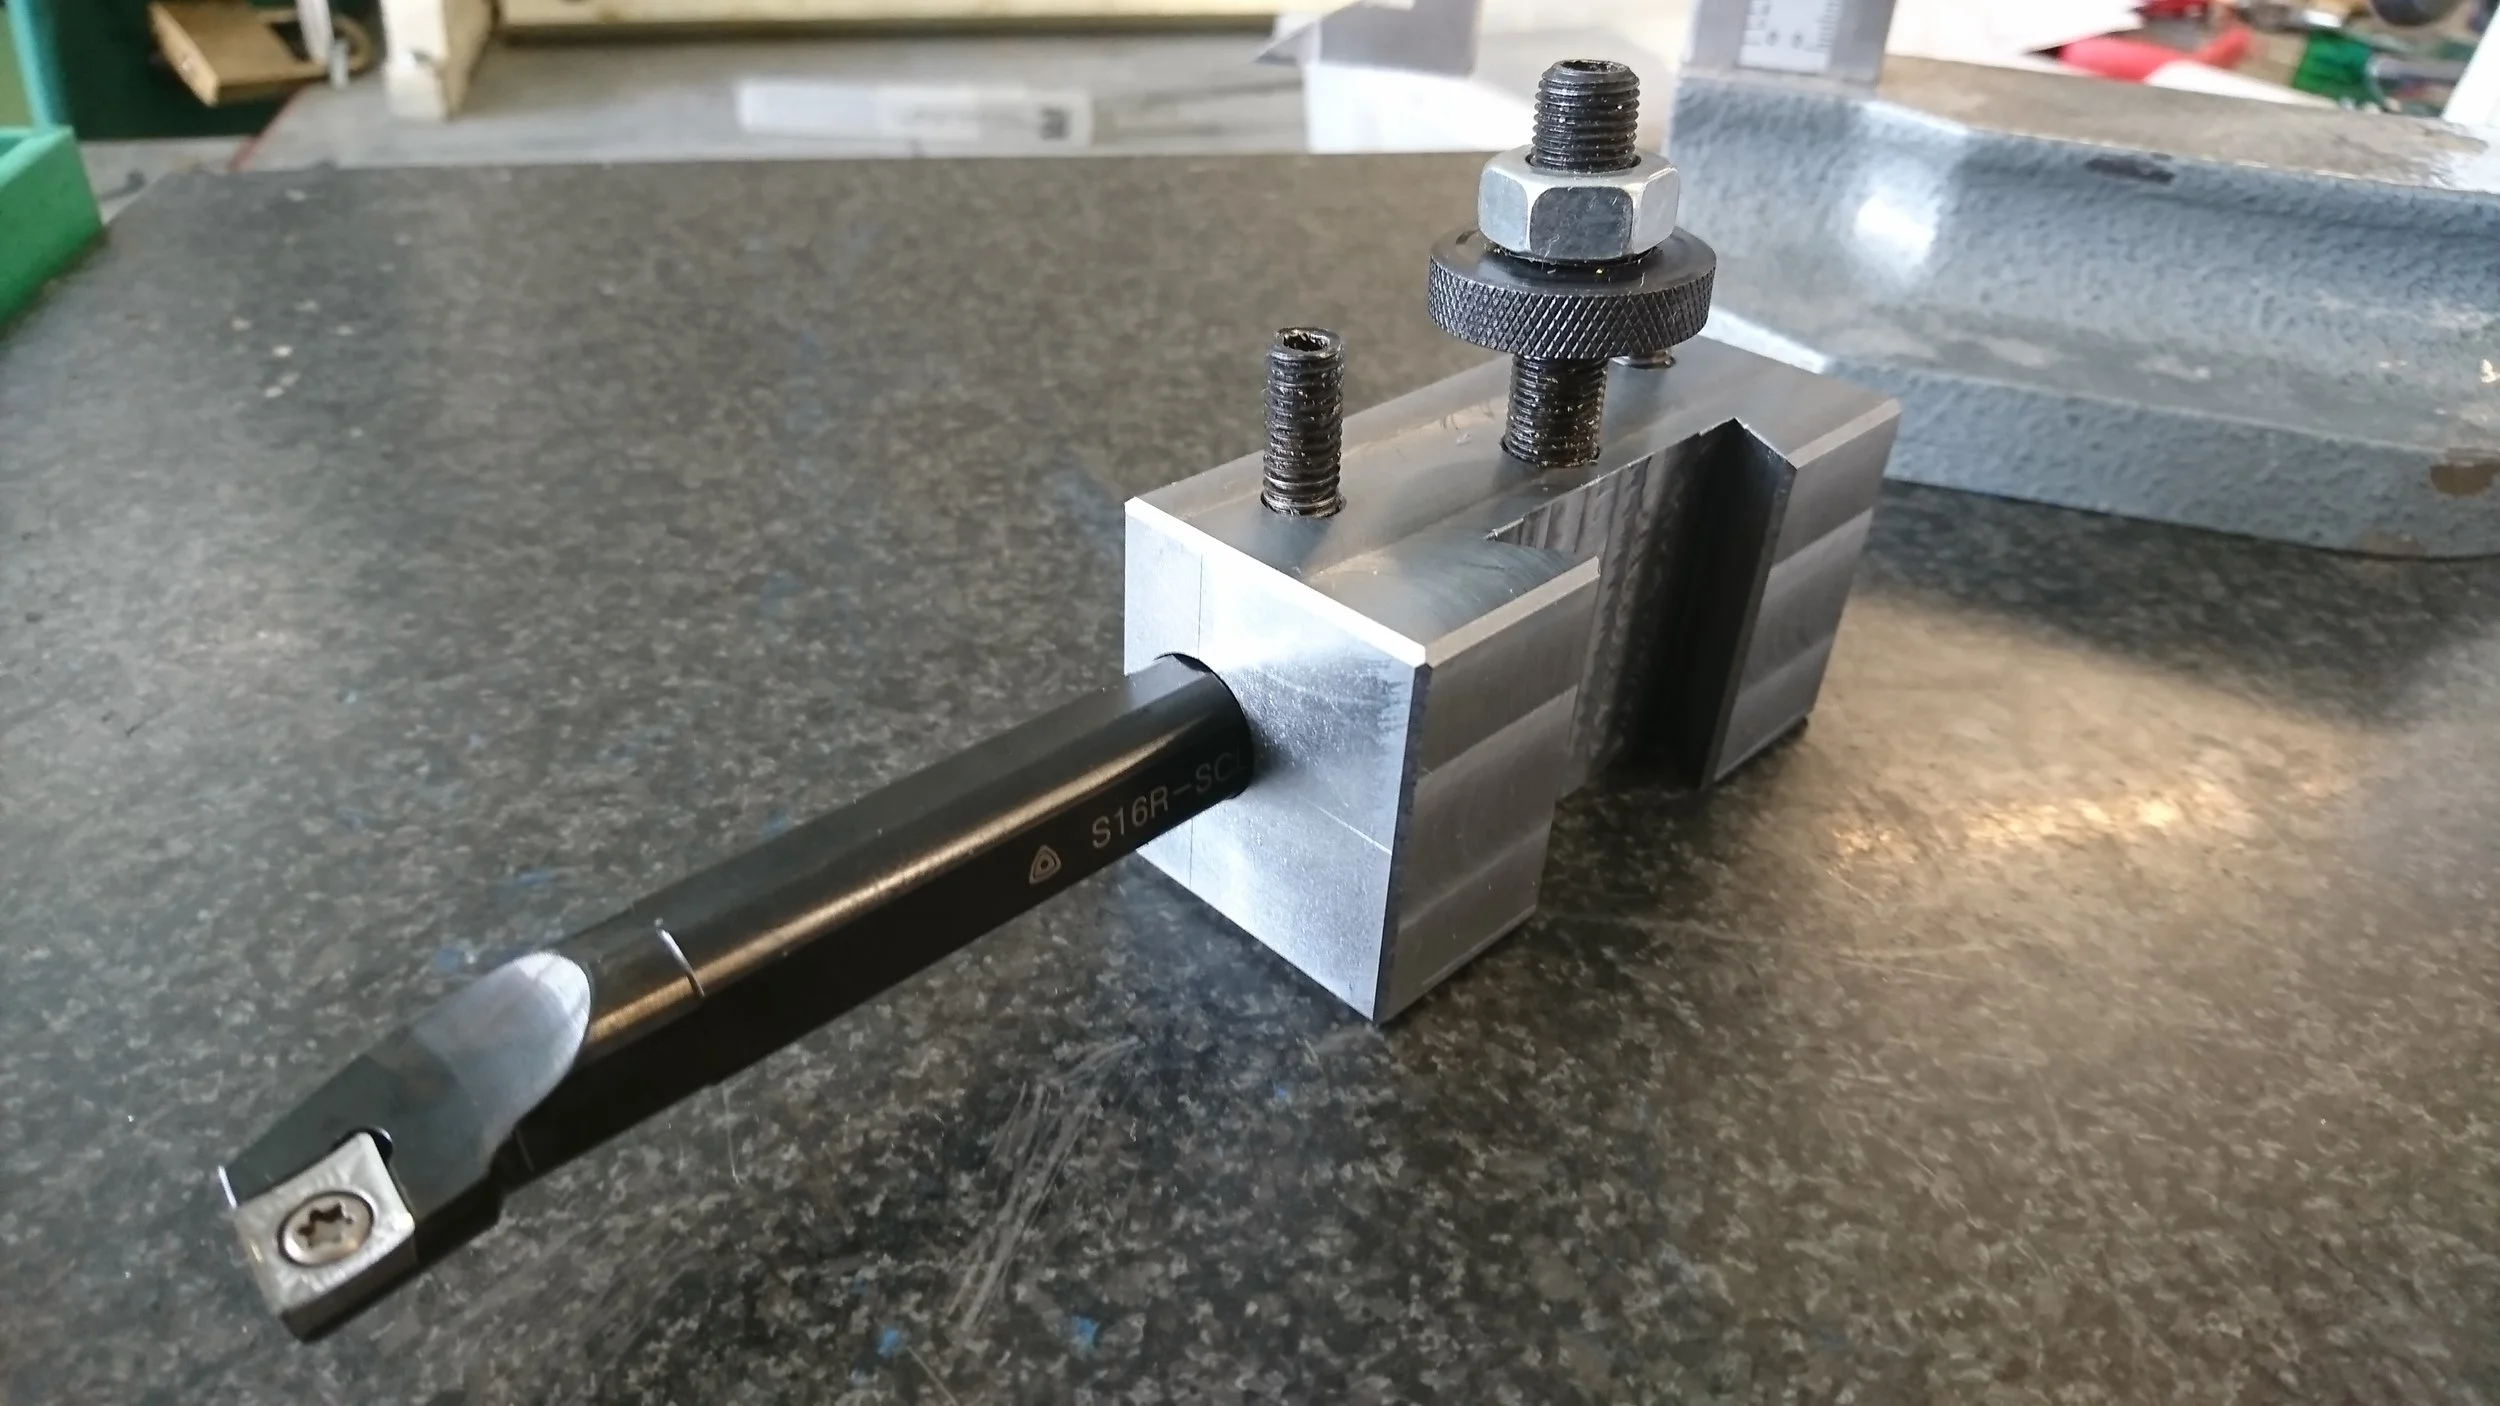
I've been very happy with how these have worked. Insert tools are expensive, but make so much sense in a school workshop because anybody can keep them sharp, simply by replacing tips.