MG Midget Restoration
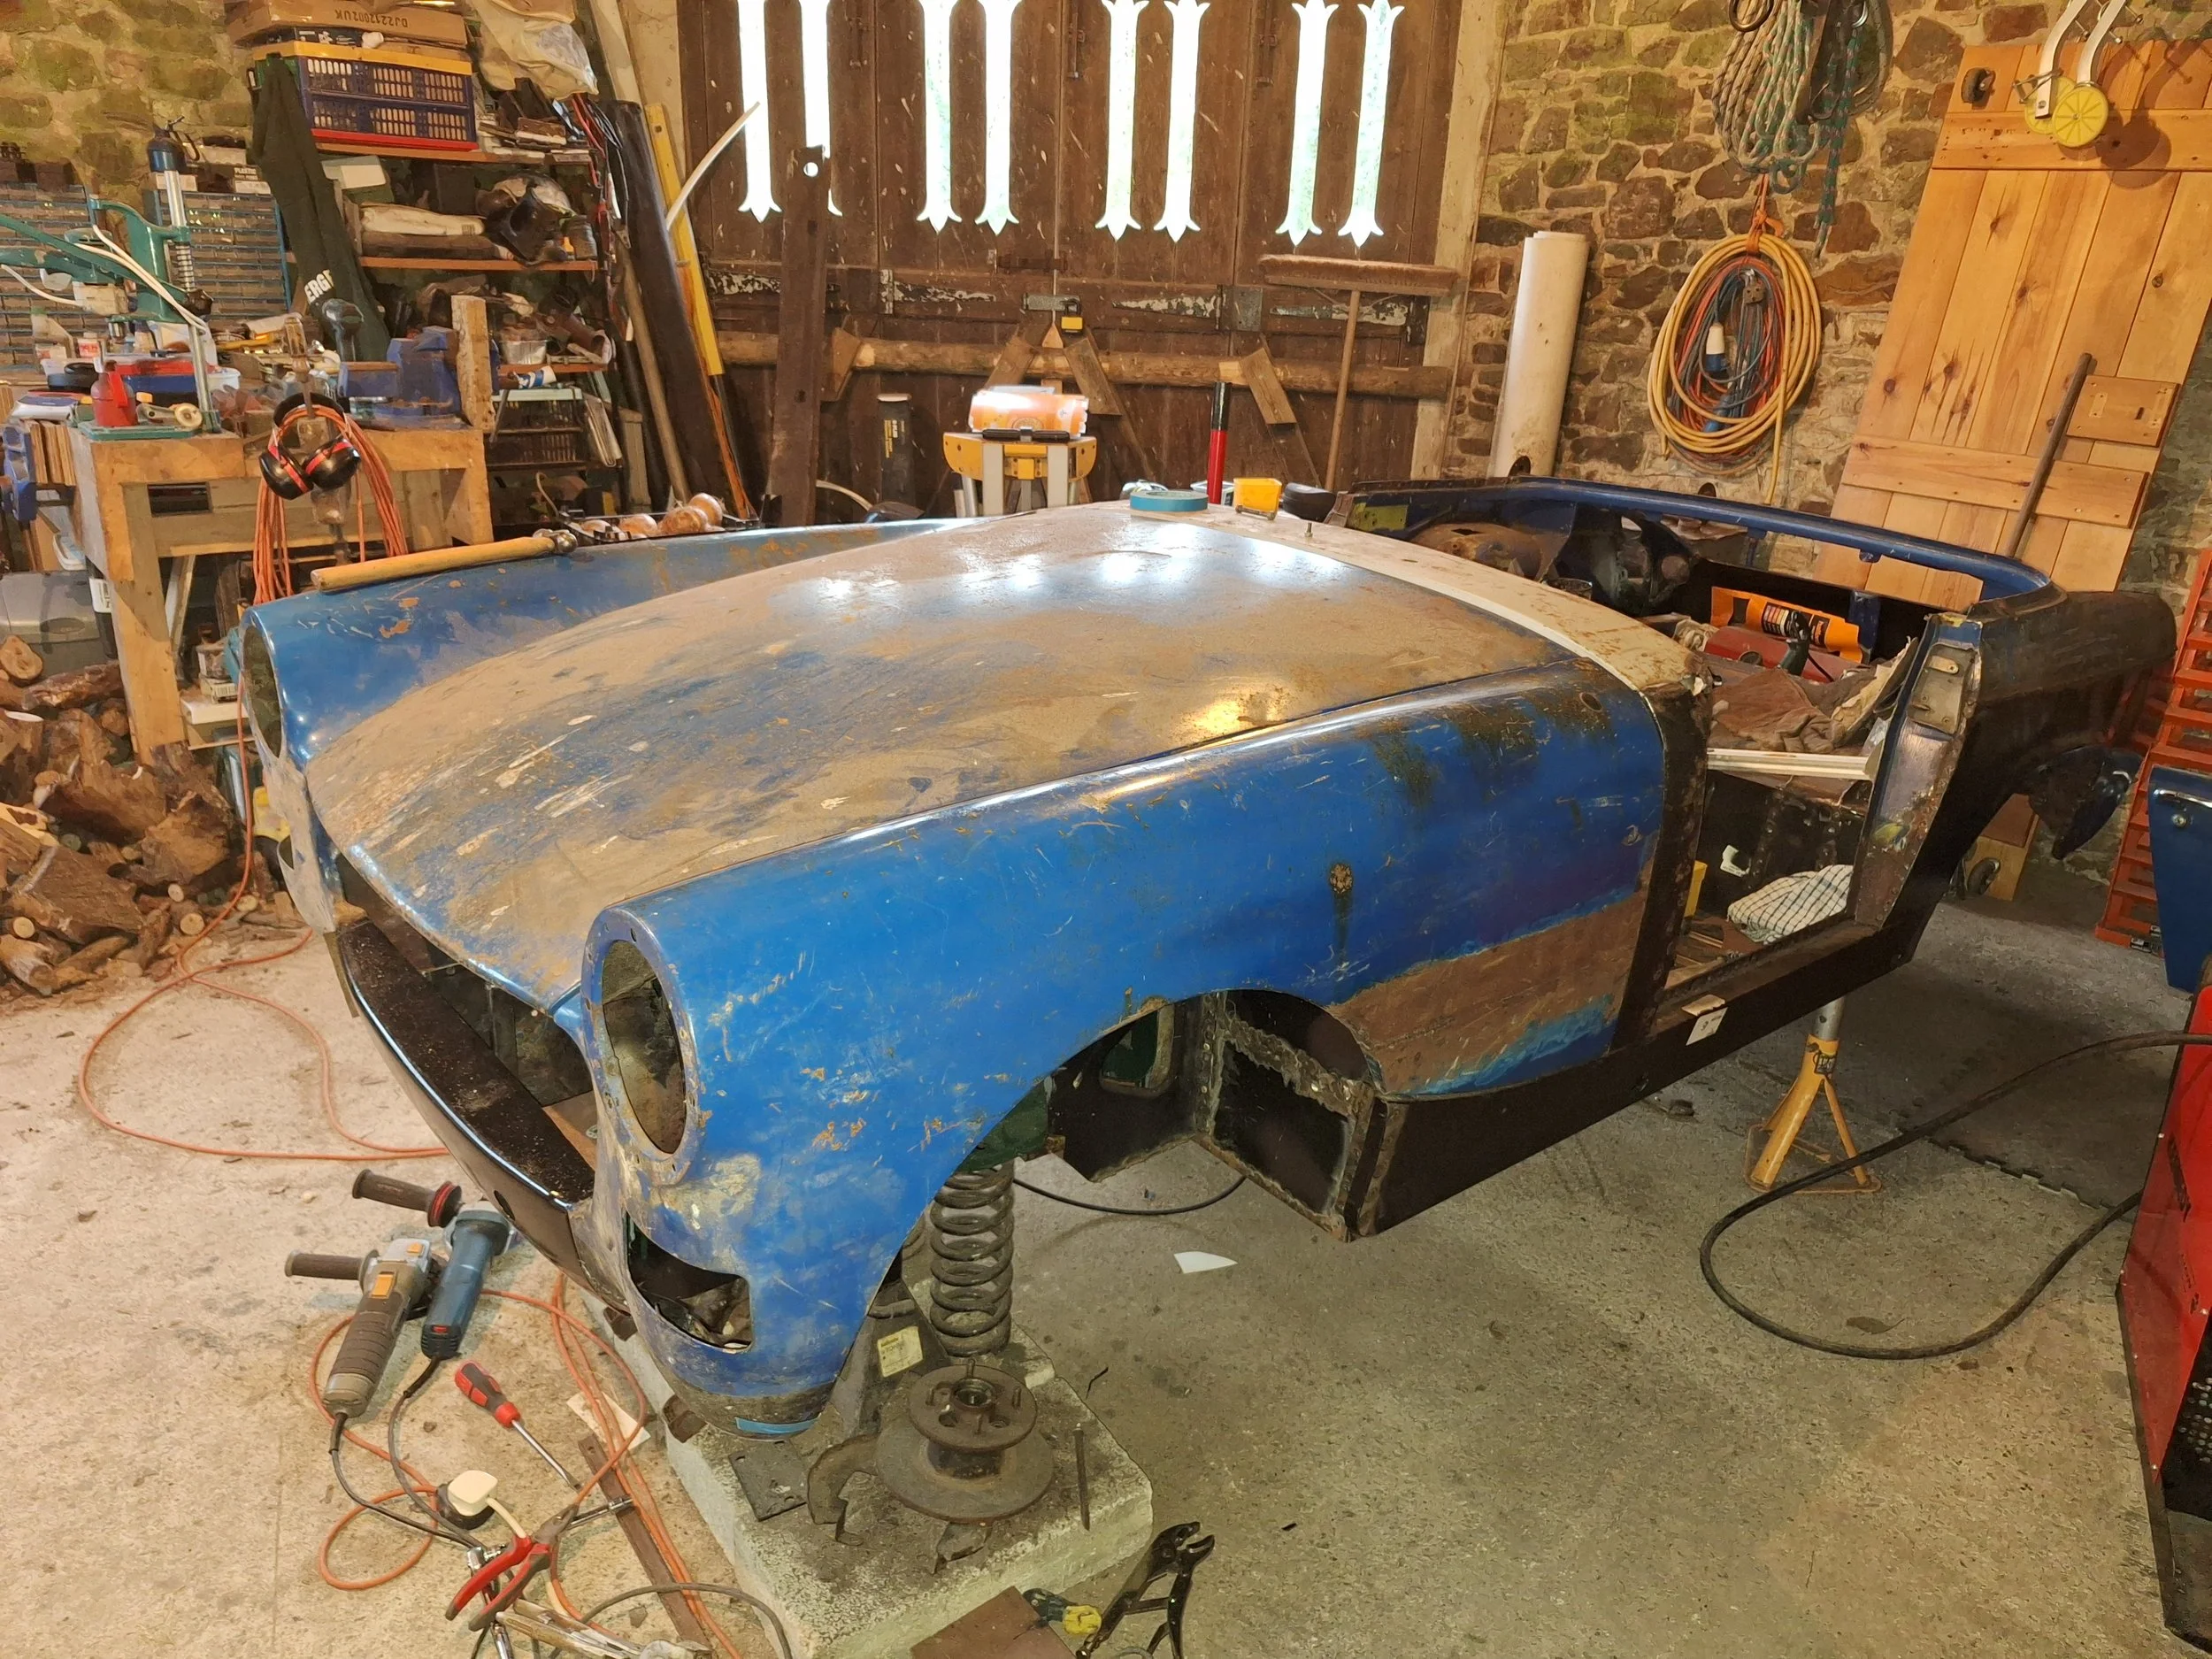
While I was at University, I acquired this 1976 MG Midget. It ran and drove, but had a gaping hole in the driver’s side floor, vast numbers of overplated repairs and a hopeless blue paint job that was peeling, revealing the factory ‘Citron’ underneath. I disassembled it and then realised the scale of the task that awaited me, all while I had no budget, no welder and no fabrication or bodywork skills. I put it back in the trailer and have been transporting it with me every time that I have moved house for the following 10+ years. In the summer of 2023, I decided that now was the time. I have thus spent nearly every holiday since in my parents’ barn where I have been cutting out all of the rust and overplating and putting back proper repairs. In the summer of 2025, the welding is finally complete and I am starting to refit mechanical components and begin bodywork, starting with the engine bay, then painting the inside of the shell, before moving onto the exterior panels last.

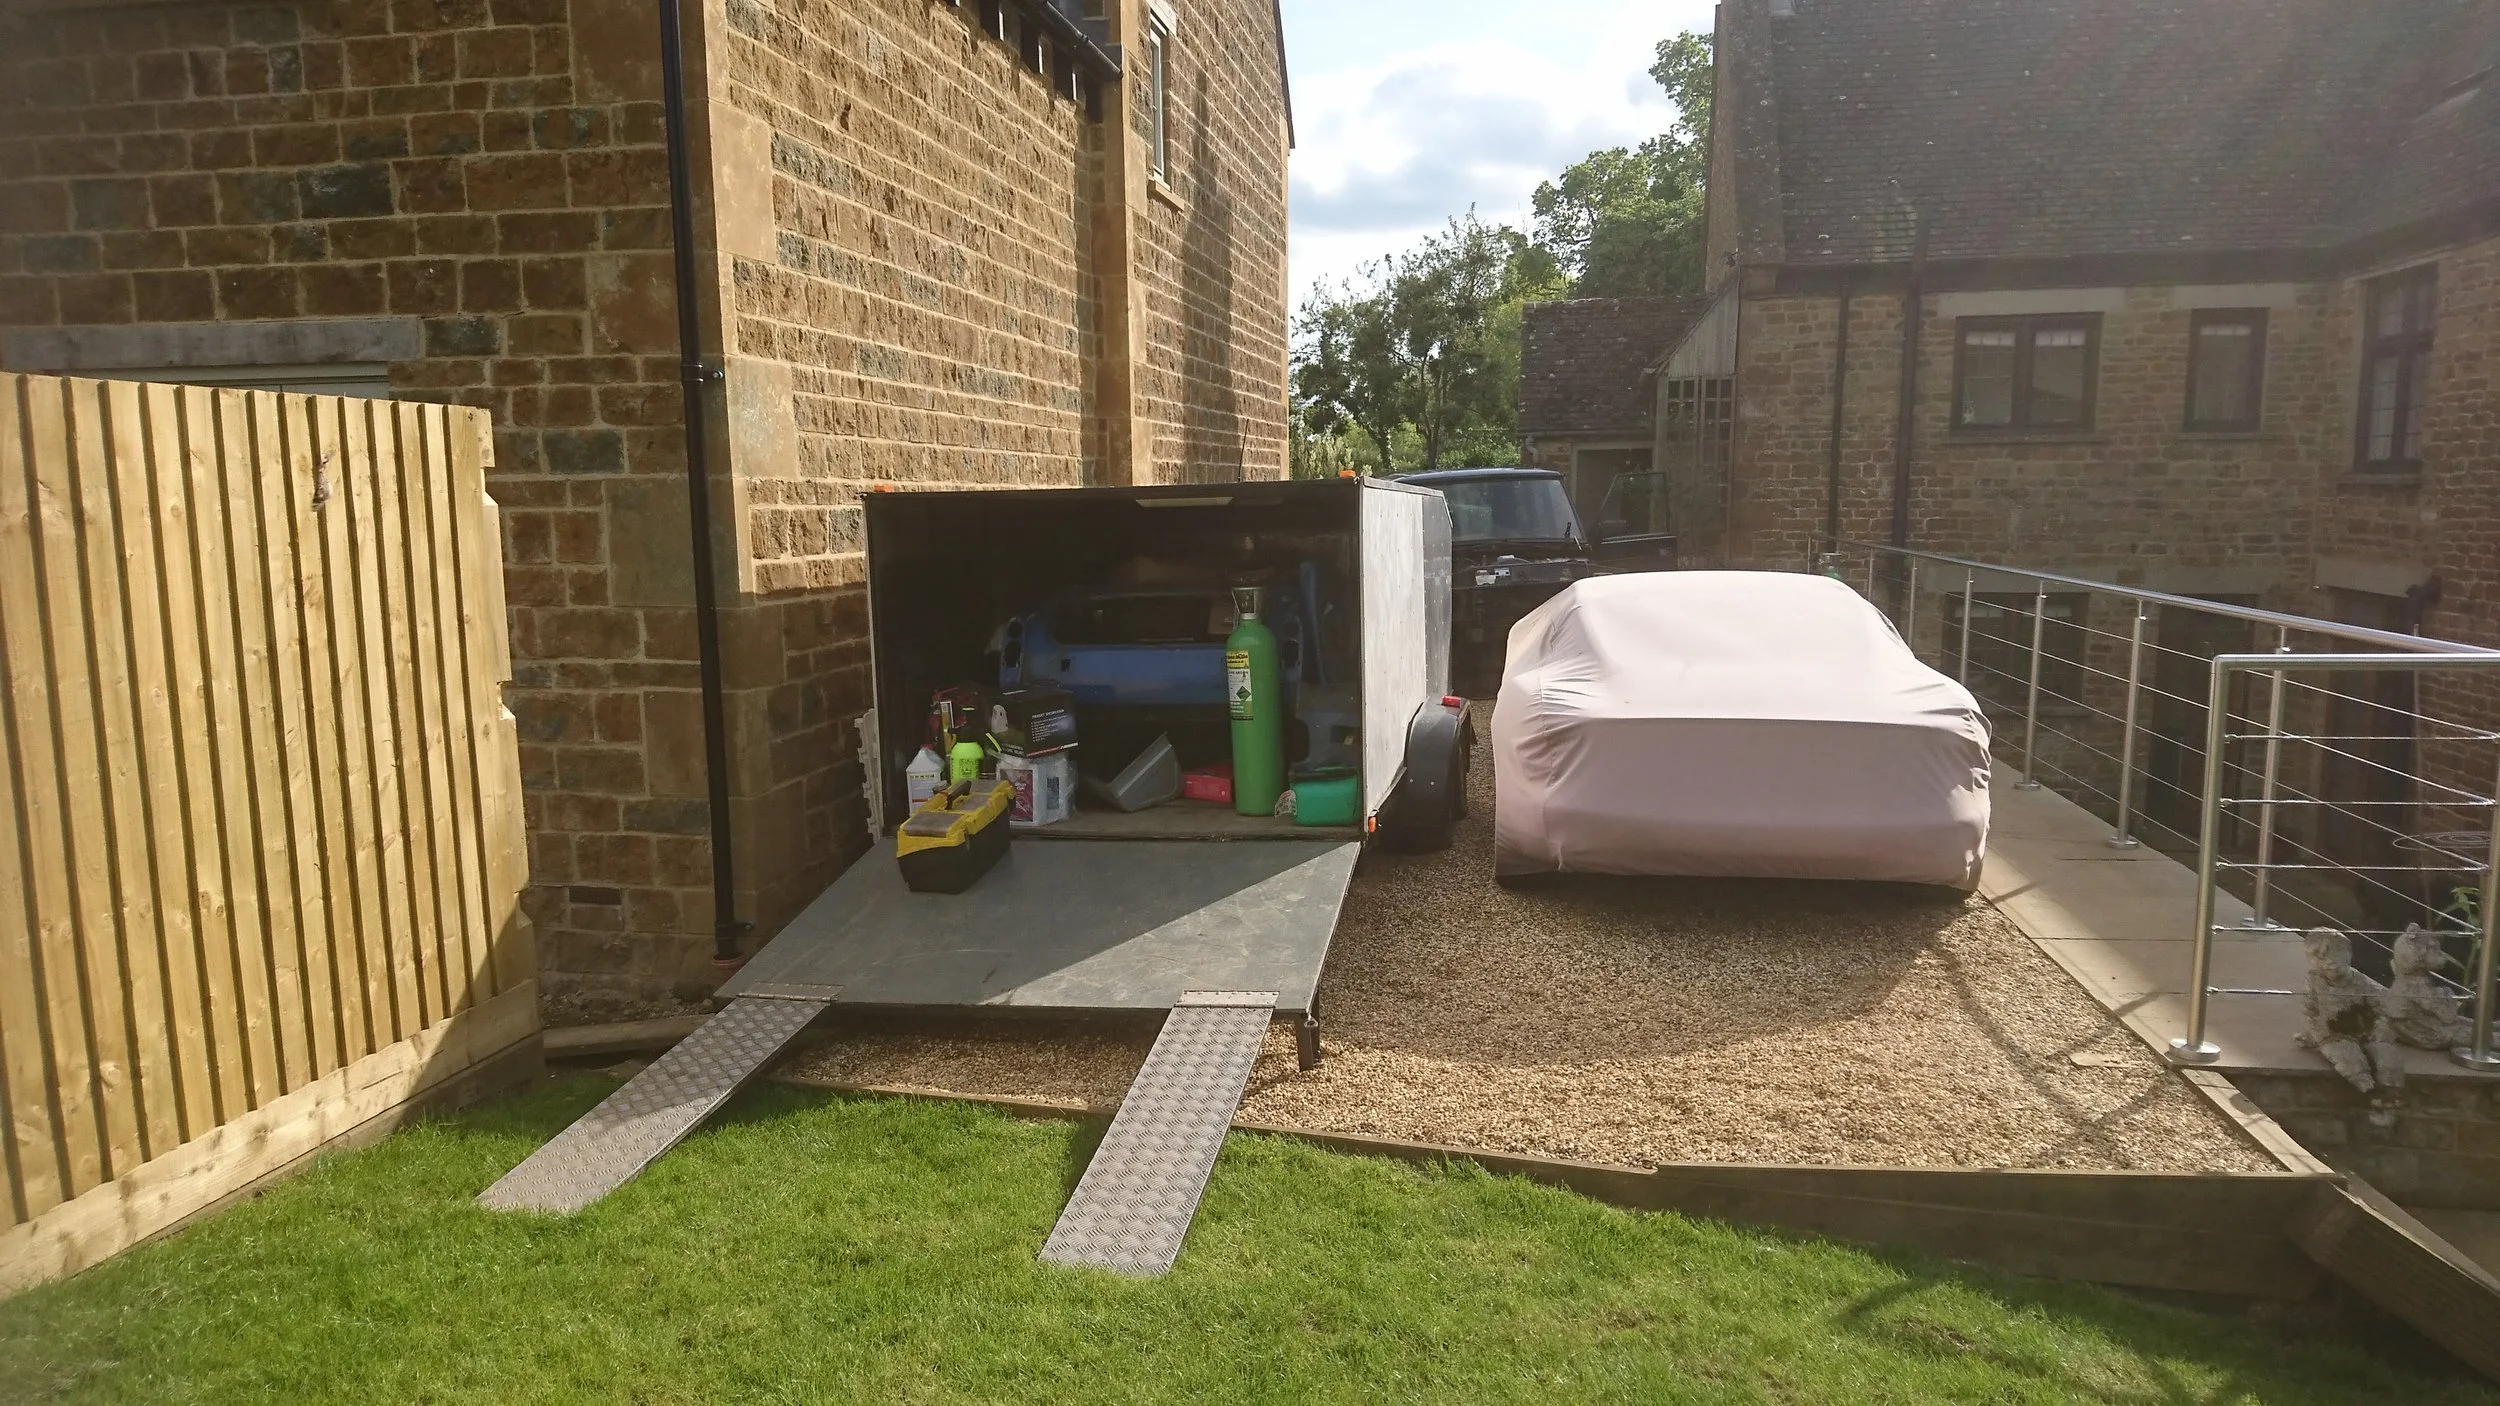
The trailer that has stored the MG Midget for nearly a decade.

Opening for the first time in that period!
Tucked away...
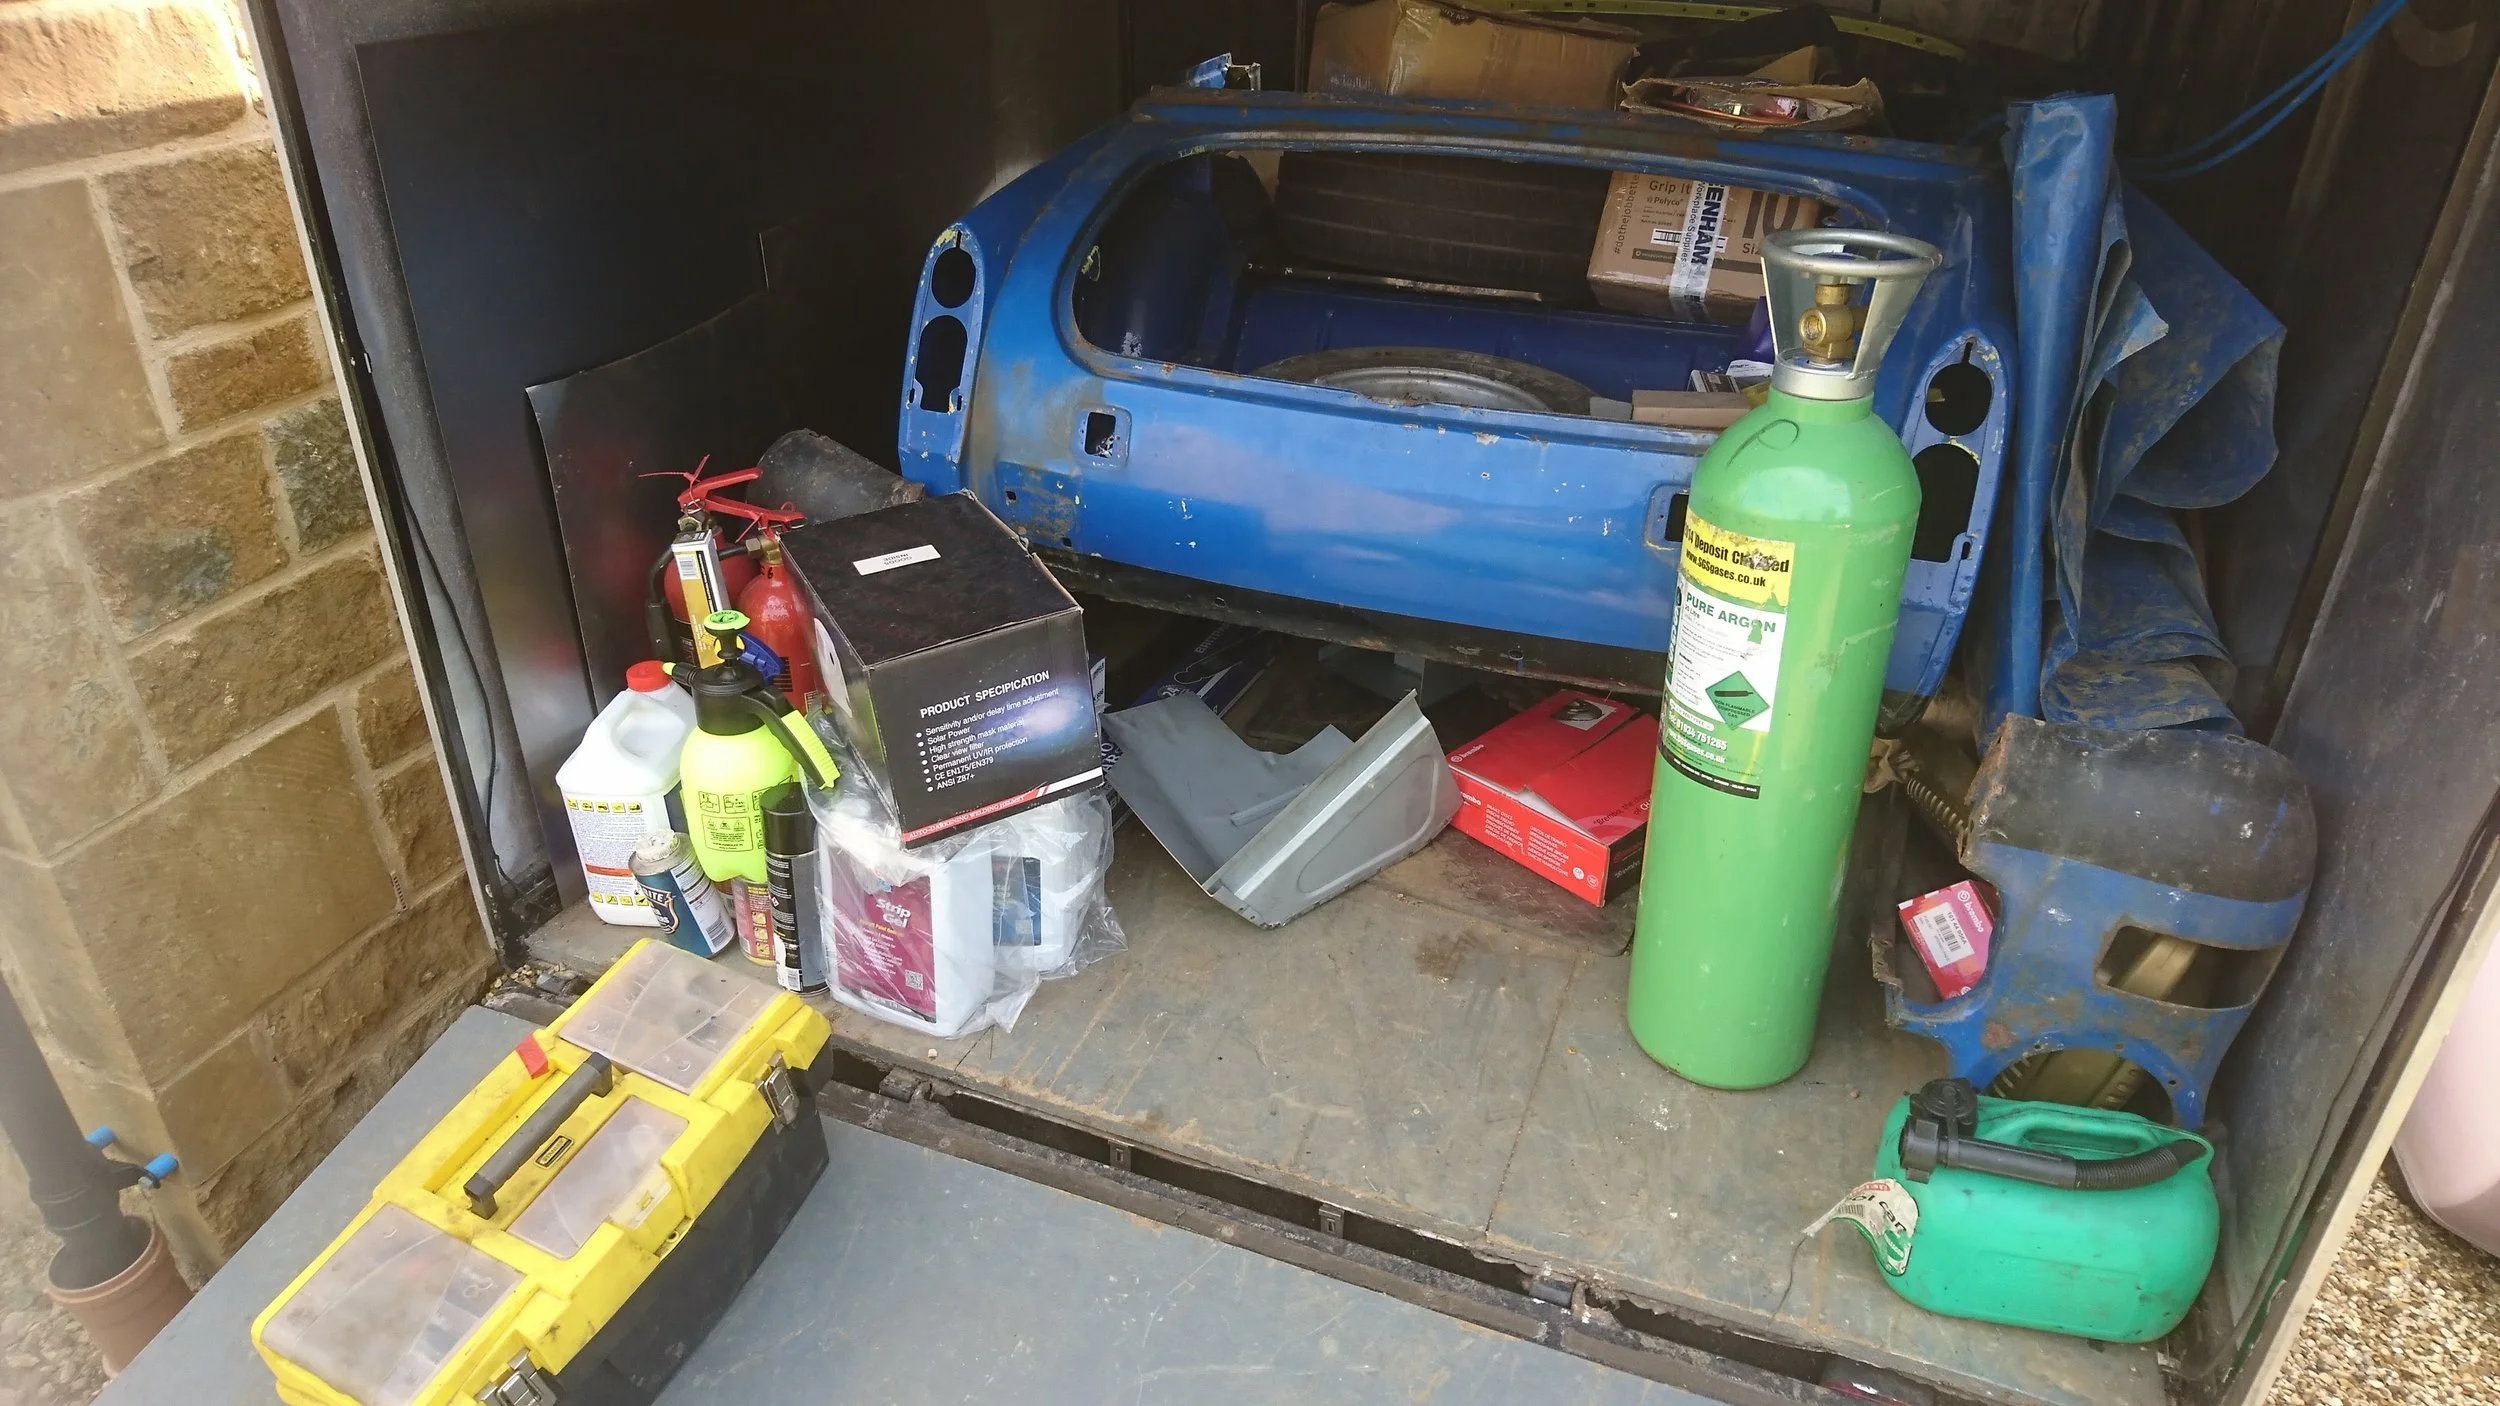
Welding gas ready to go...
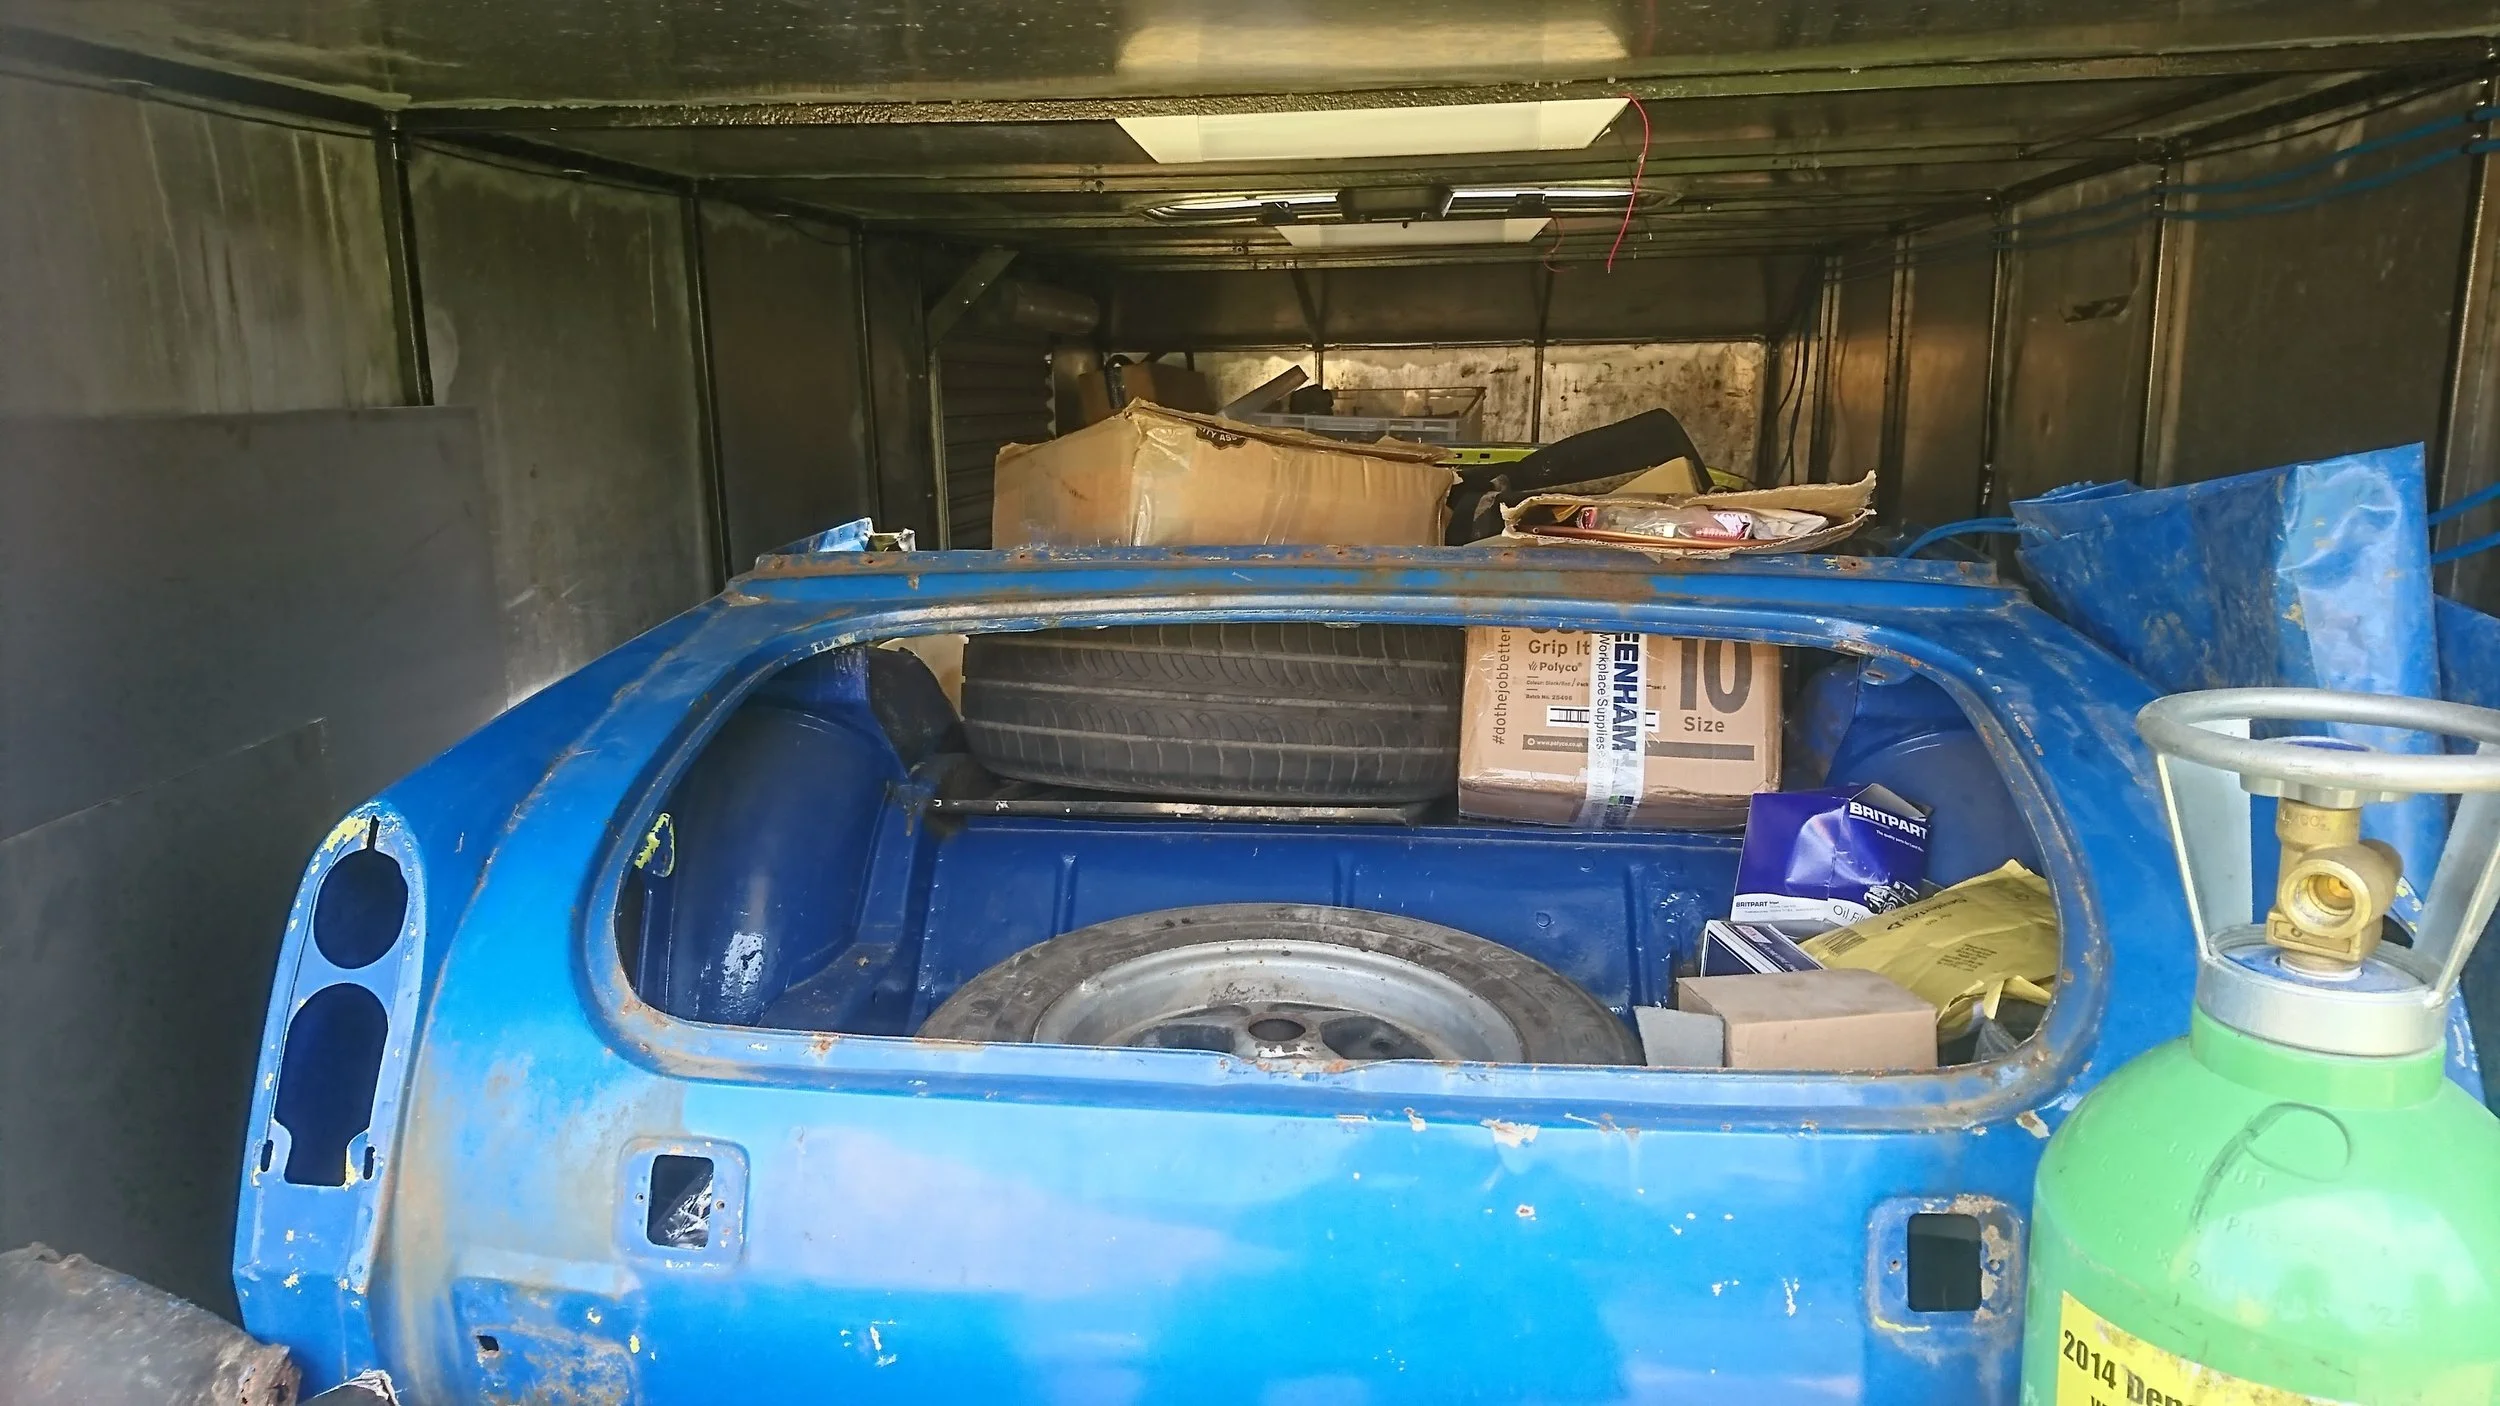
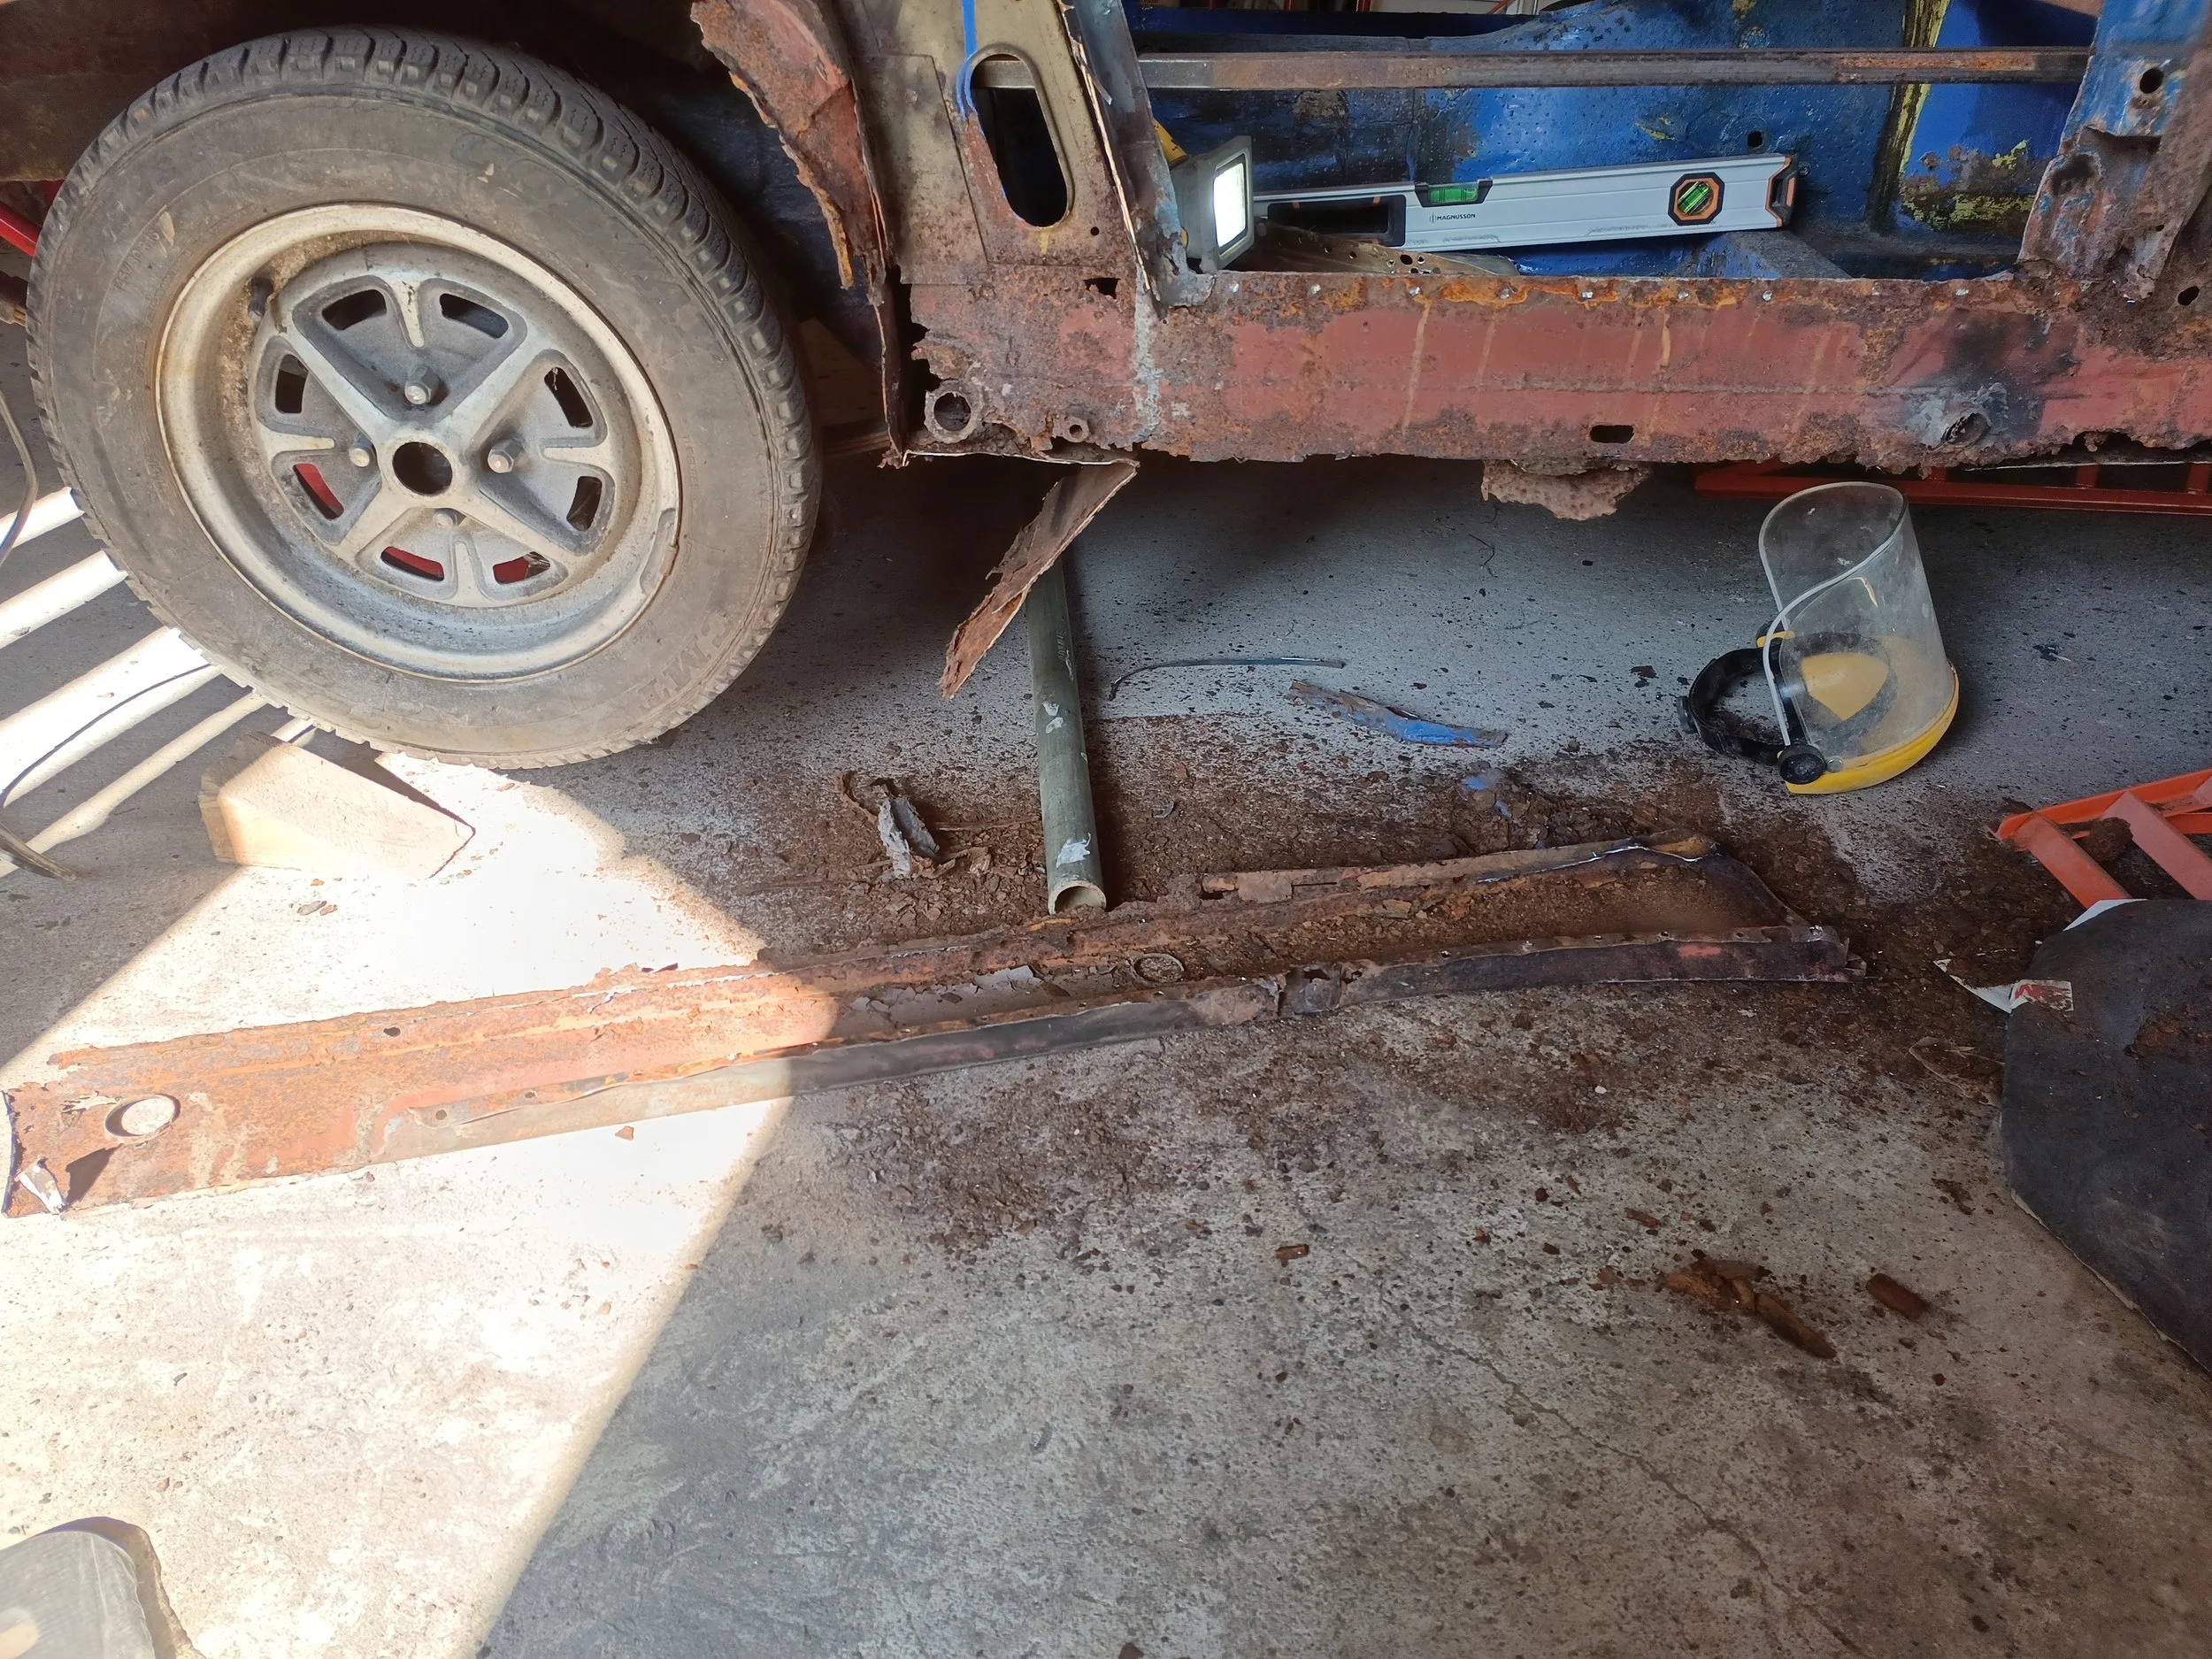
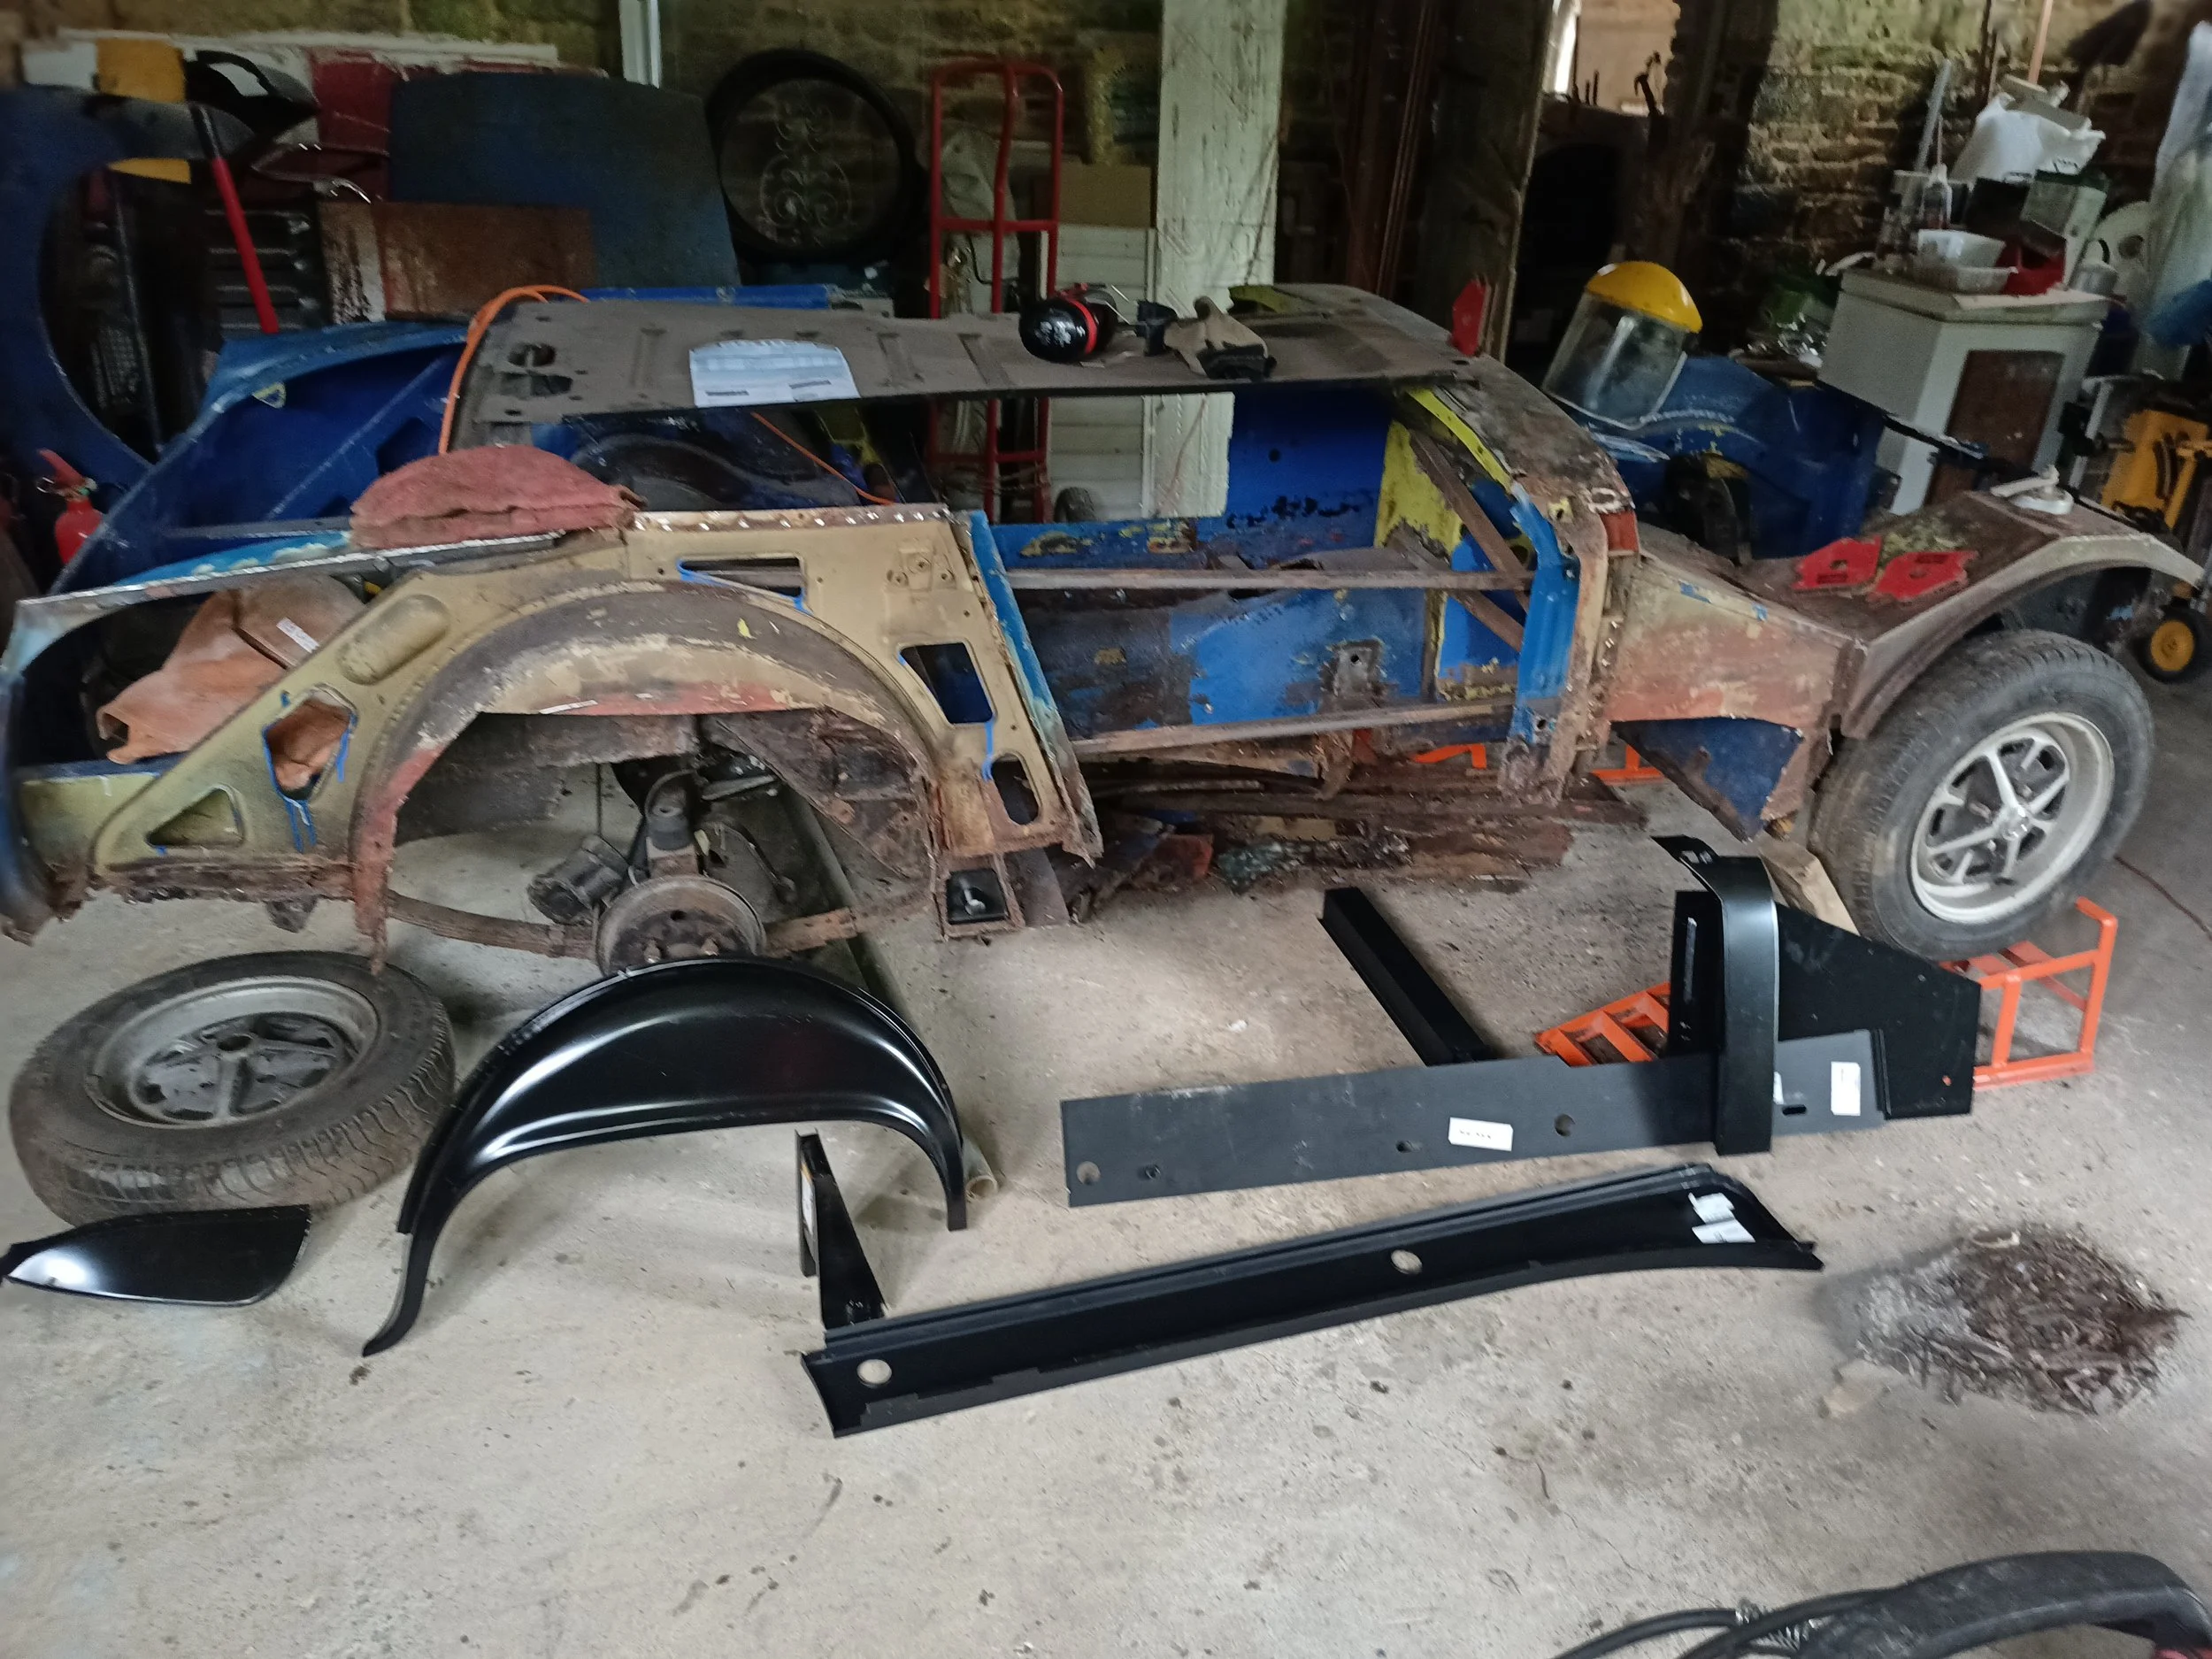
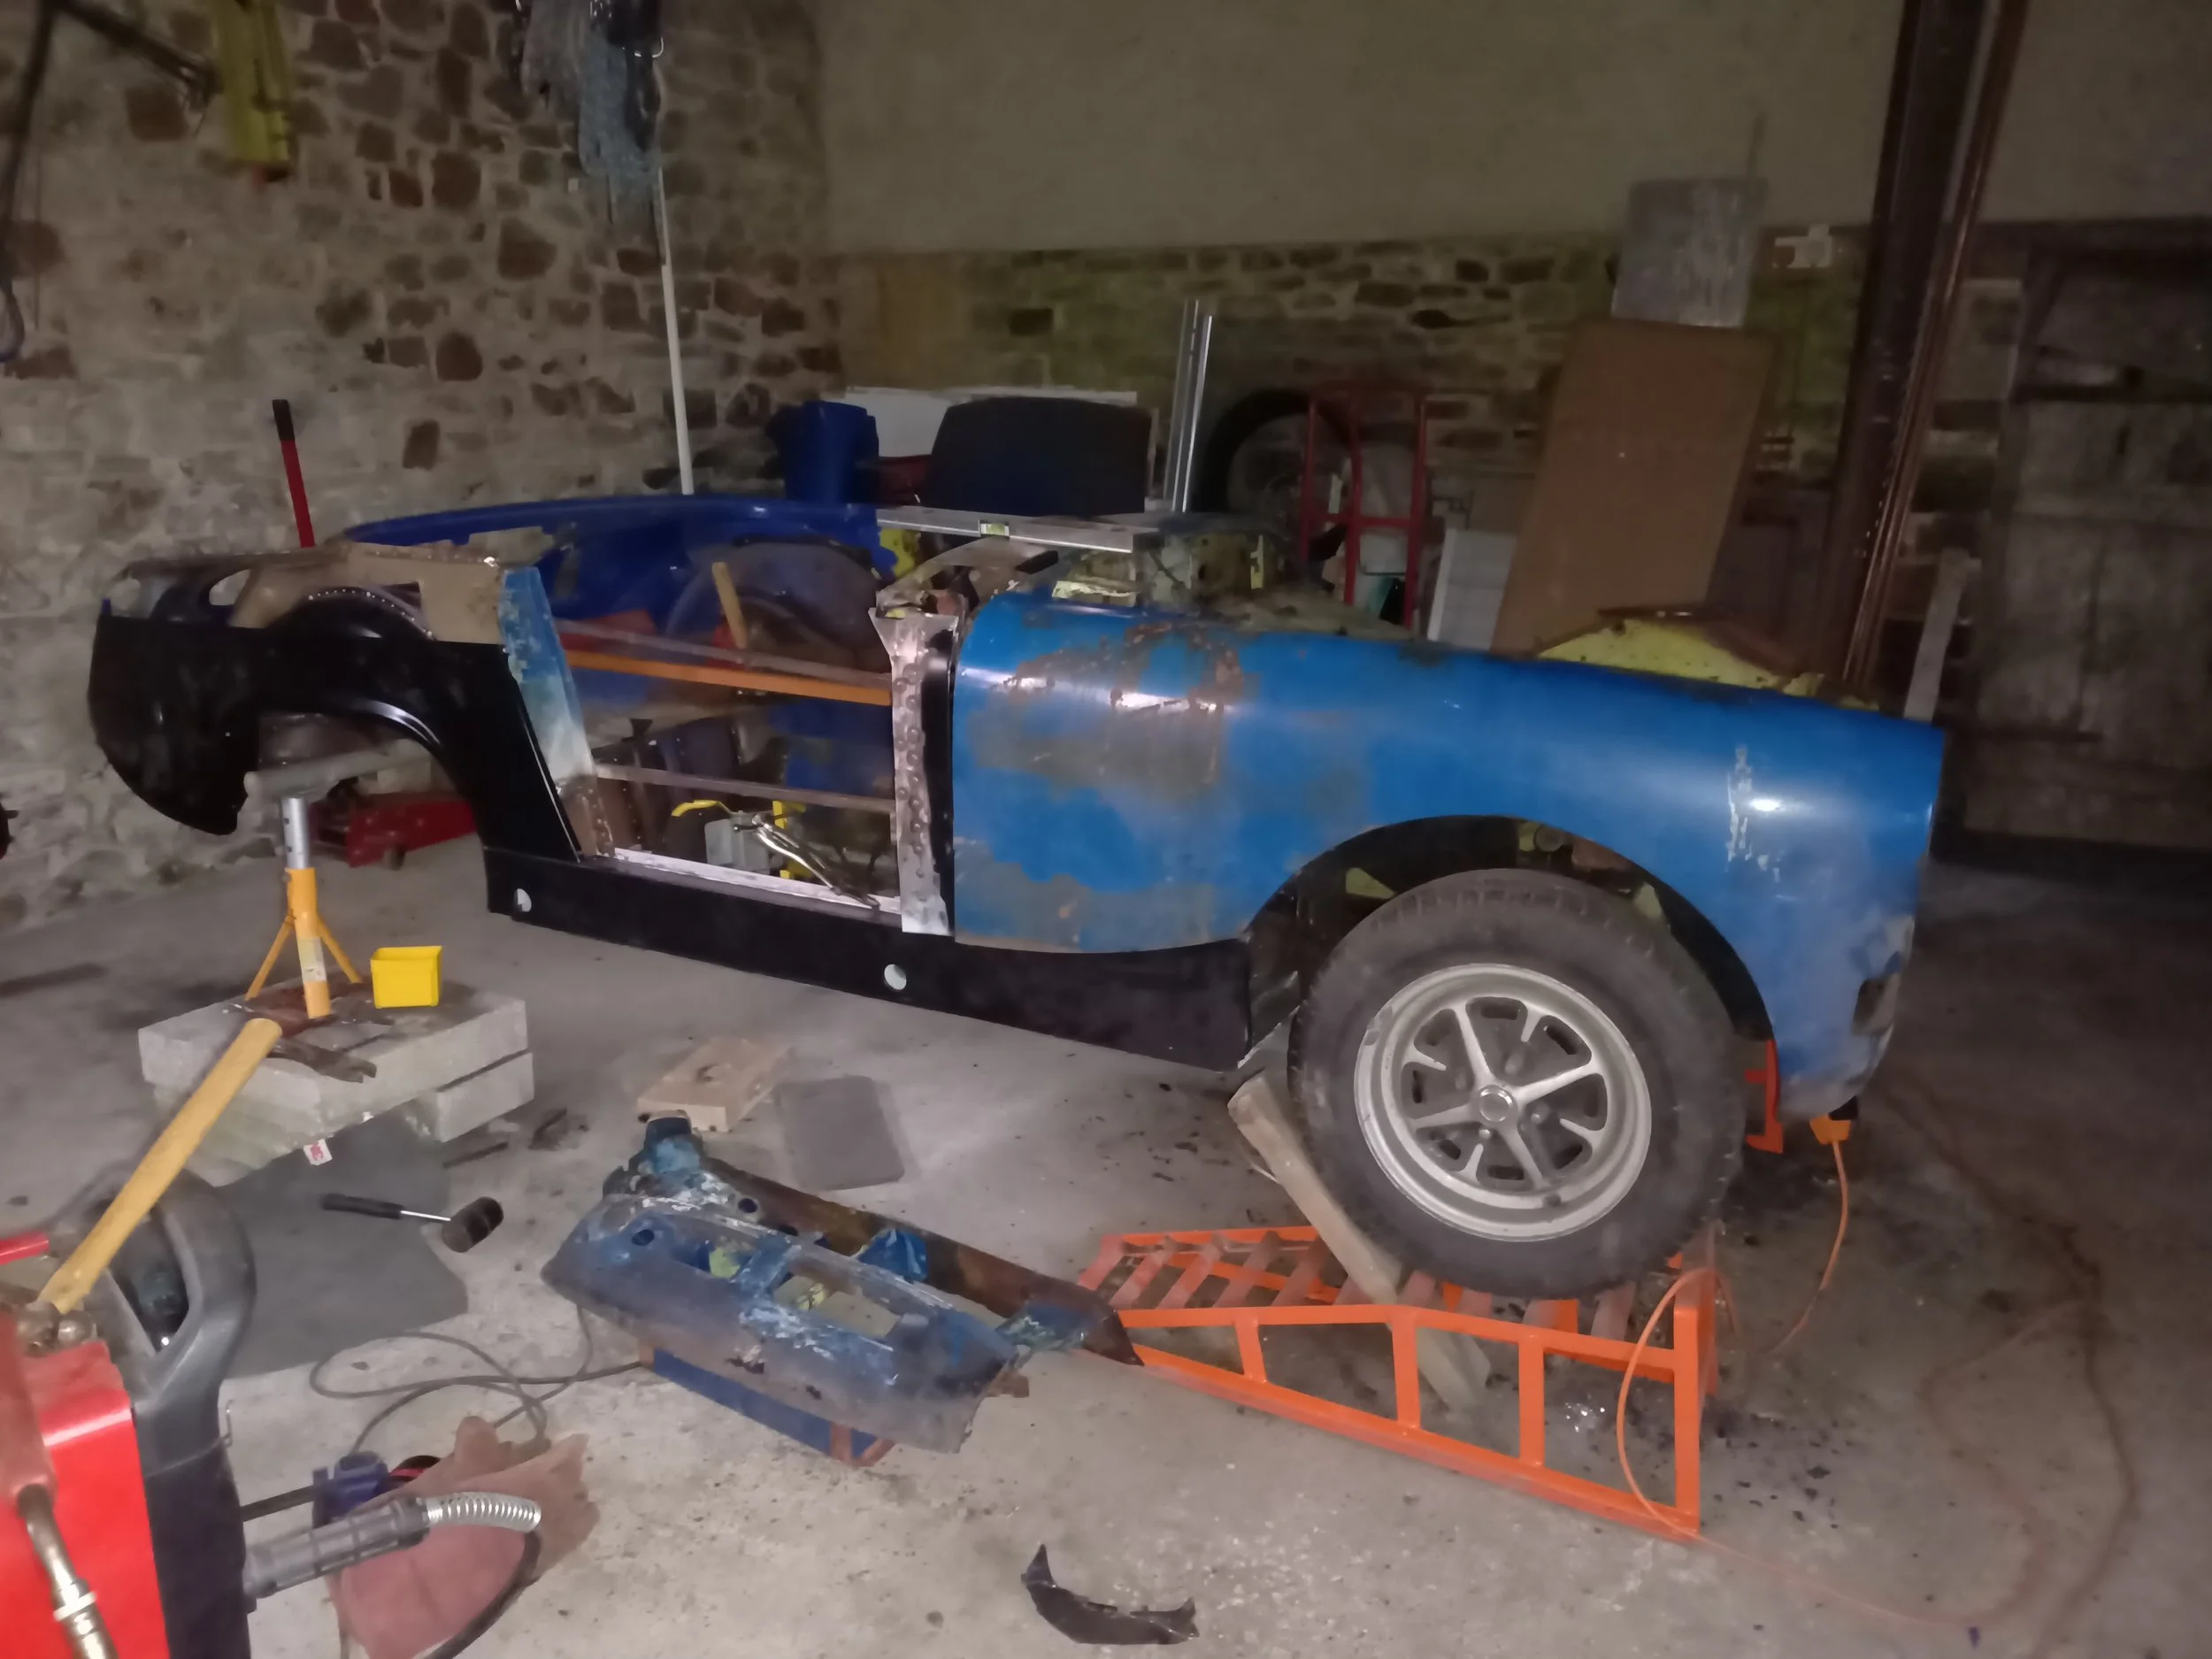
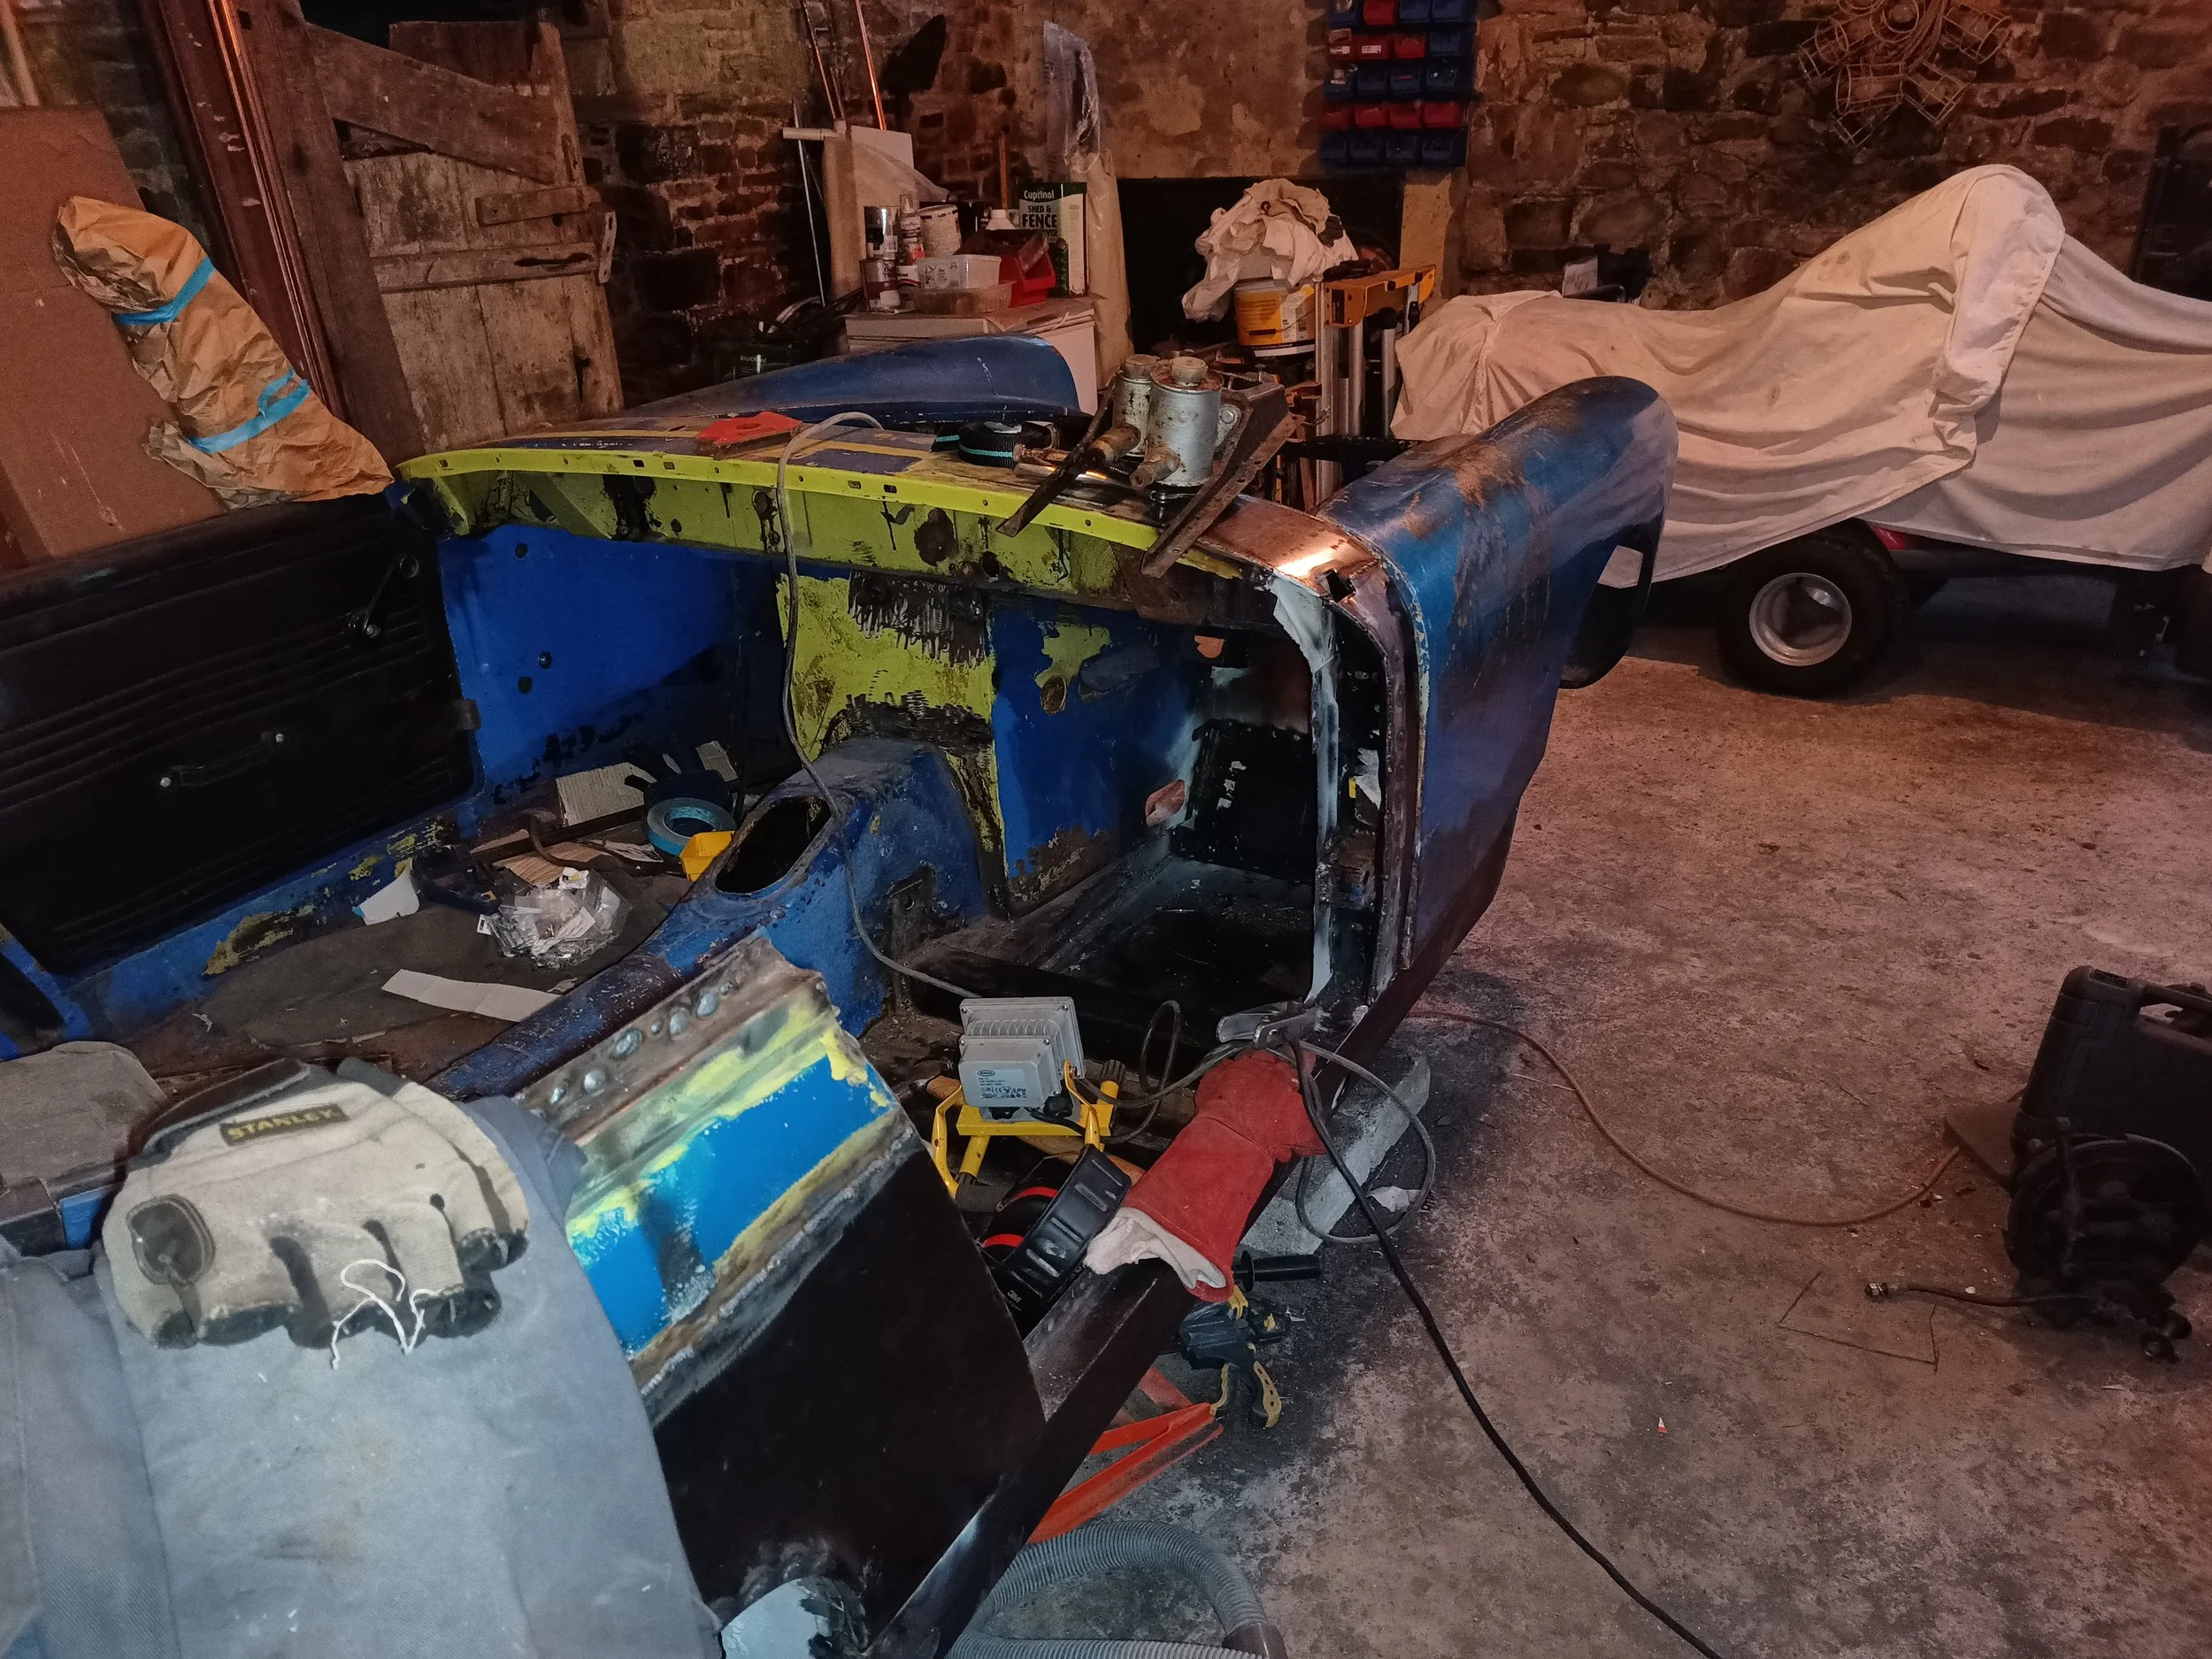
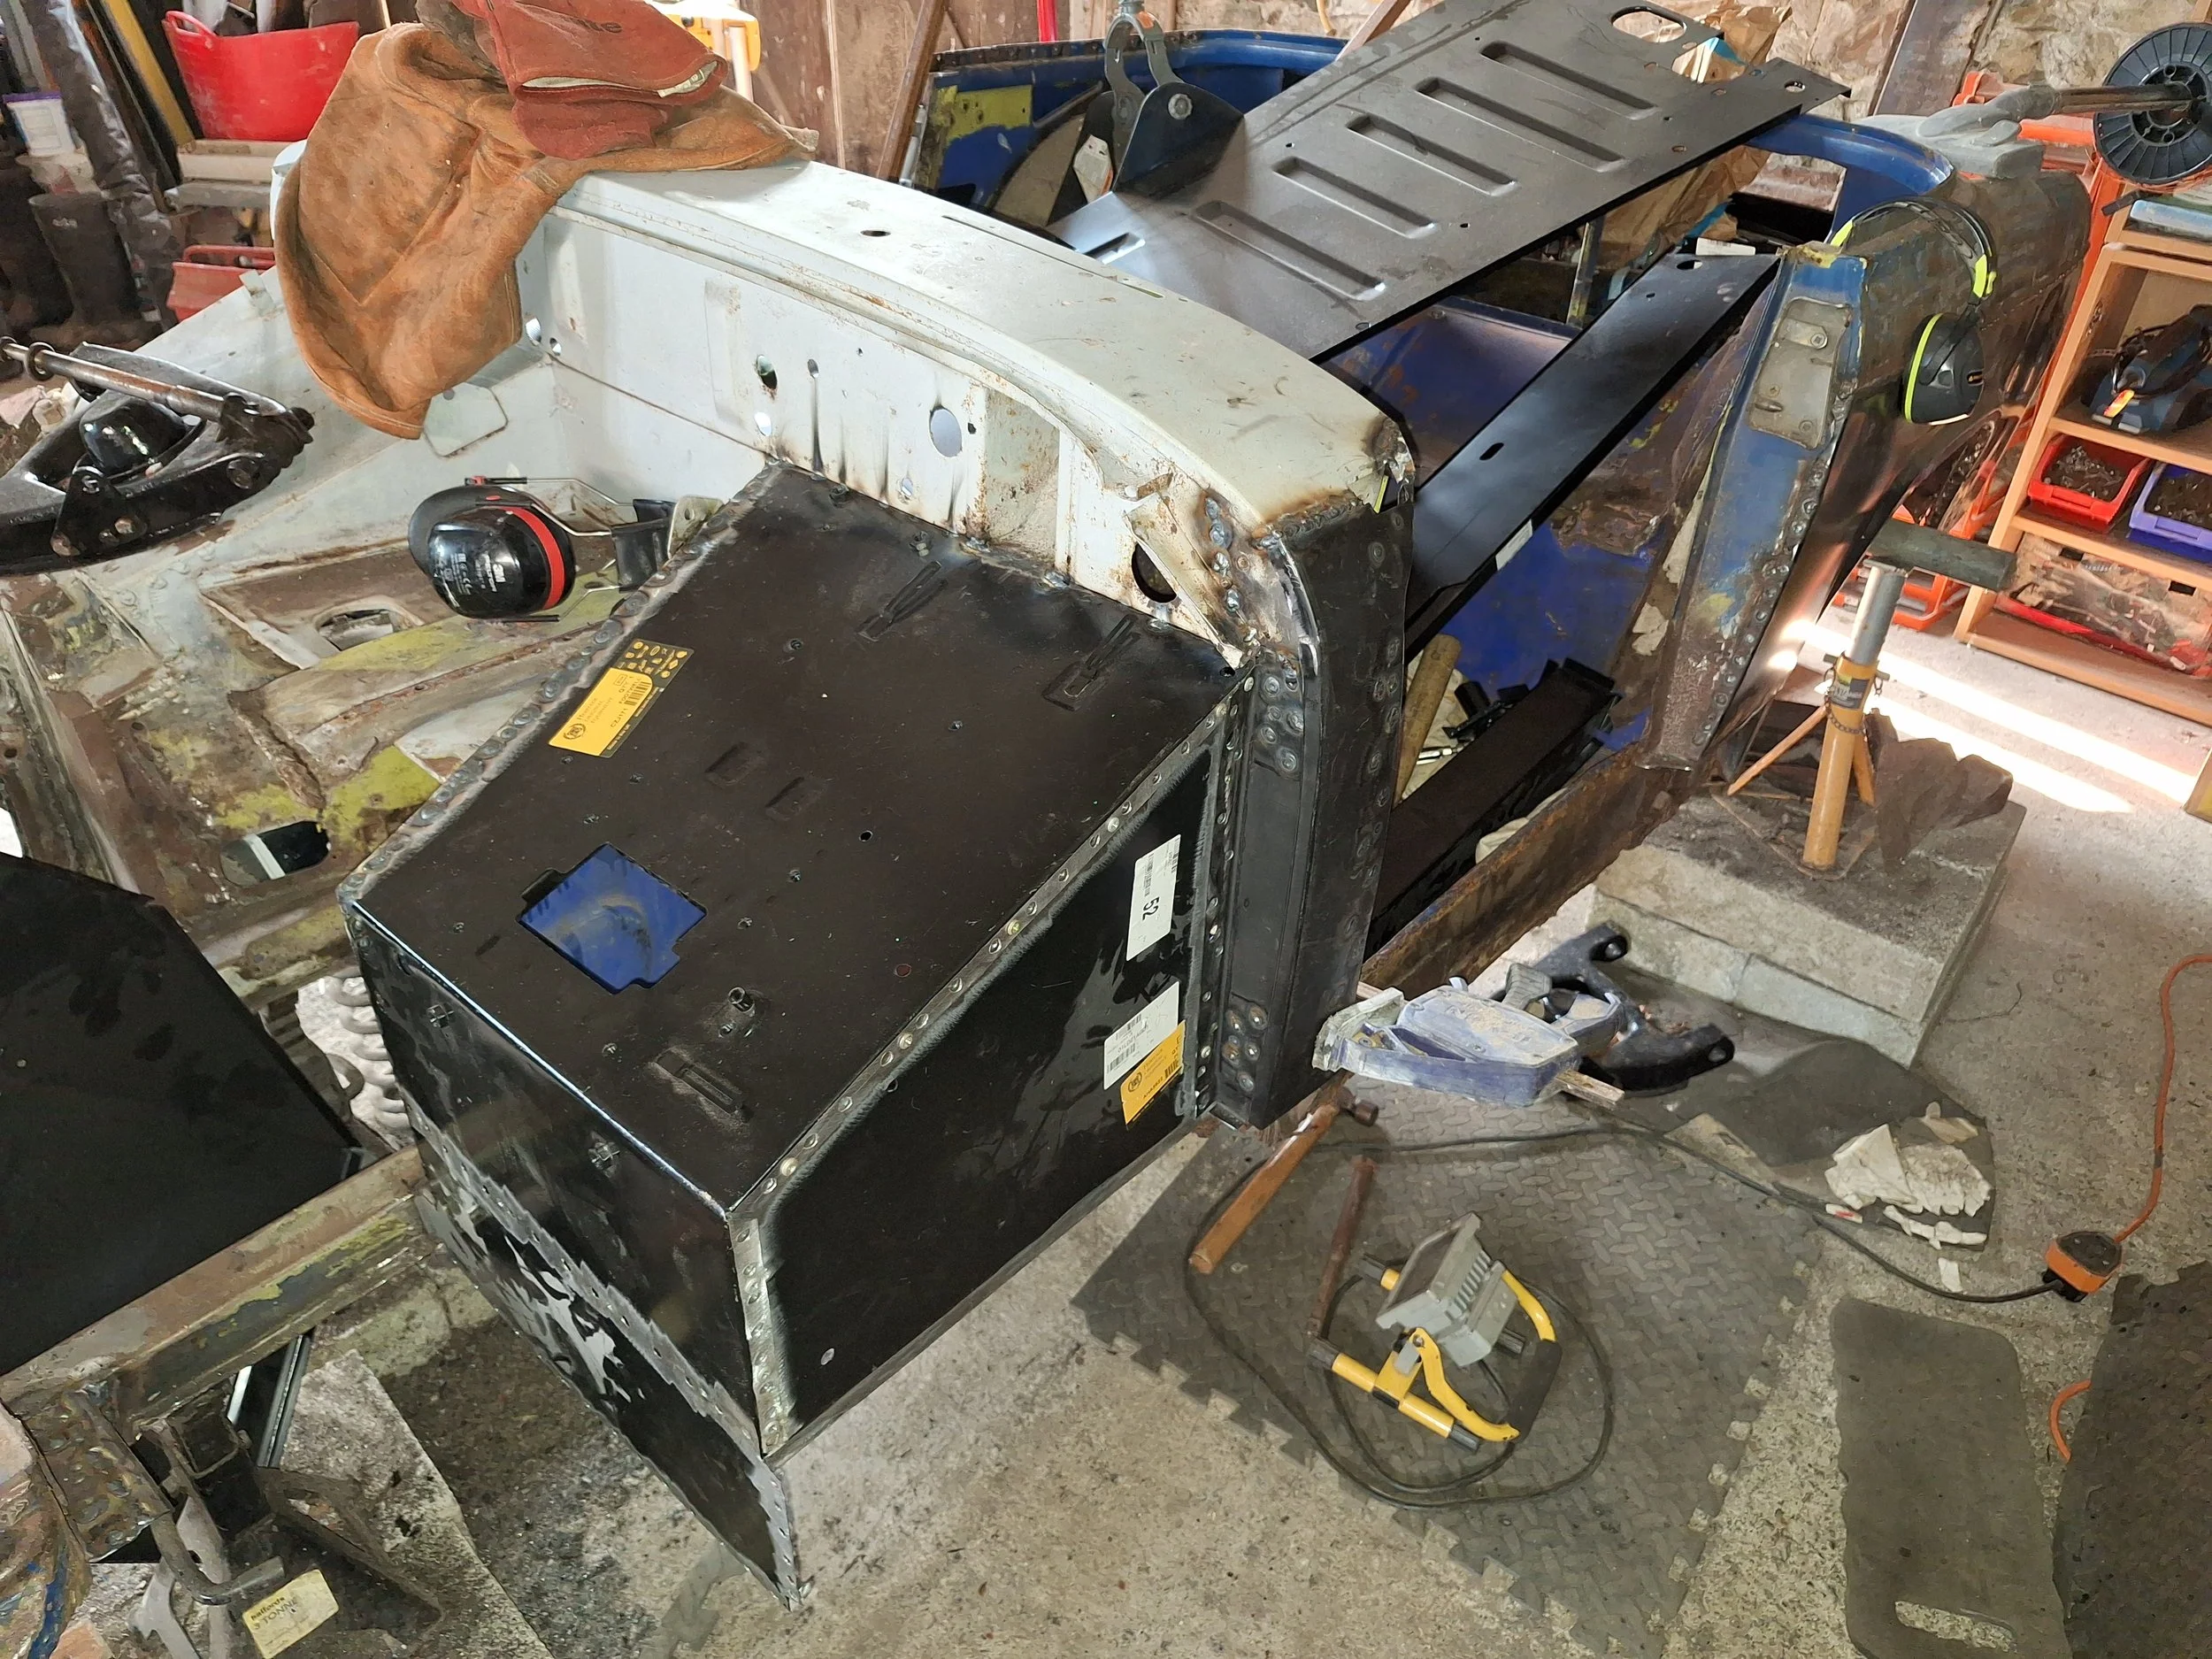
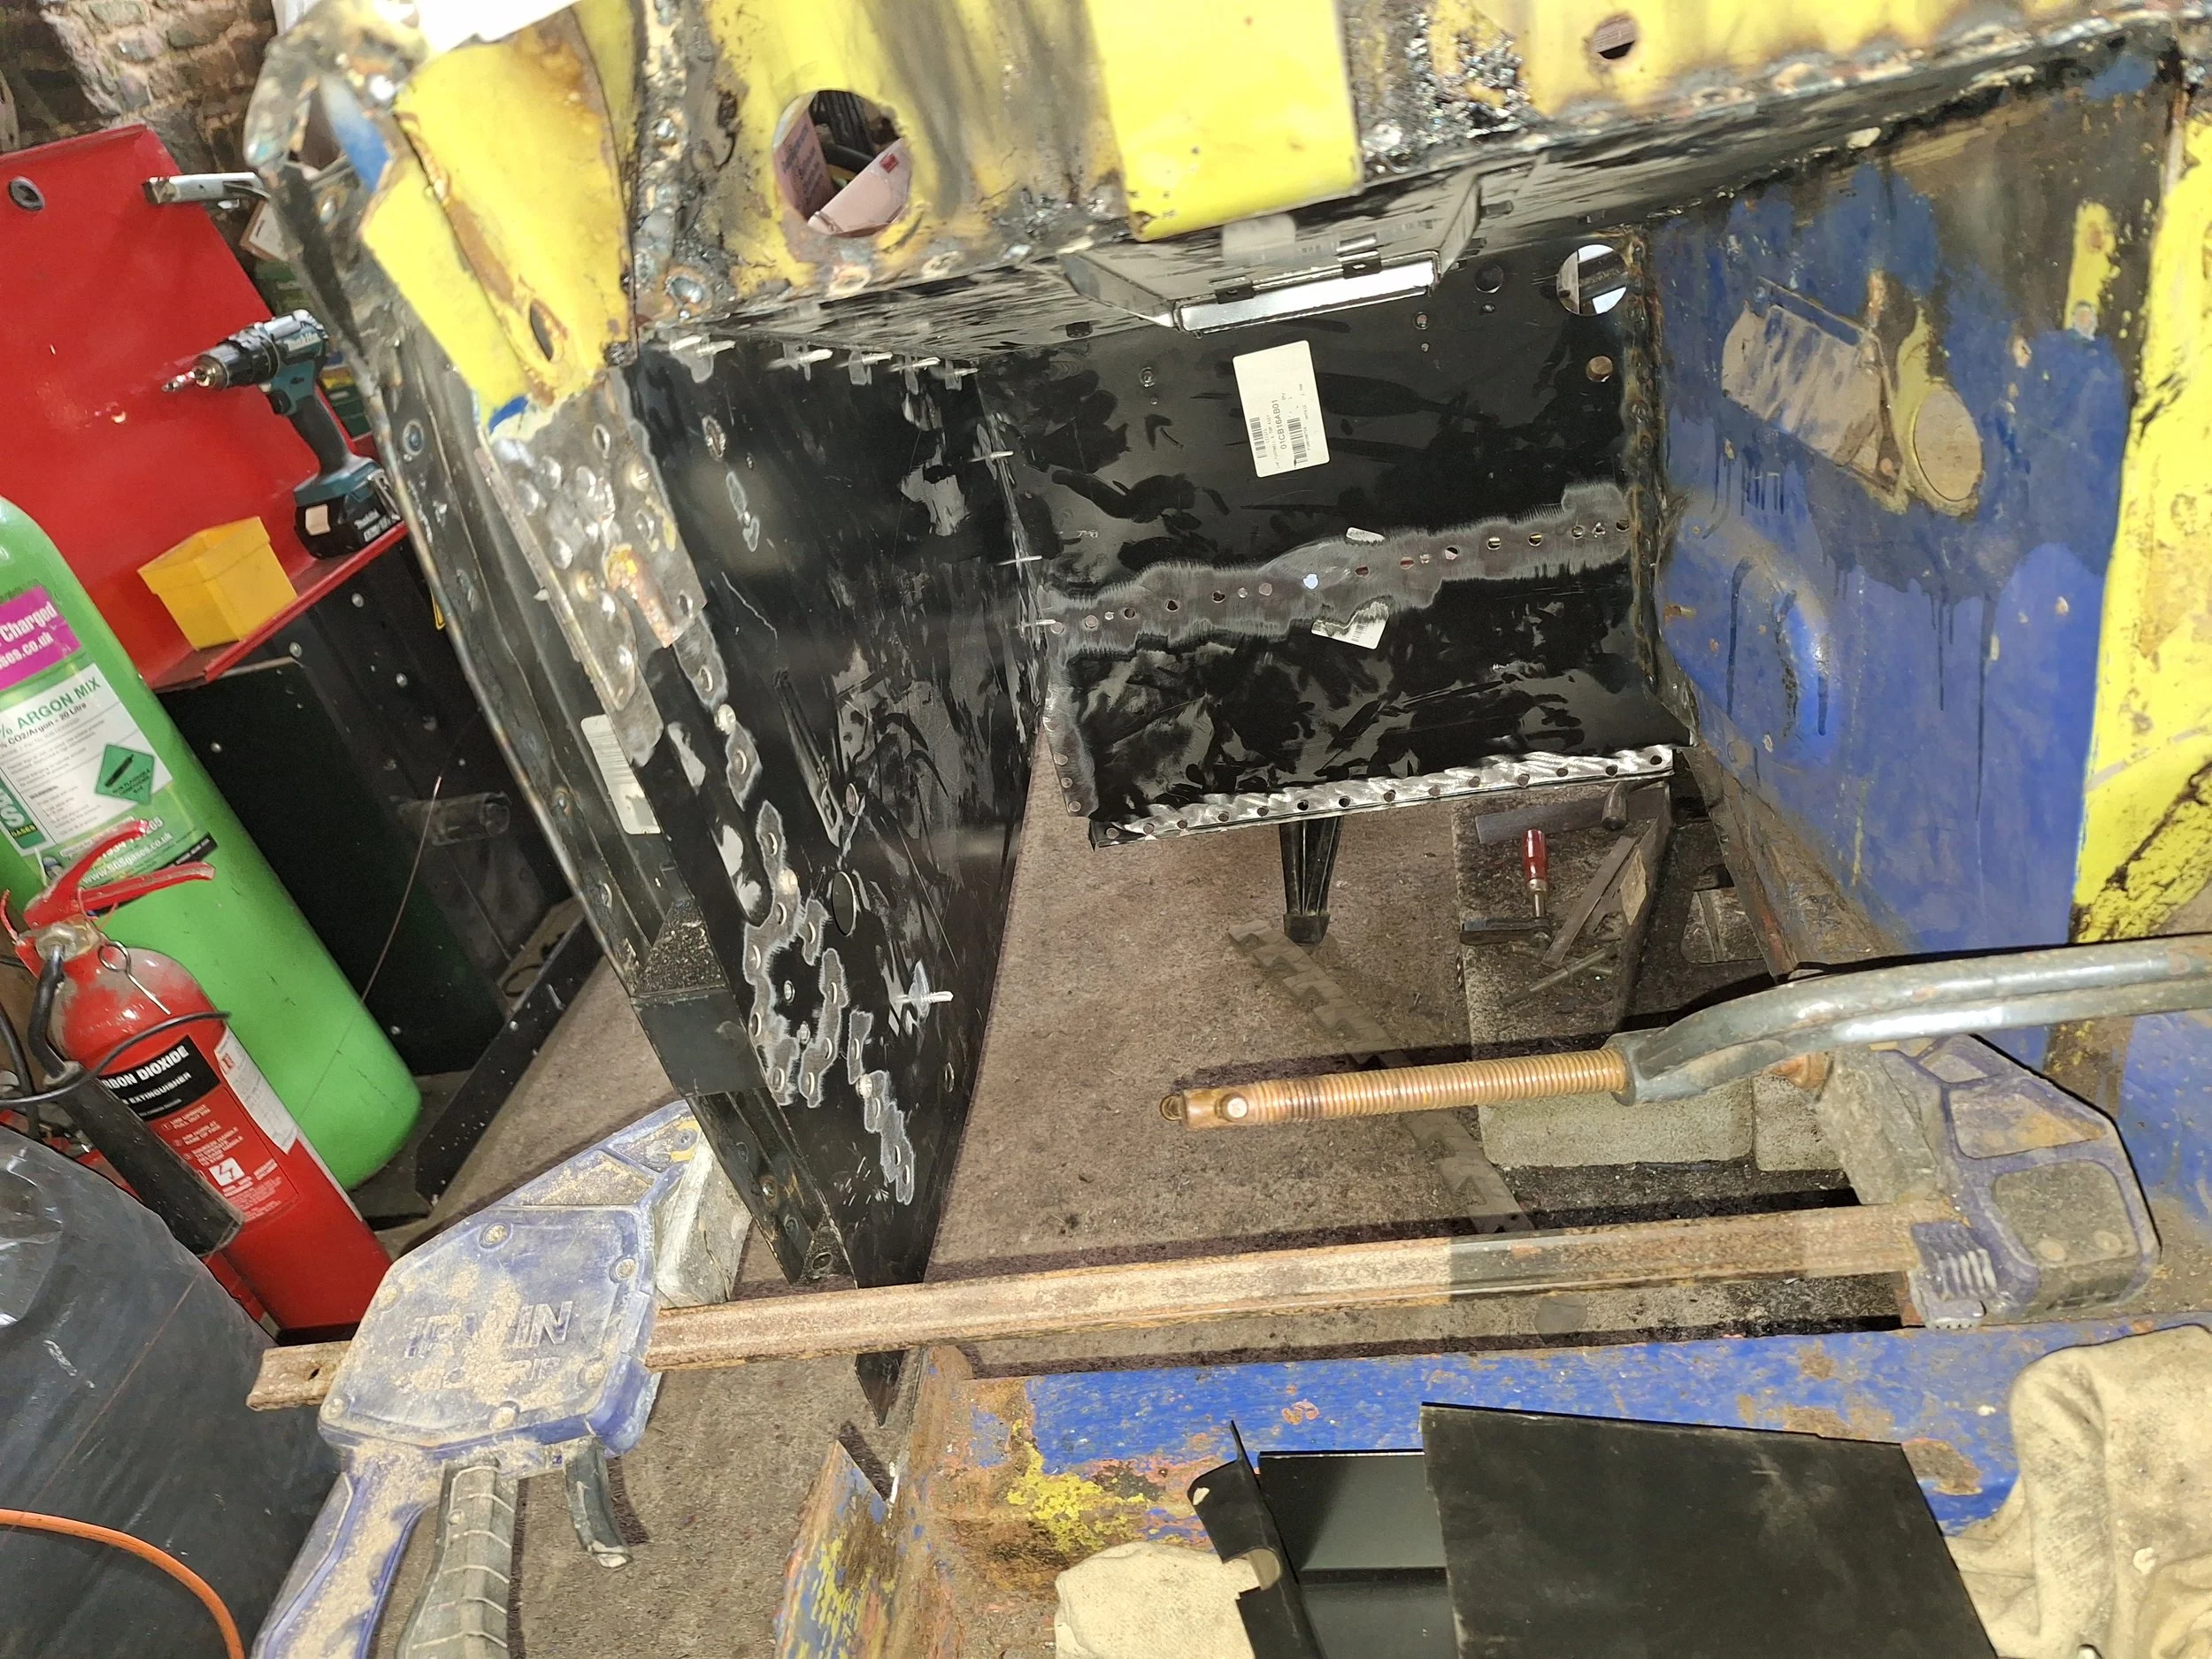
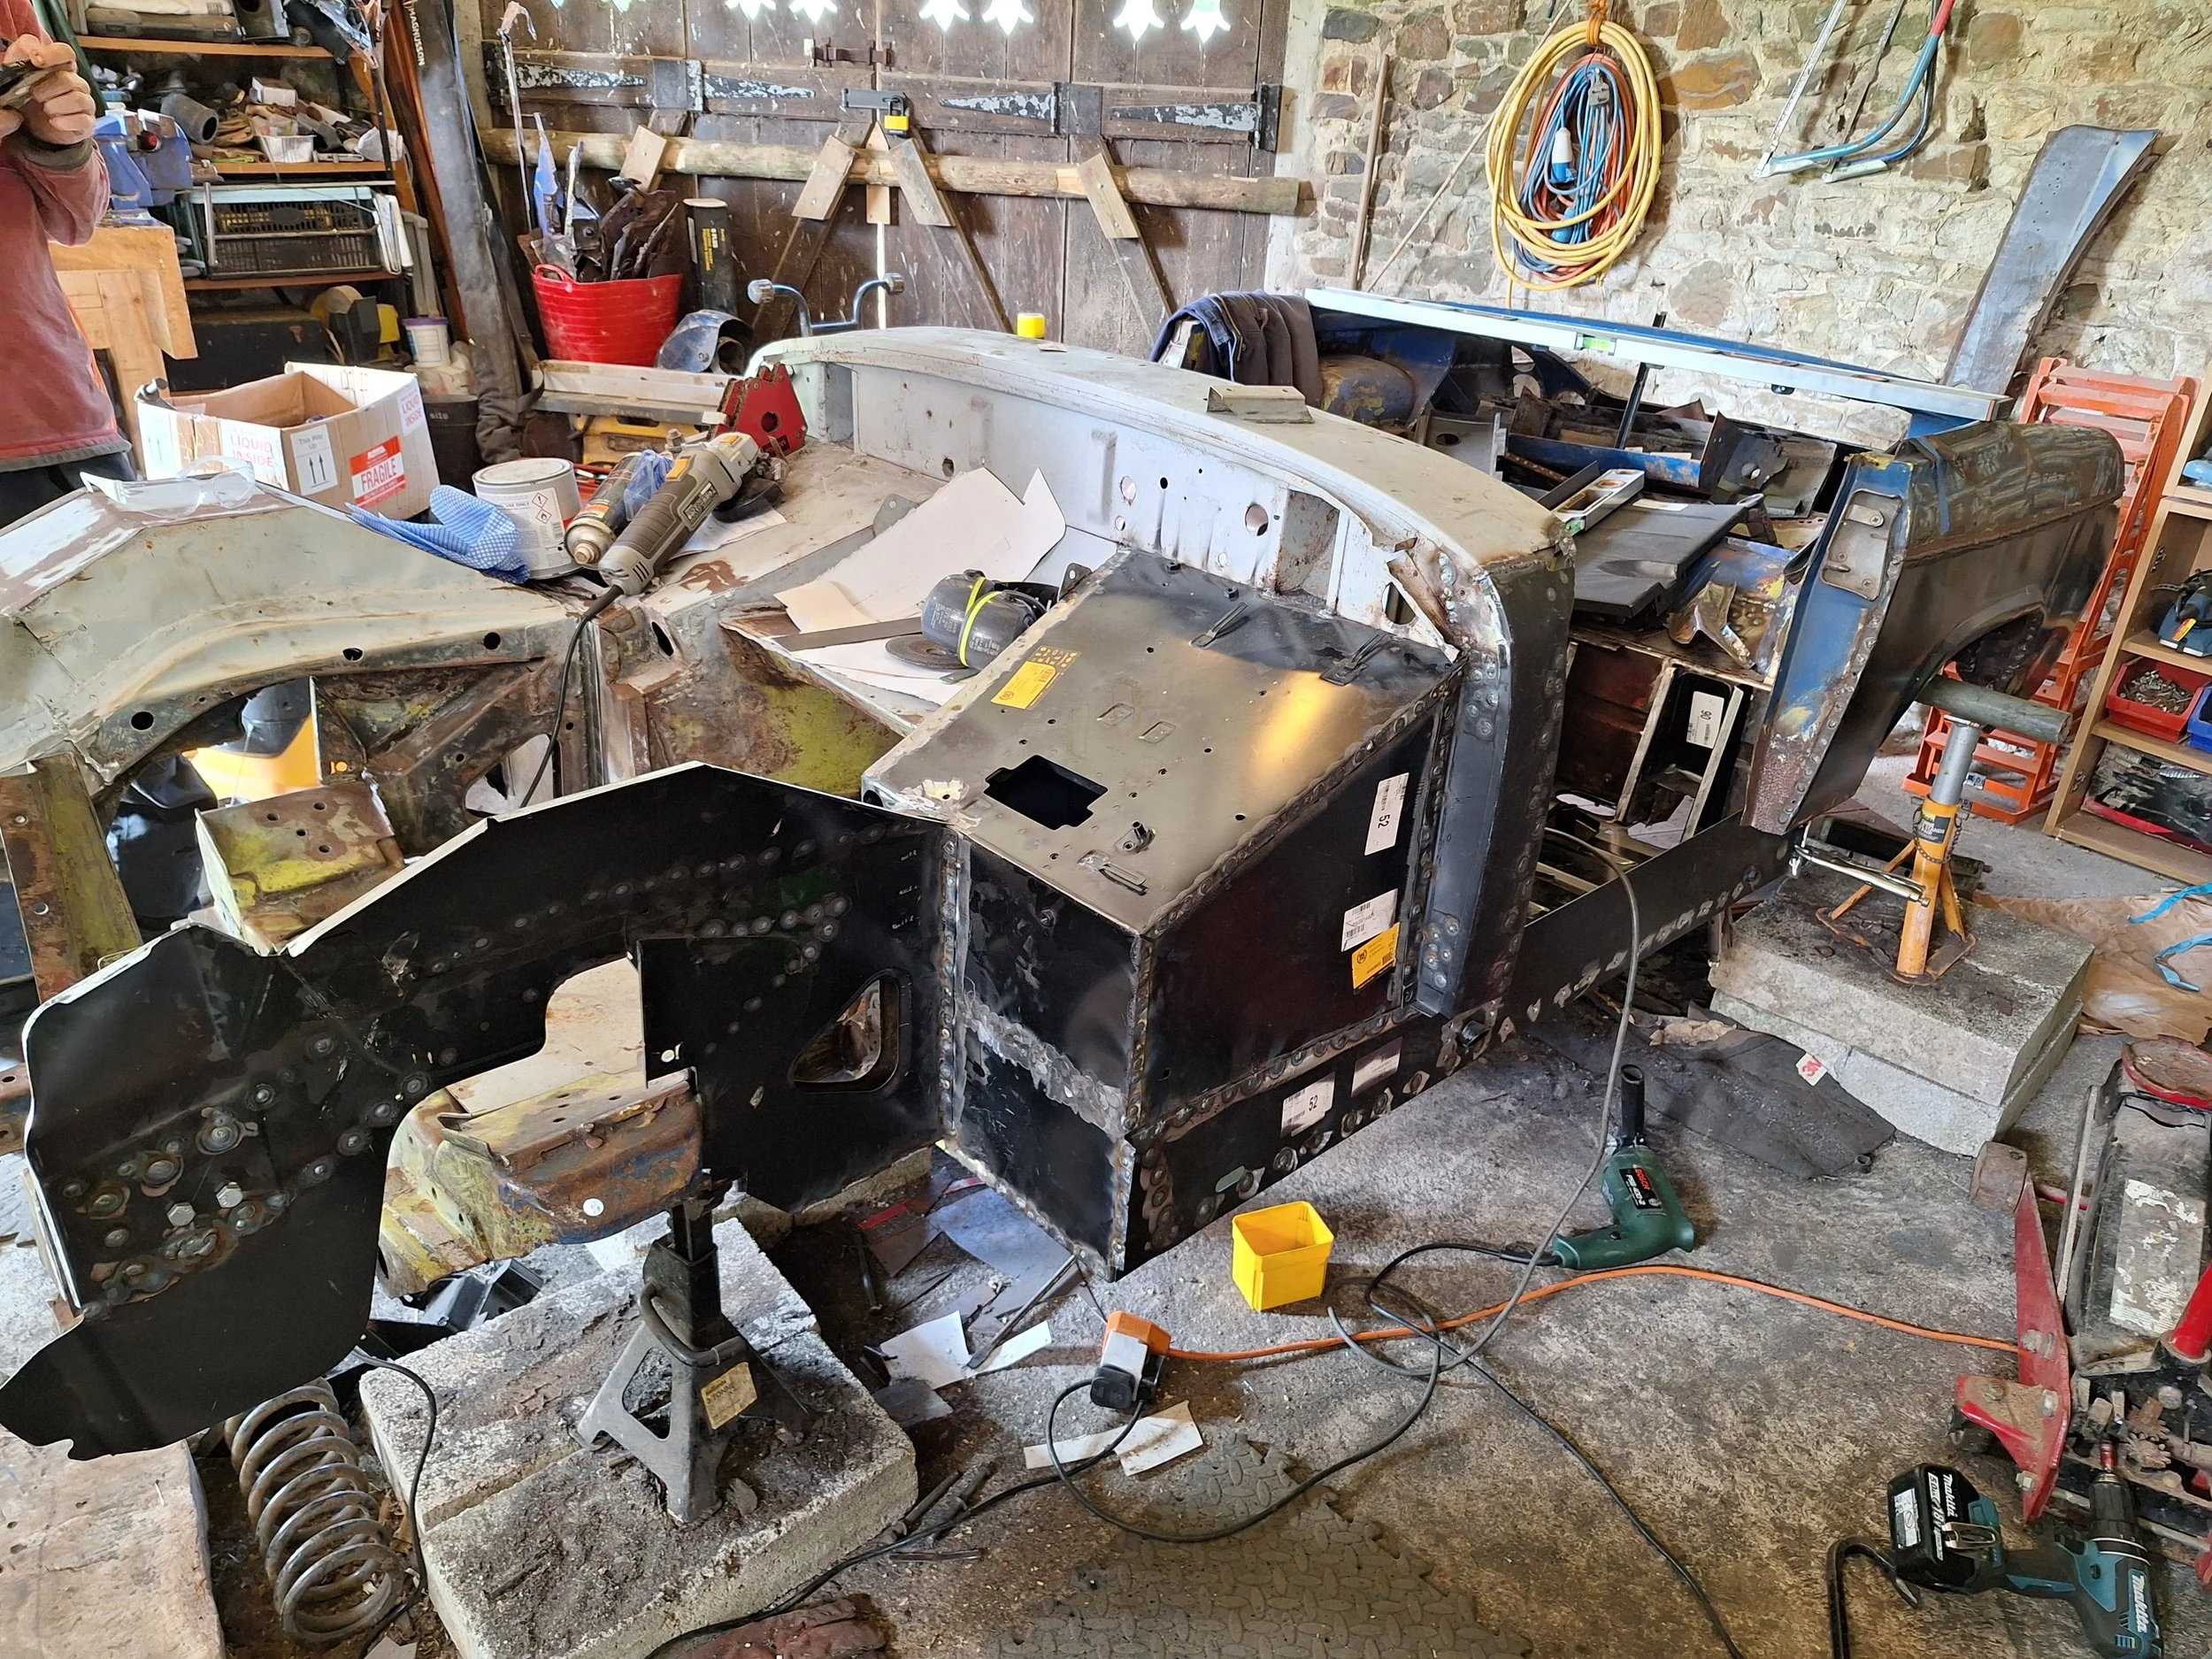
The car has been stripped to a rolling shell.

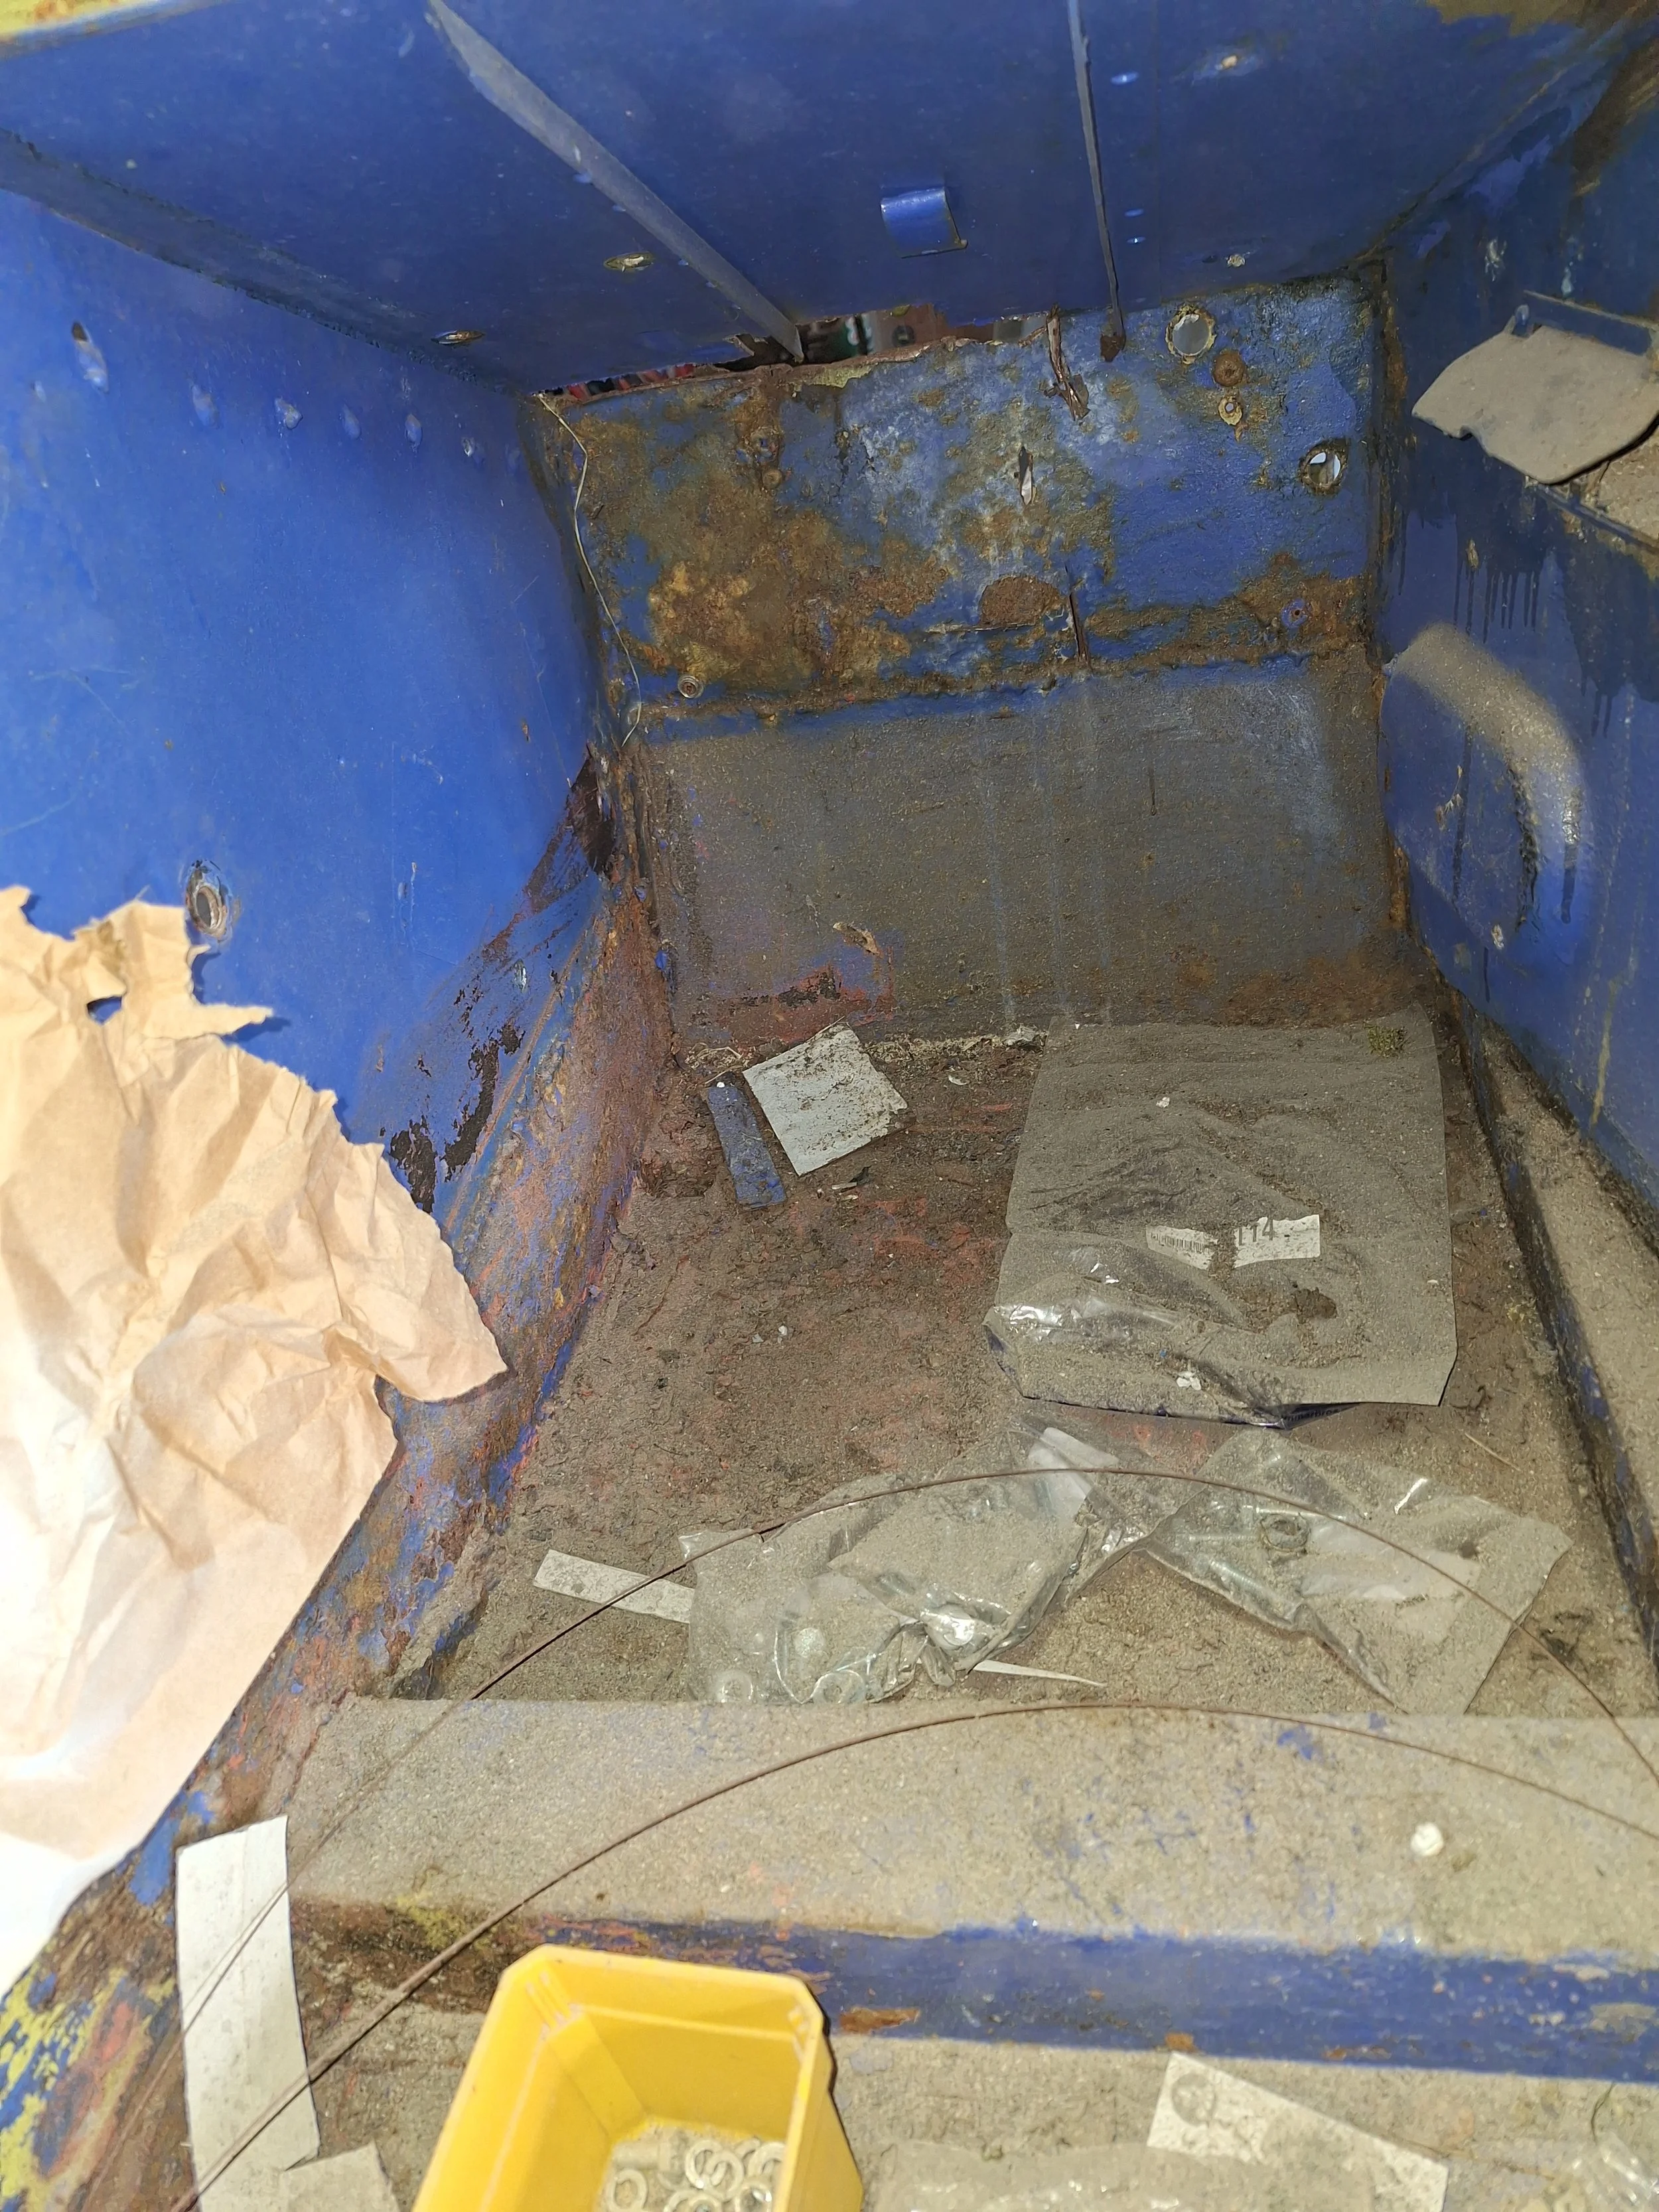
Boxes of parts packed around the car.

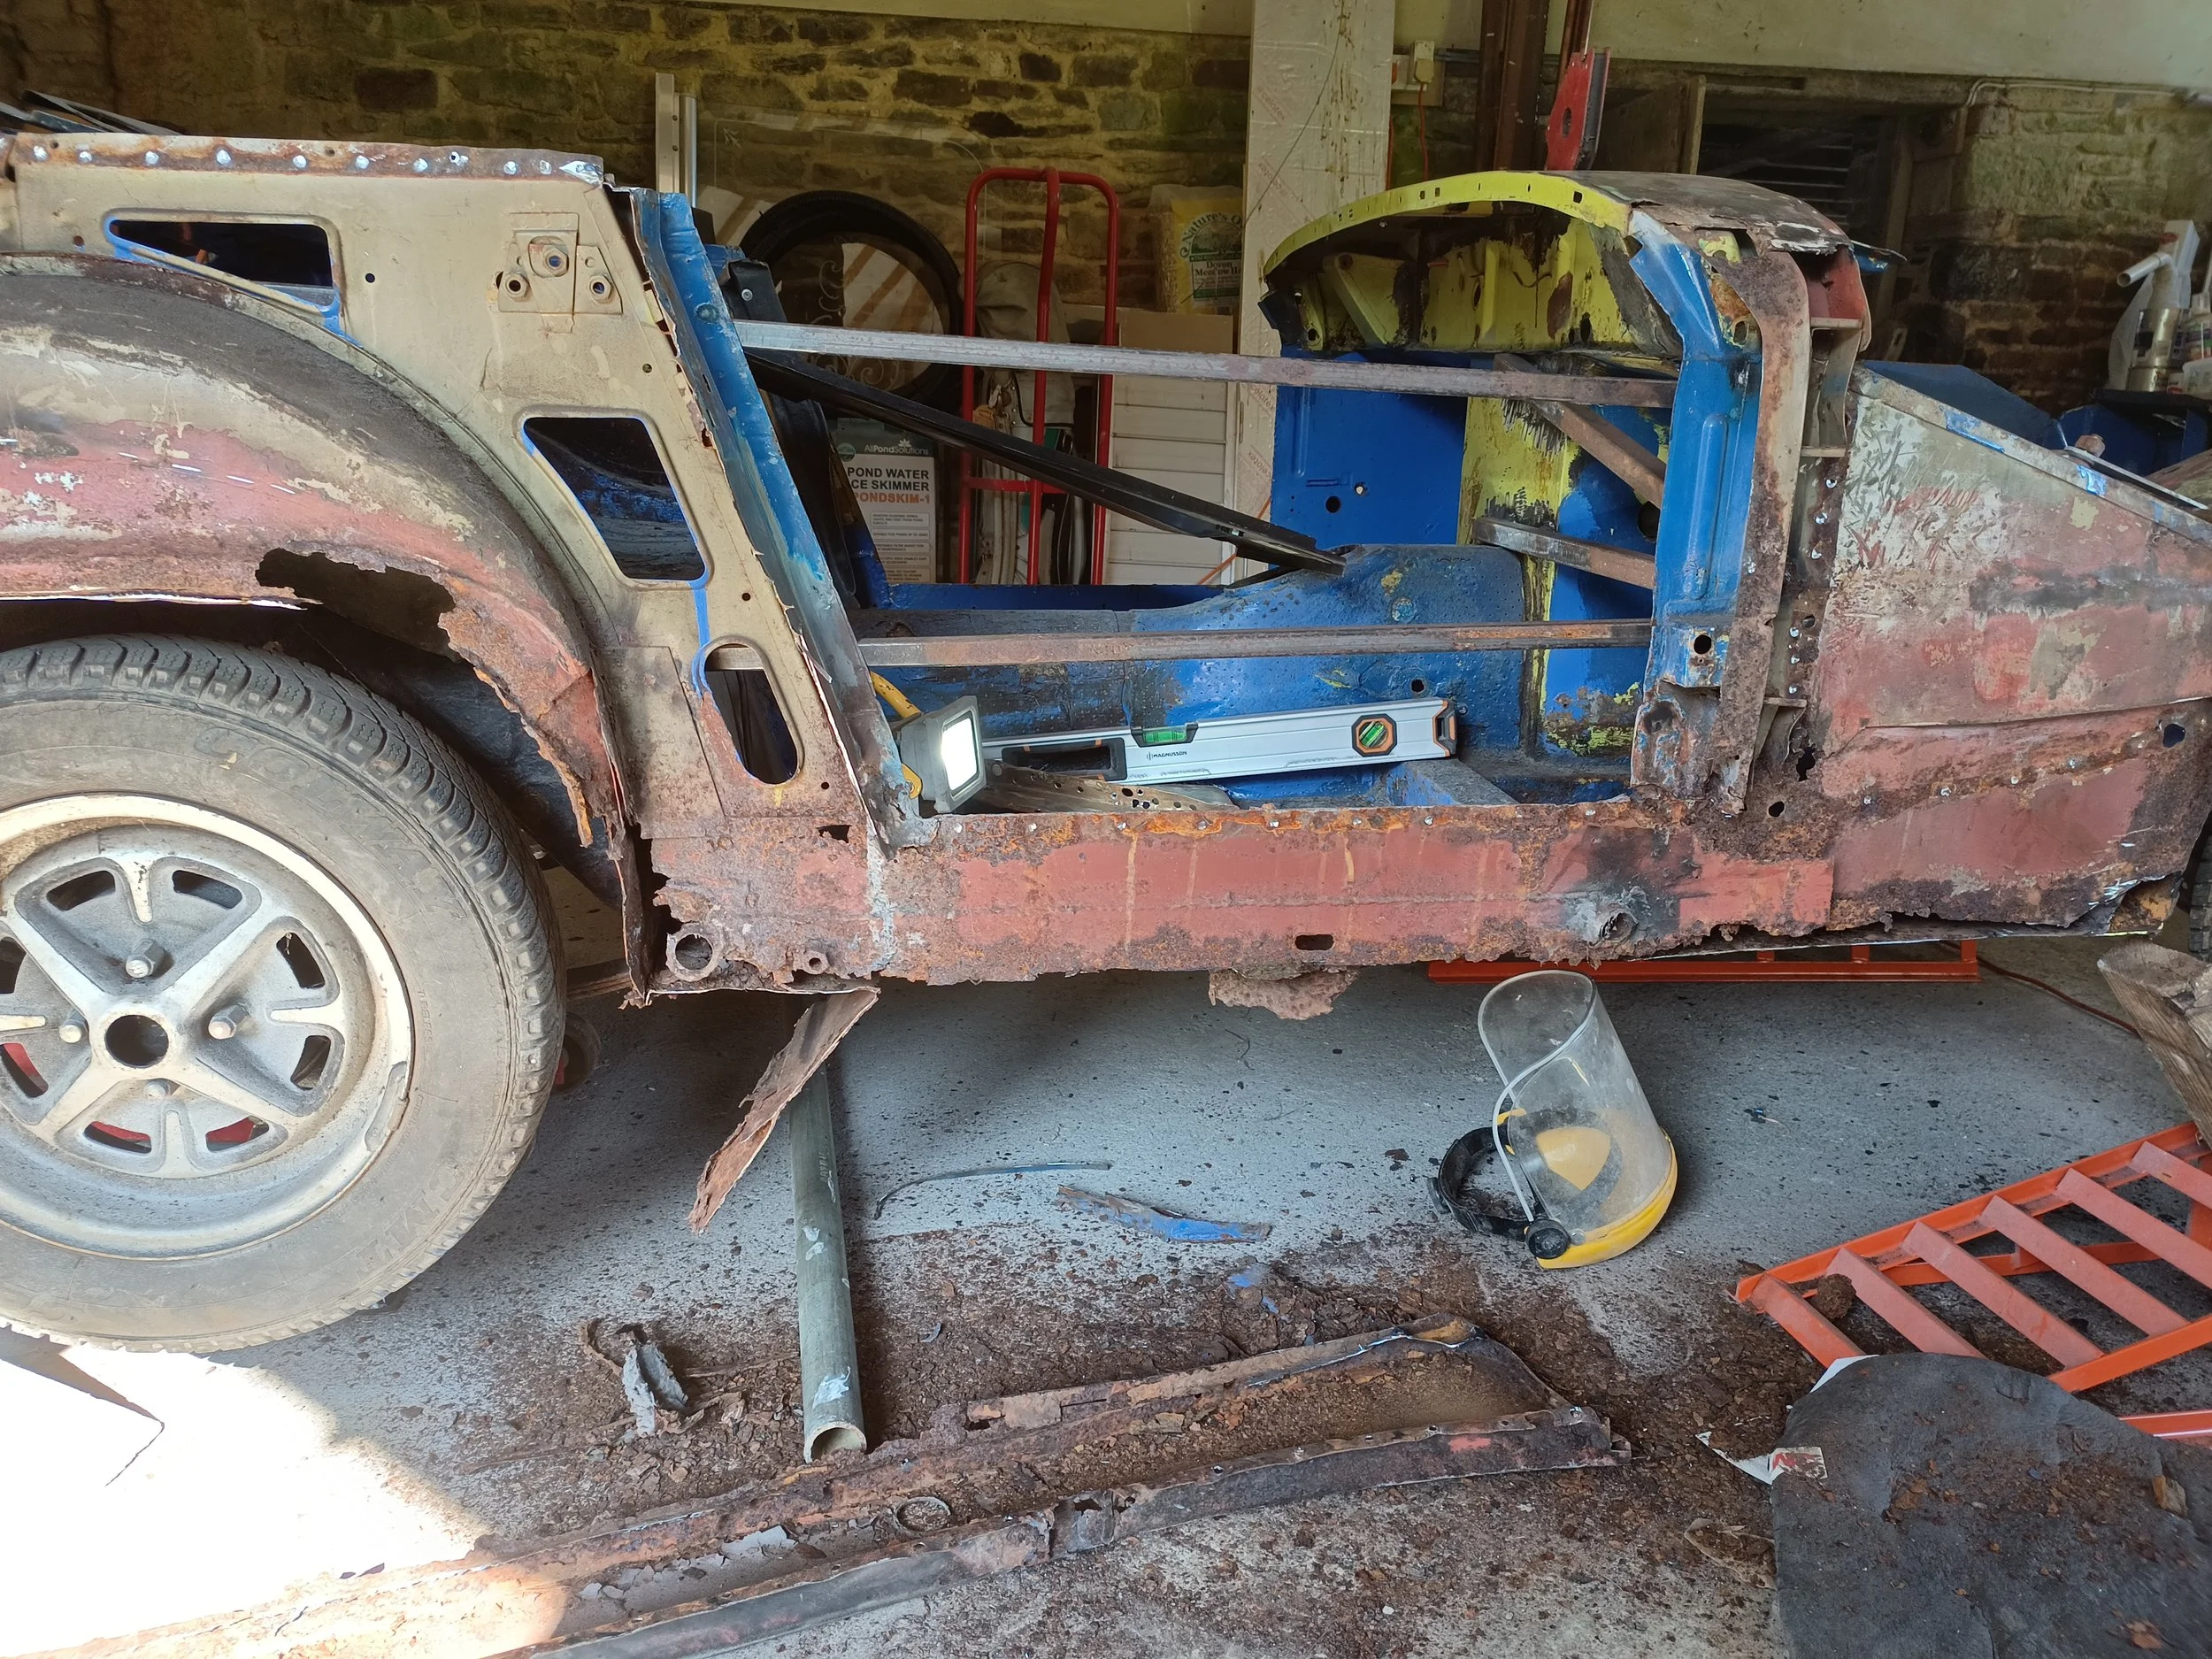
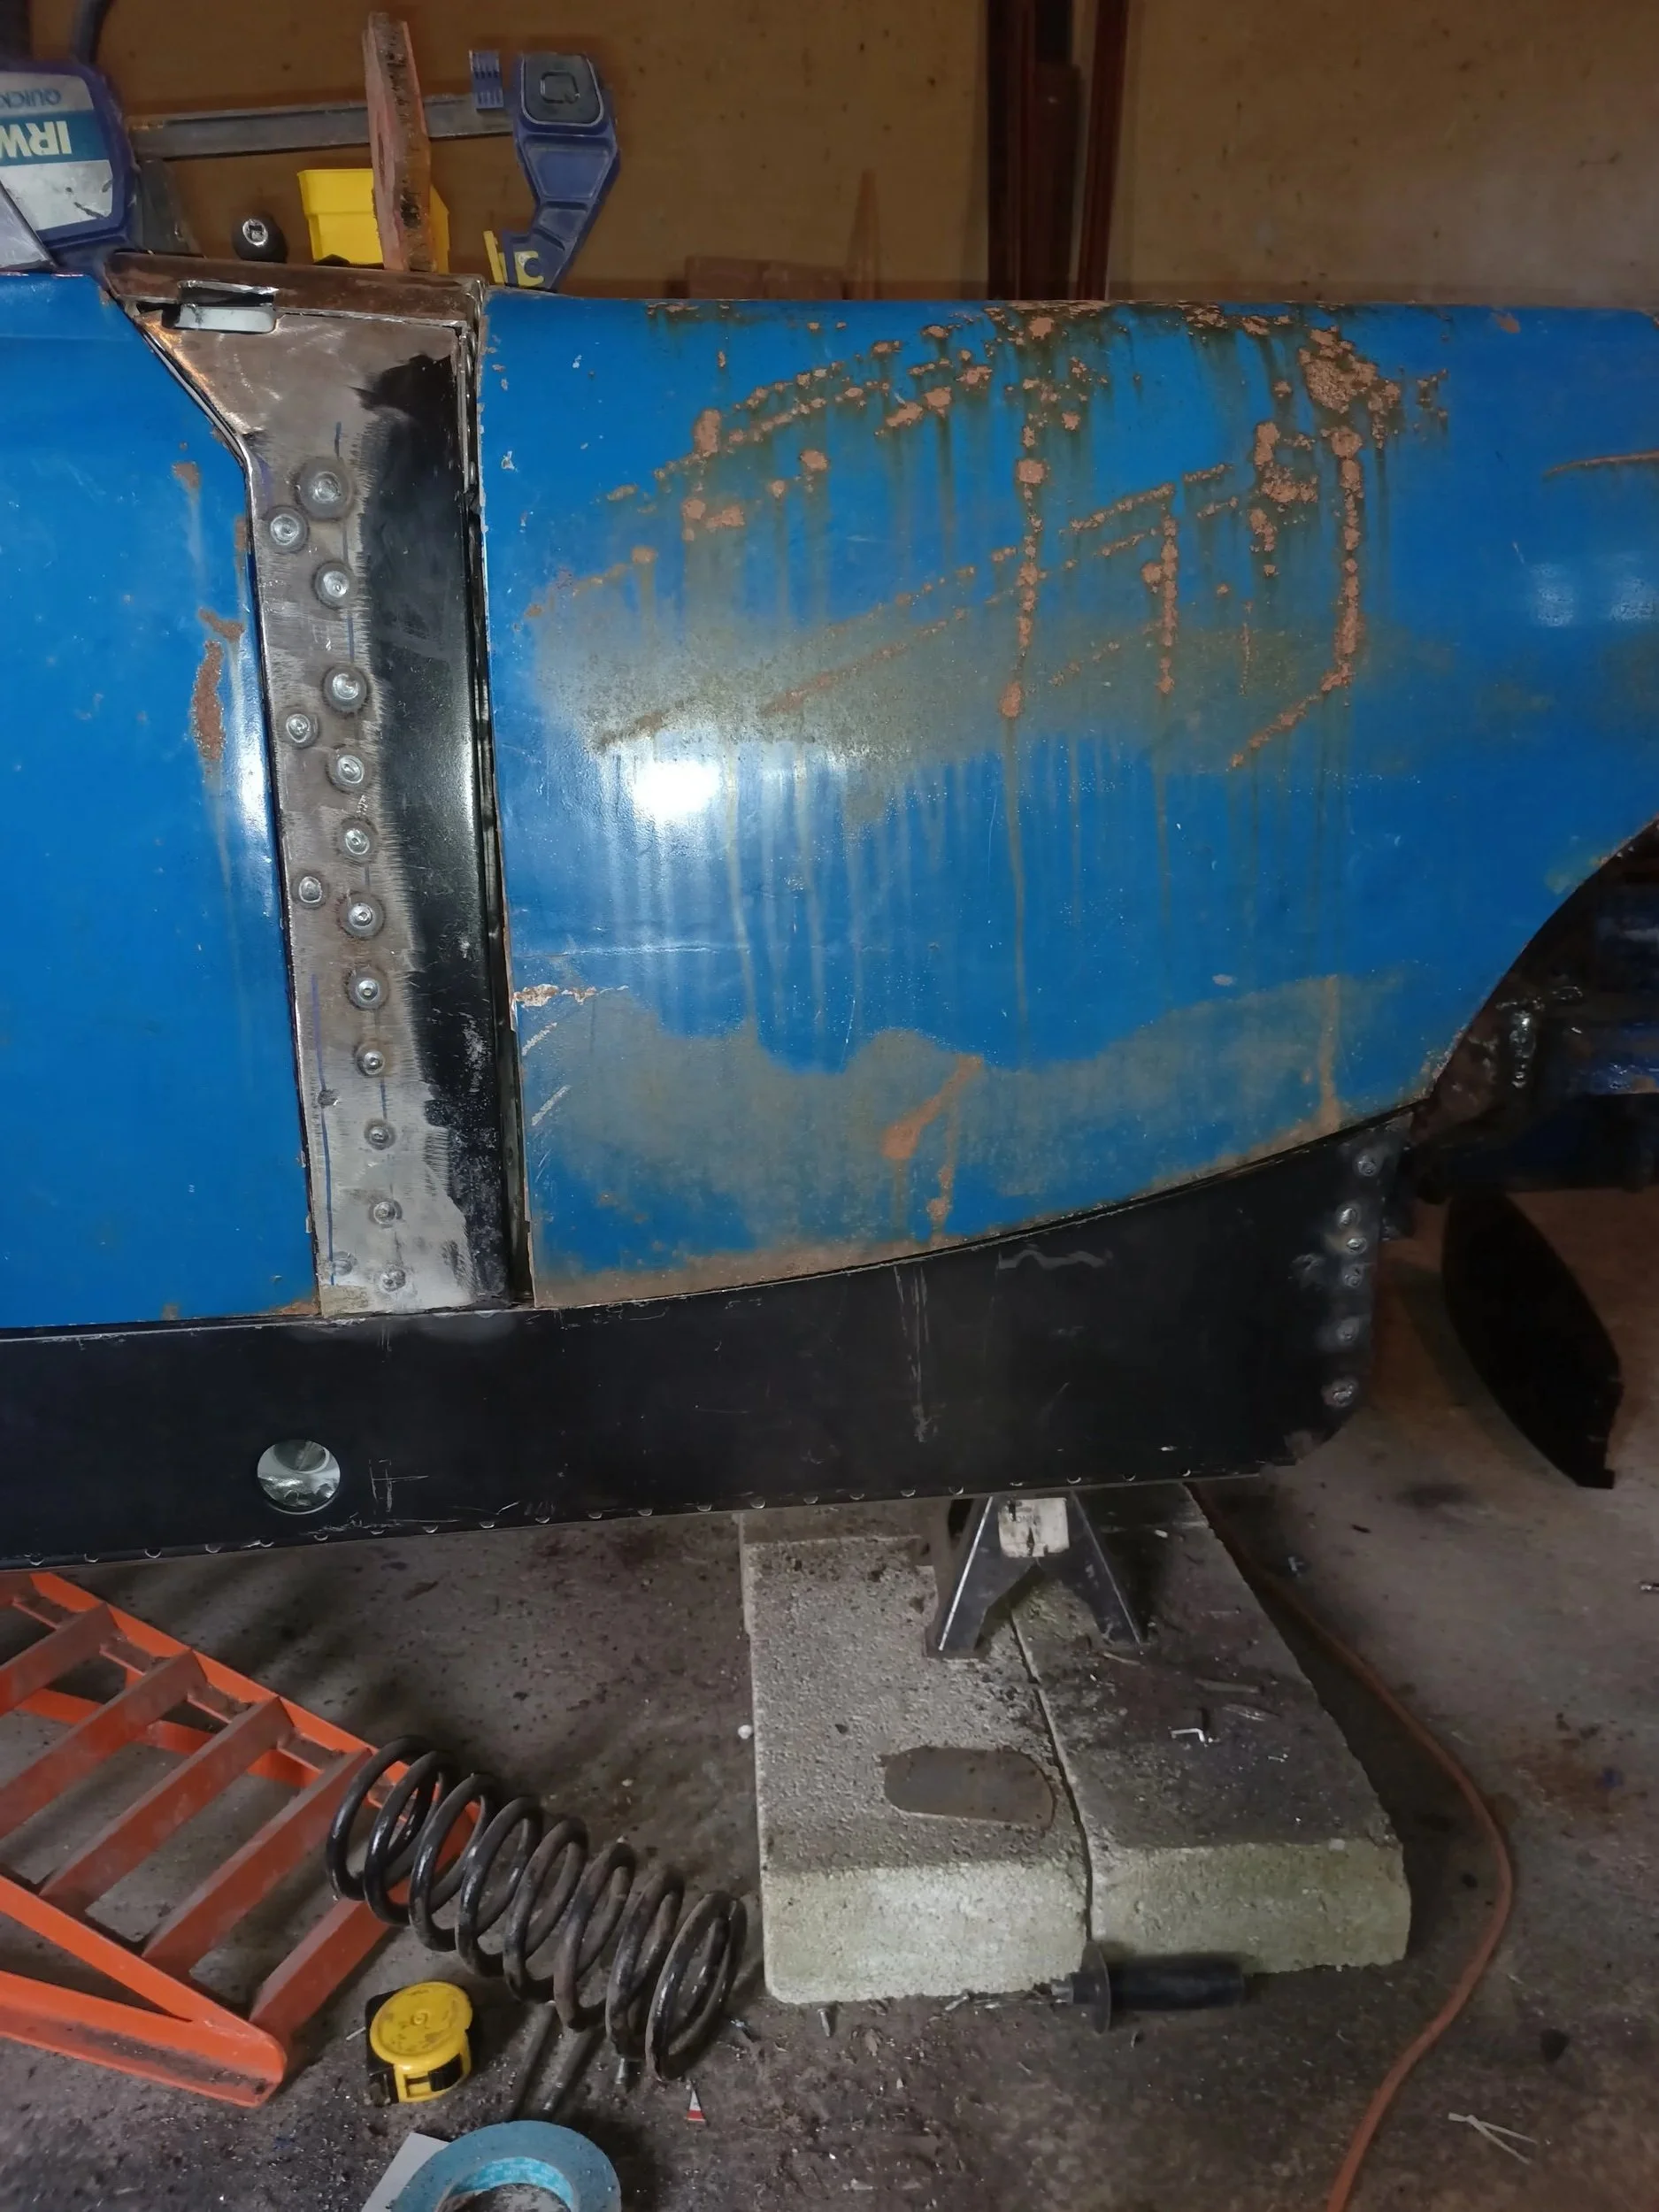
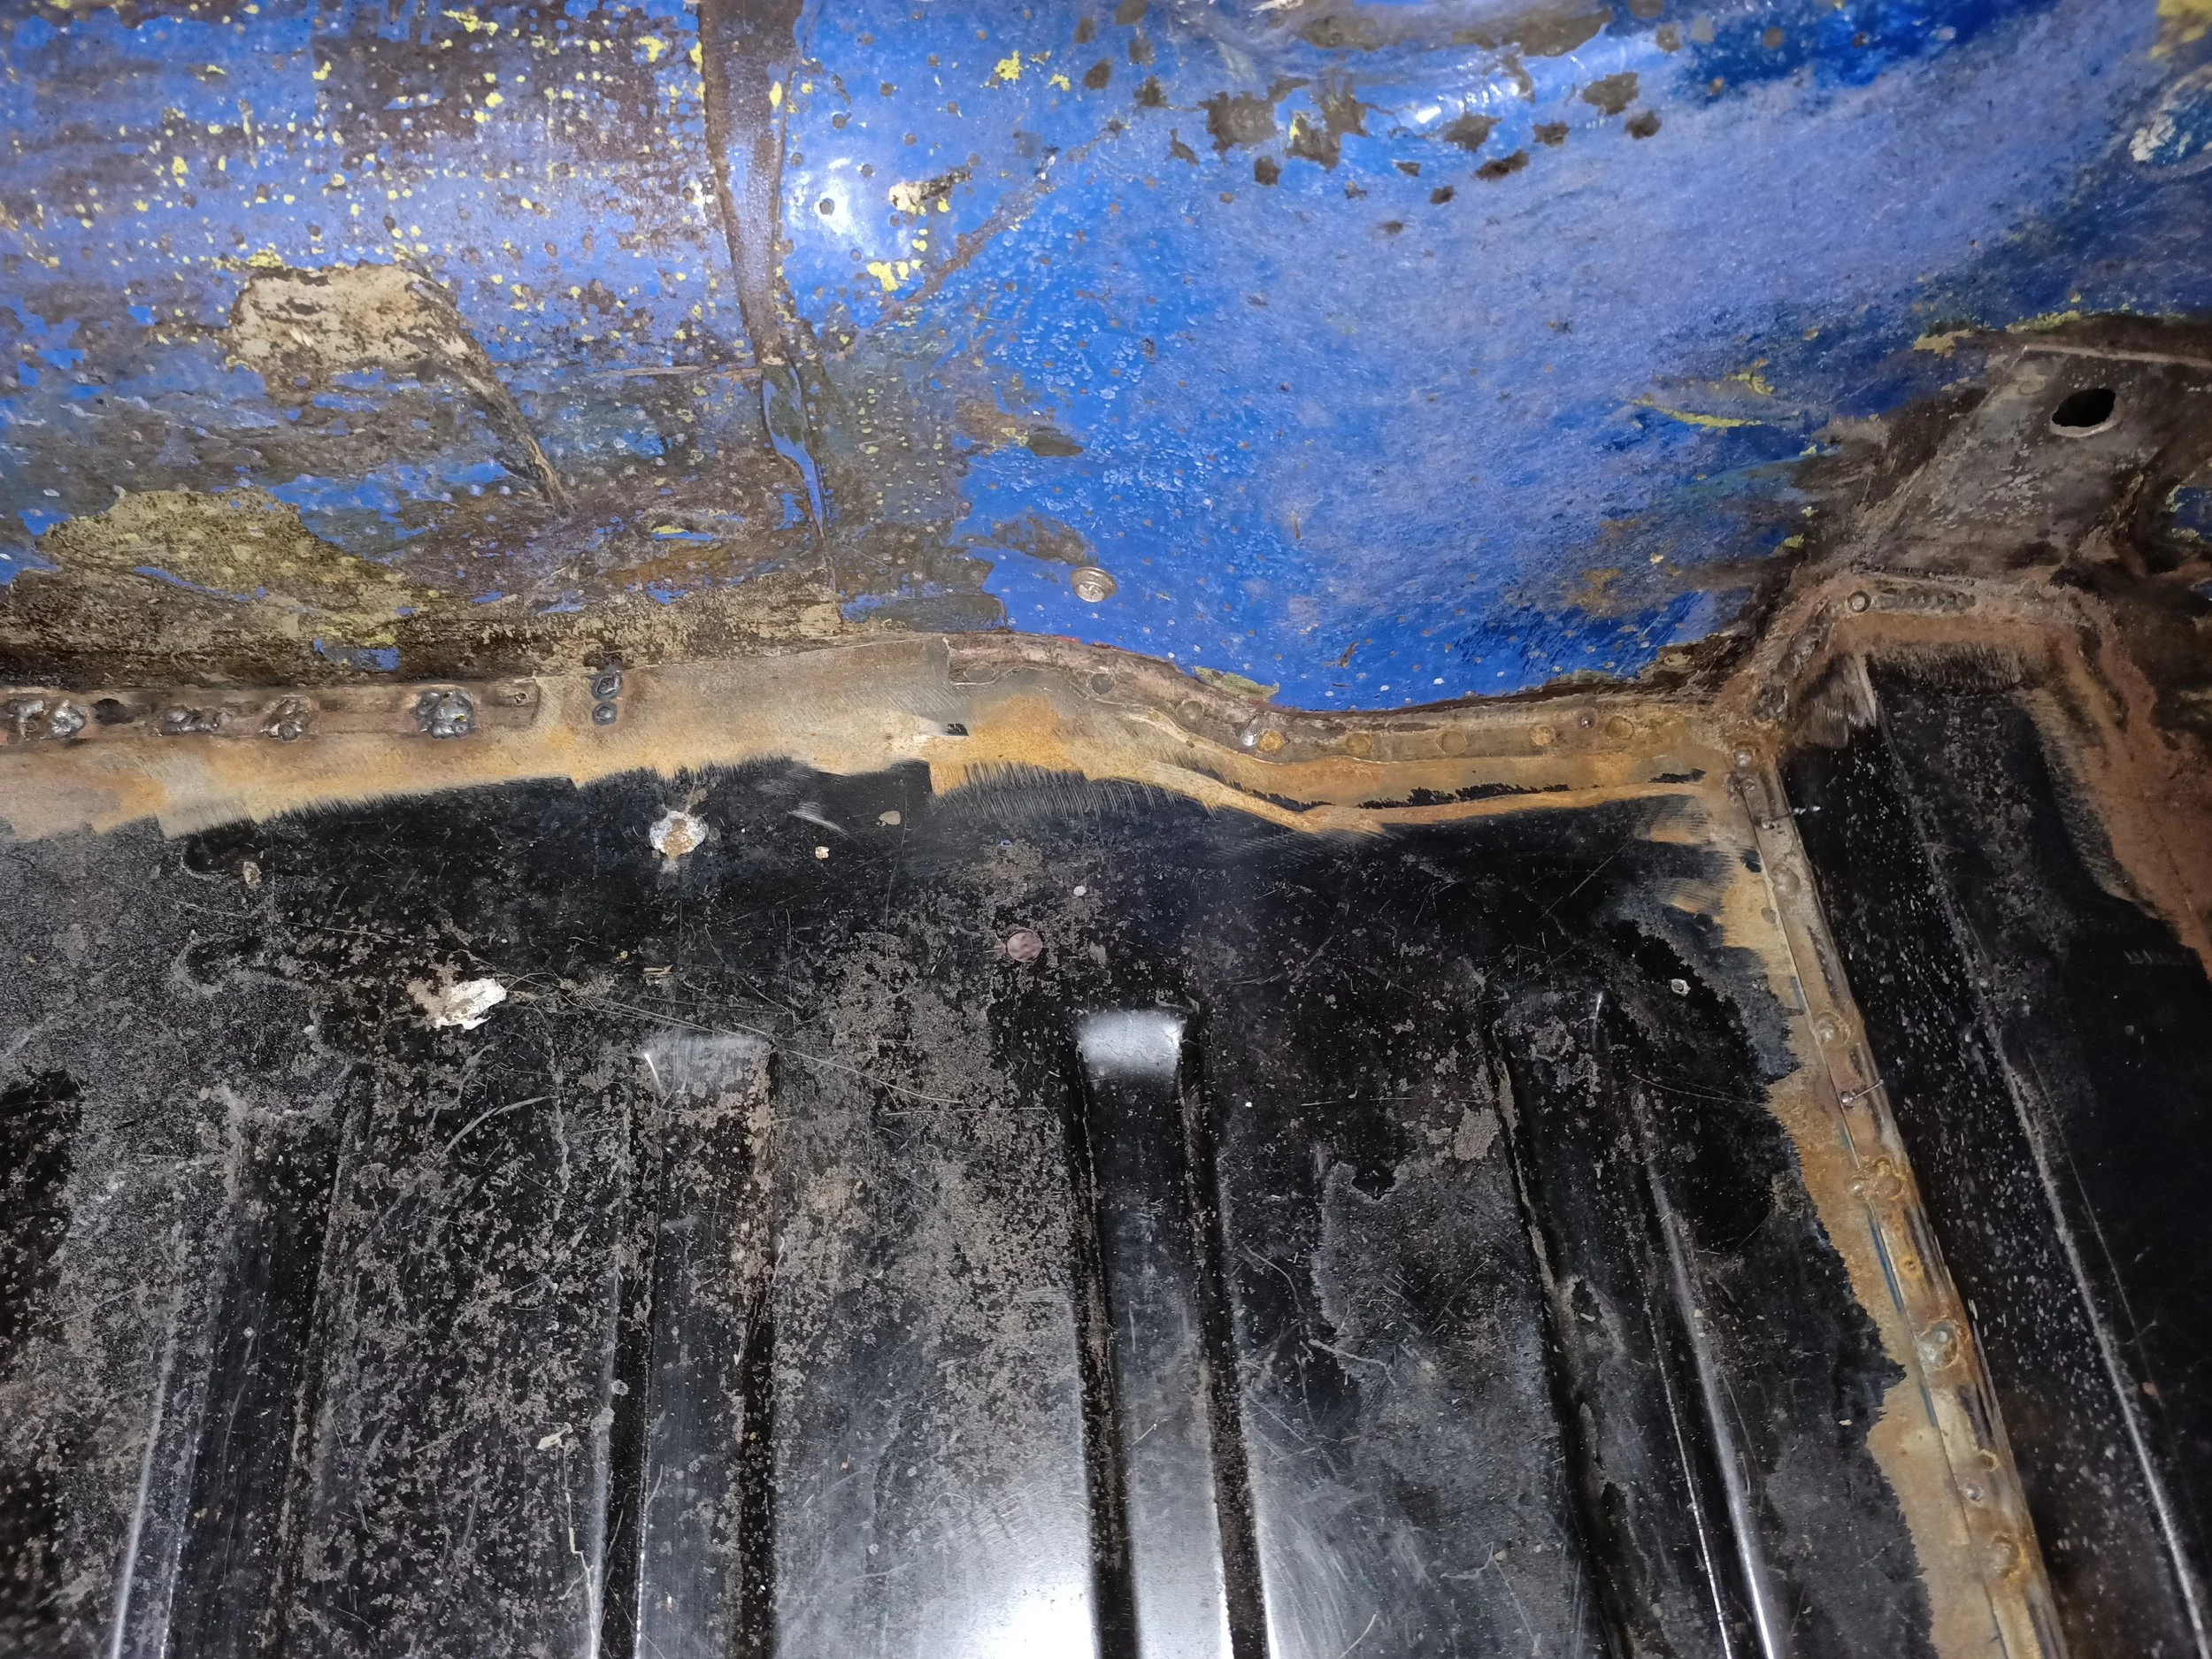
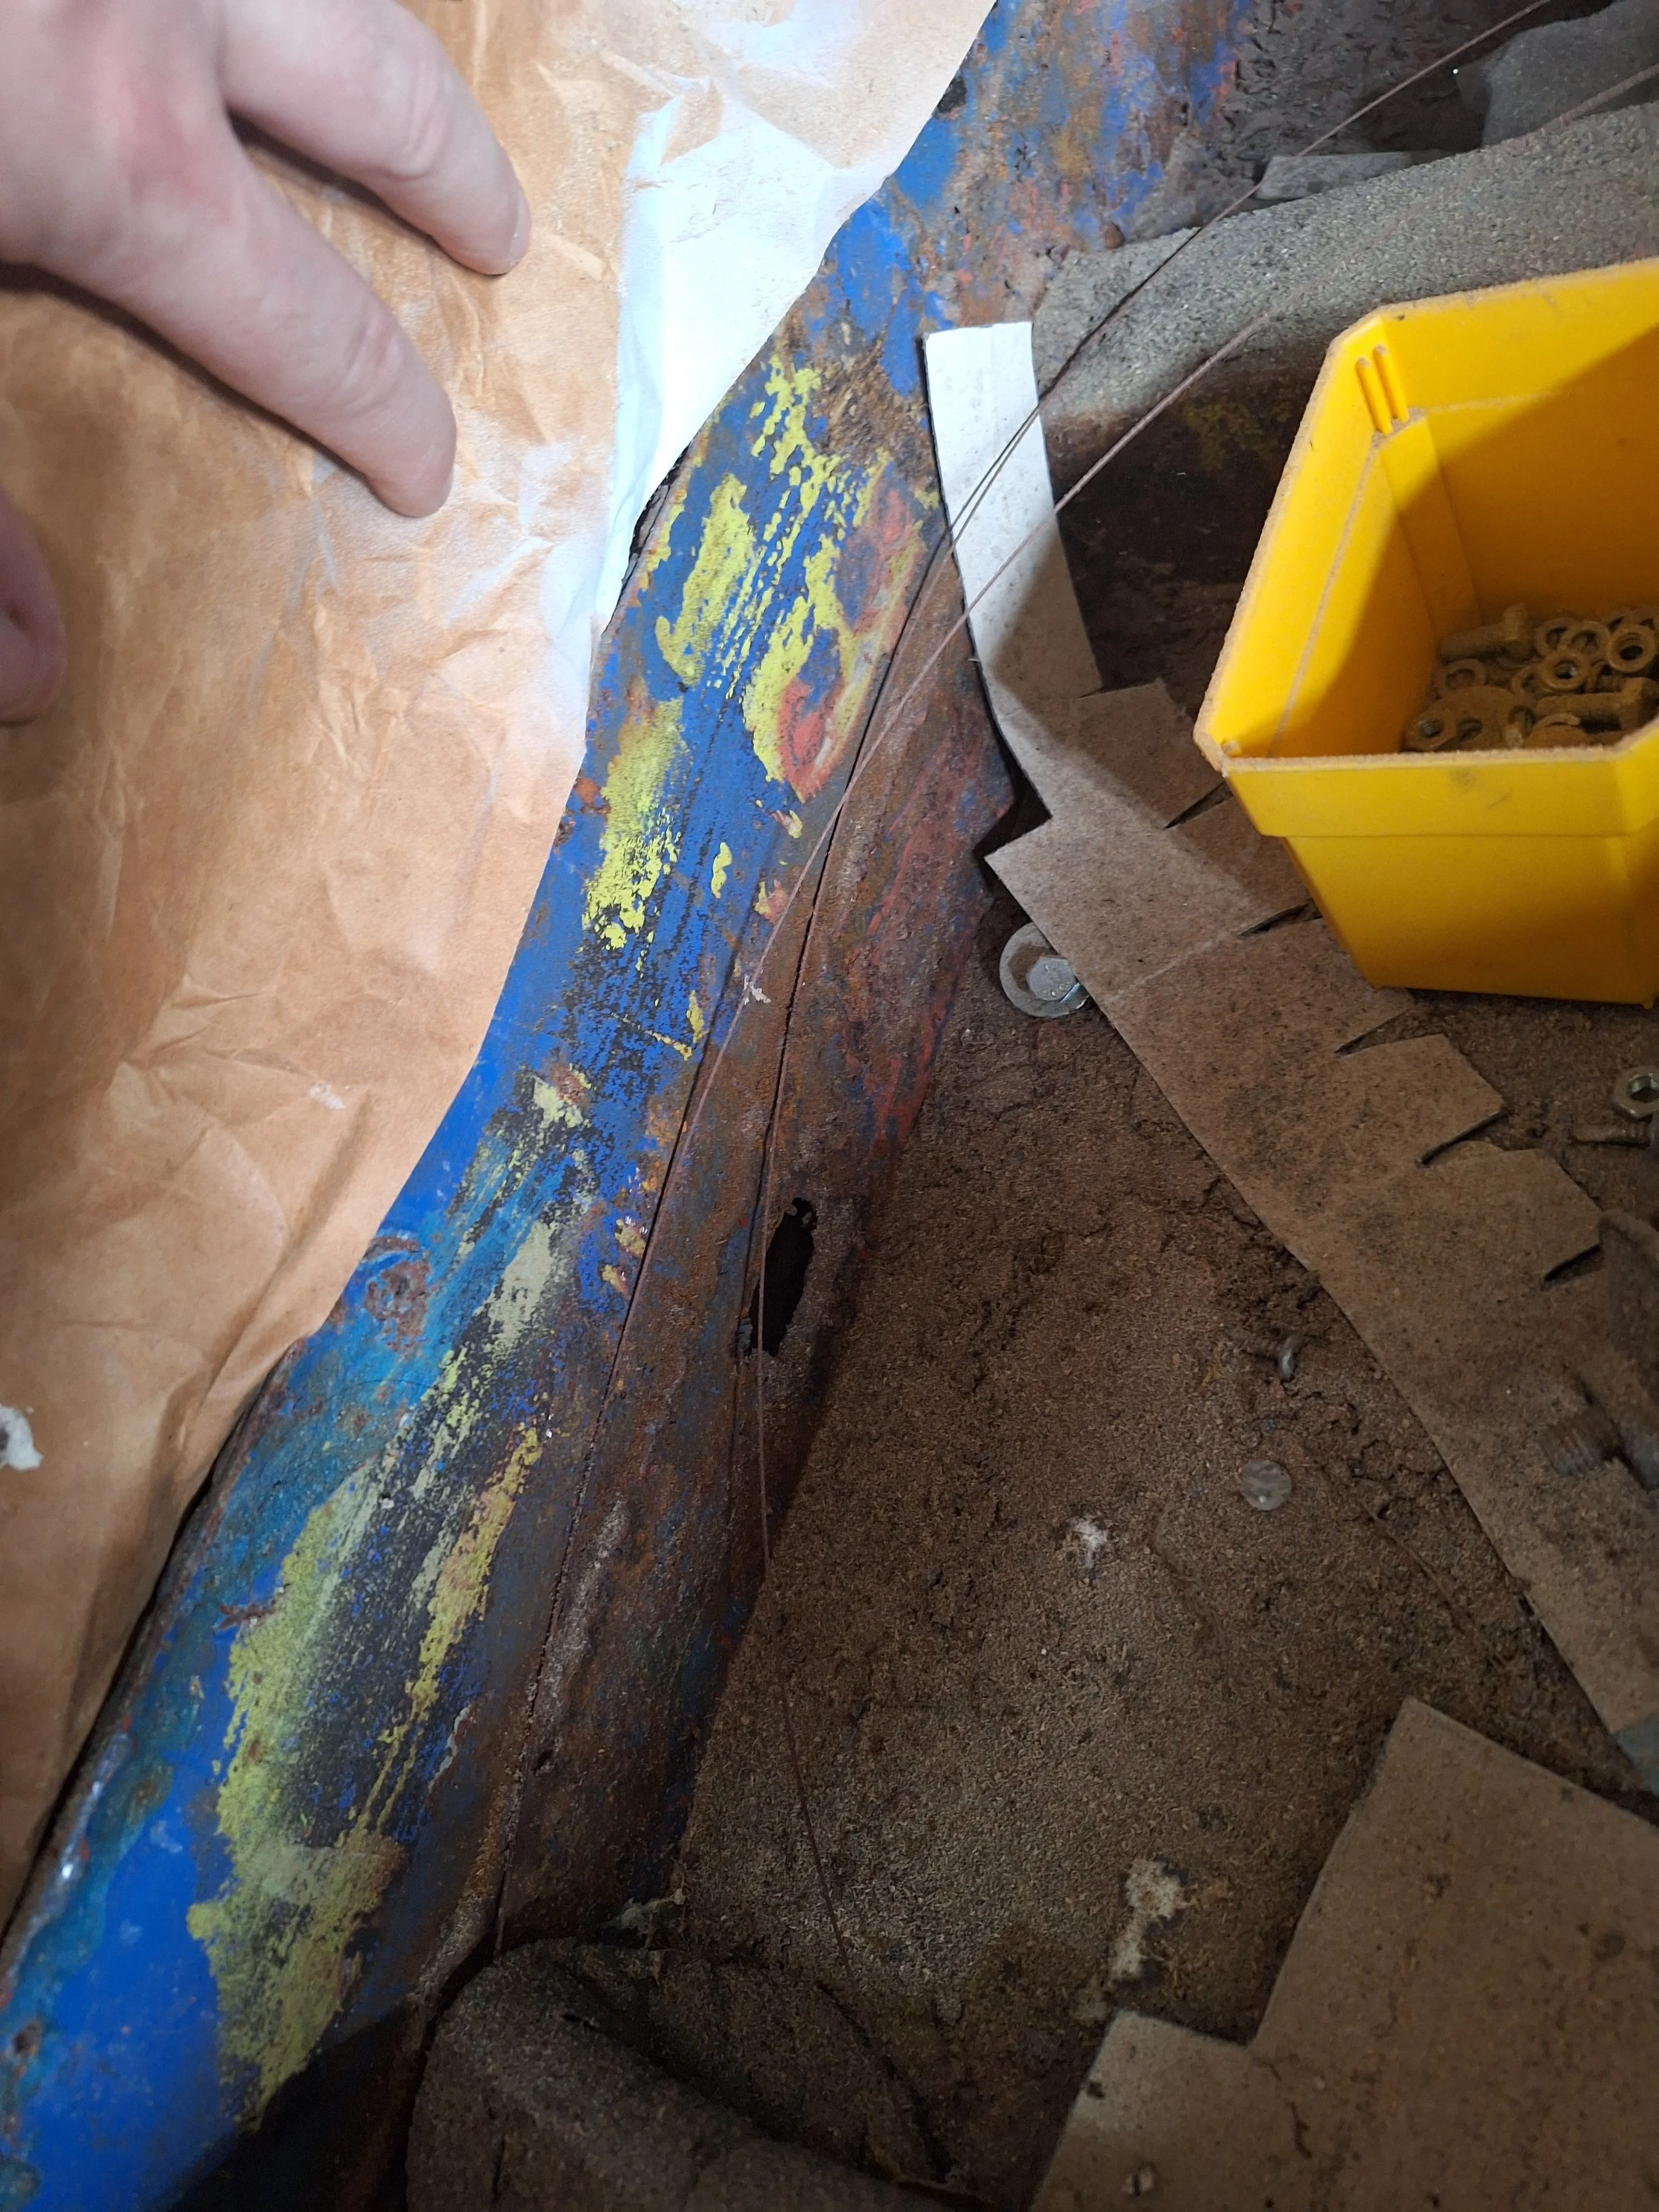
Not looking too bad, from a distance...

Somewhat worse up close.

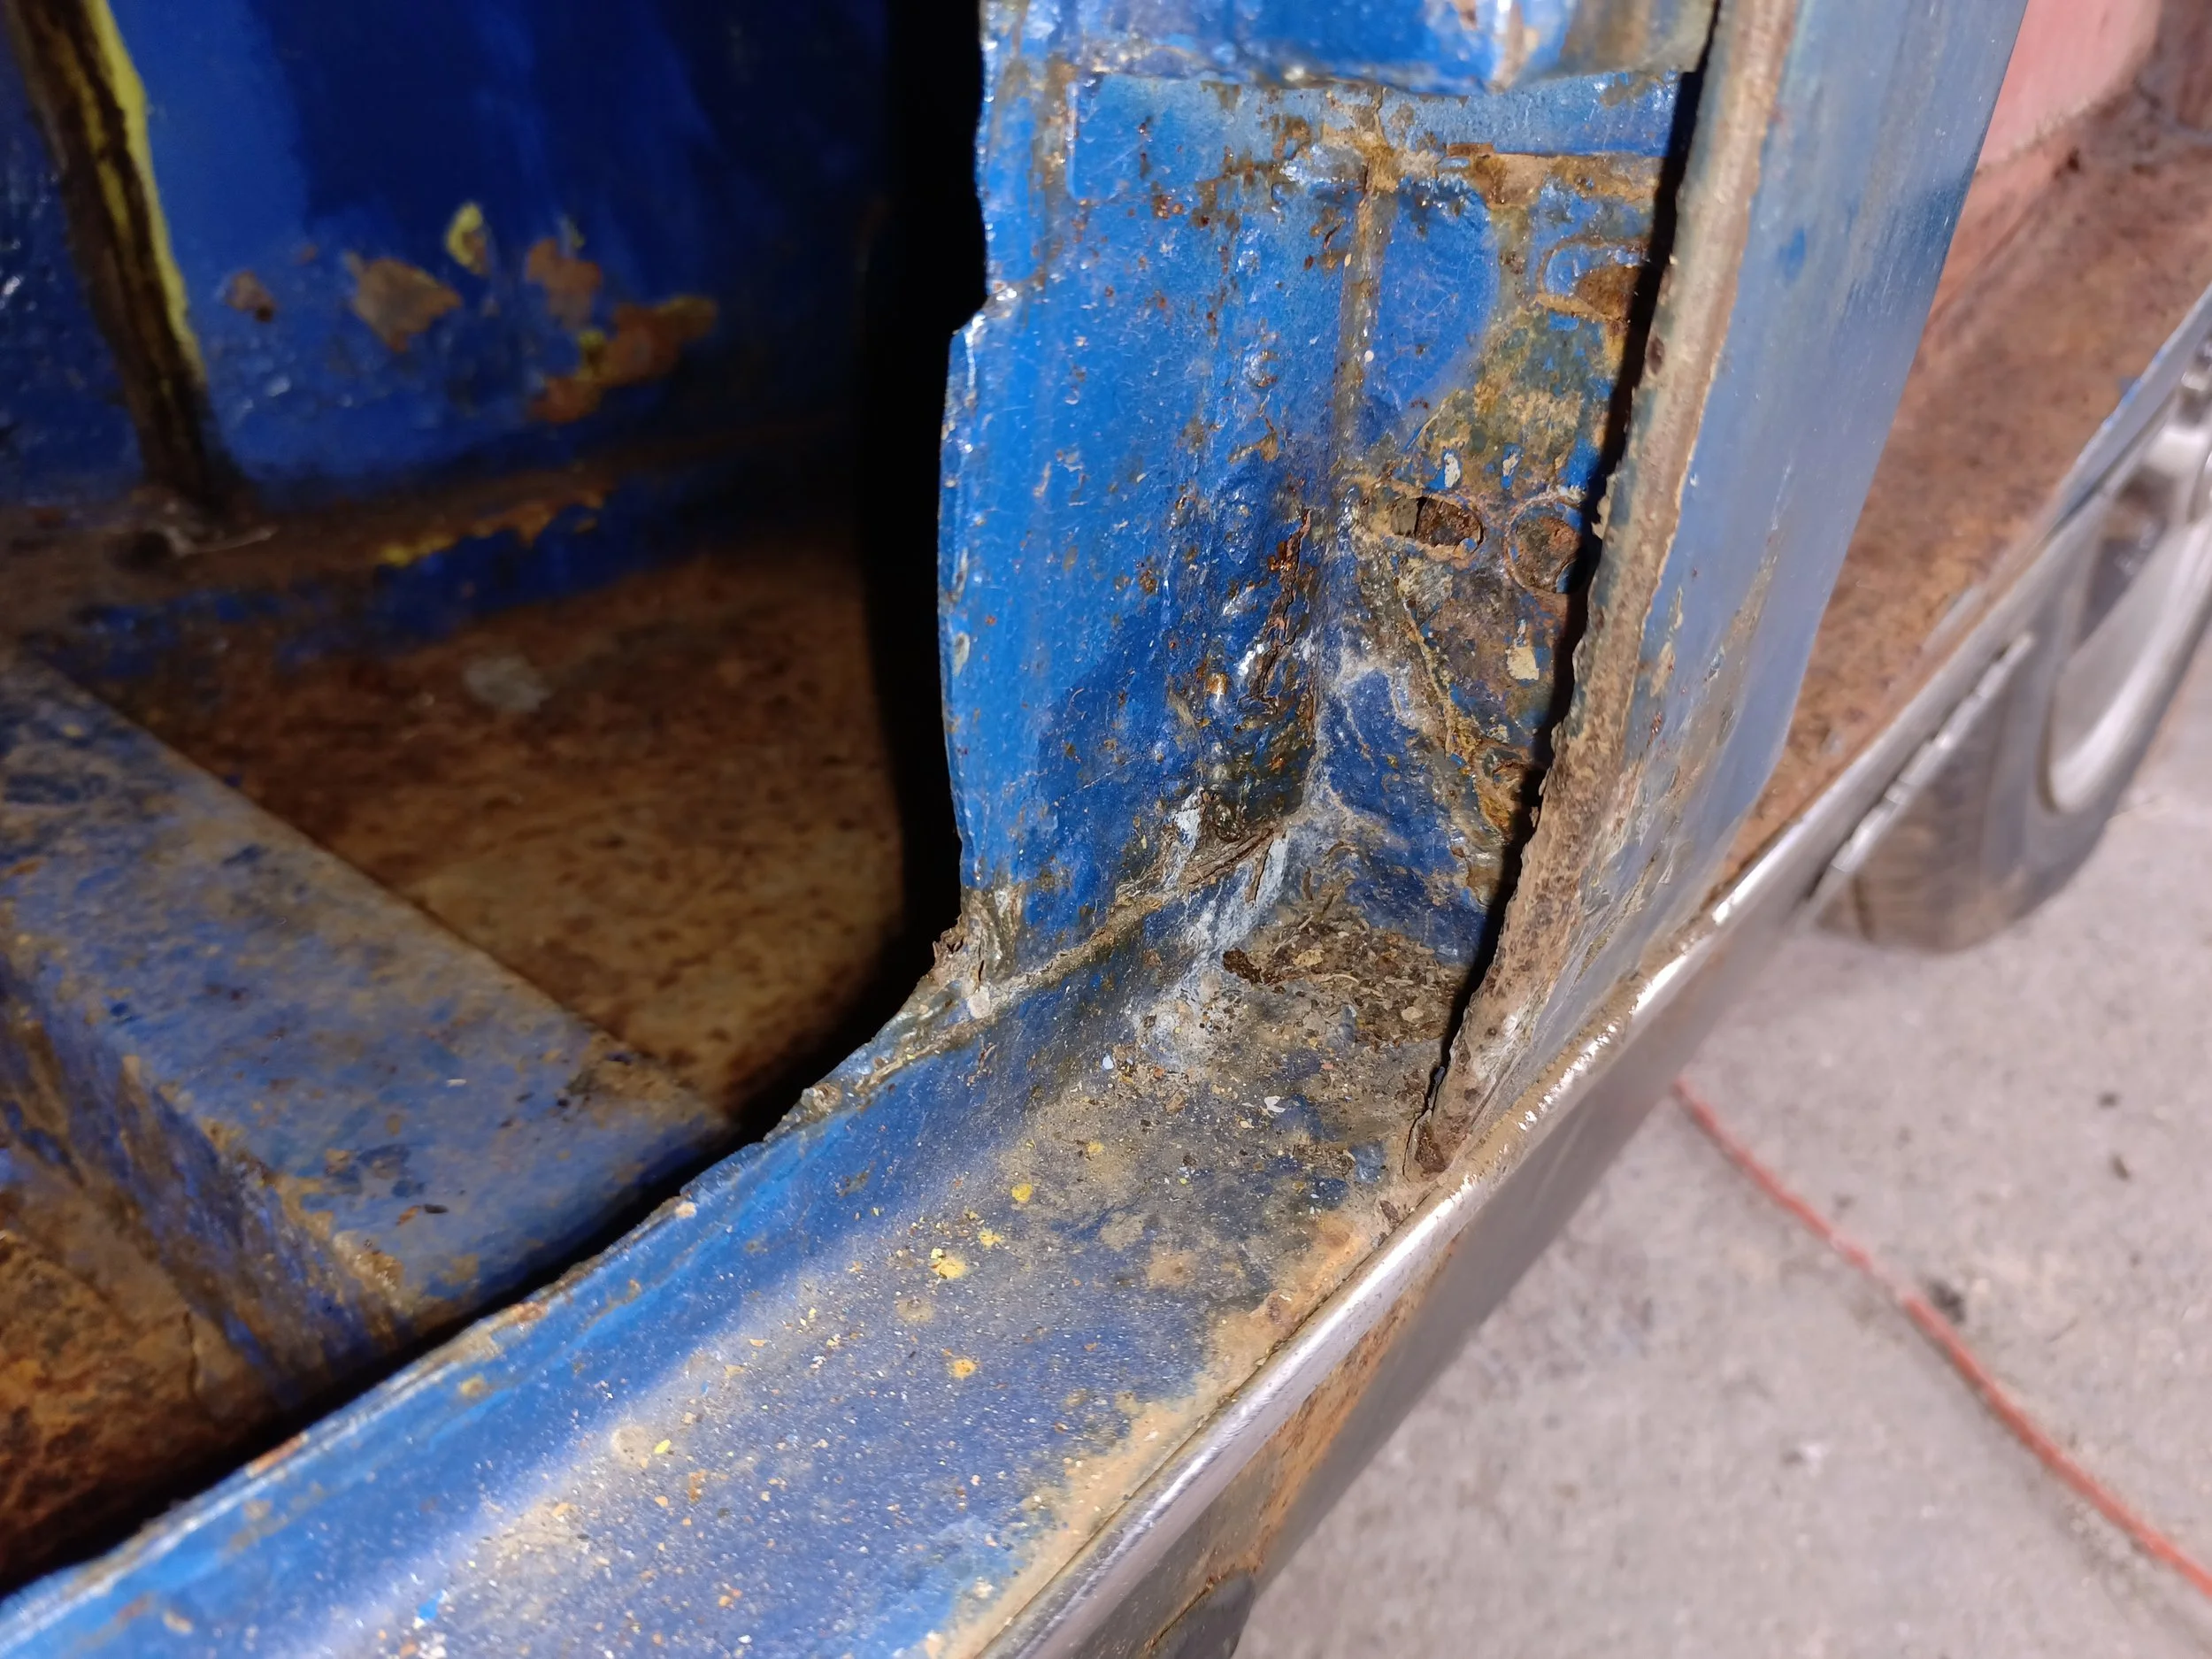
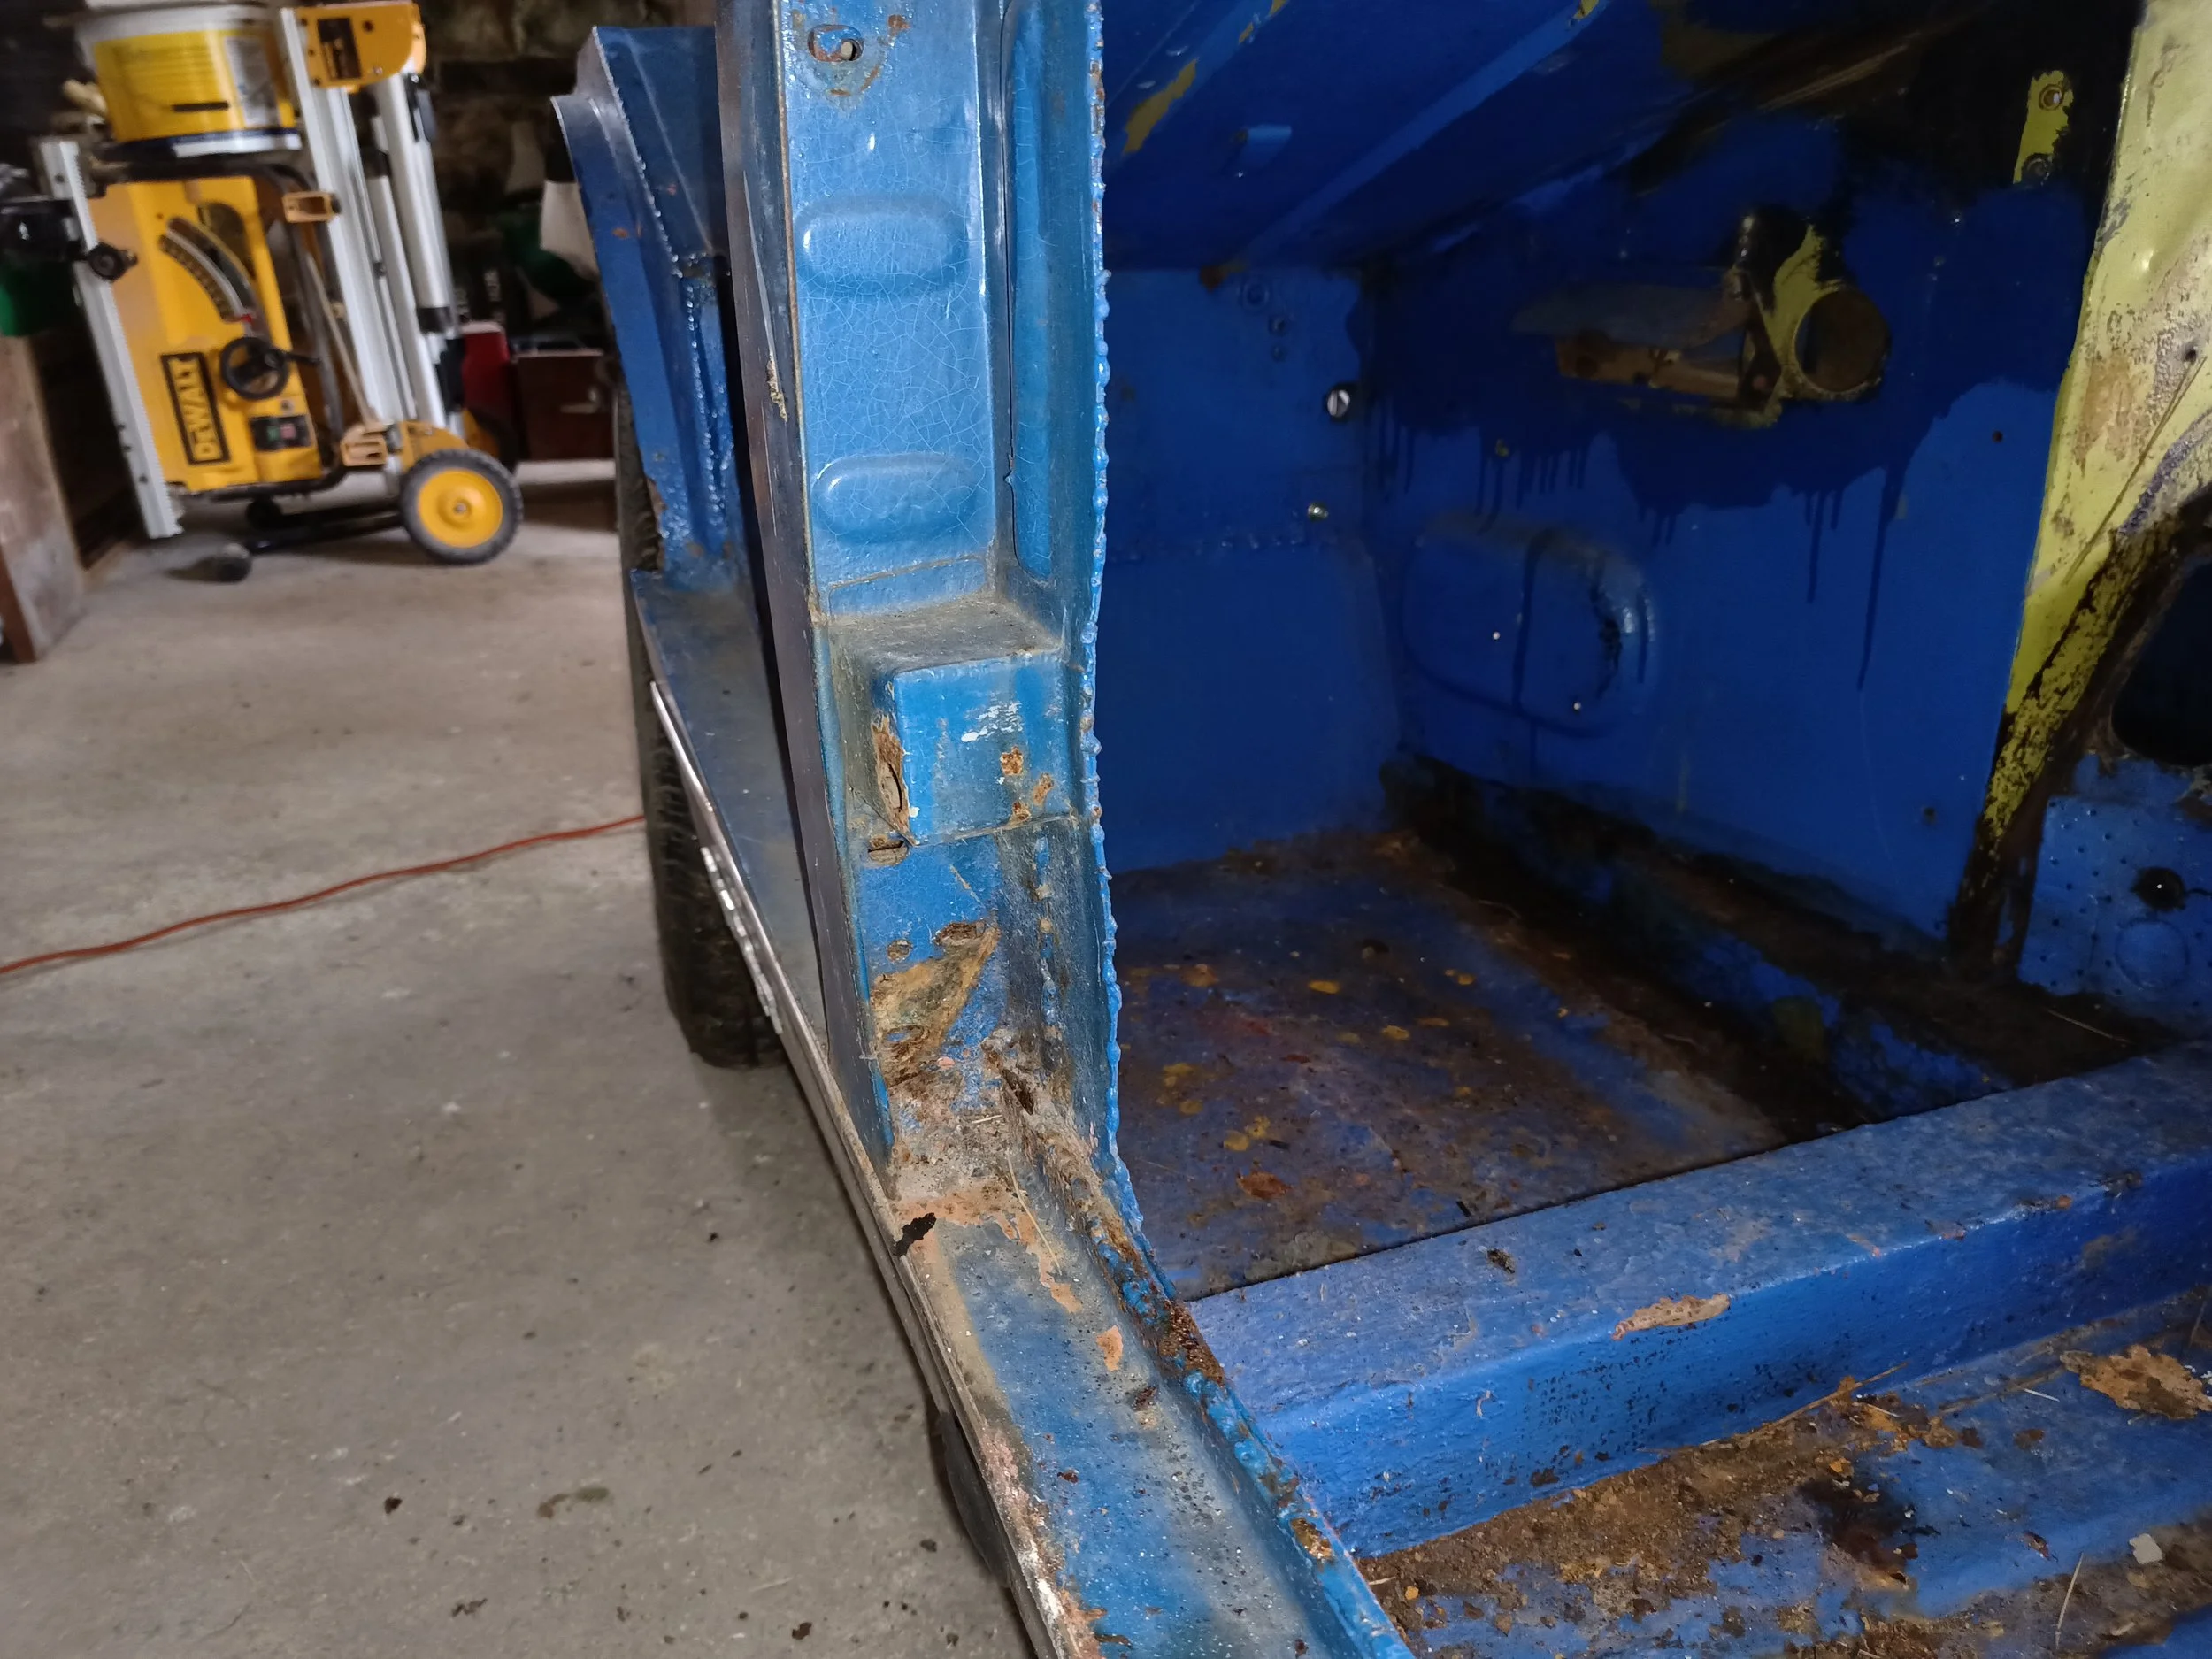
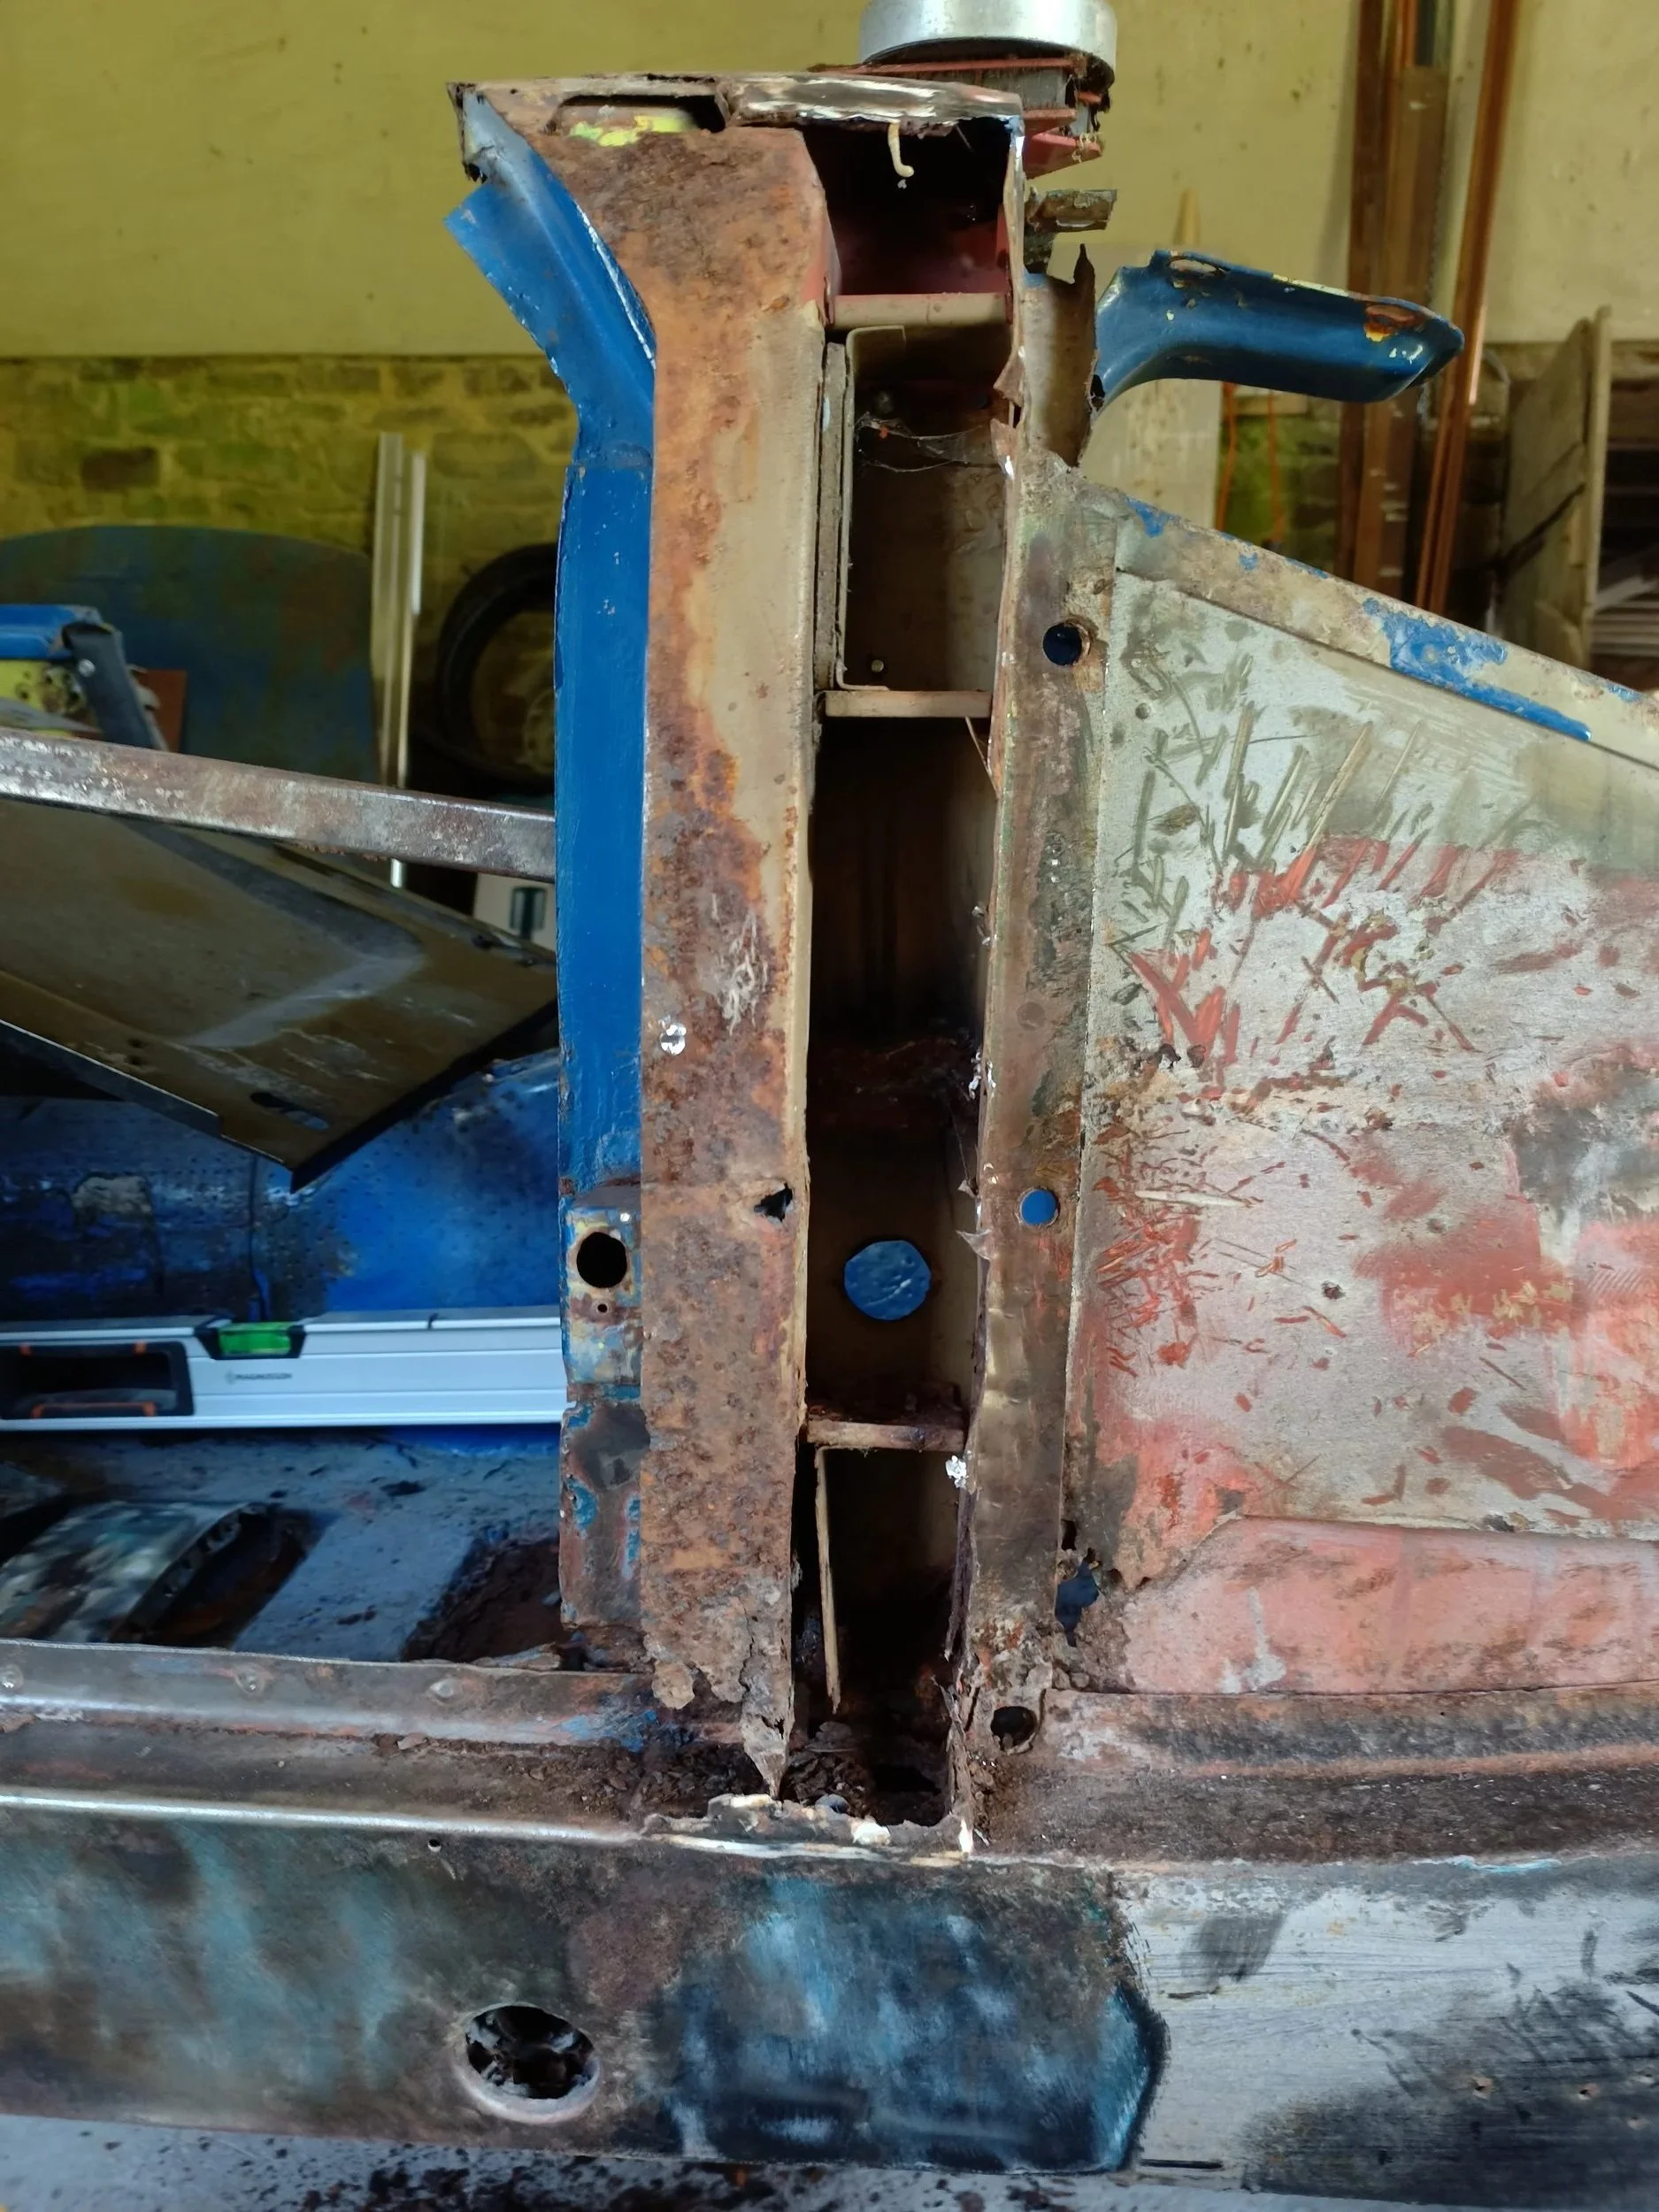
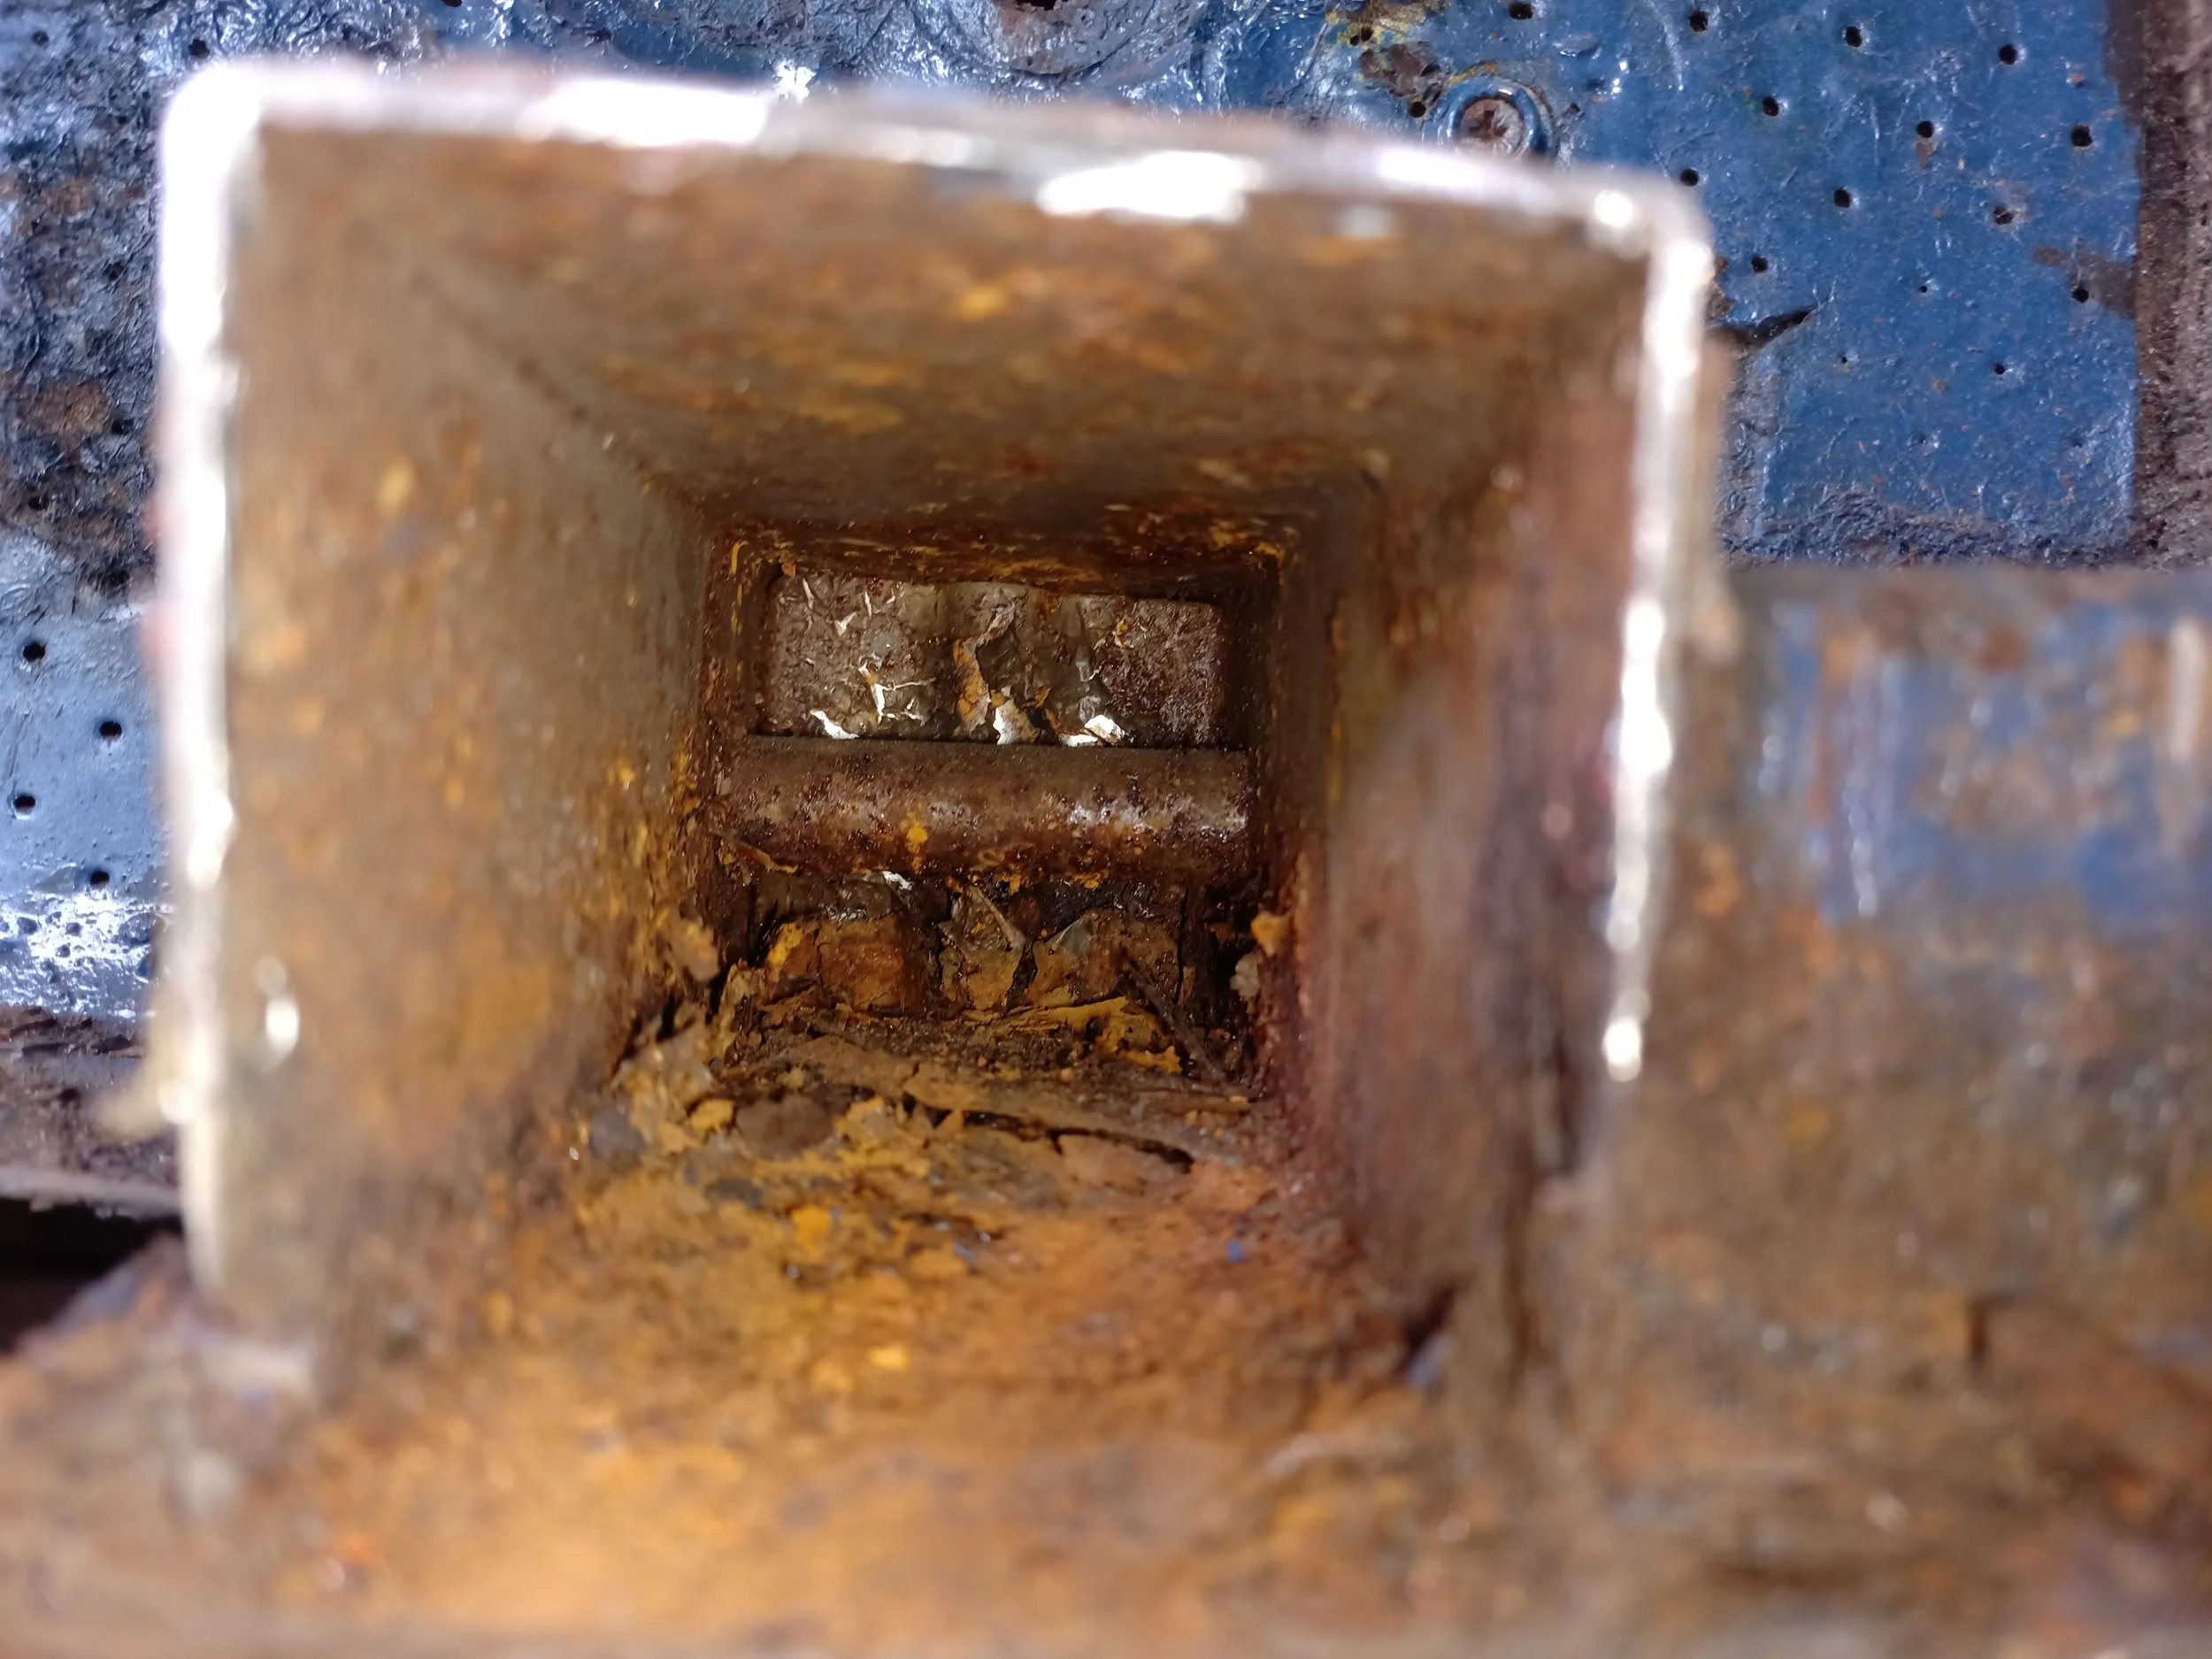
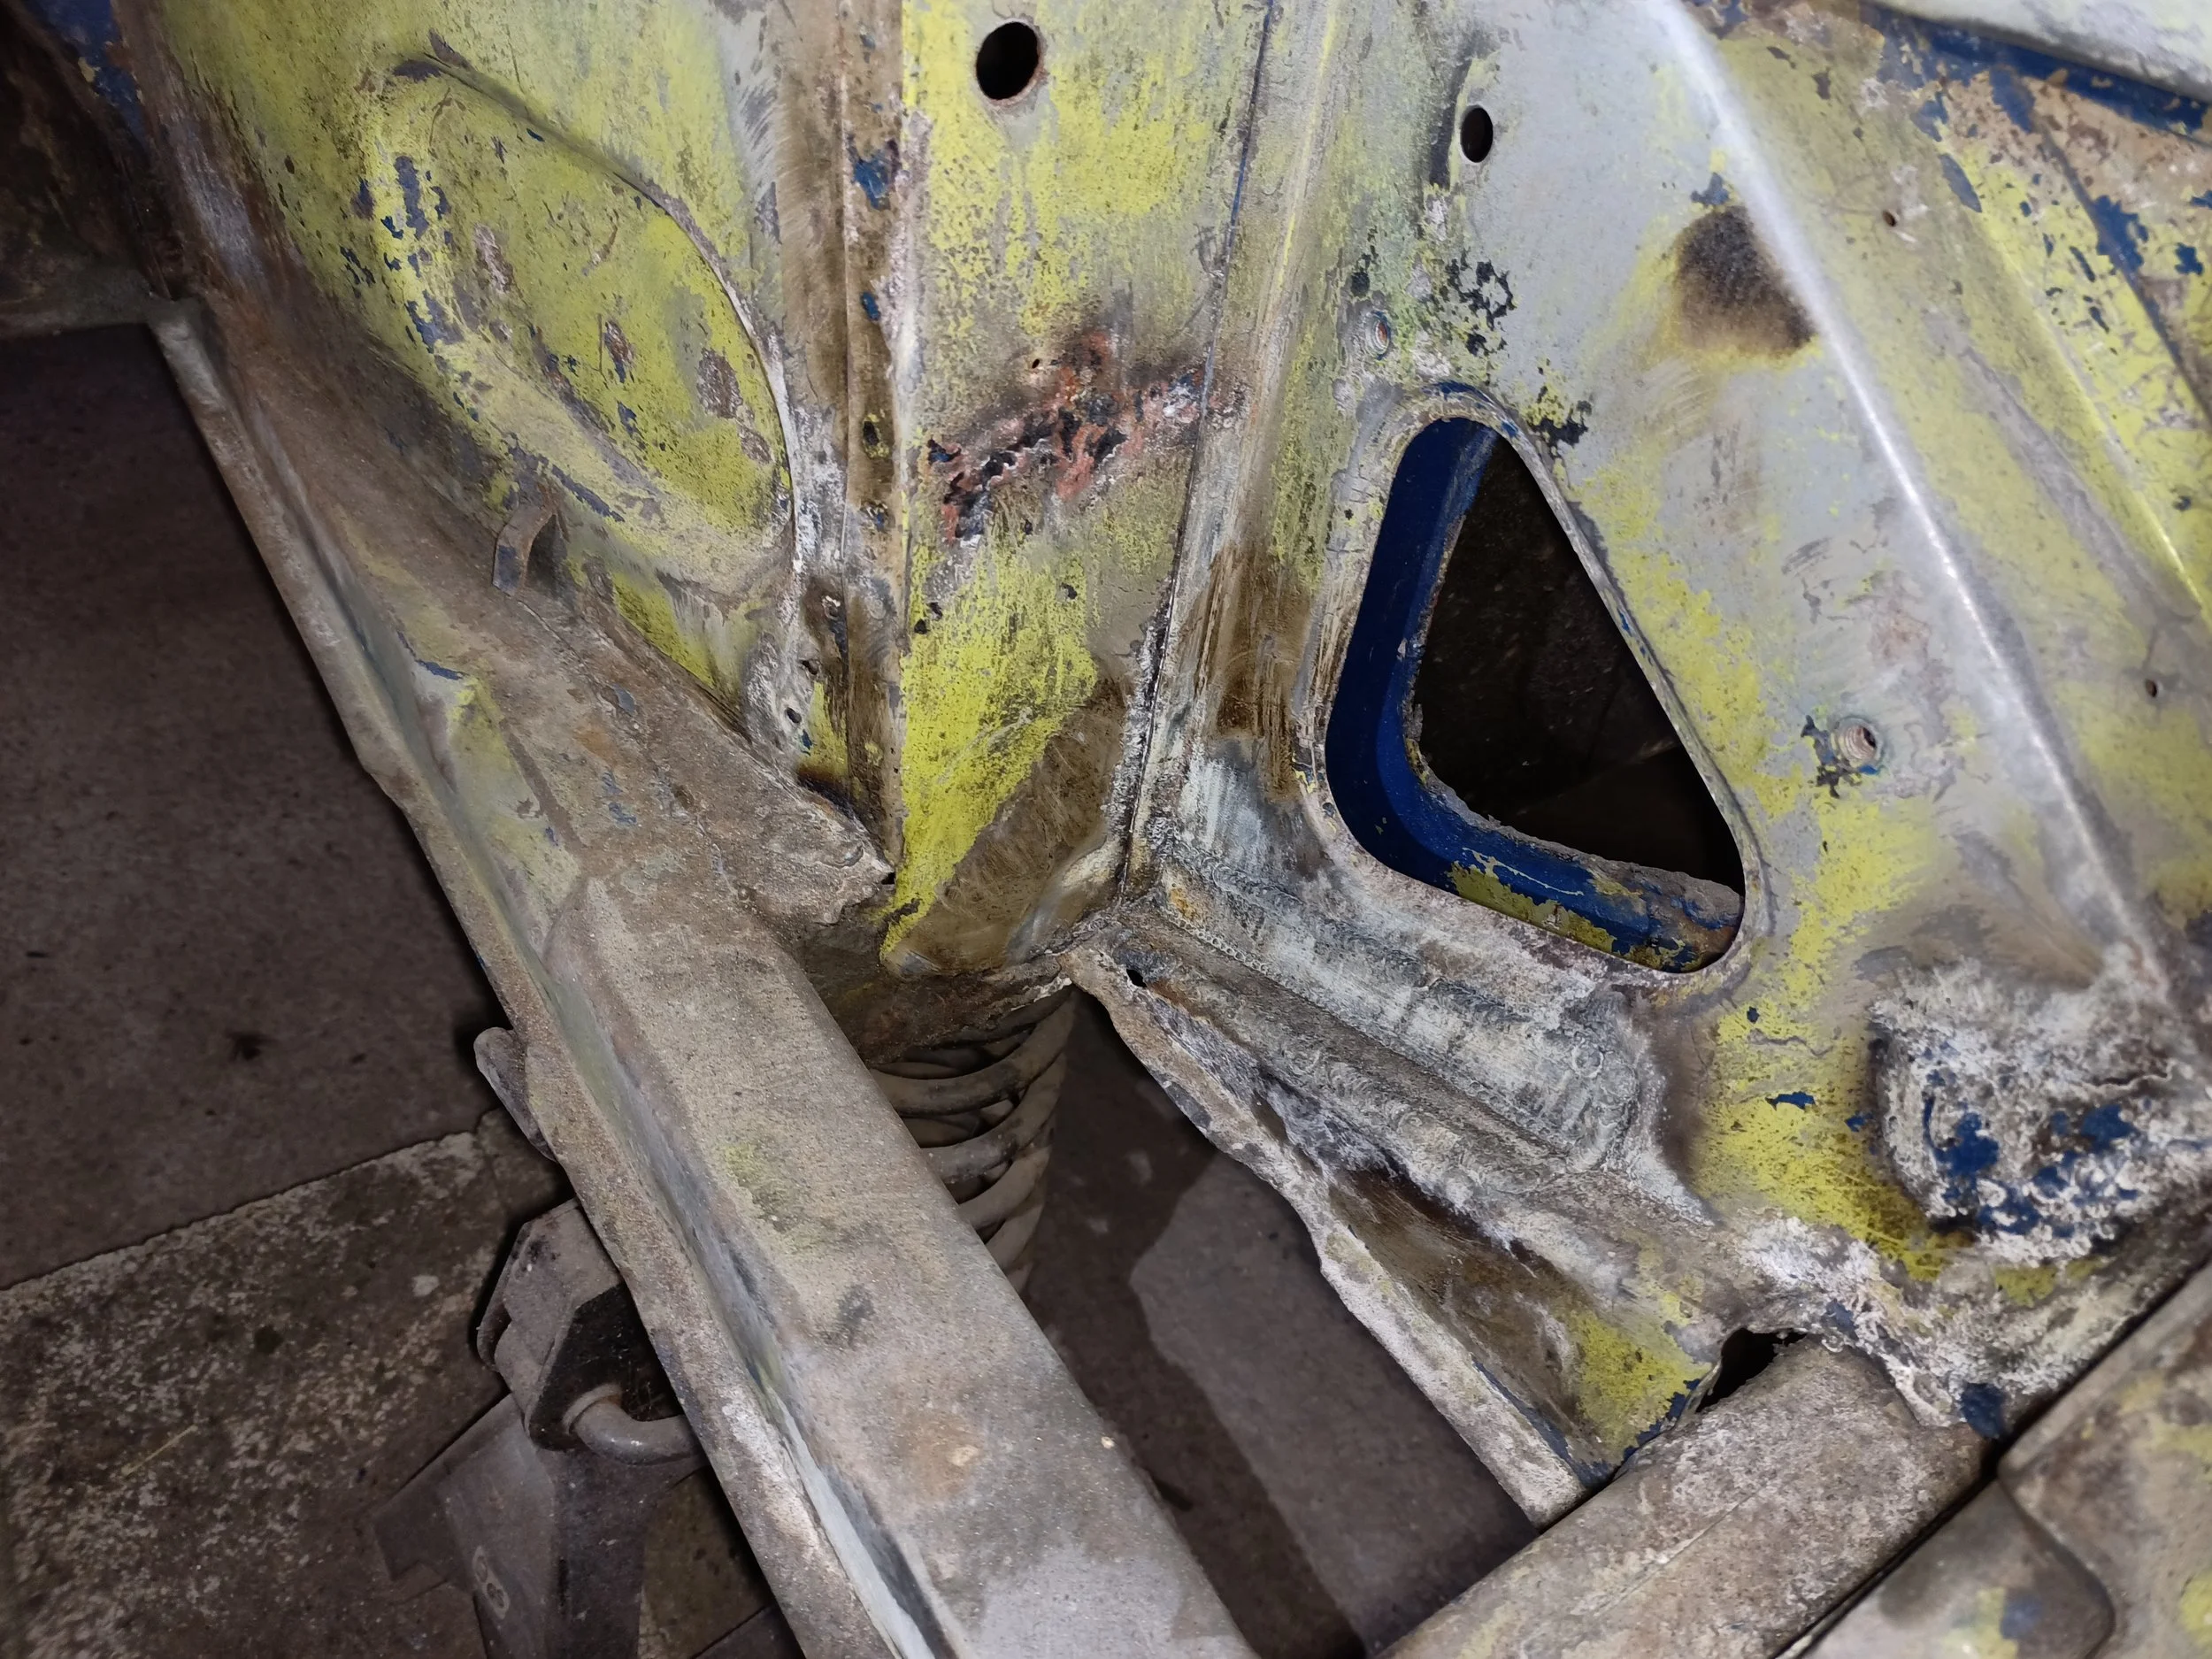
Corrosion in the bottom of the B-pillar.

And in the scuttle panel.

Dodgy repairs to the offside footwell...

Rust in the offside floor-pan.

Including a hole through the floor.

Flaking paint in the footwell.
More dodgy repairs at the base of the A-pillar.
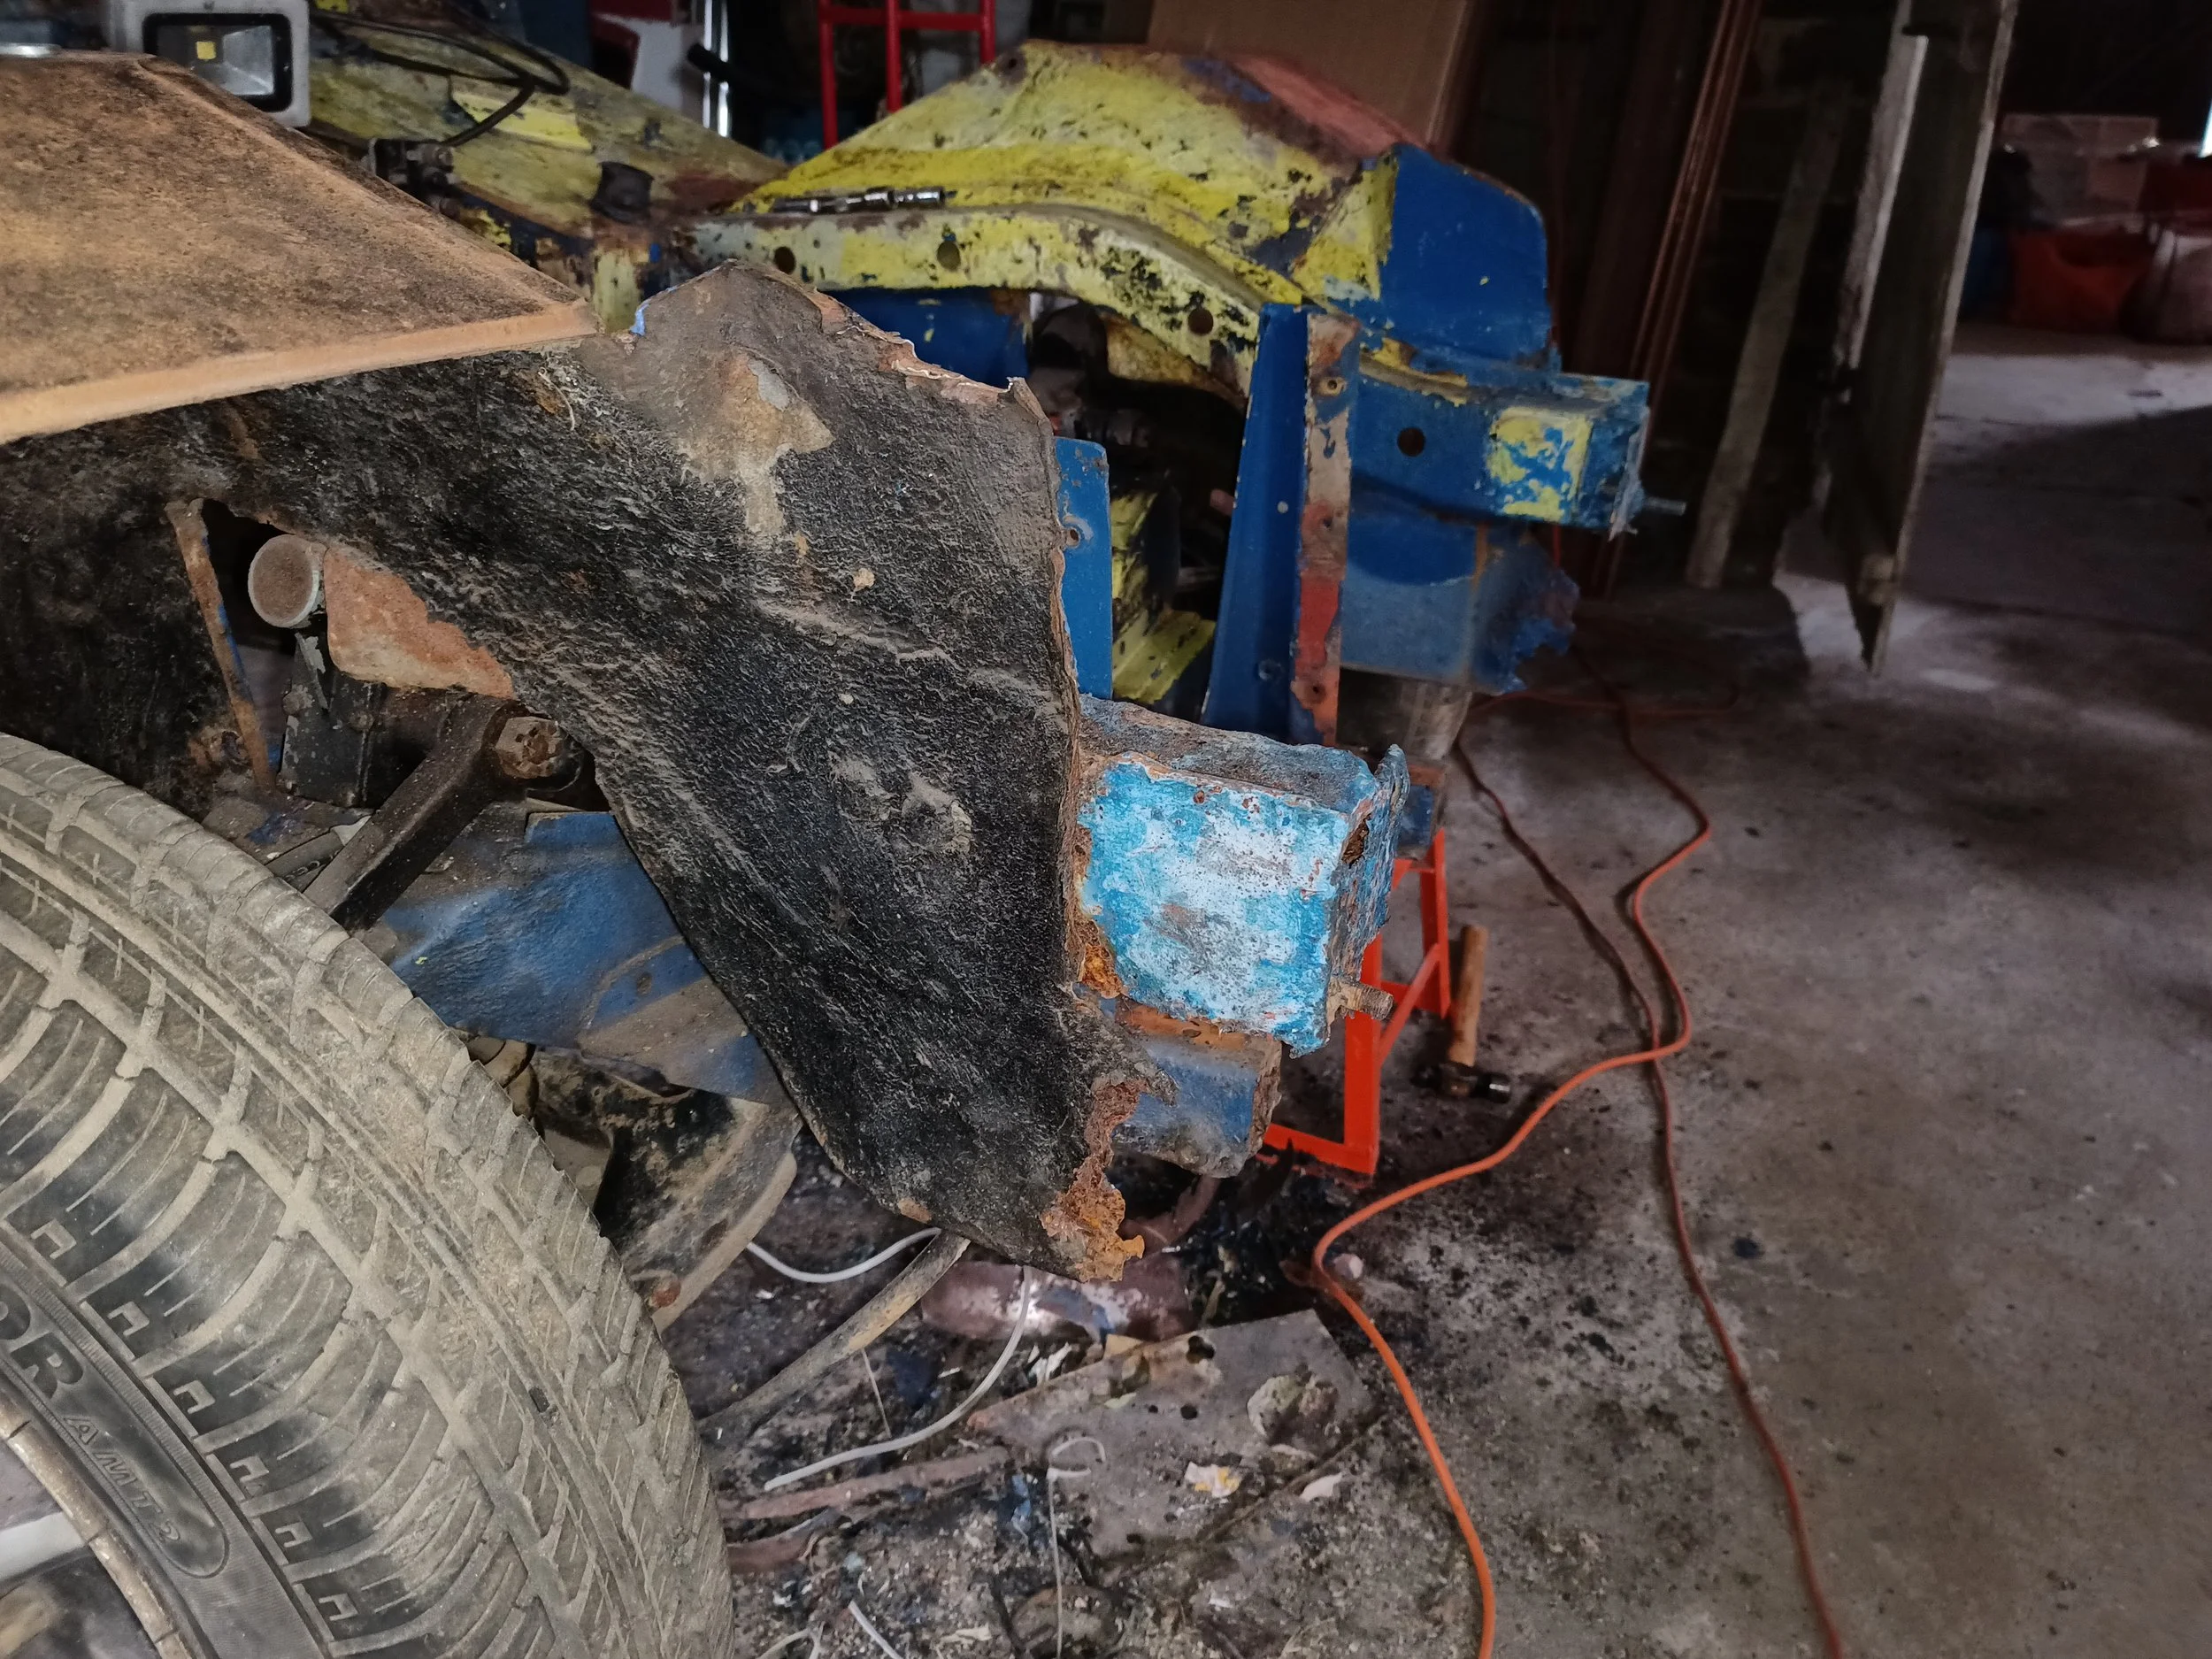
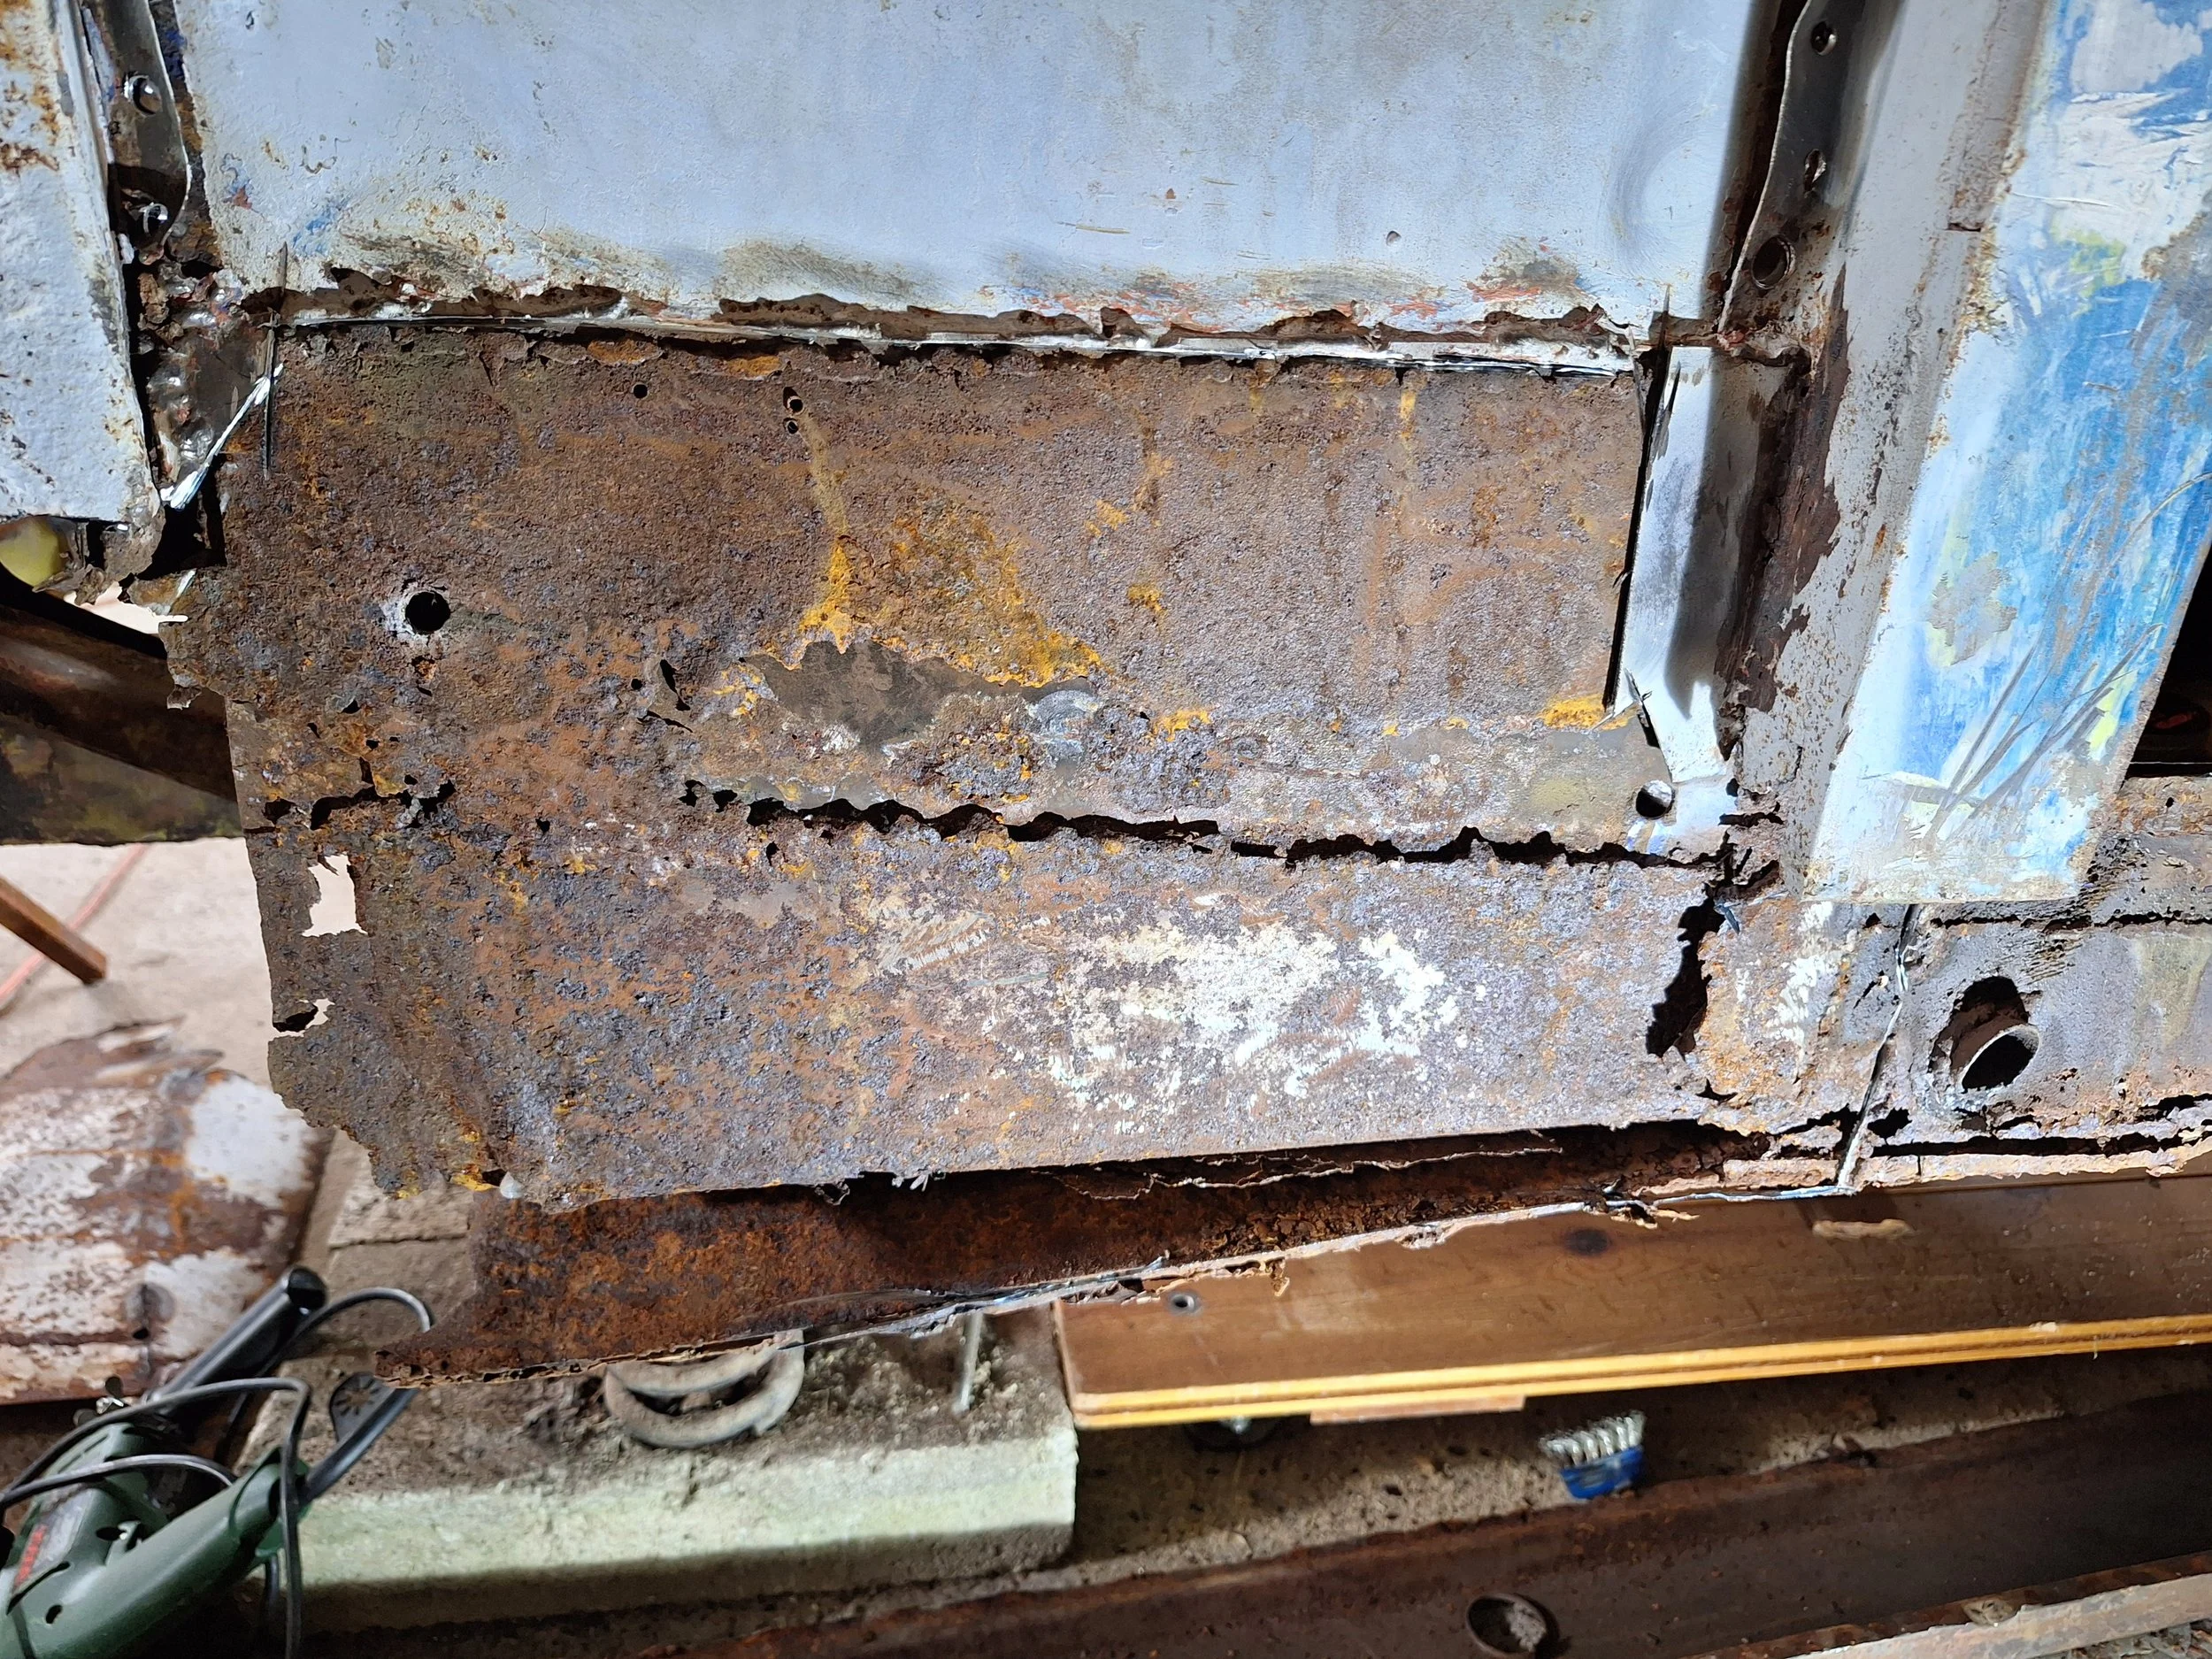
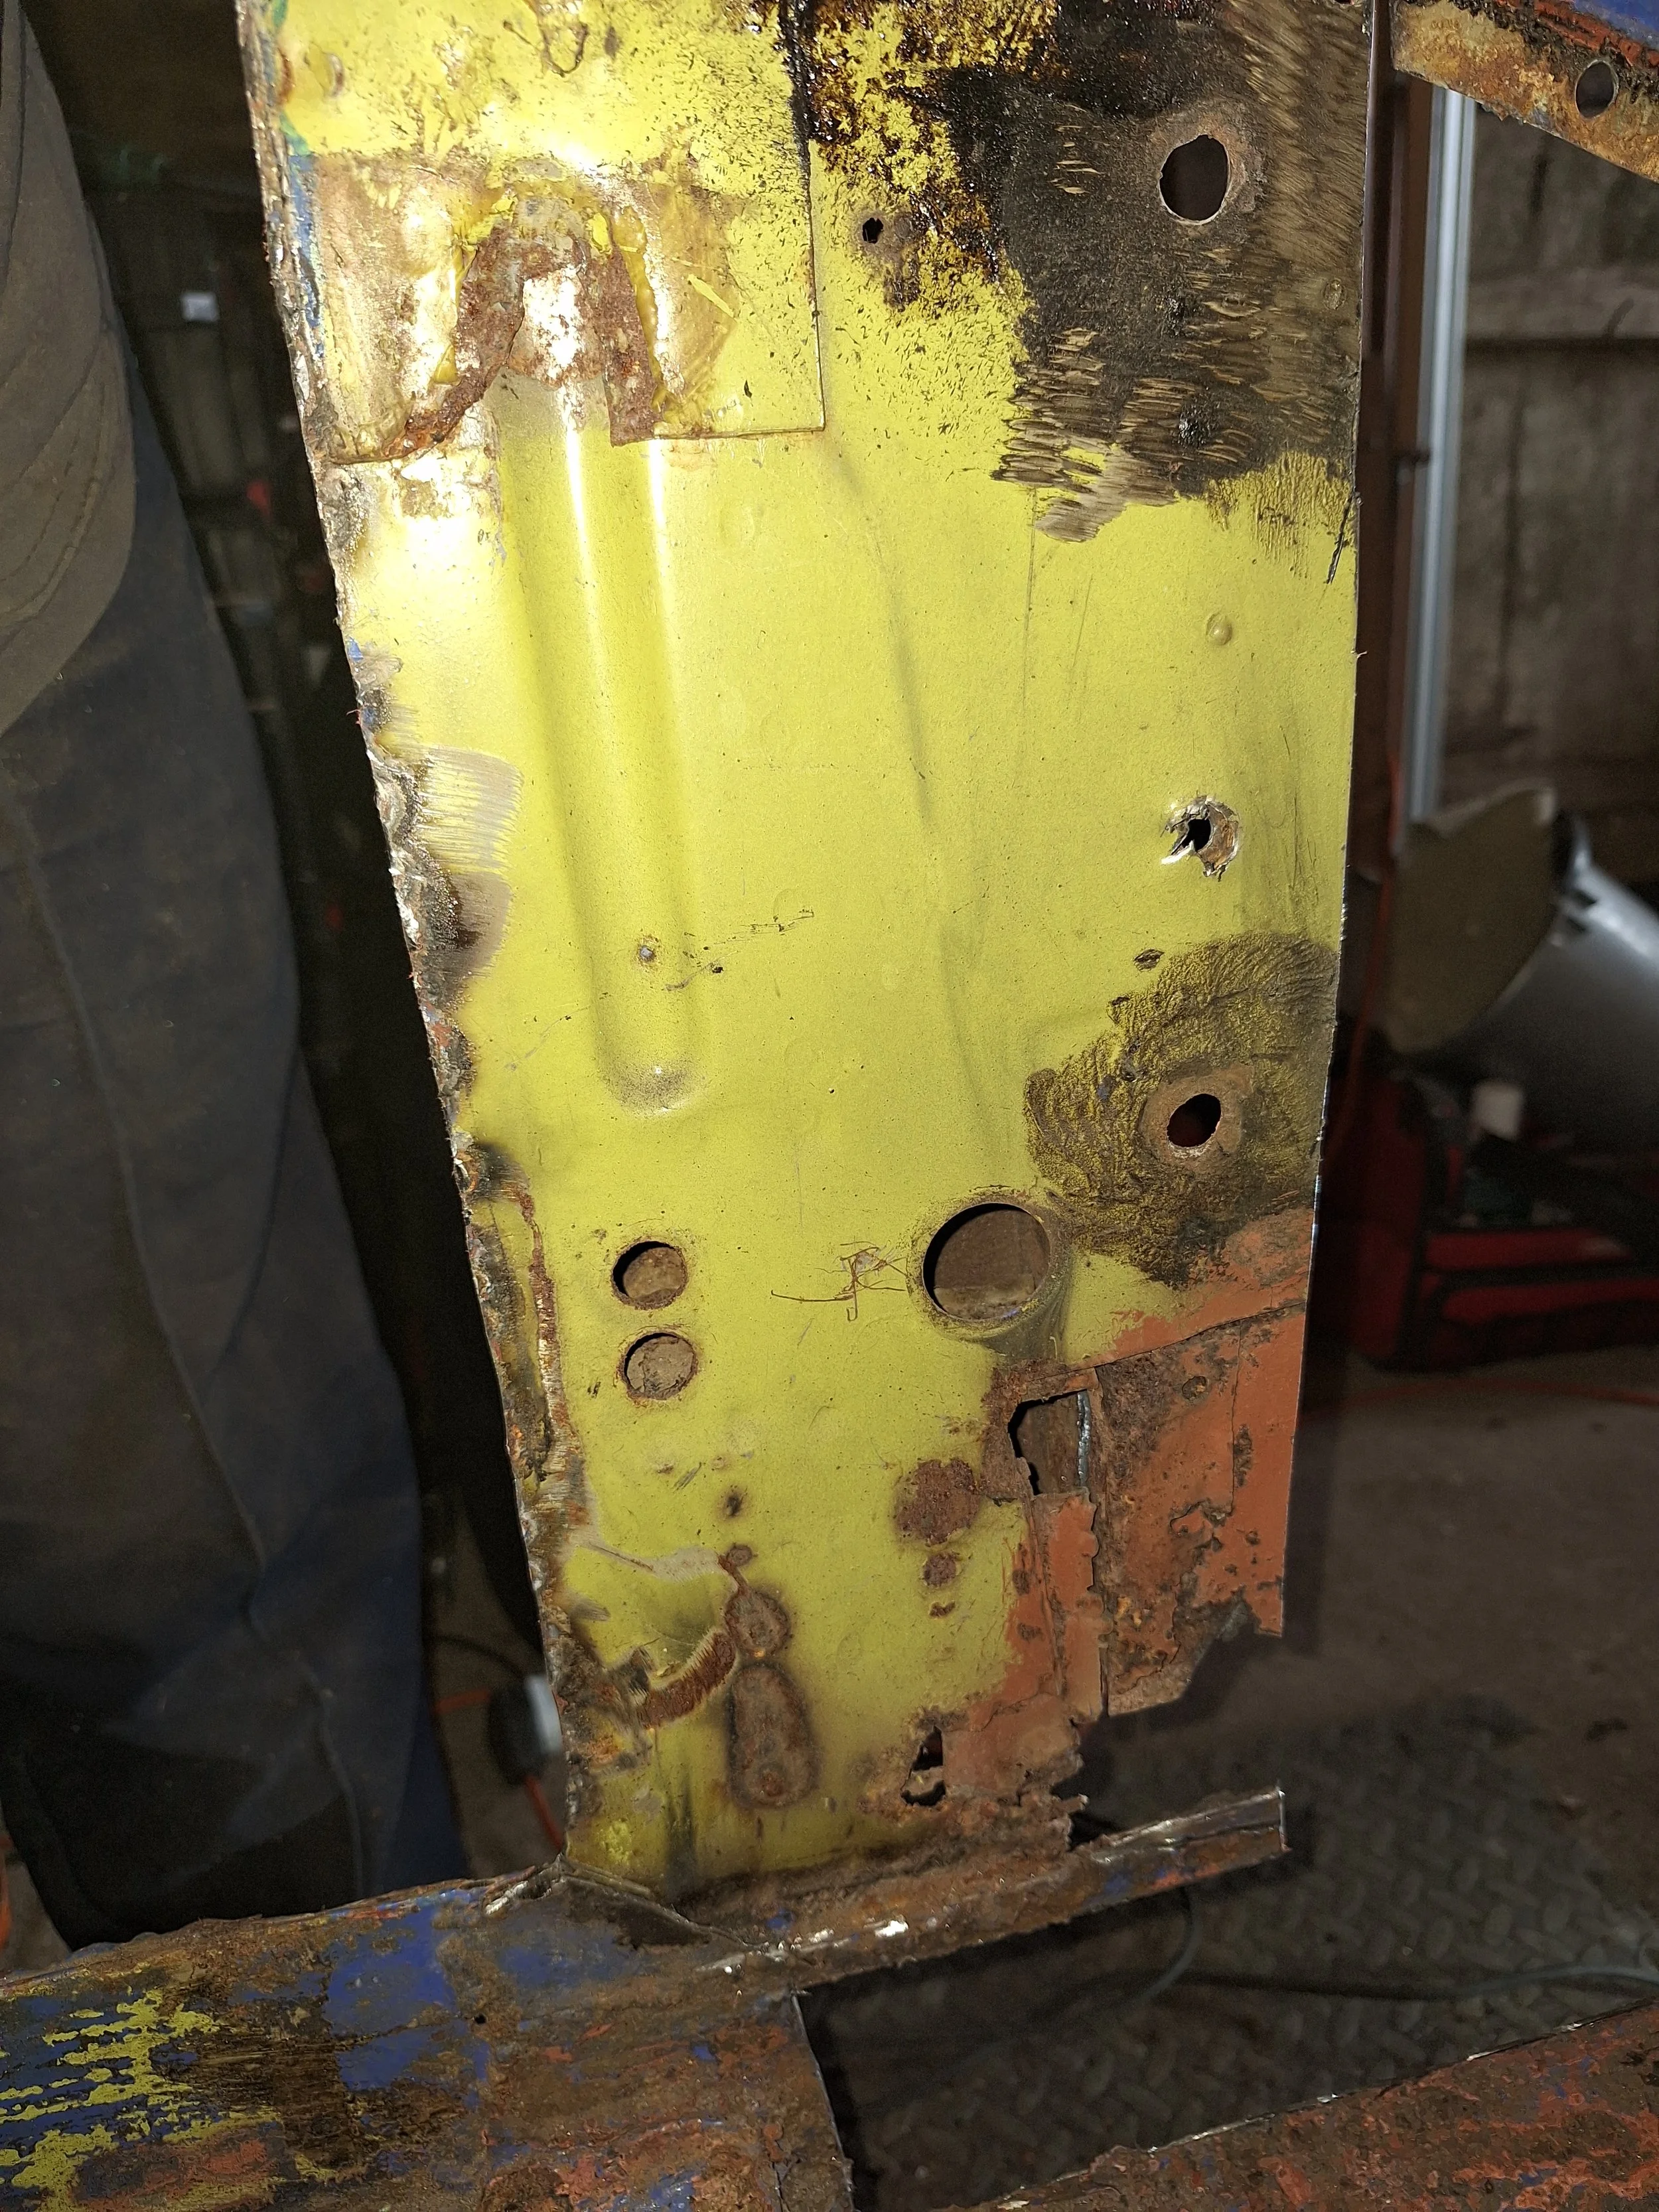
Lots of rust in the front clip, including more dodgy repairs.

The nearside looks marginally better.
Similar dodgy repairs to the nearside footwell.
Nearside inner wing attachment looking quite crusty.

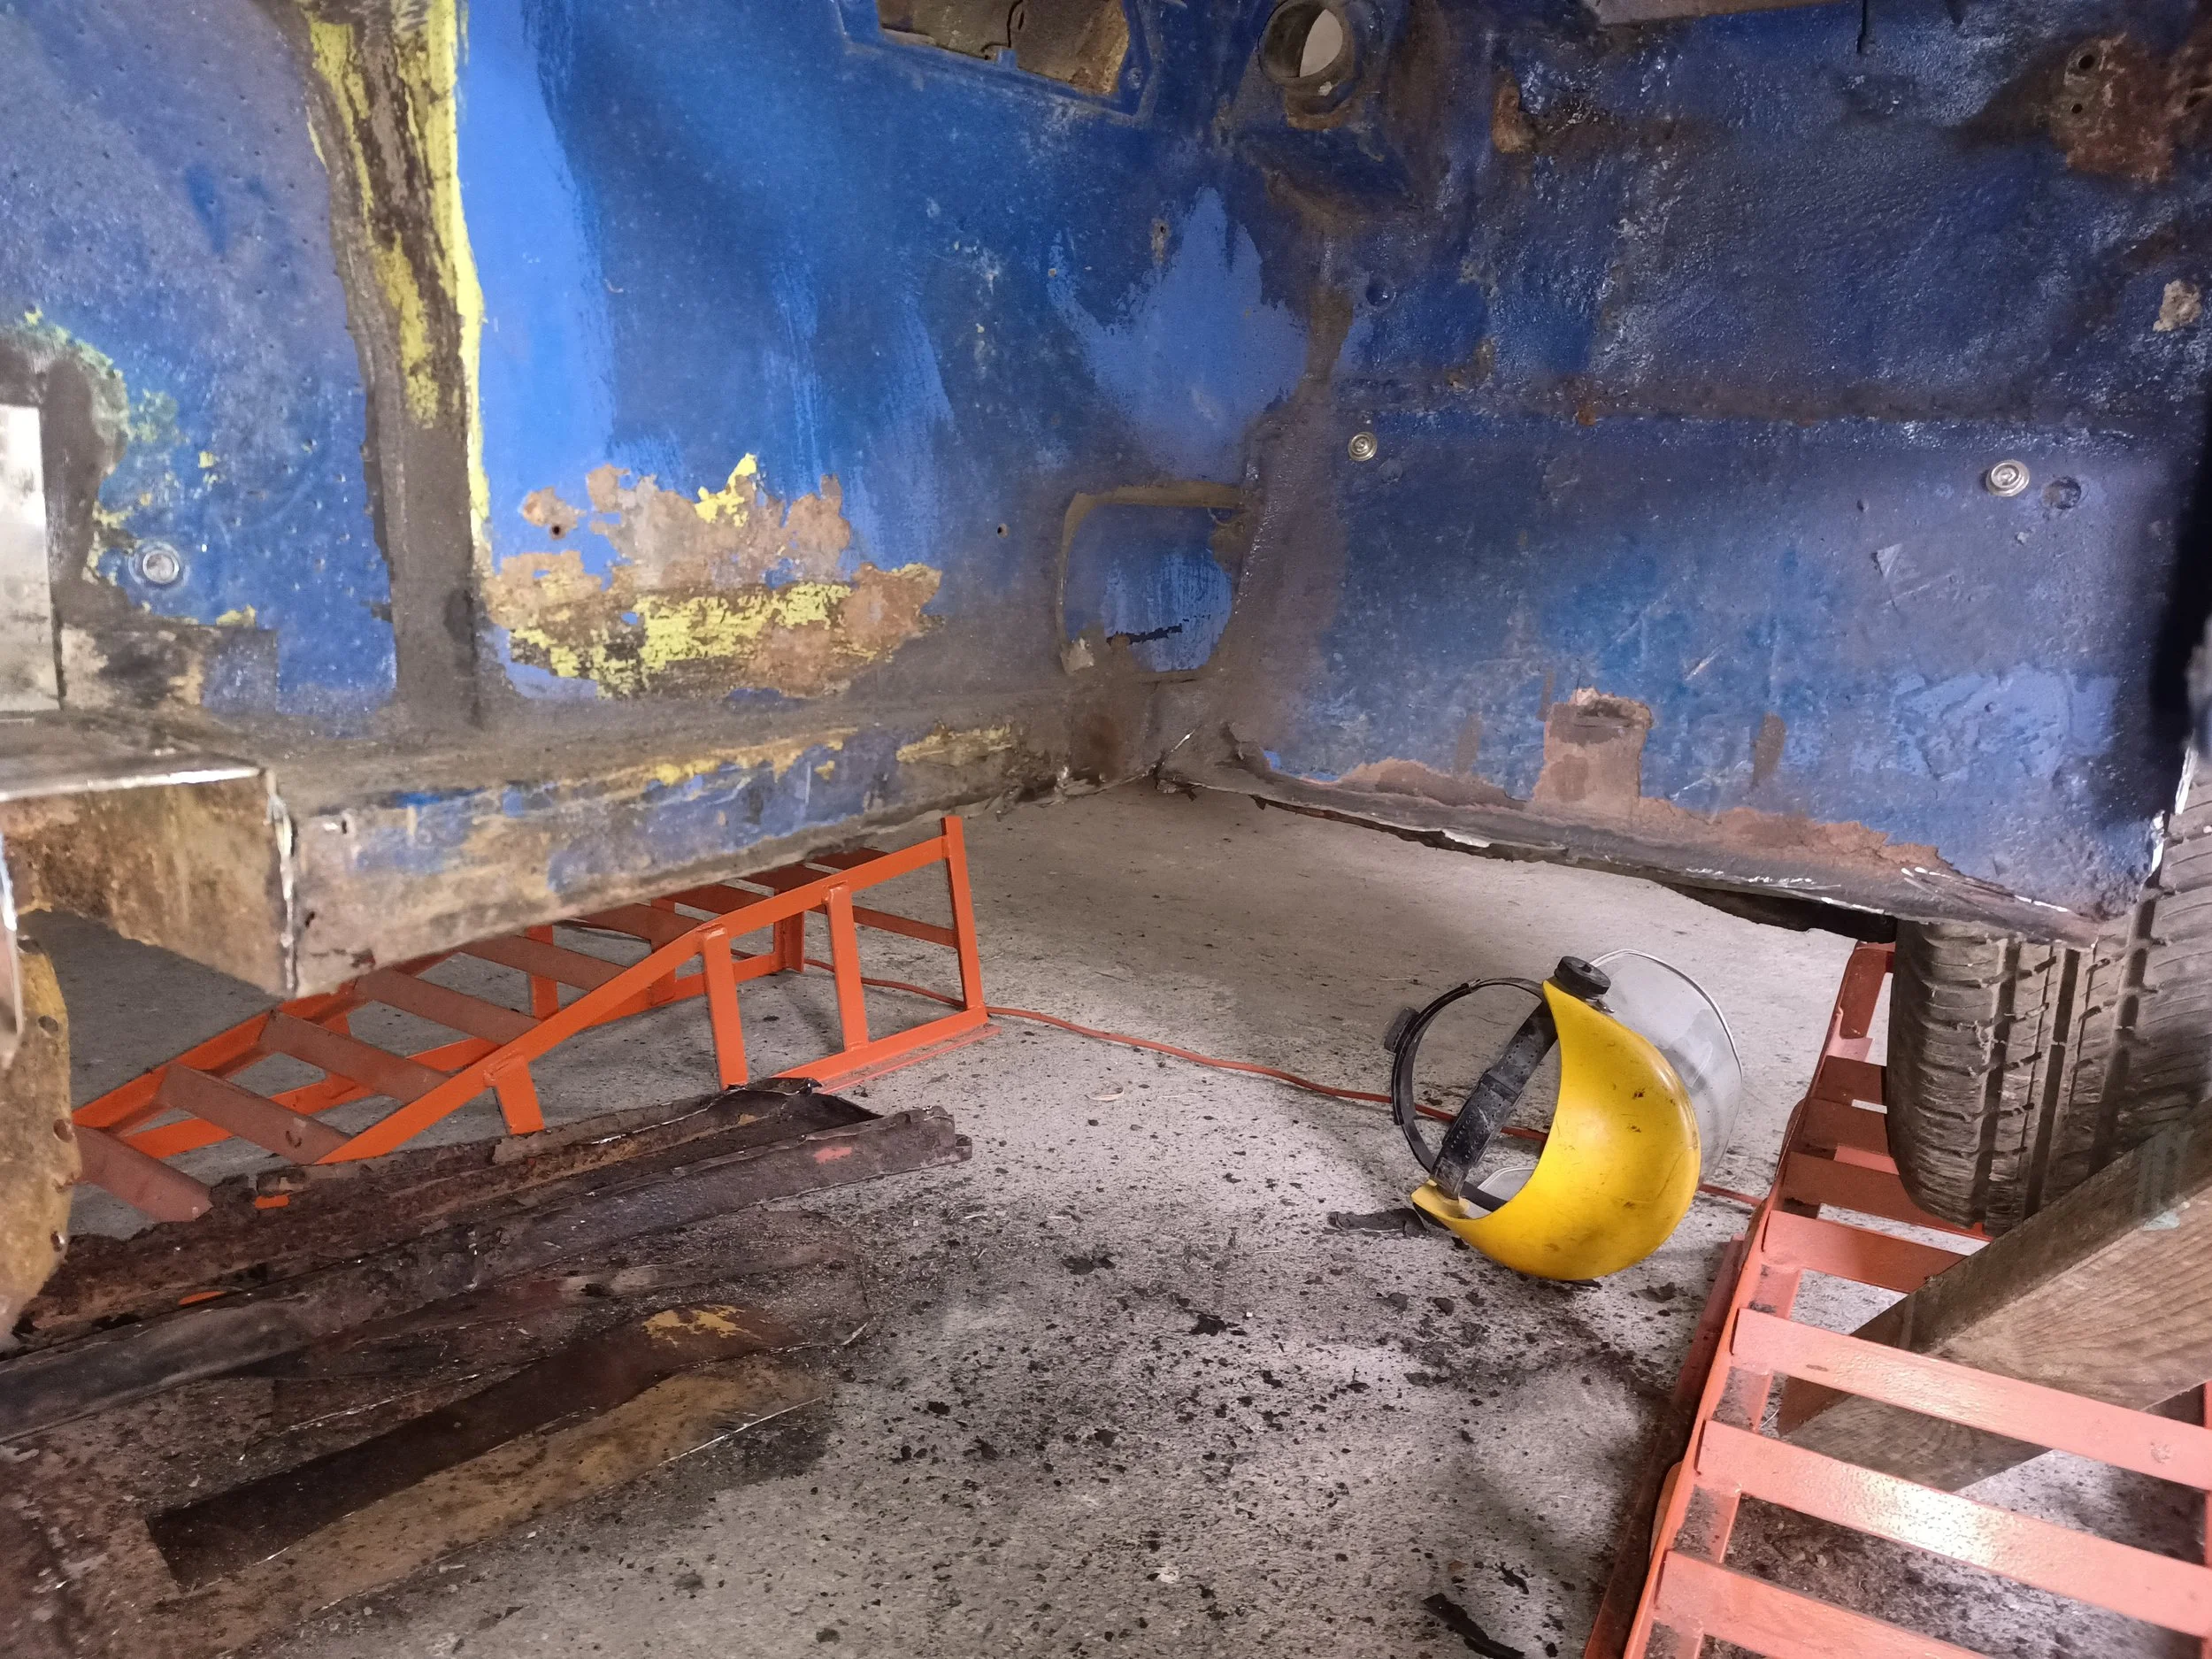
The outer sills look good at first glance...
But a closer inspection shows them to be barely attached to the car. A few blobs of weld on the top edge of the panel are all that is holding this outer sill to the inner sill.

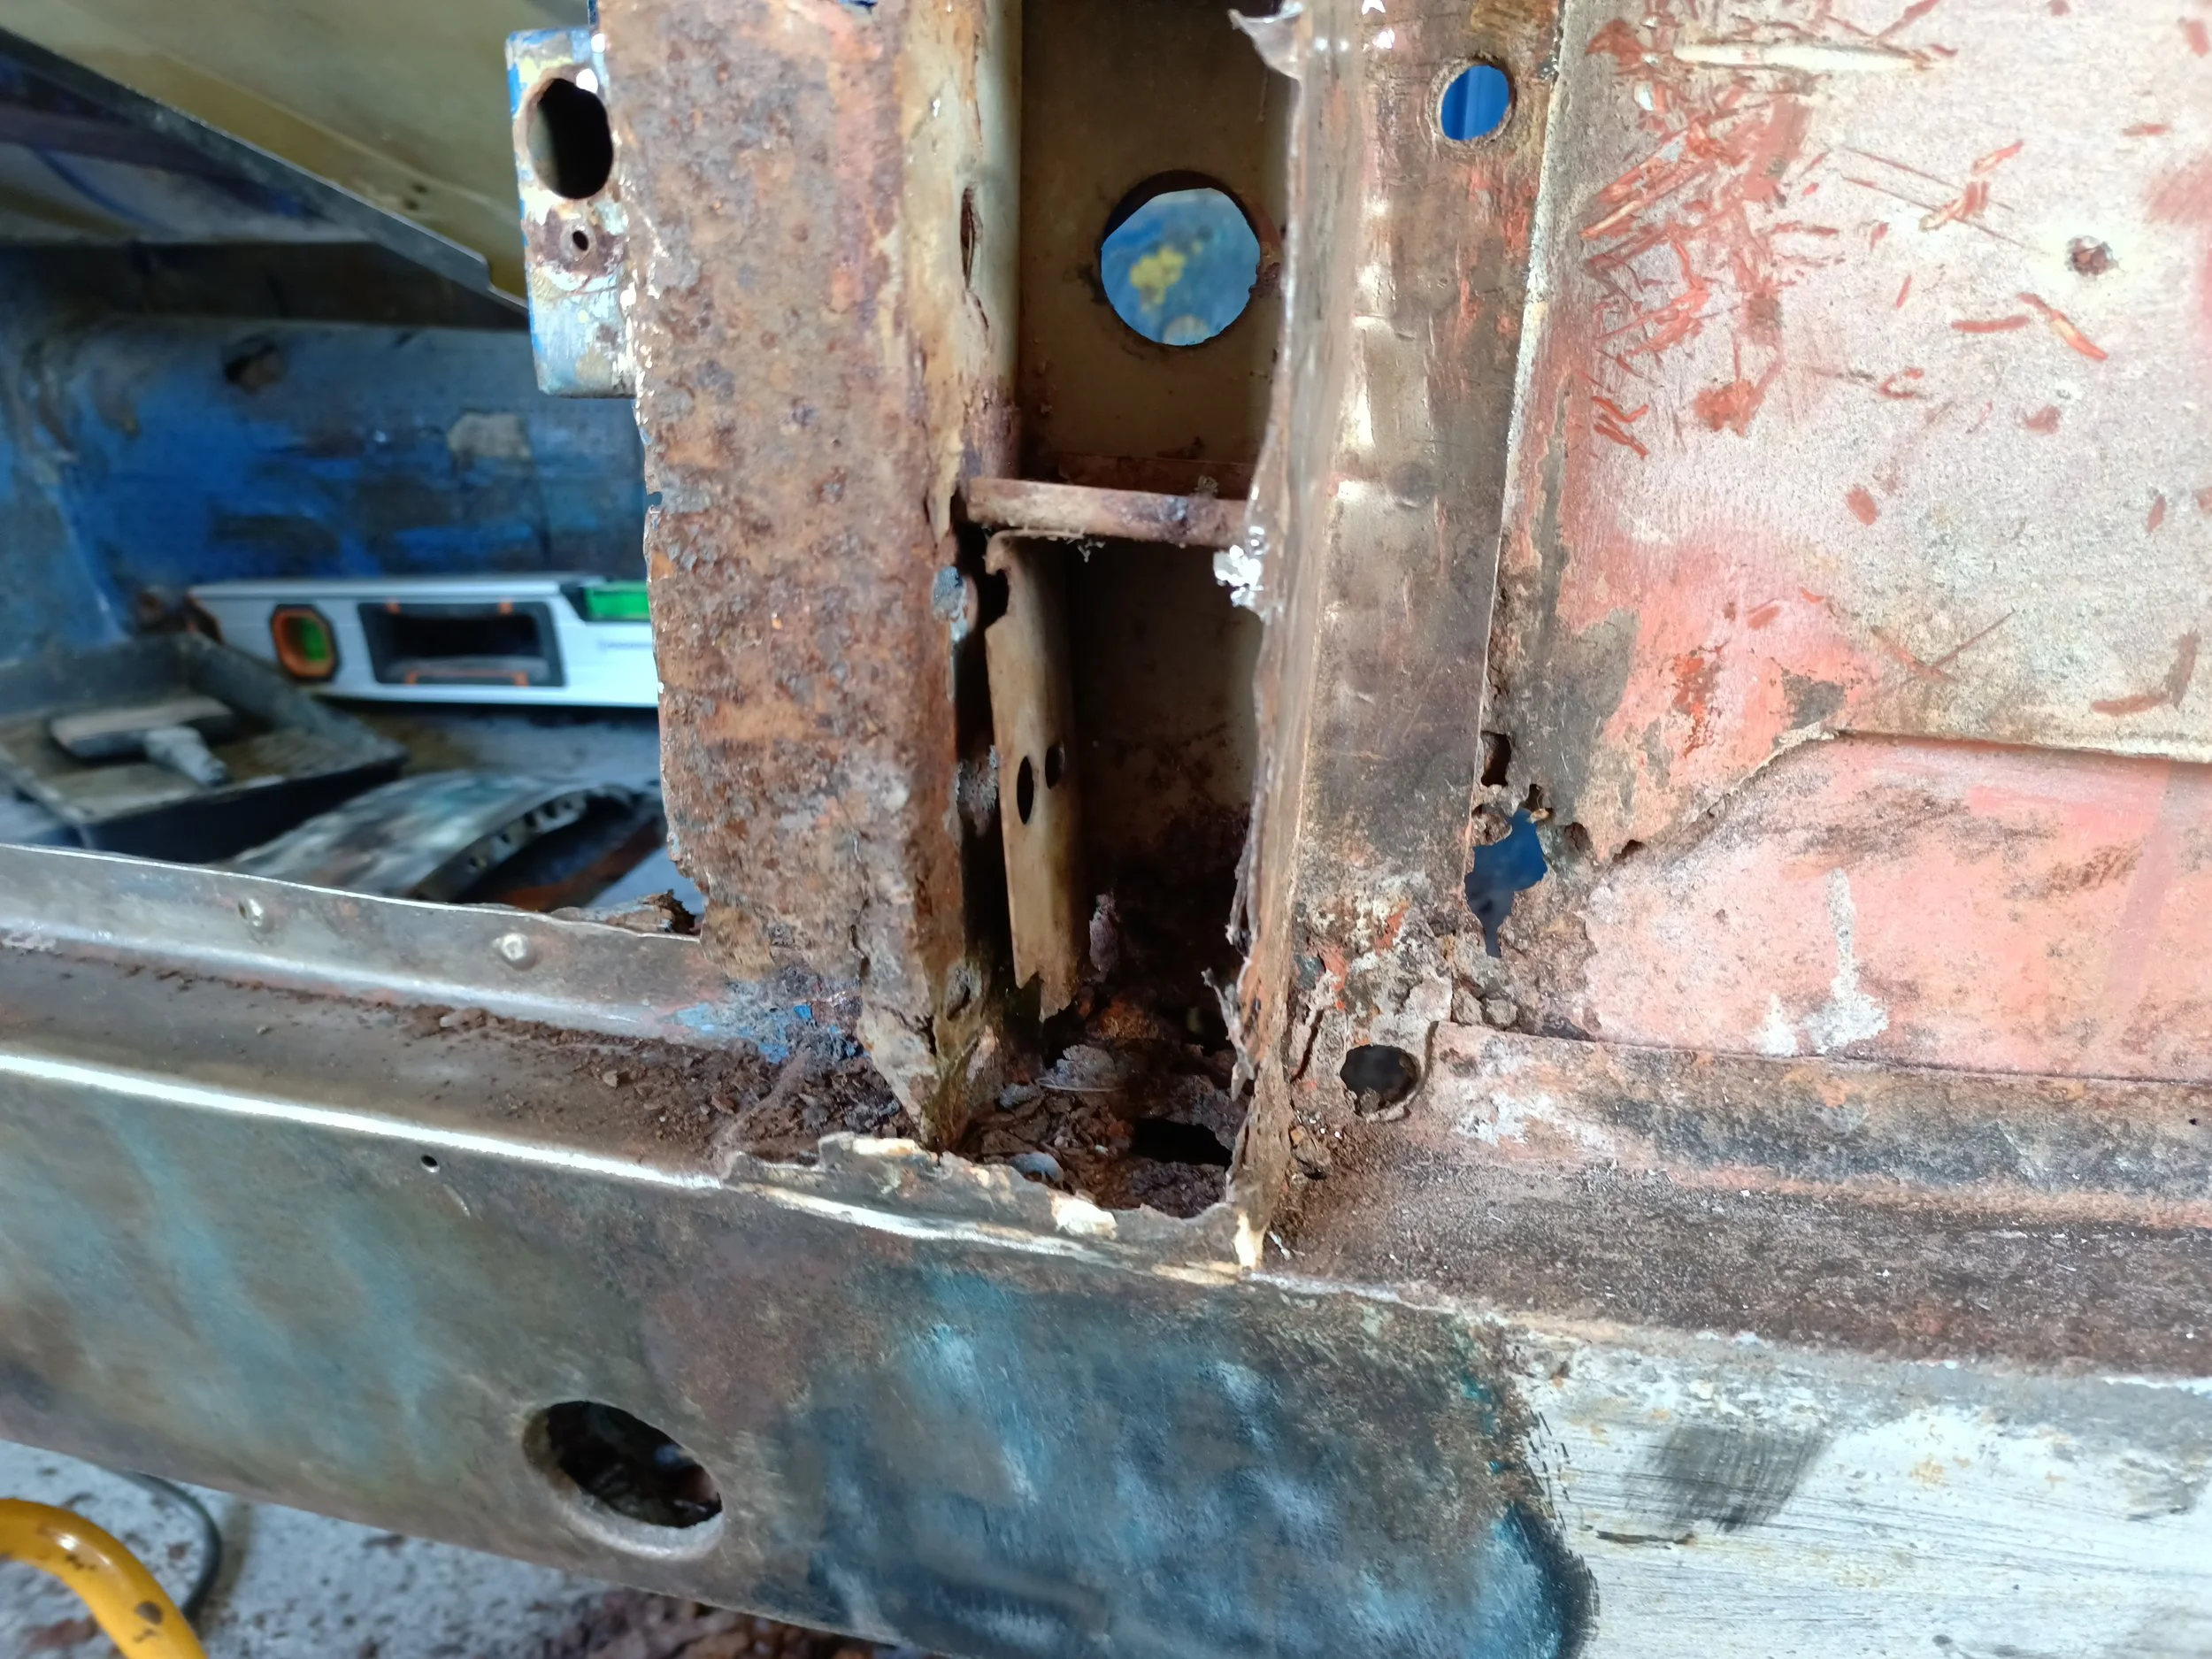
Rust in the top of the offside B-pillar.
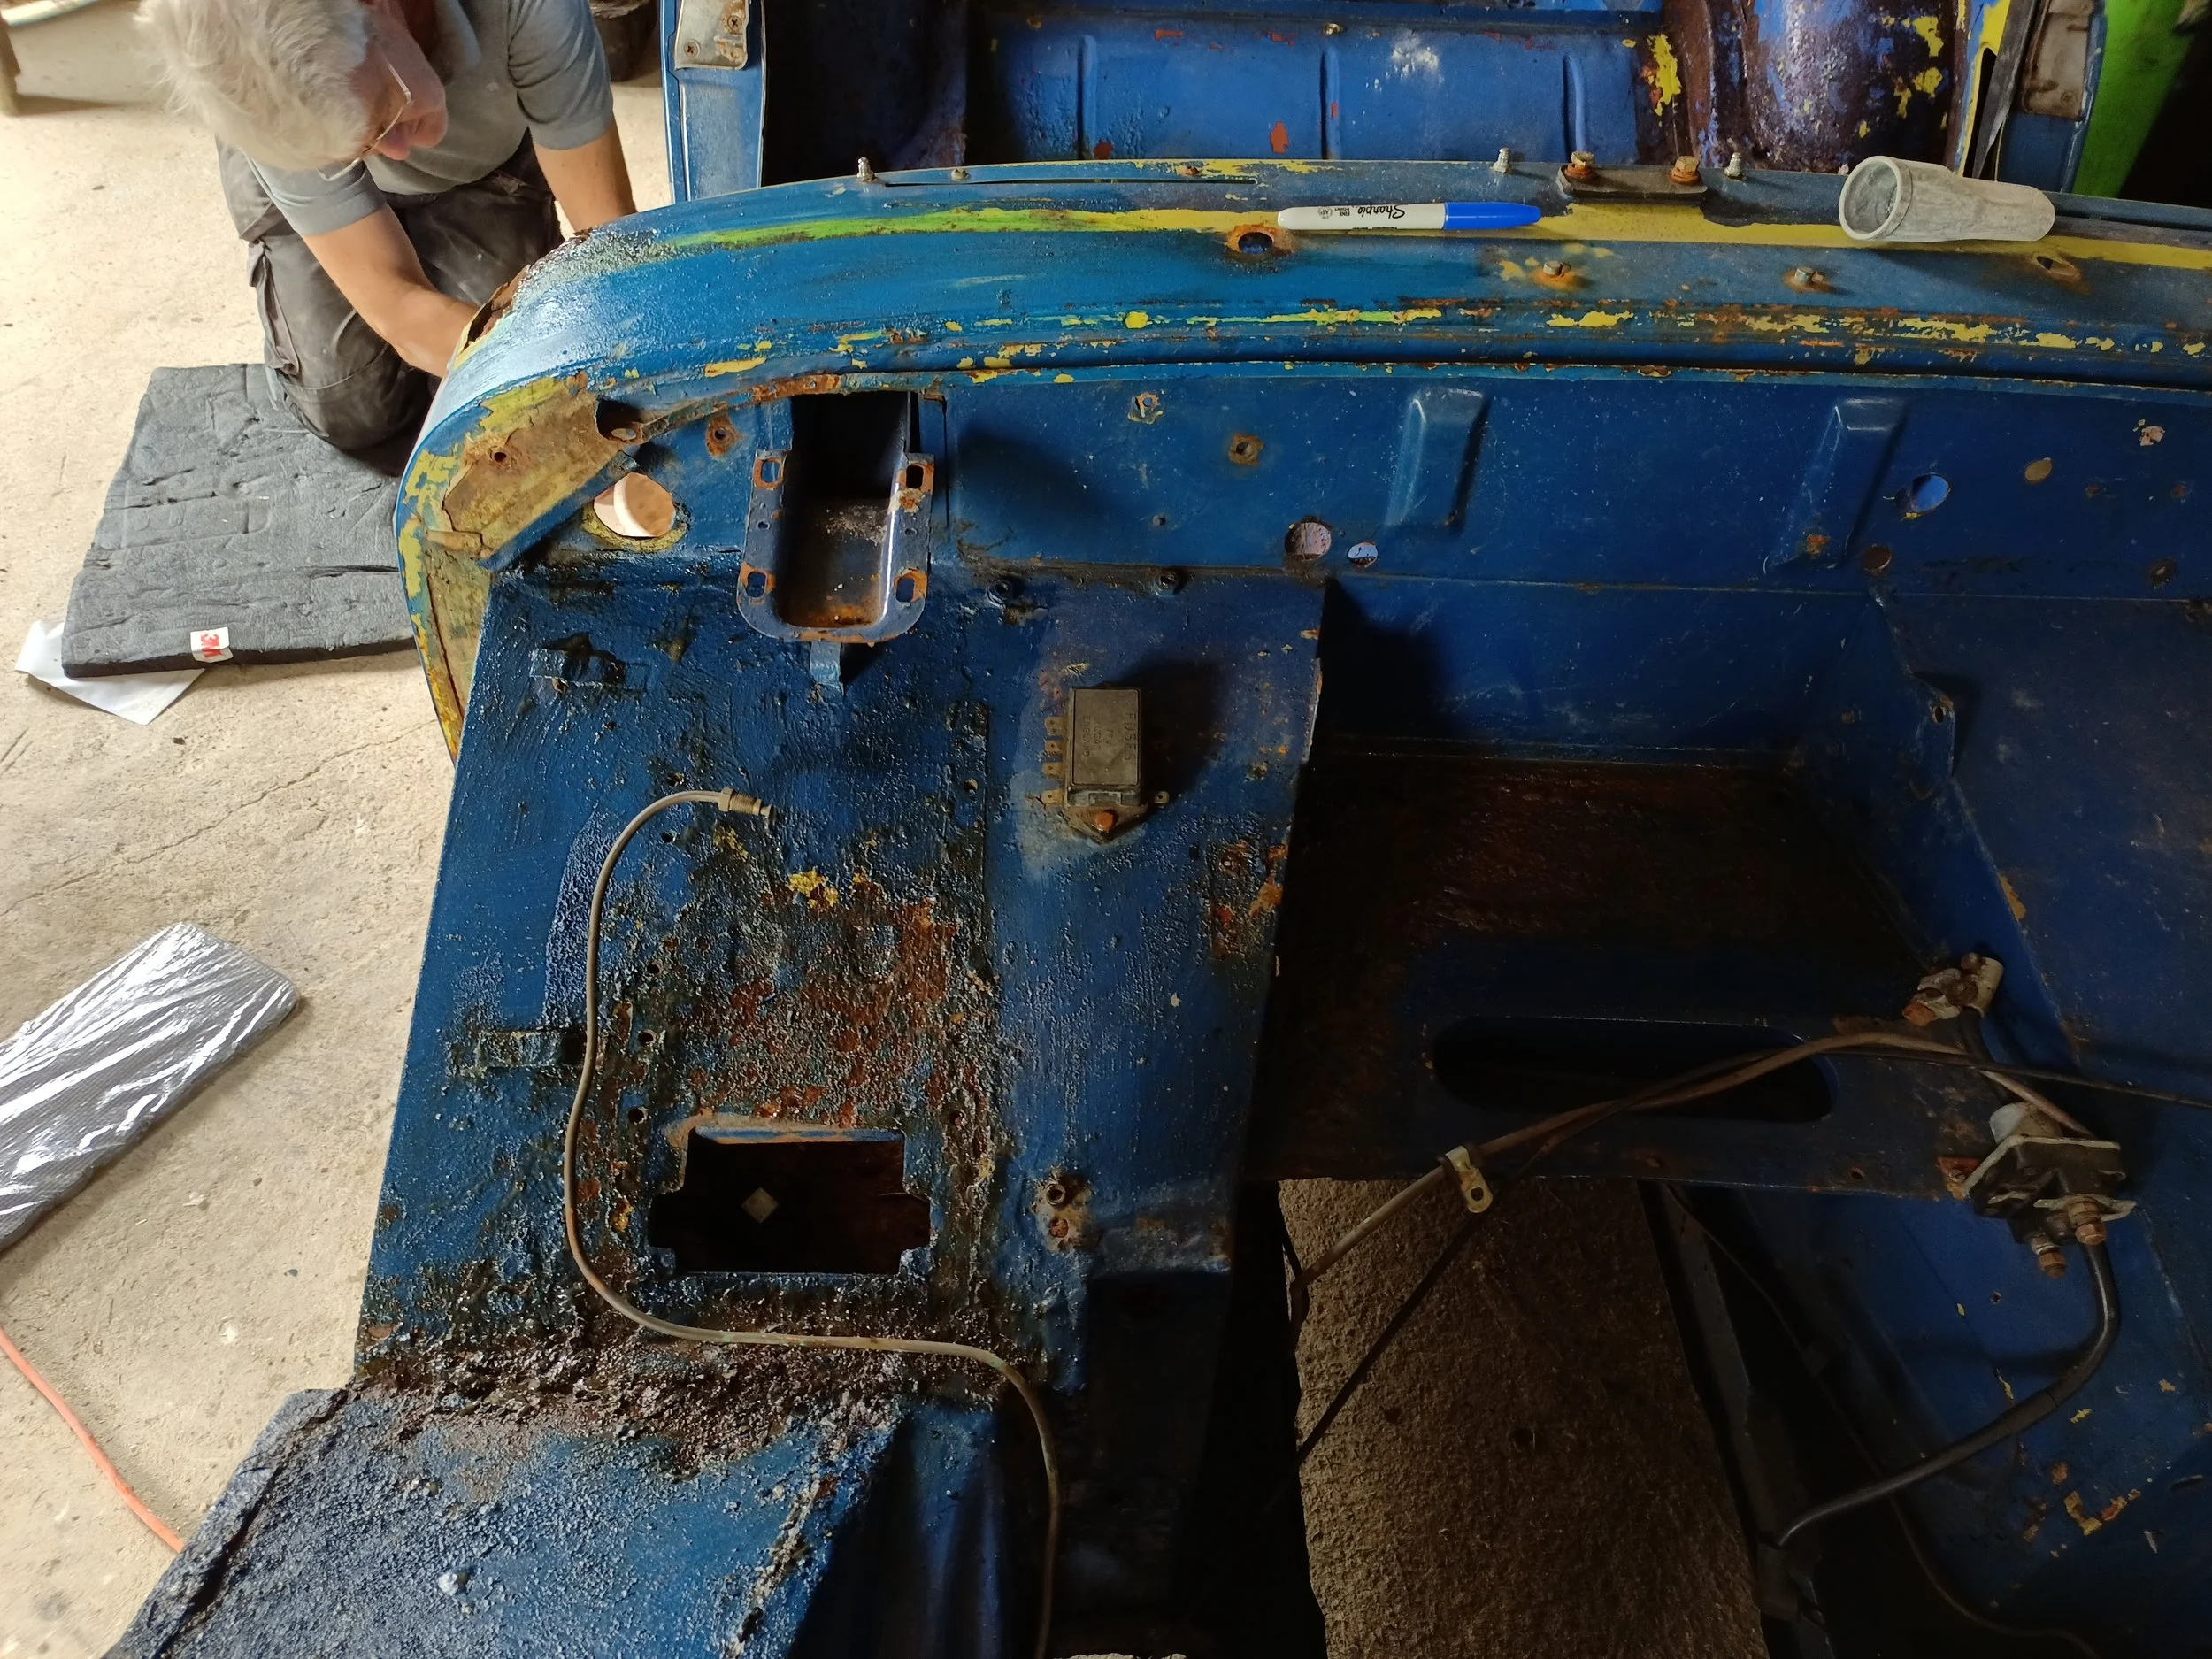
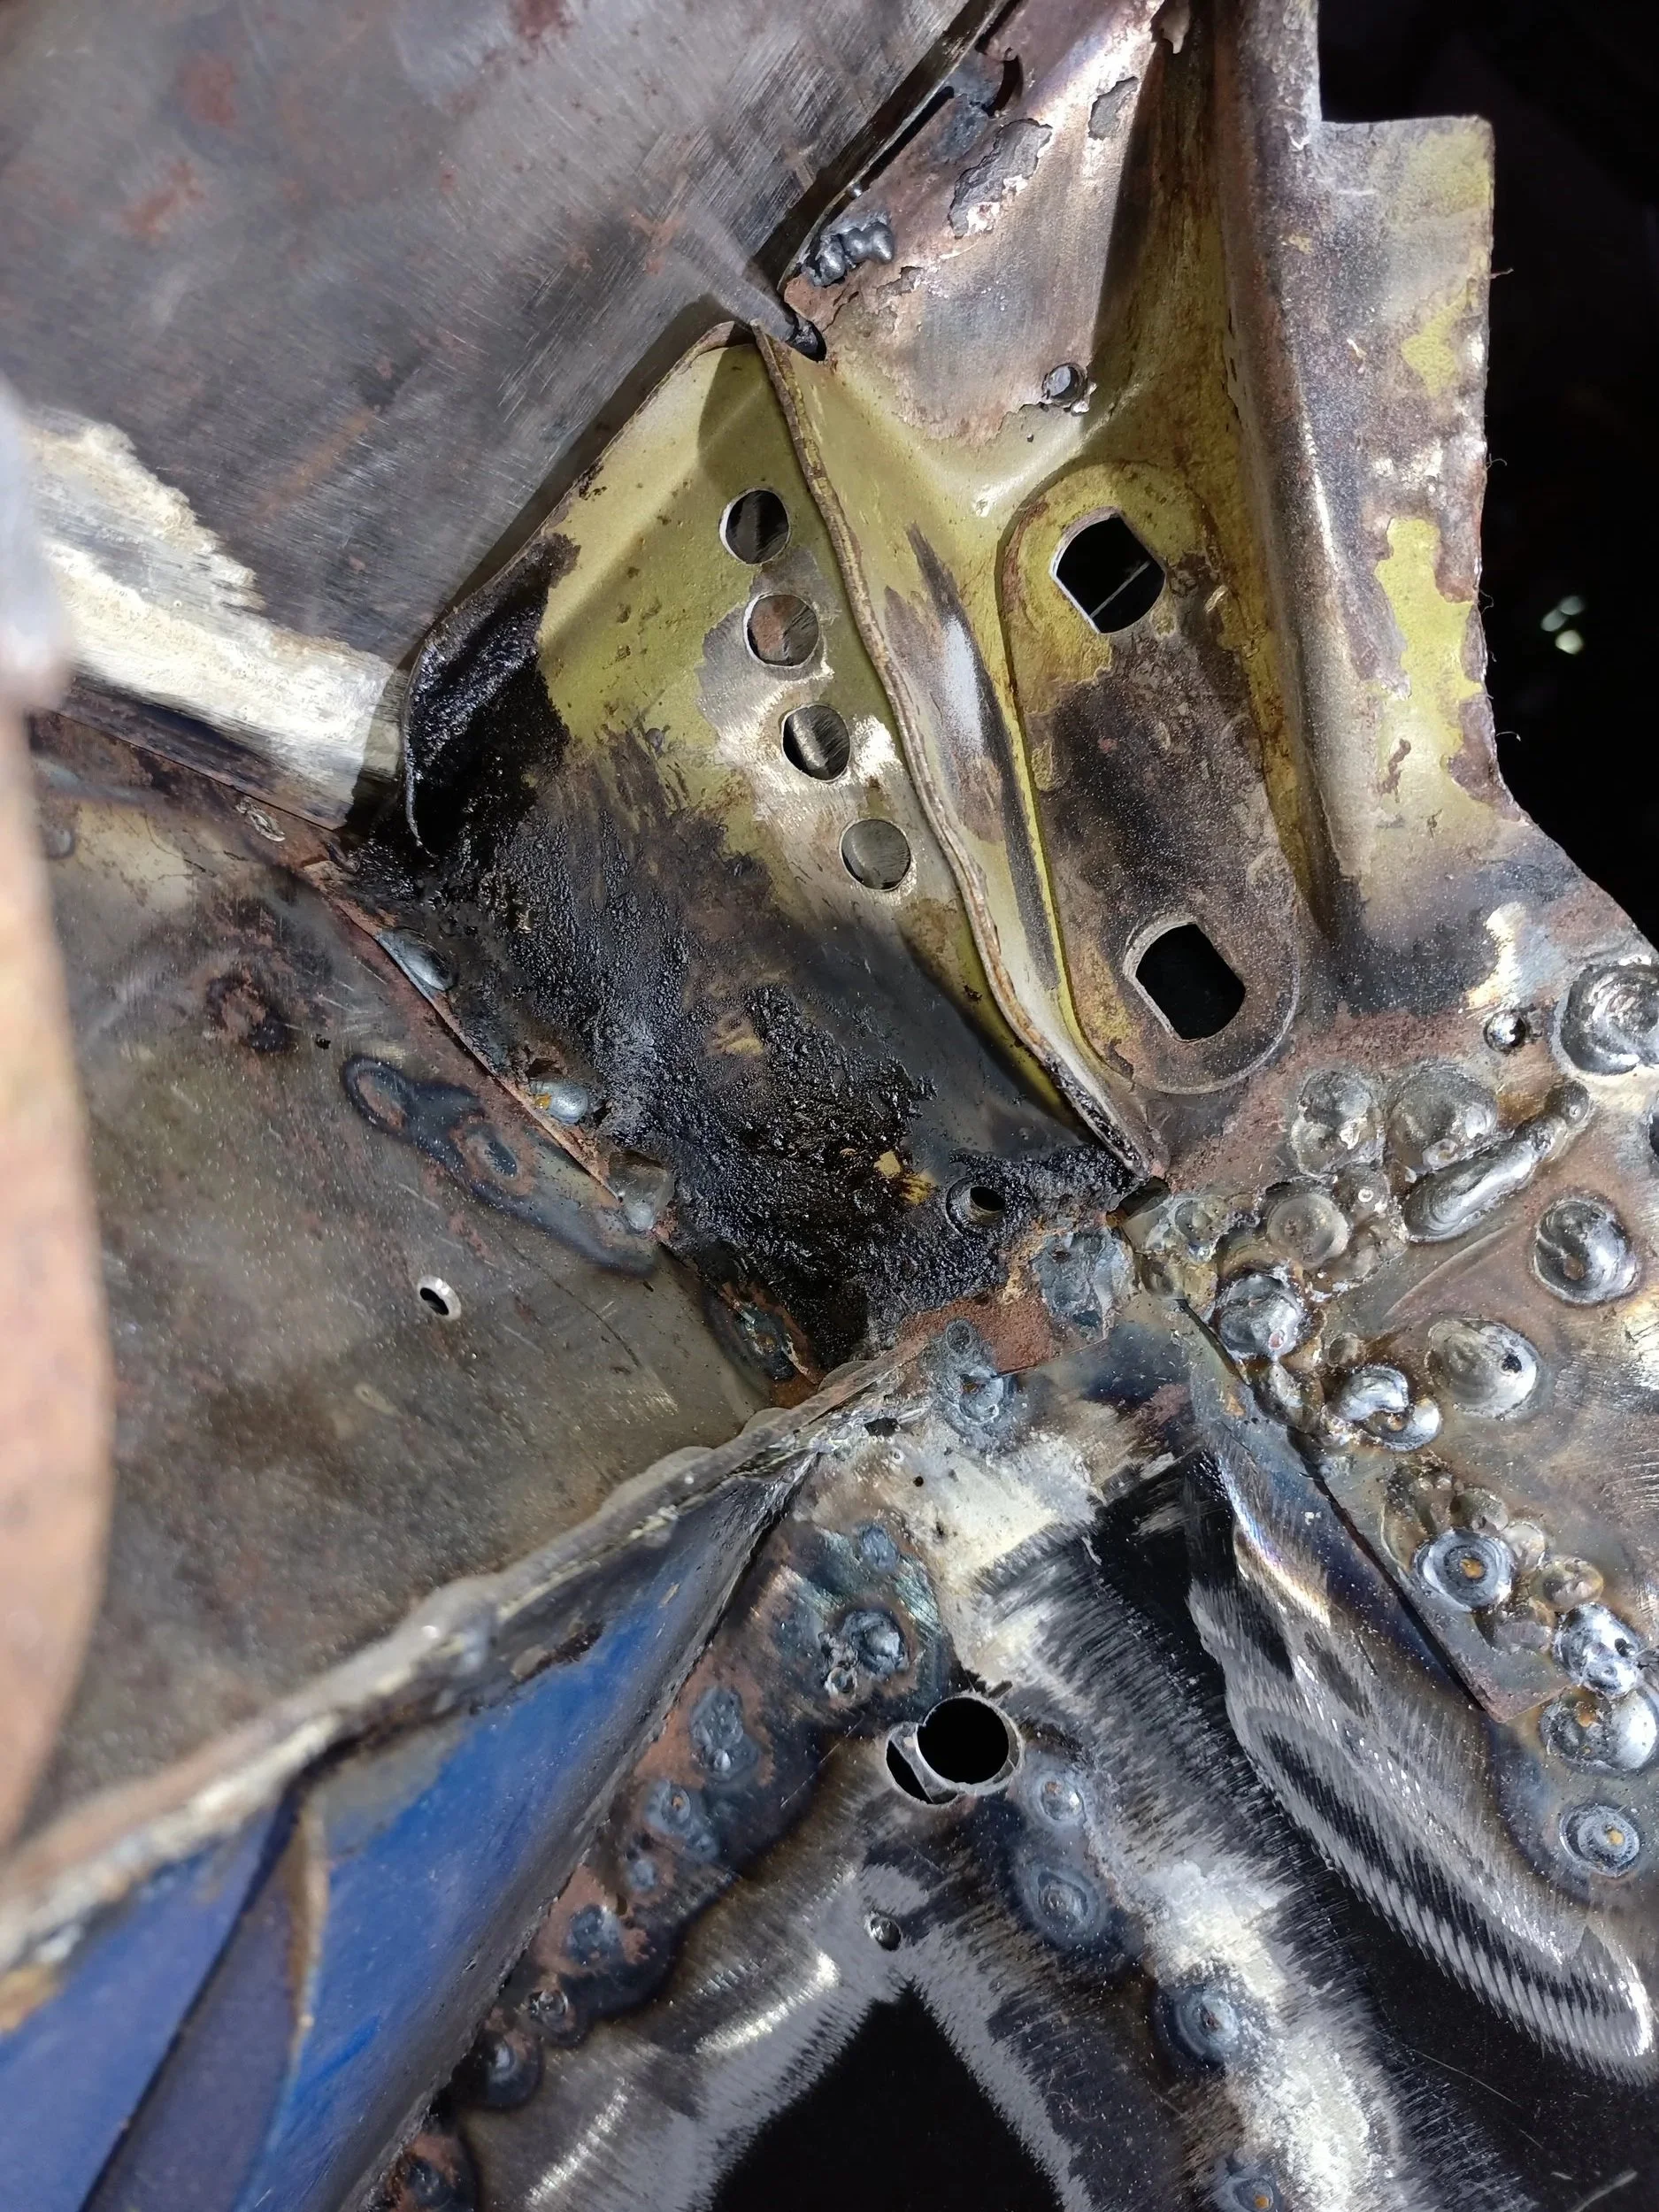
And more rust where the pedal box mounts.

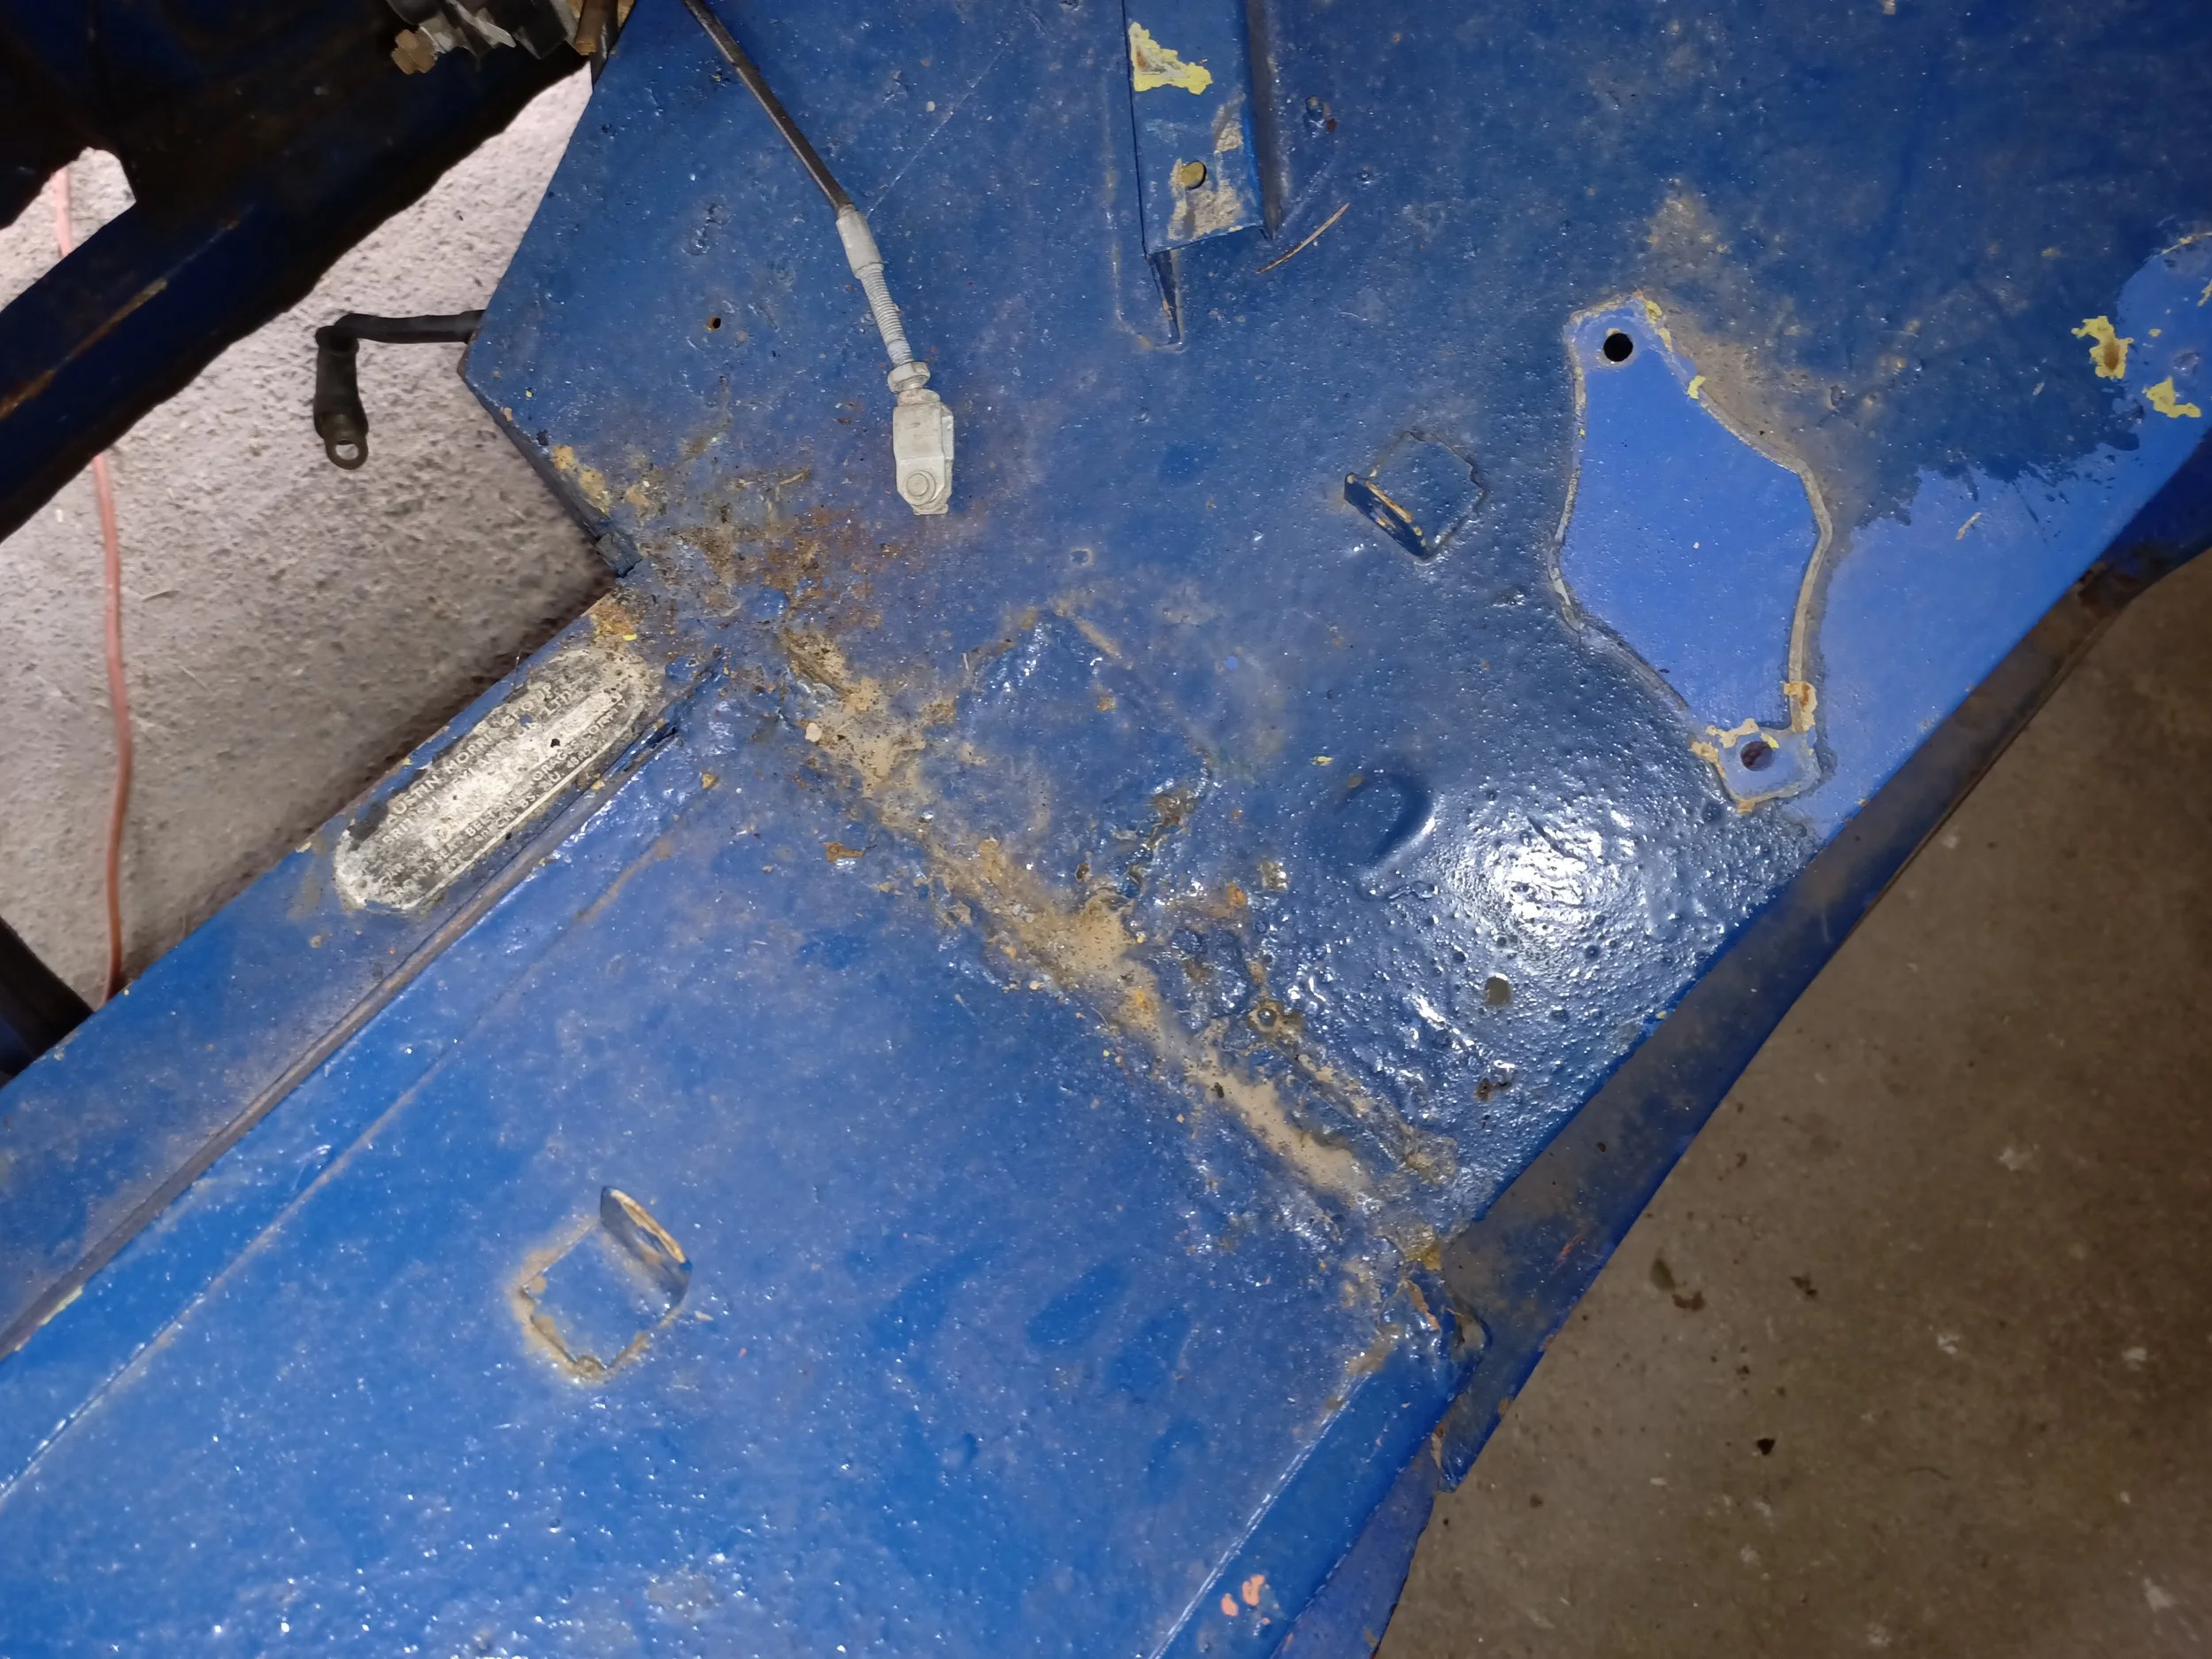
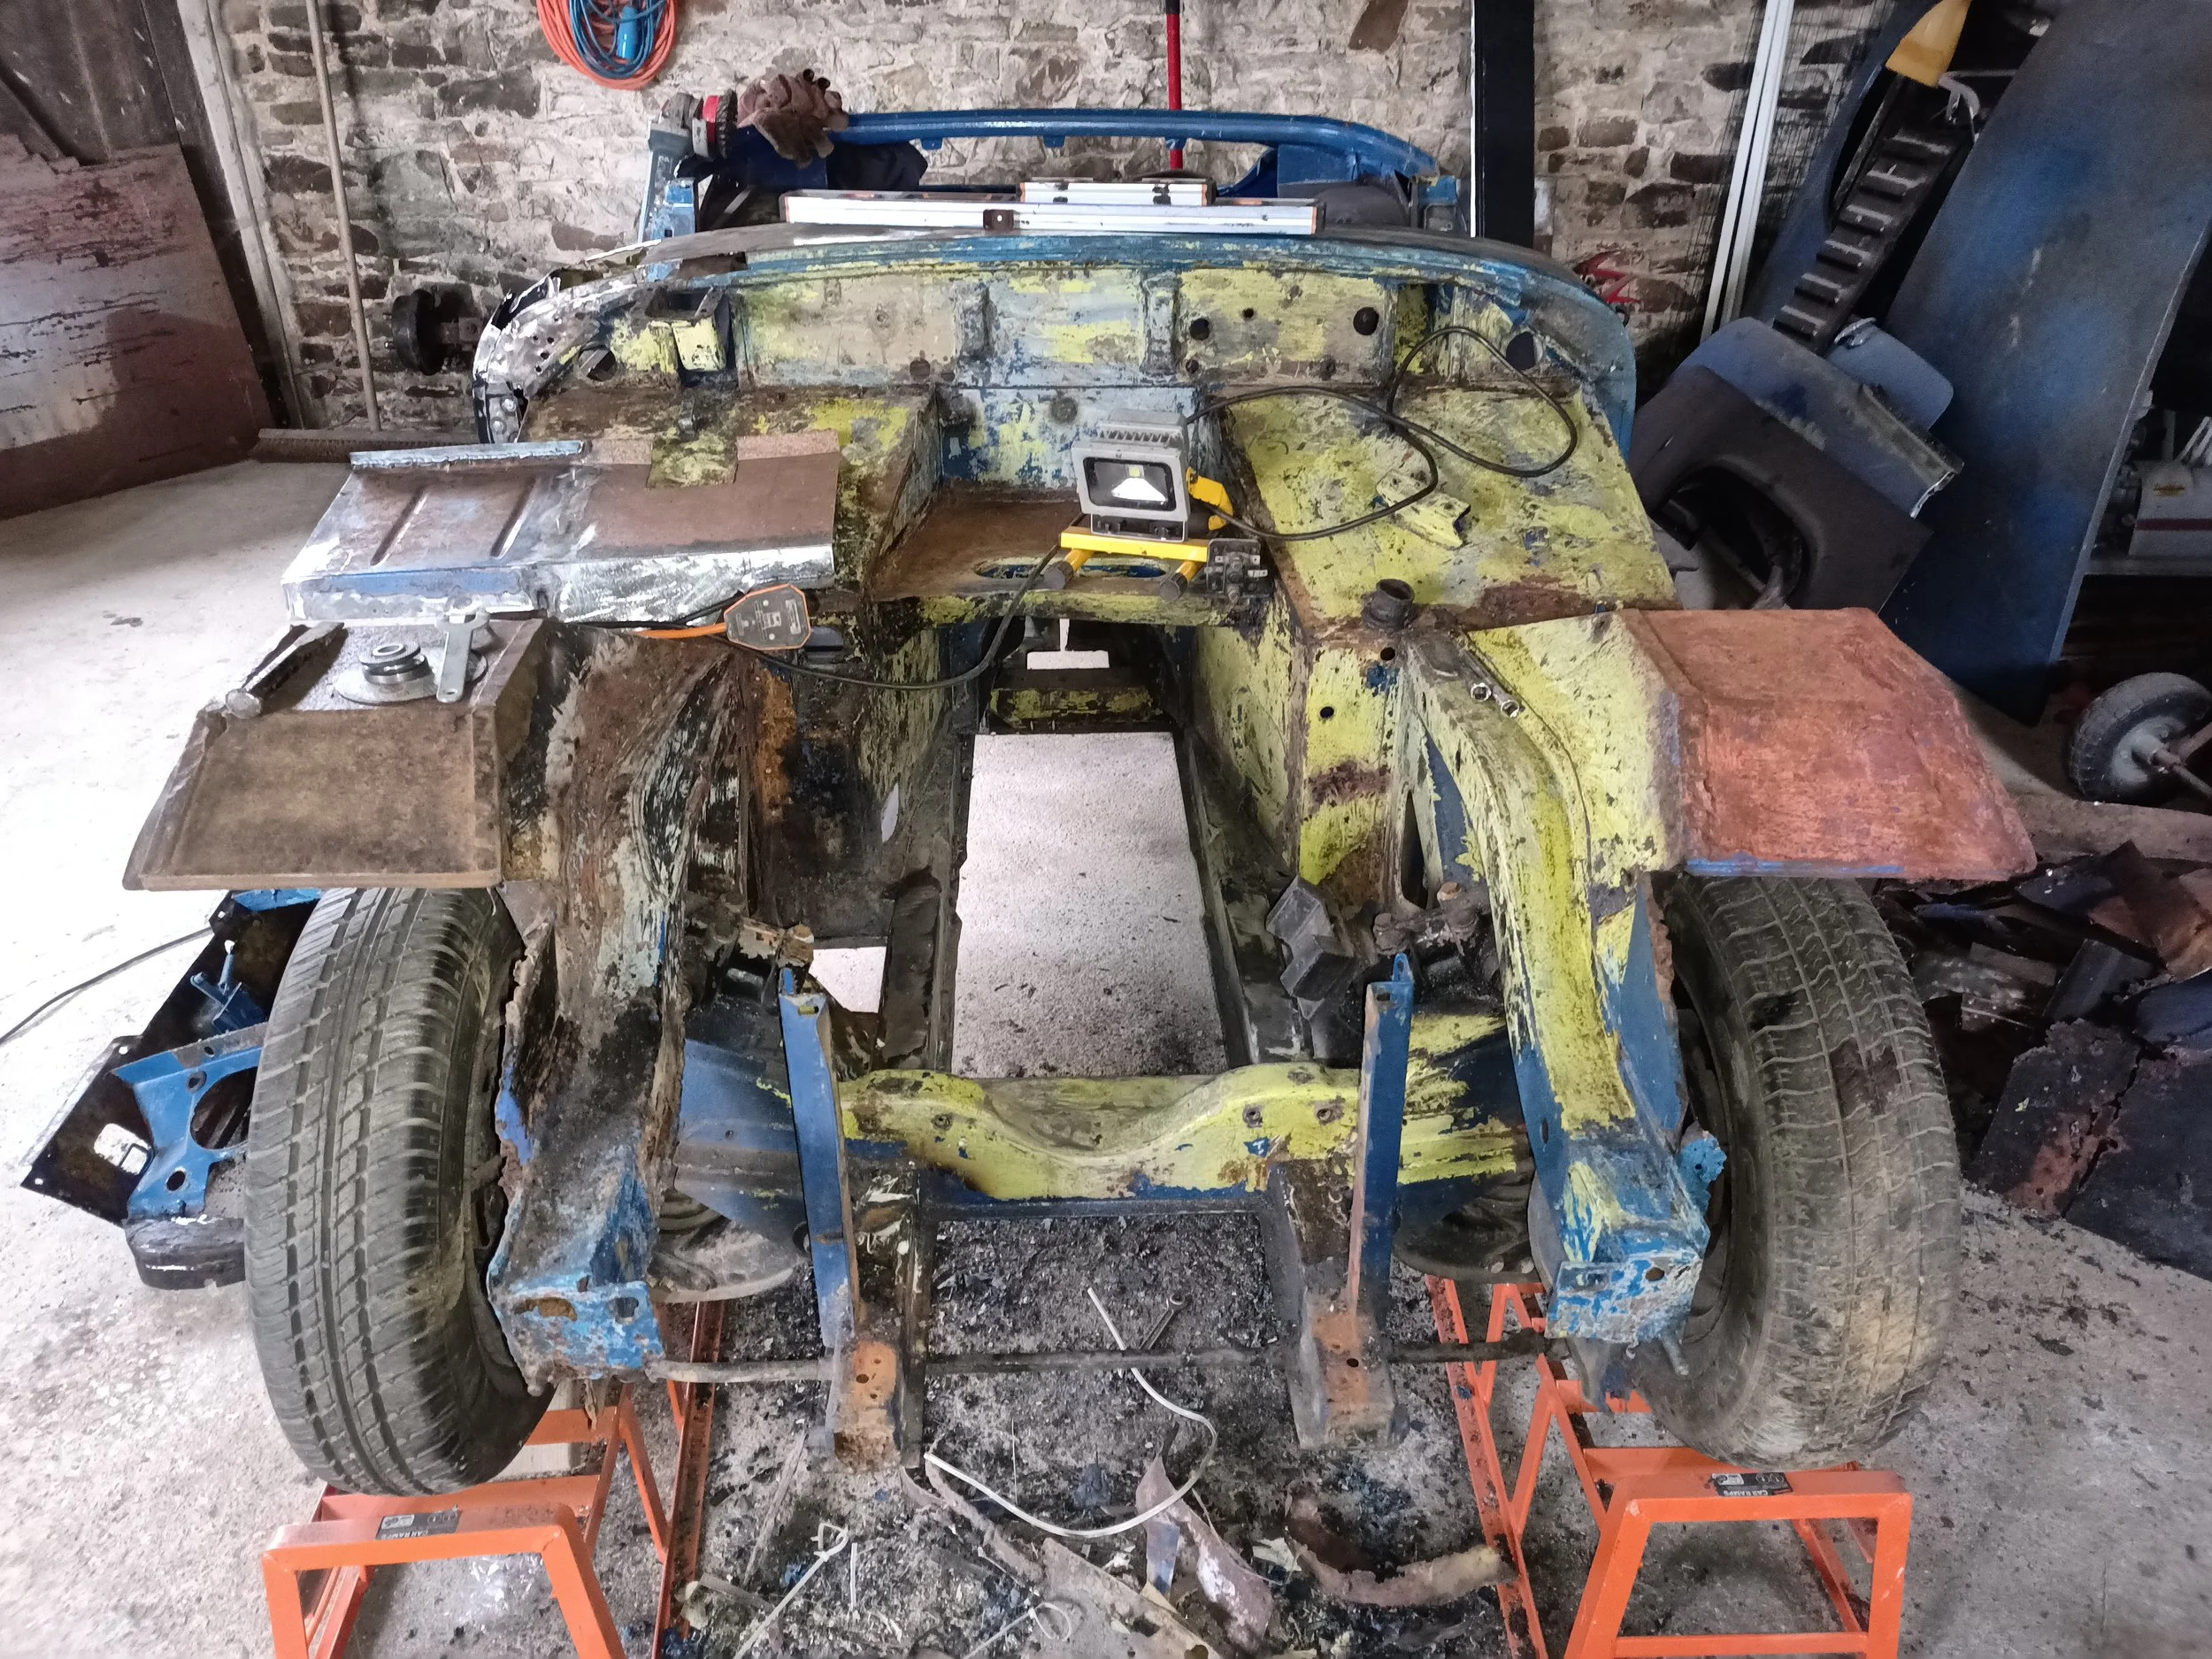
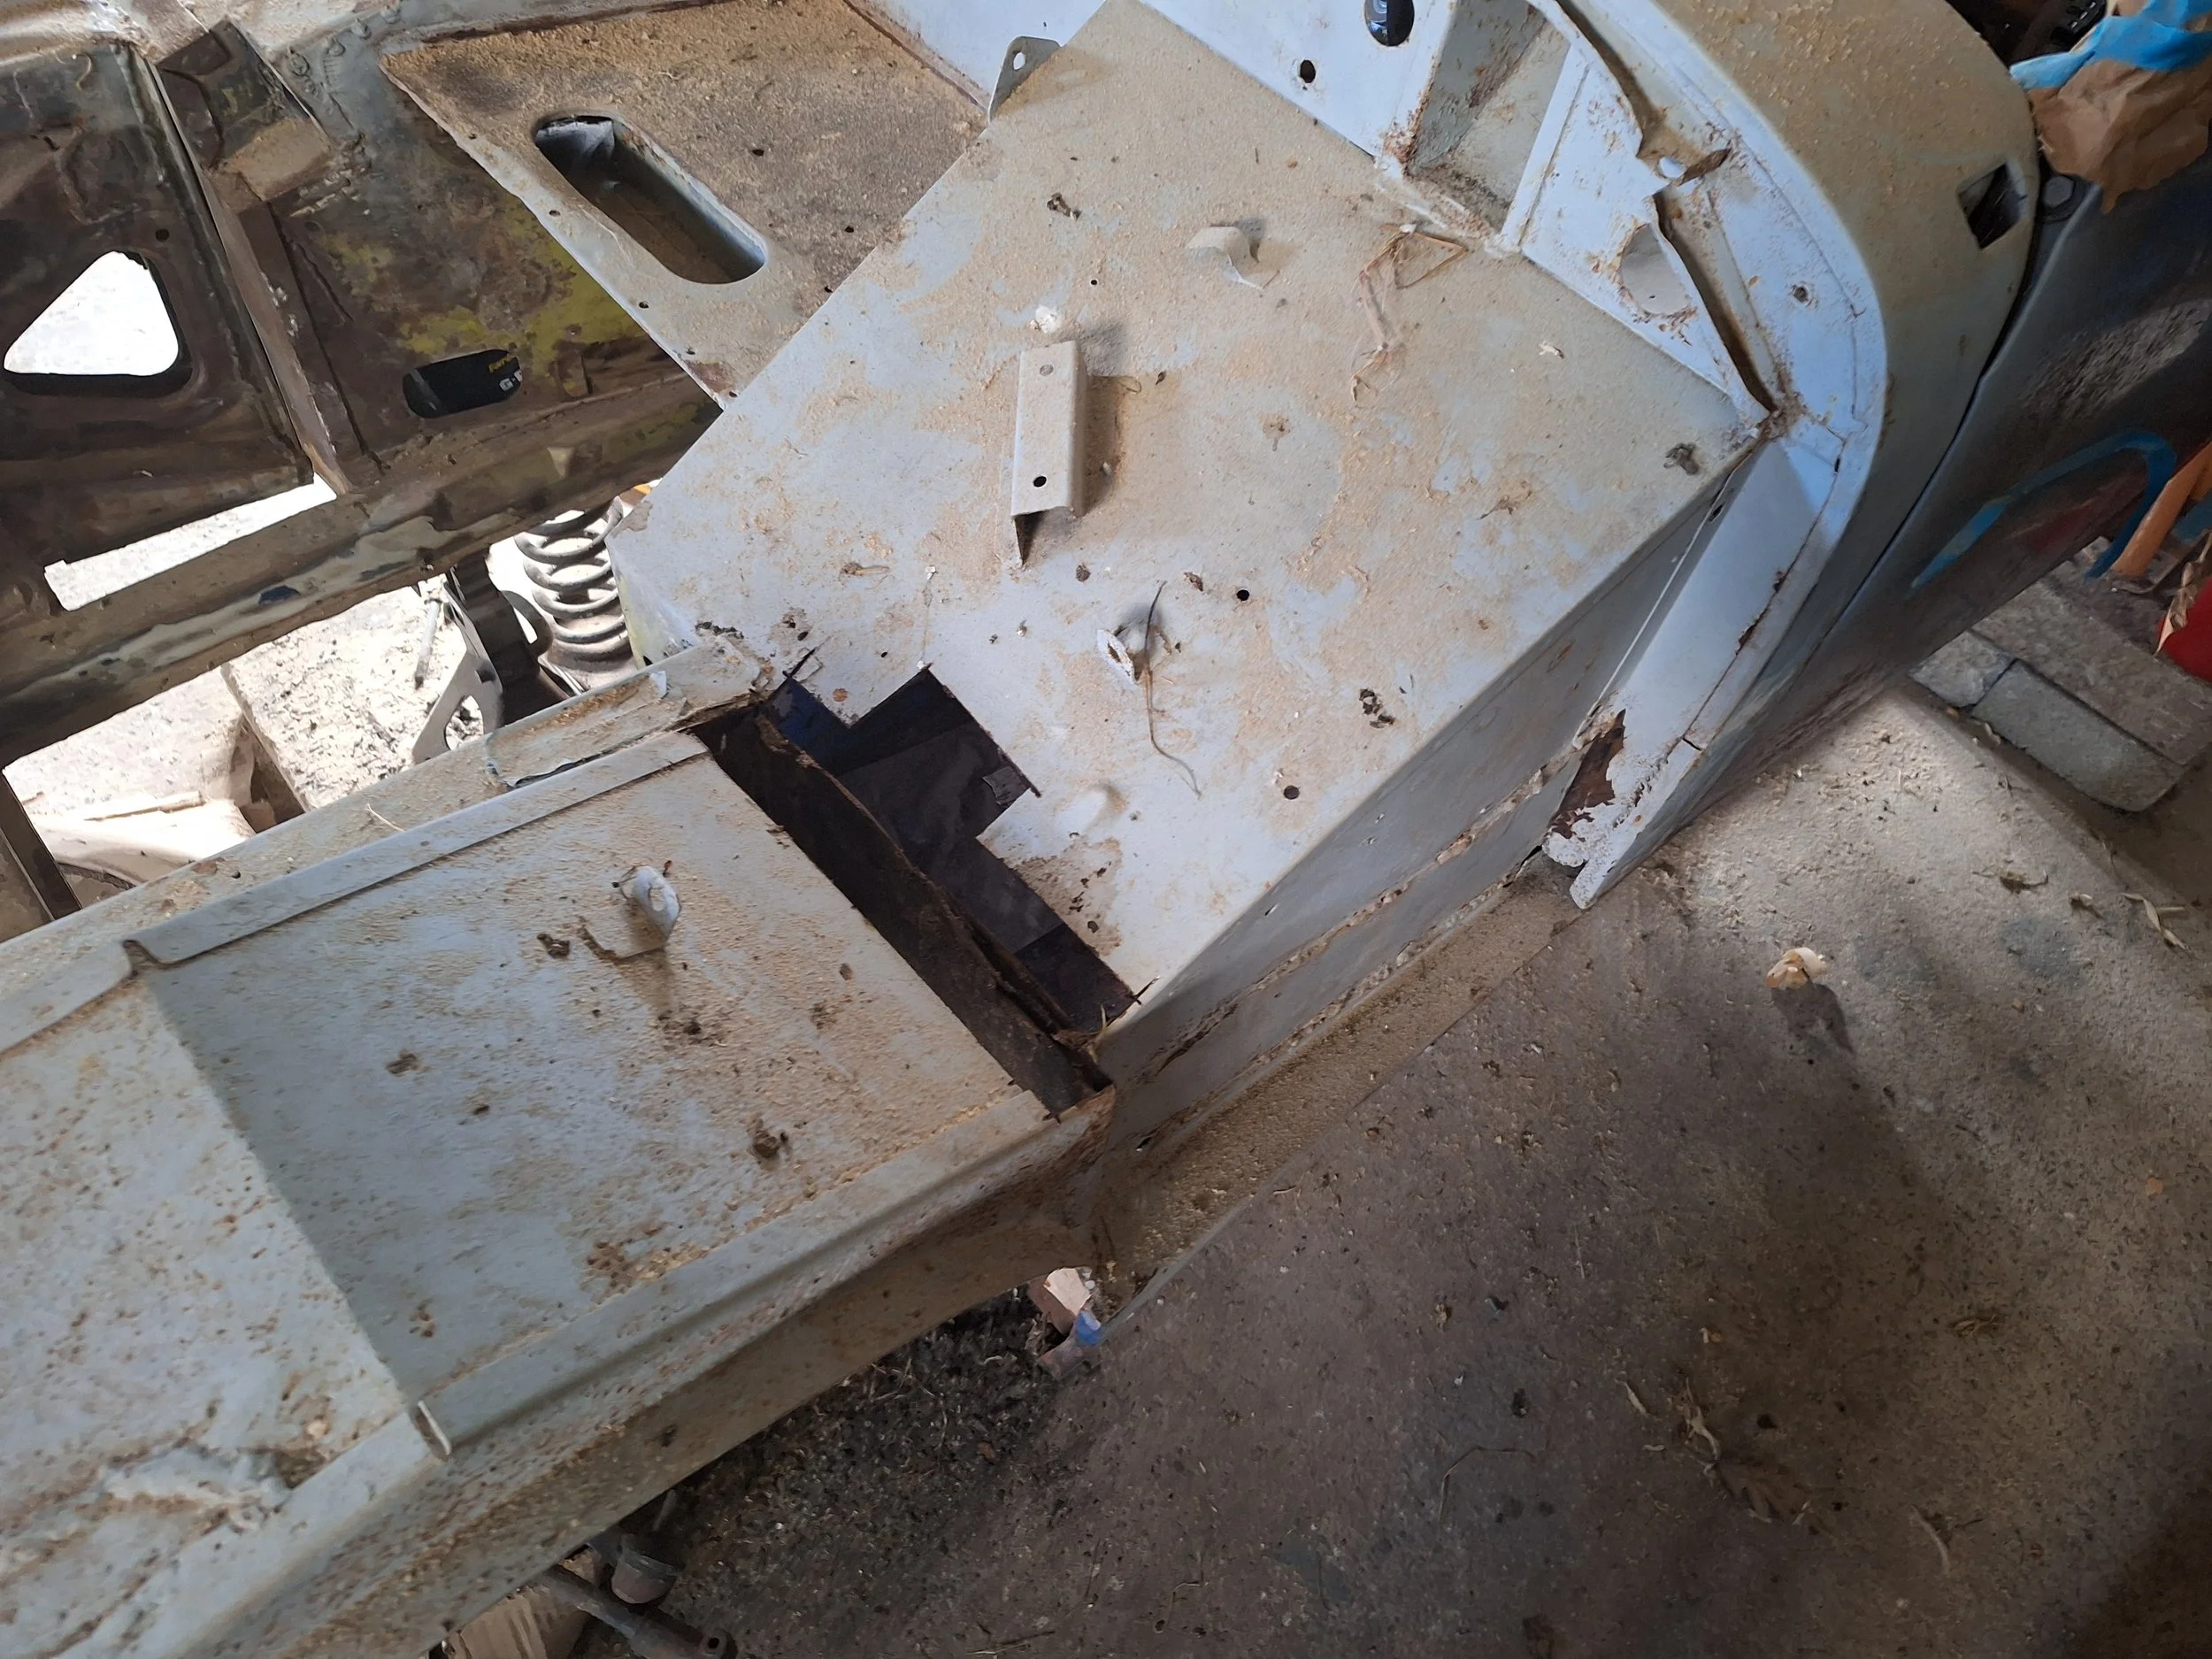
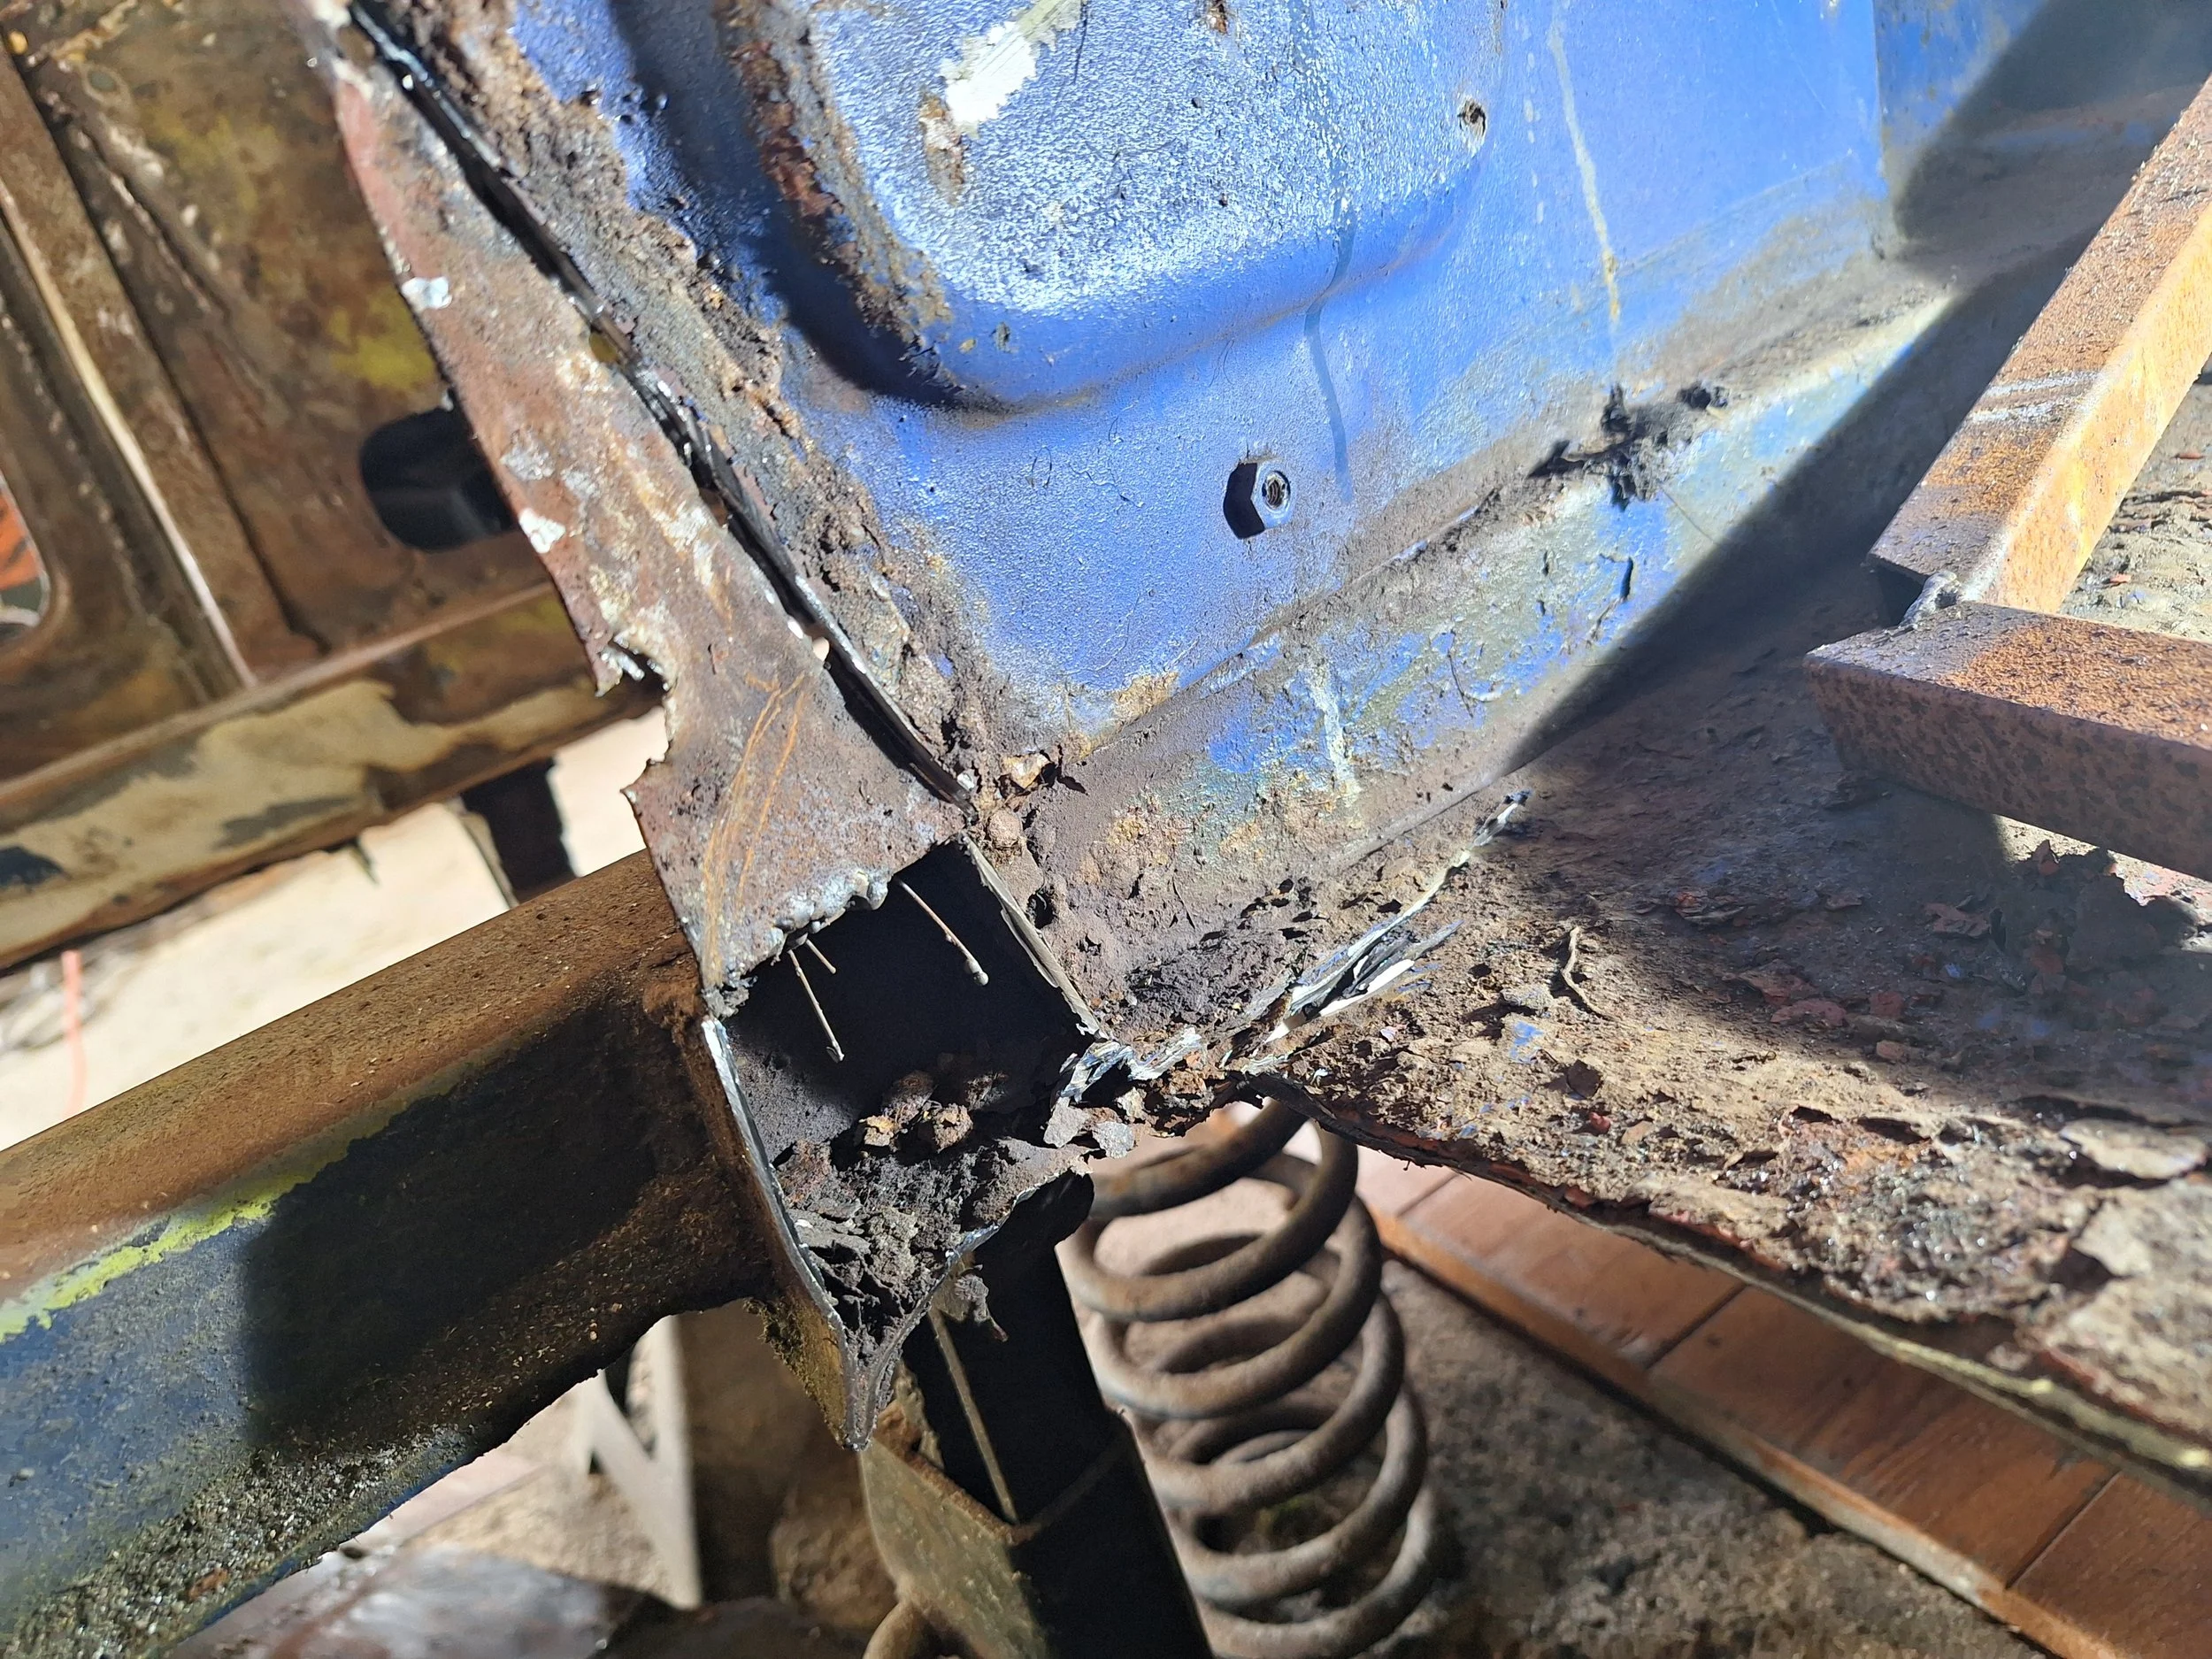
Engine and gearbox are out and the chassis rails don't look too bad.

And the front crossmember is solid.

The first area to be attacked with the angle grinder. Outer wing removed.
Revealing a rusty inner wheelarch lip.
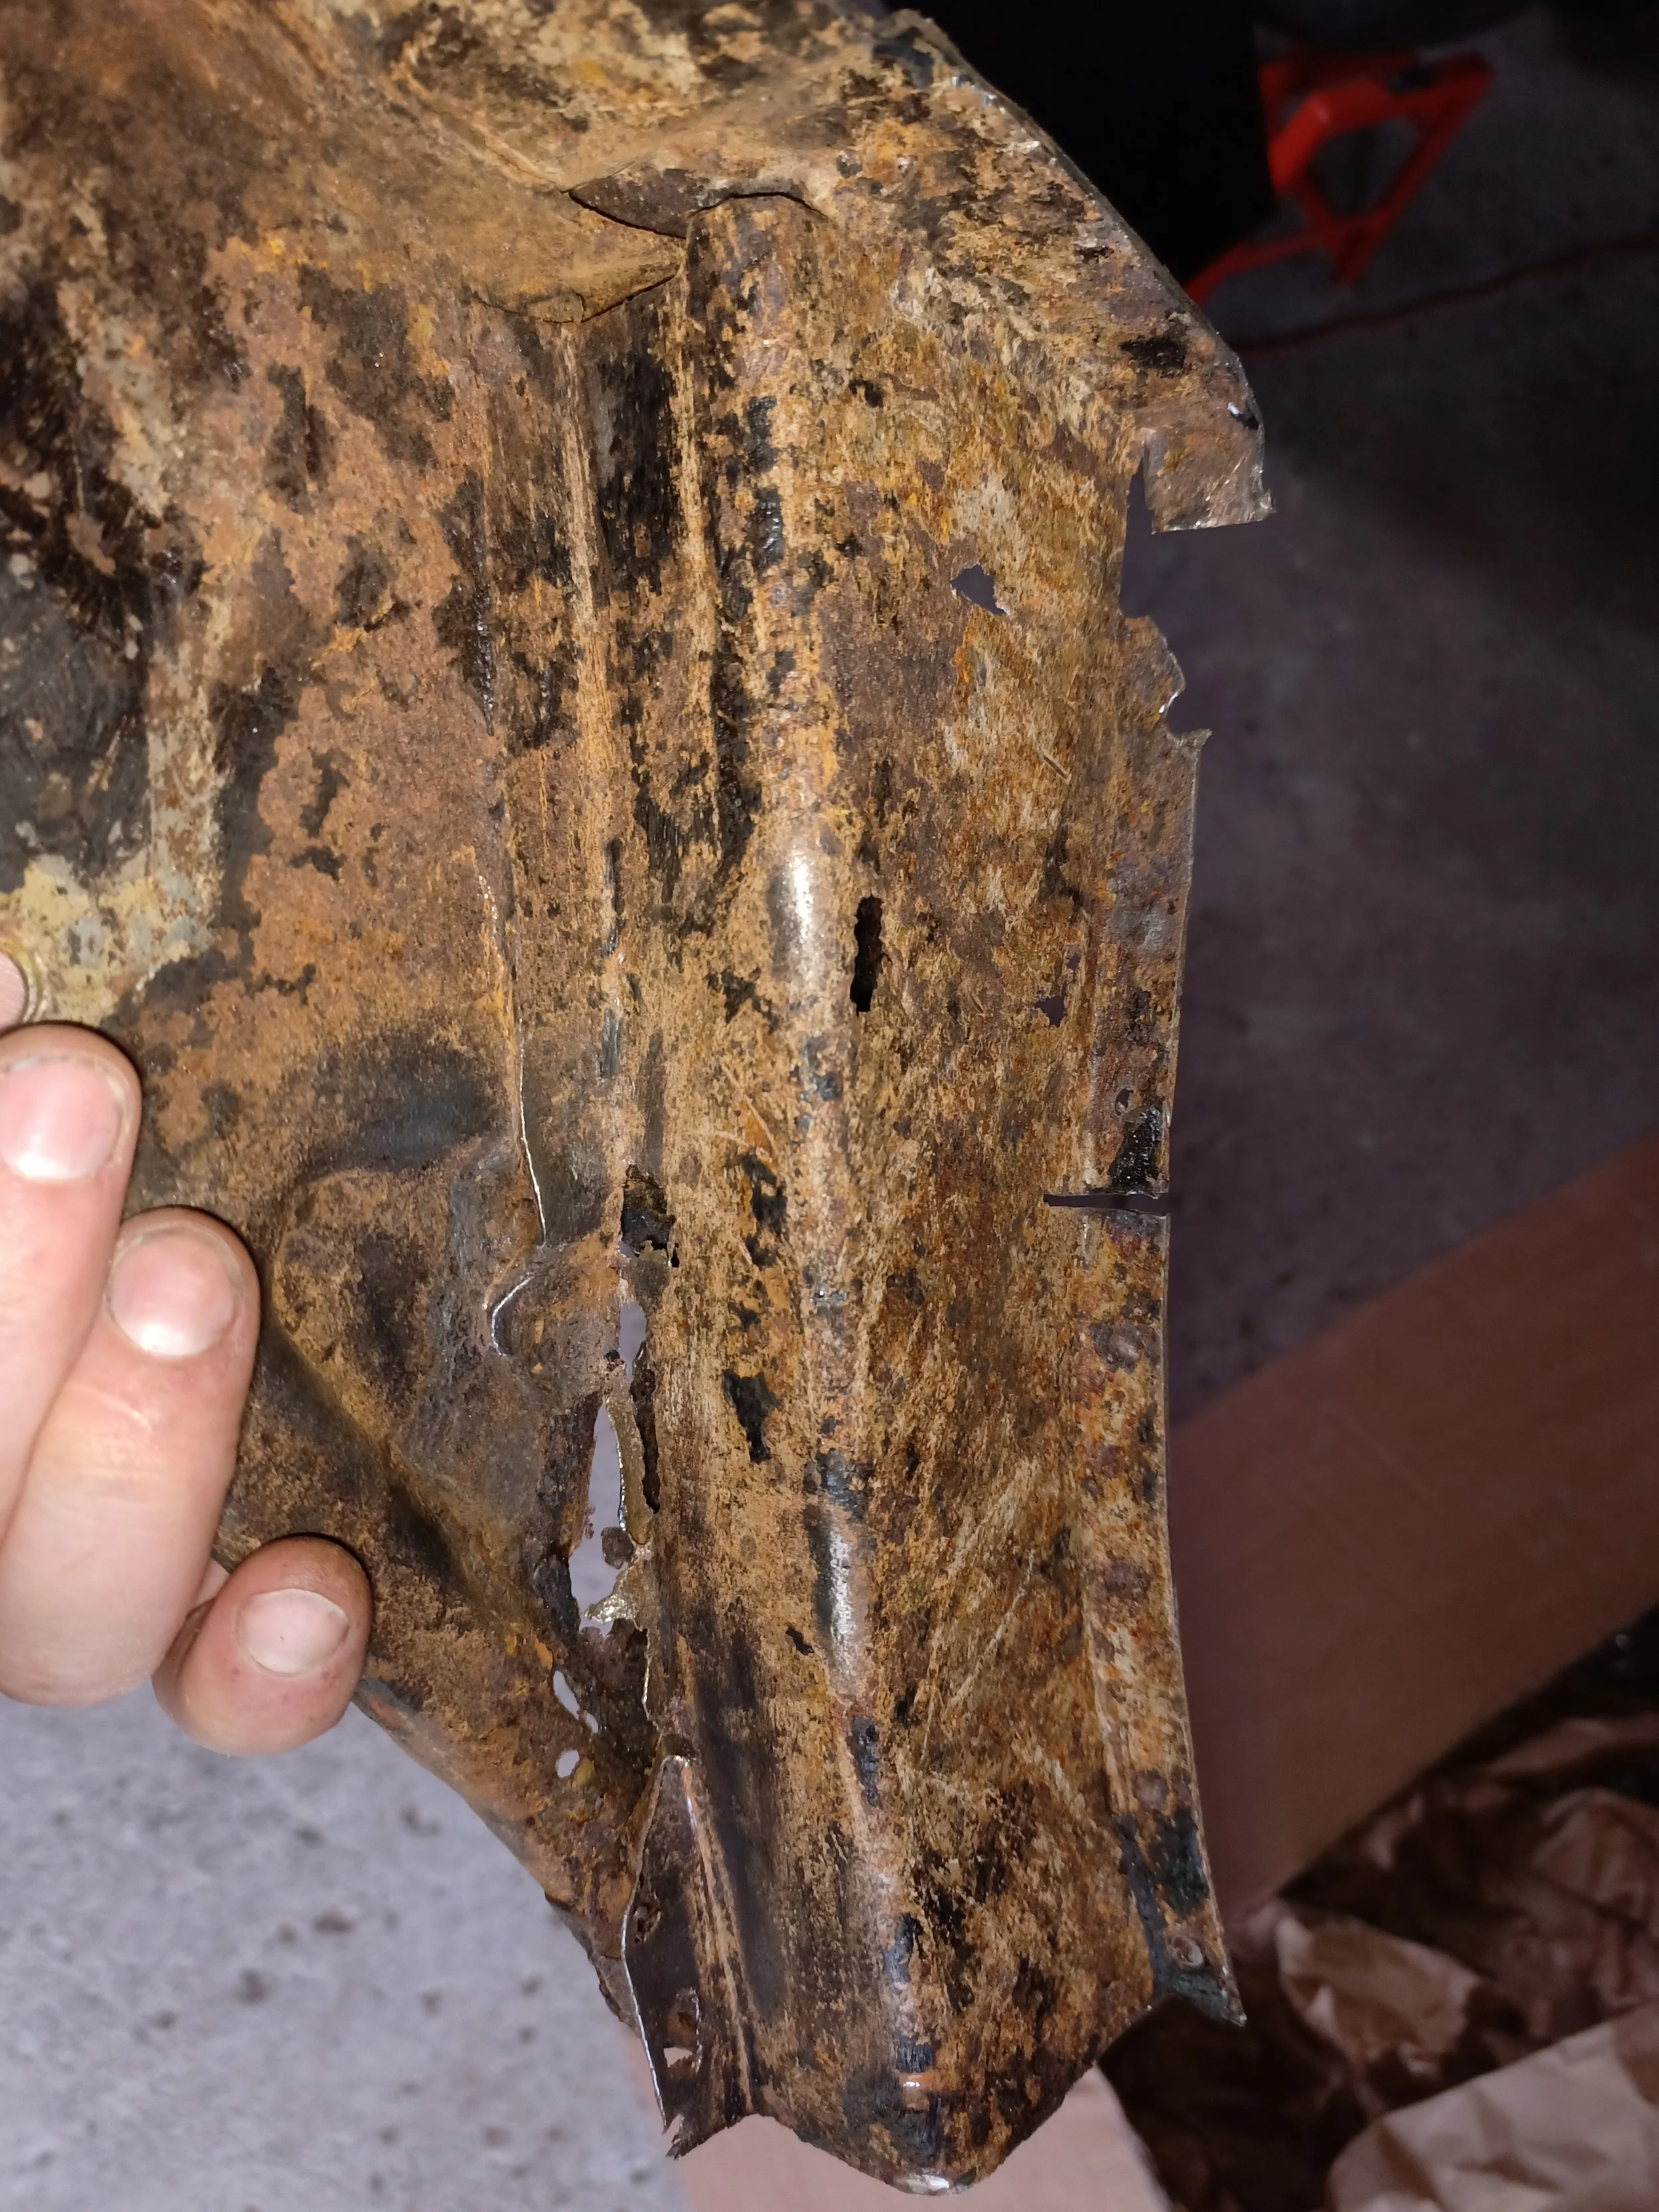
And very rusty boot floor extension.

Not much left of this section.
Removing the outer skin of the offside A-pillar reveals a lot of rust at the base.
Rust continues quite a long way up, but significantly better towards the top.

Outer sill removed. It wasn't very well attached...
The inner sill looks like lace...
Patches on the inside of the car hid the gravity of the situation. Removing the outer sill unveiled the reality.

Floor and crossmember also removed. Steel box section welded in temporarily to retain rigidity.

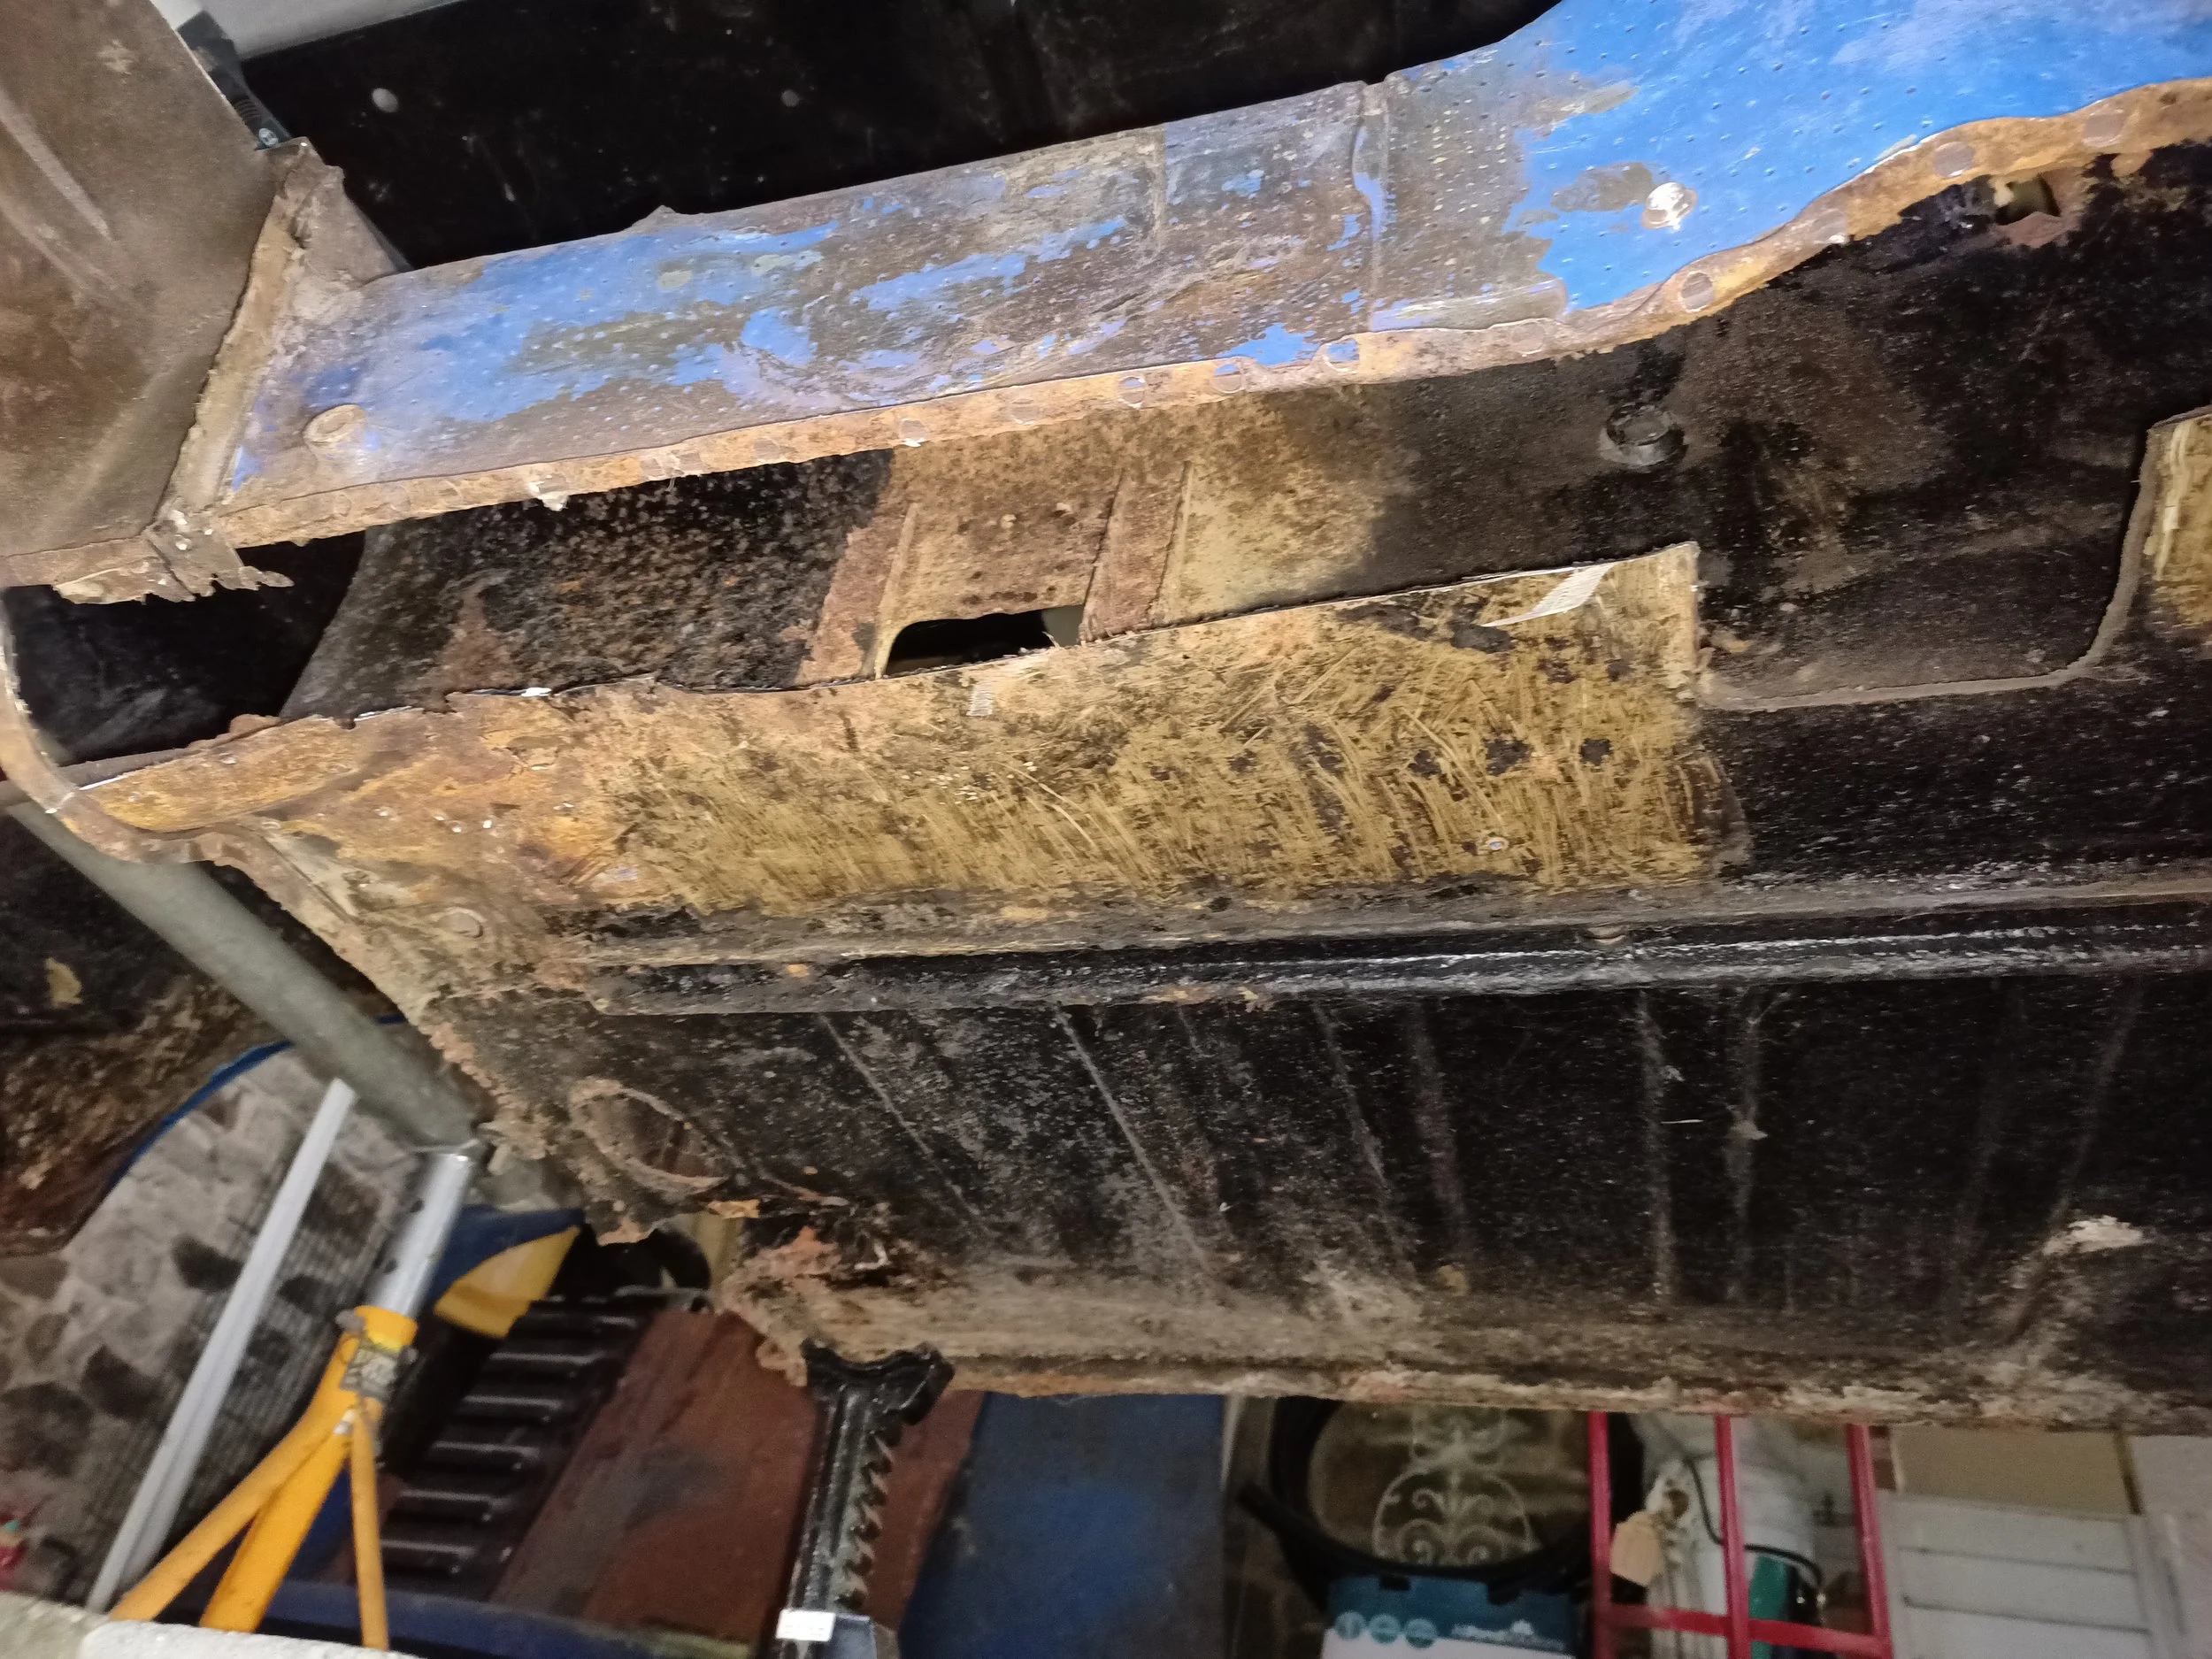
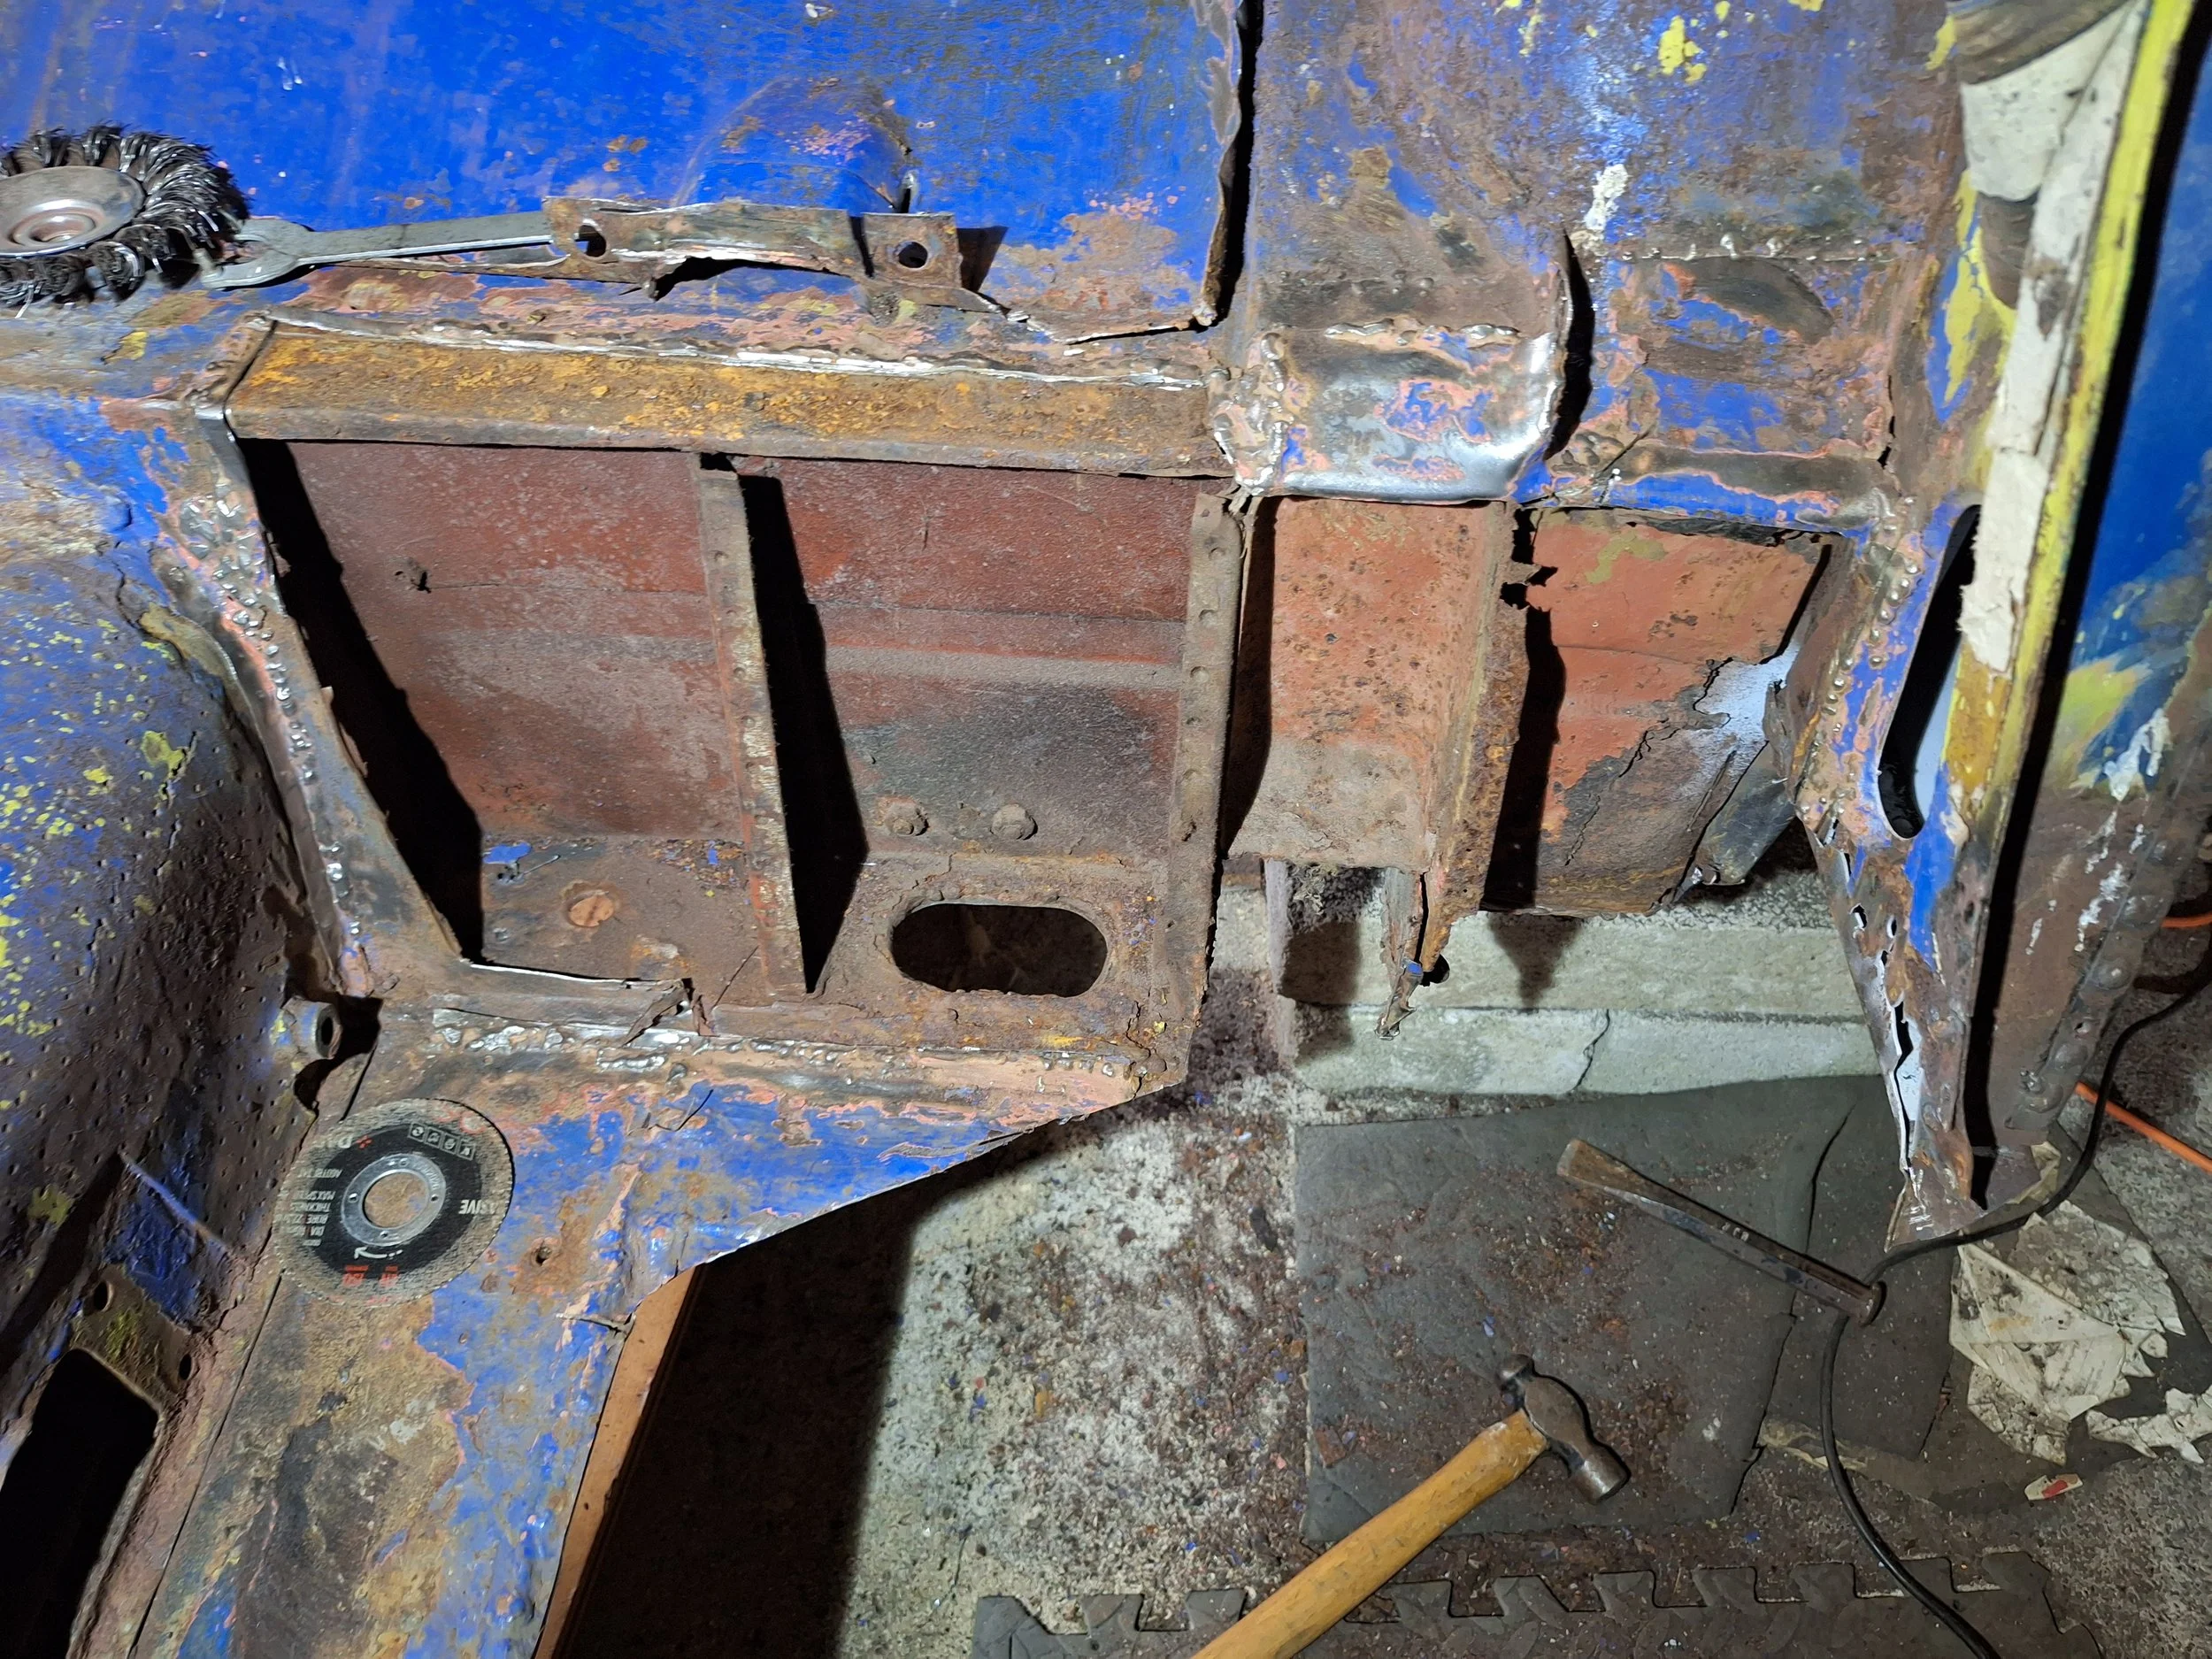
Rear cross member doesn't look very good.

Reinforcing bracketry rusted completely away at the base.
Floor crossmember doesn't look too bad at the gearbox mount, but much thinner further from the centre of the car.The floor is in dire condition throughout.

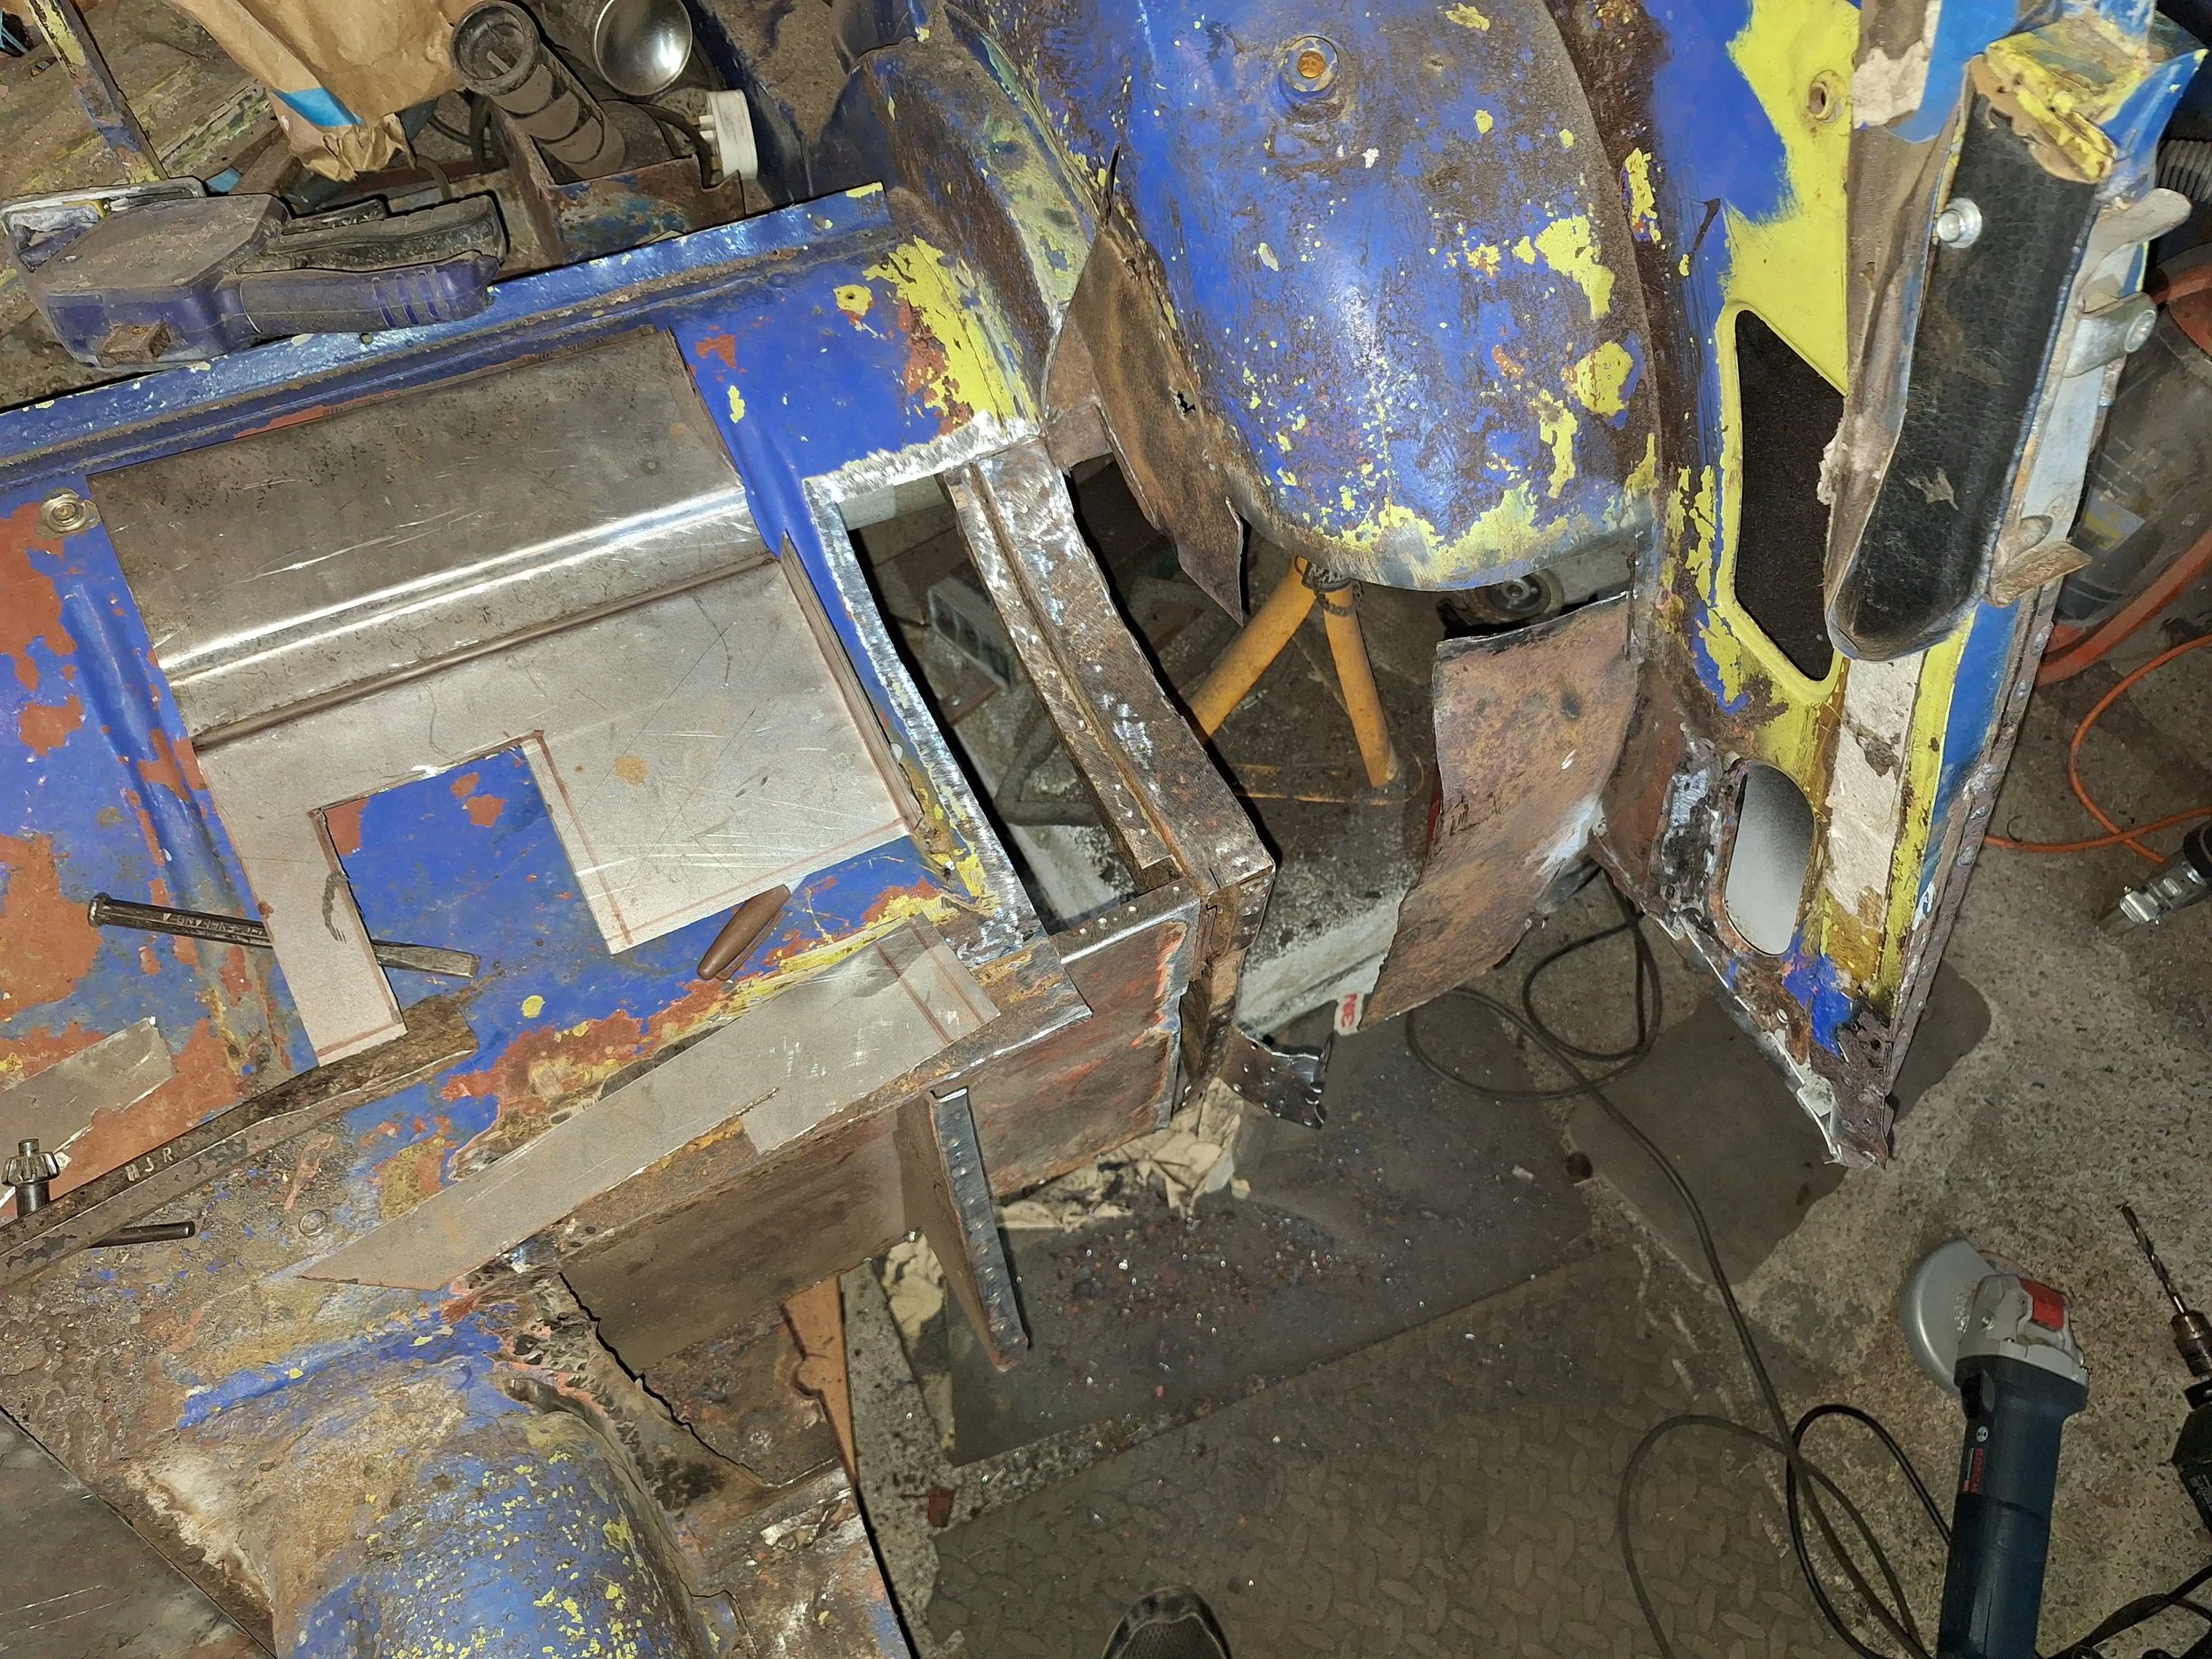
Removing sections of the footwell. patch panels. More to follow...

Floor cut away up until the gearbox tunnel.
And as far as the front of the footwell.
A slew of new repair panels.

Removing sections of the rear bulkhead to access the corroded spring hanger.

Rear shock absorber mounting bracket is very rusty and weakened.

Rusty section removed to show the underlying reinforcement bracket had also rusted through.

Close-up shot shows yet more rust further down.

Cut out completely.

The offending article.
These rust holes were hidden by underseal.
Floor cut back to solid metal.

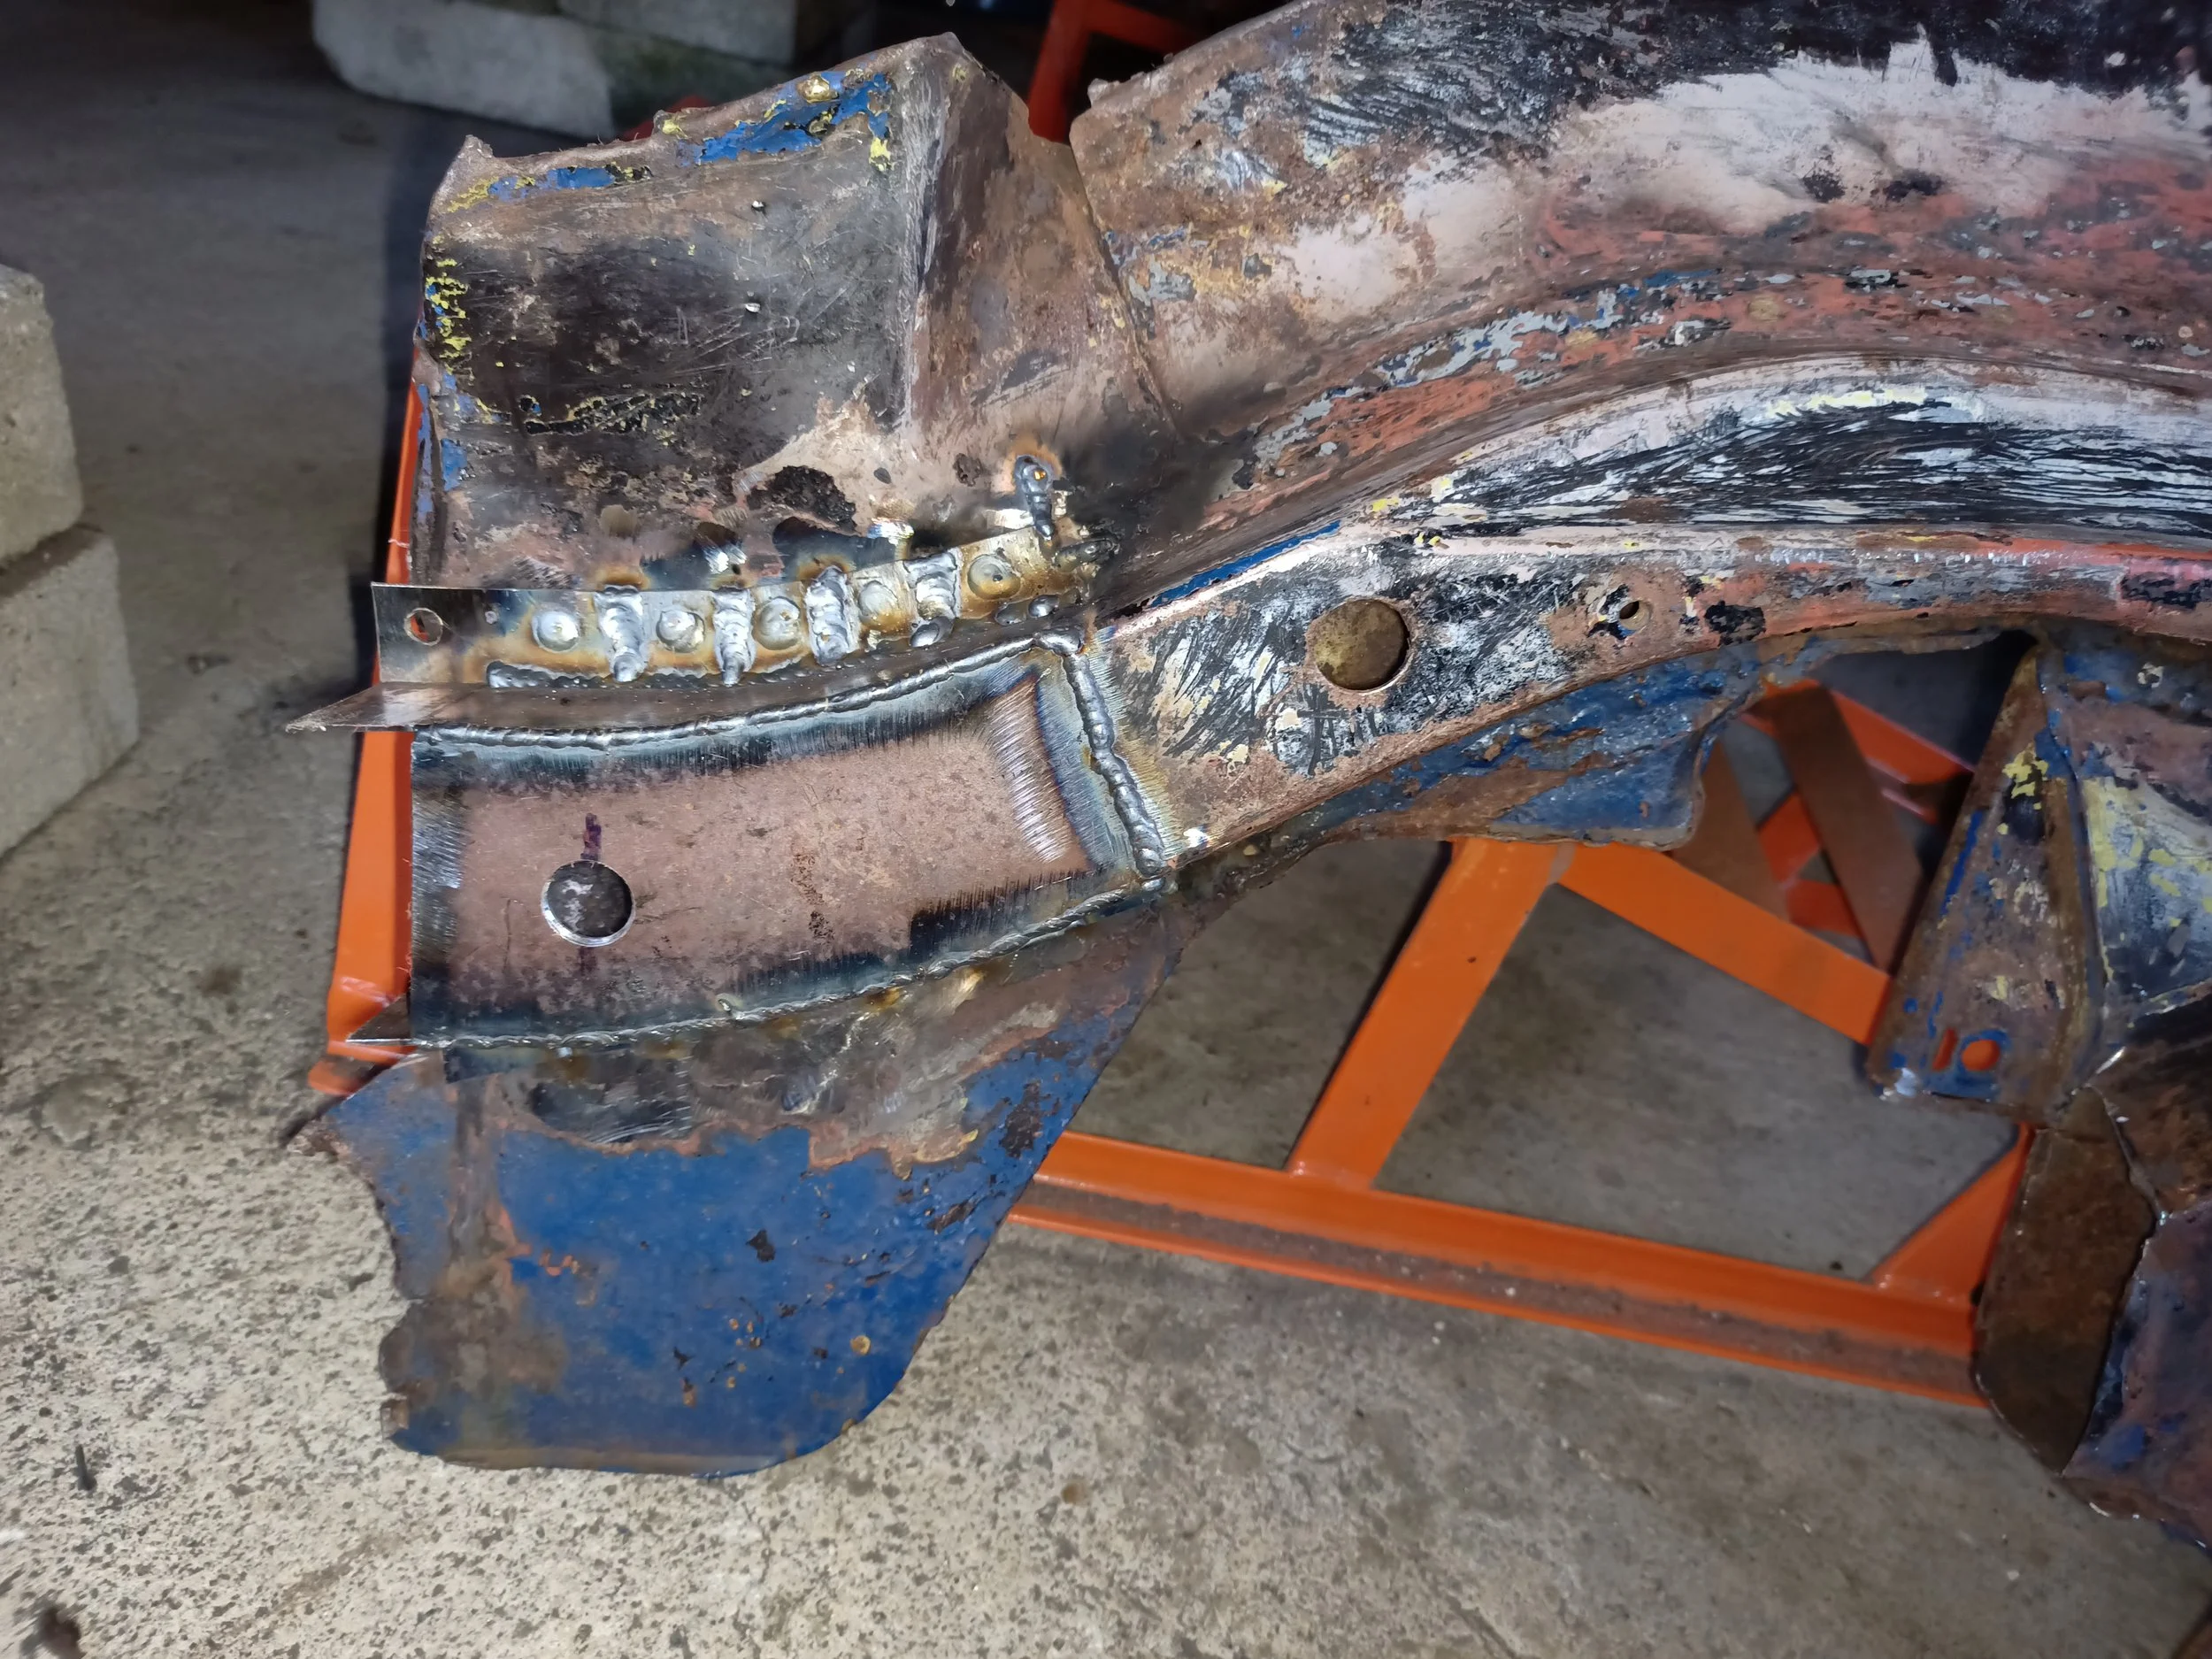
Repair patch made for the rear crossmember that the suspension bracket attaches to.
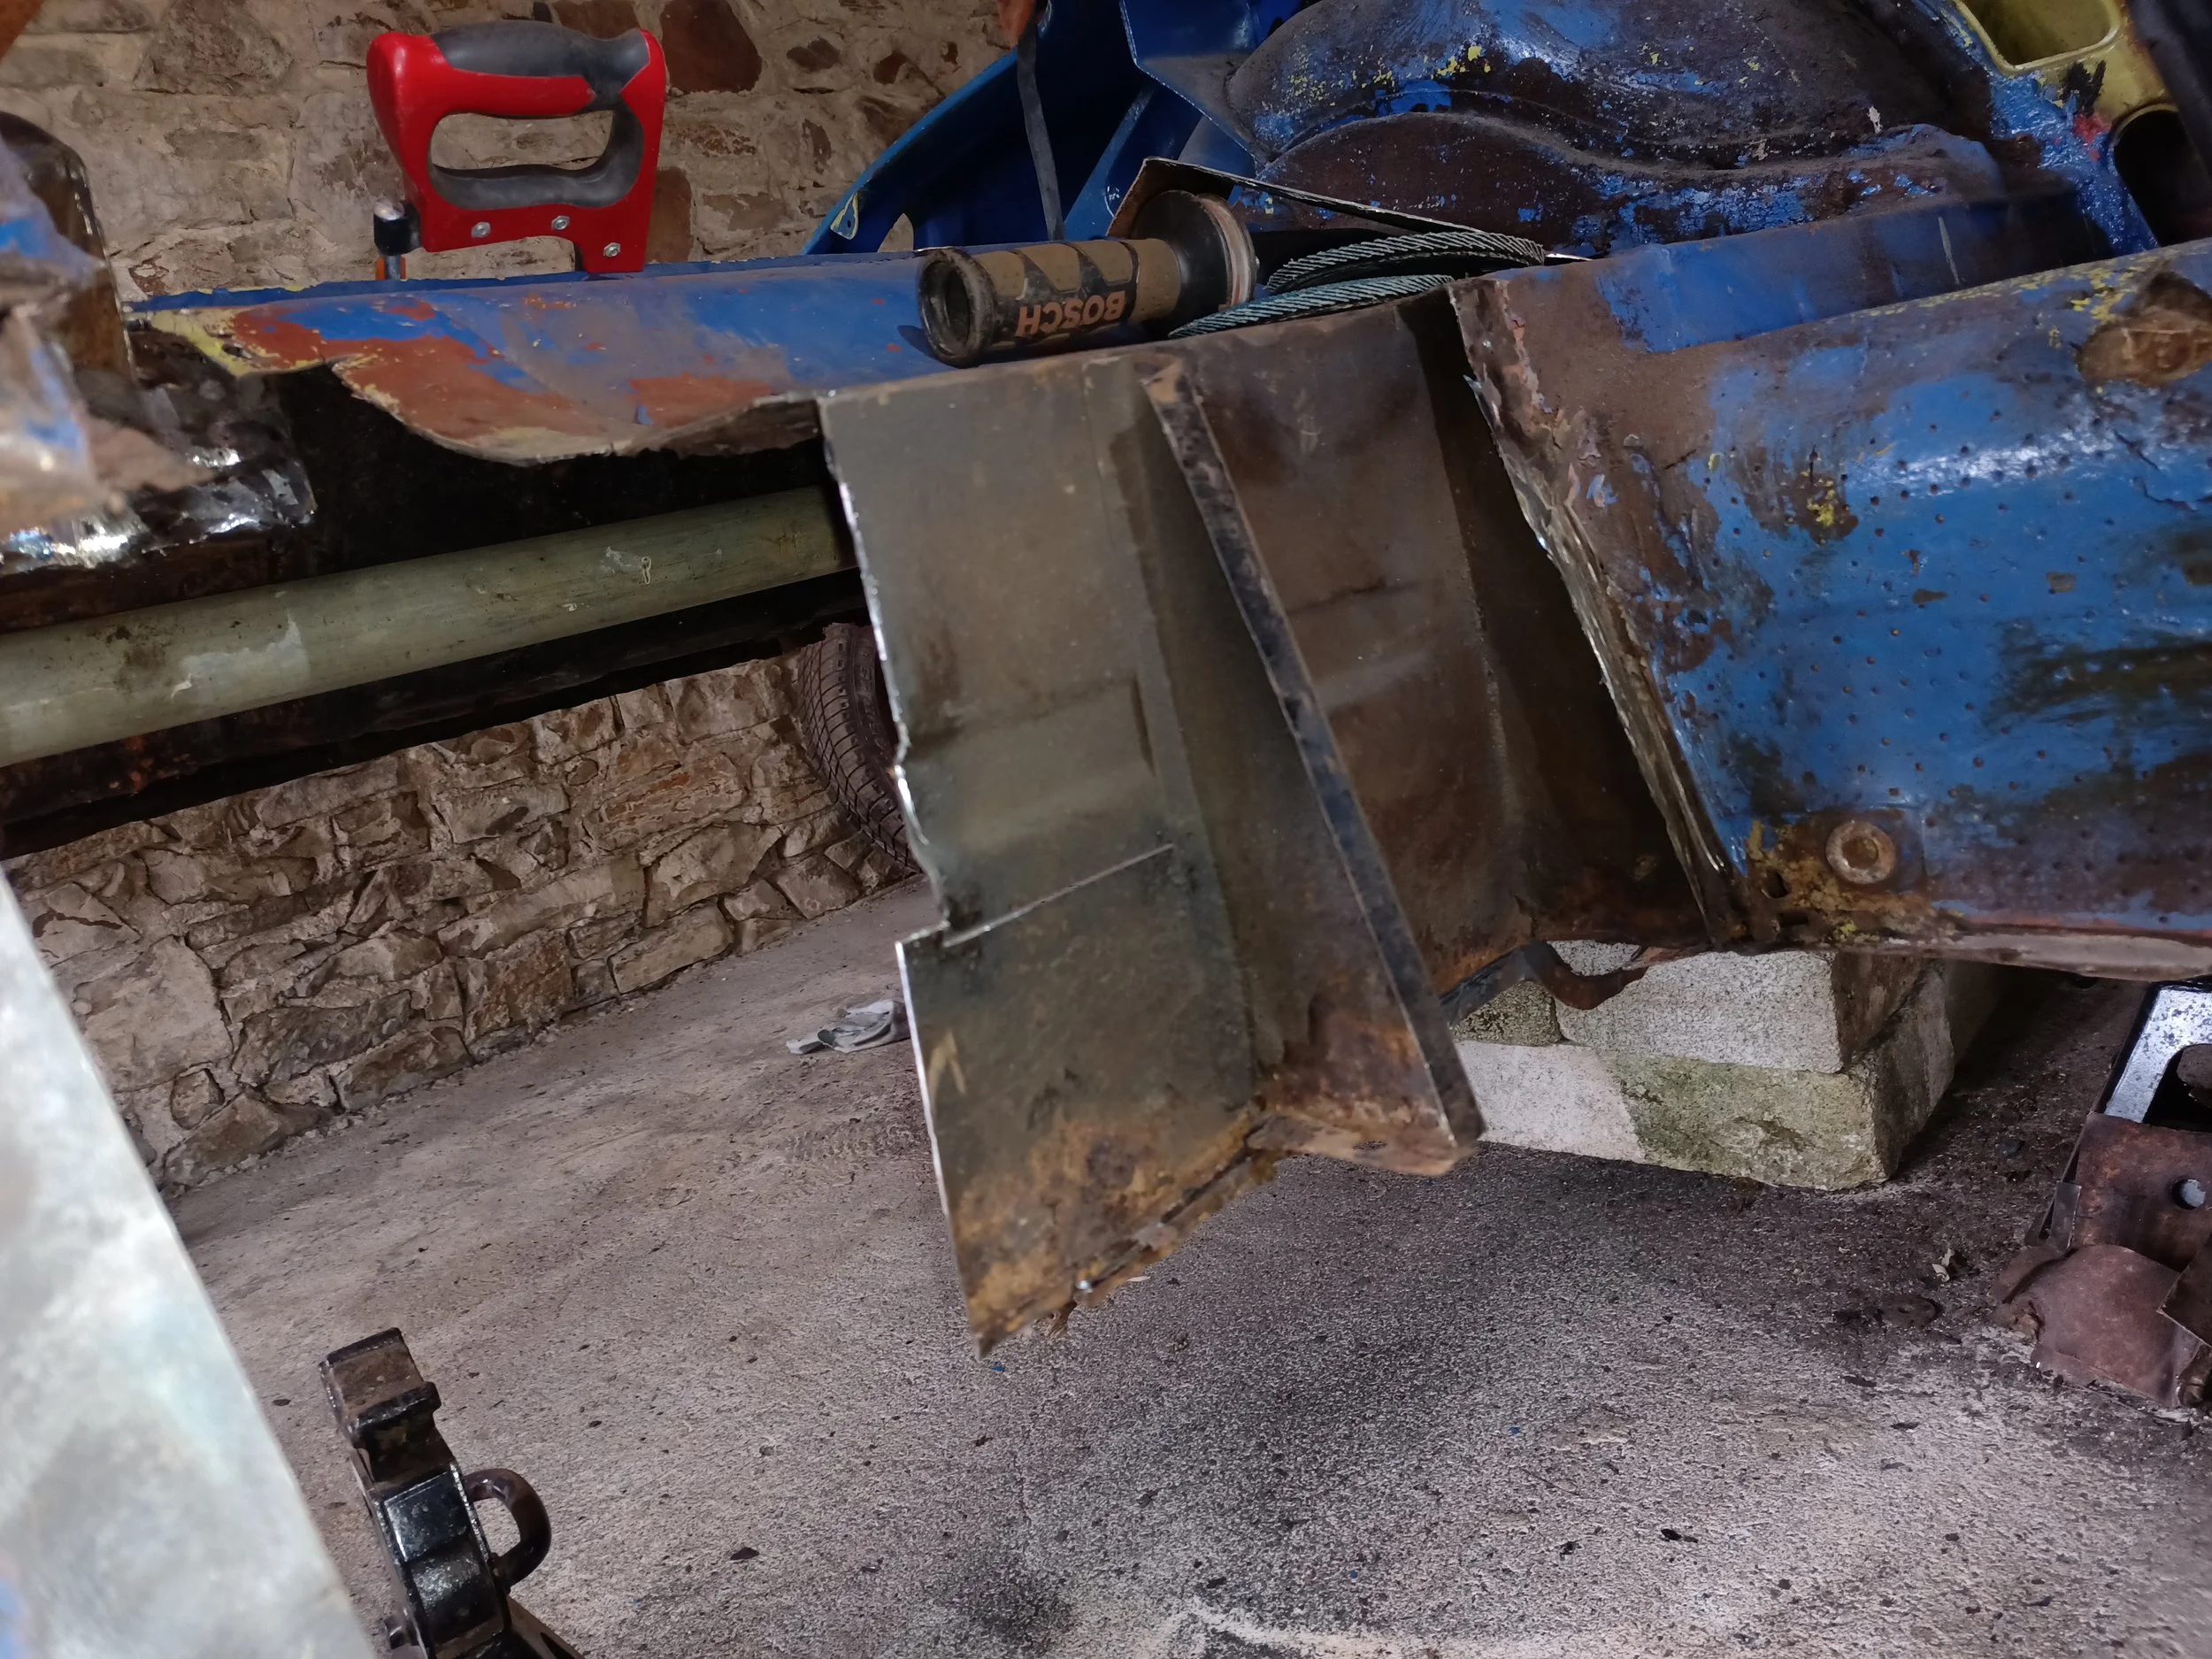
And the solid remaining section in situ in the car. Some minor repairs still required to the lower edge at this stage.

Floor sat back in and replacement spring hanger.

Temporarily clipped in place with mole grips for now!

New inner sill mounted, along with brand new footwell side. All the old metal/rust/patches removed.

Rusty scuttle panel section and entire A-pillar removed.

Temporary structural bracing holding everything in position. New floor crossmember Tek-screwed in place.

Weld preparation nearly complete.

Yet more weld preparation.
Looking good from the front wheel arch. (Should one be able to see the interior from the front wheelarch?!)
New A-pillar and outer sill temporarily fitted.
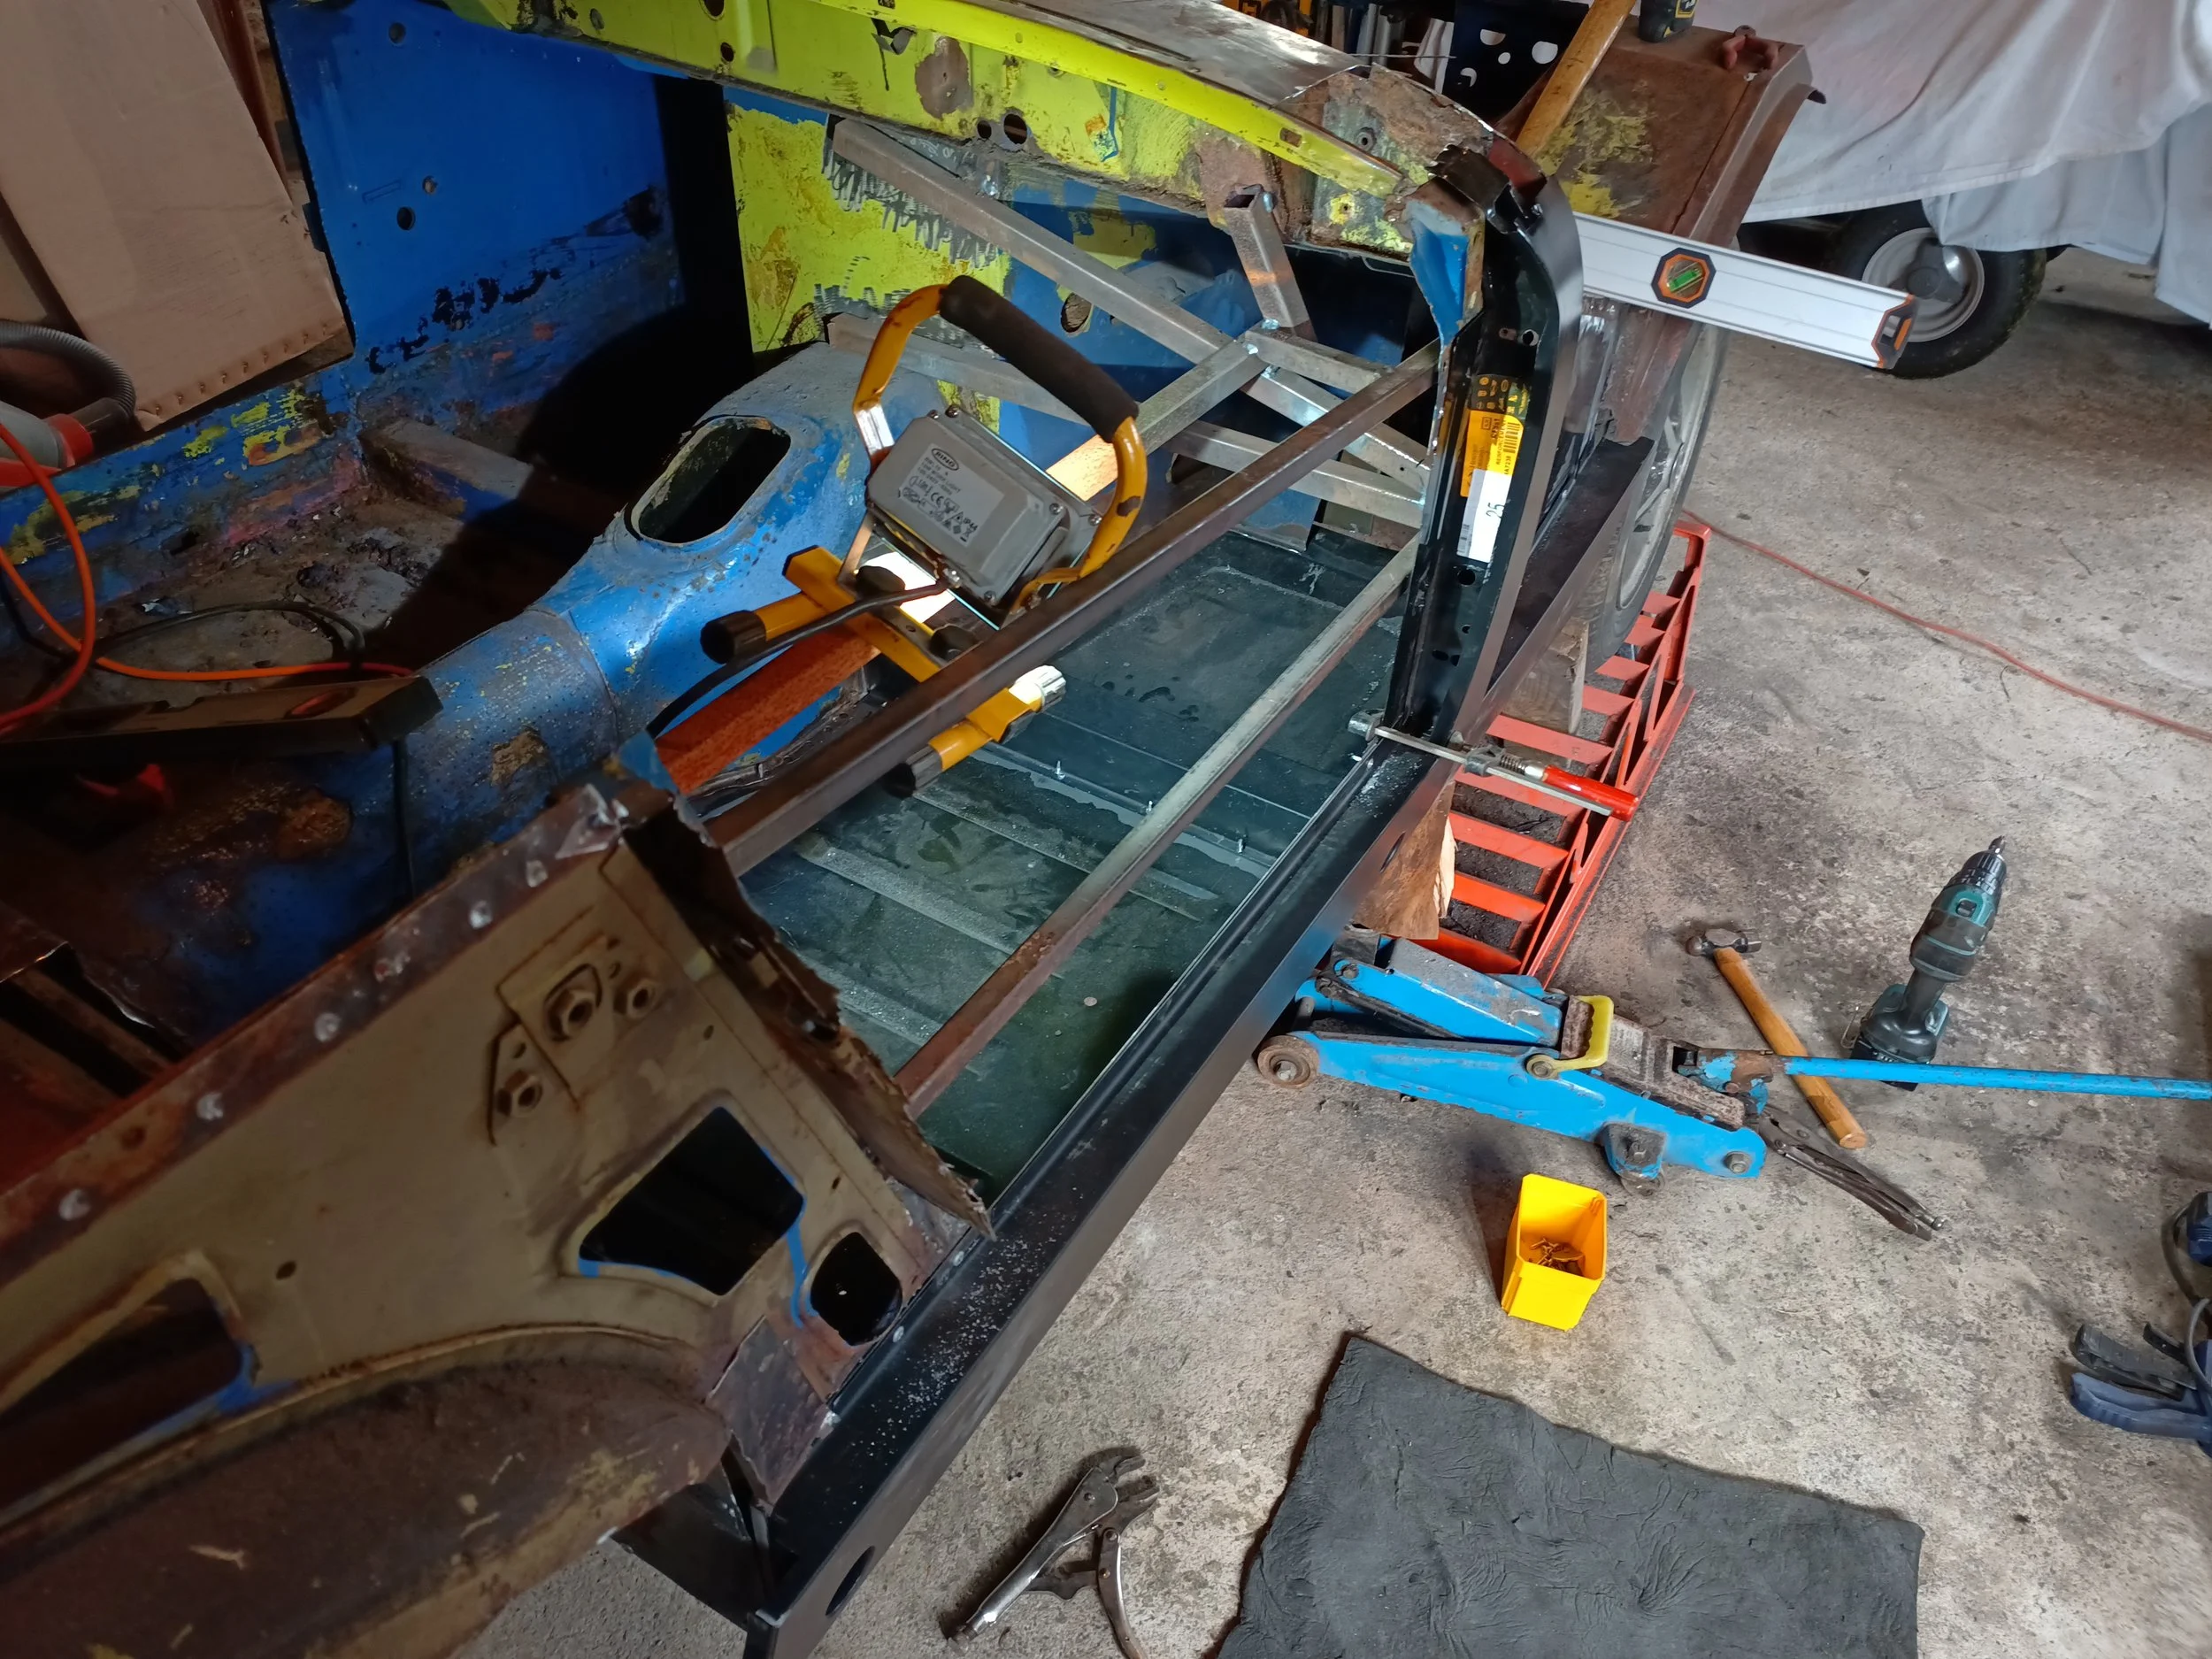
Jacking the floor panel to align with the sill. Tek-screws then fitted to attach them temporarily together.

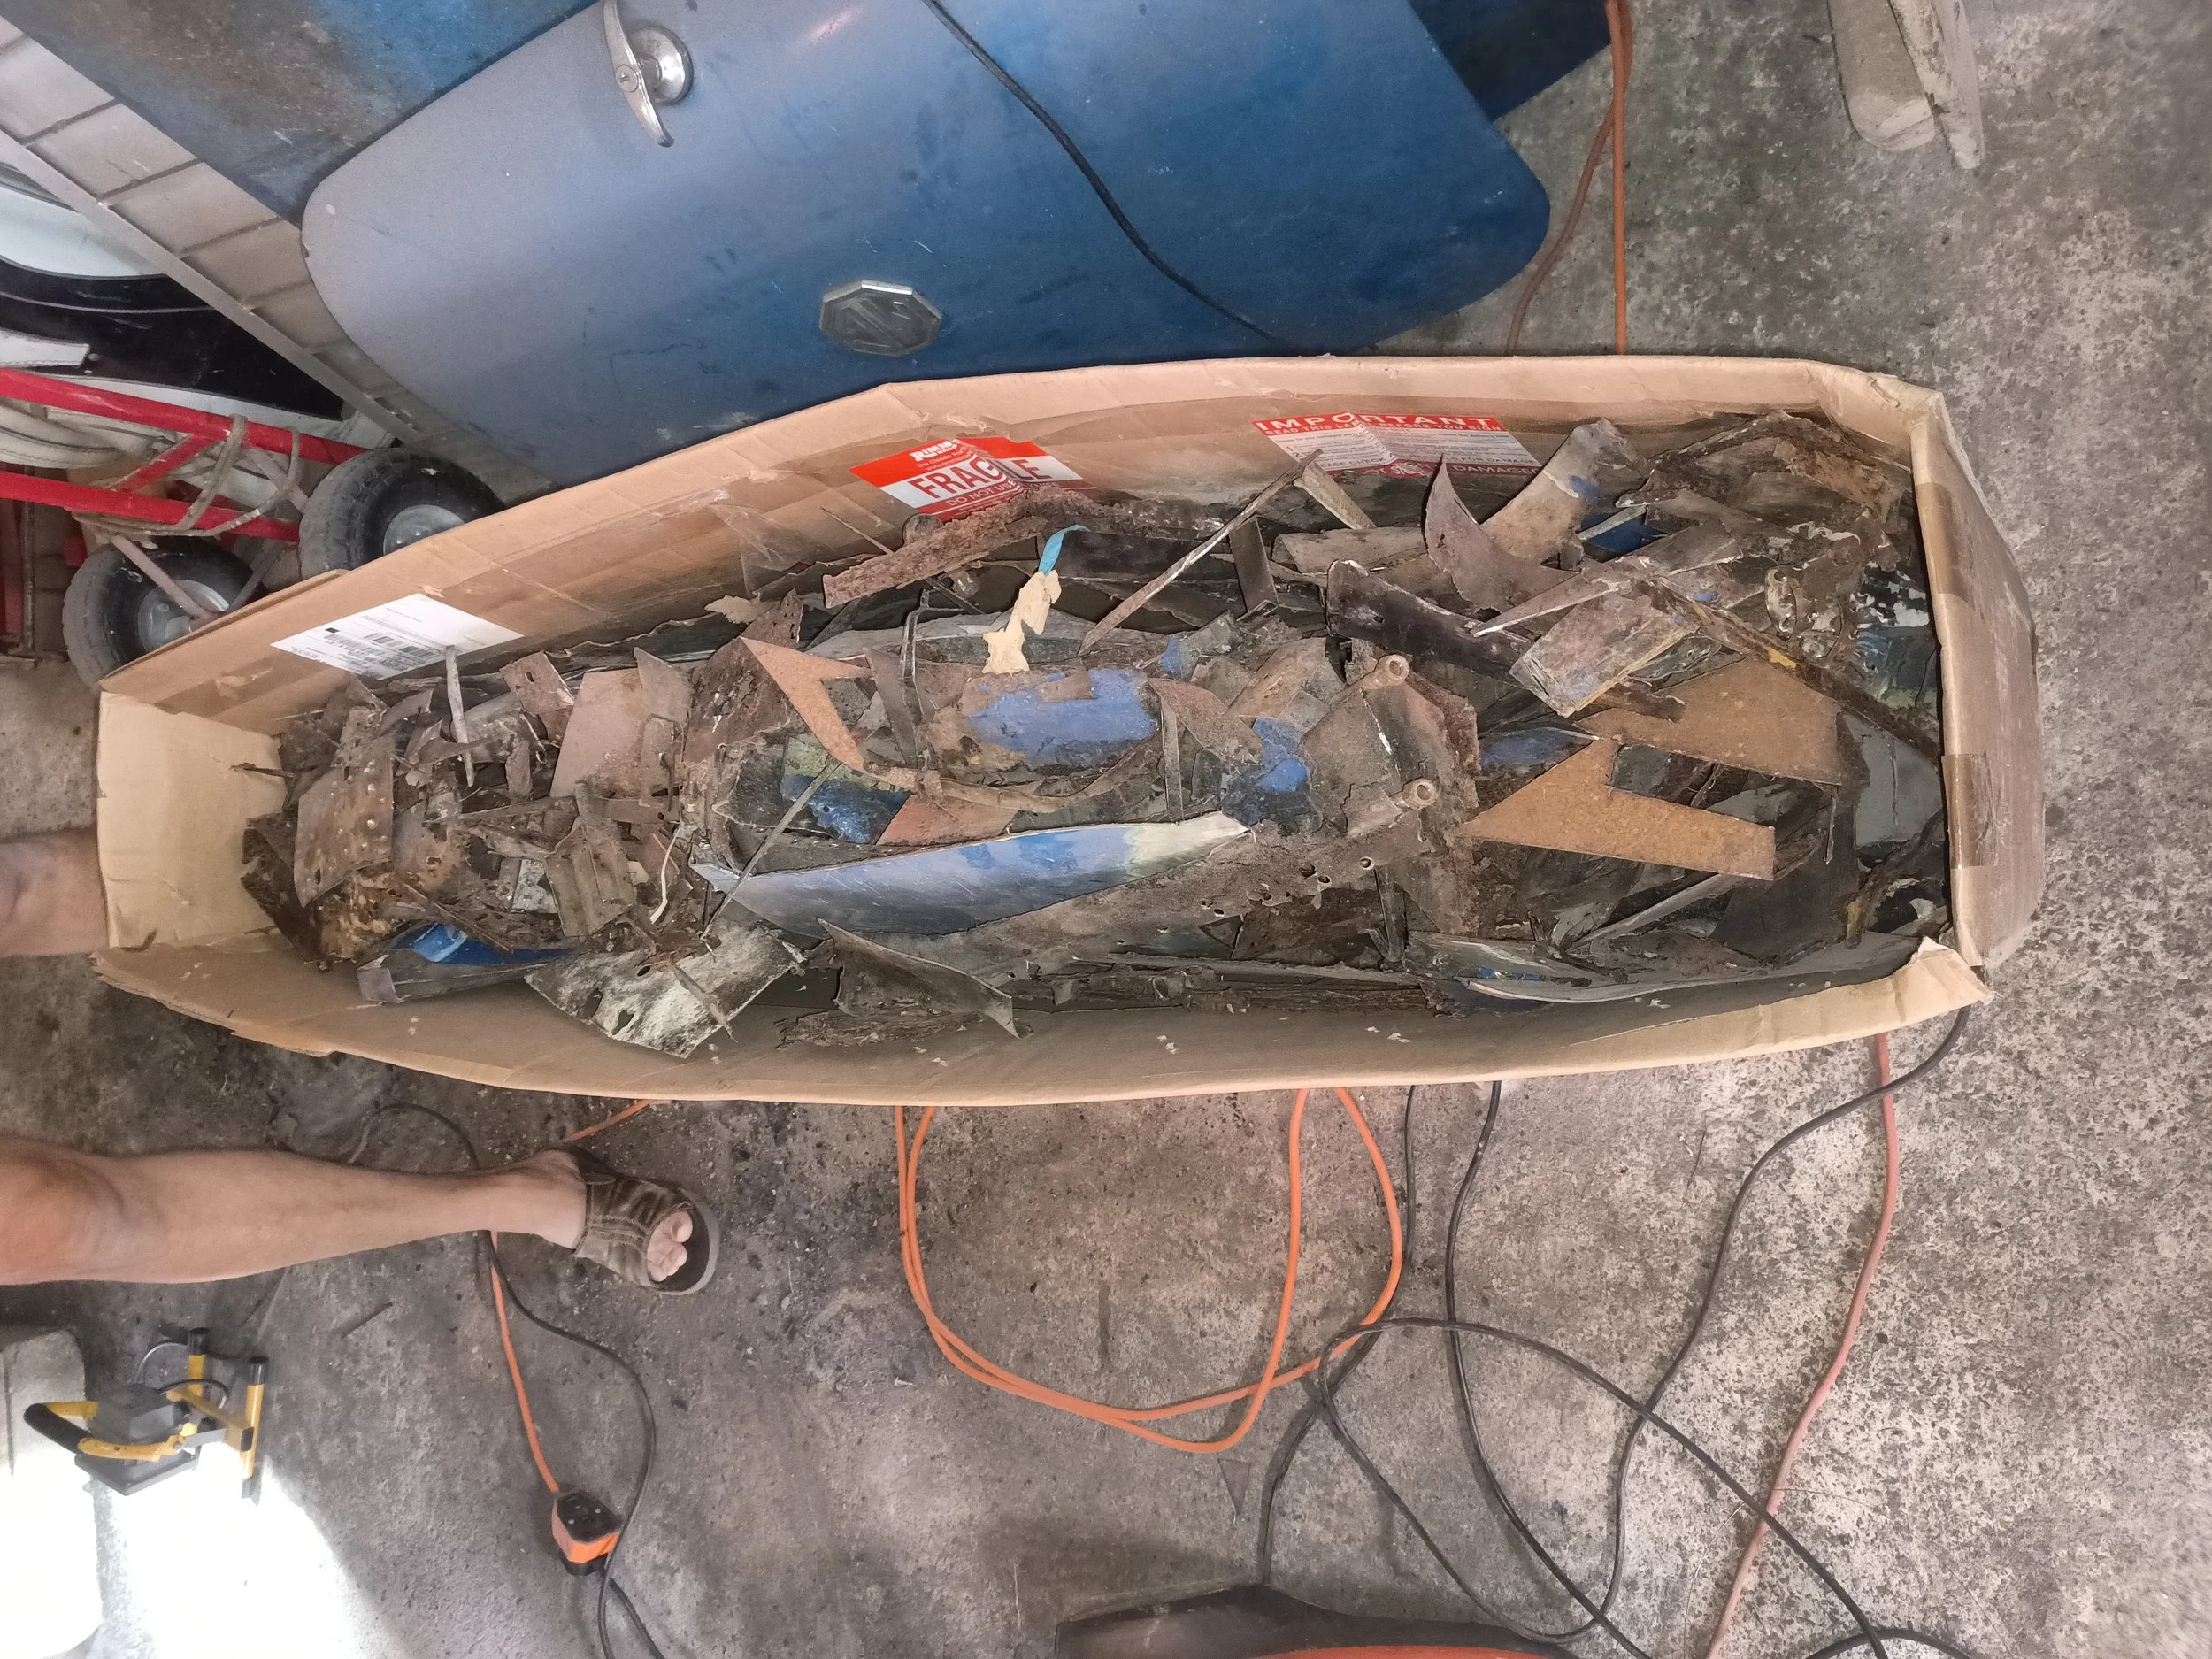
A pile of rust steel, now no longer part of the car.

And the solid steel that replaced it.

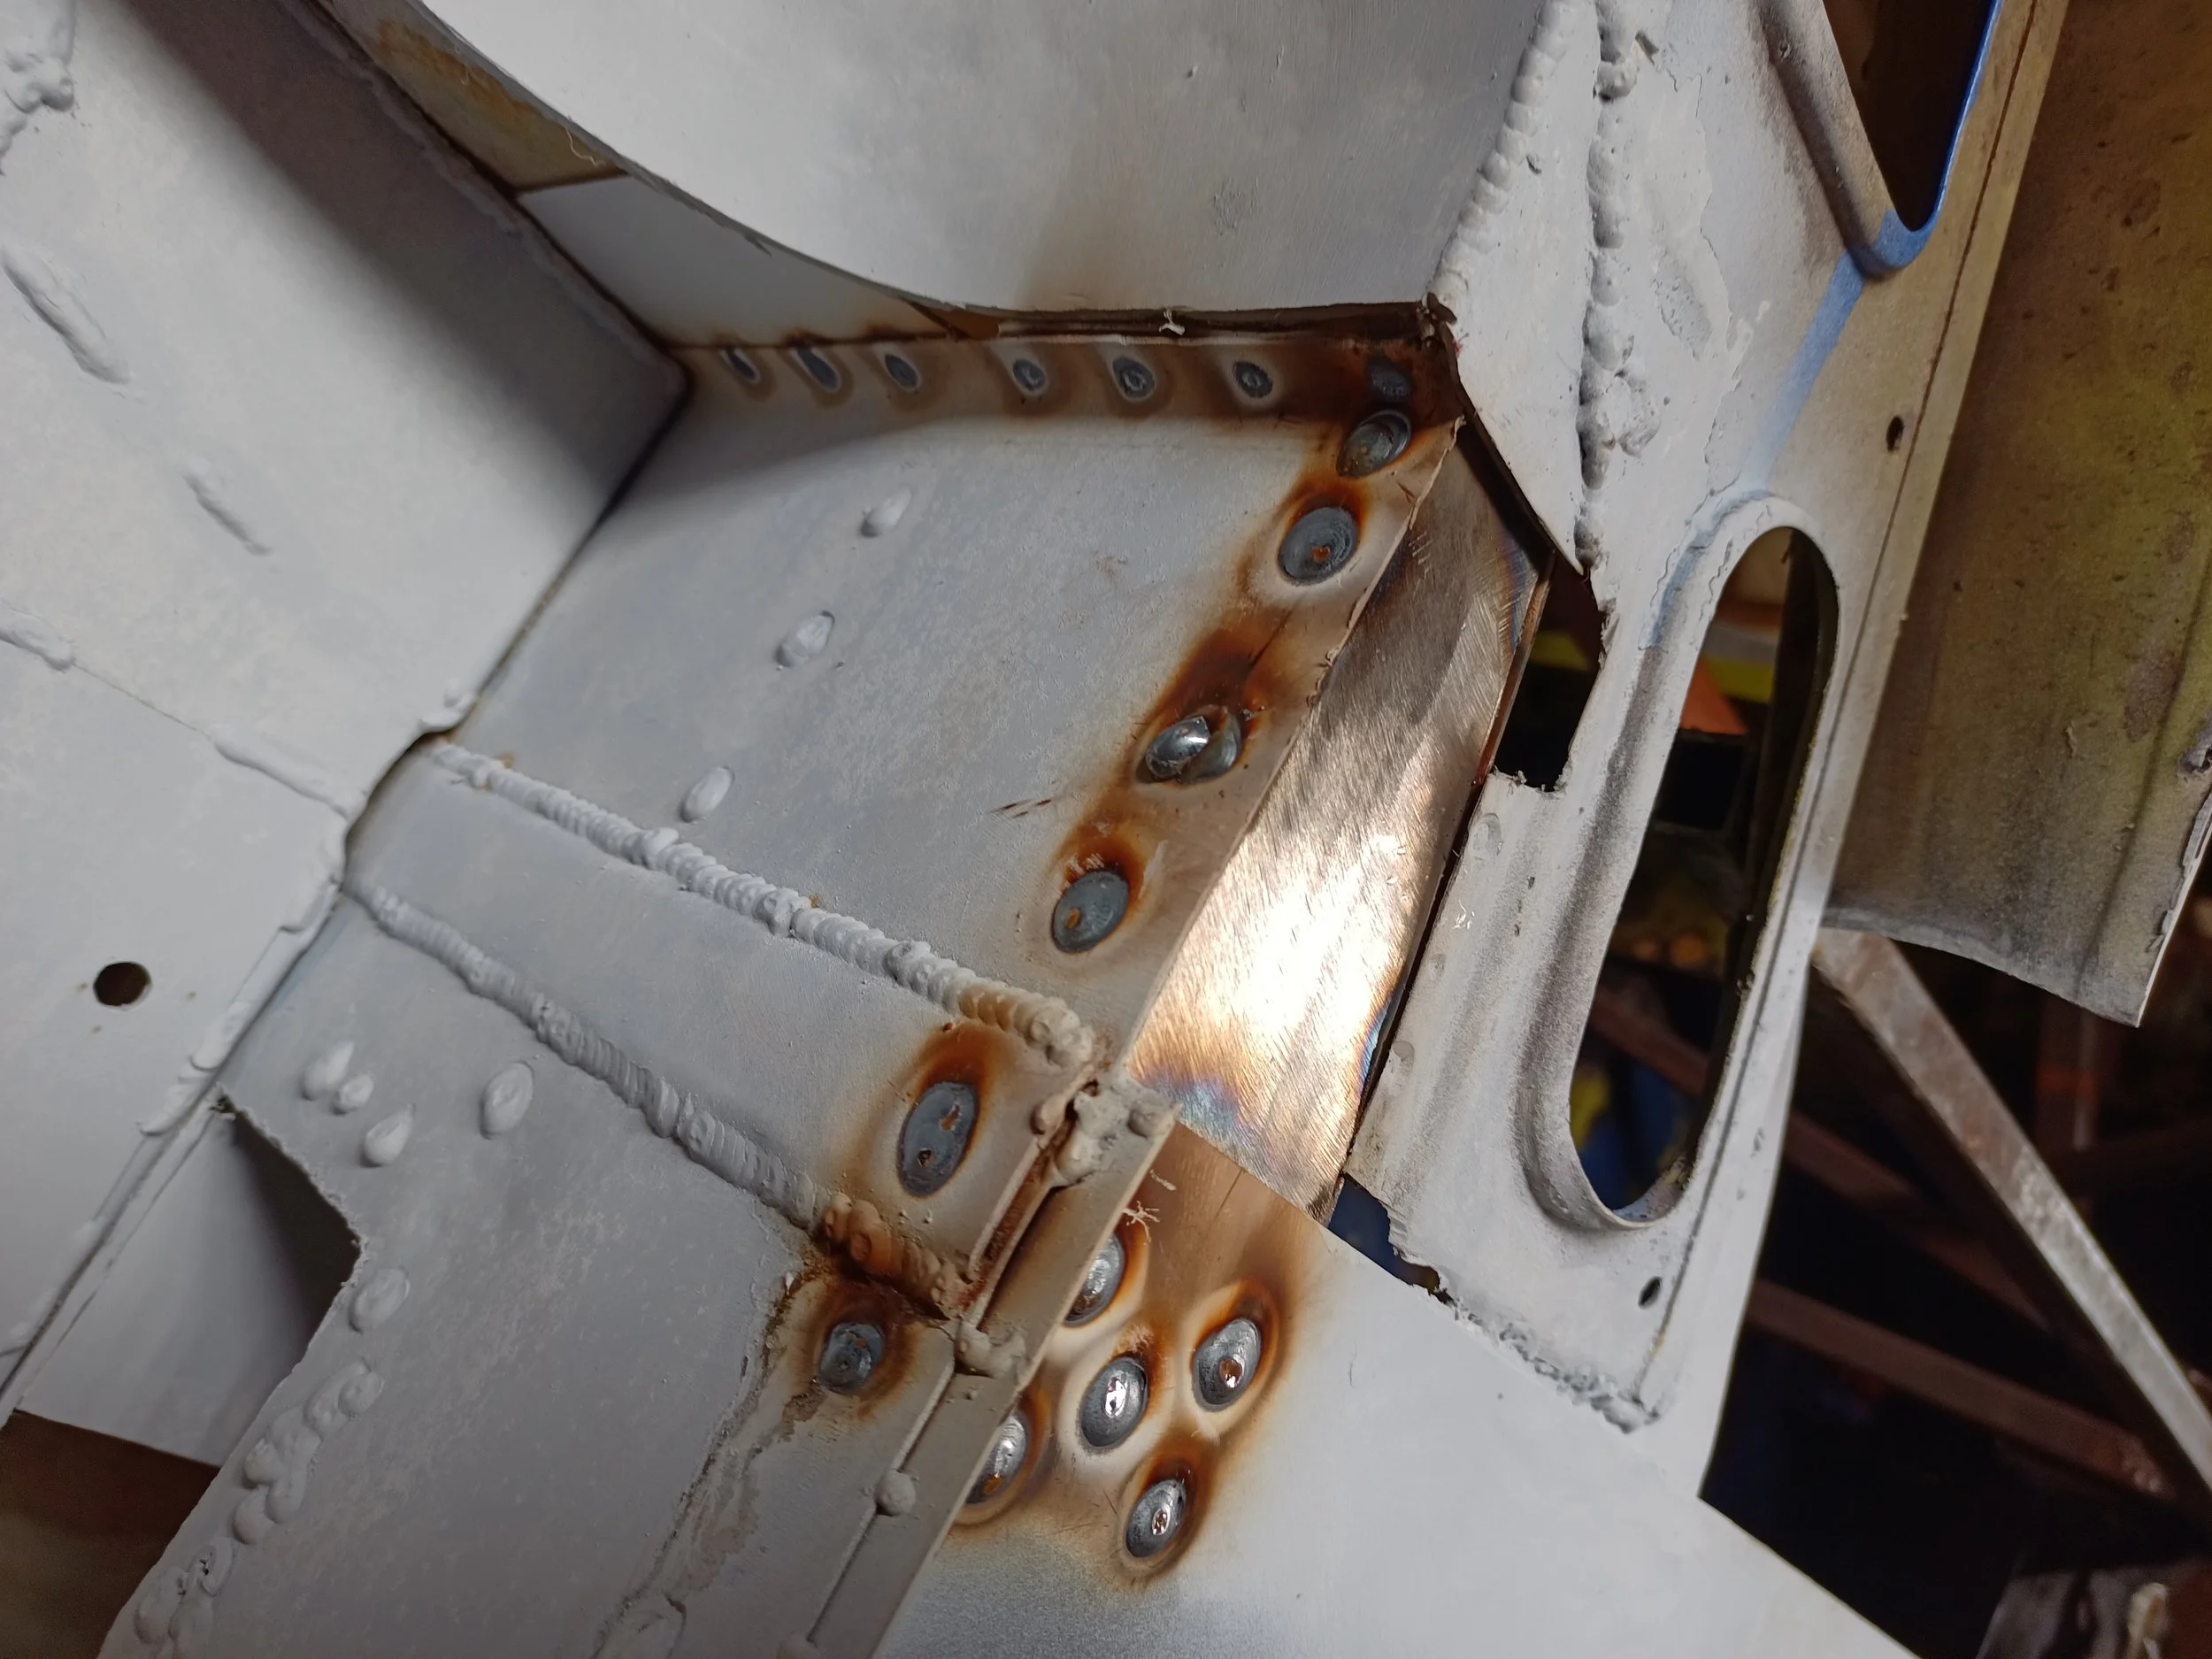
Inner sill welded in properly. No spot welder available, so MIG plug-welds substituted. 8mm holes determined through experimentation to give the perfect plug weld.
New A-pillar installed.

Bracketry attached and weather shield fabricated. Original pressed shape was too complex to replicate with available tooling, so this boxy shape had to suffice.

Welding in progress...

Boot floor patching also begun.

Replacement shock mount fabricated to allow forward progress instead of waiting for a delivery. Now solidly mounted in place.
More butt welded seams. Notice the gap near the gearbox tunnel...

Now filled in.

Inner wheelarch lip completely removed.

Repairs to the lower edge of the inner arch

And repairs to the bottom of the wheelarch reinforcement.

Removed boot floor extension (behind the wheelarch), only to reveal that the corrosion travelled further. Boot floor then cut back until good steel.
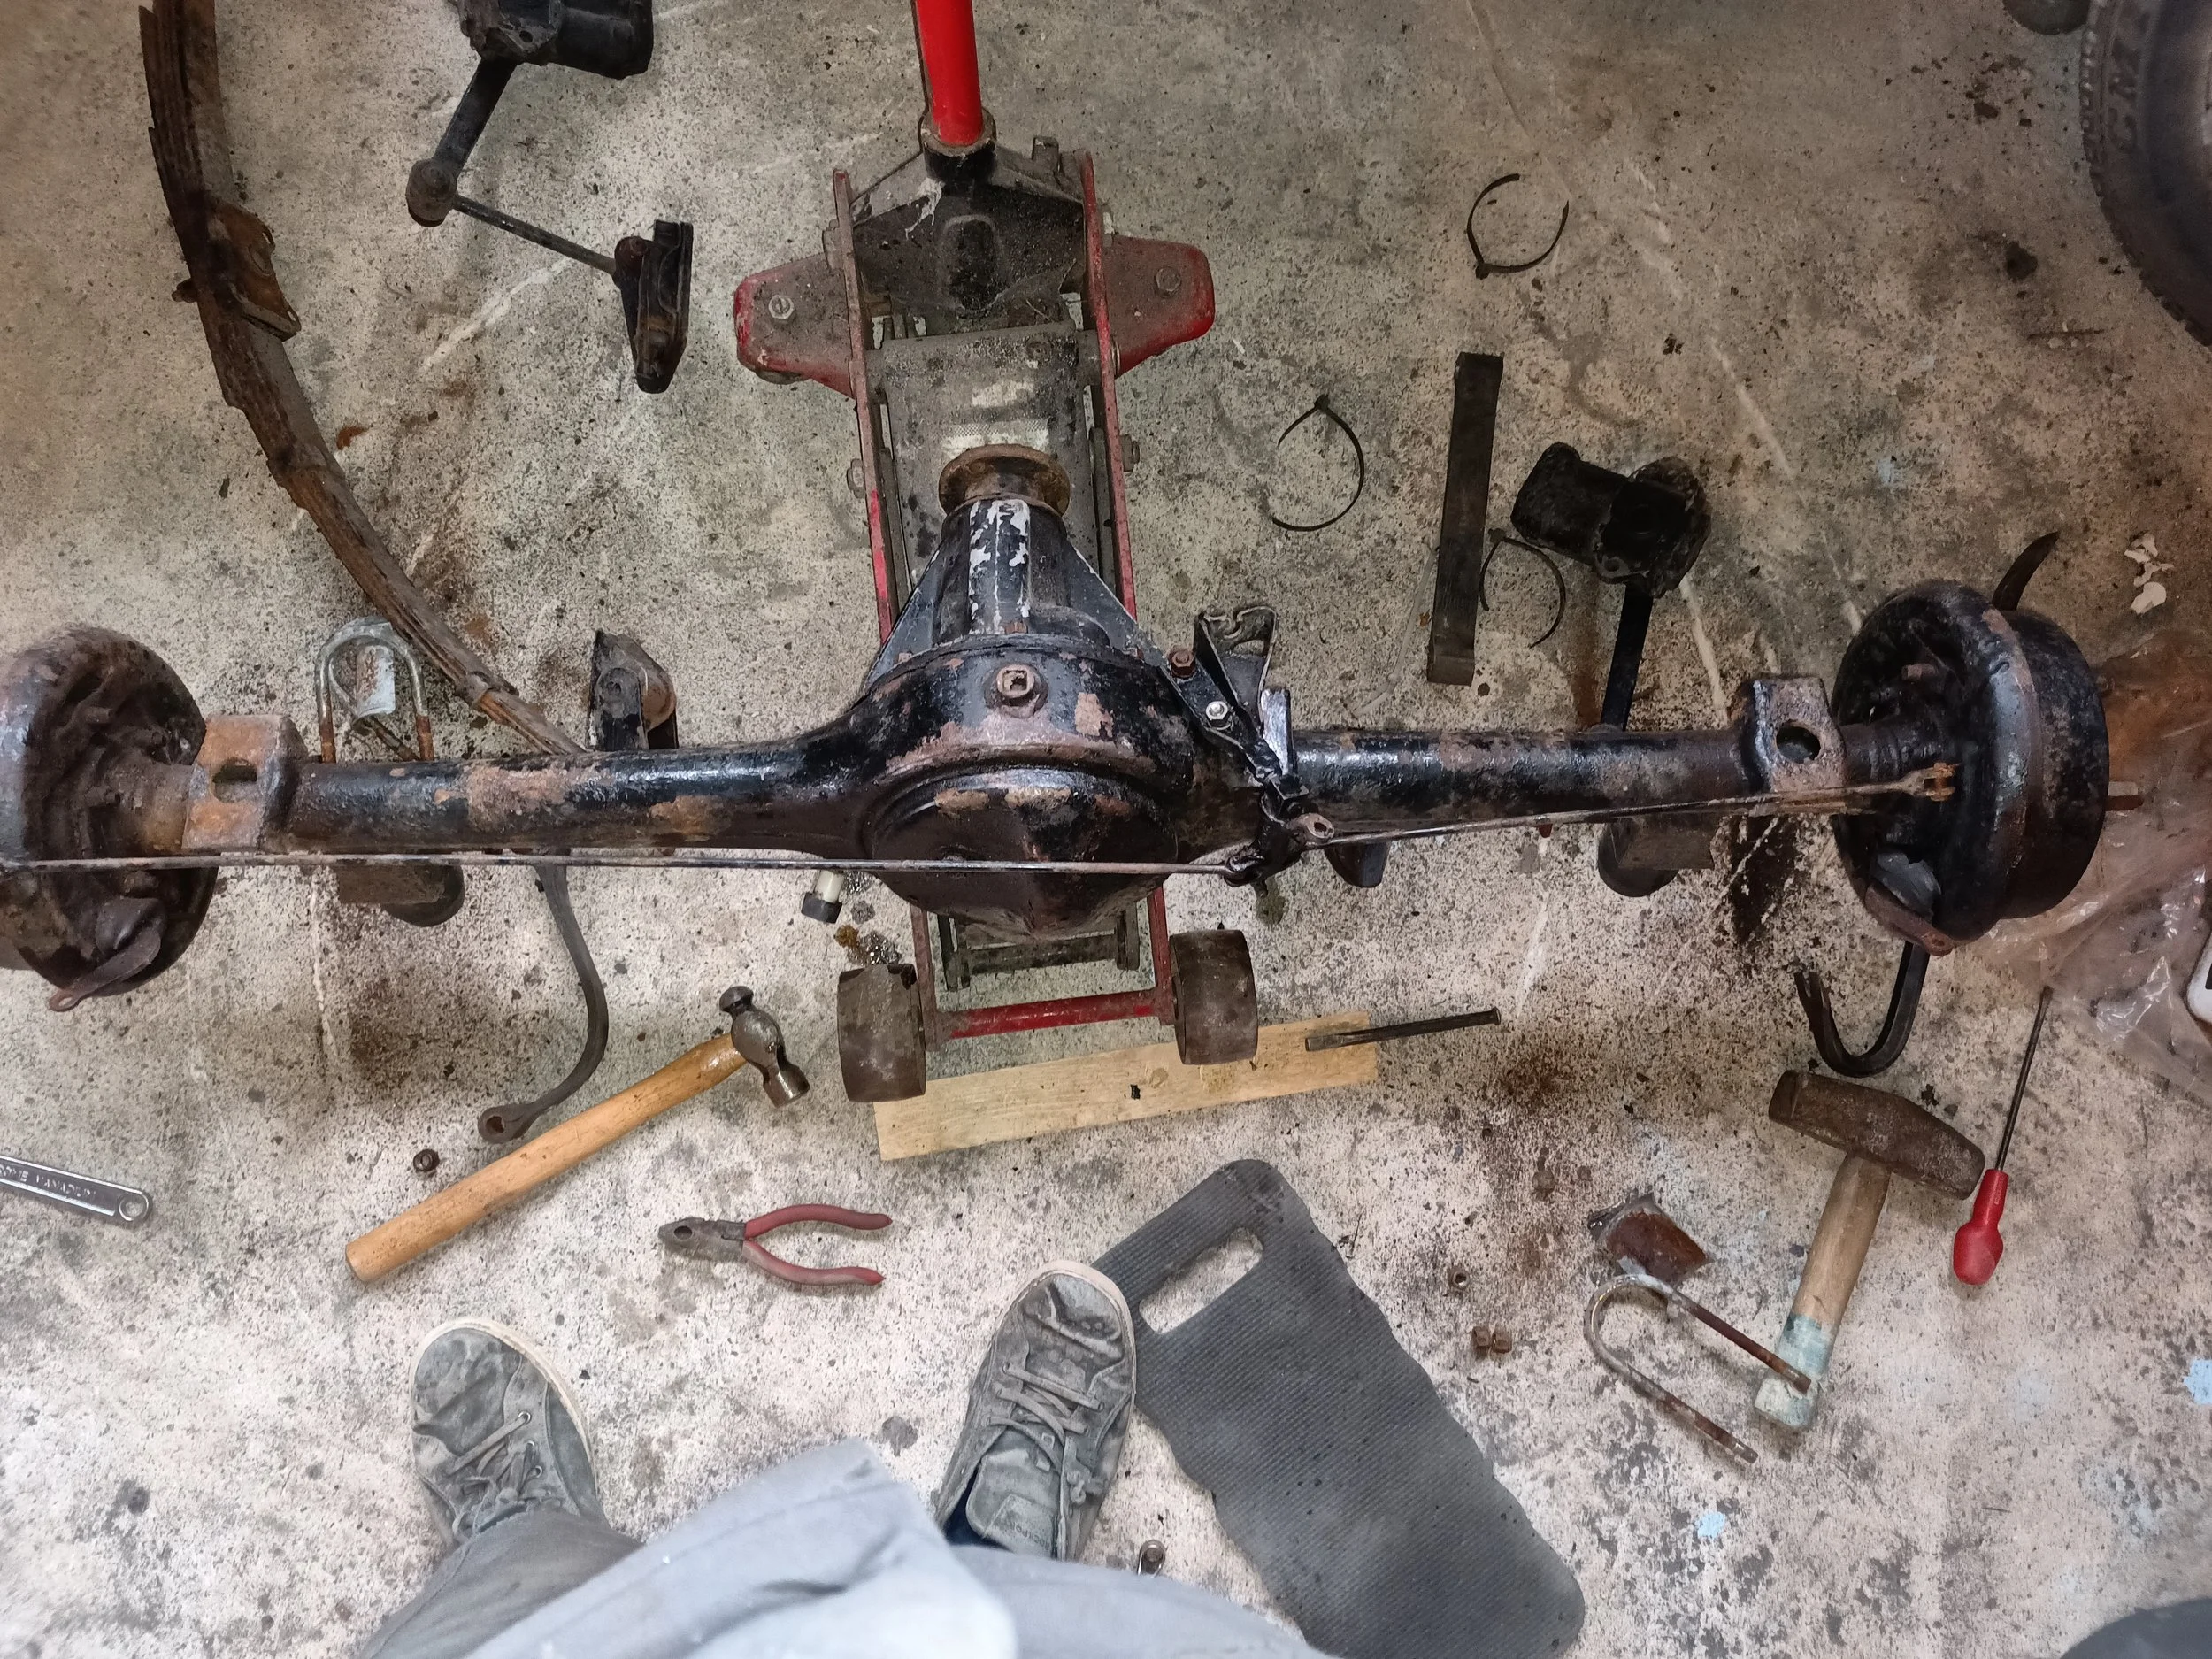
Rear axle removed.

Rear axle tucked away for storage.

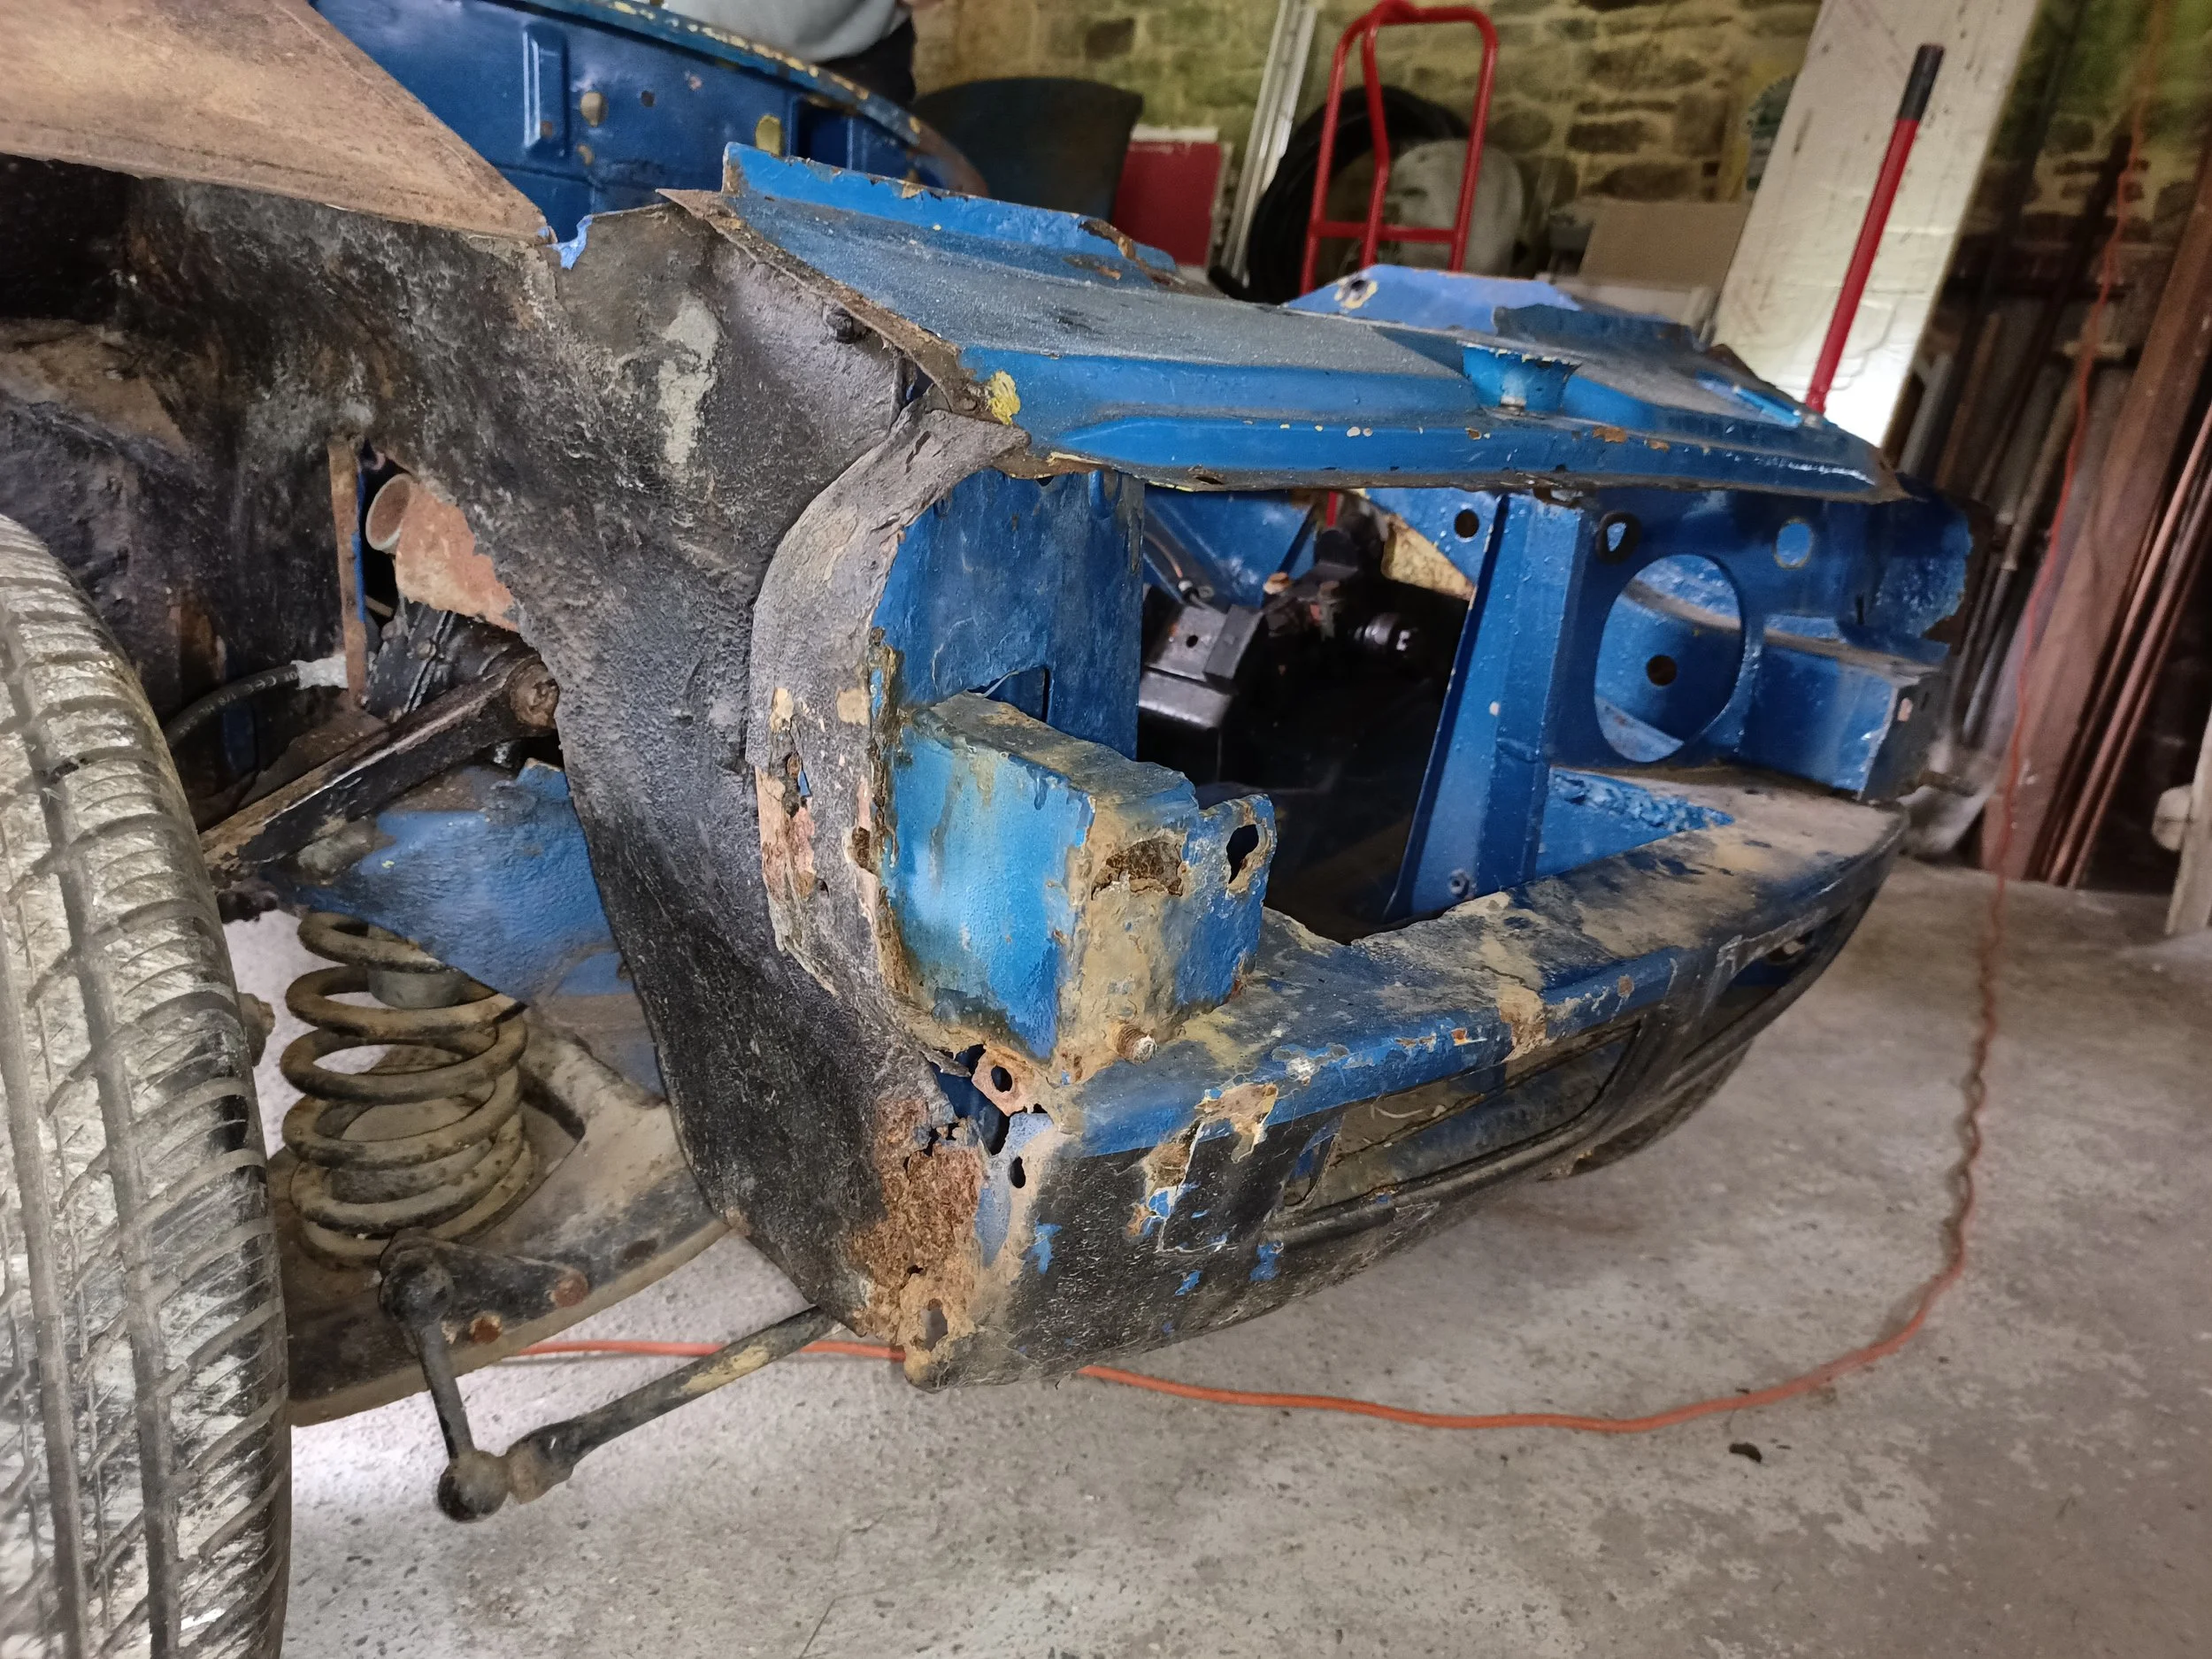
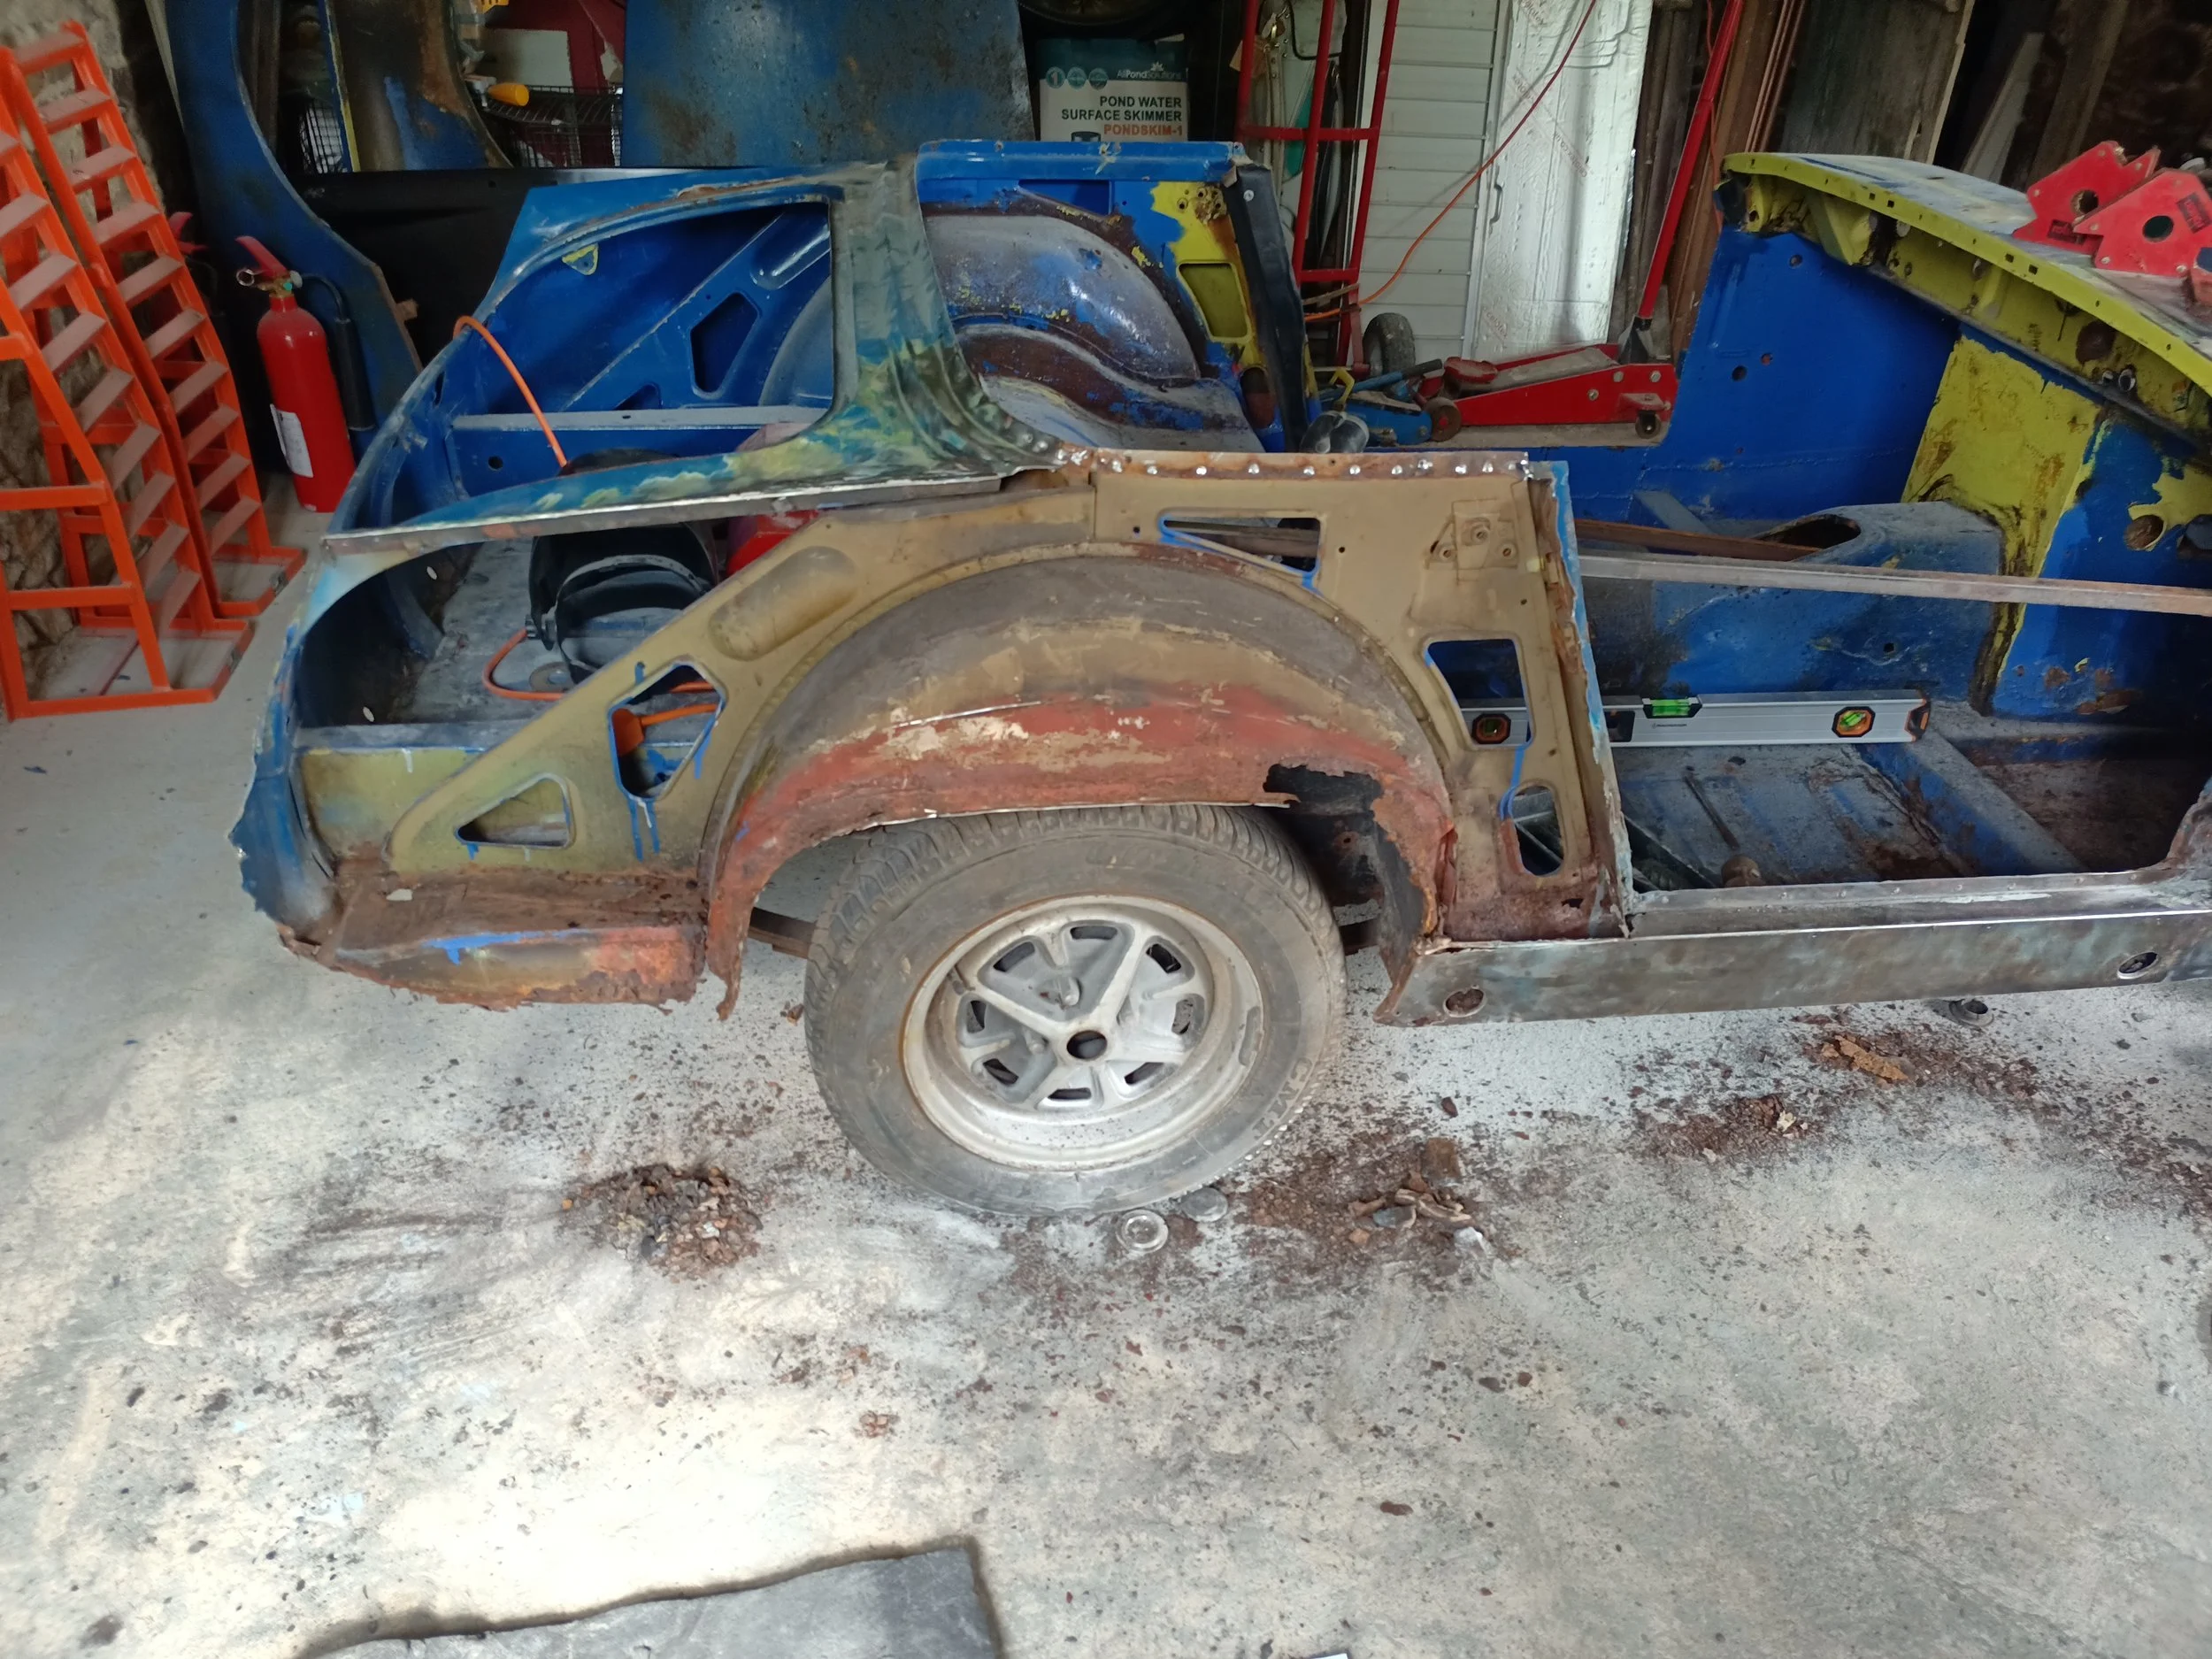
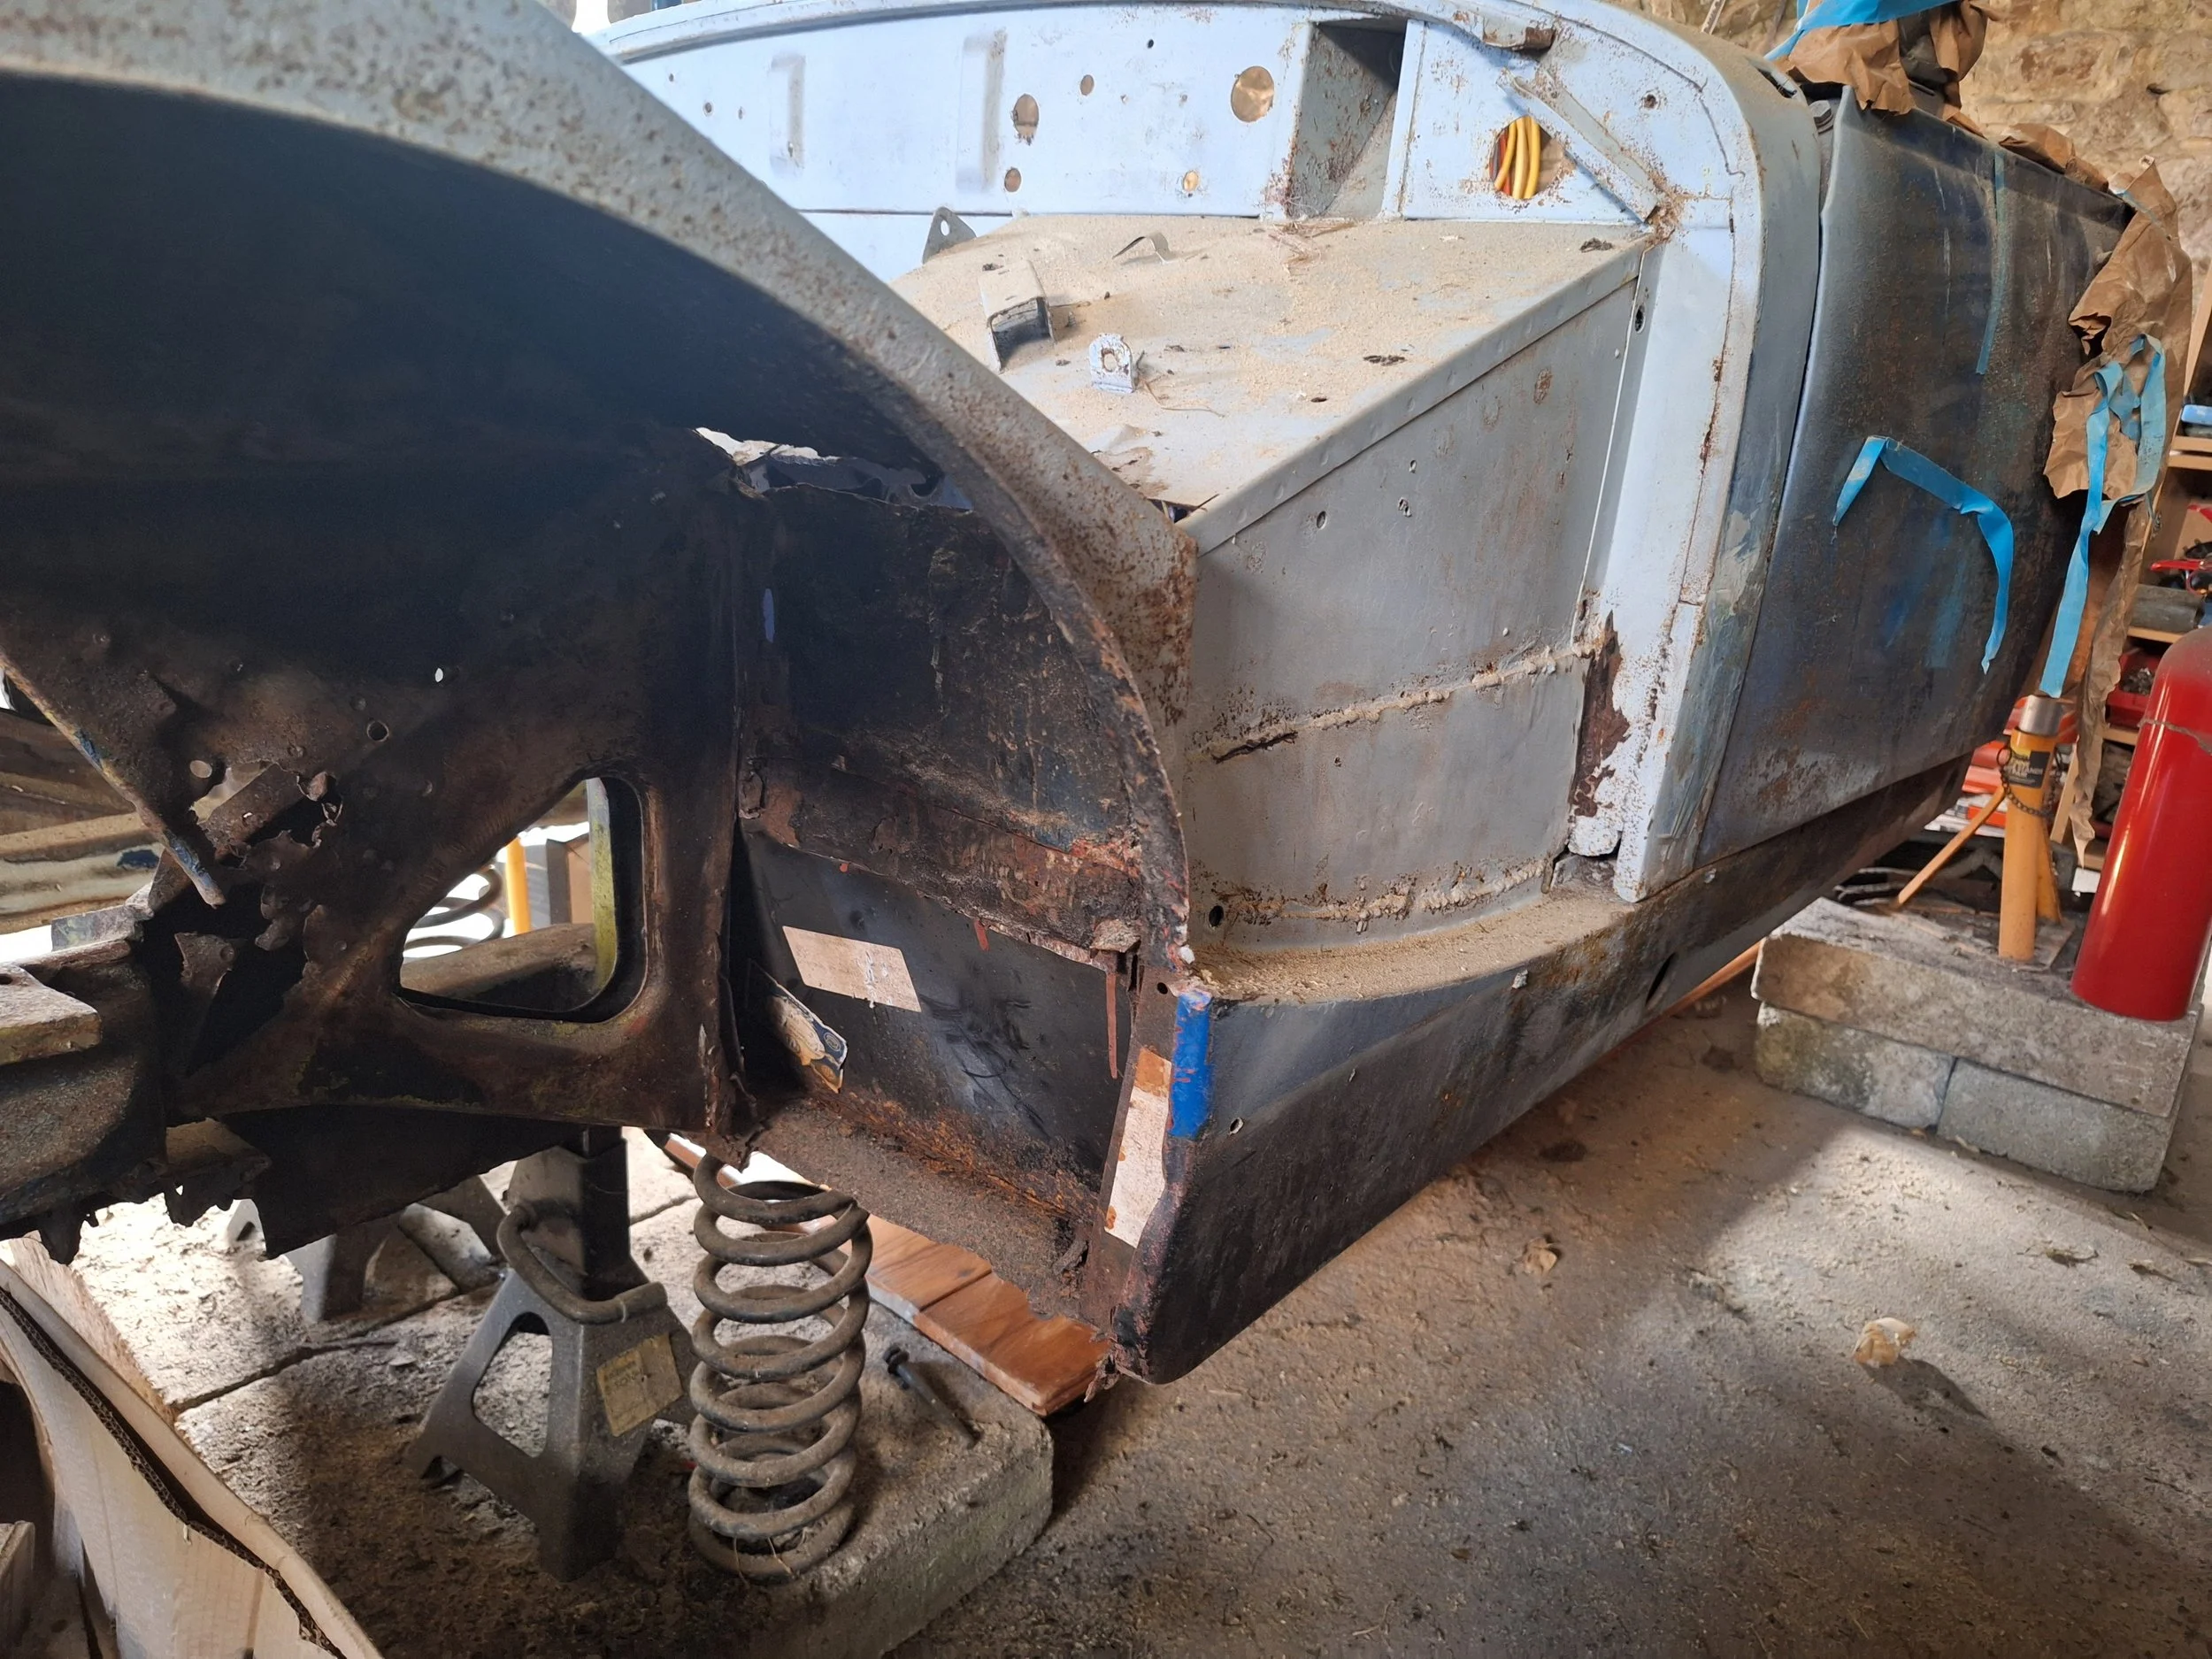
Front clip removed.

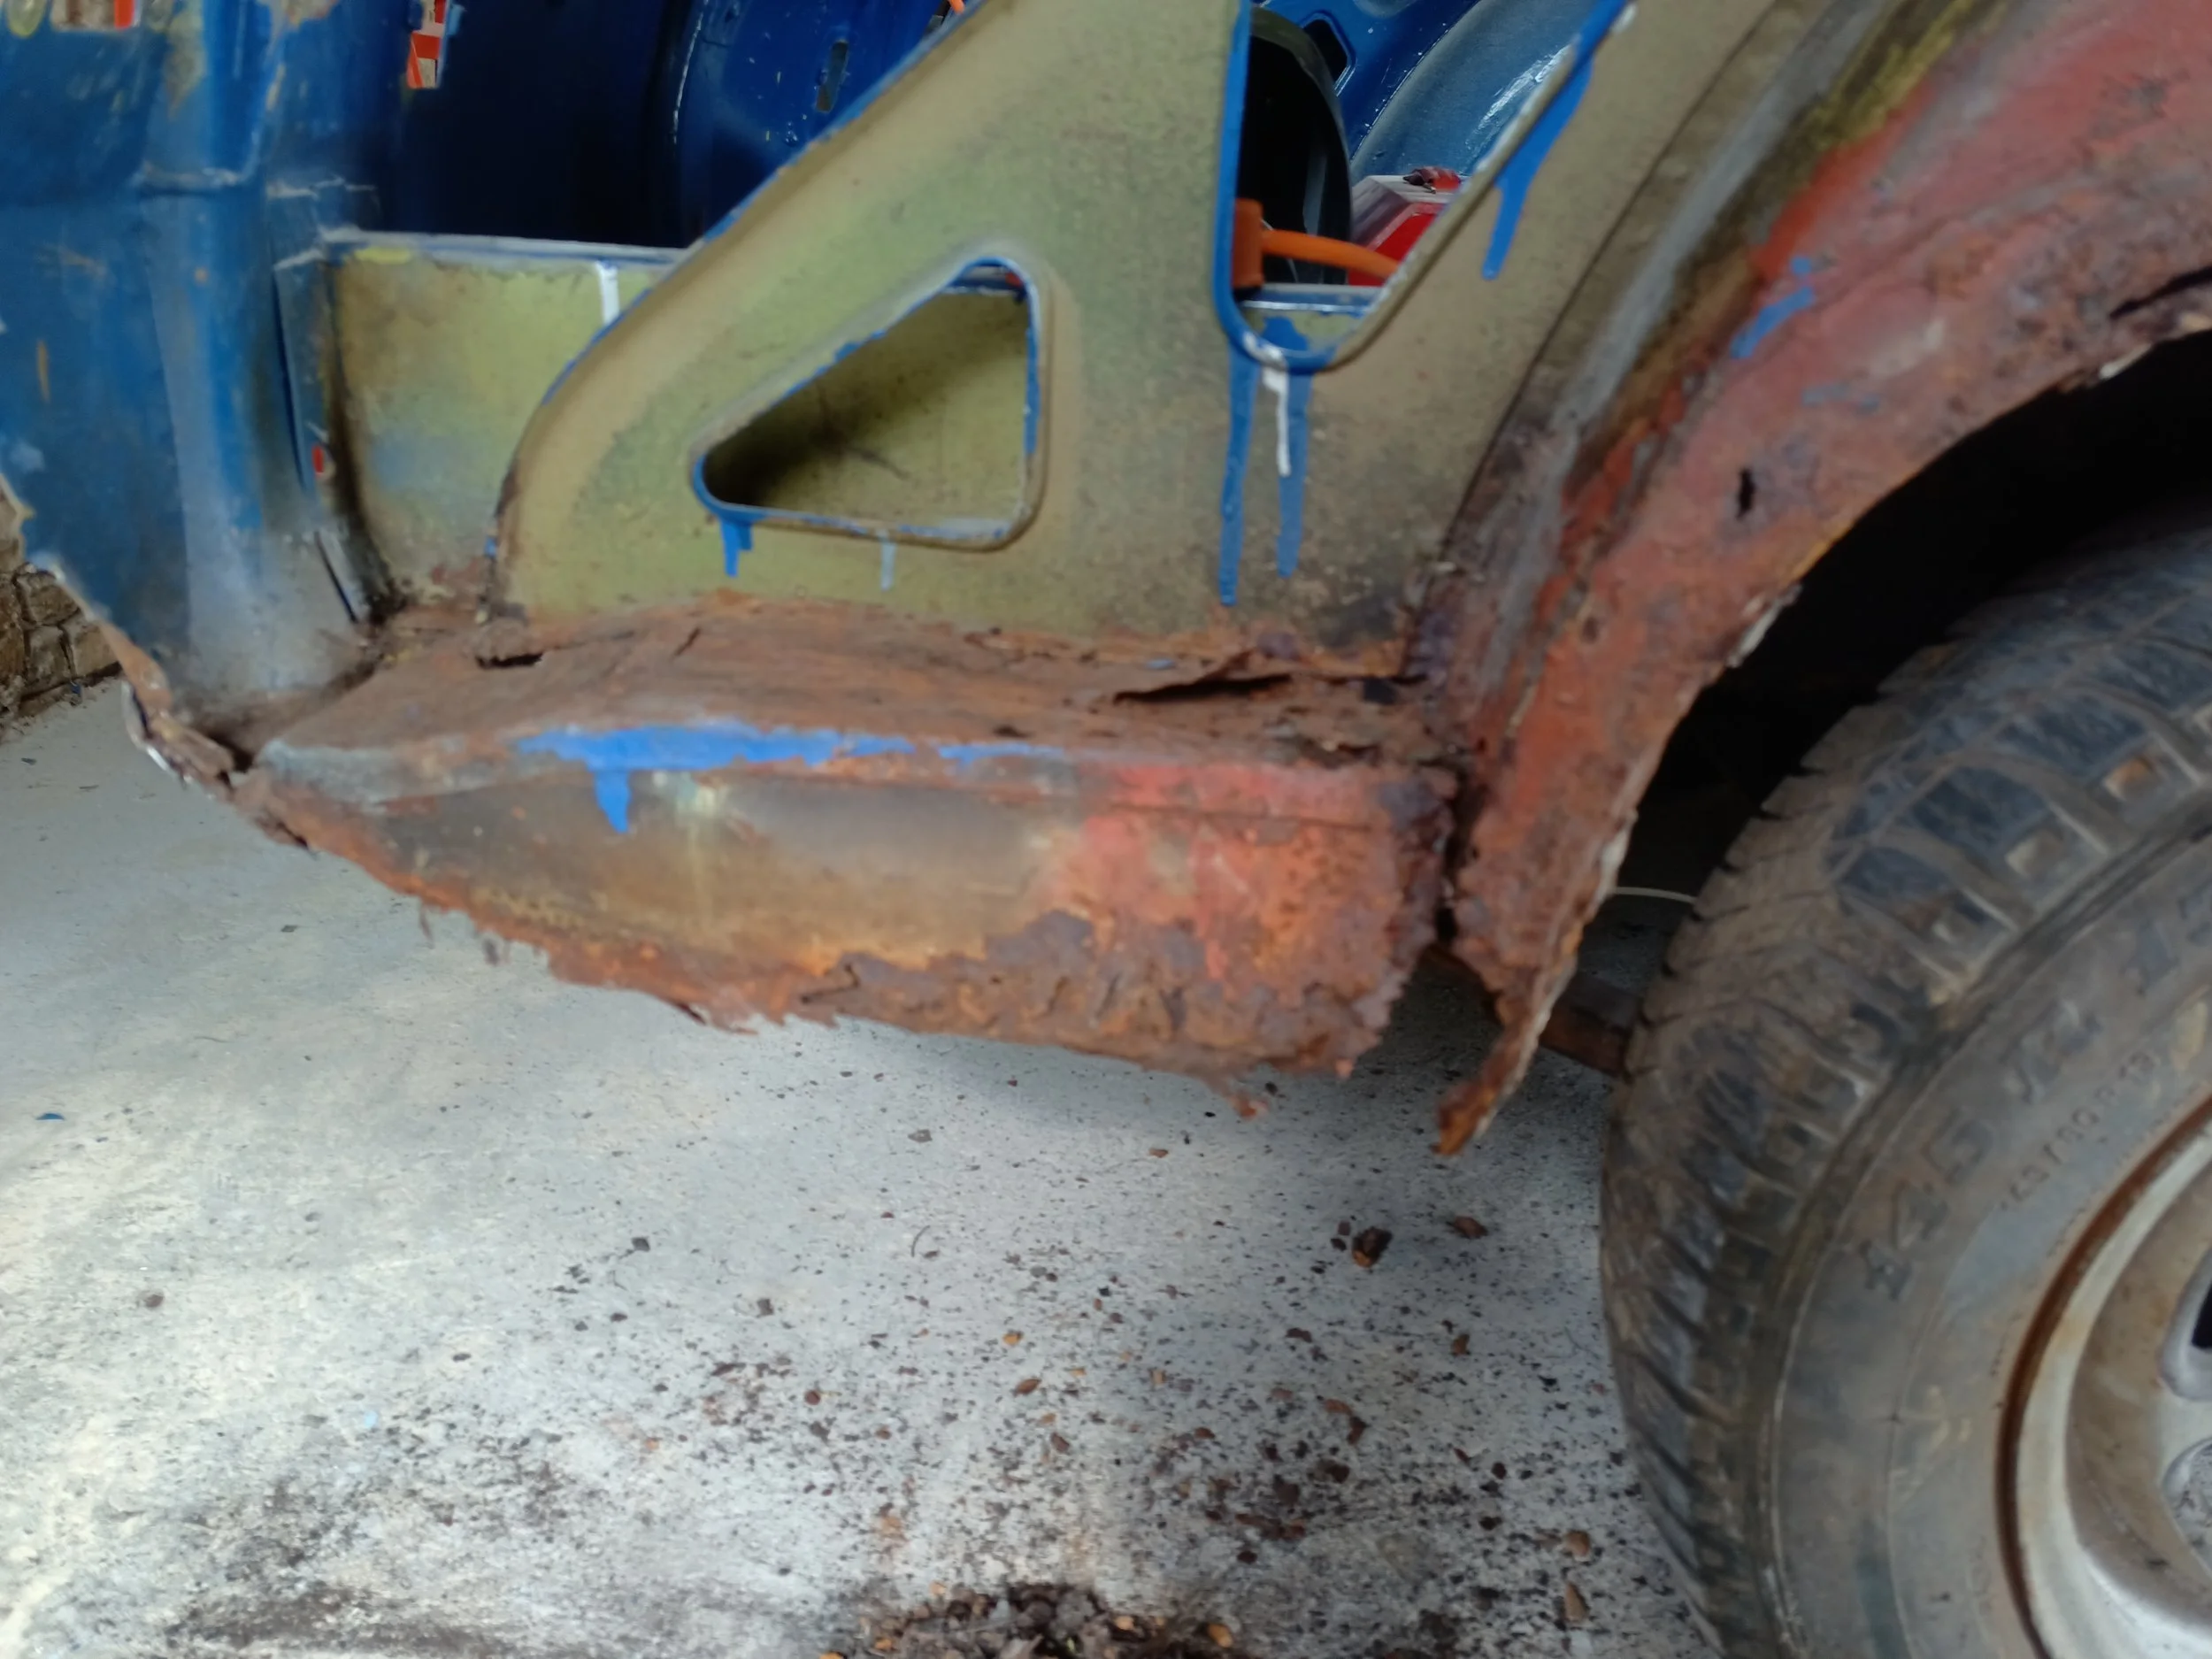
Looking very tatty with significant corrosion present and many poor quality patches.
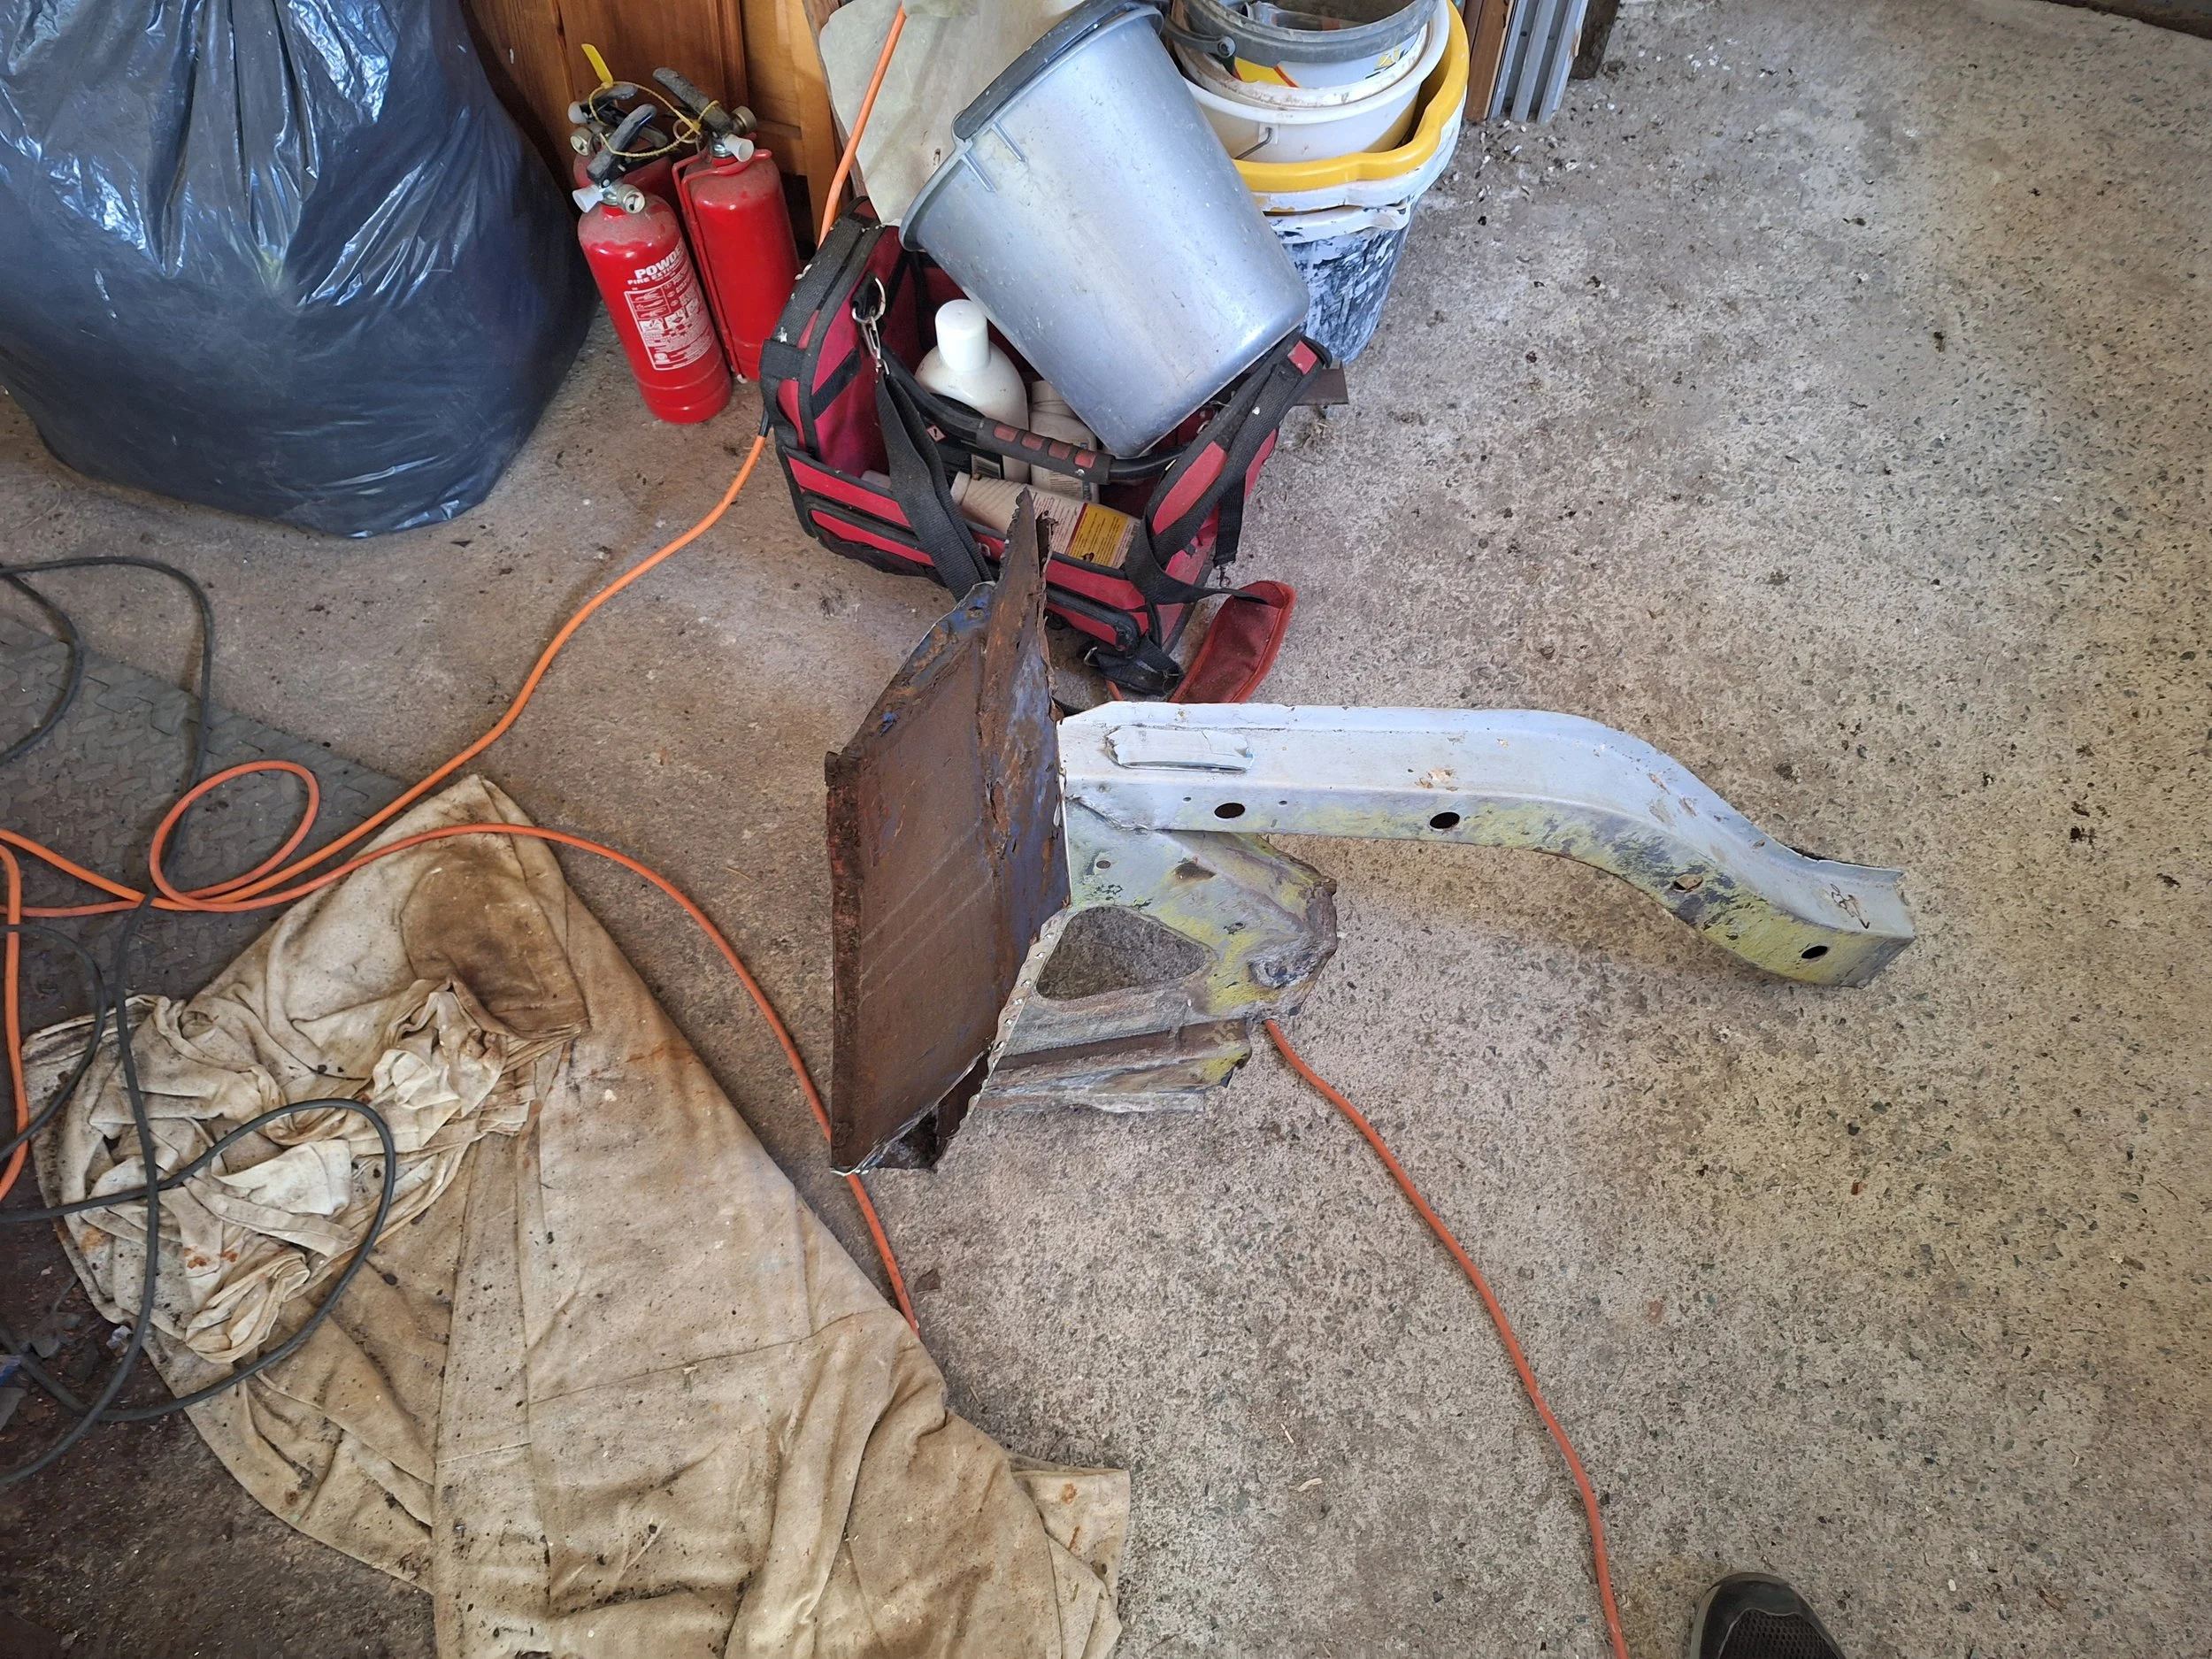
Front bumper mounts and corroded away inner wing section. The intention is to remove these and run bumperless.
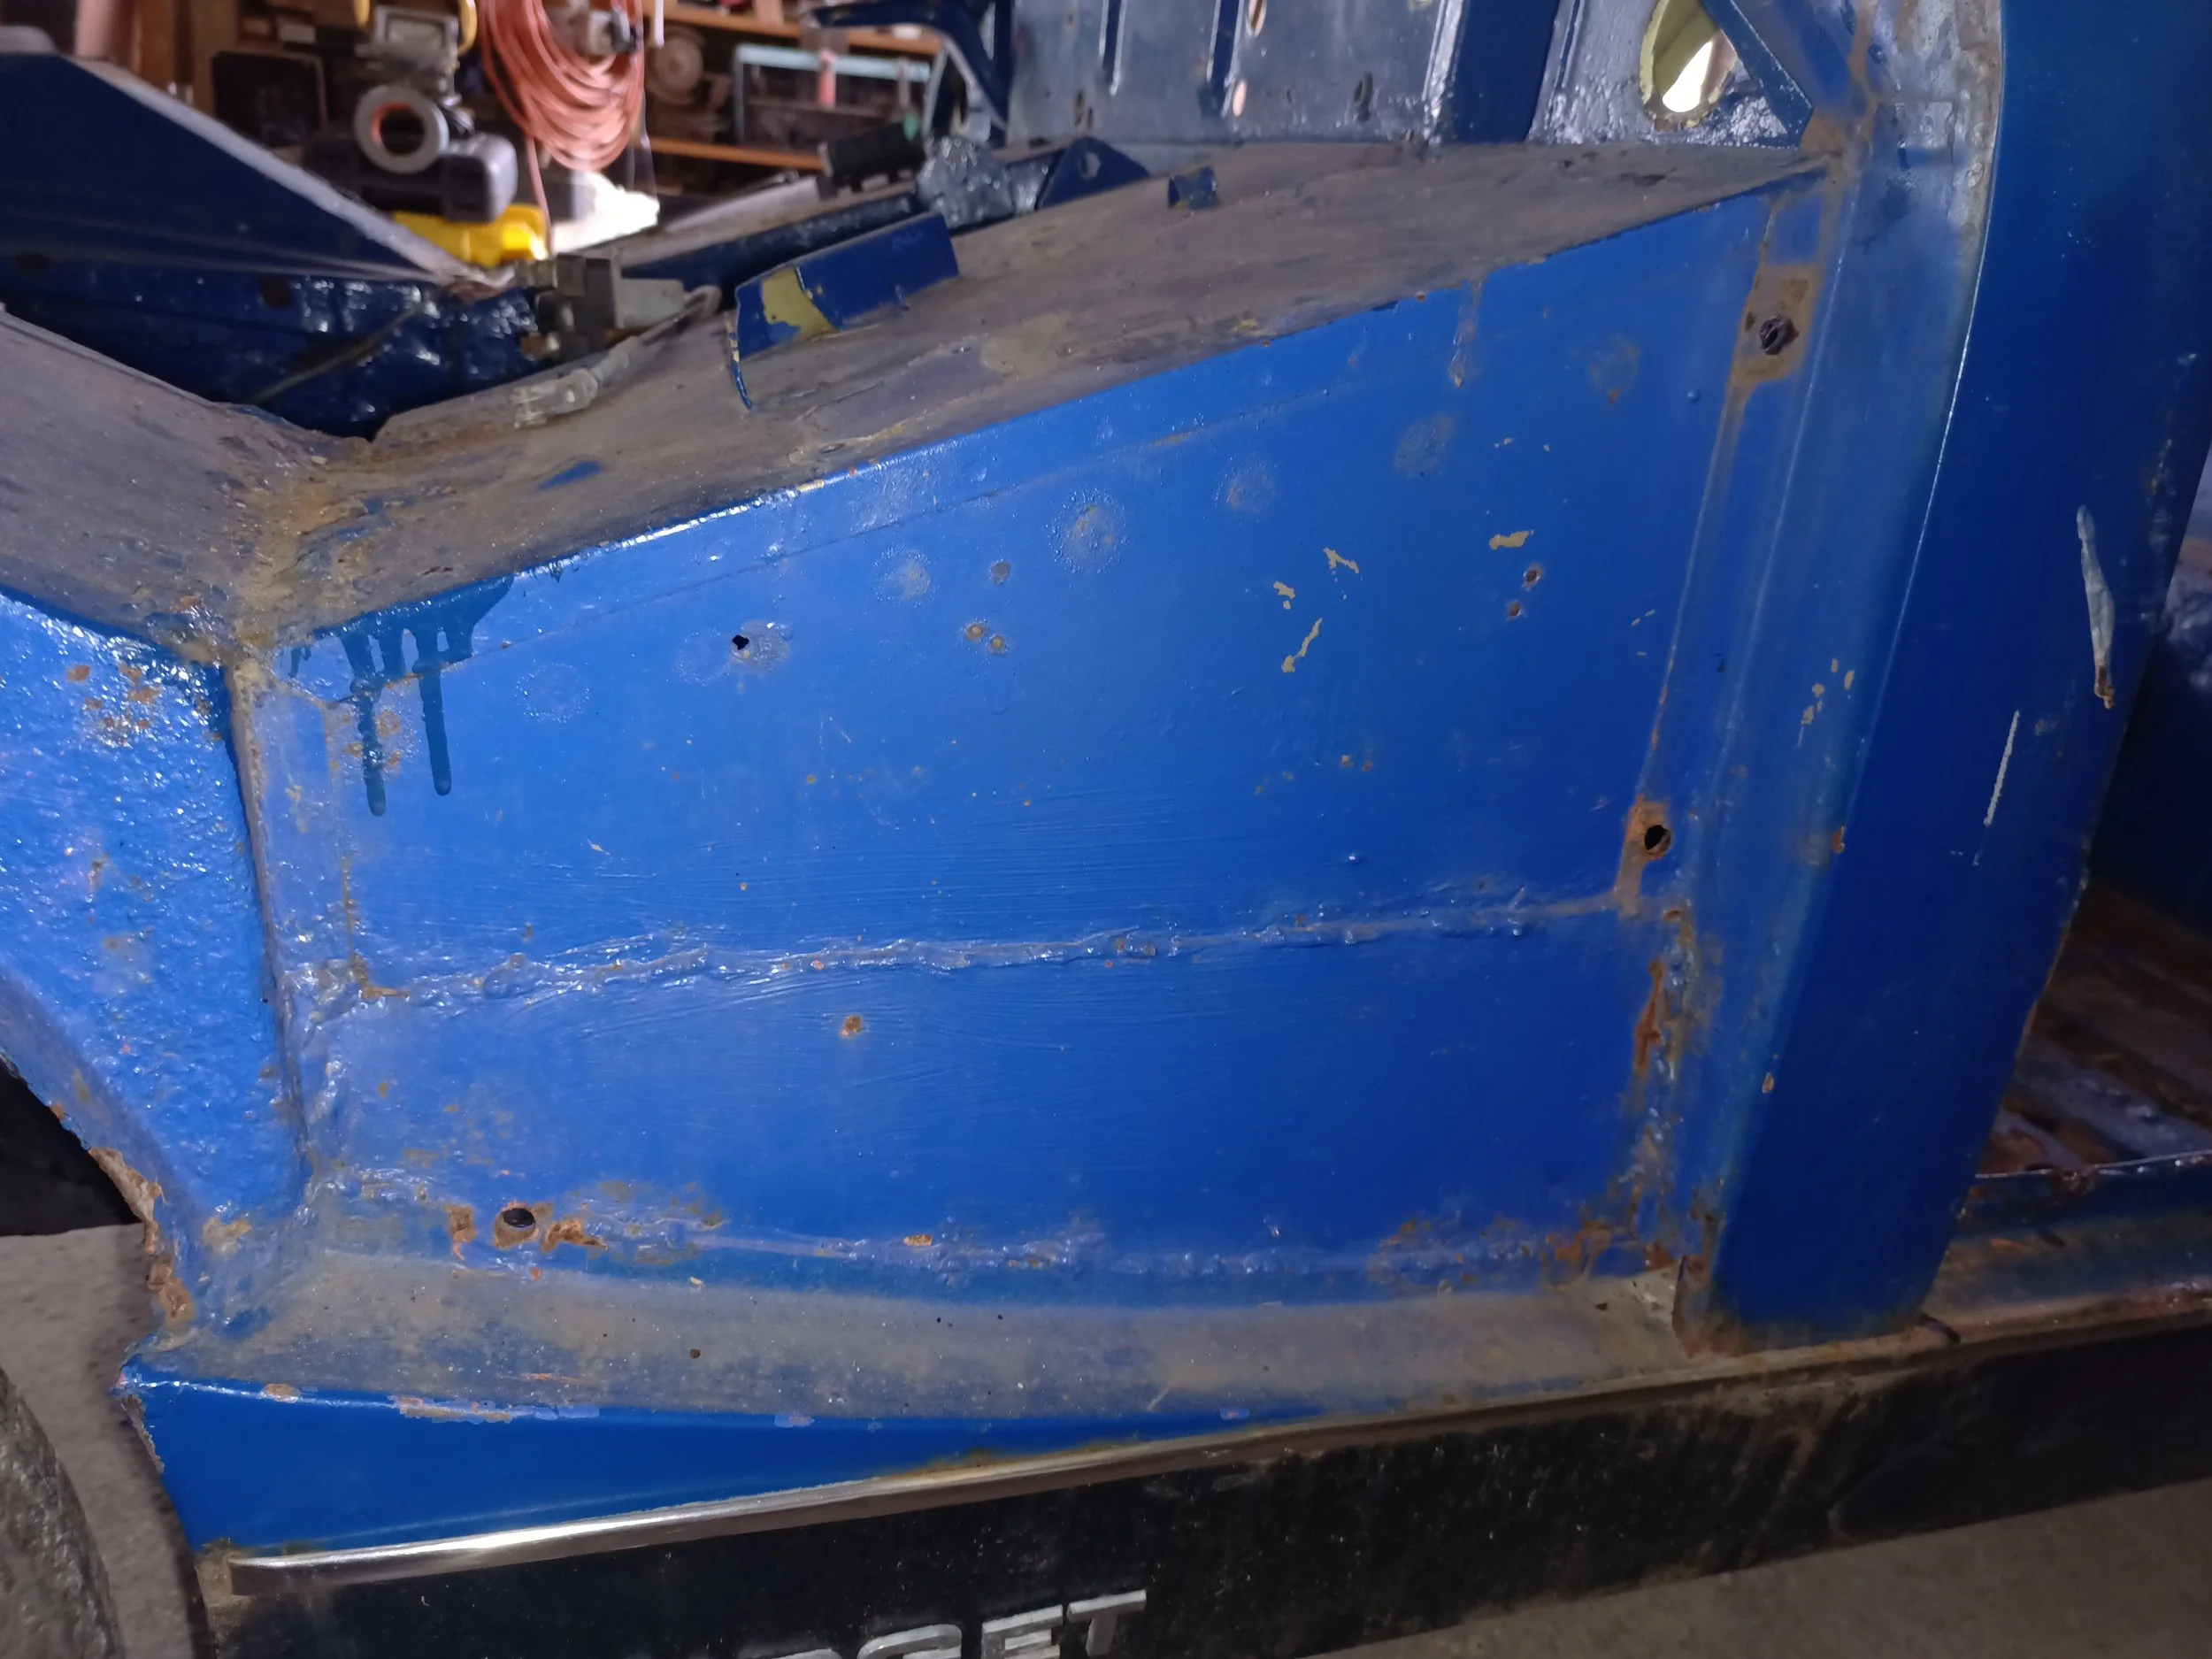
Paint stripping the engine bay.

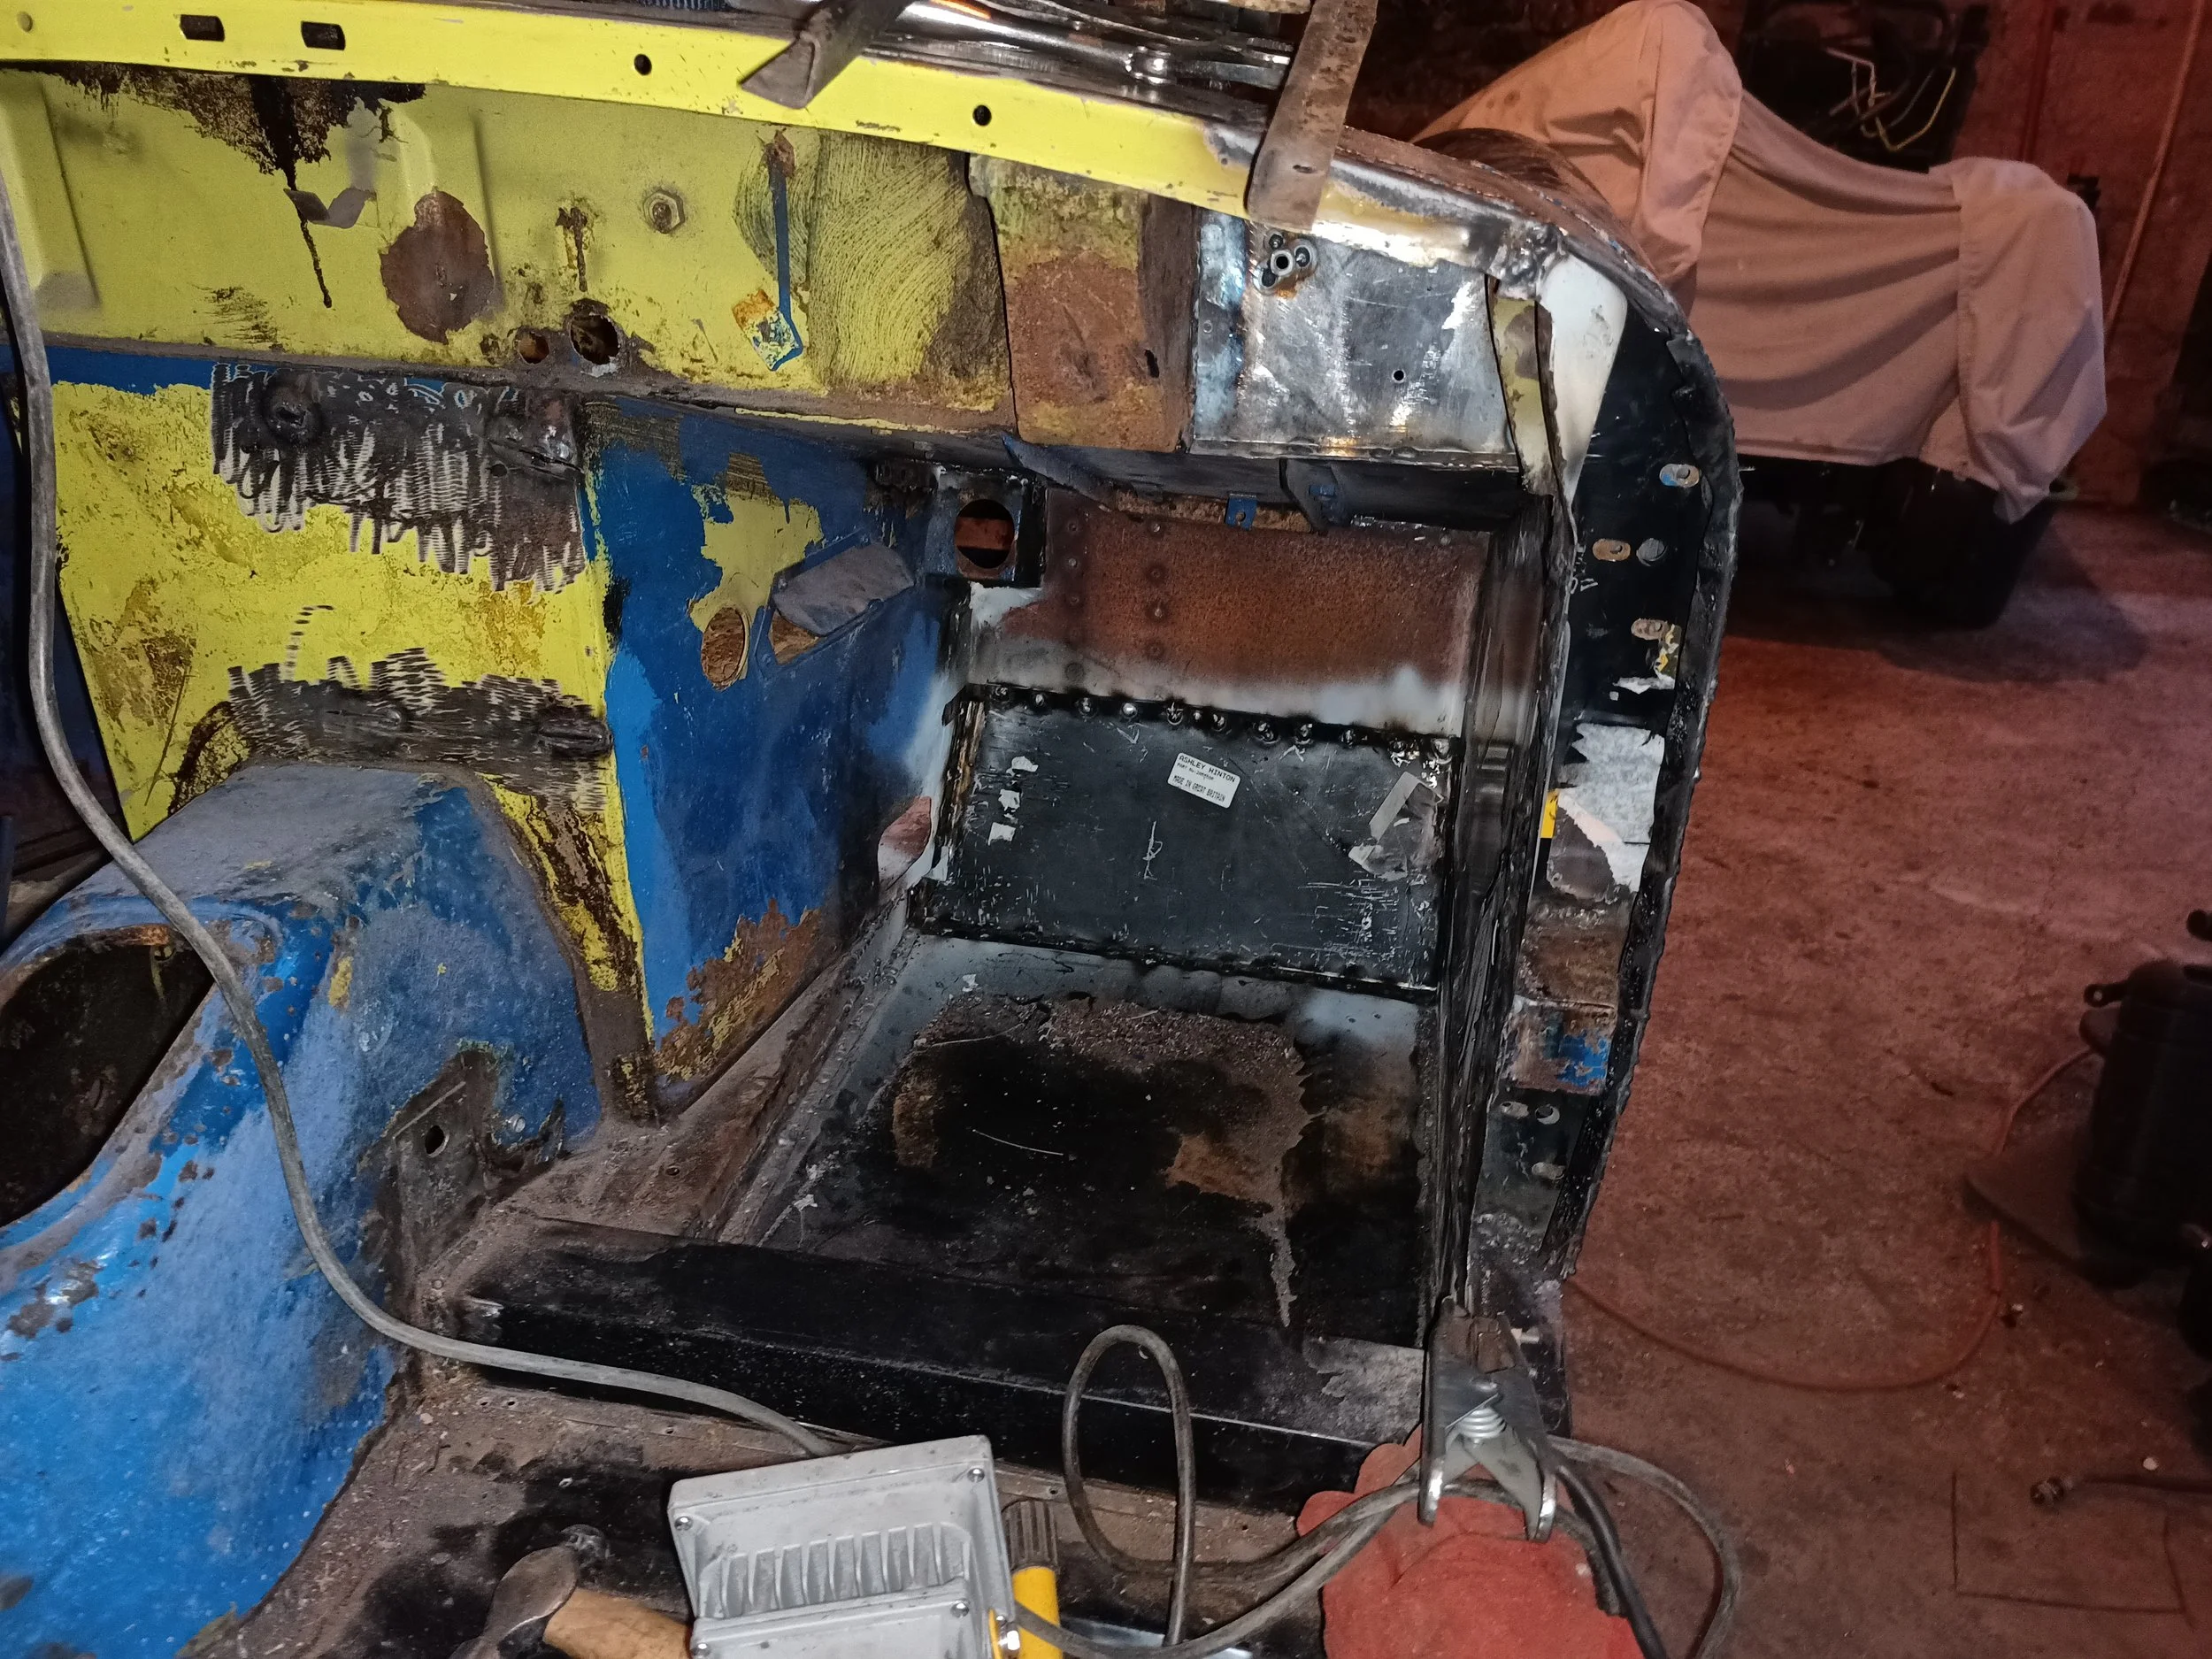
Rear bulkhead fully repaired.

A replacement bracket welded in to strengthen the bottom of the B-pillar. Primer applied to all bare metal.
This whole corner looking a lot more solid now.

New outer wing lower section in position. Note the repair to the lower B-pillar.
Shiny new inner arch lip also visible.

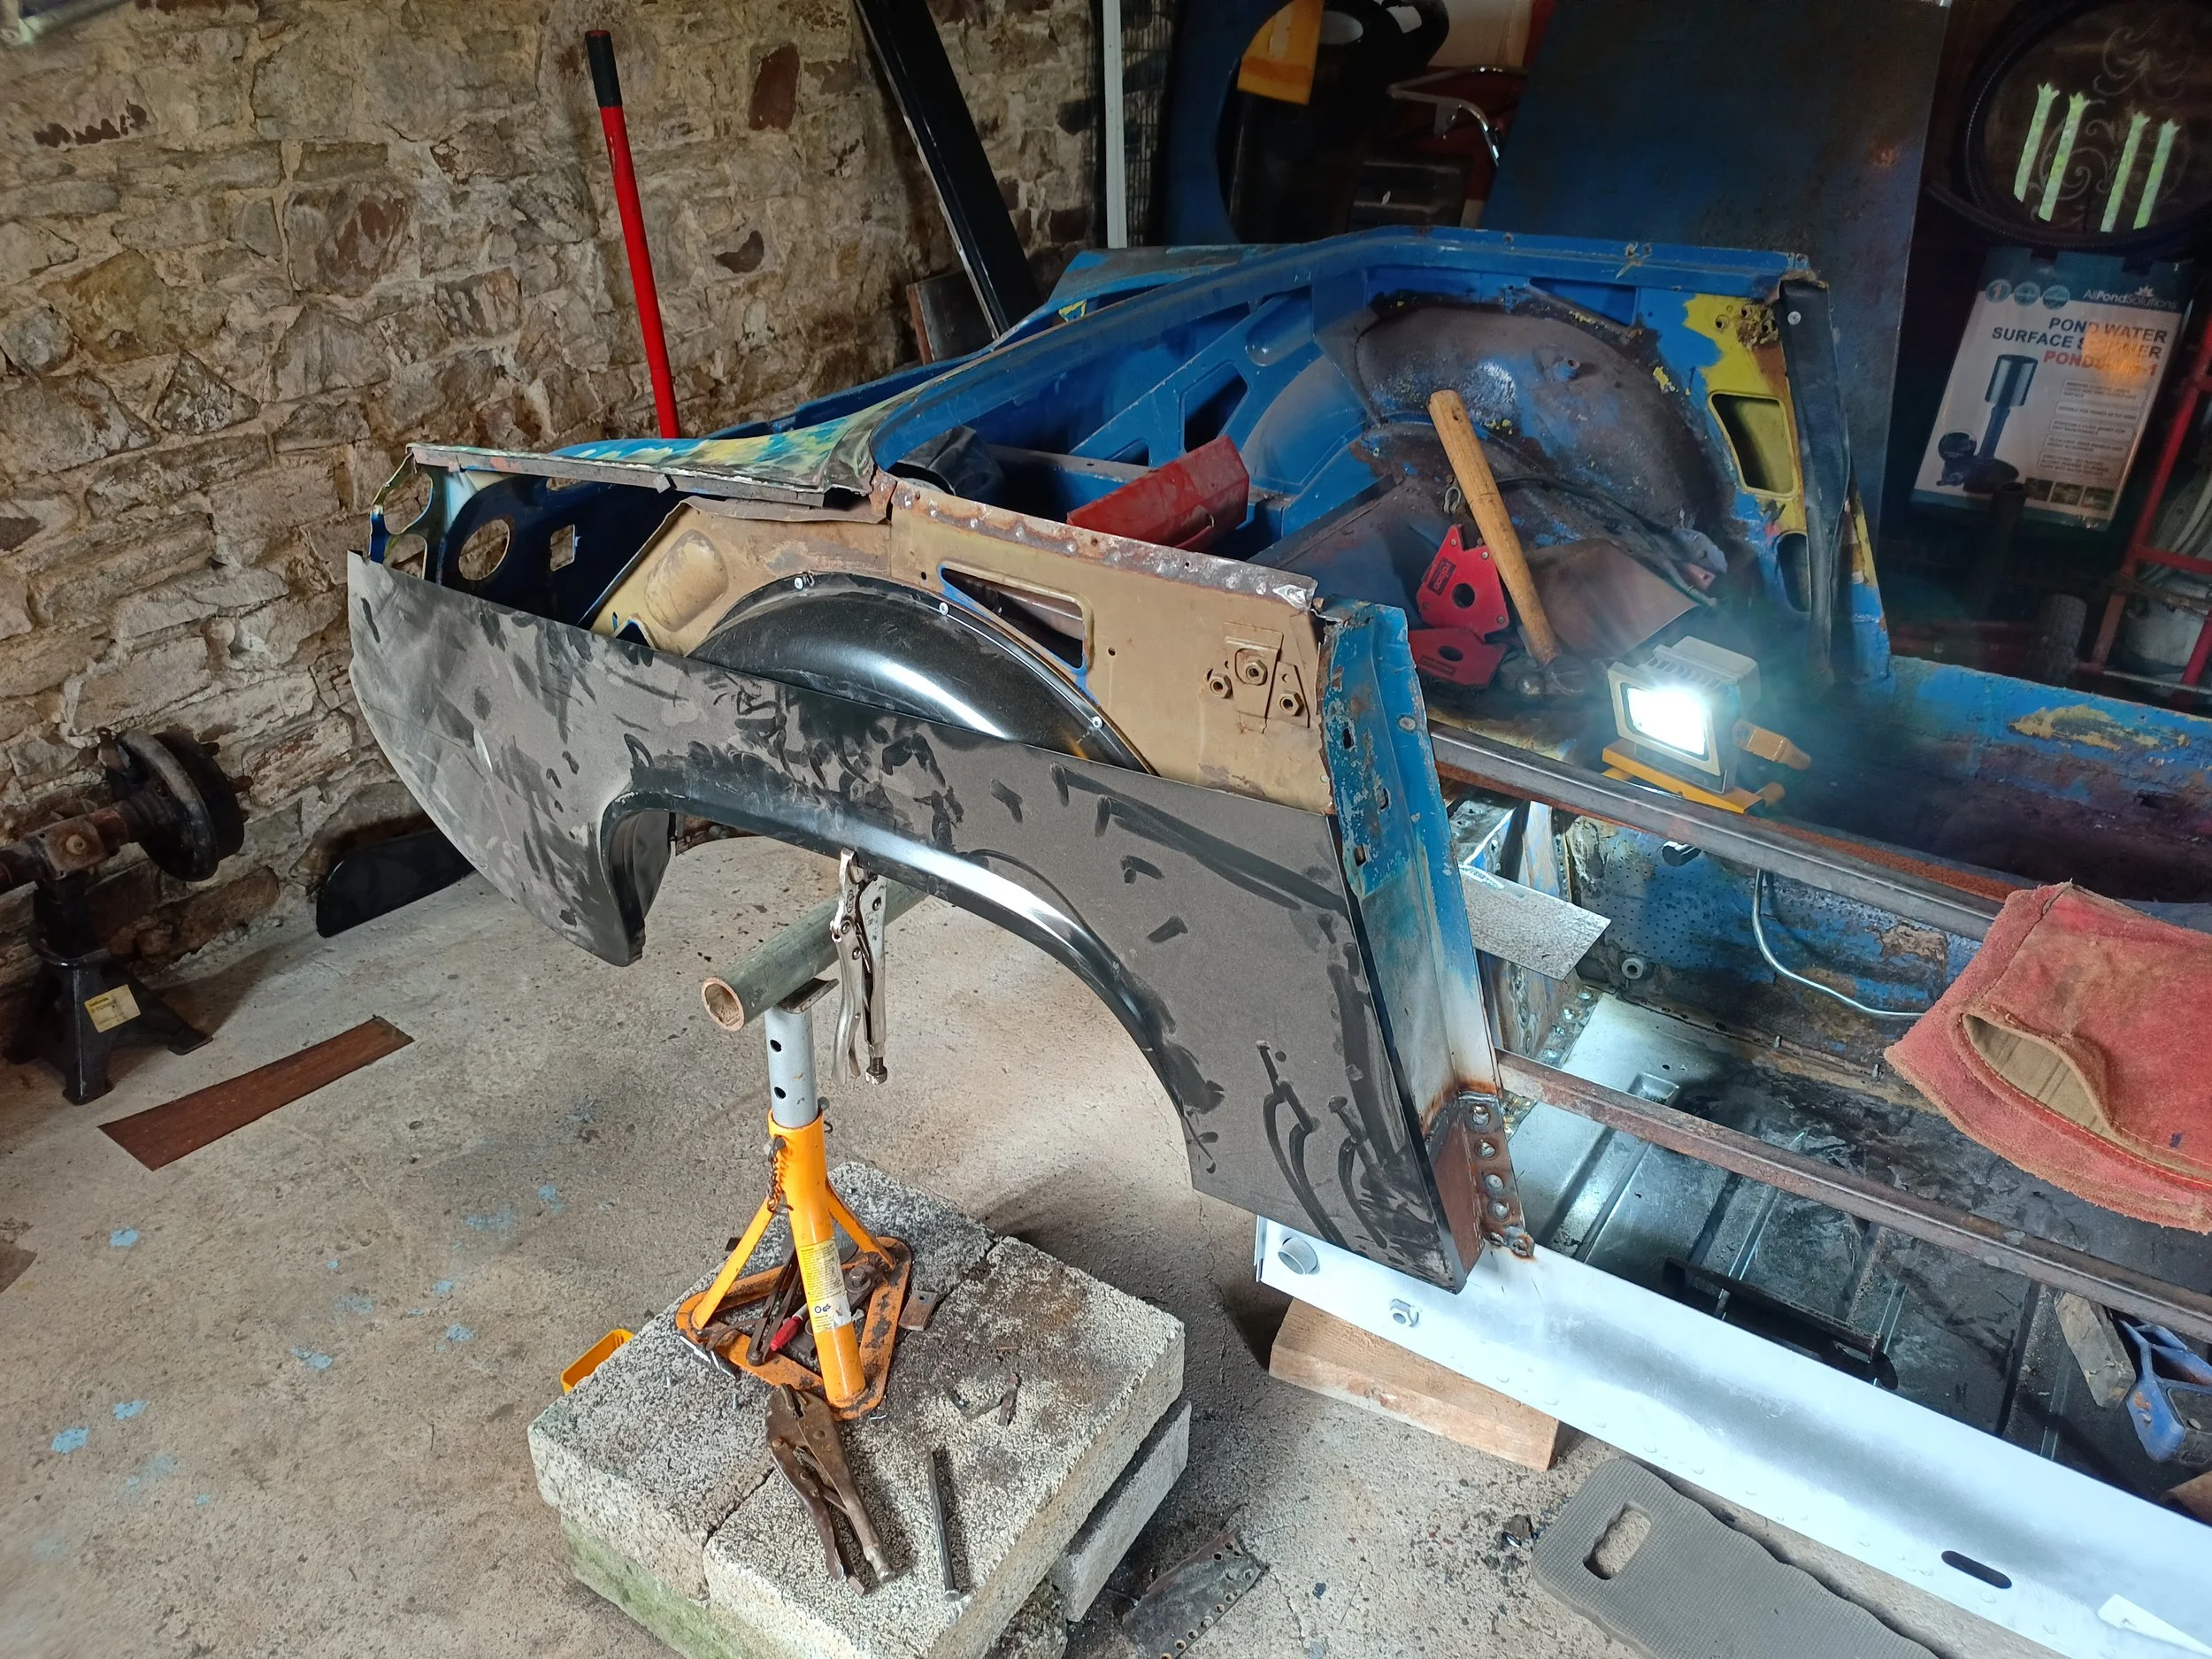
Front outer wing fitted to help with alignment of the outer sill.

This made for quite the psychological win.
Panel gaps looking at least as good as factory!

Stripping down the rear axle for inspection.

Offside front inner wing removed and front footwell panel replaced.

New inner wing fabricated. The old one, it turned, out had 3 layers of patches, each overplating the corrosion of the previous.

Repairs to the bottom of the inner arch reinforcement bracket.
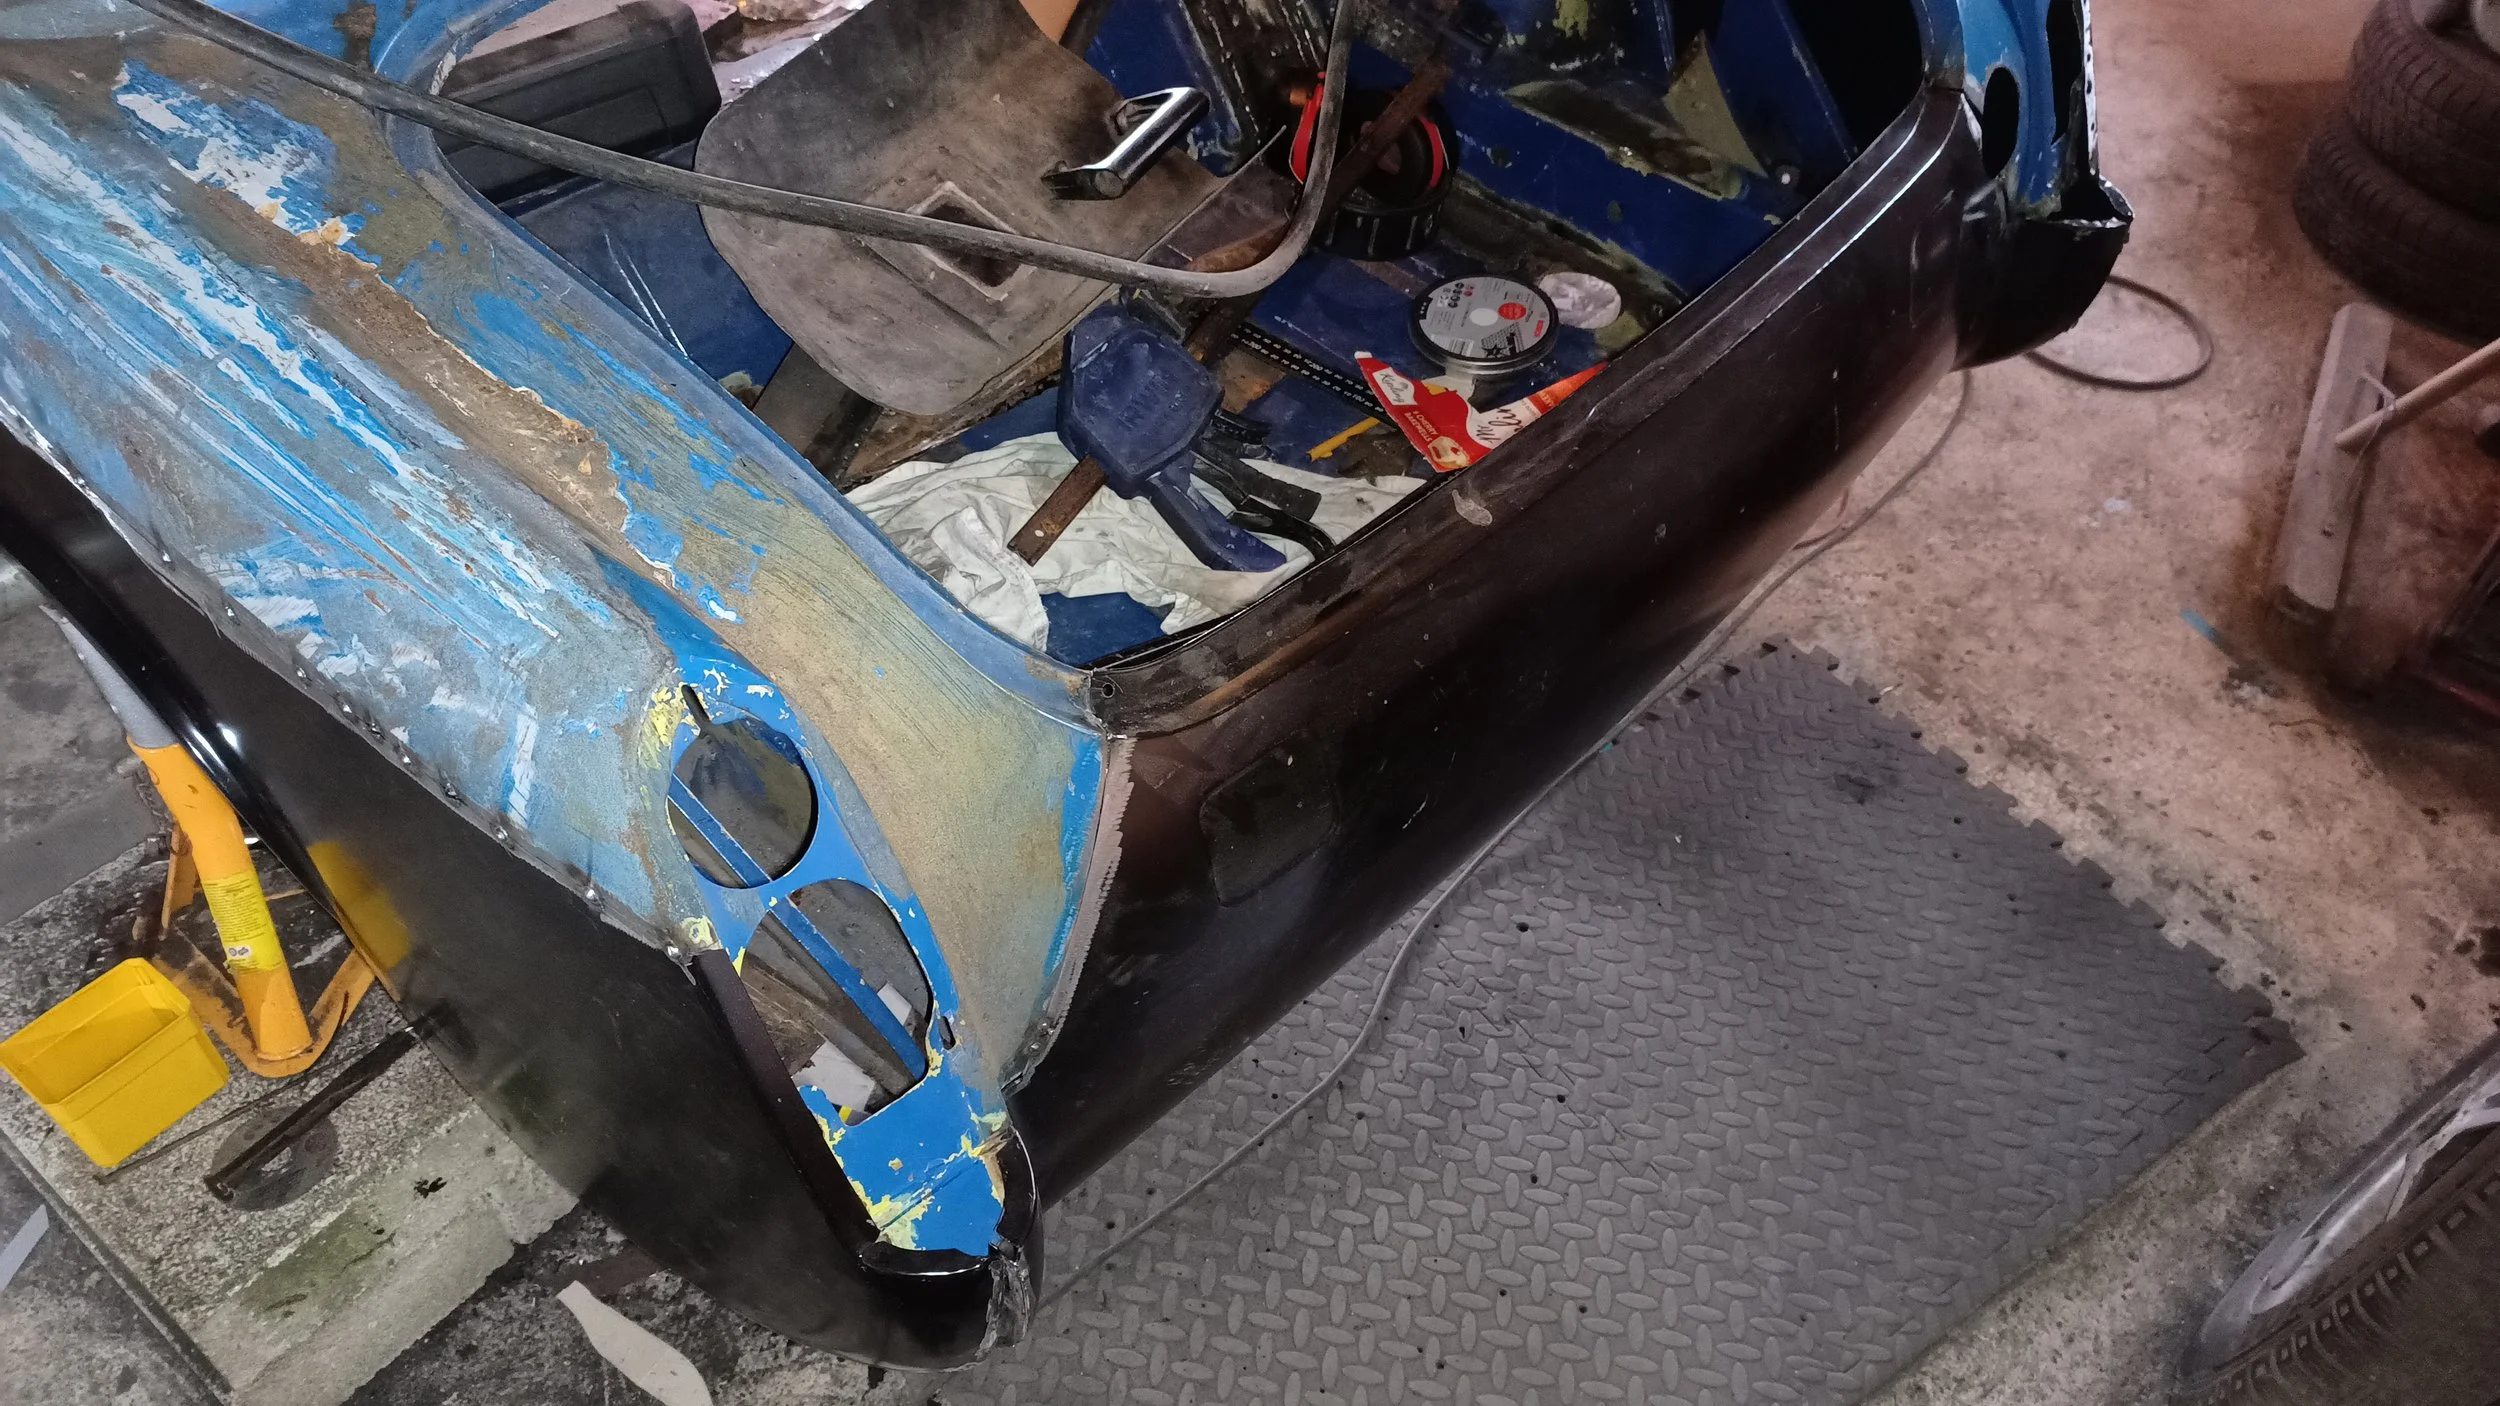
Bumper mount cut back behind the plane of the grille and rust removed and repaired.

Ready to join the two parts together.
Inner wing welded back into the car.

Scuttle panel repair fabricated and Tek-screwed into position.

Joint alignment looking pretty good.

Clamps holding the A-pillar outer skin to the underlying structure while welding the two together.

Rear outer wheelarch upper section fitted to the lower section repair panel.

This side now starting to look much more complete.

Even more so with the front panels and the door rehung.
Panel gaps around the A-pillar looking good.

Panel gaps at the B-pillar also looking good.

Sill maybe doesn't look quite as good, but still no large gaps.

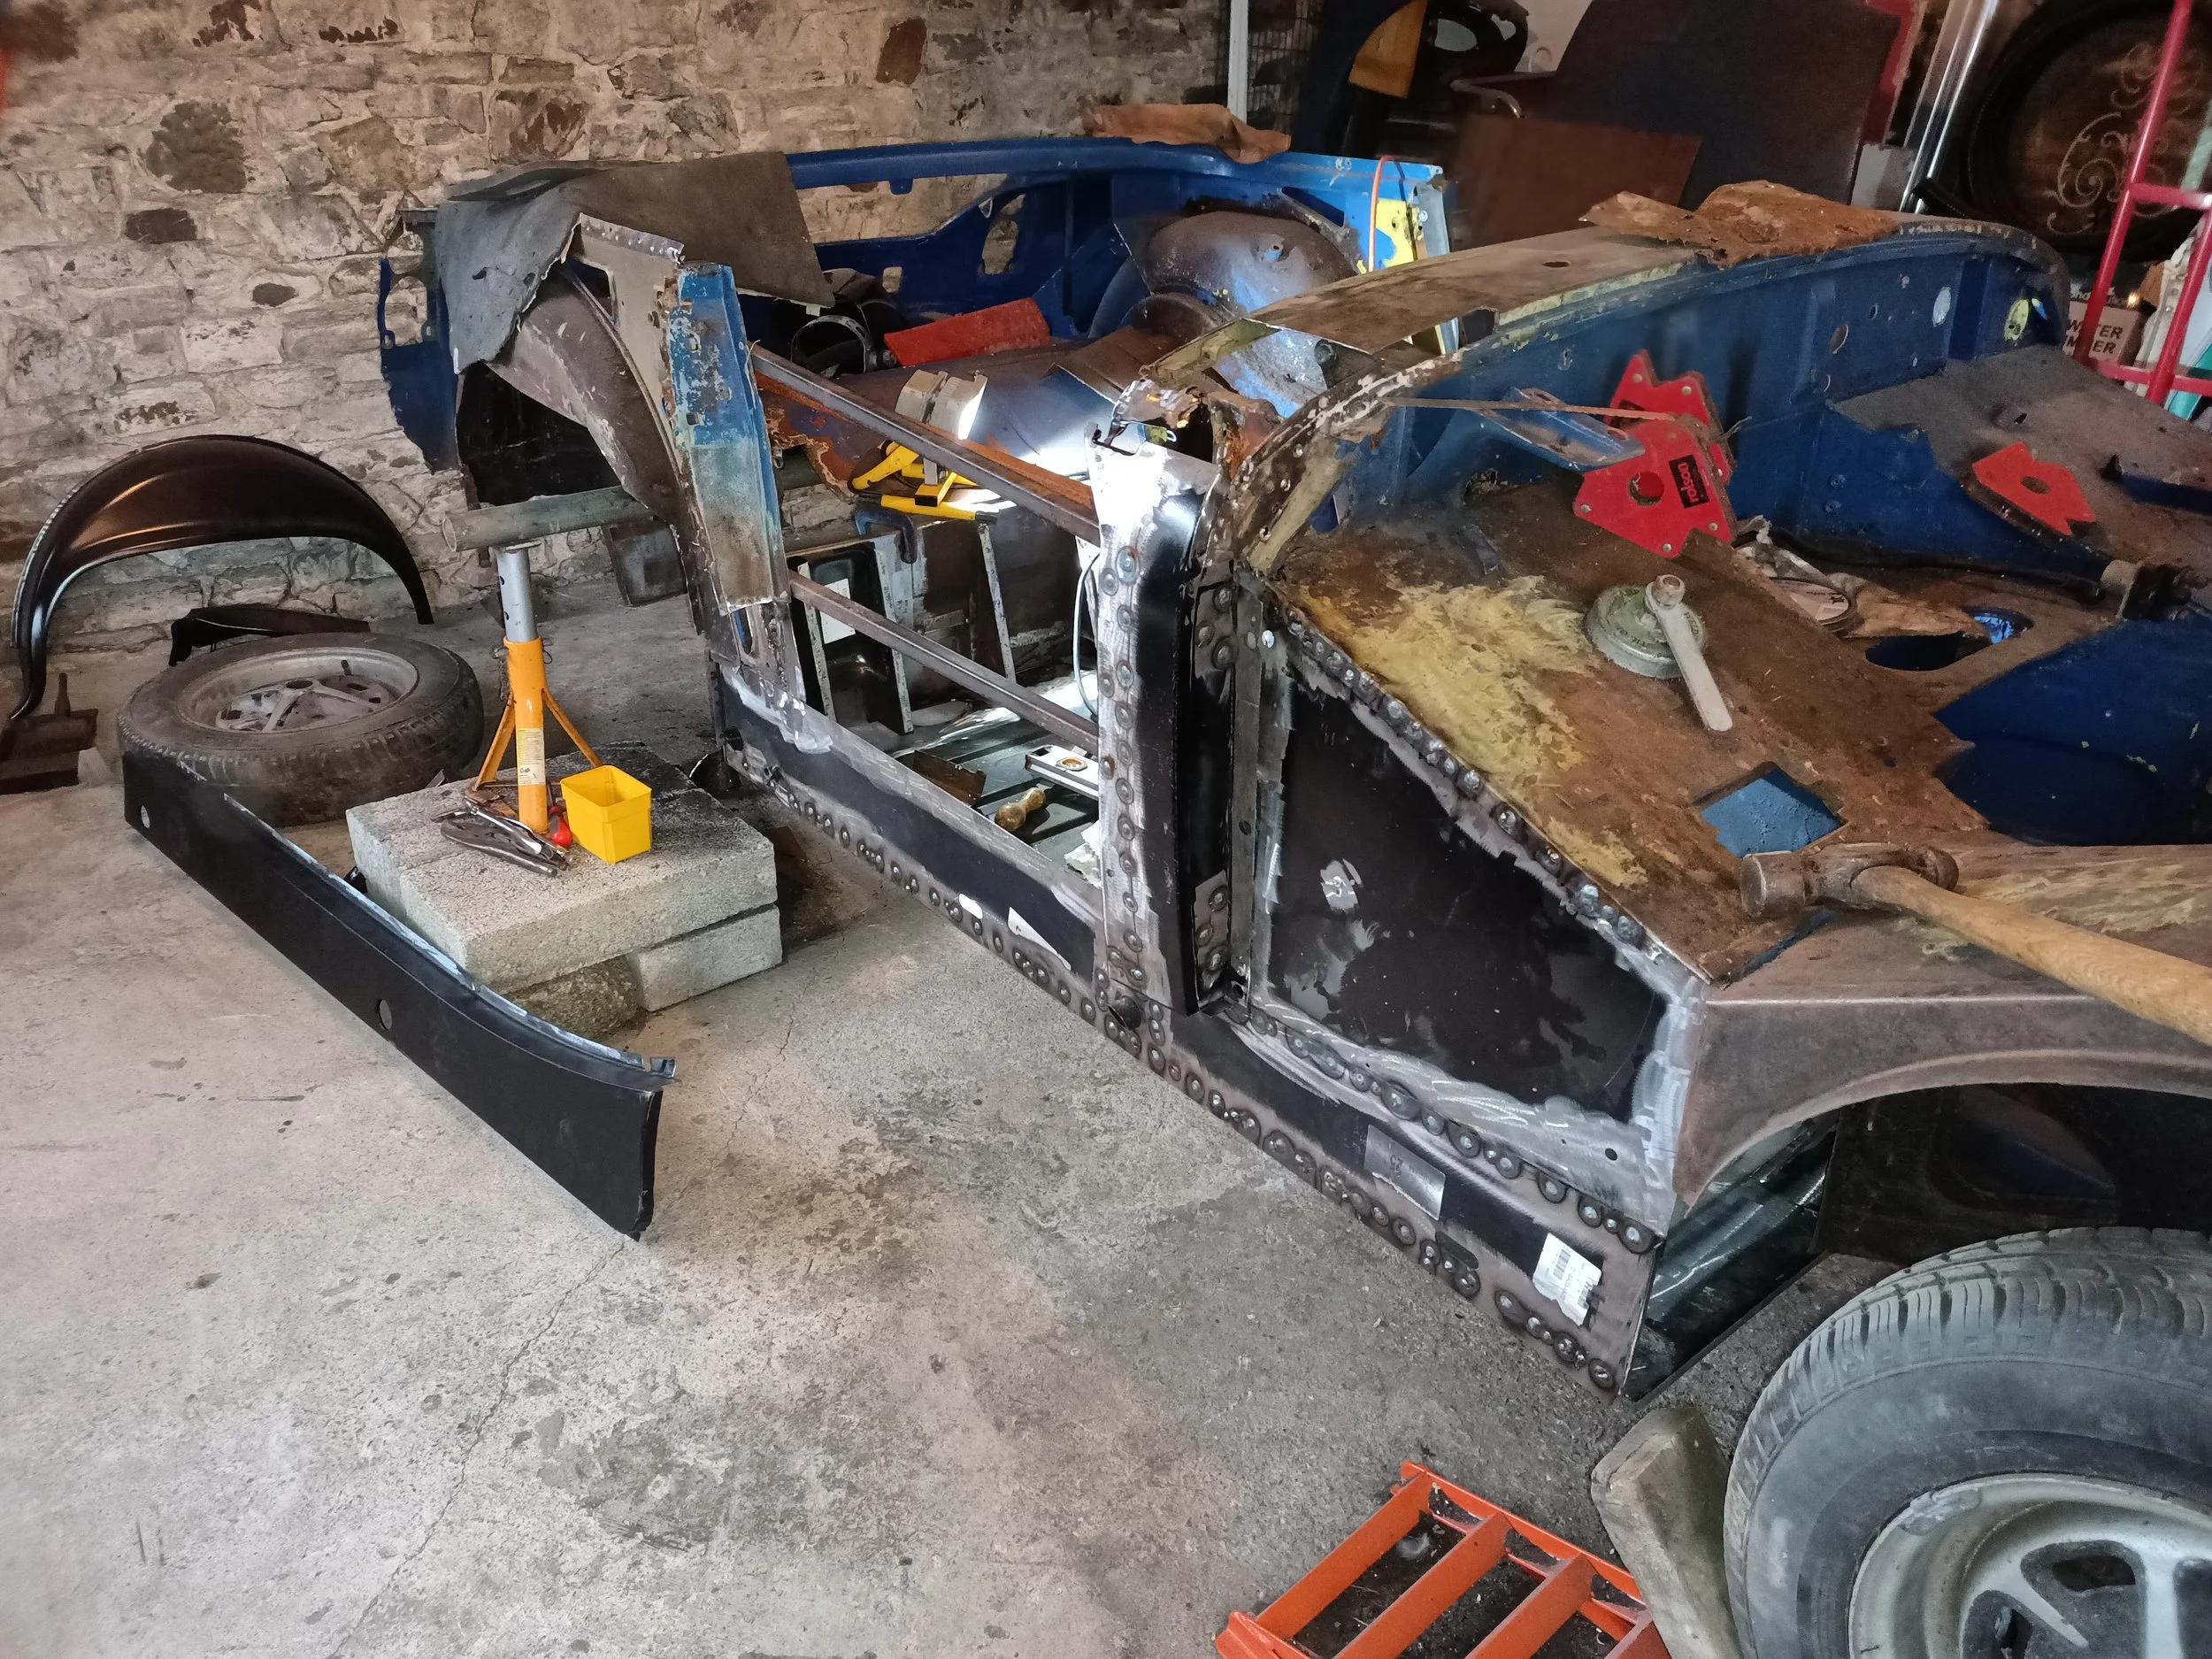
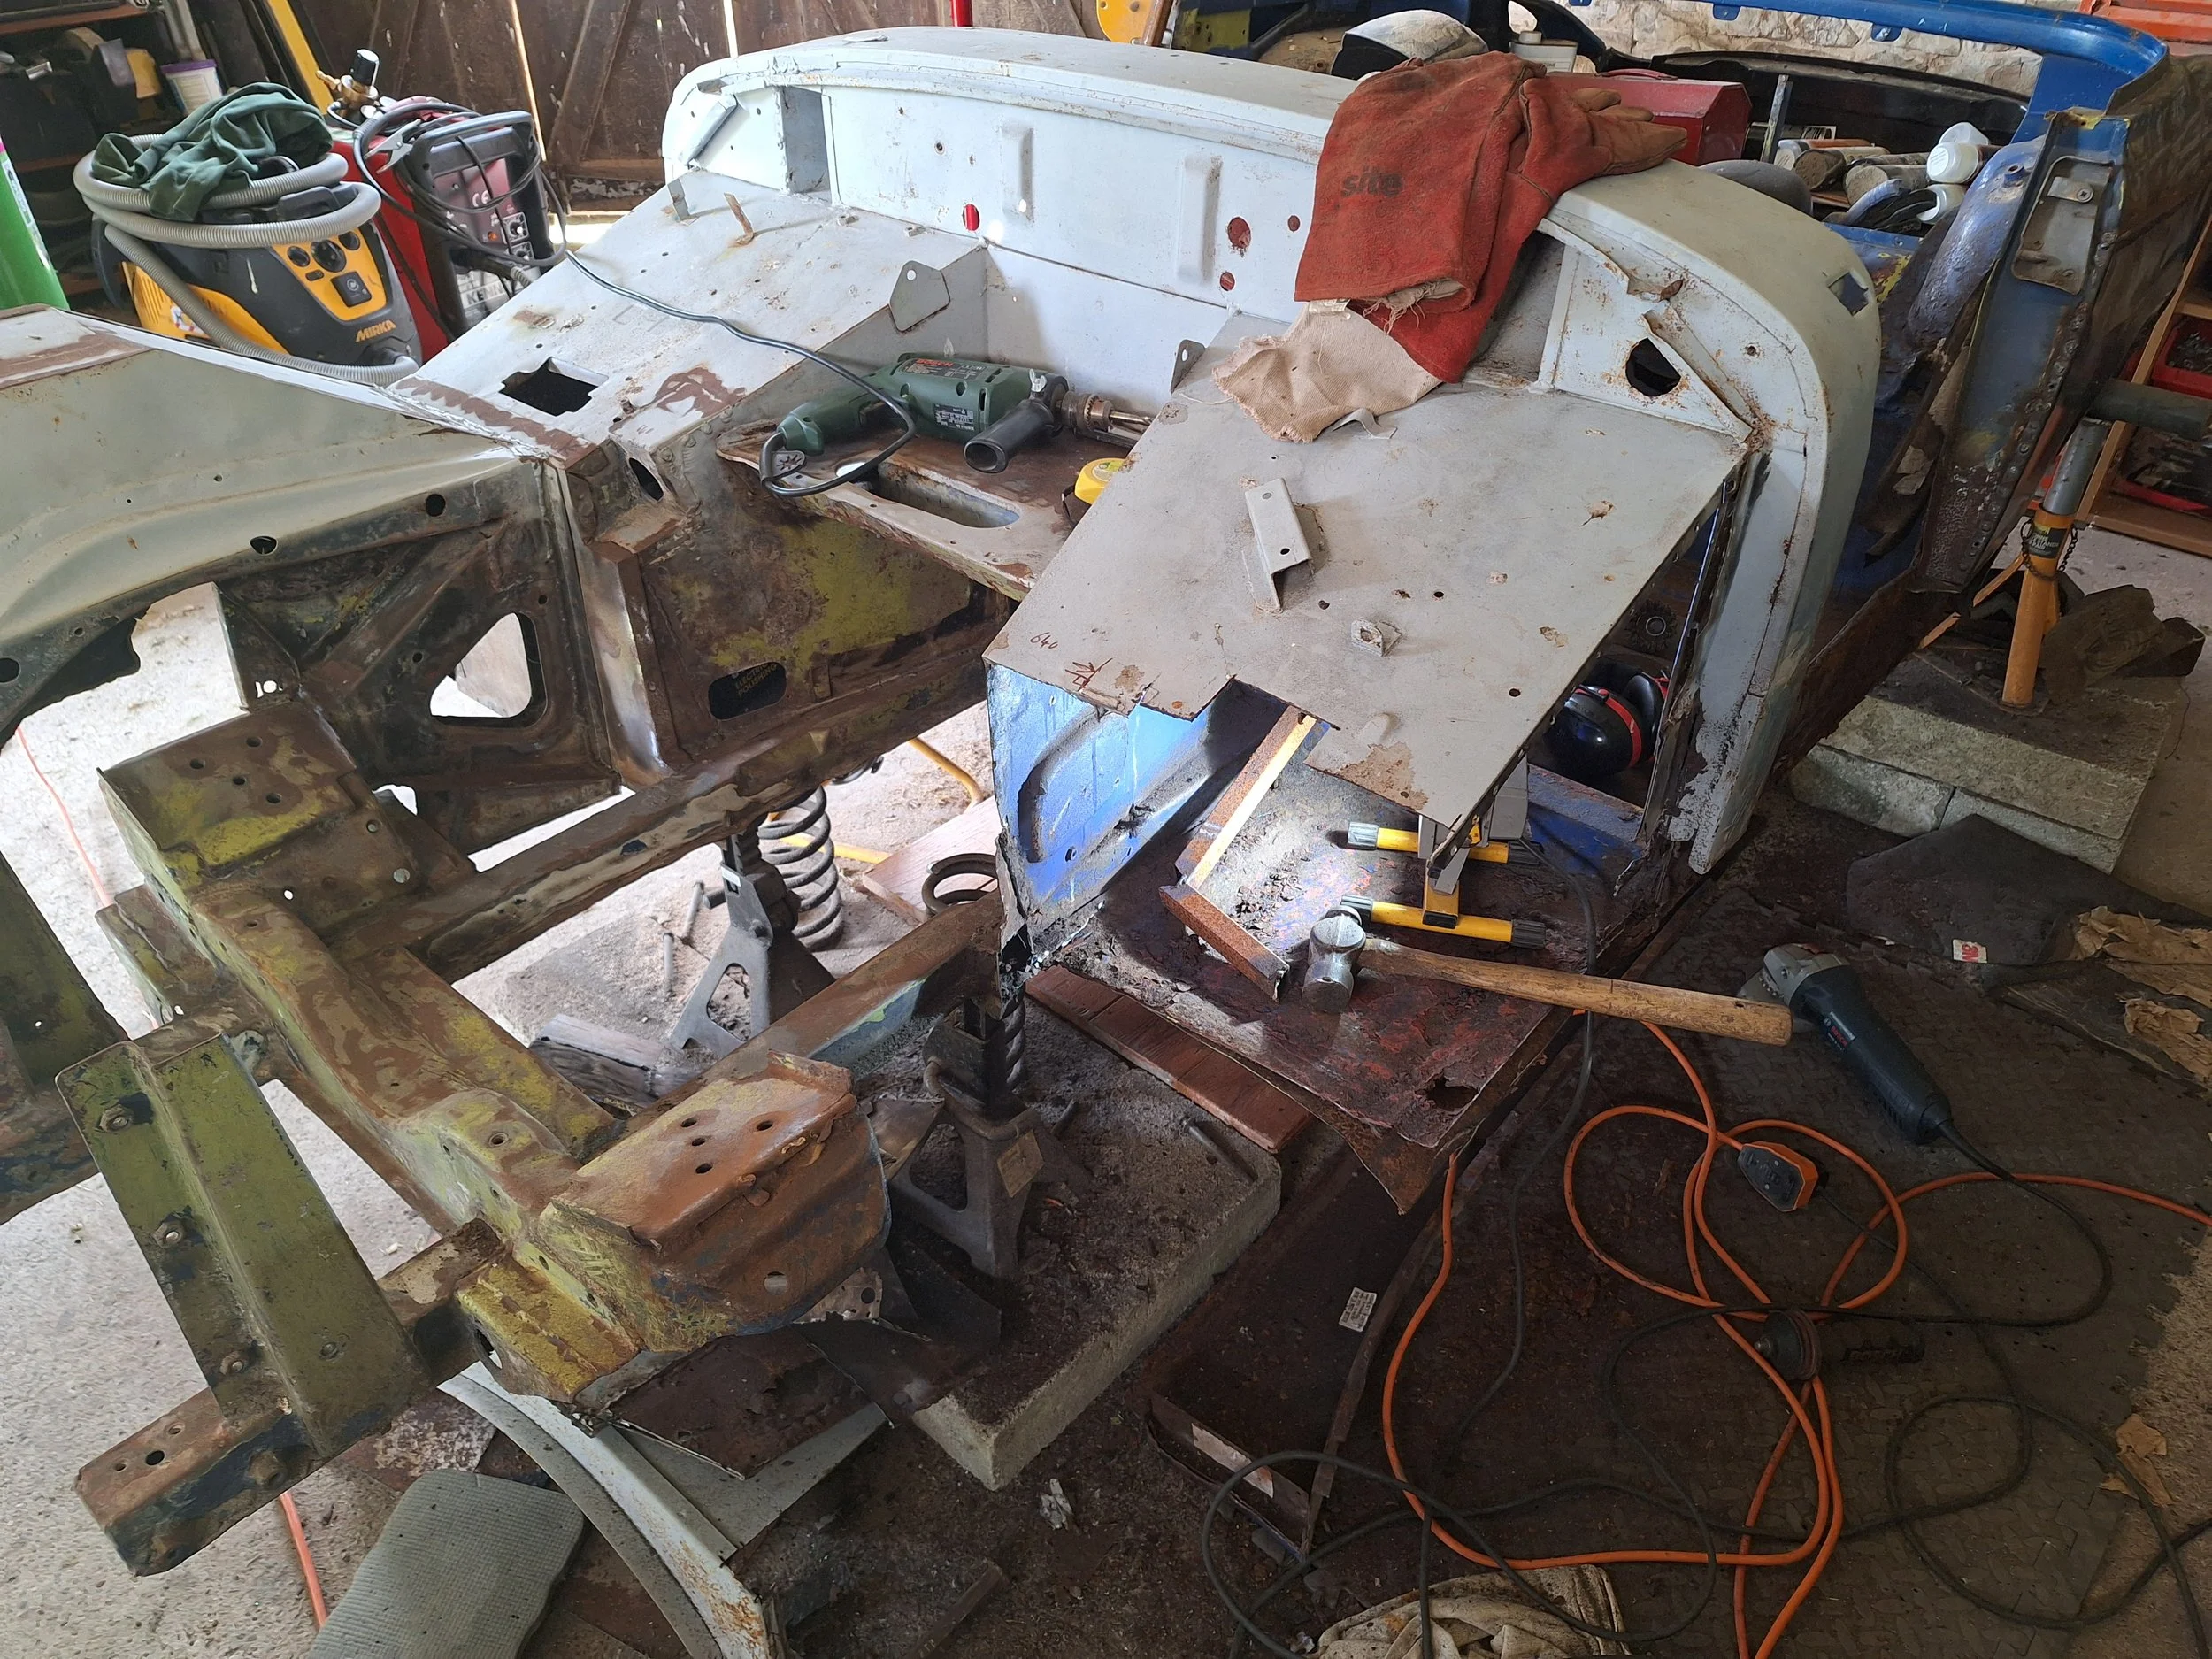
New front clip section in situ temprarily.


Rear off-side outer wing seam welded back together (butt welded)
Temporary stiffening braces finally removed.
New angle plate welded into footwell.
All of the metal/rust removed from the off-side.

Repairs to the nearside wheelarch lip.

Deja Vu?

The reason for replacing both outer wings was to allow removal of the rear bumper, so these wings are to the pattern of the earlier chrome bumper variant.
The rear panel was replaced for the same reason. The rubber bumper cars do not have the protuberances underneath the tail-lights because the bumper sits directly below.

Looking very tidy. Replacing these panels also helped to deal with some rust in the lower edges.

Trial fitting the front clip. Engine bay now primed.

Some repairs in progress to the nearside inner wing reinforcement bracket.
More visible here.
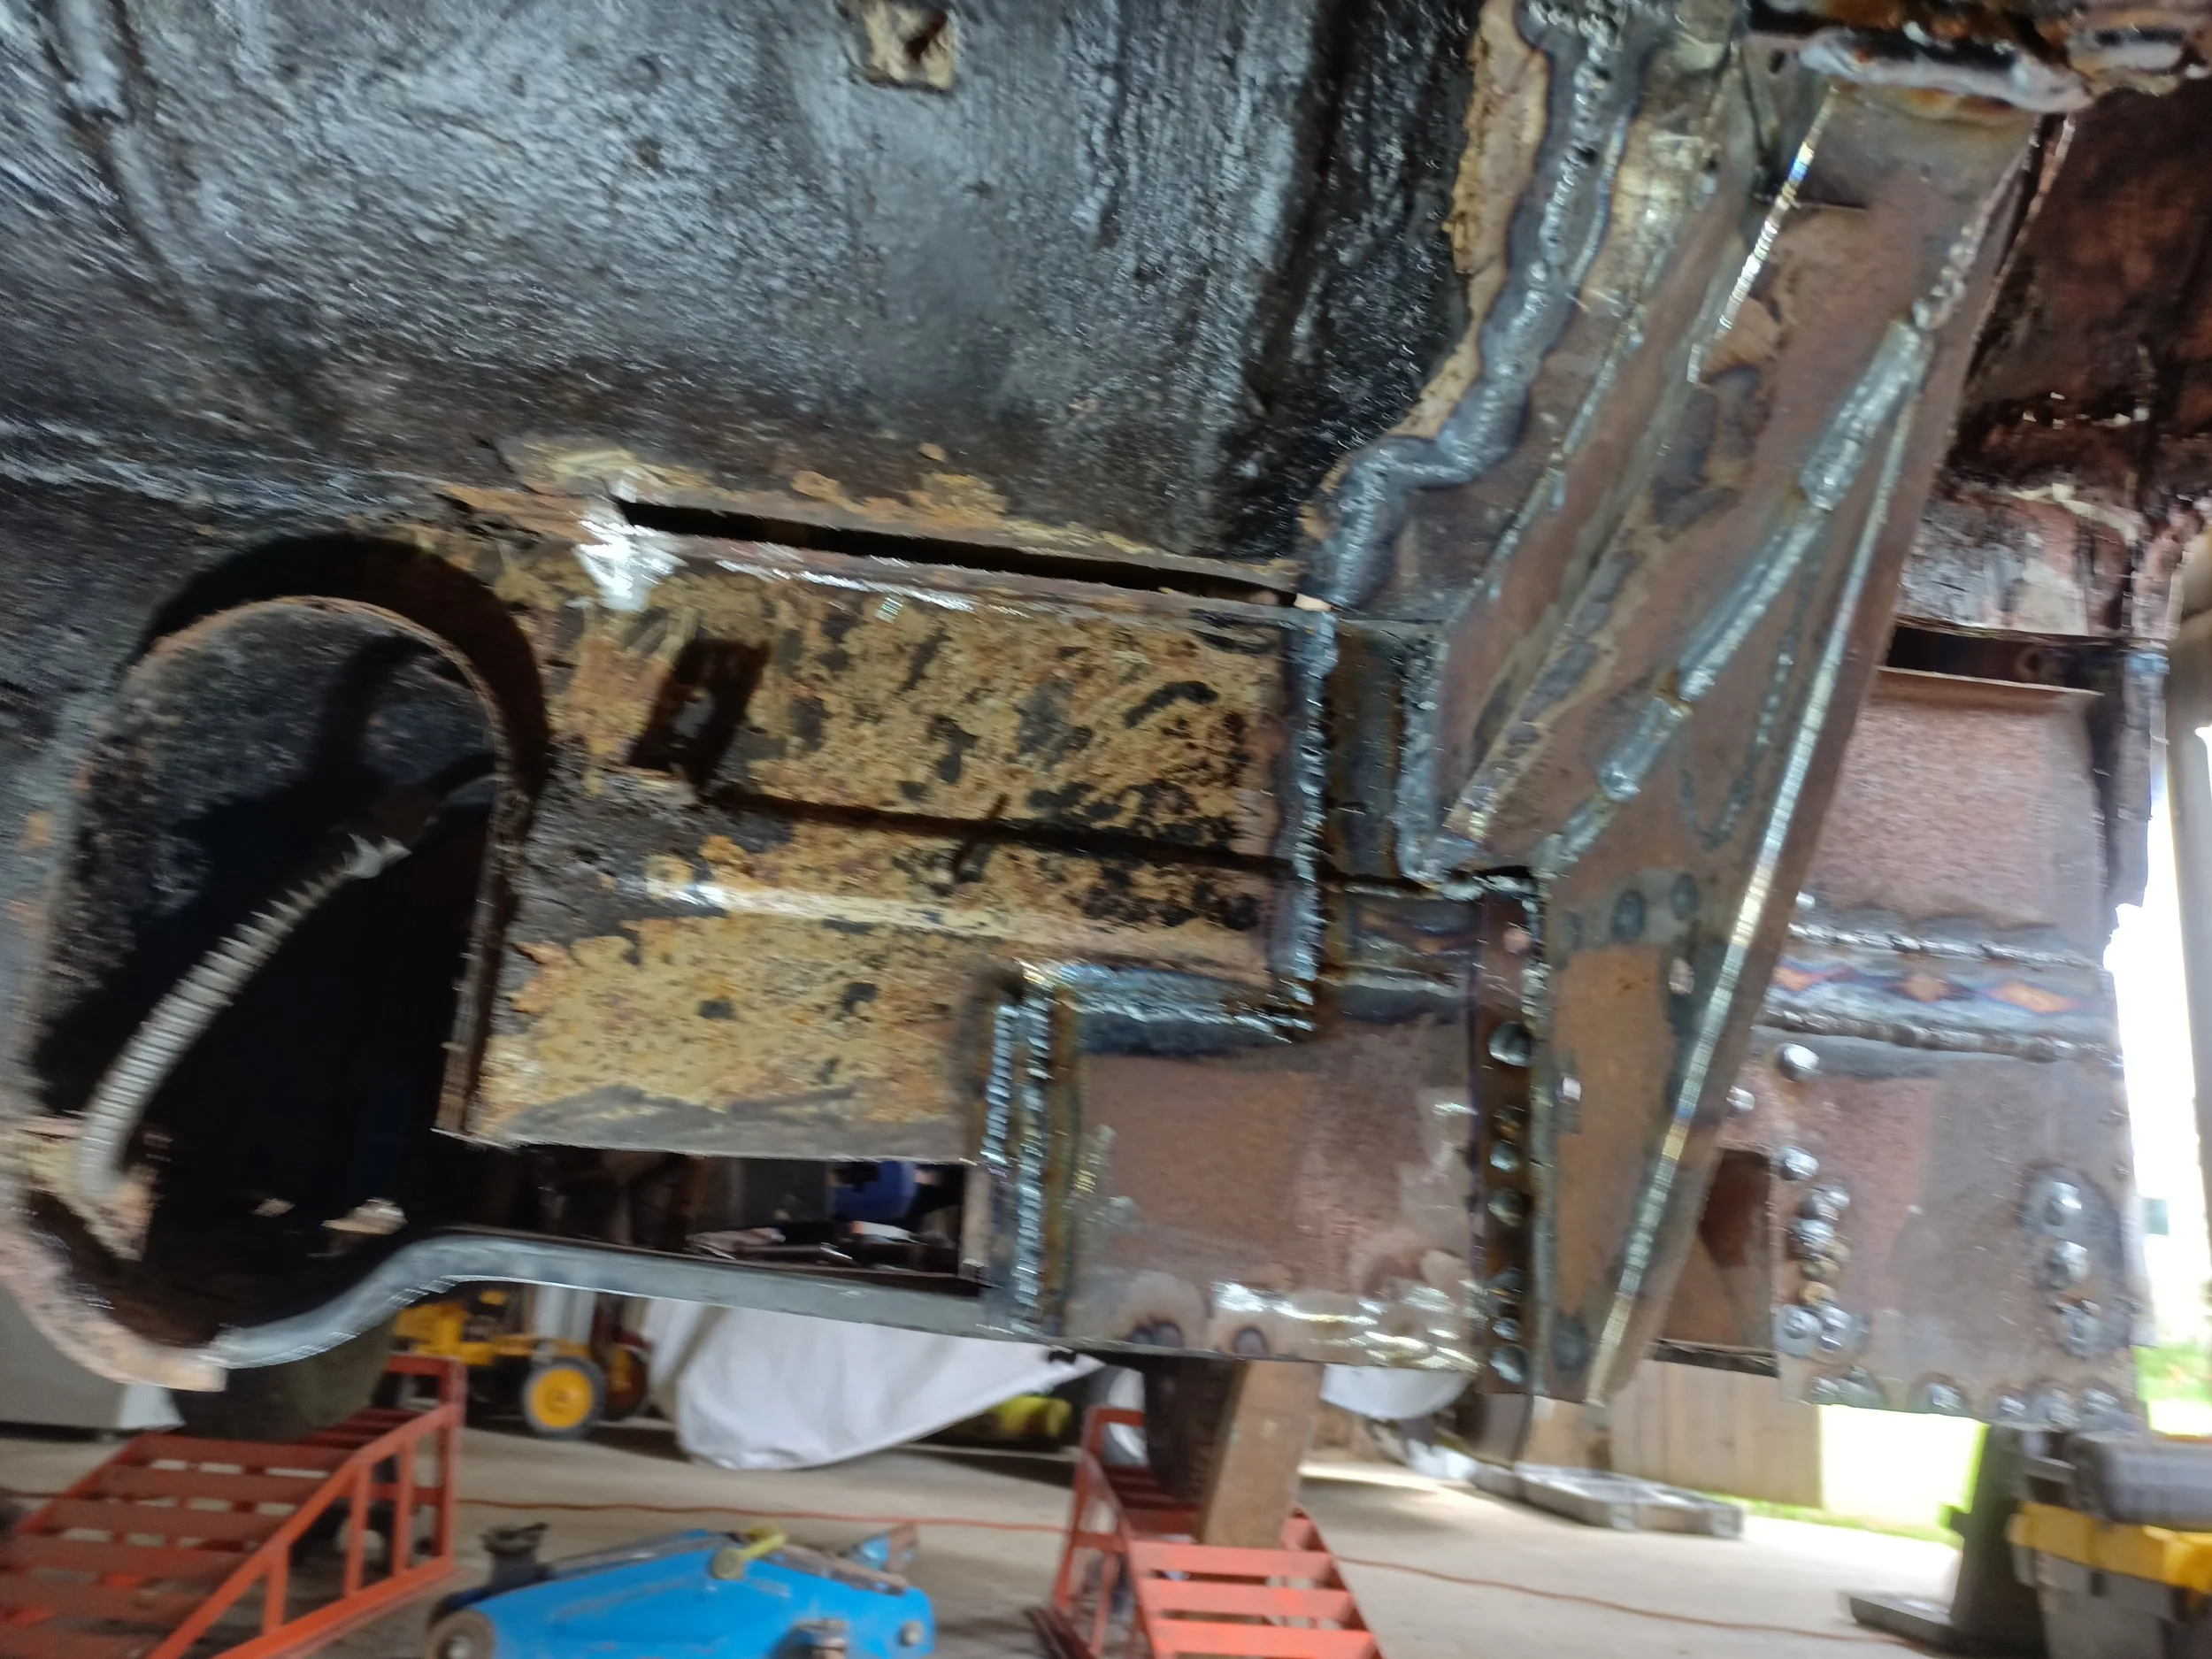
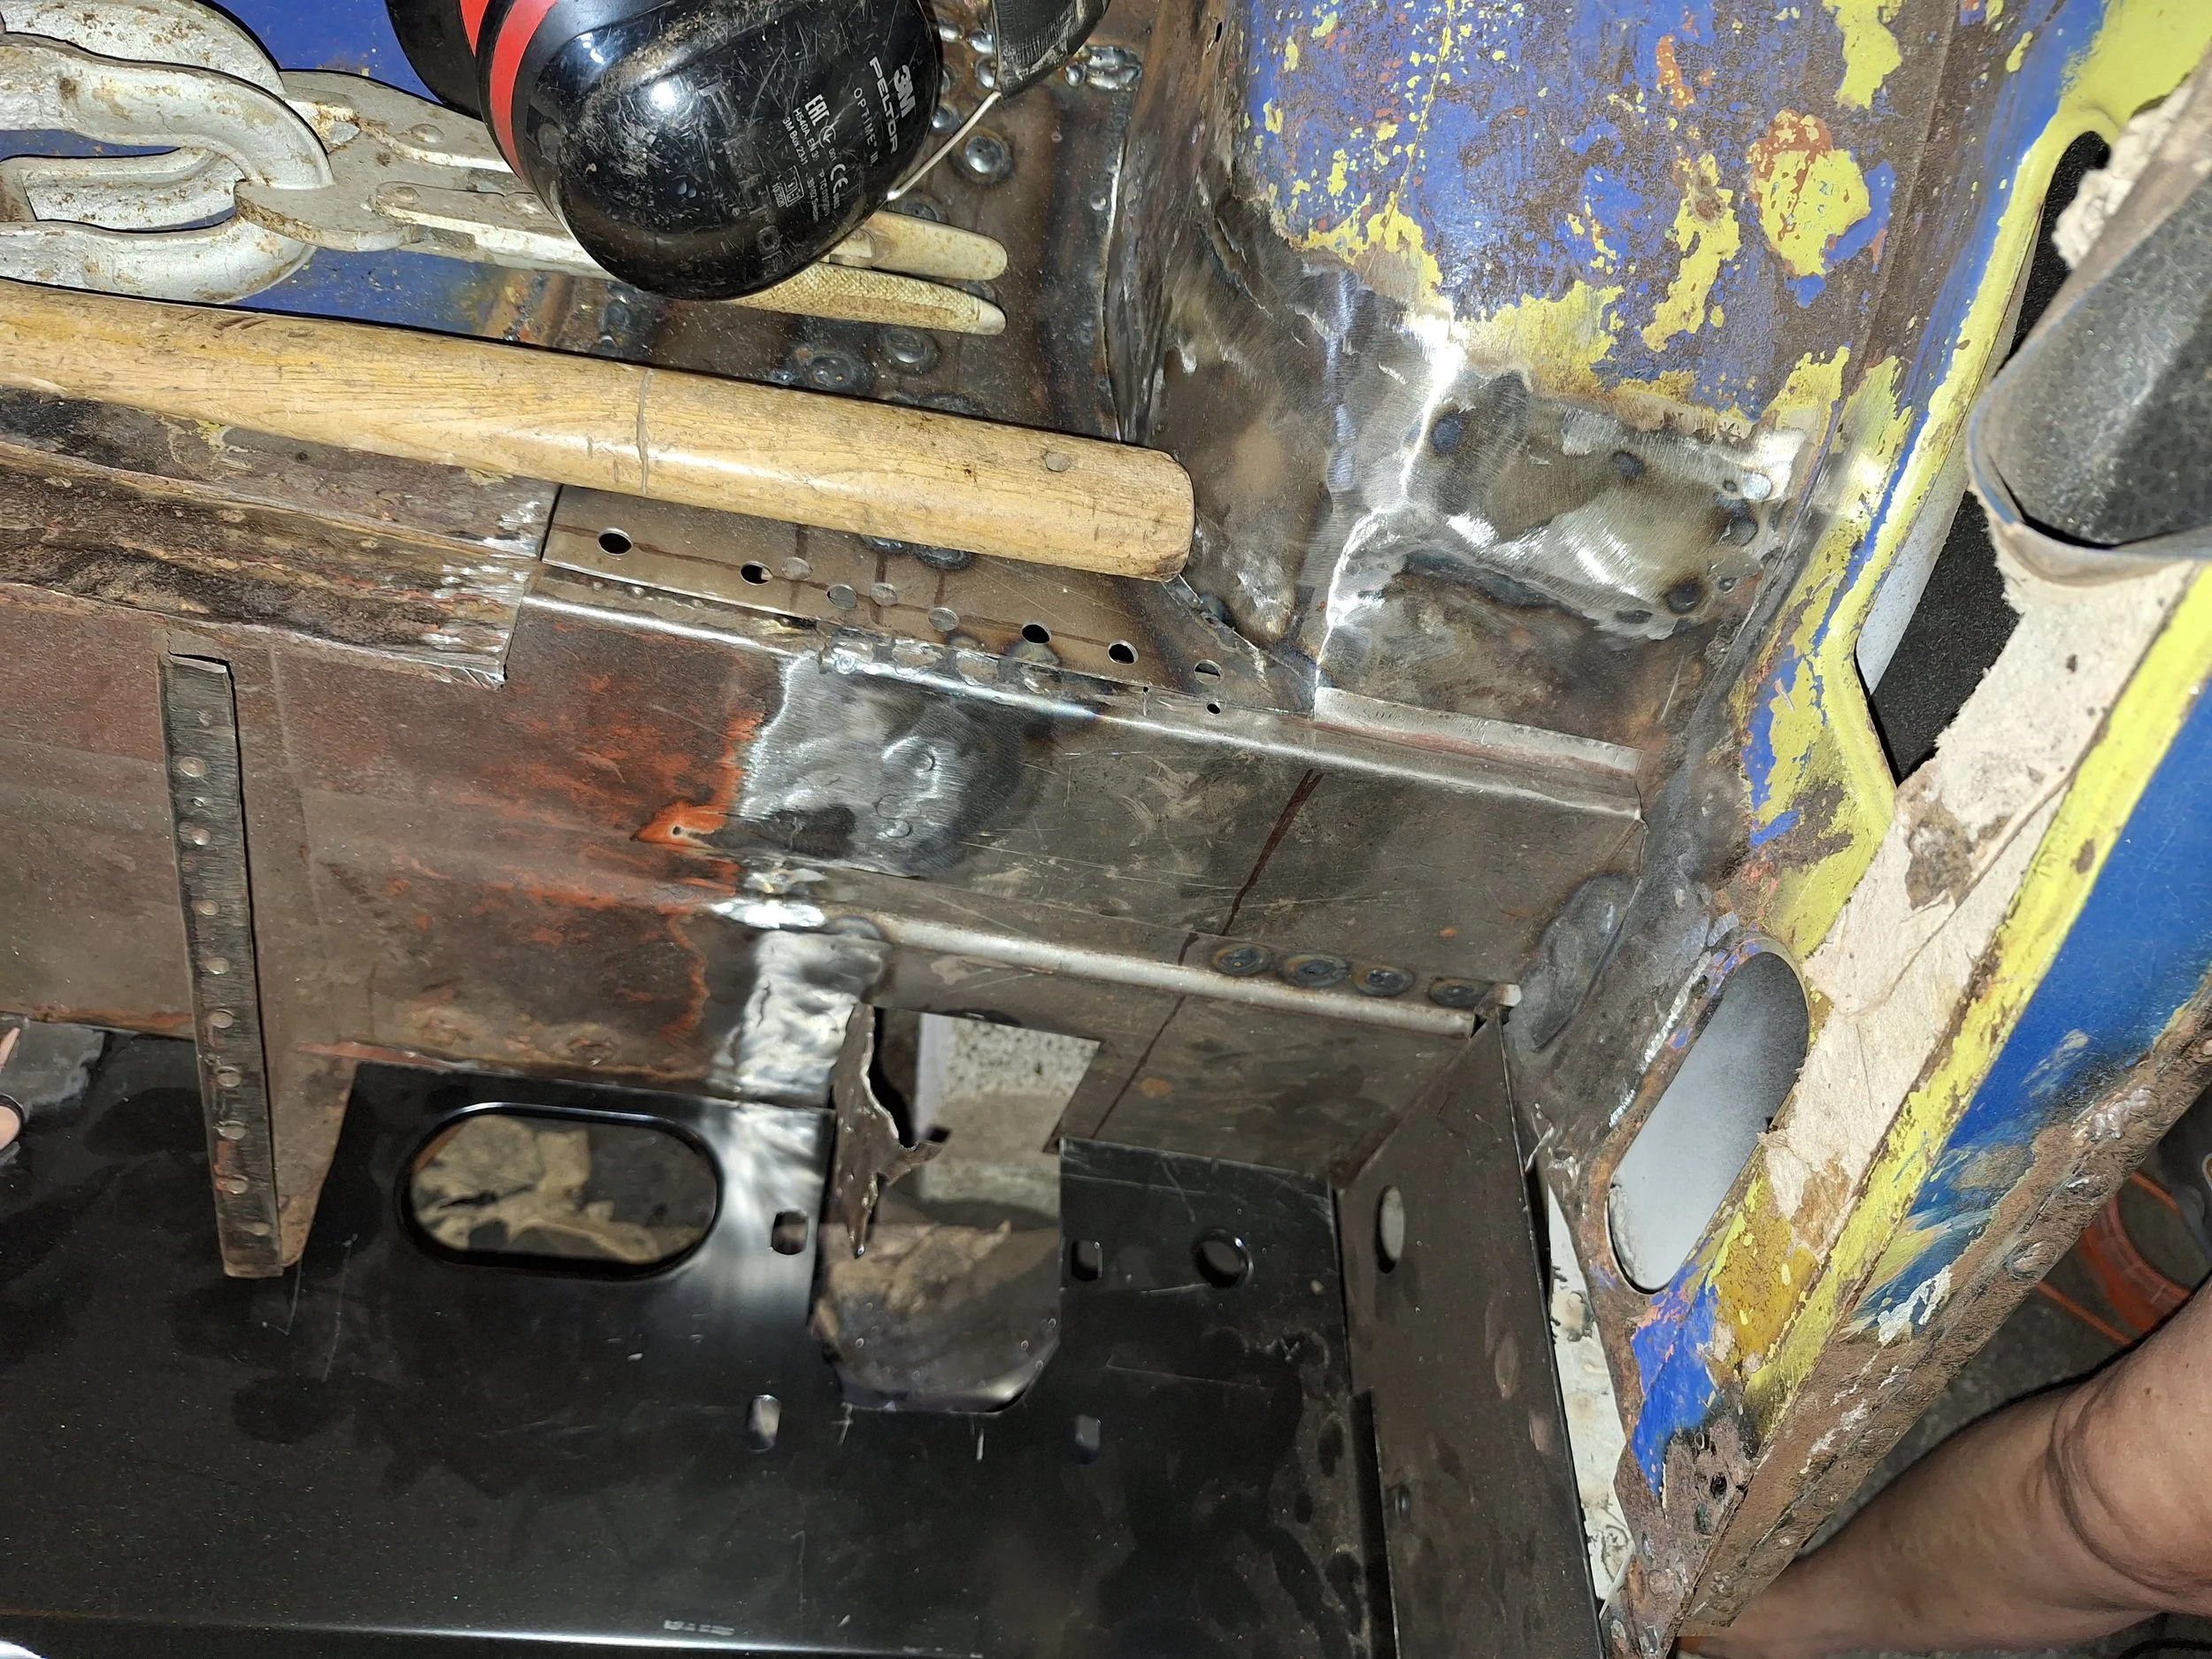
Repairs to the bottom flange of the gearbox tunnel.

Repairs to this rear chassis member.
Welding under the scuttle panel, reinstalling the windscreen mounting bracket.
Nearside footwell and inner wing before letting loose with the angle grinder.

Rust holes inside the inner wing. Lower footwell section removed.
Patch removal at the footwell/inner-wing intersection.
Initial inner sill inspection doesn't look too bad...
Front footwell also doesn't look too bad.

Unfortunately removal of the outer sill tells a different story.

I HATE over-plated patches. This section was continuing to rust away underneath the patch on the other side.
Have I said how much I hate overplating?!

Footwell floor looks solid...

But footwell side removal. Note also that the top of the inner wheelarch has been removed...

Shows it to be yet another example of overplating! There were three layers here...
Inside the A-pillar. Removing panels is easier in stages.

Now you see it...
Now you don't!
The removed front footwell section along with the inner arch stiffener.

Oh dear... Cracked wishbone mount.
Front footwell. Some tidying up required...


Peeling away the layers of footwell reveals a sorry looking A-pillar structure.

Hinge mount and reinforcement box have disintegrated.

Hinge box removed: Still looking crusty...

Not great from the outside either.

Executive decision taken. A-pillar being replaced entirely!

Footwell almost completely gone...

And replaced with new panels.

Angle plate. Notice how this forms yet another boxing/crossmember. Front footwell pre-drilled and prepared for plug welds.
New A-pillar attached.
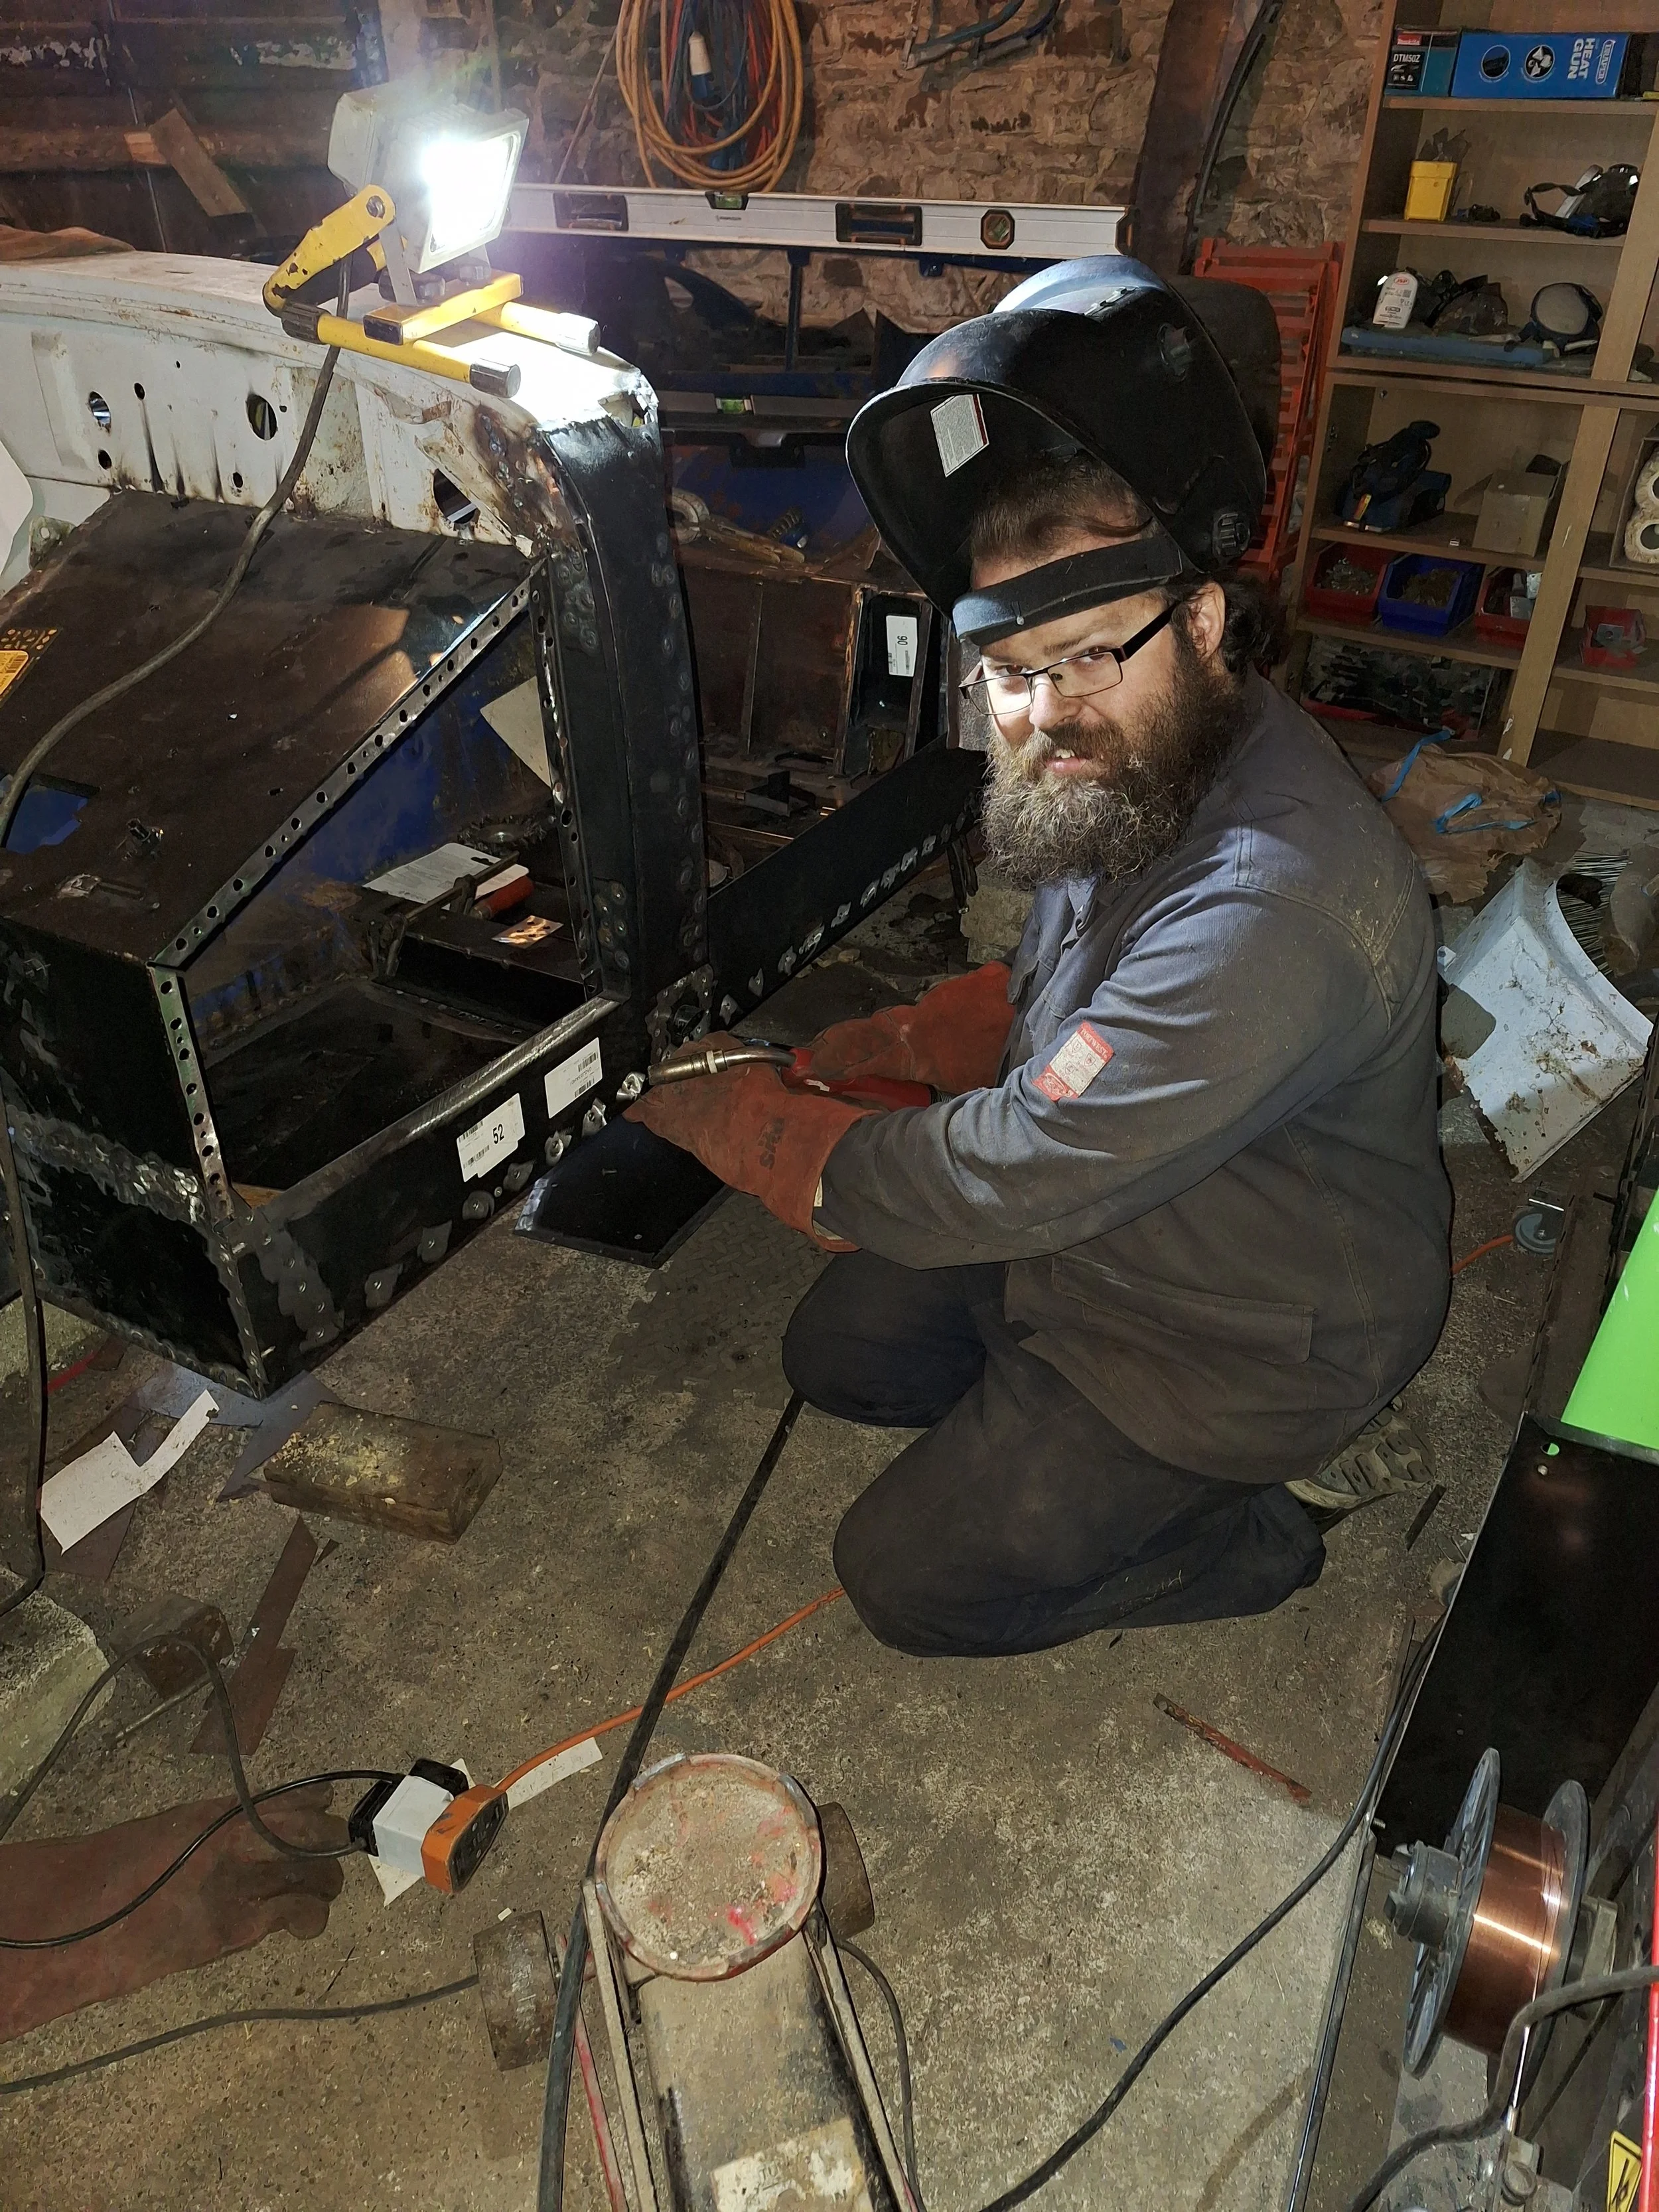
Lots of welding.

Rear bulkhead removed. Reinforcement brackets also rusted away this side.

Similar B-pillar damage also.
The rear bulkhead had clearly had repair patches fitted before, but they had not even been welded to these triangular reinforcing braces. The right hand ones are the spring mount...

And now removed!

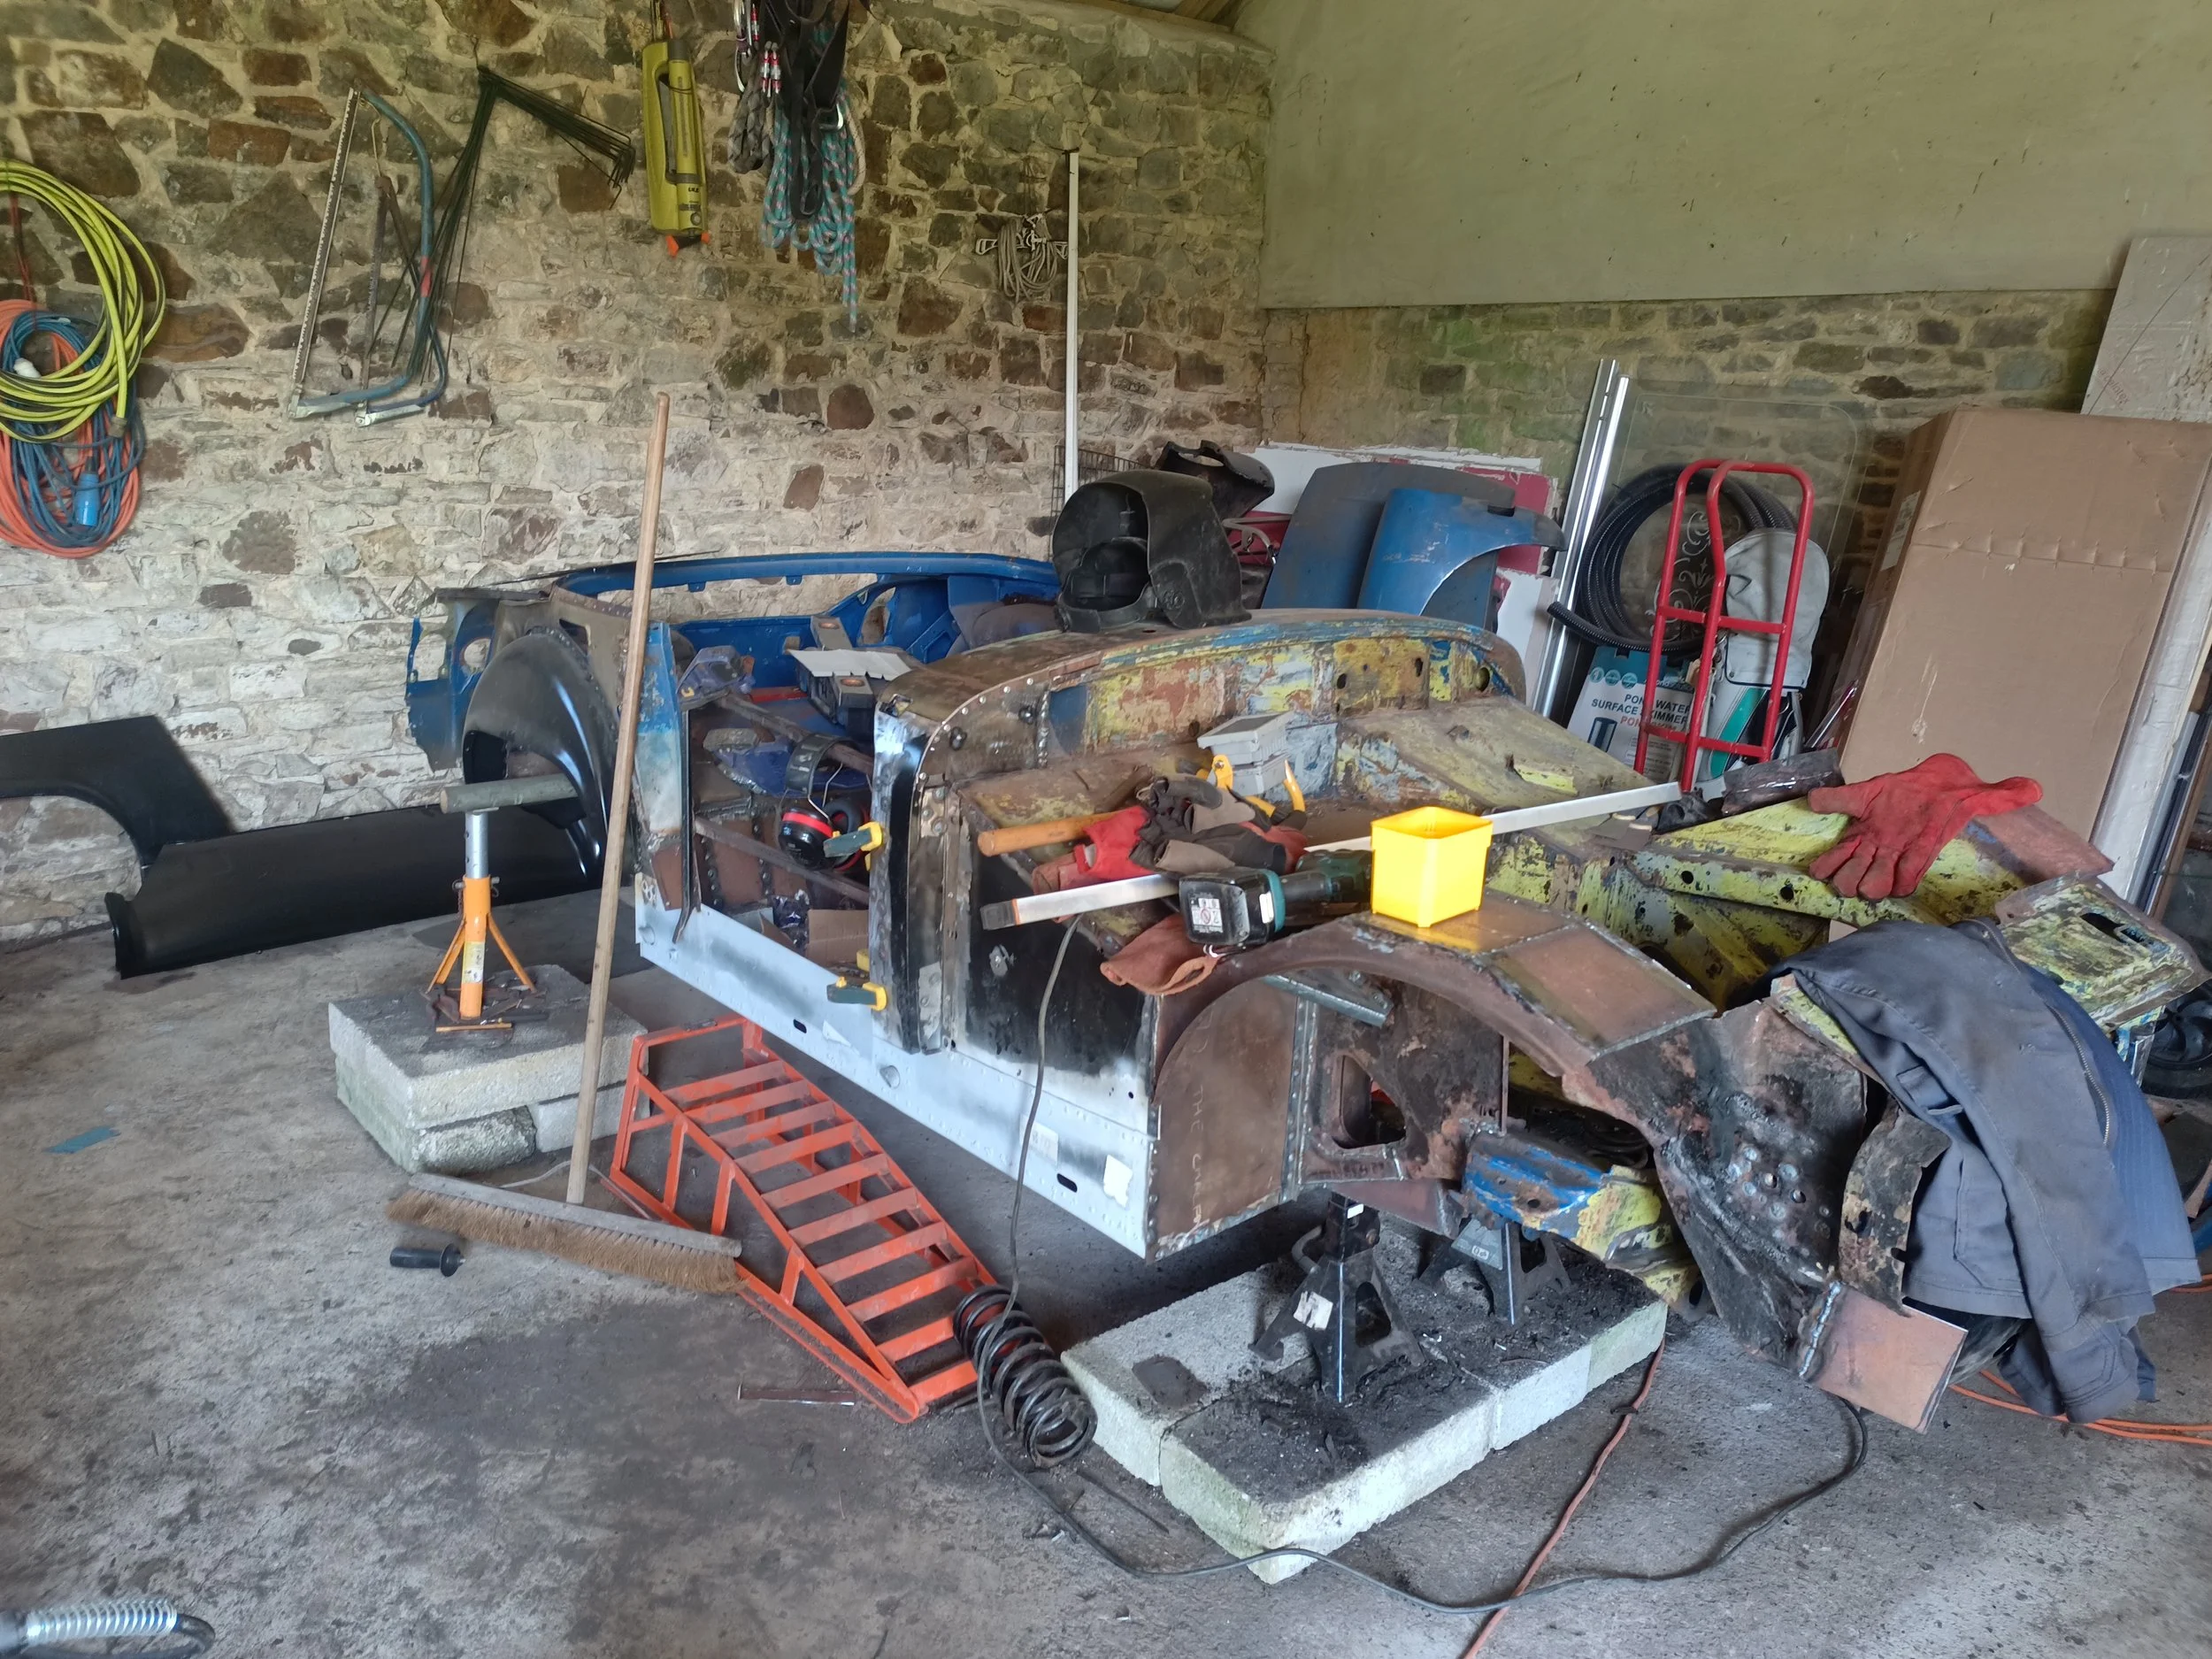
Foam mats on the floor served as kneelers.

Yet more rust cut out.
And replacement patches made. These ones will be butt welded back to solid steel and will make these sections as good as new.
Welded in and good as new.
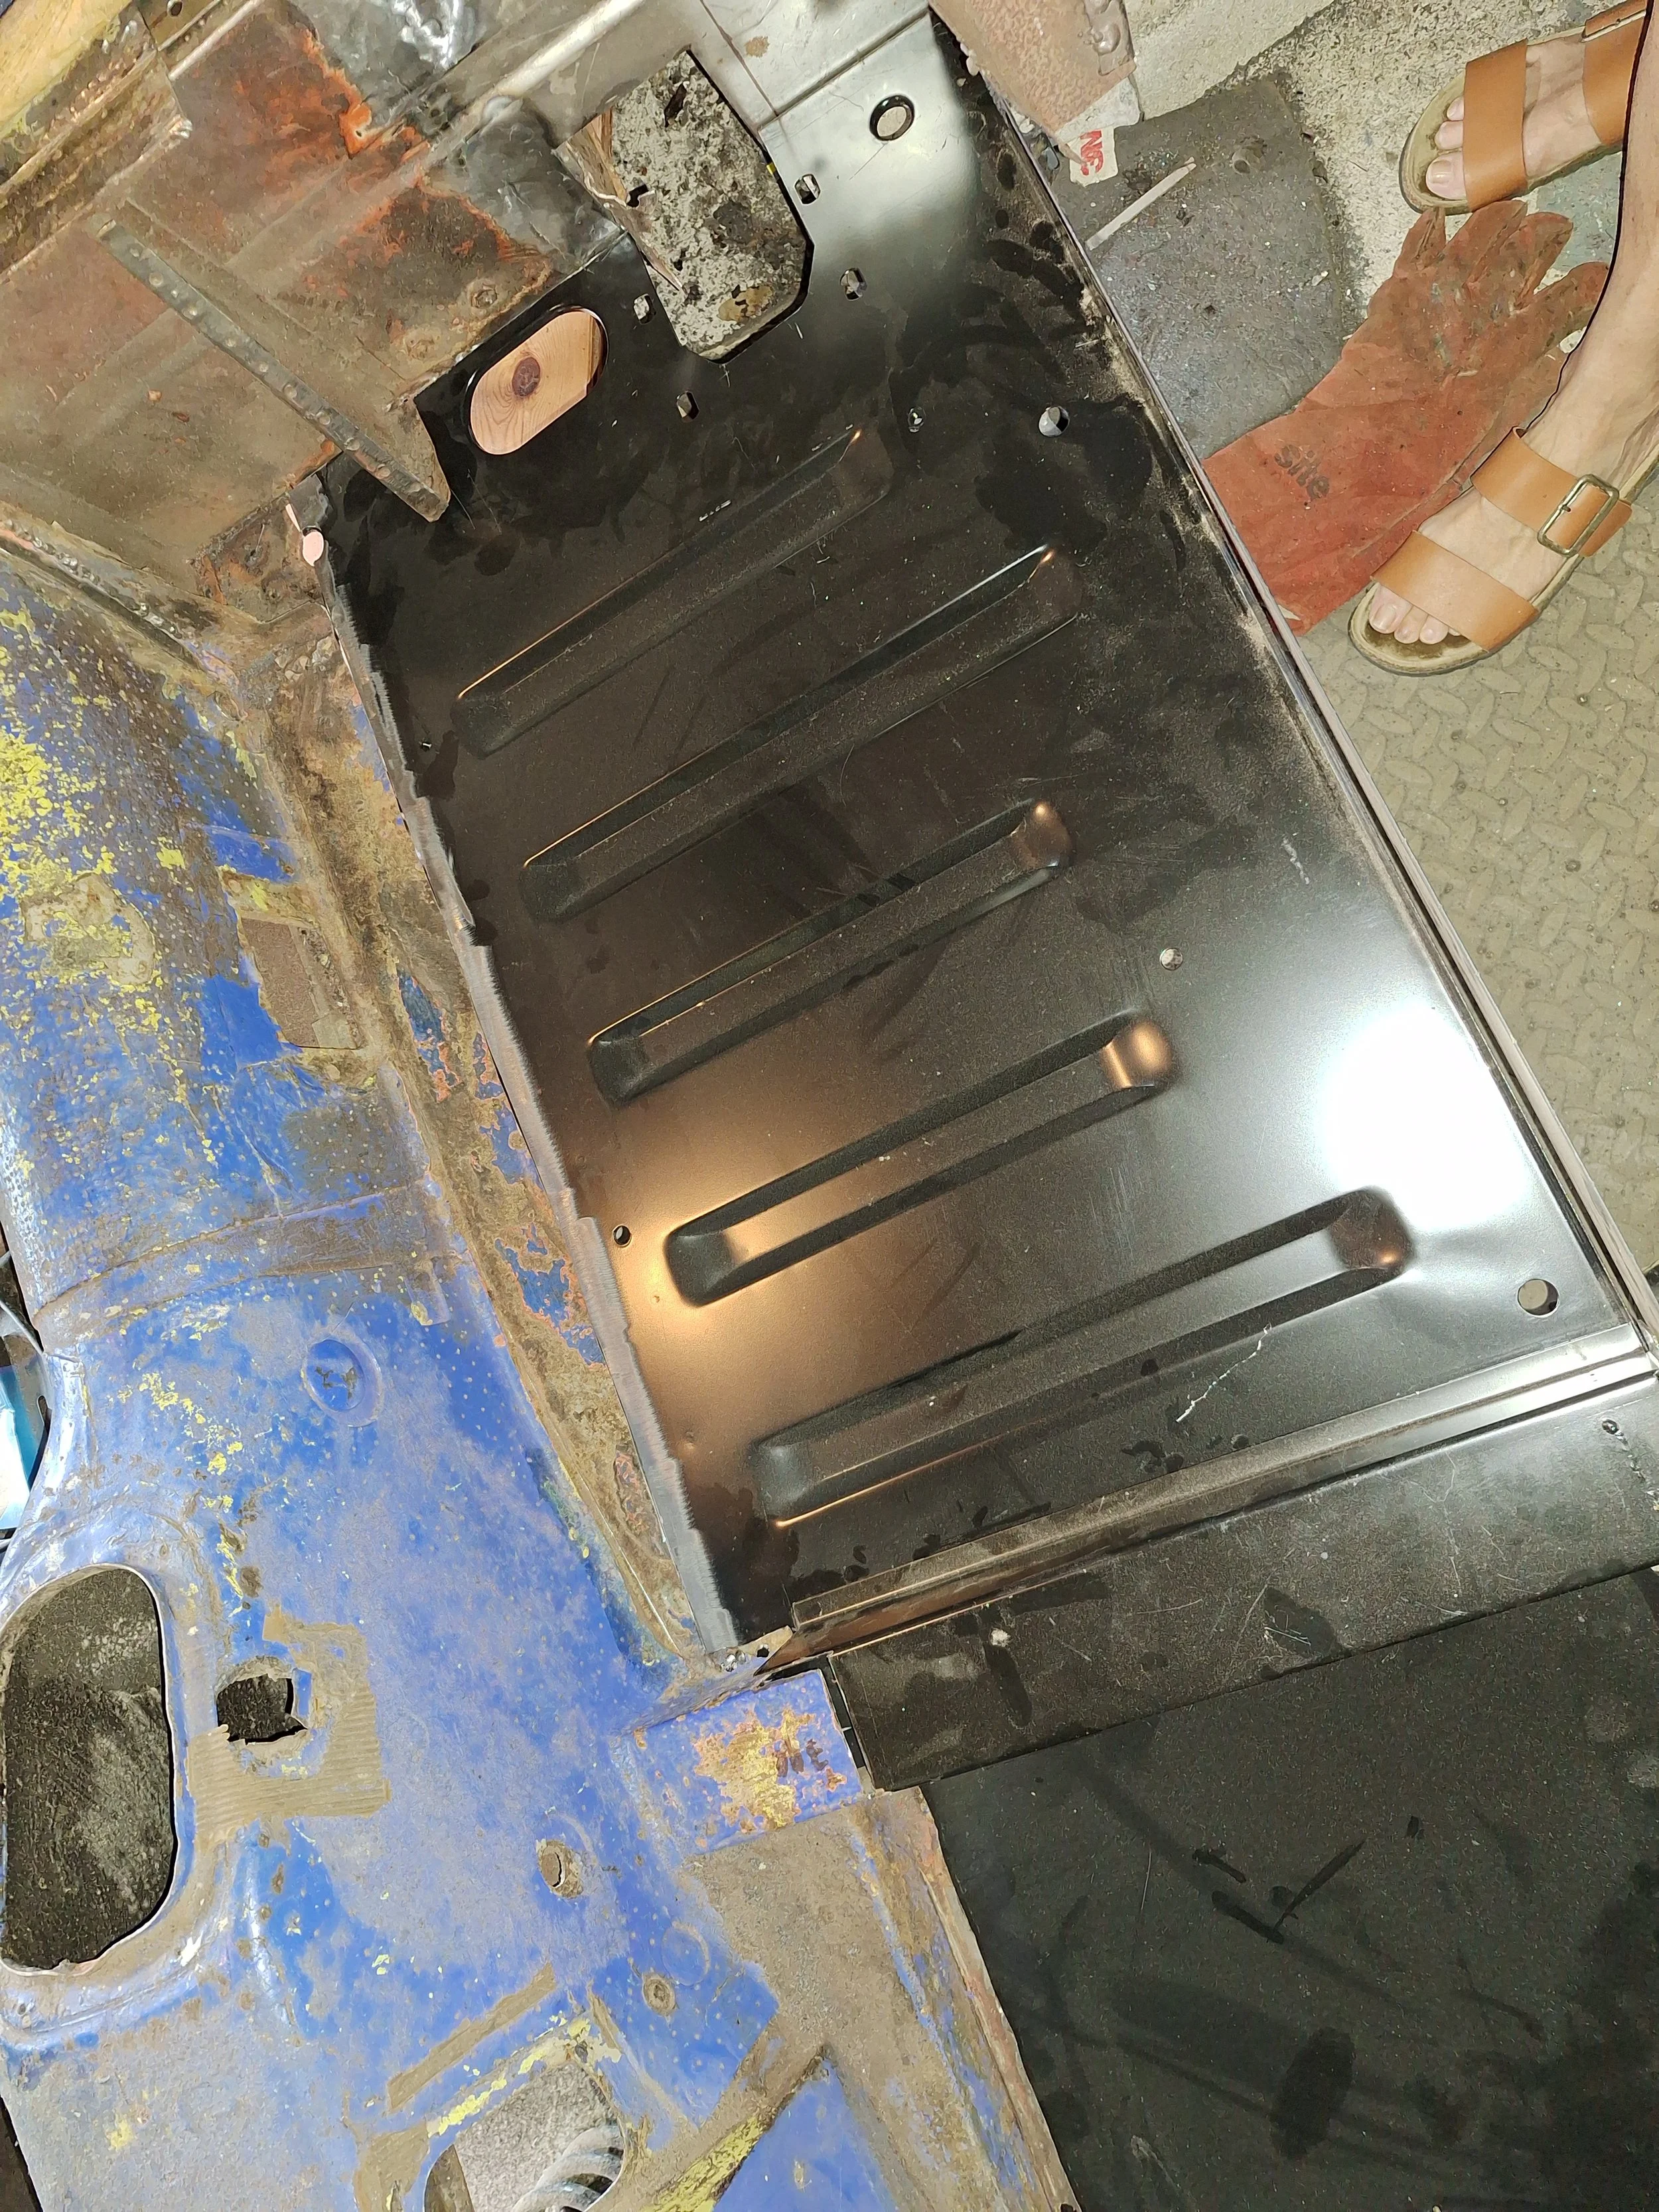
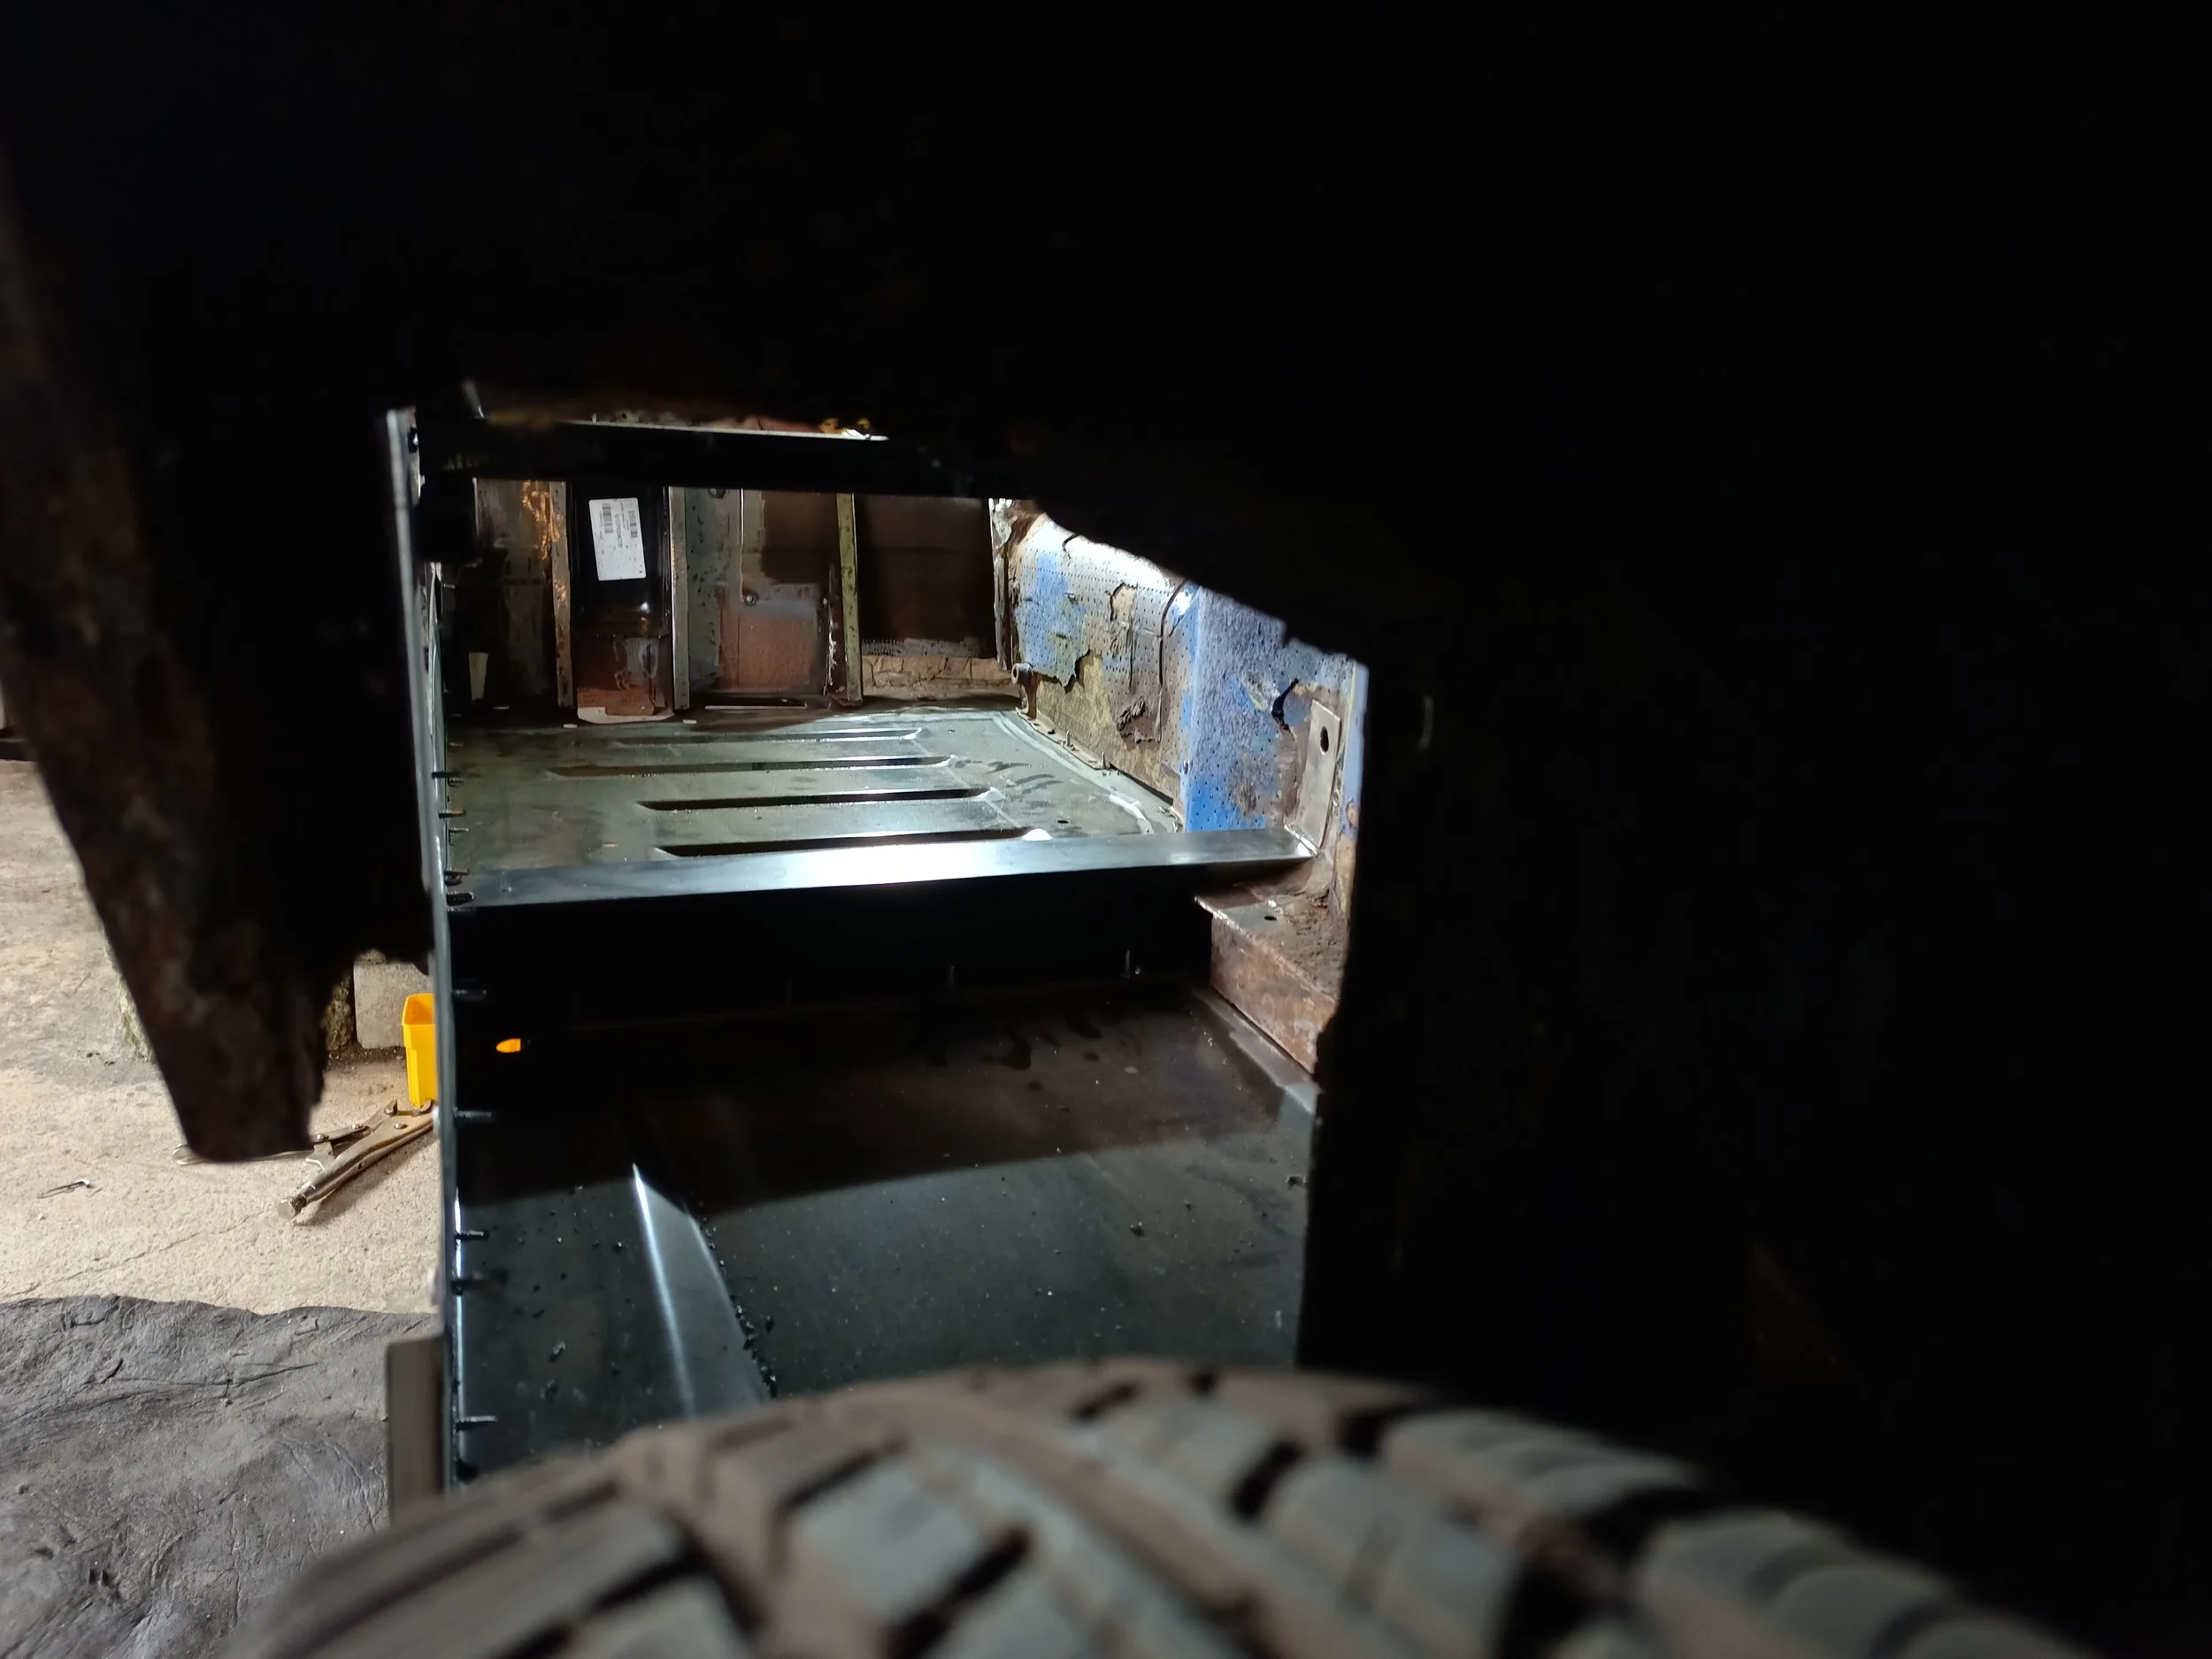
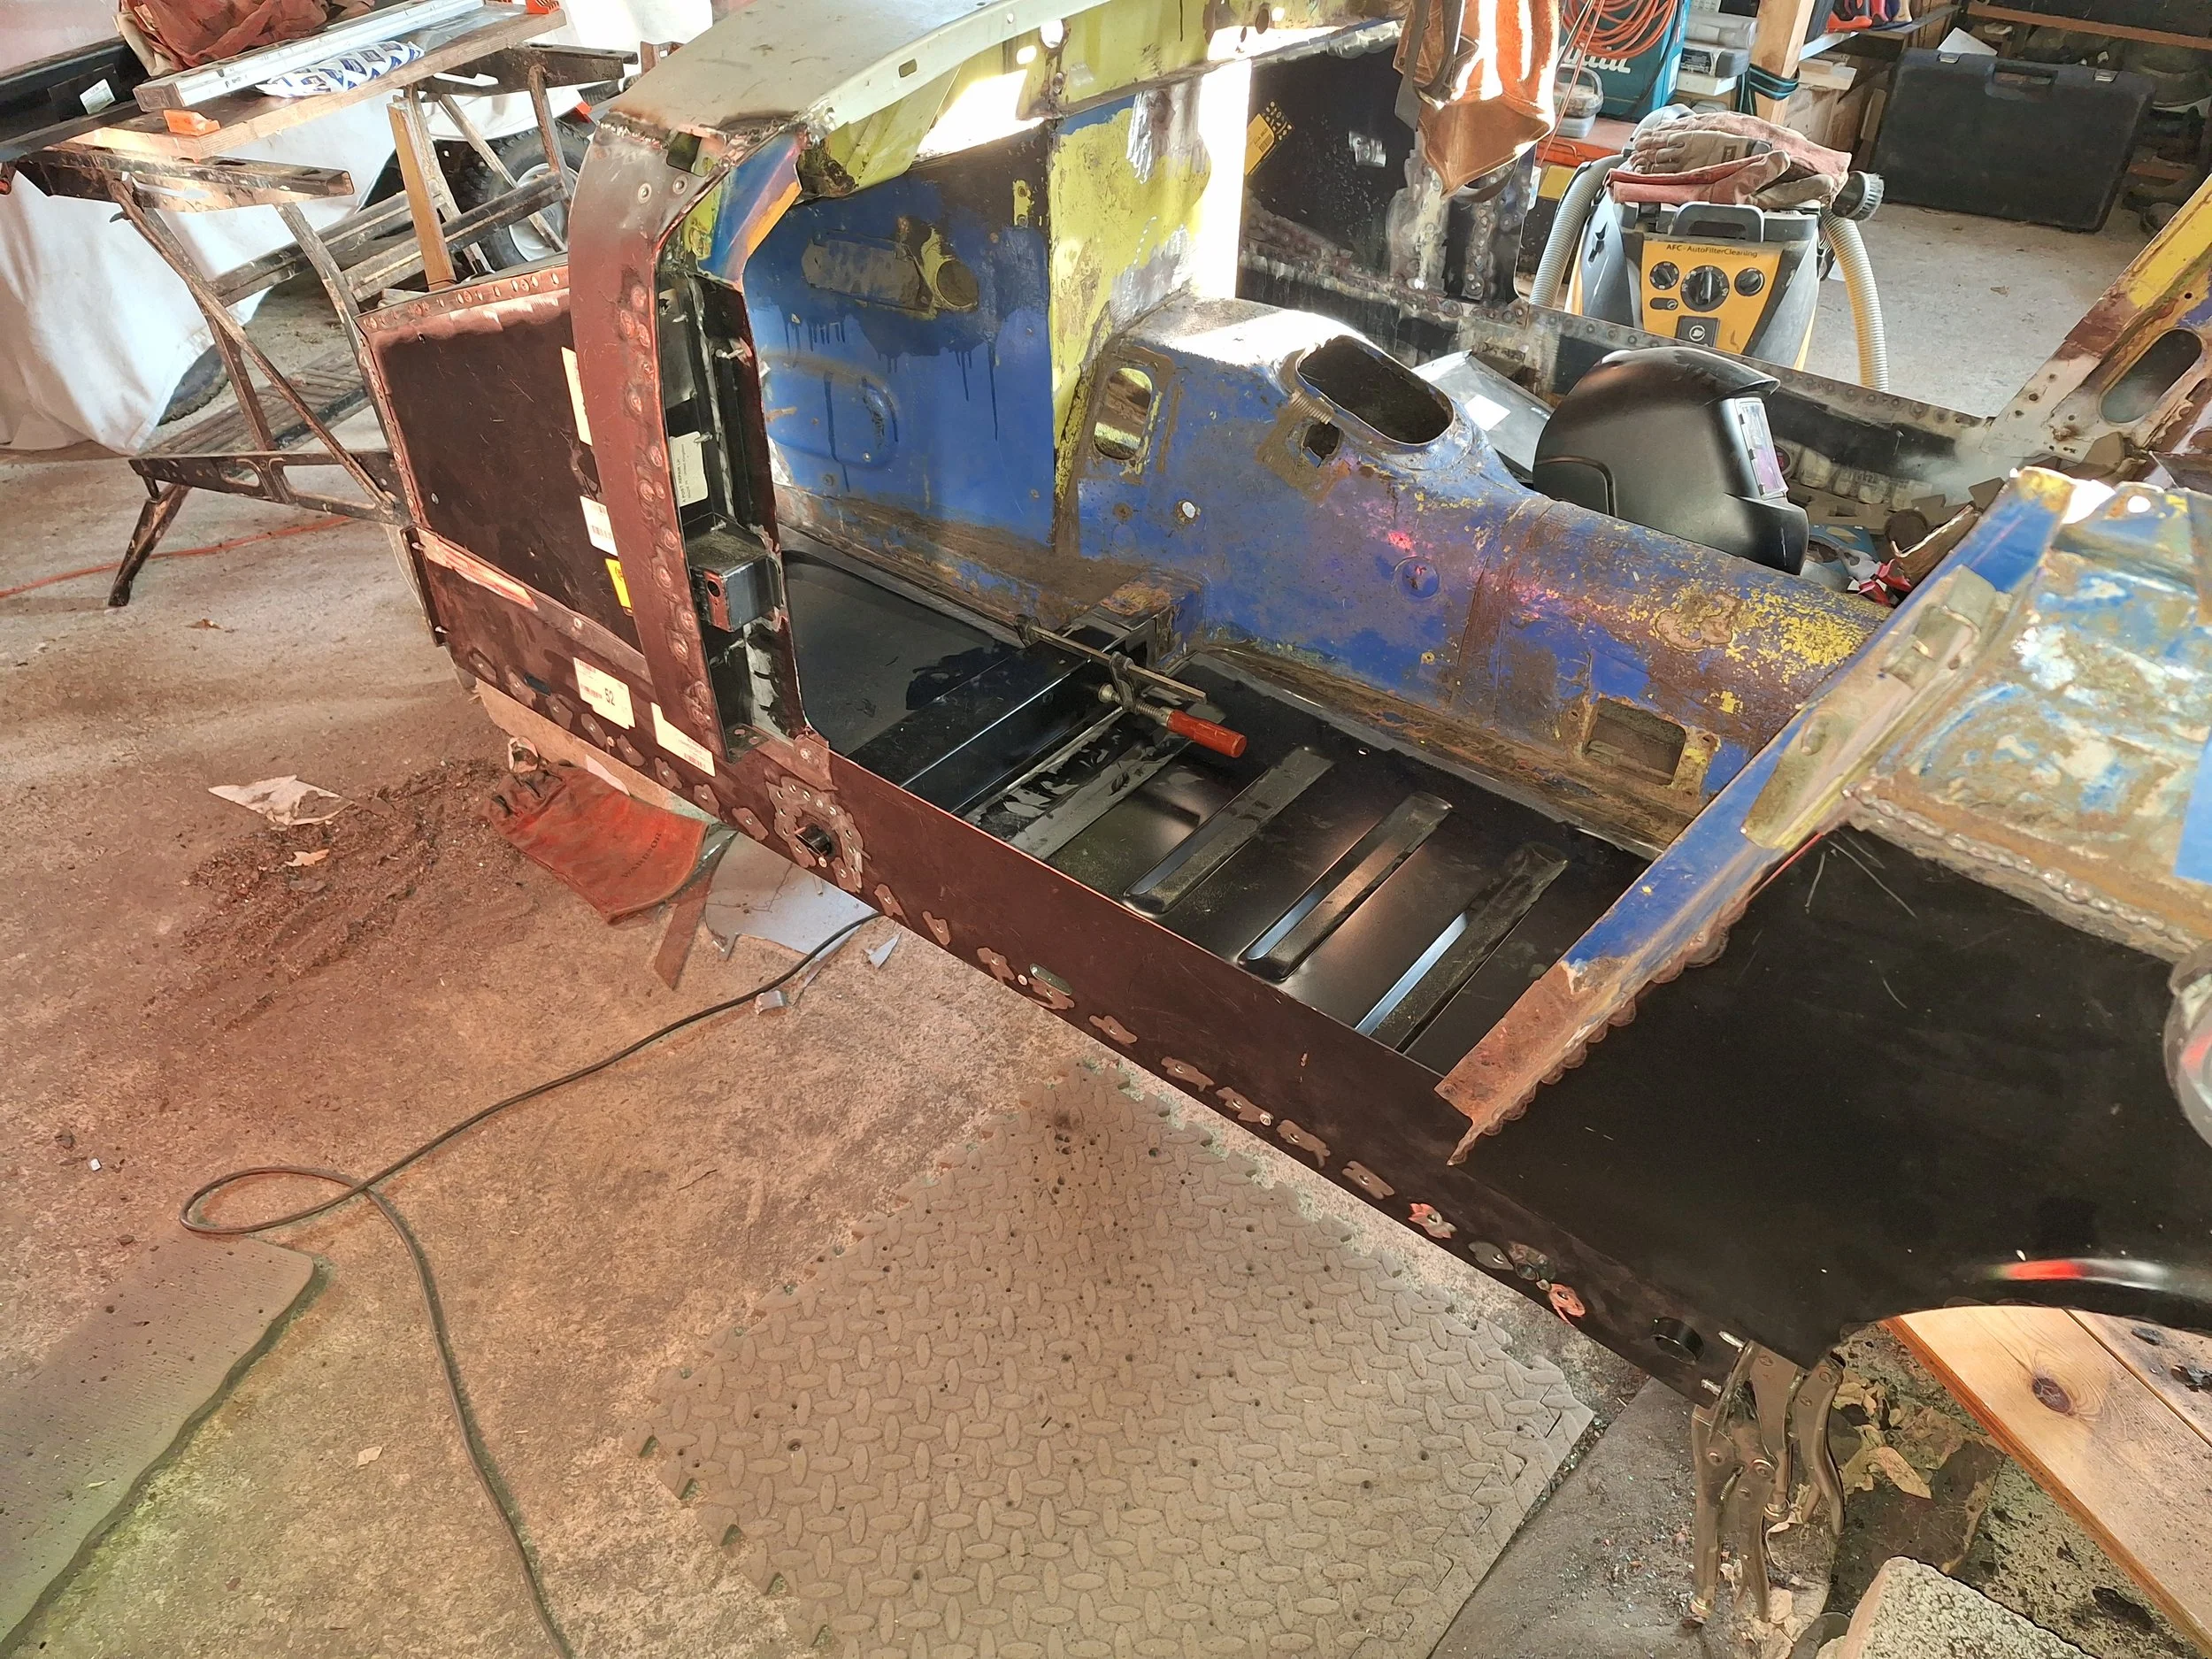
New floor and cross member laid in place.

New inner sill trial fitted.

Looking a lot better!

Weld prep complete.

New spring hanger in place.

Thanks Greg for getting the carbs serviced, new clutch kit fitted and gearbox mated back to the engine!

New inner wing panel.
Welding the new inner sill to the car. Photography by Greg, makeup by grinding disc, steel filings and rust!
New inner wing panel welded in, along with stiffener.
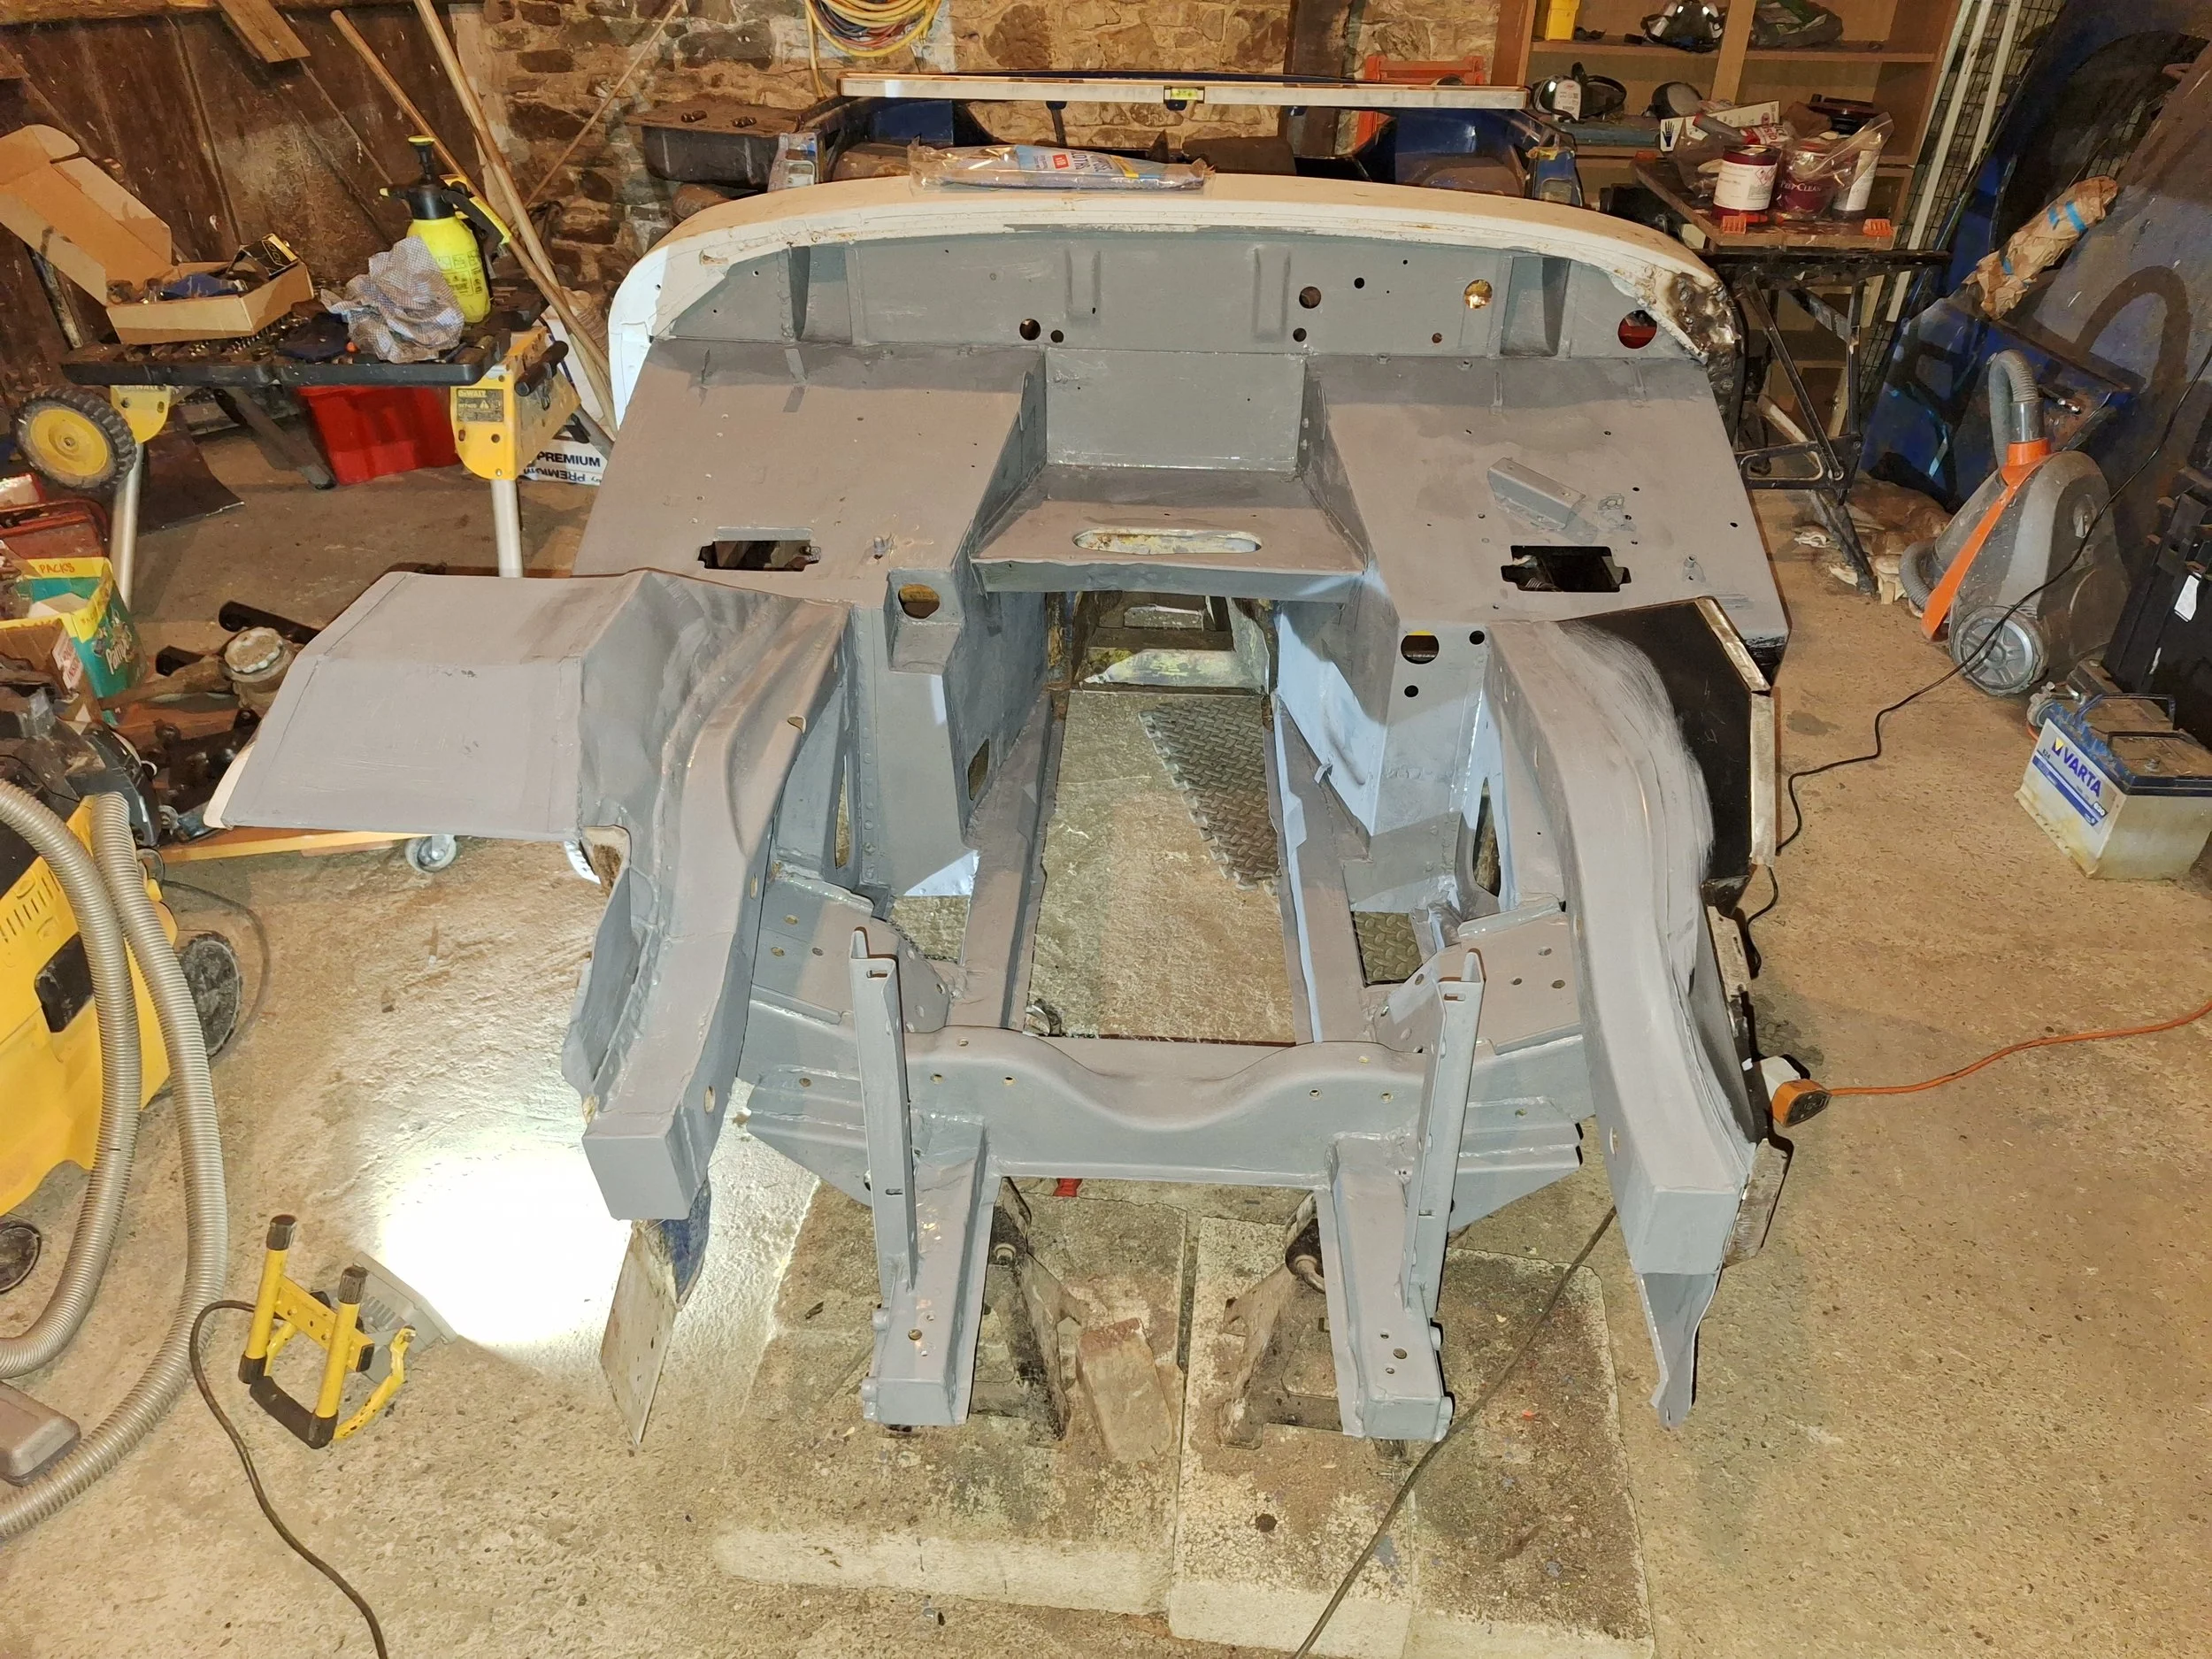
Engine bay primer/undercoat applied.
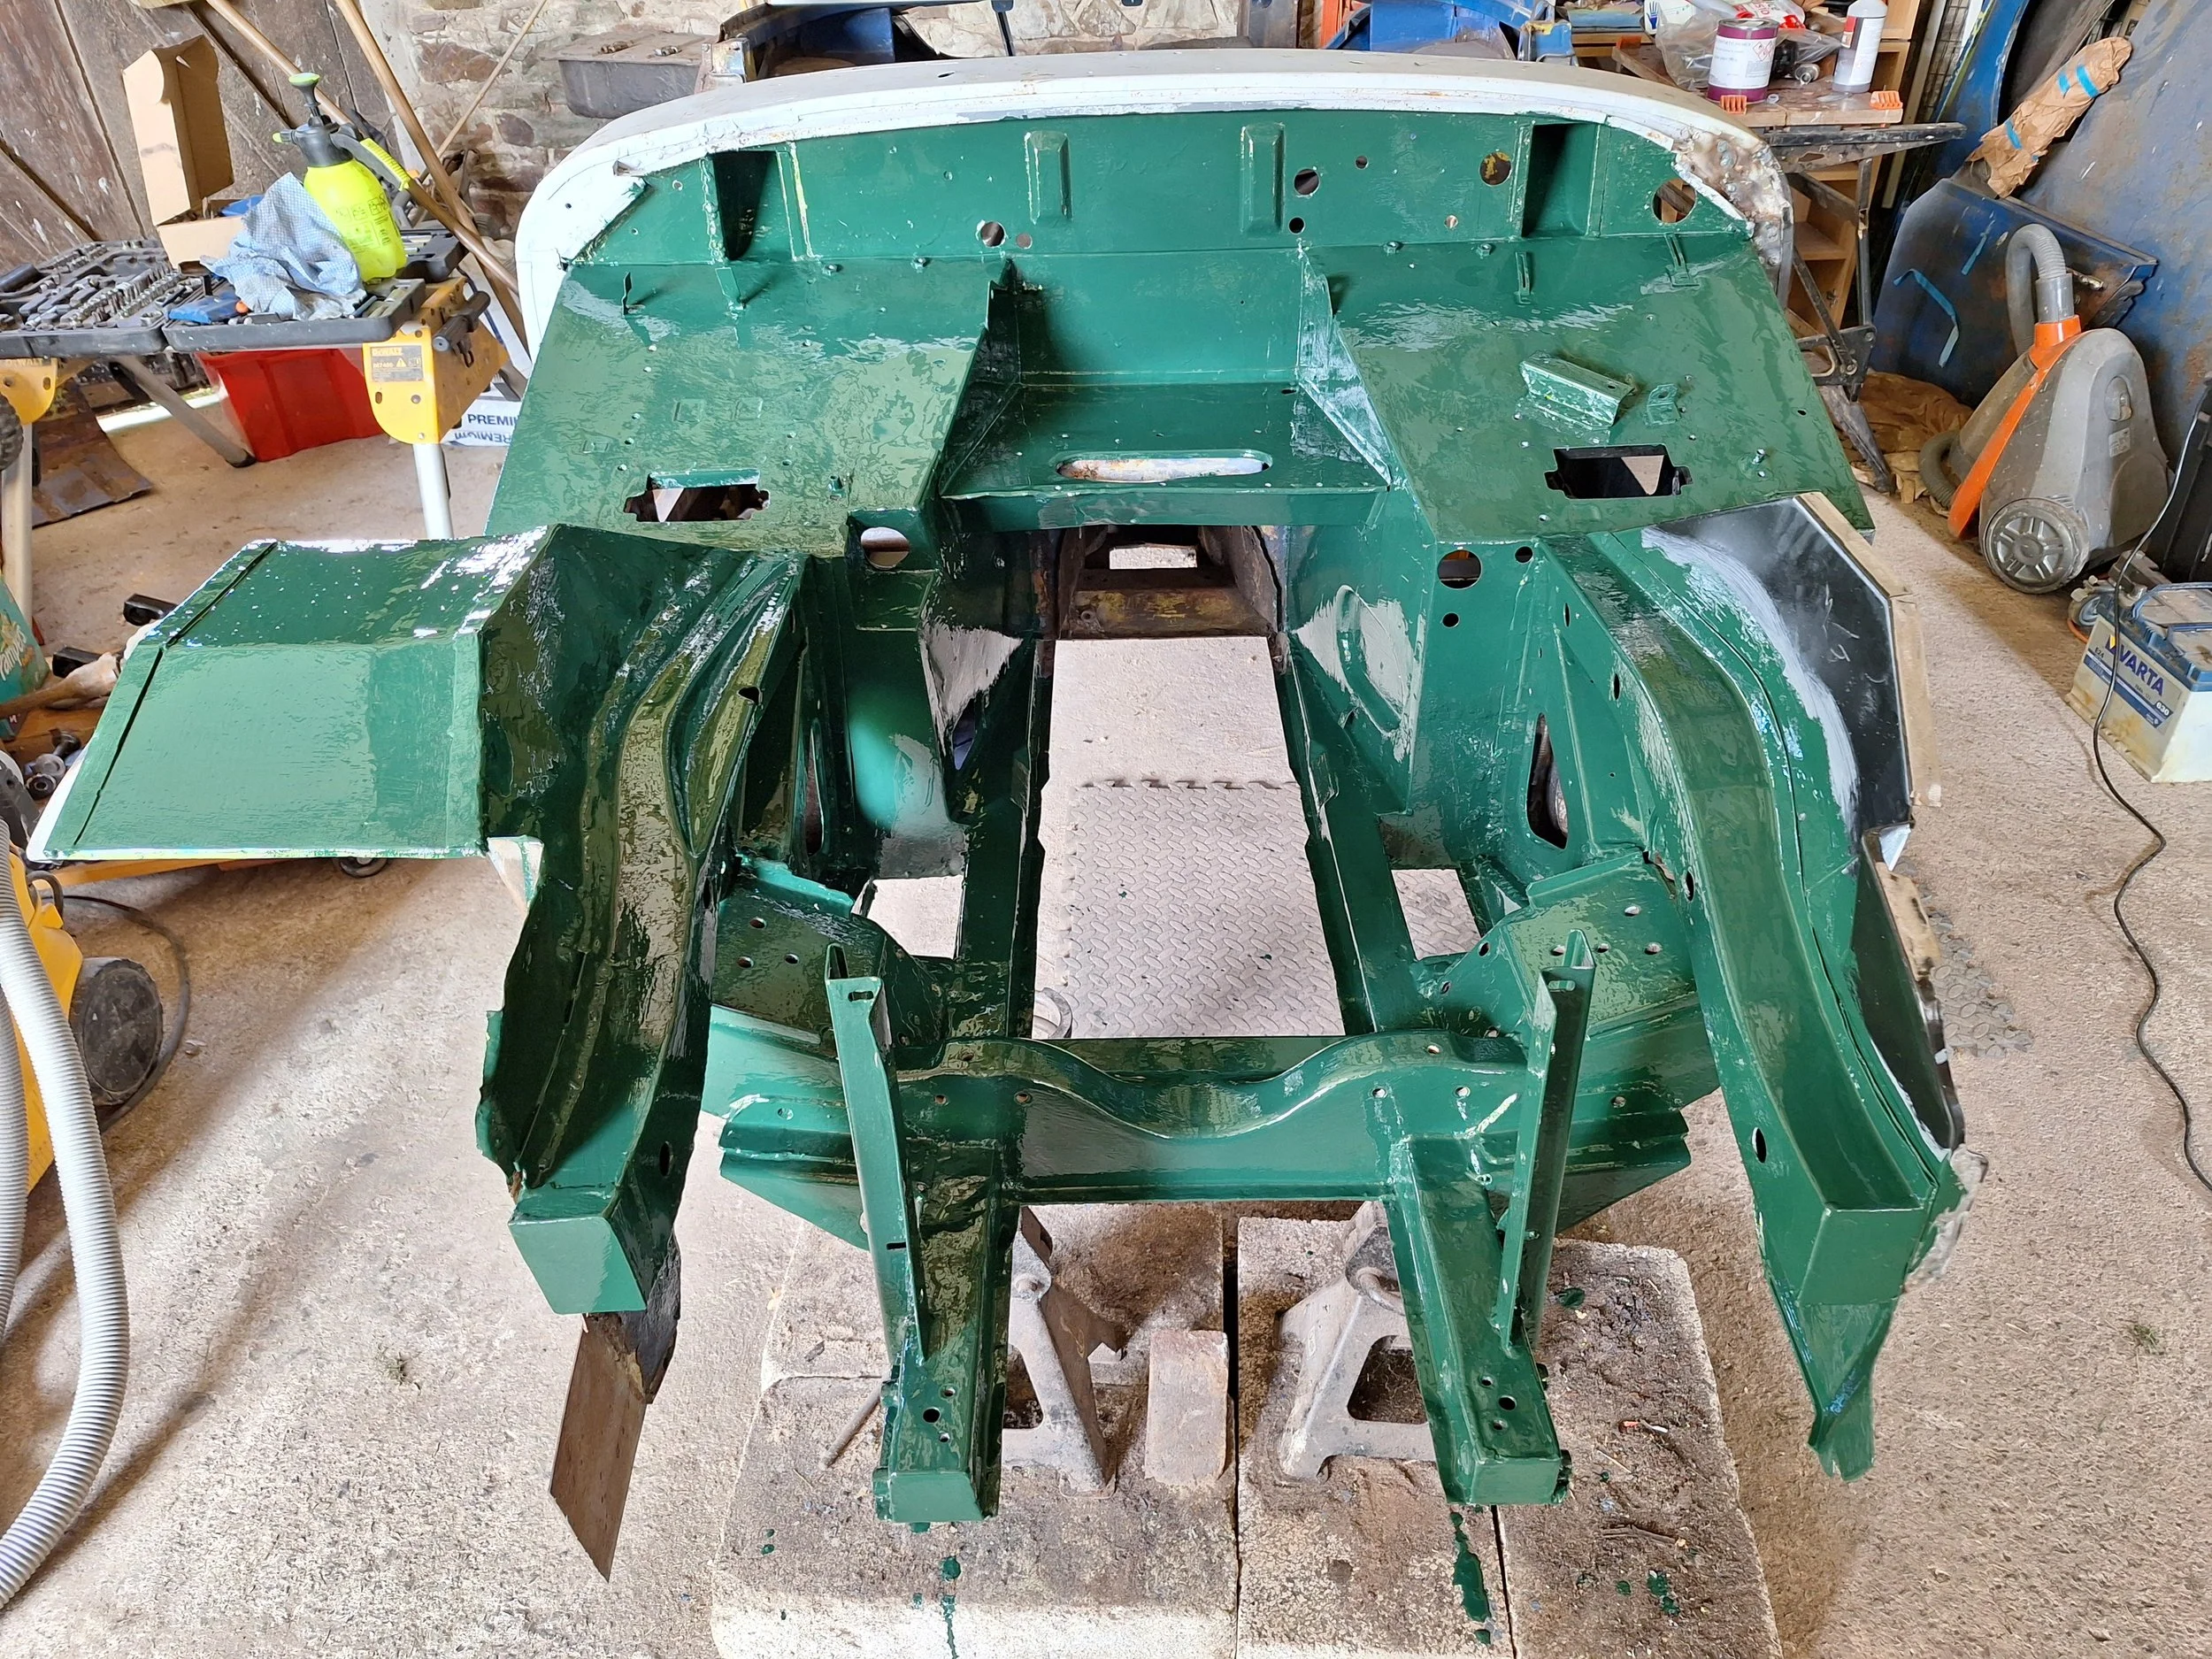
New British Racing Green topcoat! Doesn't the engine bay look good!

Dashboard subassembly put back together.

Greg reviewing the rear axle.

Greg with our engine lifting arrangement.

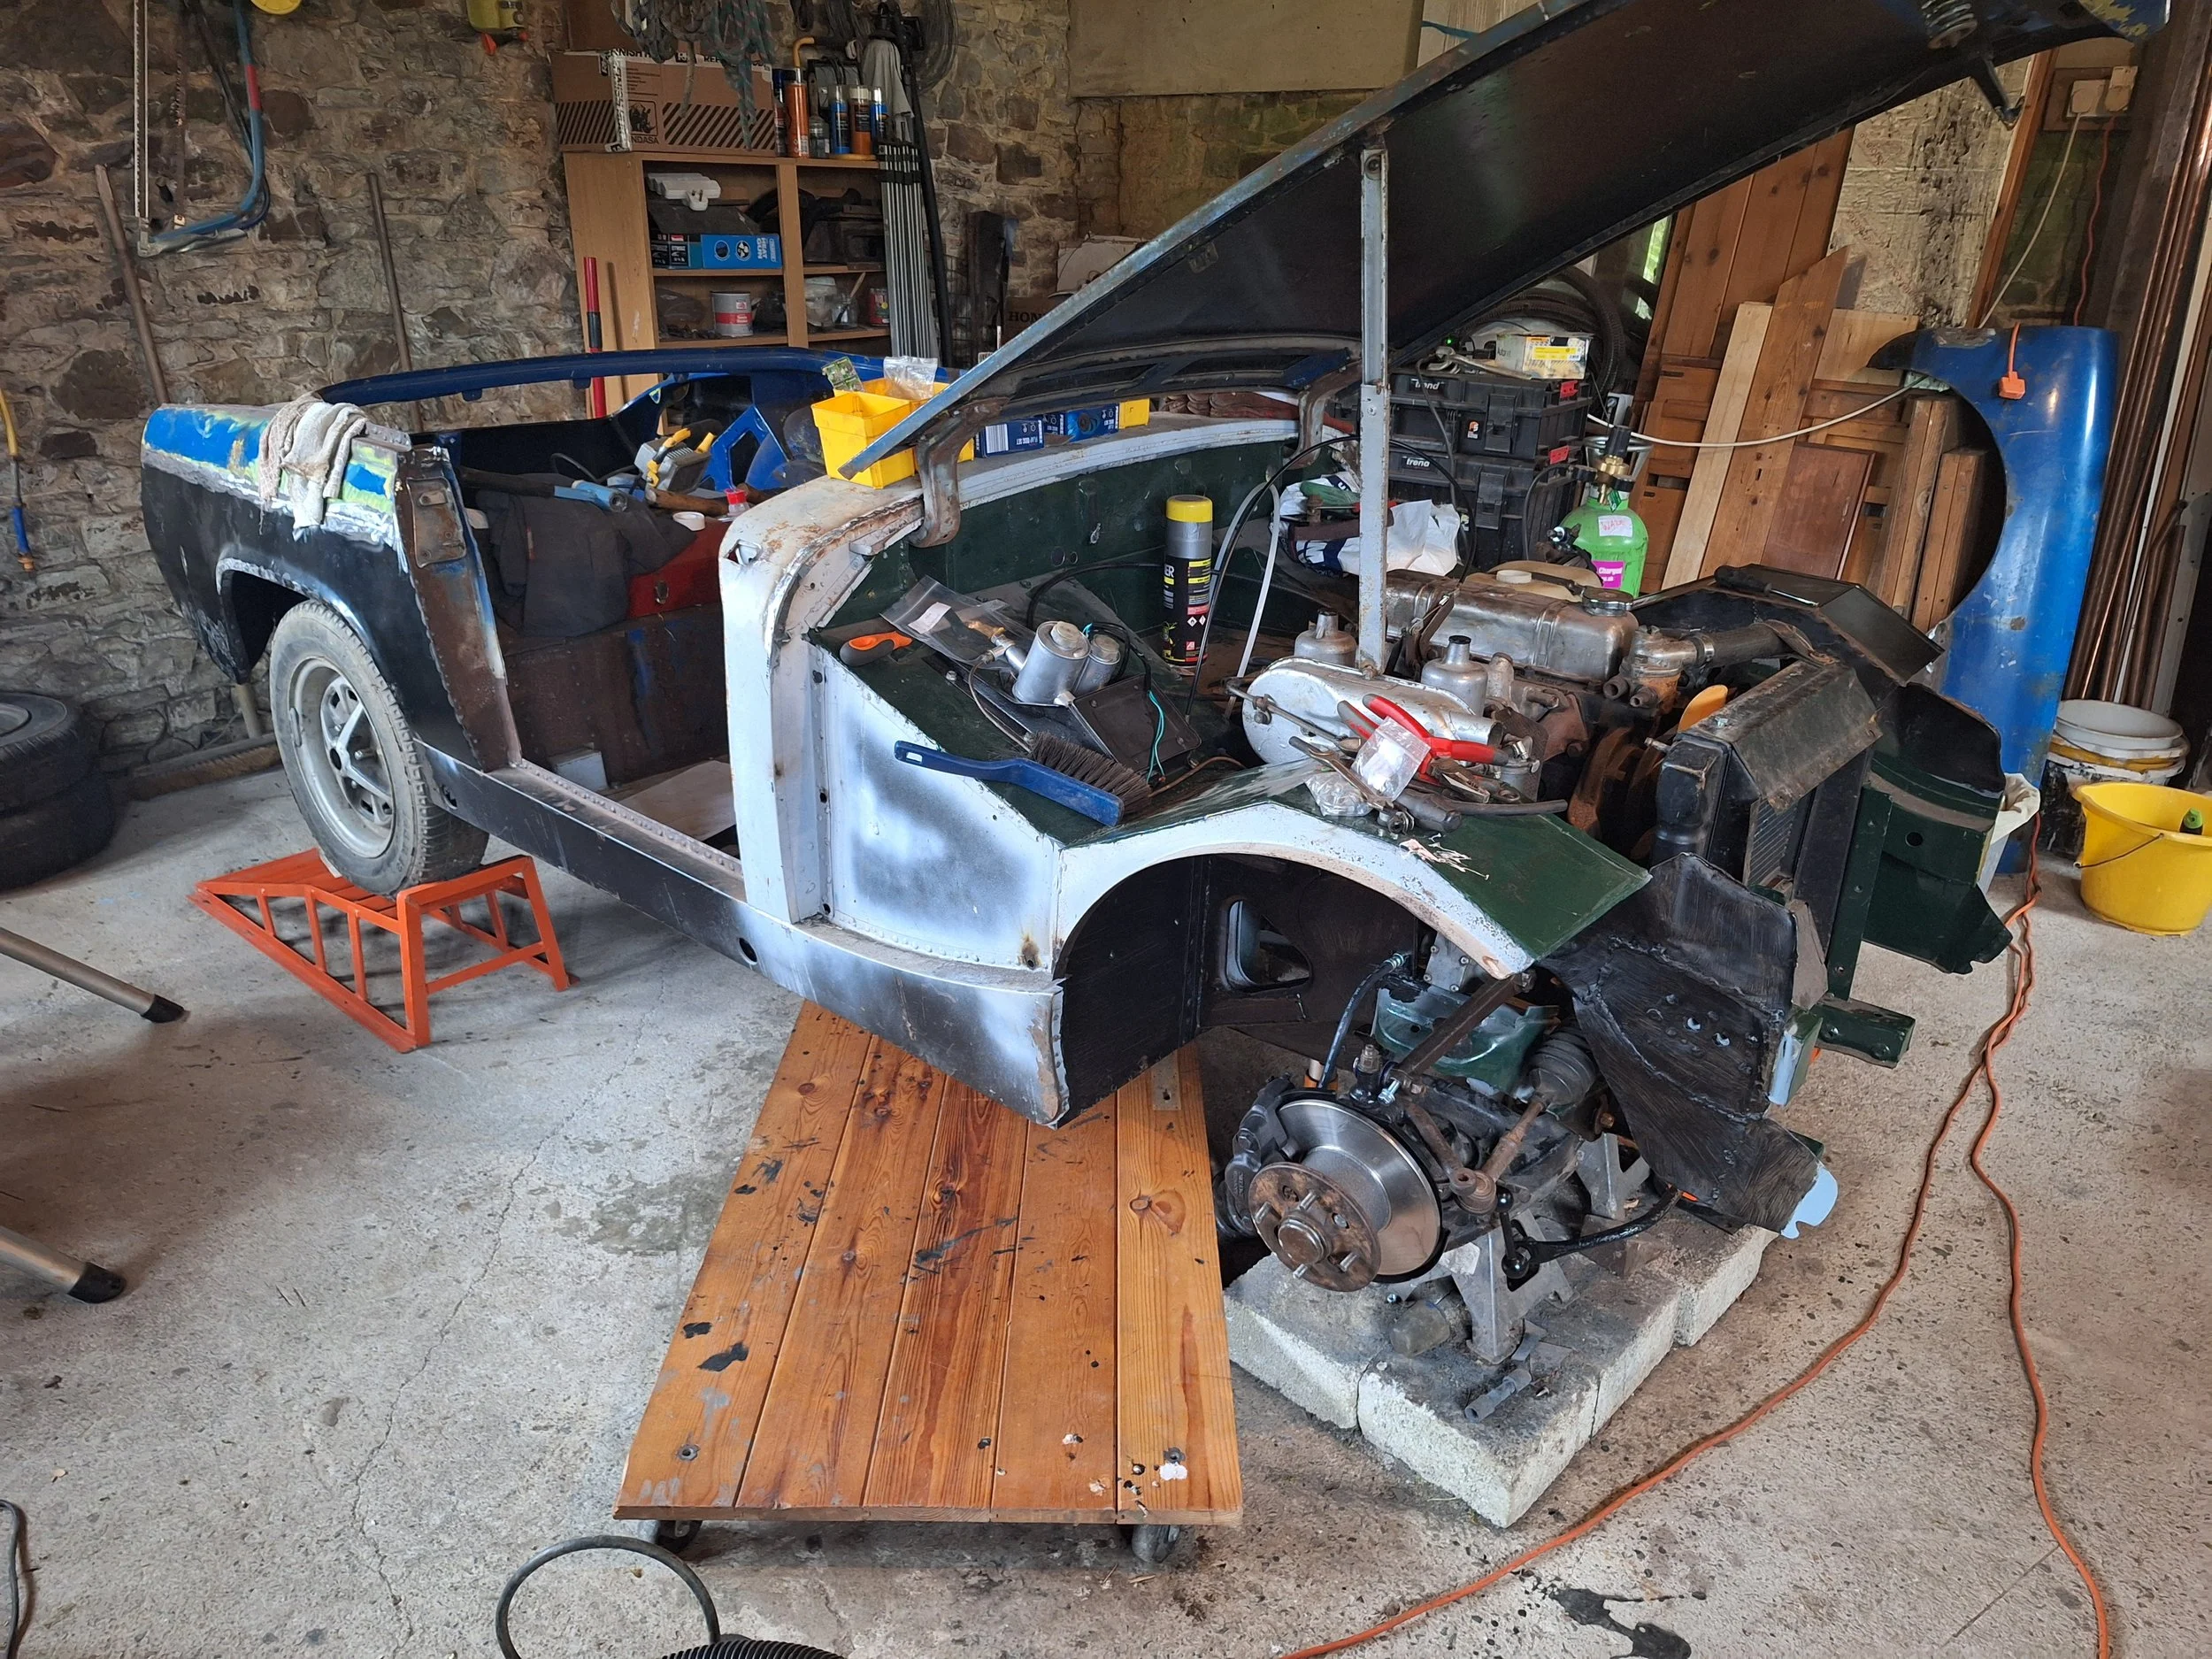
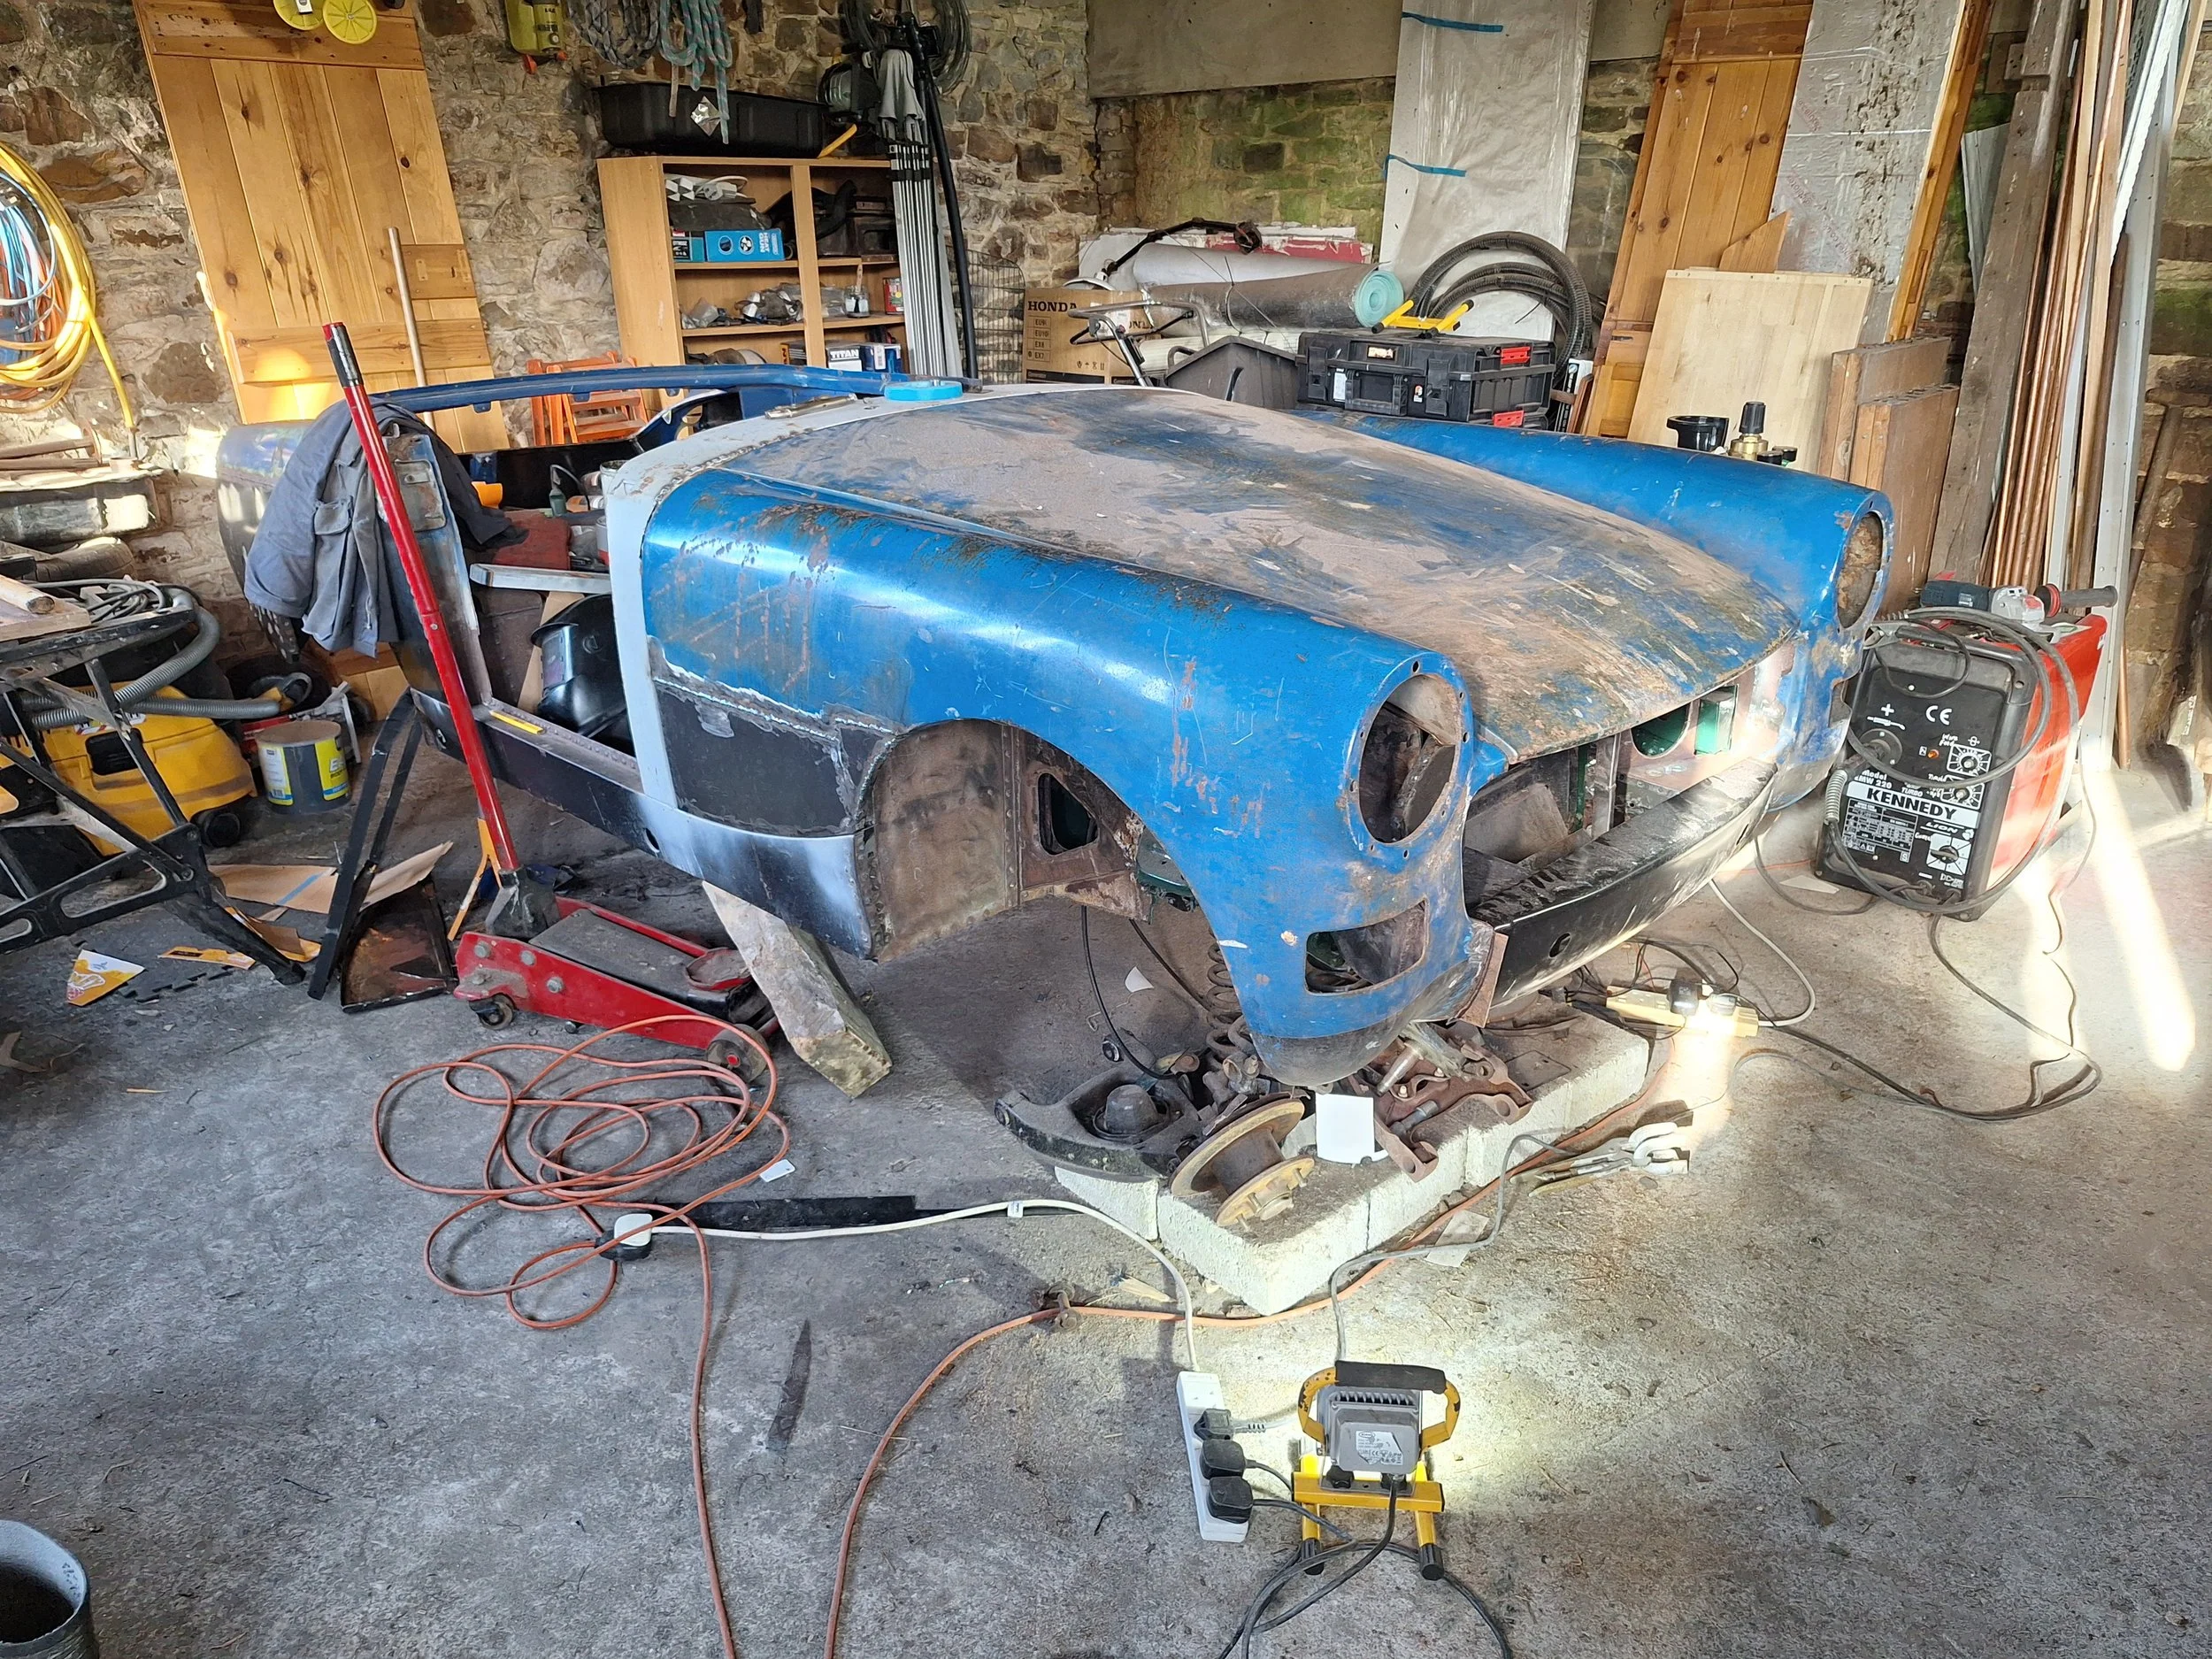
Engine and gearbox fitted back in the car. First time in a decade!

Obligatory selfie... Me, Greg and my father.

She looks magnificent. Just excuse the missing inner wing section!

All the angles!

New inner wheelarch section fitted.

And welded in place.

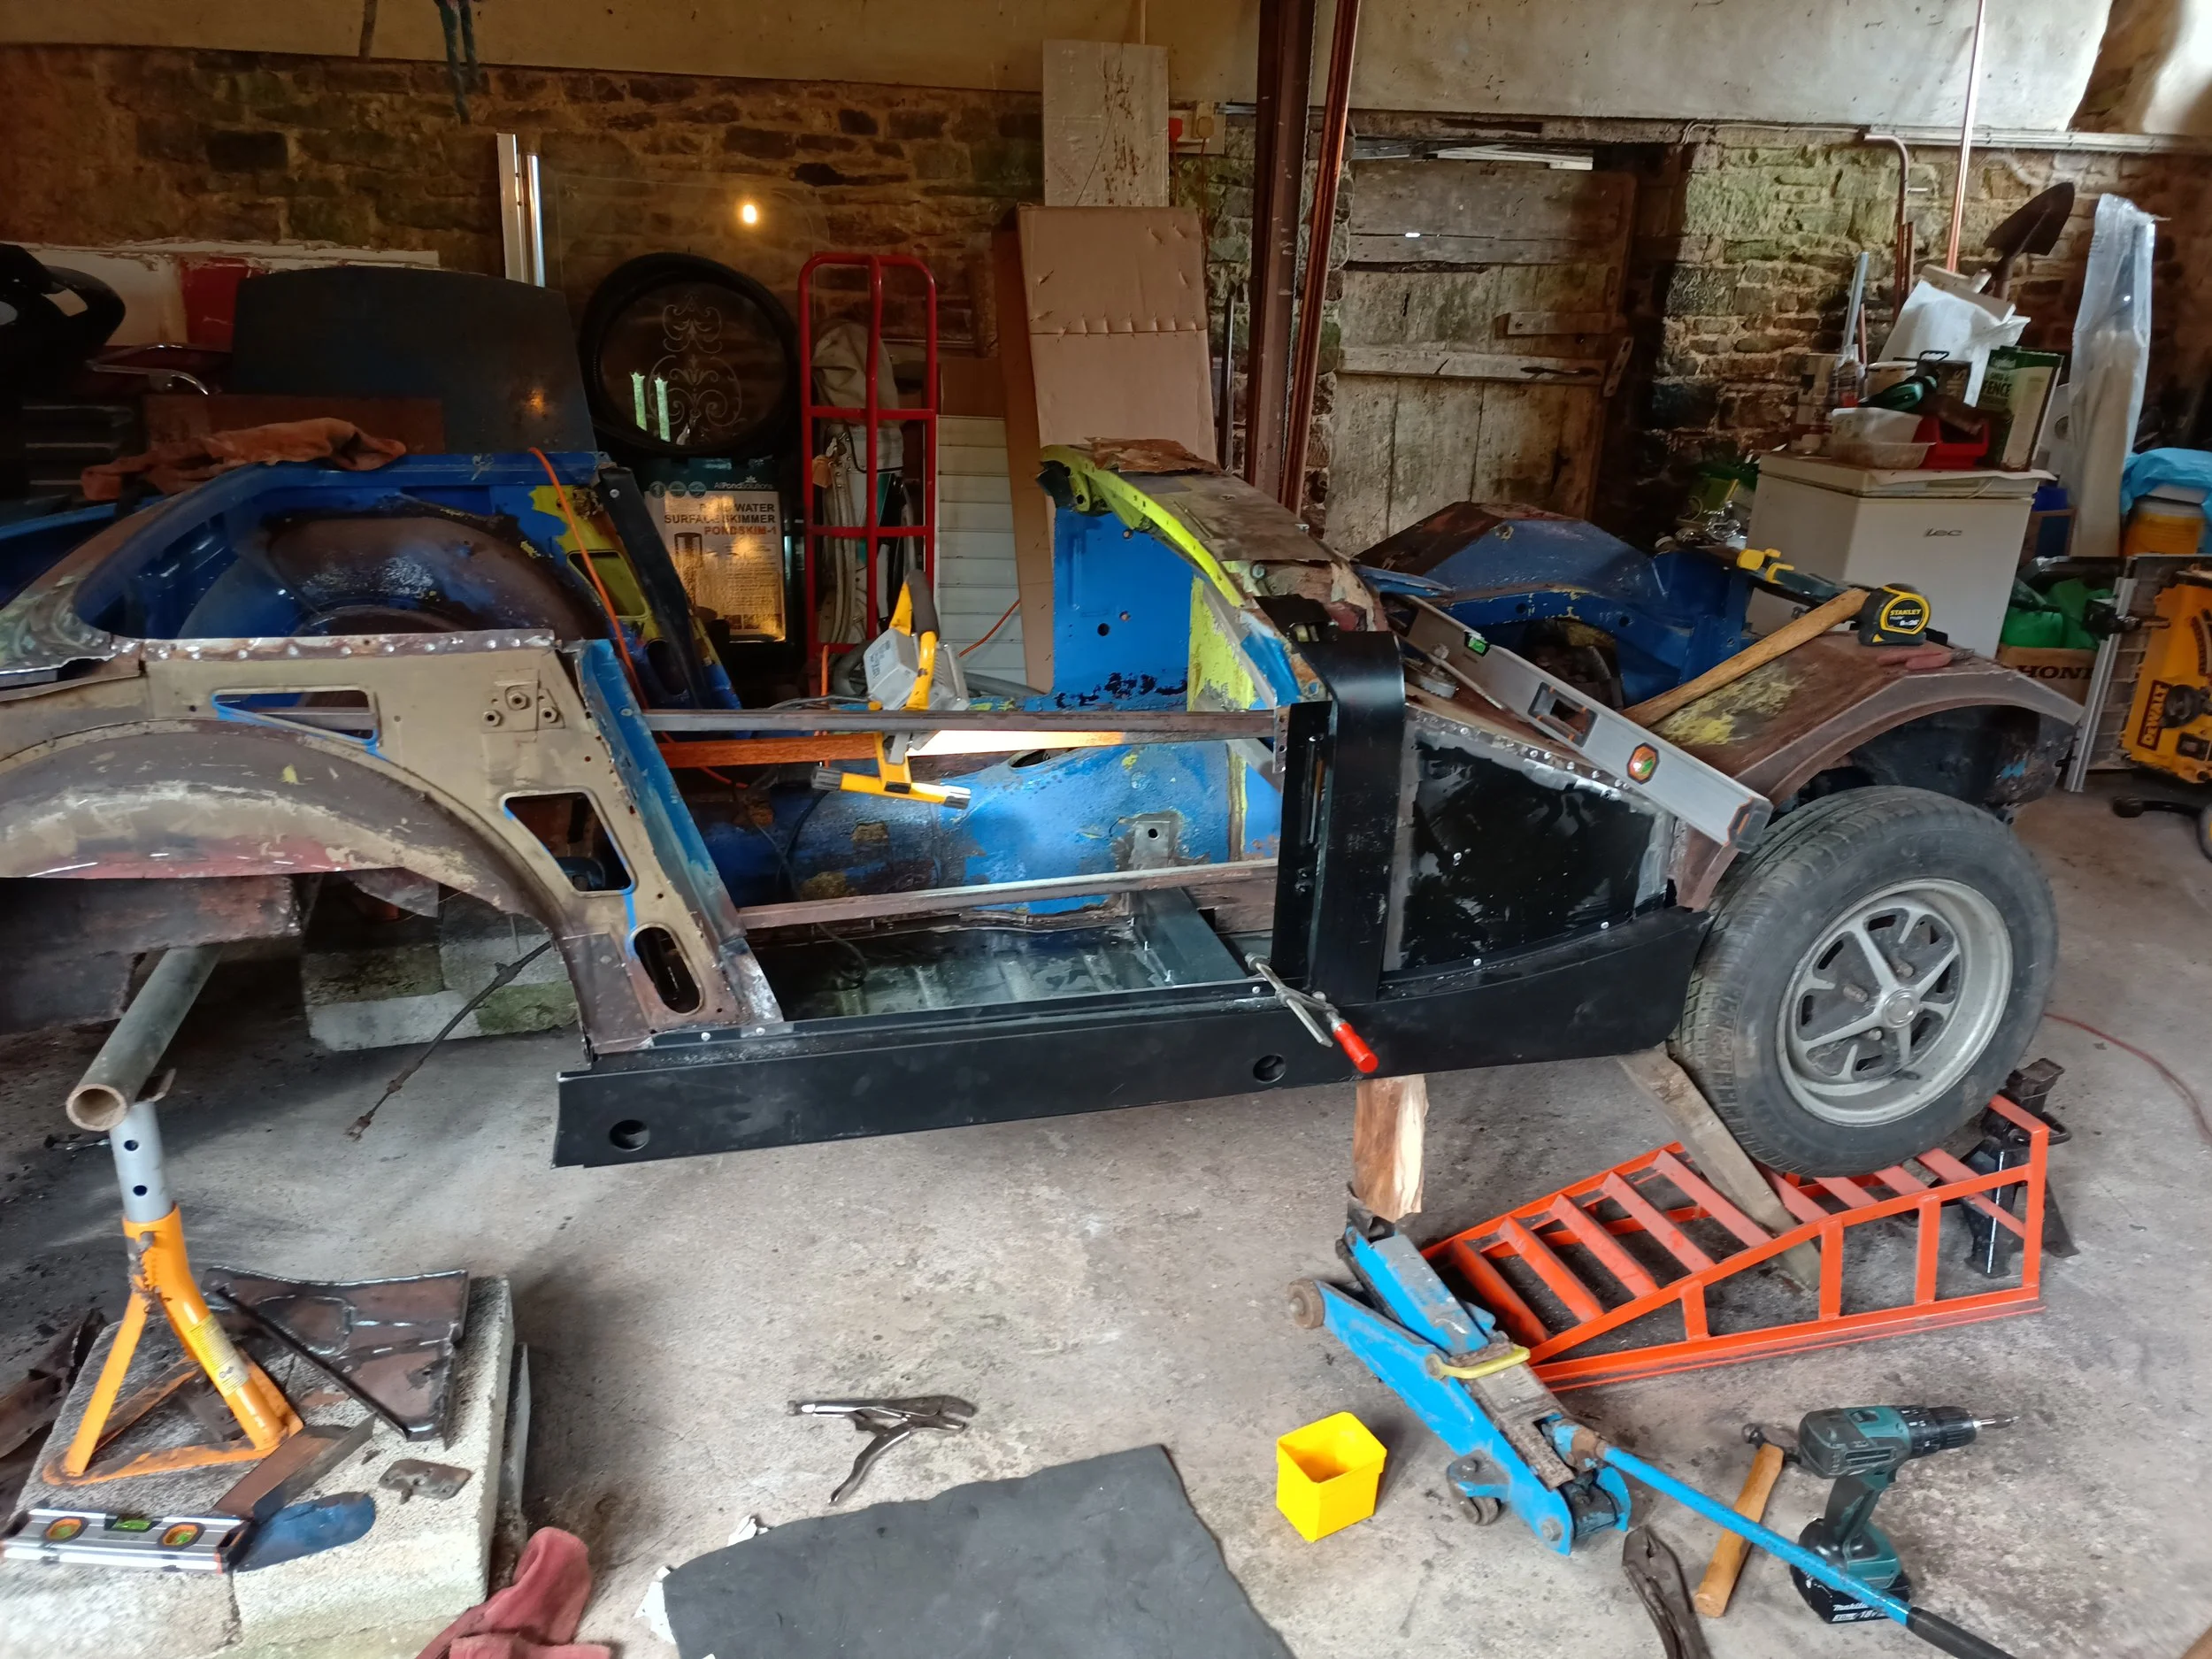
Outer sill fitted and welded in.

Rear bulkhead also repaired. This time properly attached to its triangulation!

Repaired B-pillar too.

Sill and A-pillar properly attached.

Small boot floor repair patch fabricated using ballpein hammer and assorted wood blocks, channel iron etc.!

Front end panels rehung.

Newly repaired front clip.

New offside grille surround fabricated from recycled steel (supplies were running low!)

And the nearside was also cobbled together from scraps.
Repair visible to the rear lower quarter of the outer wing.
And the same on the other side.

Front end repair to this wing also visible.

Final repairs to the boot floor complete and a coat of primer/undercoat applied.

Rear axle and new fuel tank installed

These rectangular openings for the indicators were the next thing to address. I am changing to Mini domed indicators, located directly under the headlights.

Front suspension bolted up.