
Range Rover
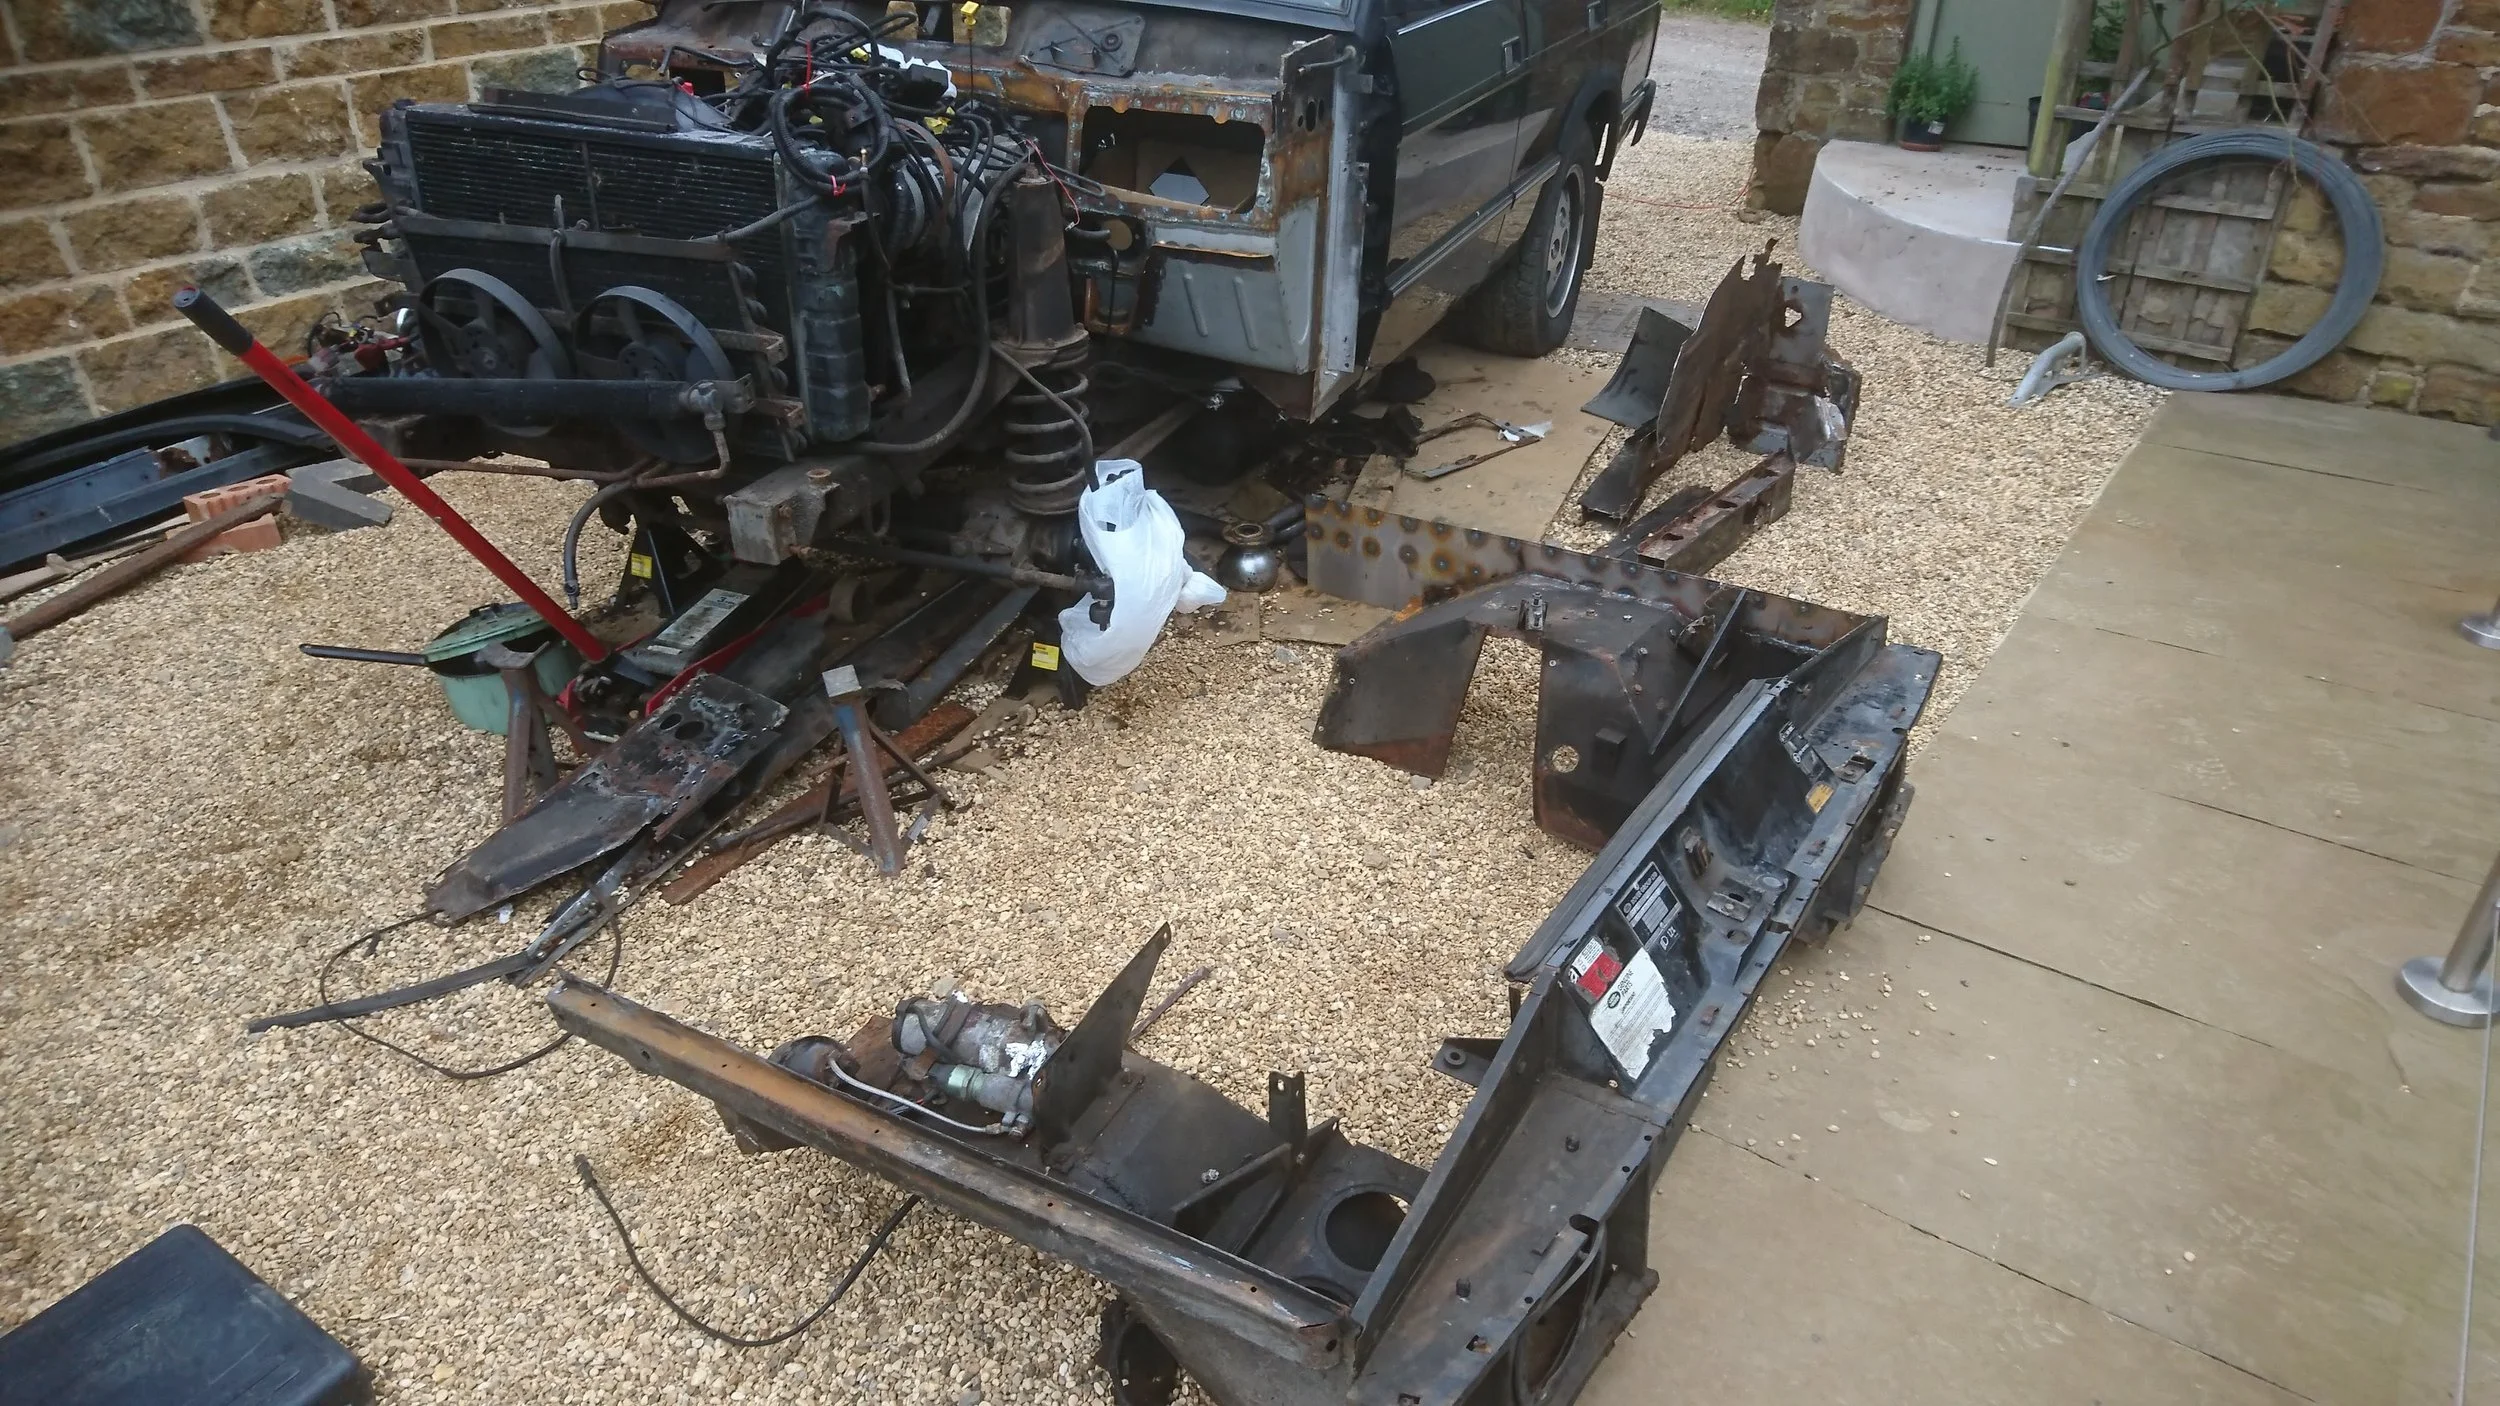
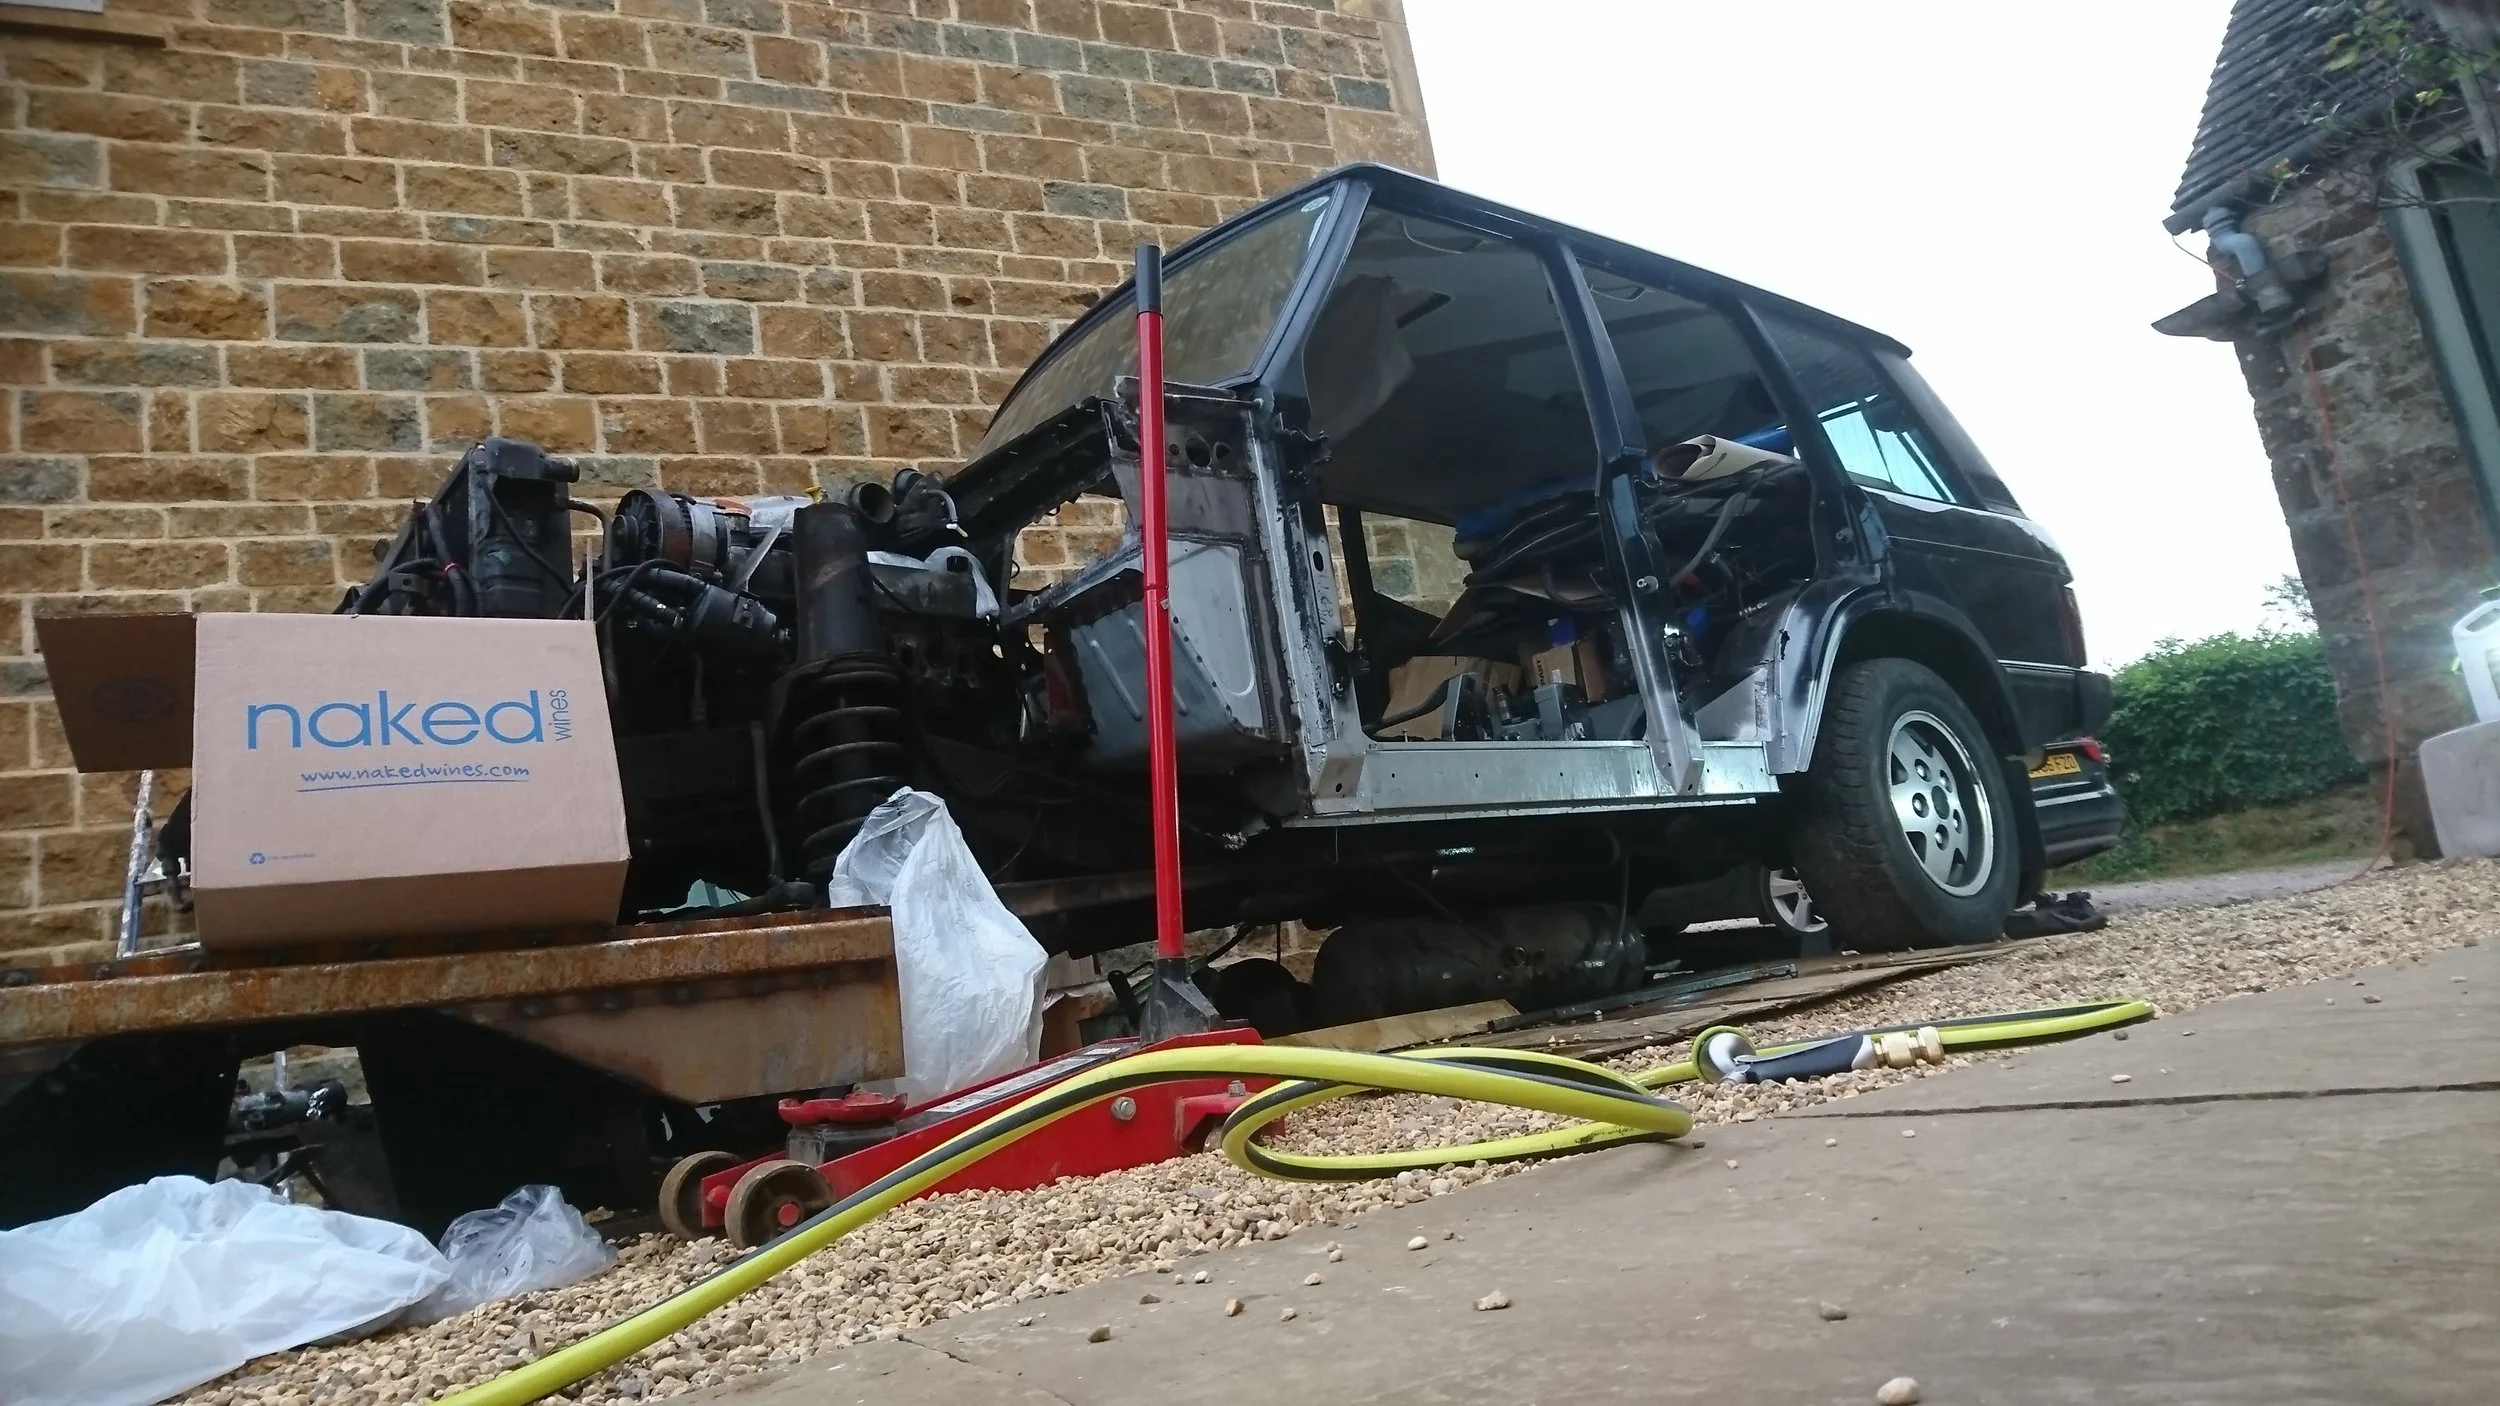
My first vehicle, purchased when I was 15/16, after years of reading Land Rover Monthly and poring over the articles, was a Land Rover Defender pickup. A 300 tdi to be specific. I drove that truck everywhere, right up until I left for University and had nowhere to park it. Unfortunately, upon my return from Uni, I found that it had a 12 inch long hole along the chassis rail and at that point in my life I was flat broke and without the tools or facilities to make the necessary repairs myself. It took me a long time to accept that I needed to sell it but eventually I had to. Then came the withdrawal symptoms… Land Rovers get into your blood stream and it was not long before I was feeling desperate for another. It took a few years to build up some funds, but when I felt that I had enough, I started looking. This time, I didn’t want just three seats though, as I had discovered that to be a bit of a nuisance. I decided that what I really wanted was a Range Rover Classic, however as soon as I started looking, I realised that while in my LRM reading days as a teenager, classic Range Rovers were ten a penny in the classifieds, often for as little as £500, these low prices were now far more rare. I started browsing ebay motors and came across this Range Rover, just a couple of miles down the road from home and only £750. I bought it with a few months of MOT remaining, however my purchasing assessment had indicated that there was a lot of body rust that would need attention. I borrowed a welder from my friend and thus began my first major vehicle restoration… Believe it or not, but most of the welding was done using TIG, a process that I had never used before, was doing outside, with rusty metal and upside down in footwells and under sills… A baptism by fire if ever there was one! I got pretty good at it by the end though!

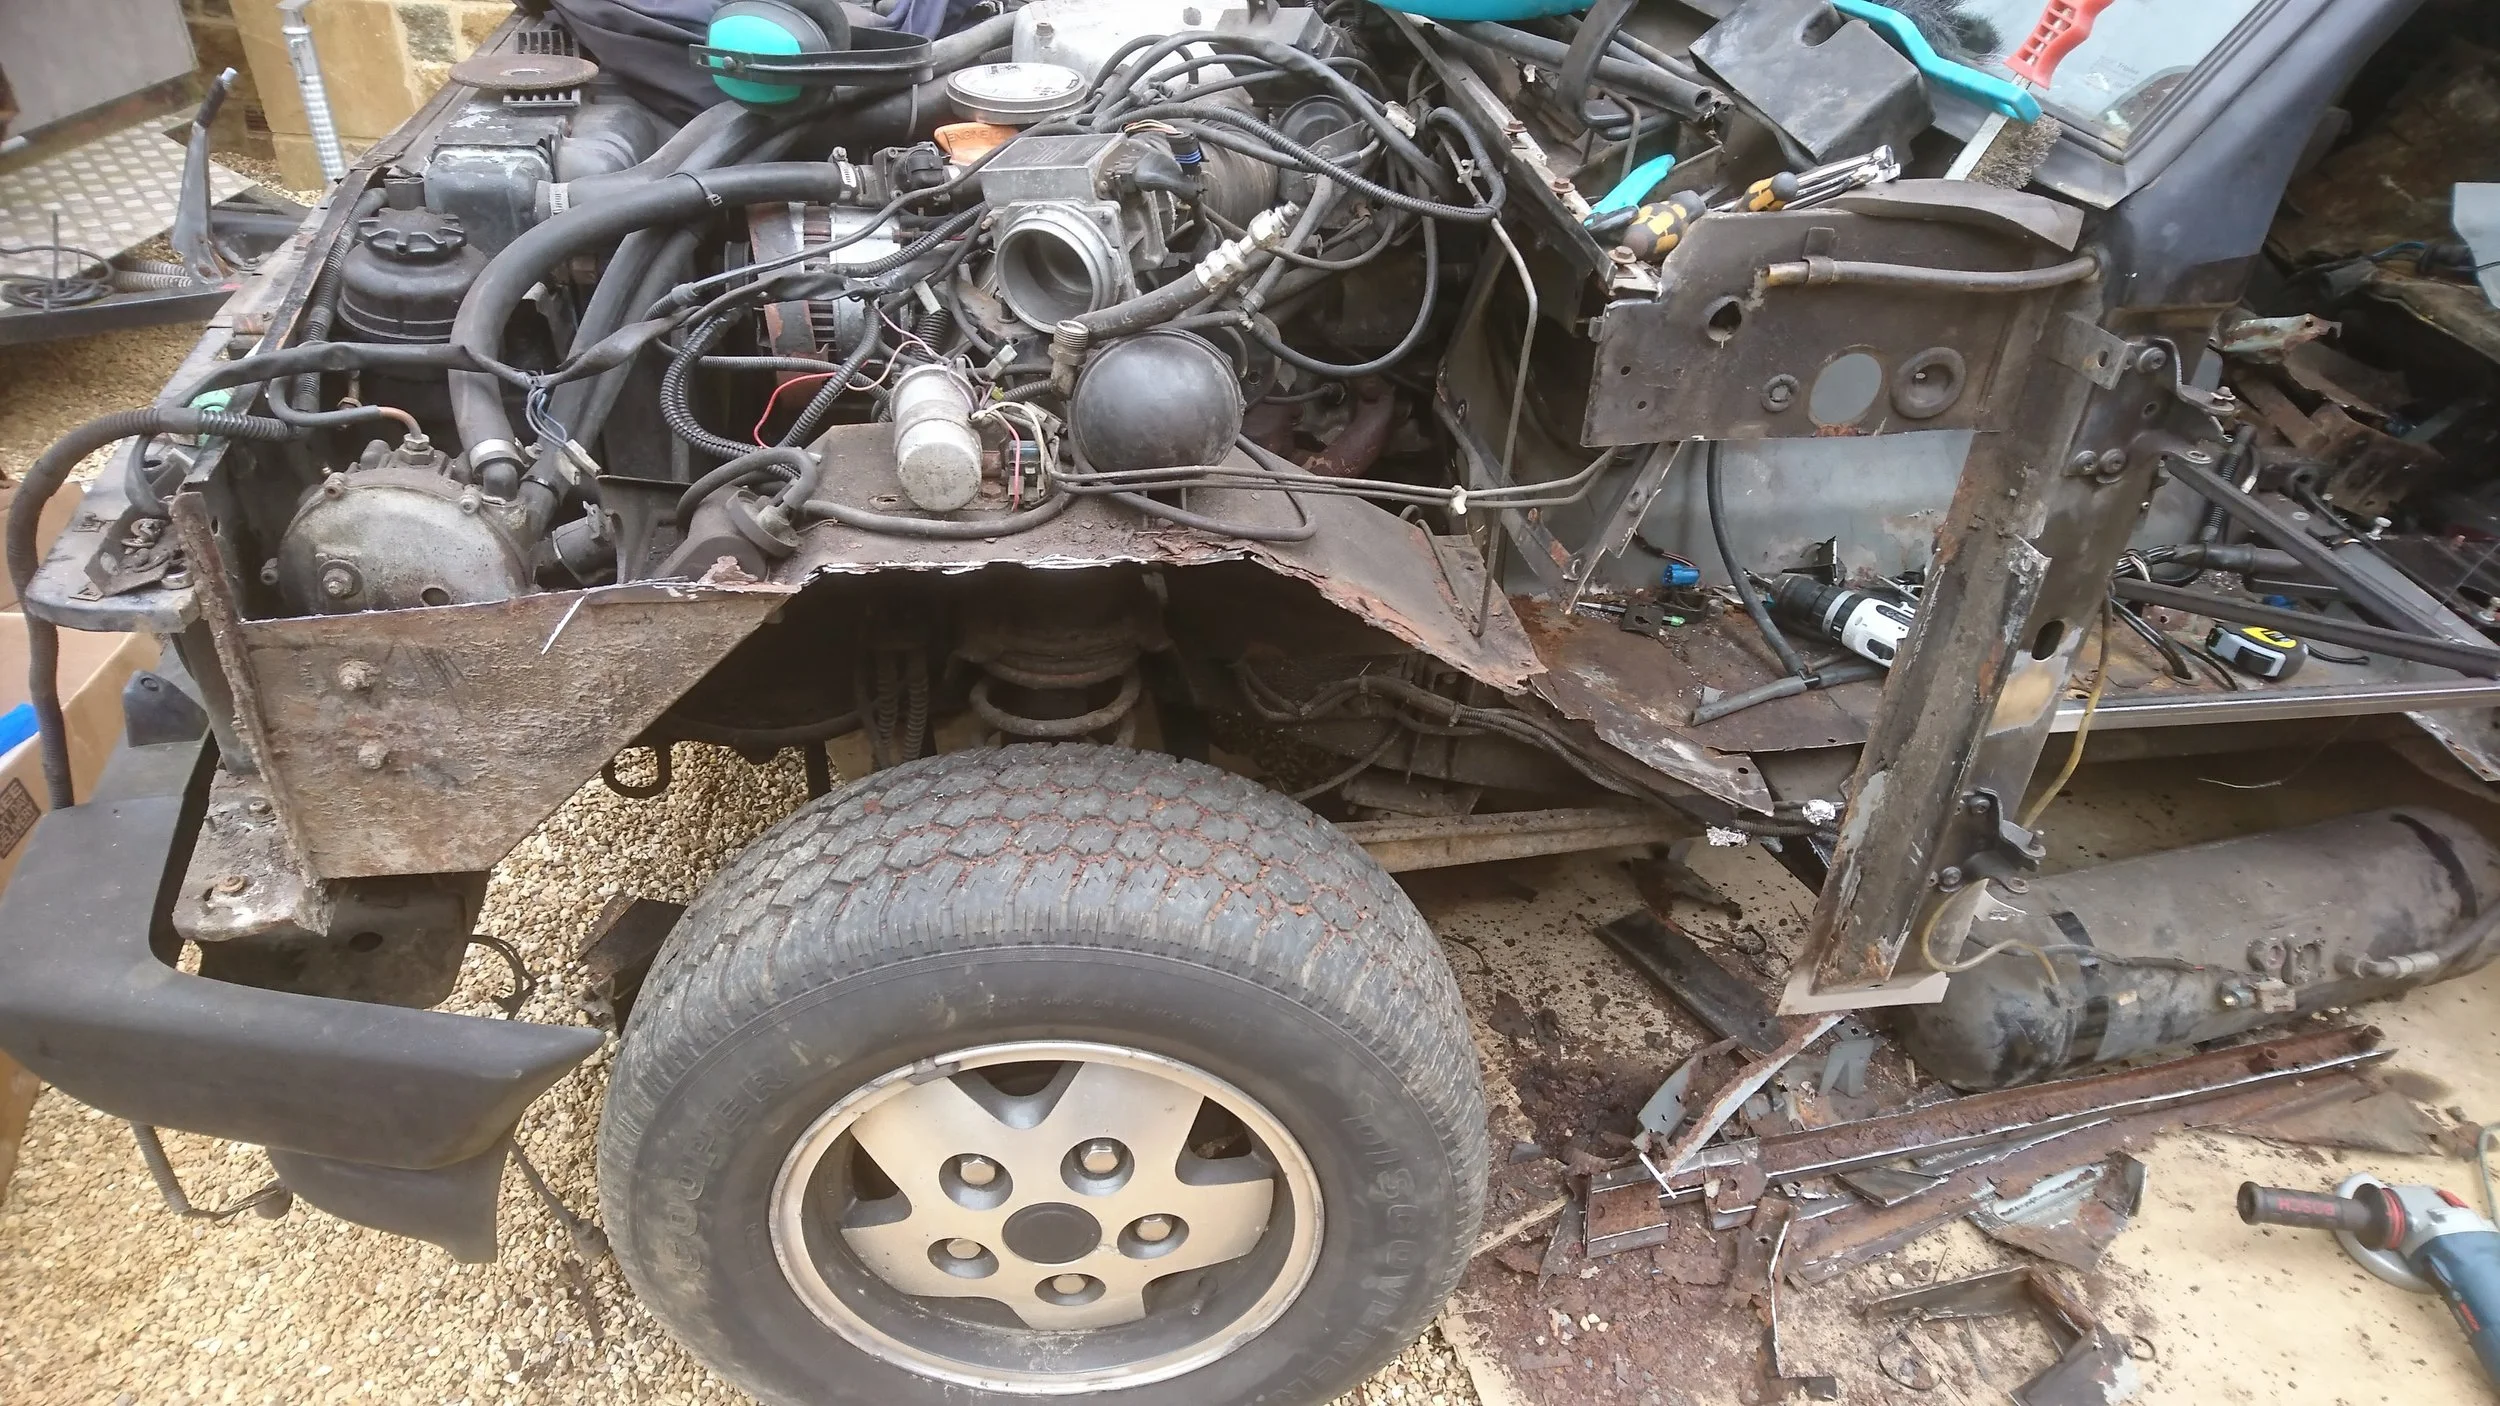
This was how it looked when I first bought it. Not bad from a distance, eh?!

It doesn't look too bad from here either, does it?
But lift the carpets, and it was a different story!

Hidden behind the front outer wing...
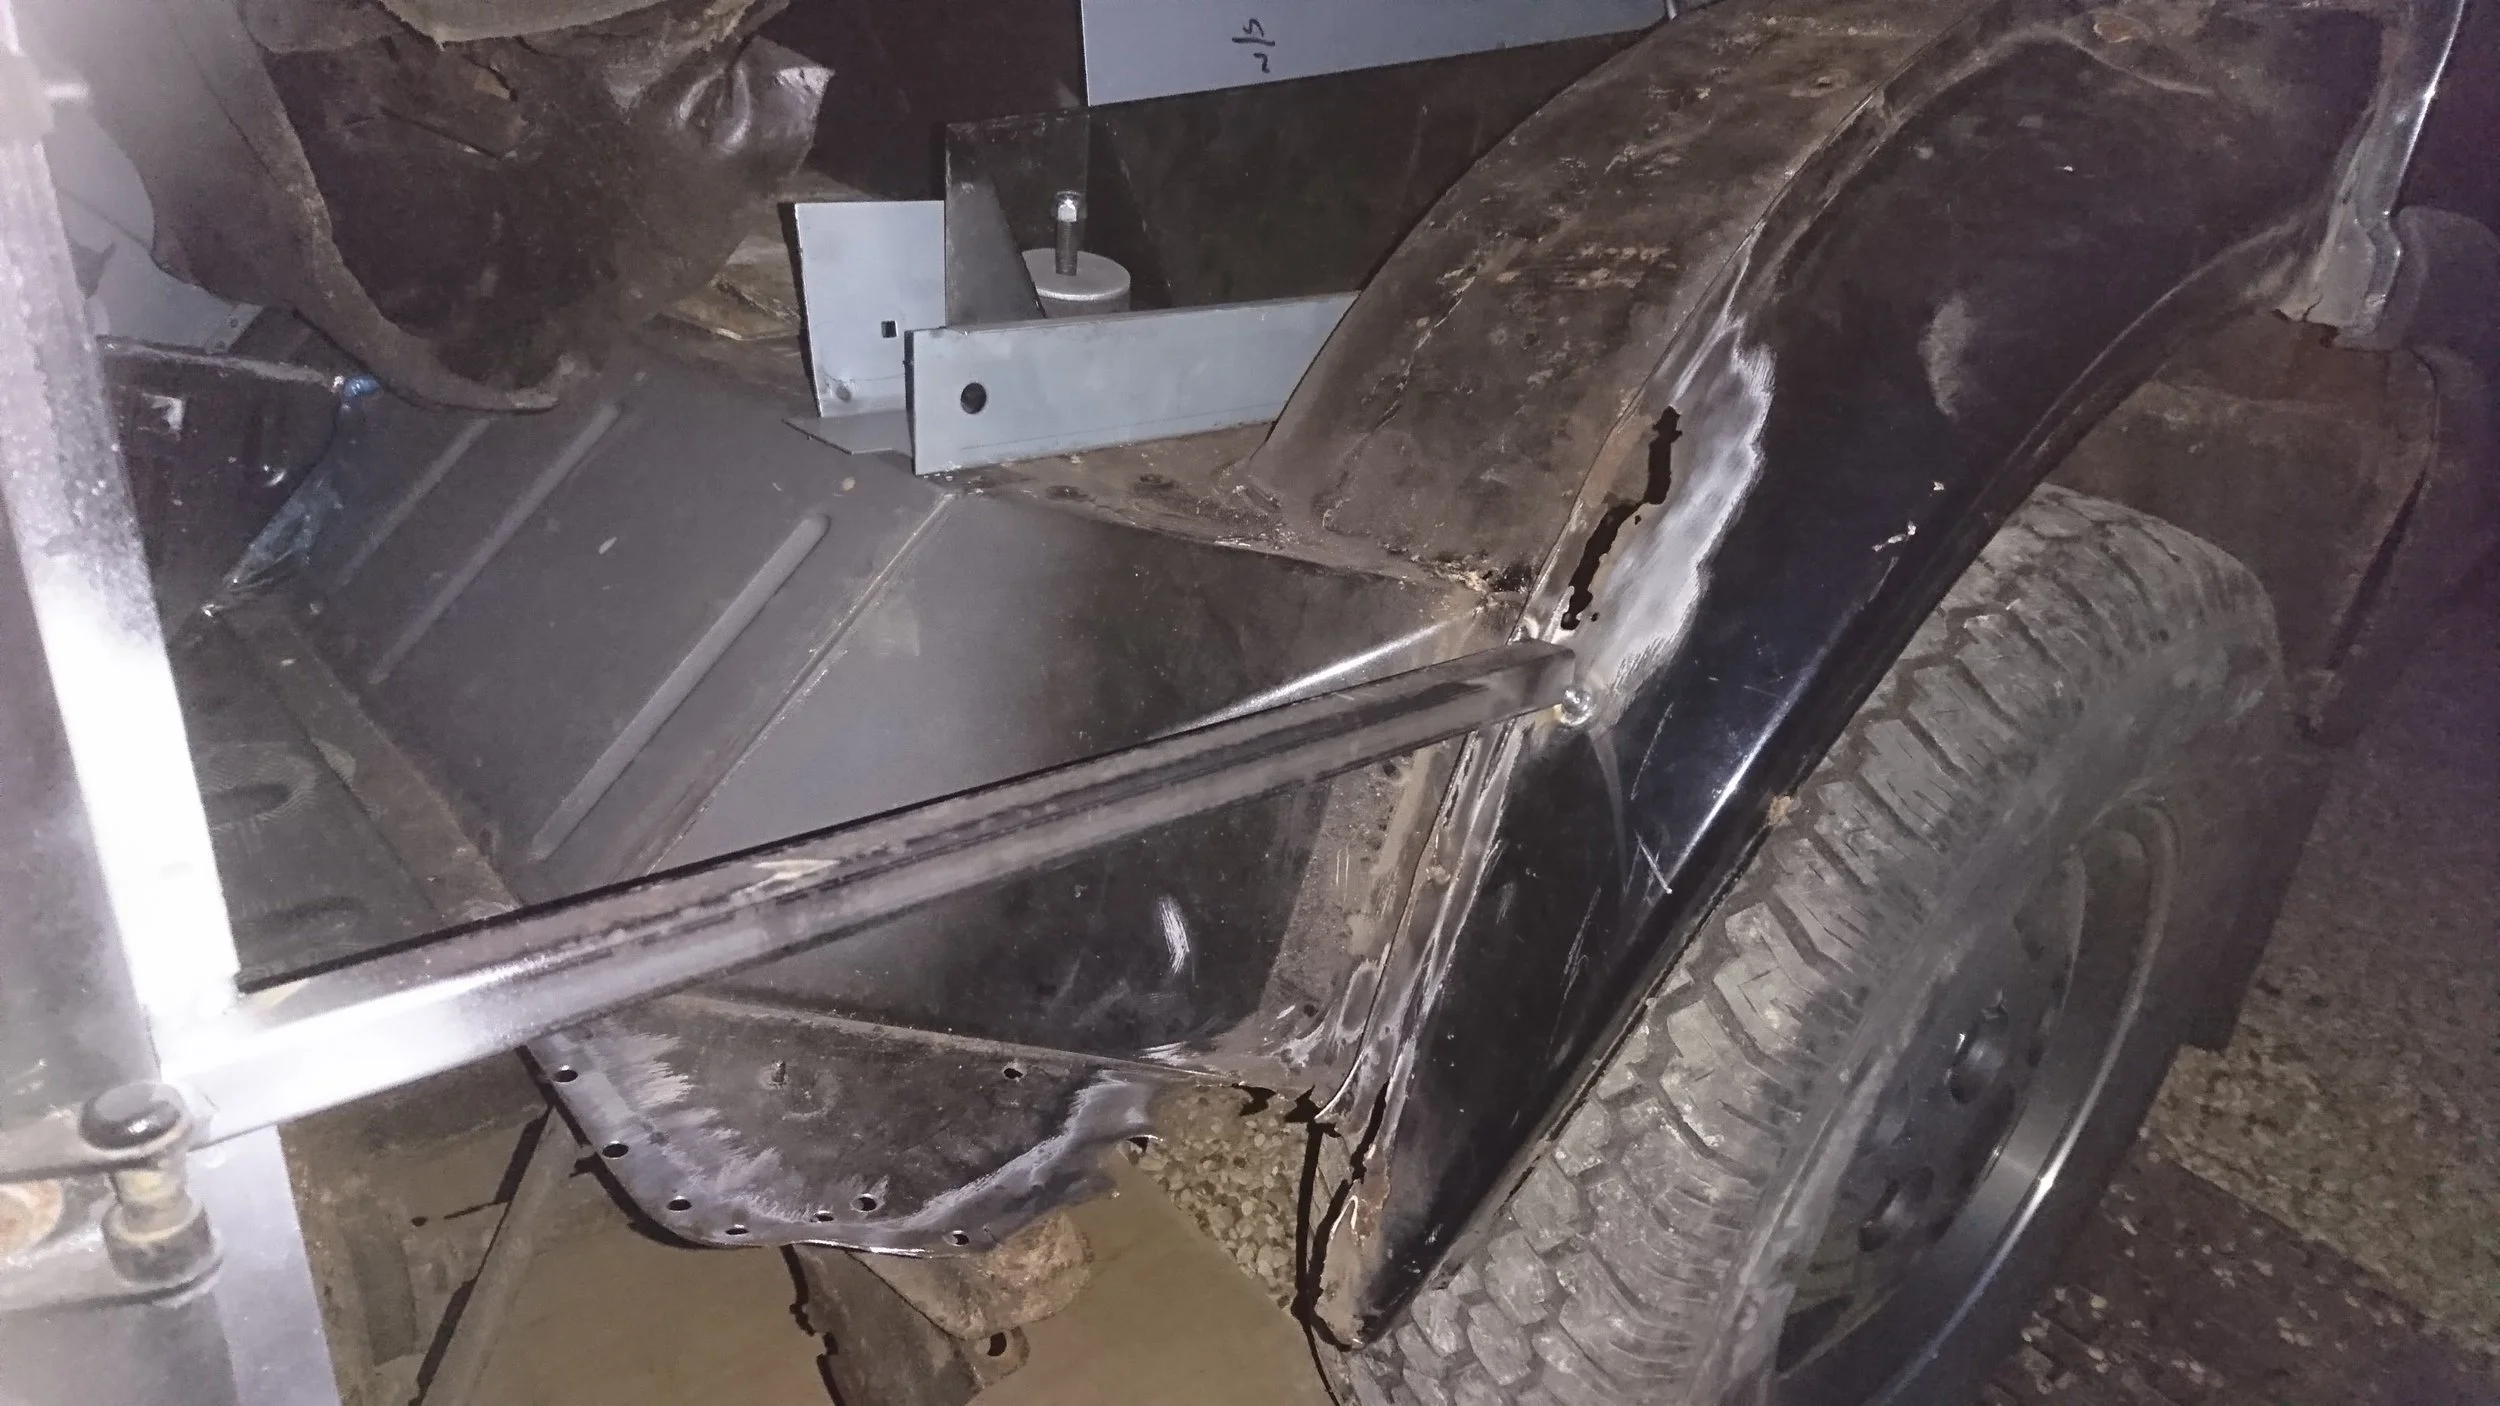
Inside the front wheelarch!
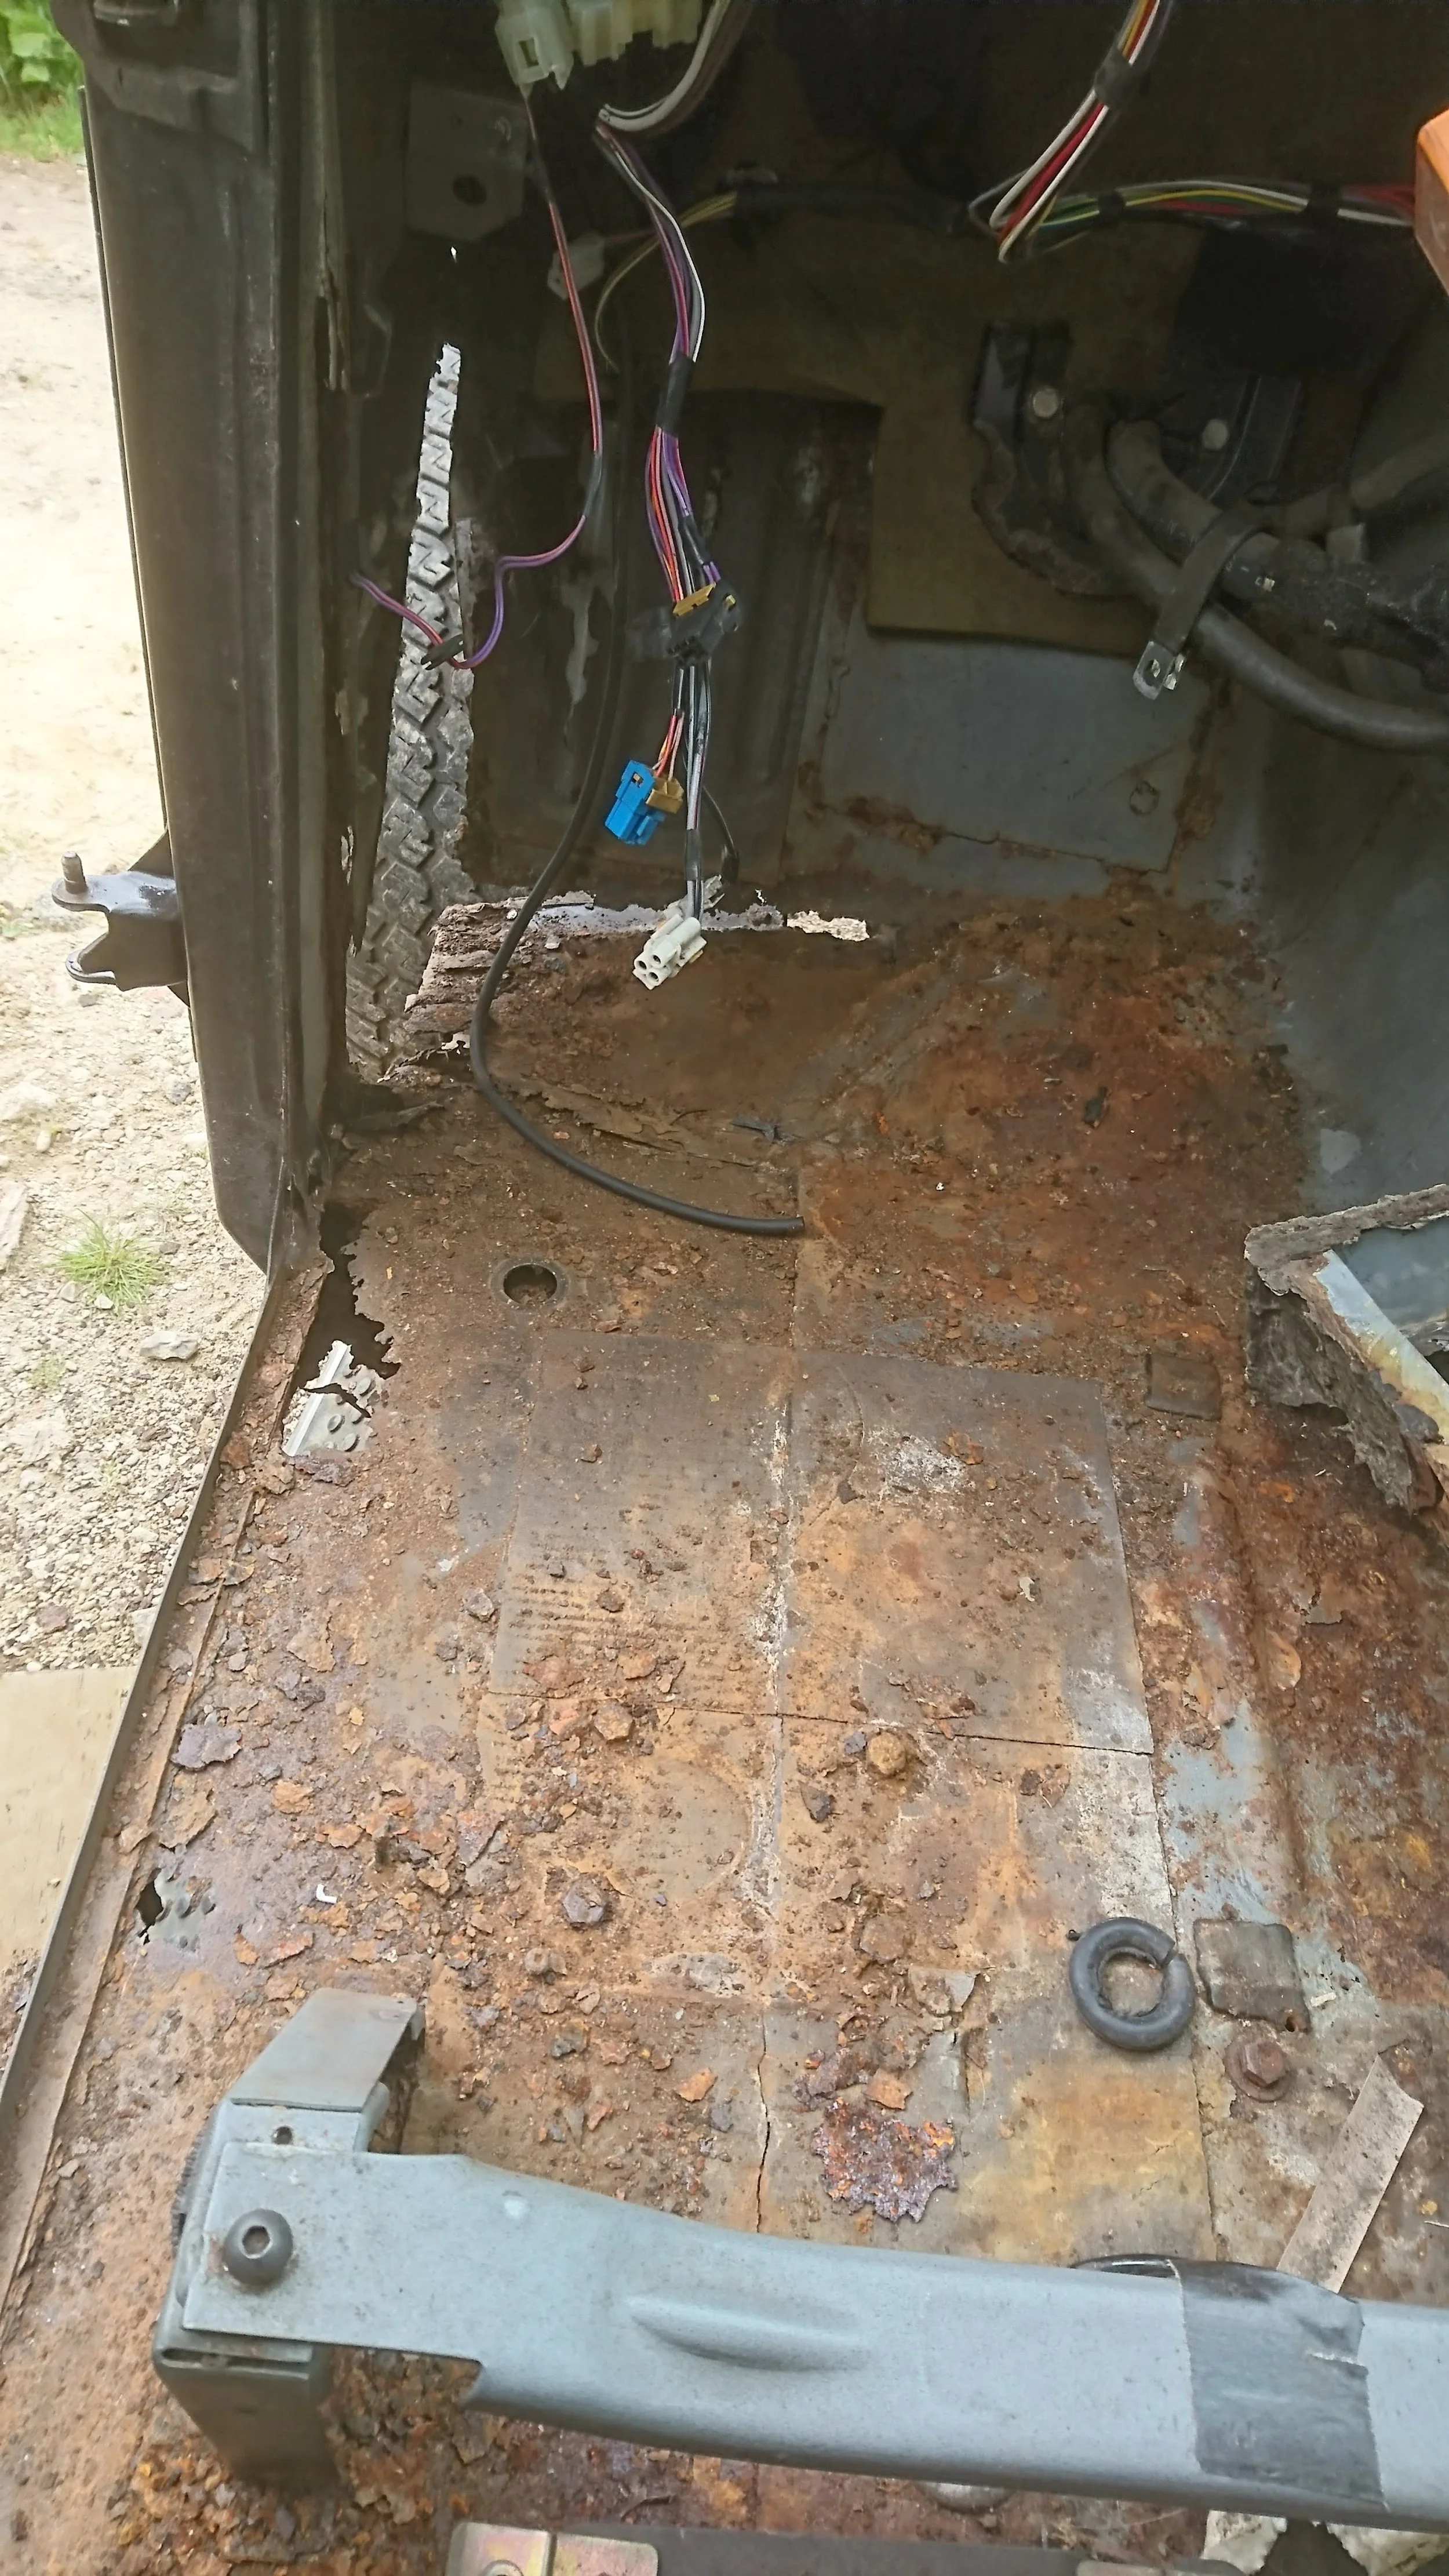
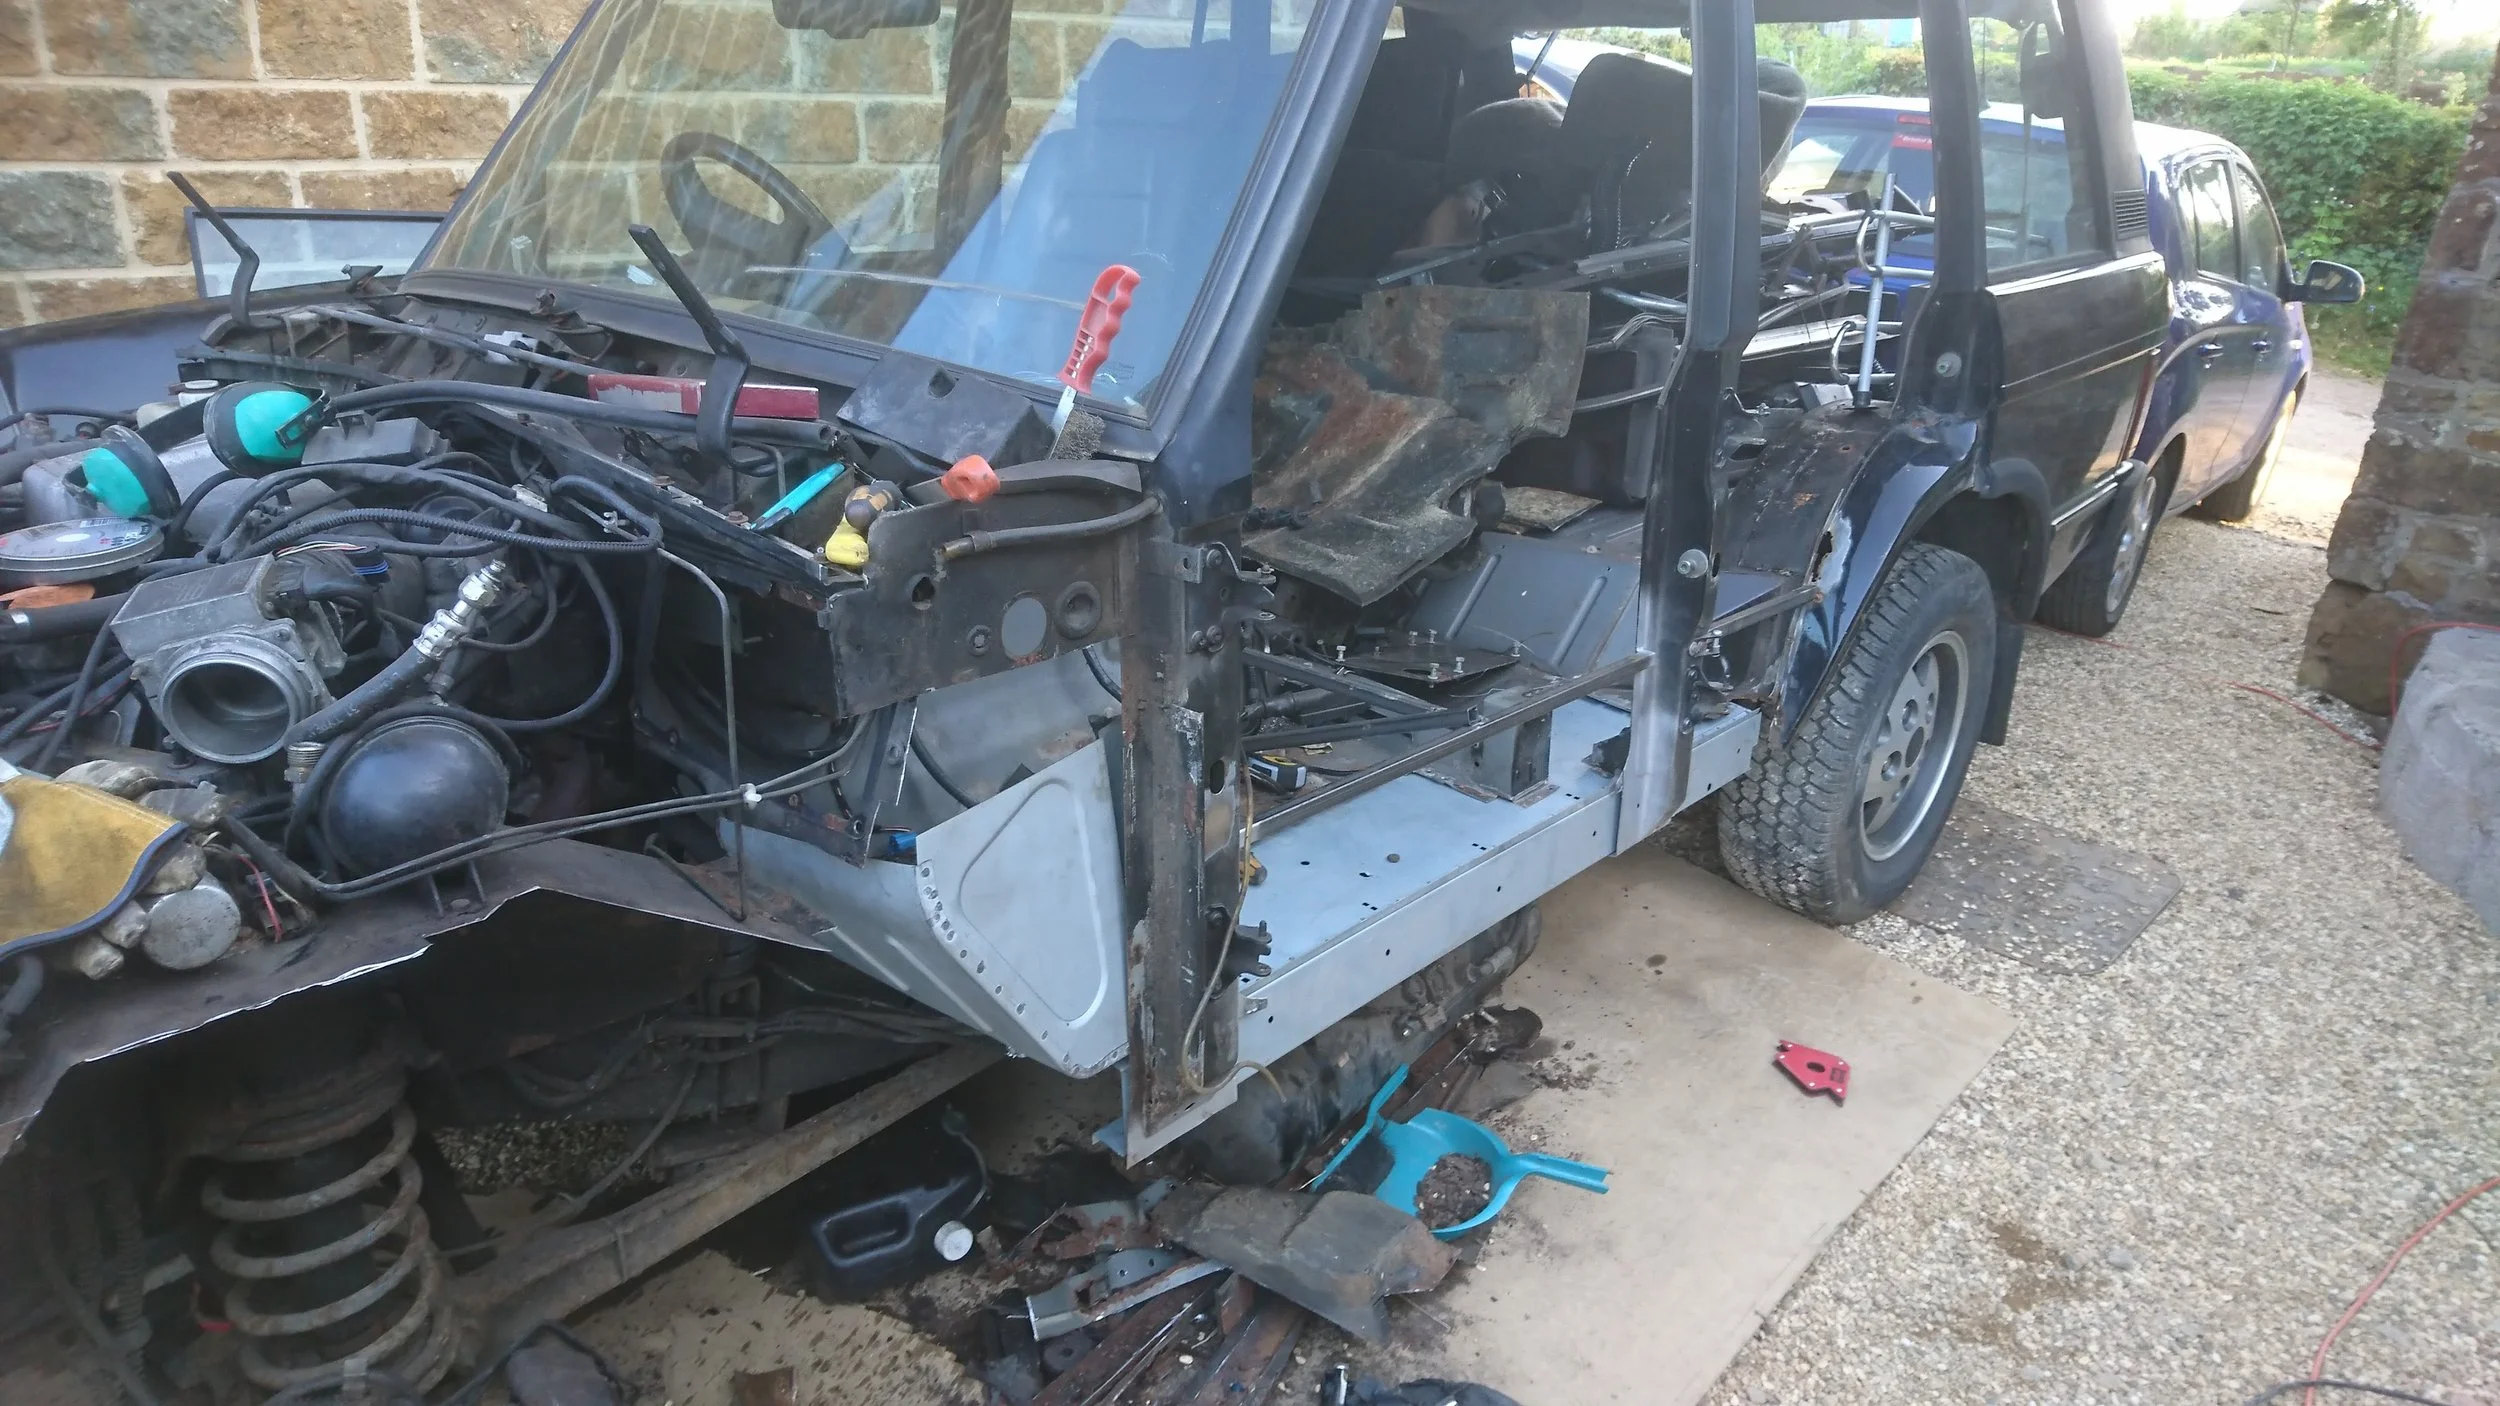
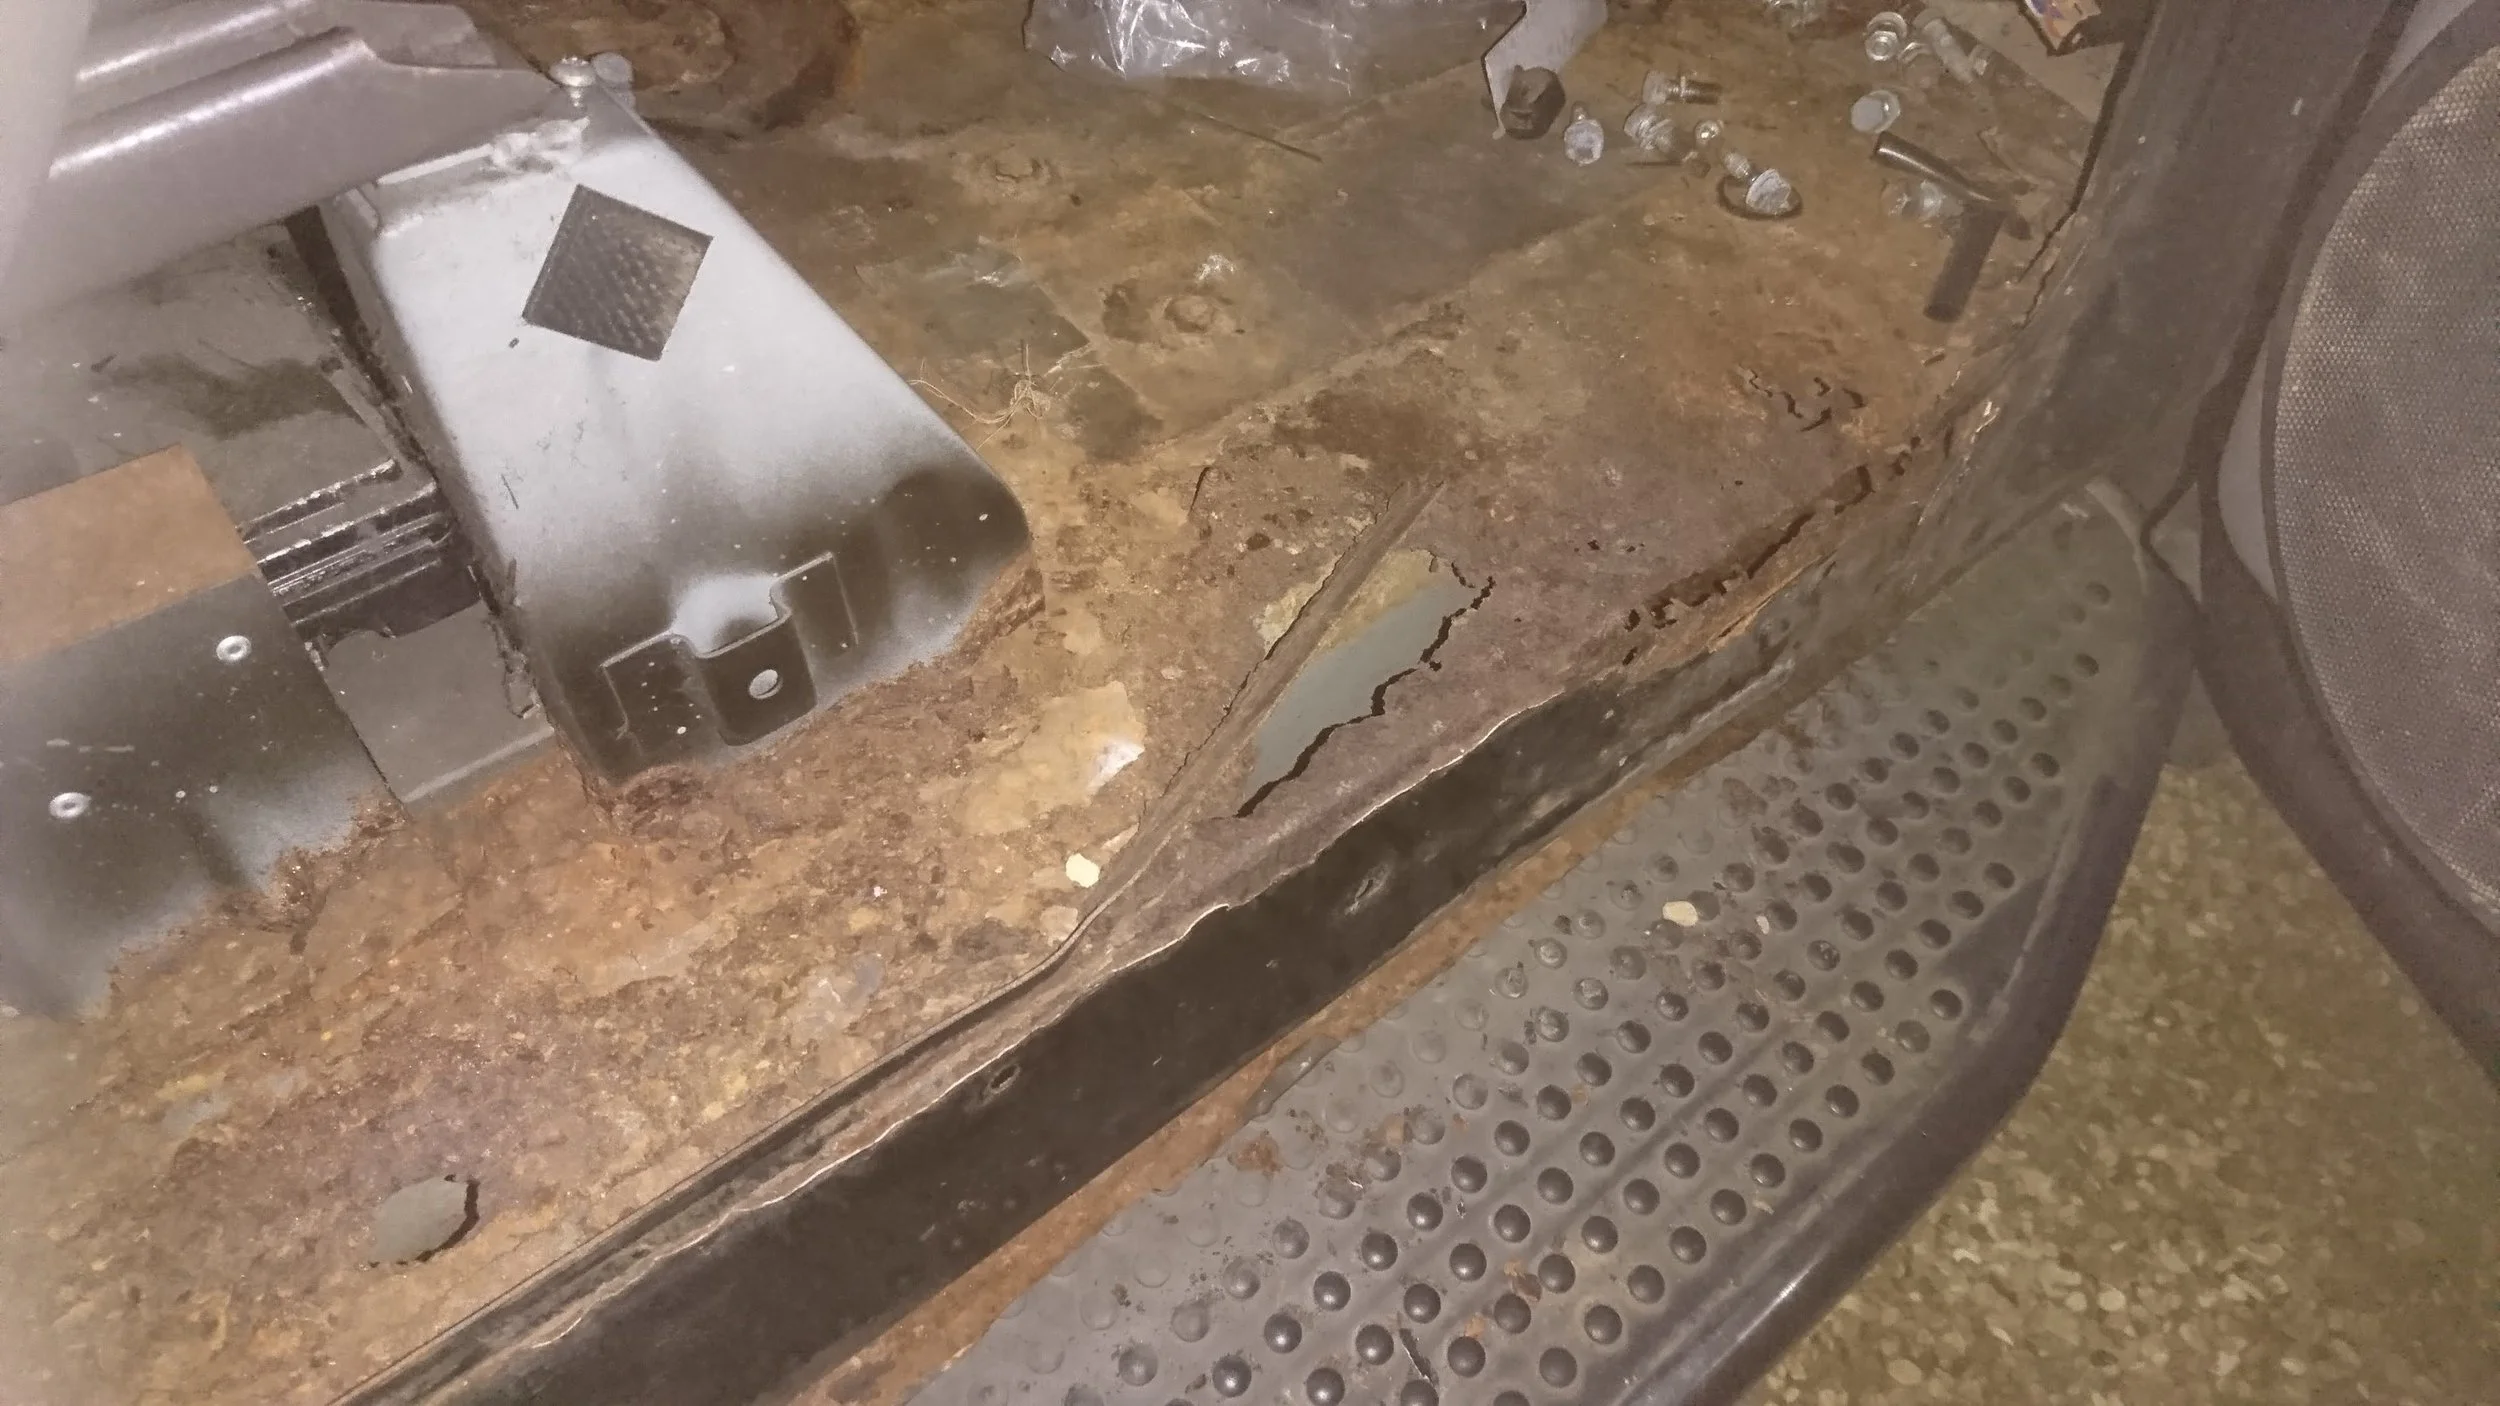
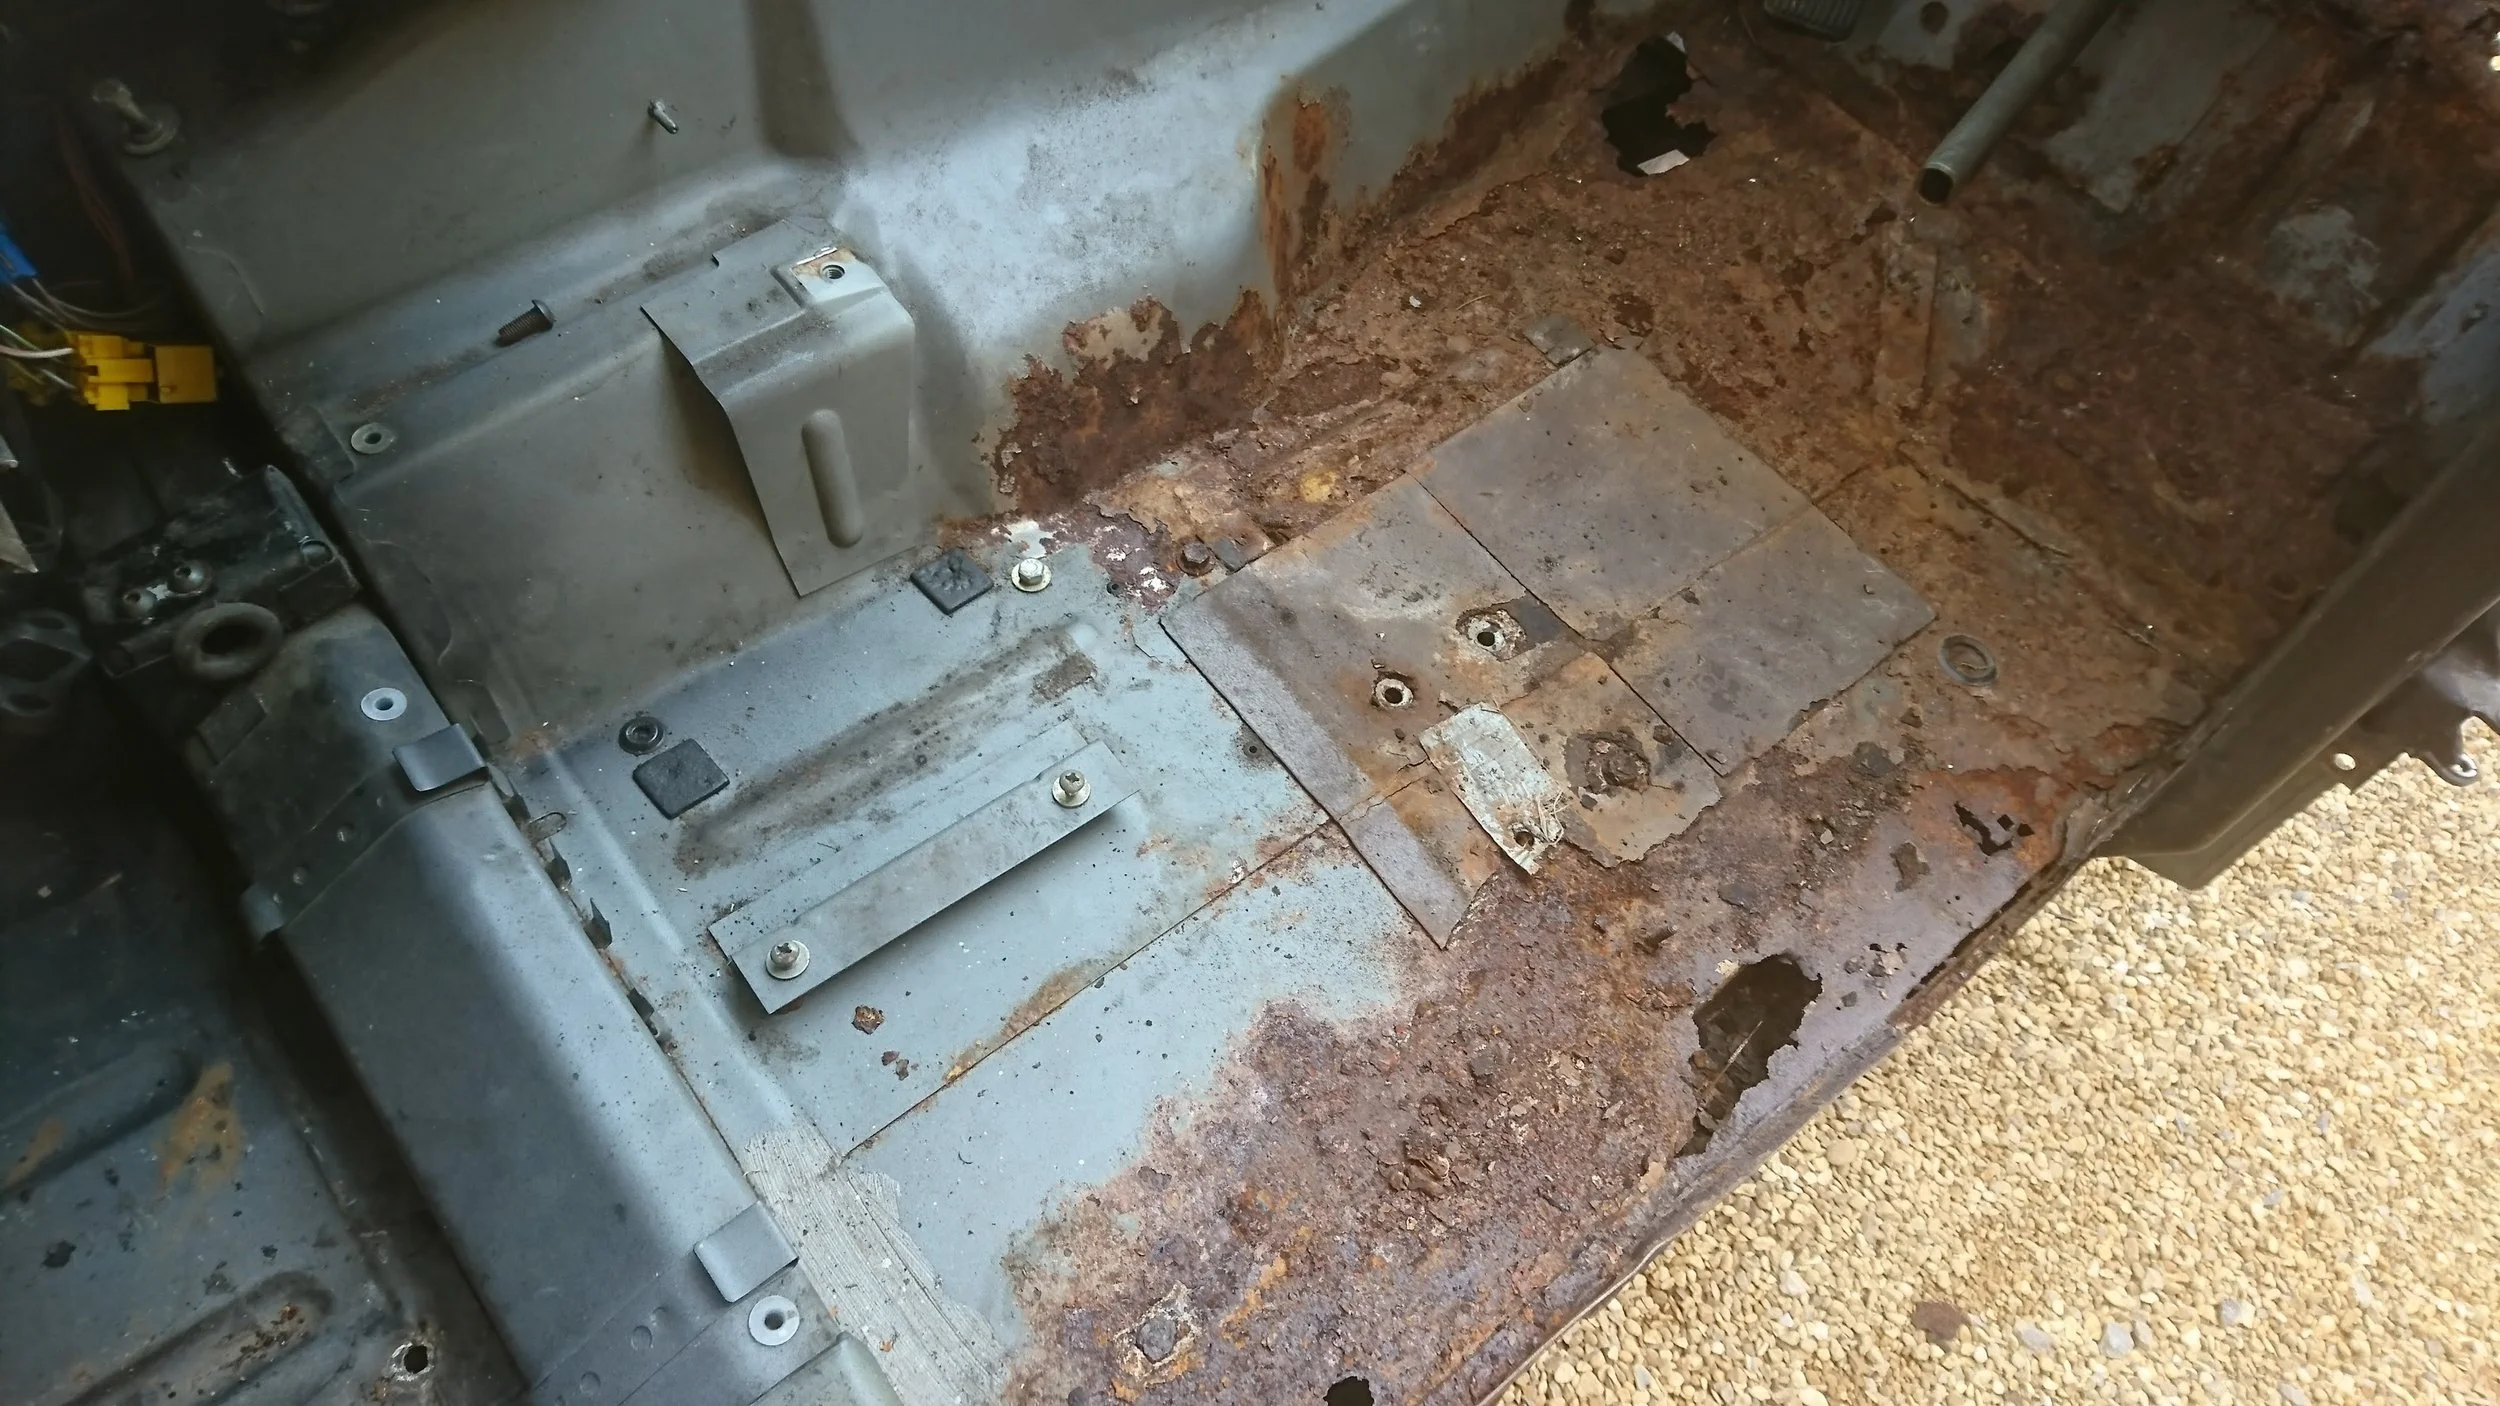
This was the view from under the sills!

I'm not sure that there is supposed to be daylight showing here!
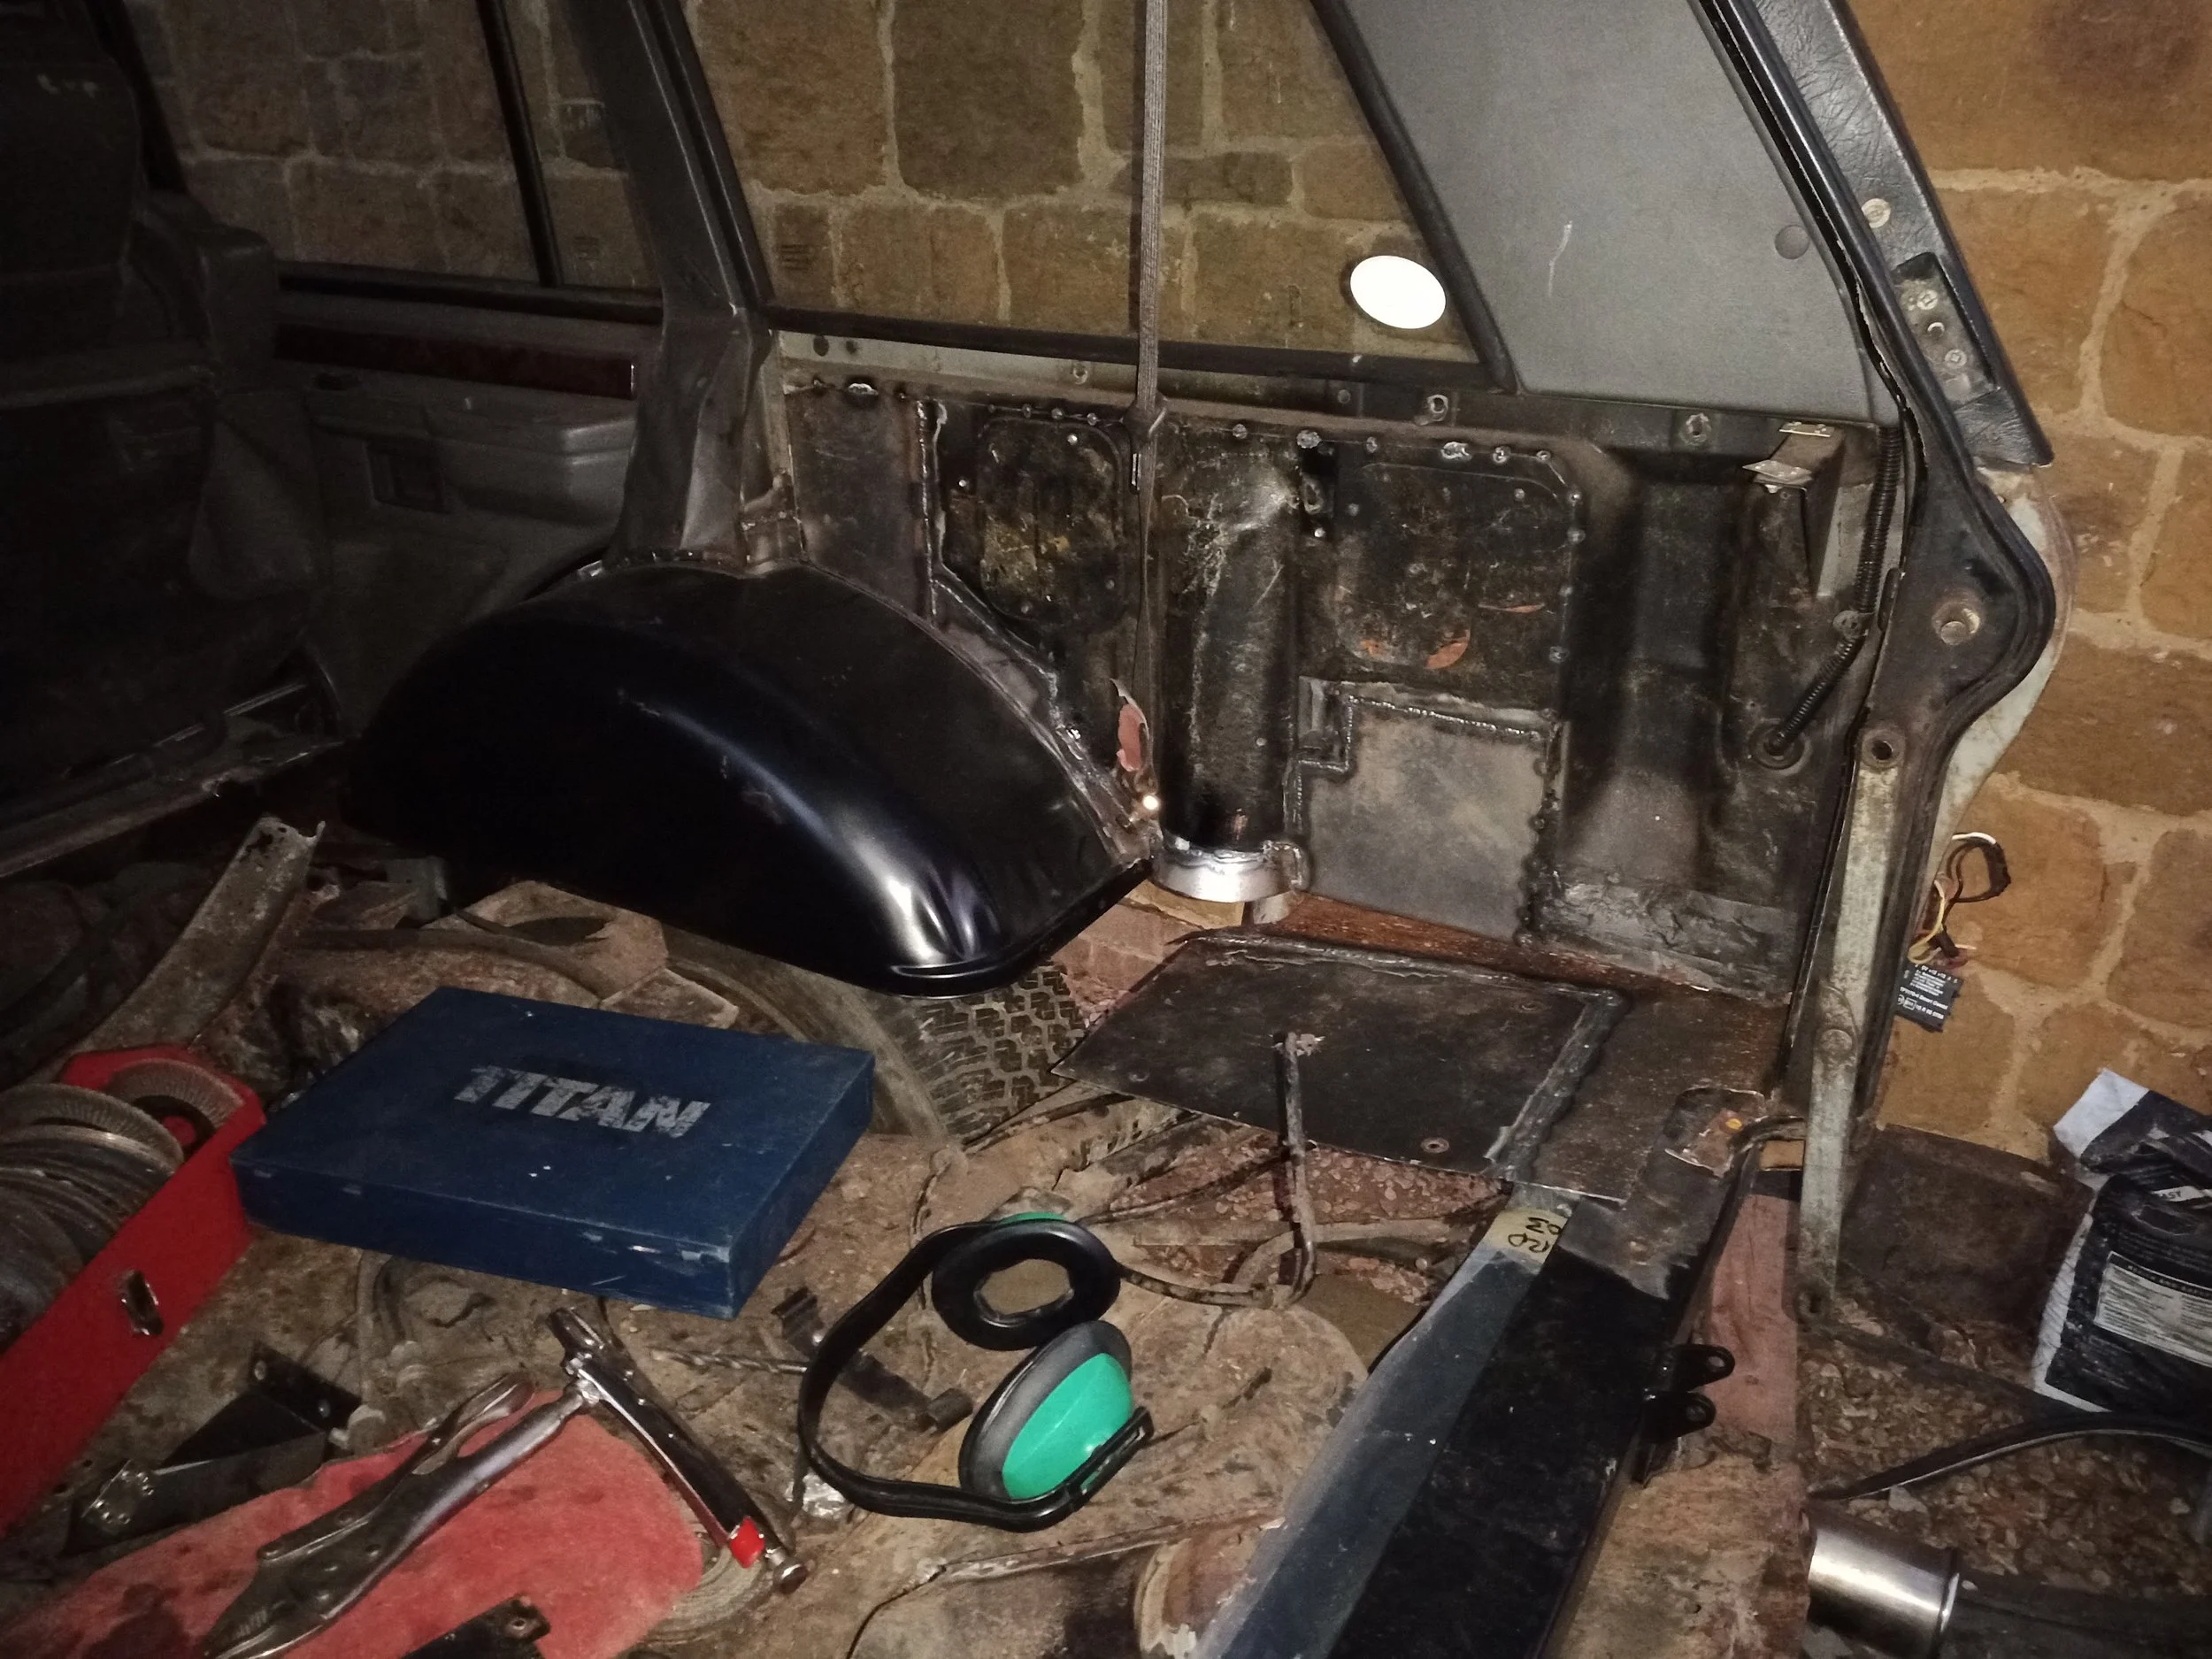
Not much left inside the rear doors either...

I got drastic with the angle grinder, but braced the door pillars first with some box-section.
Rear wheel arches didn't look great either...
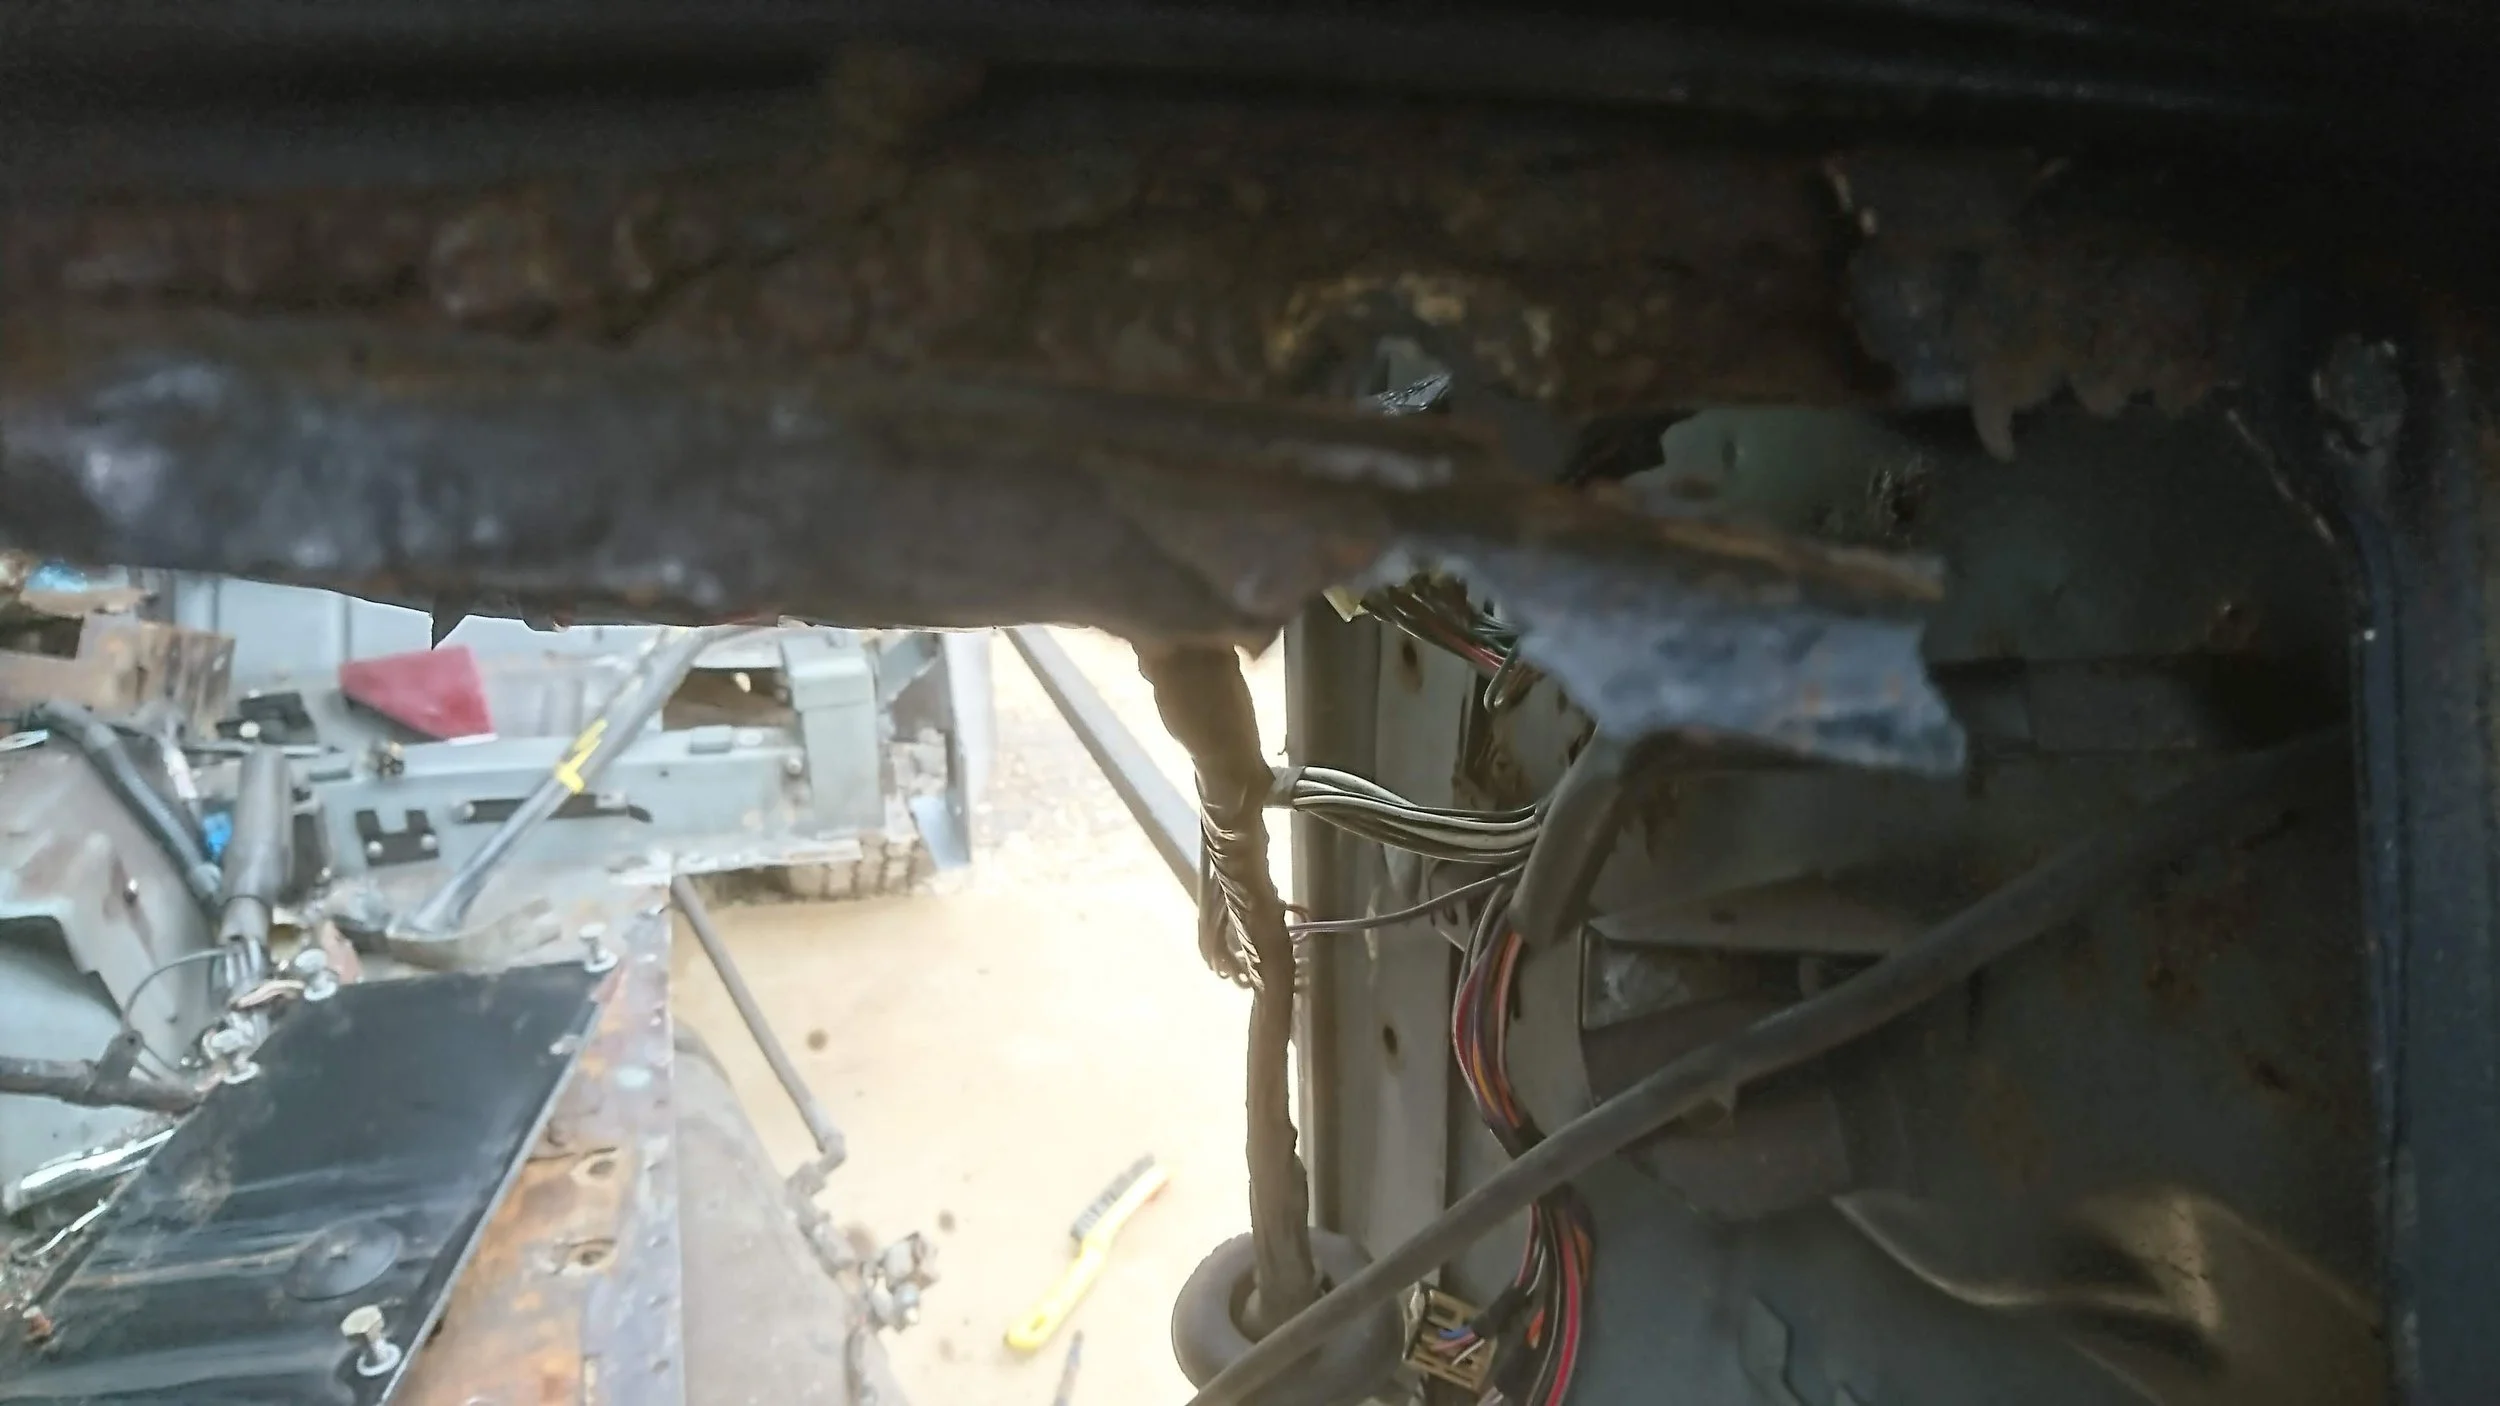
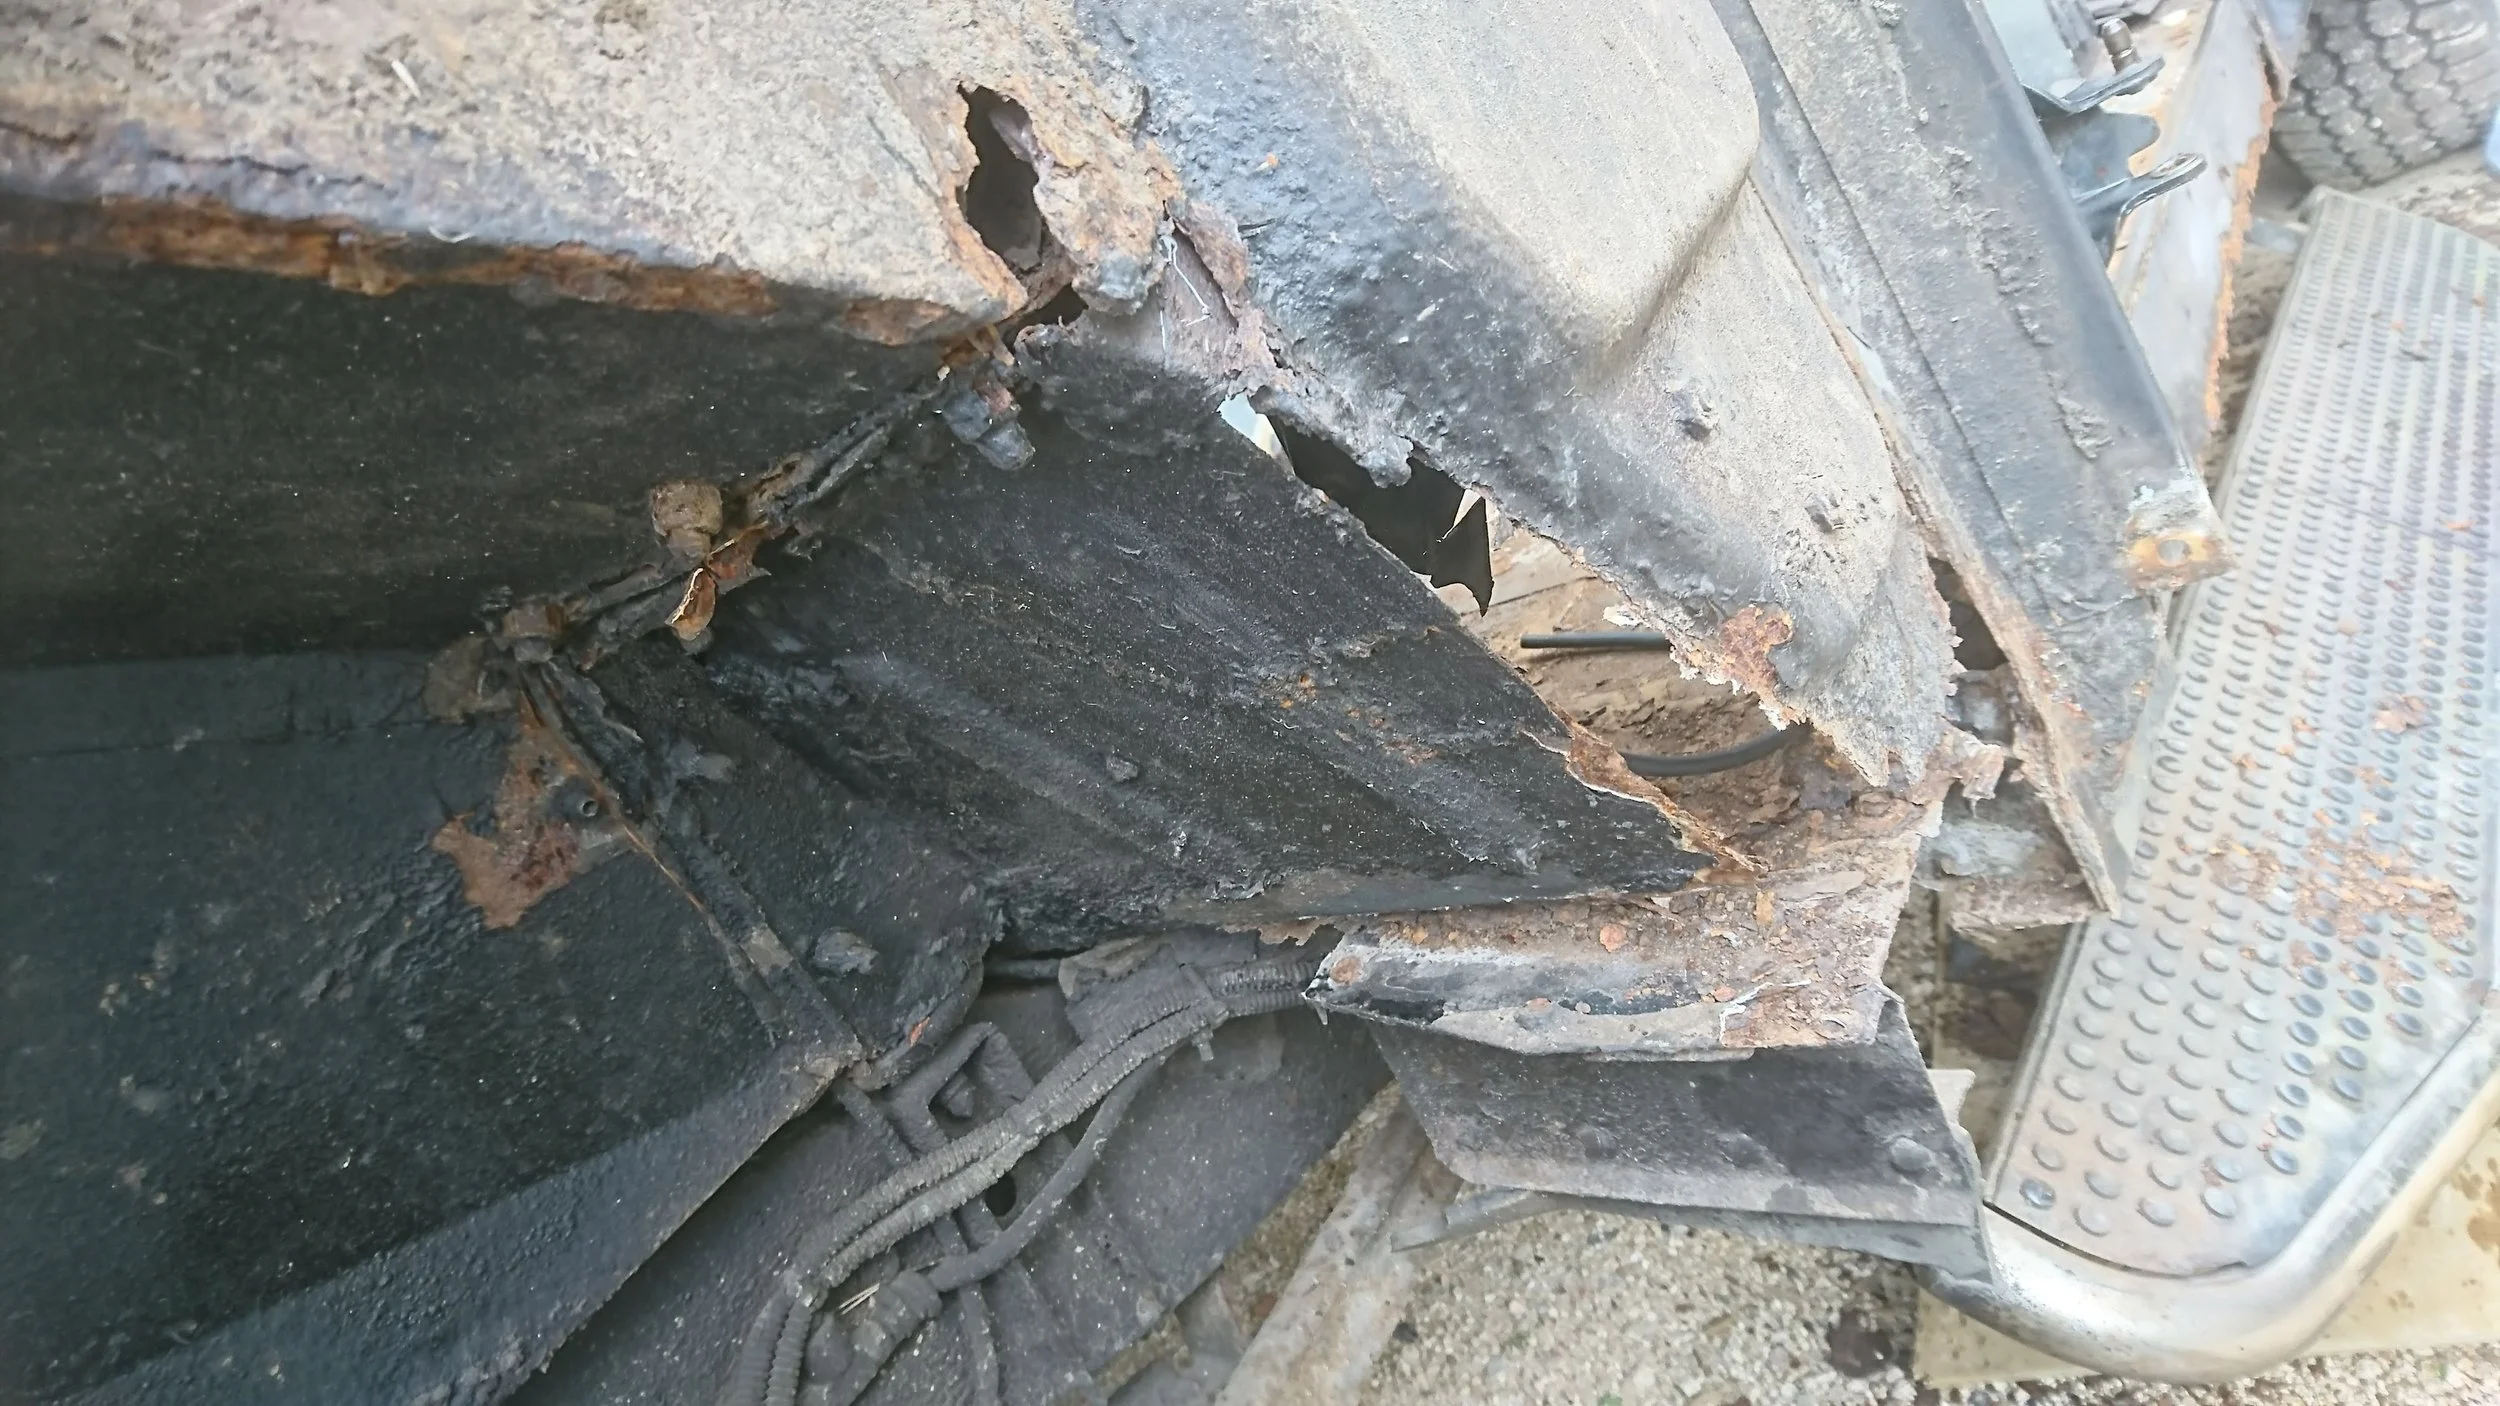
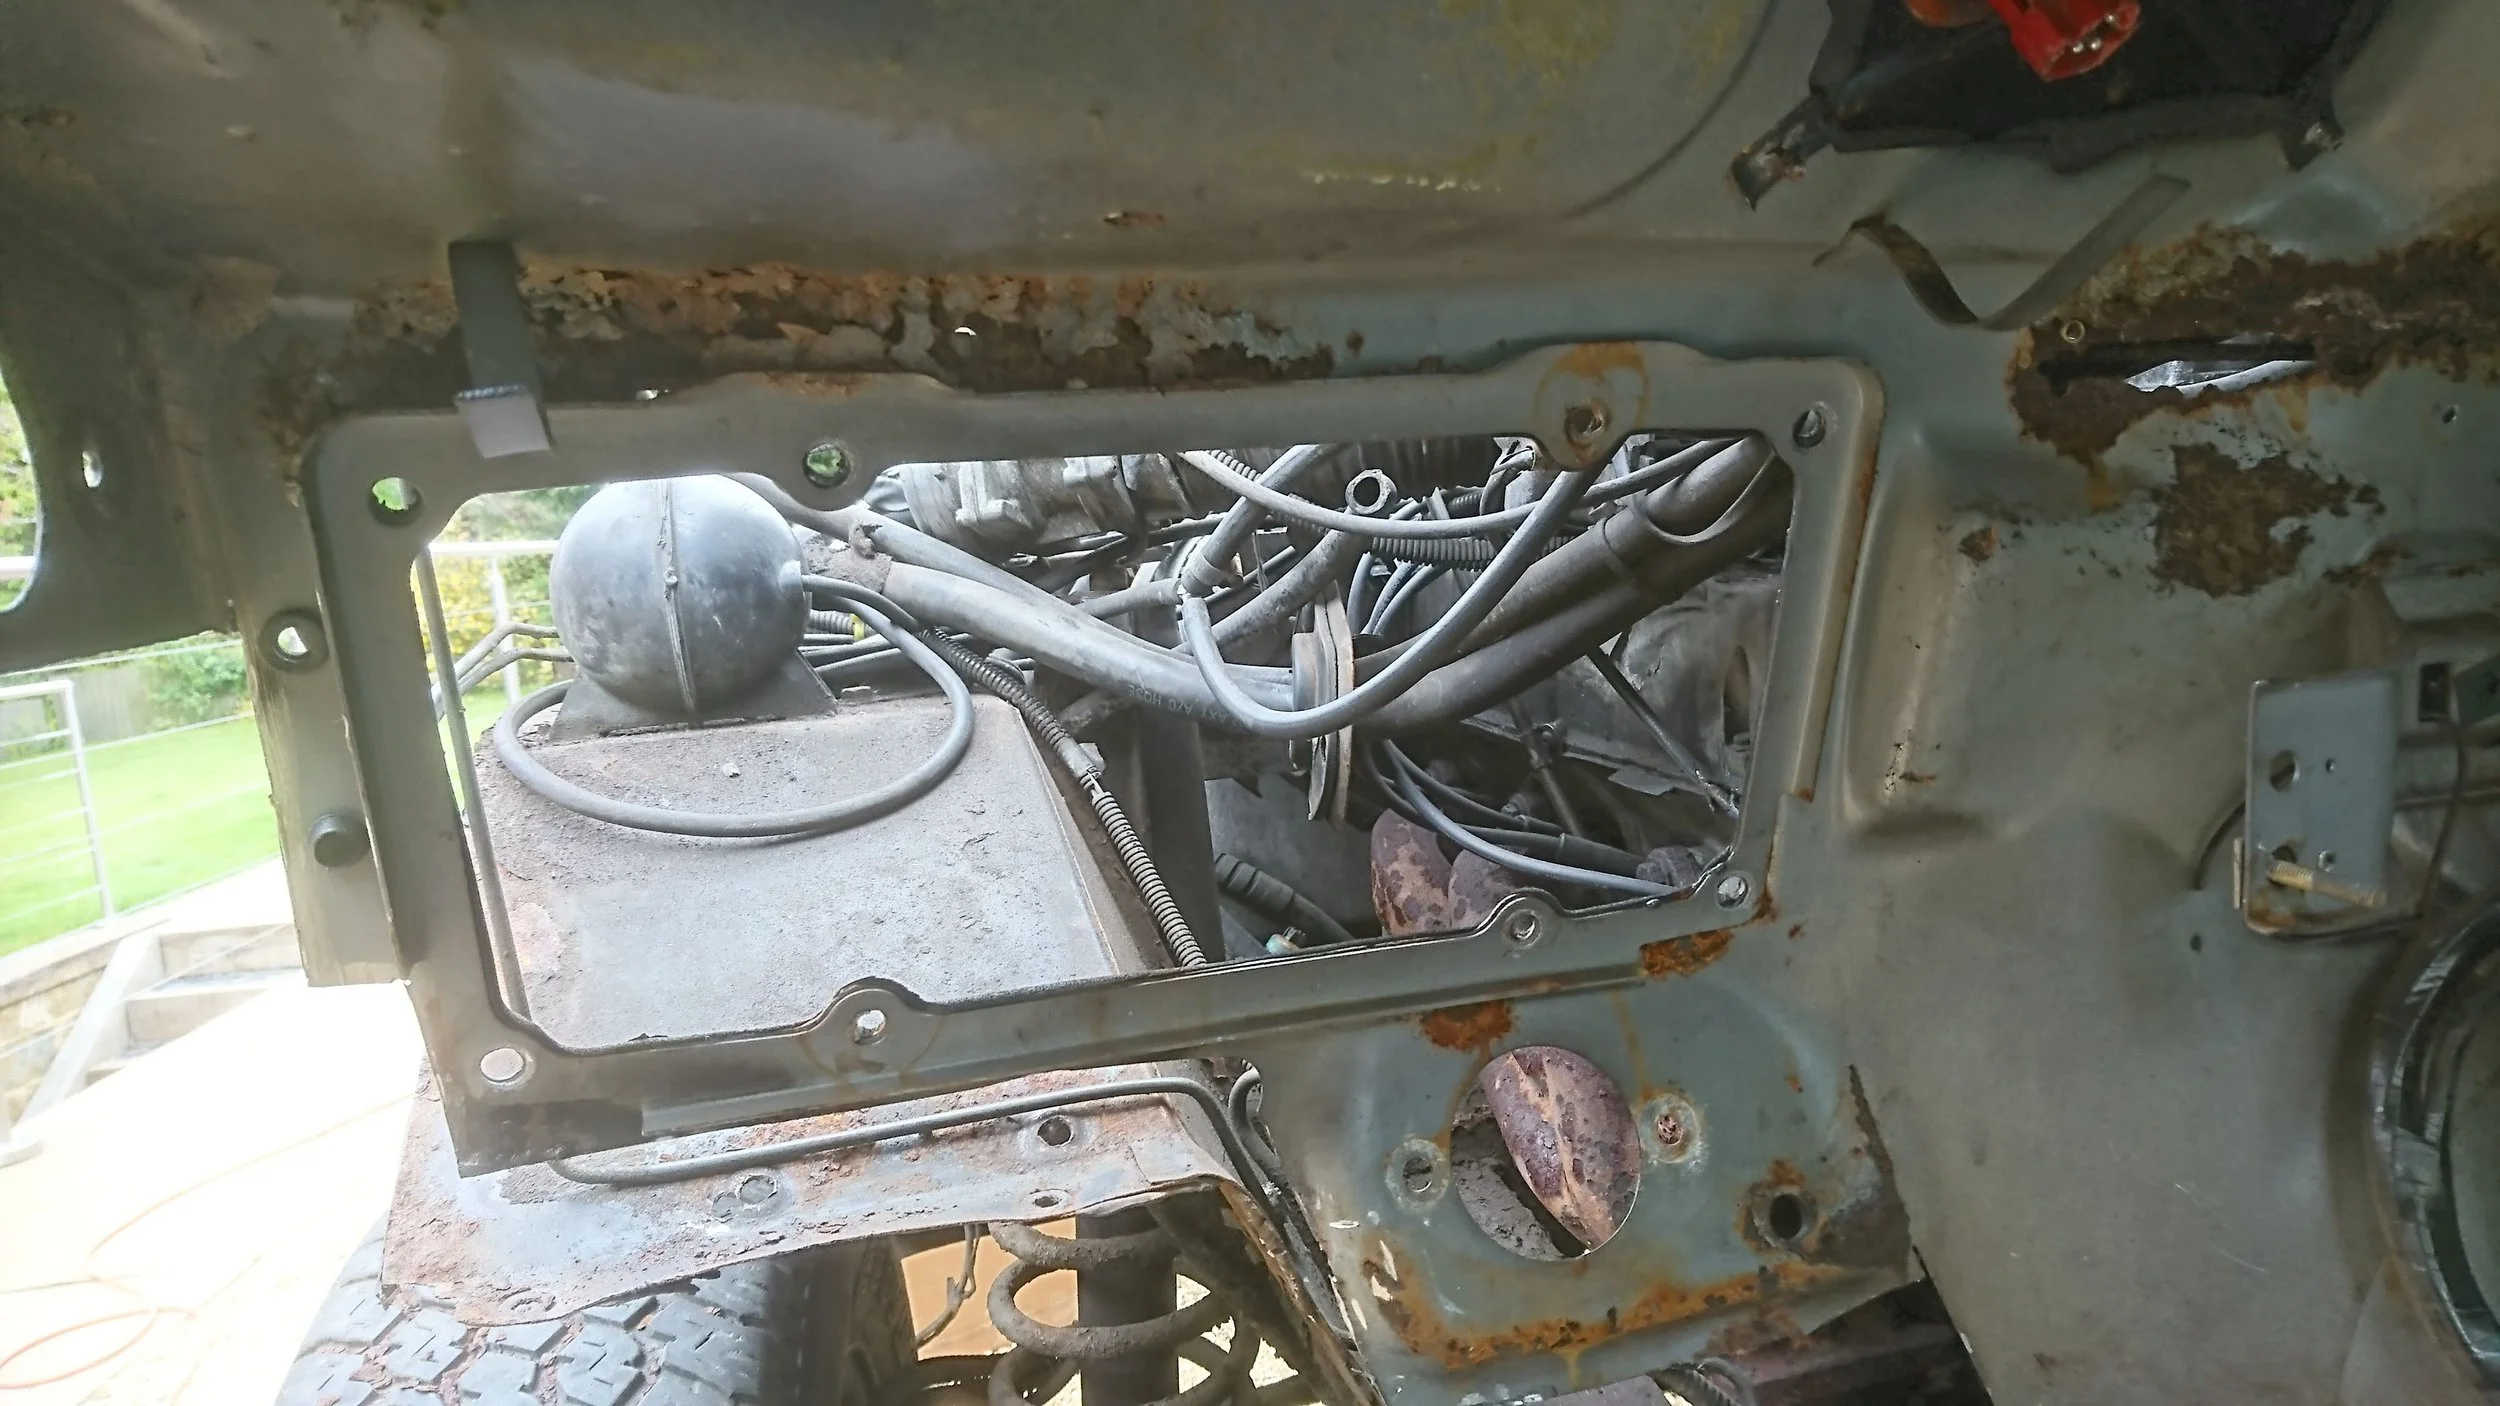
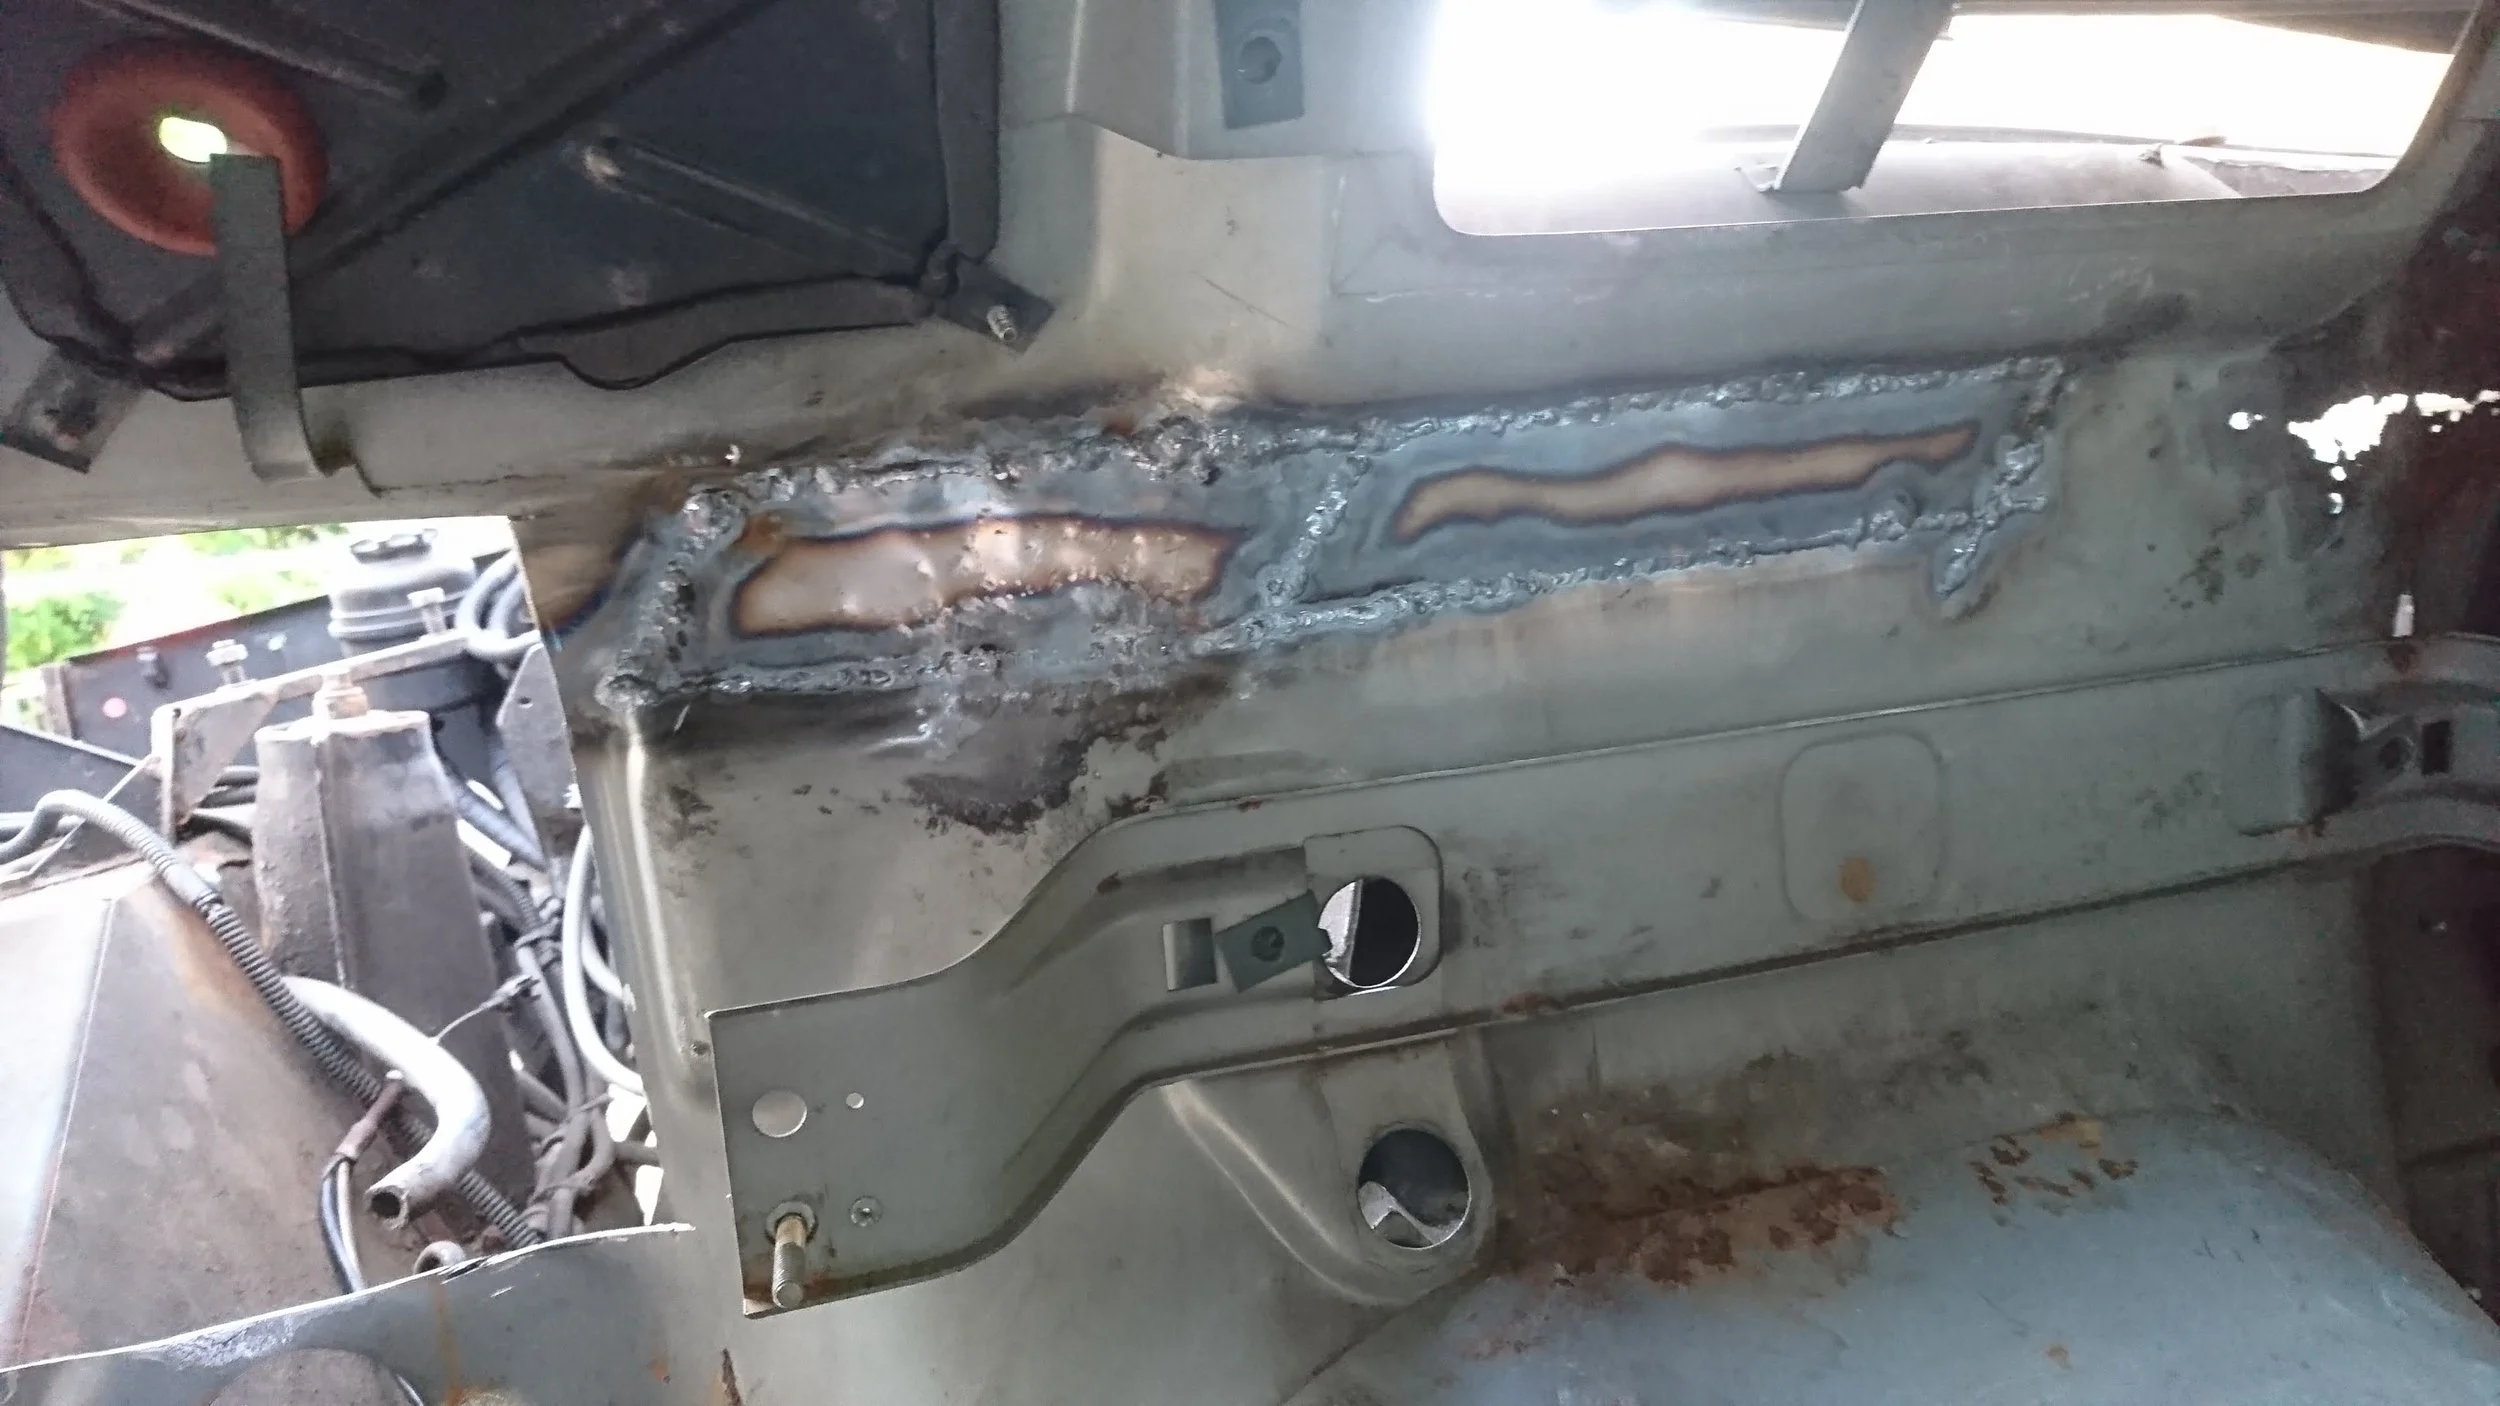
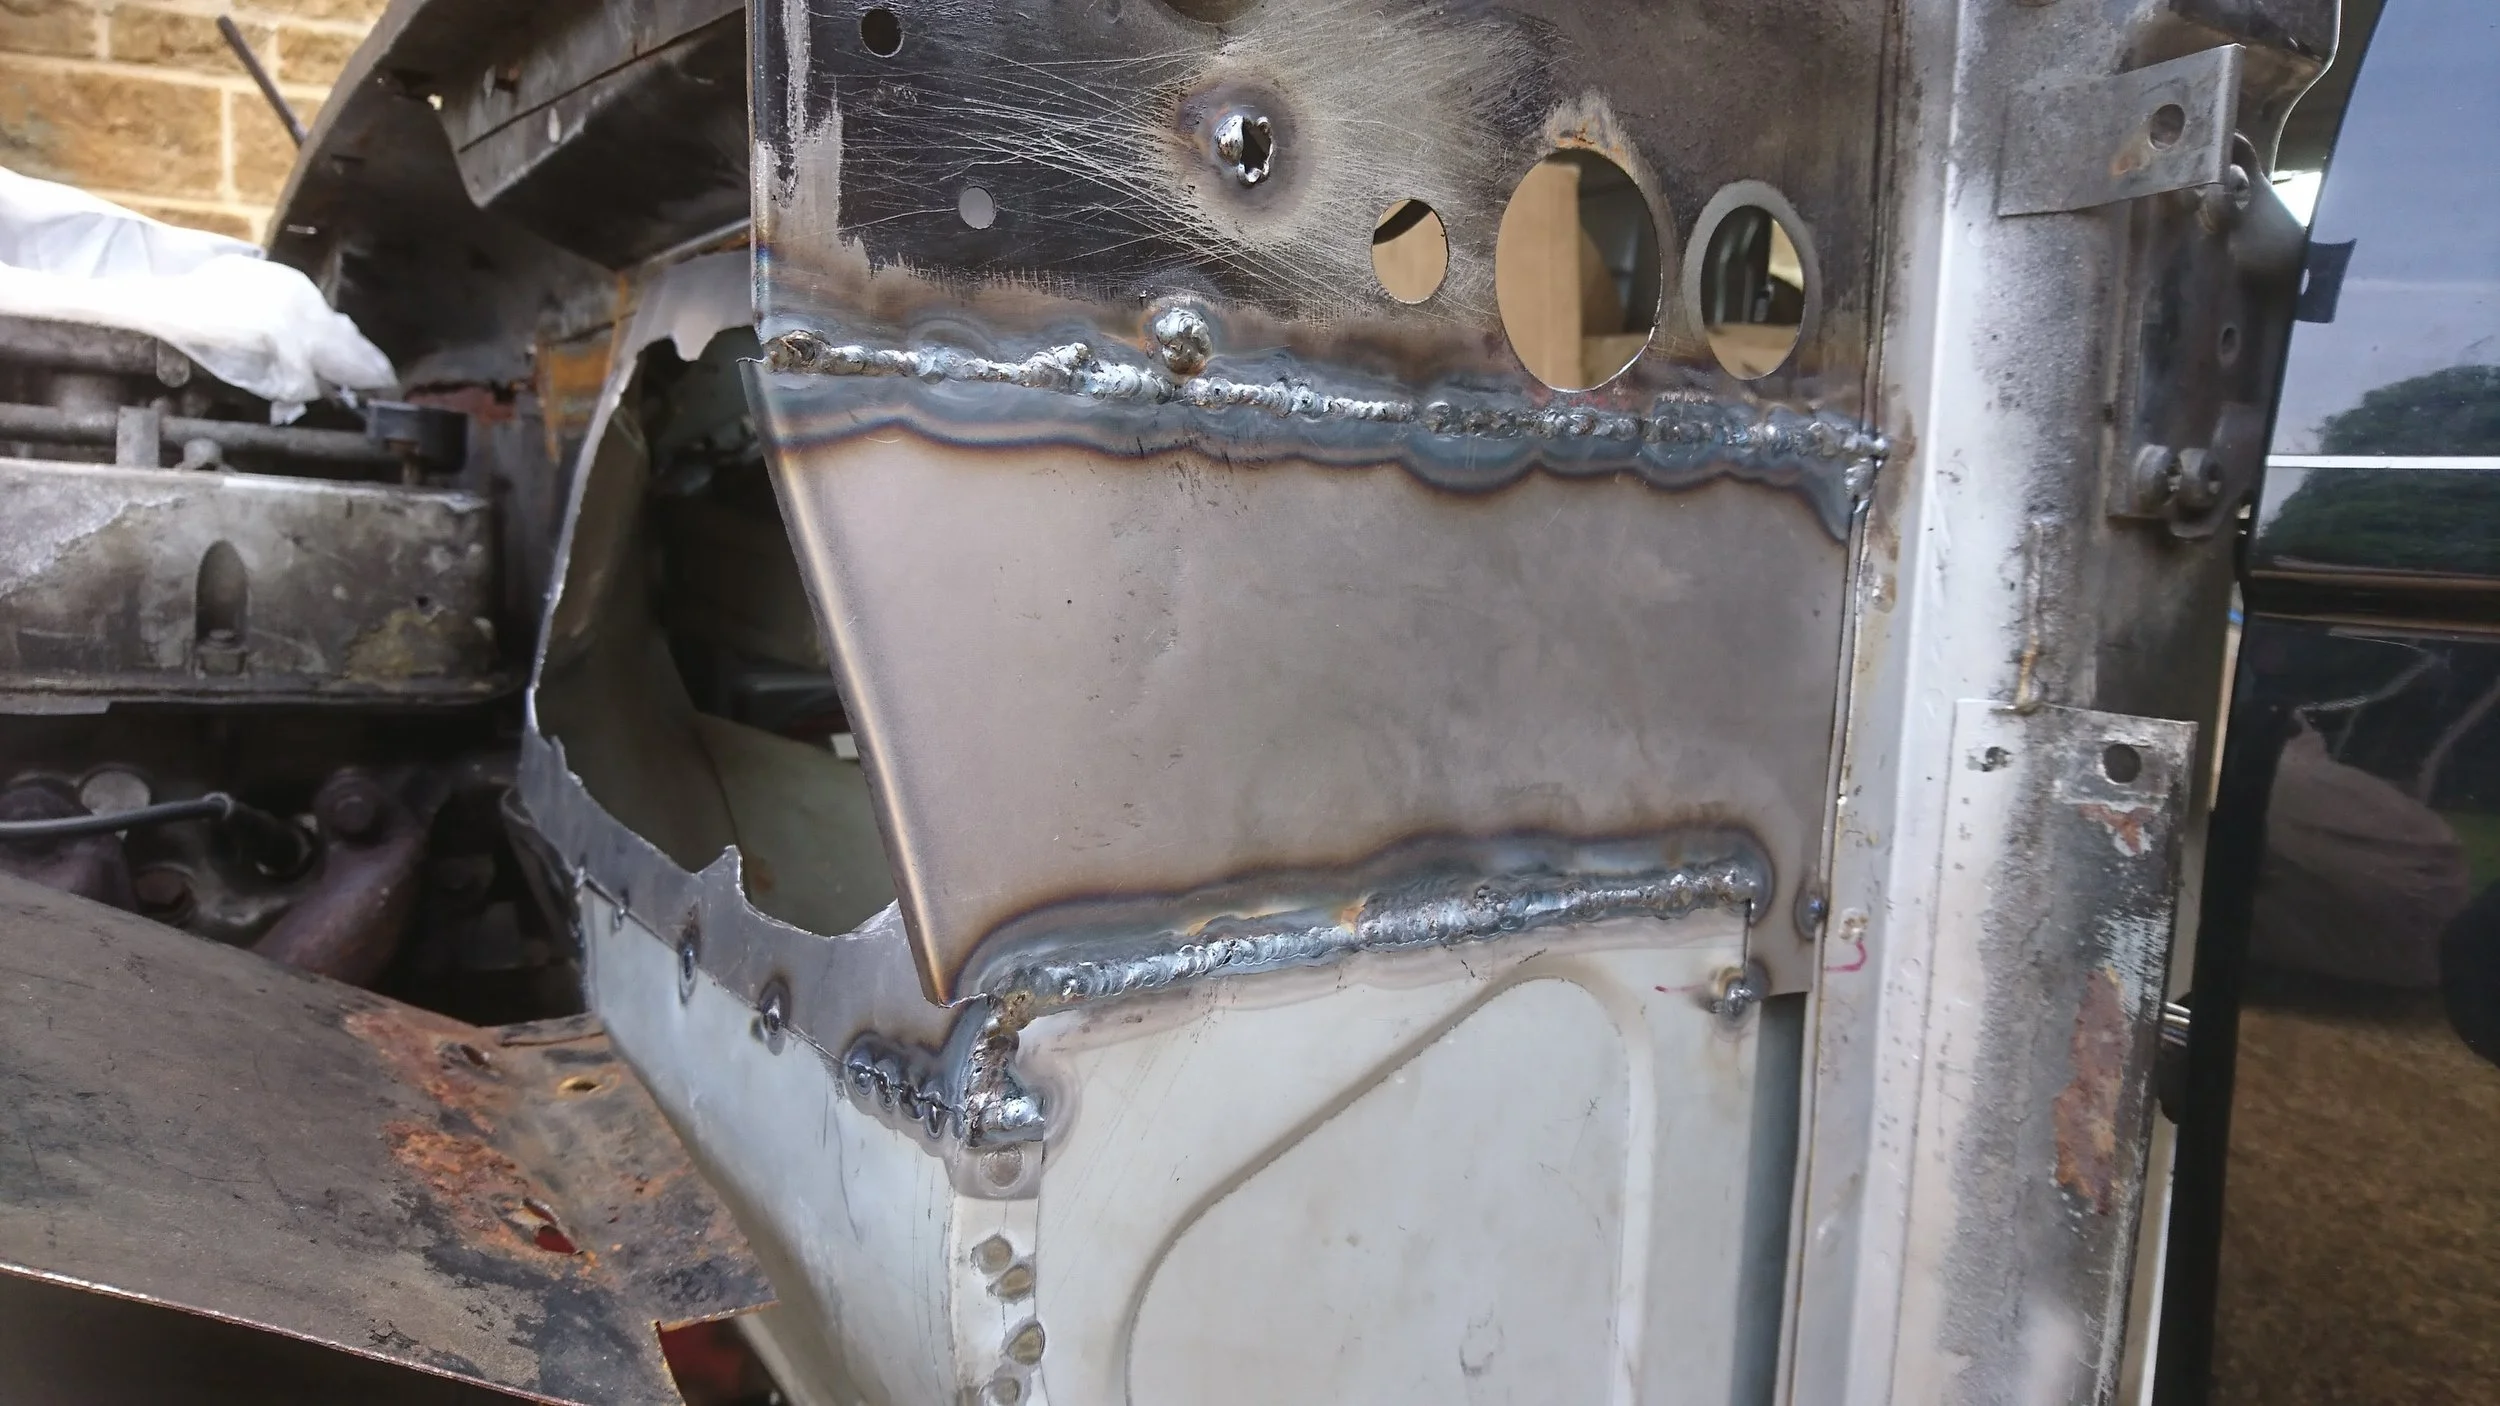
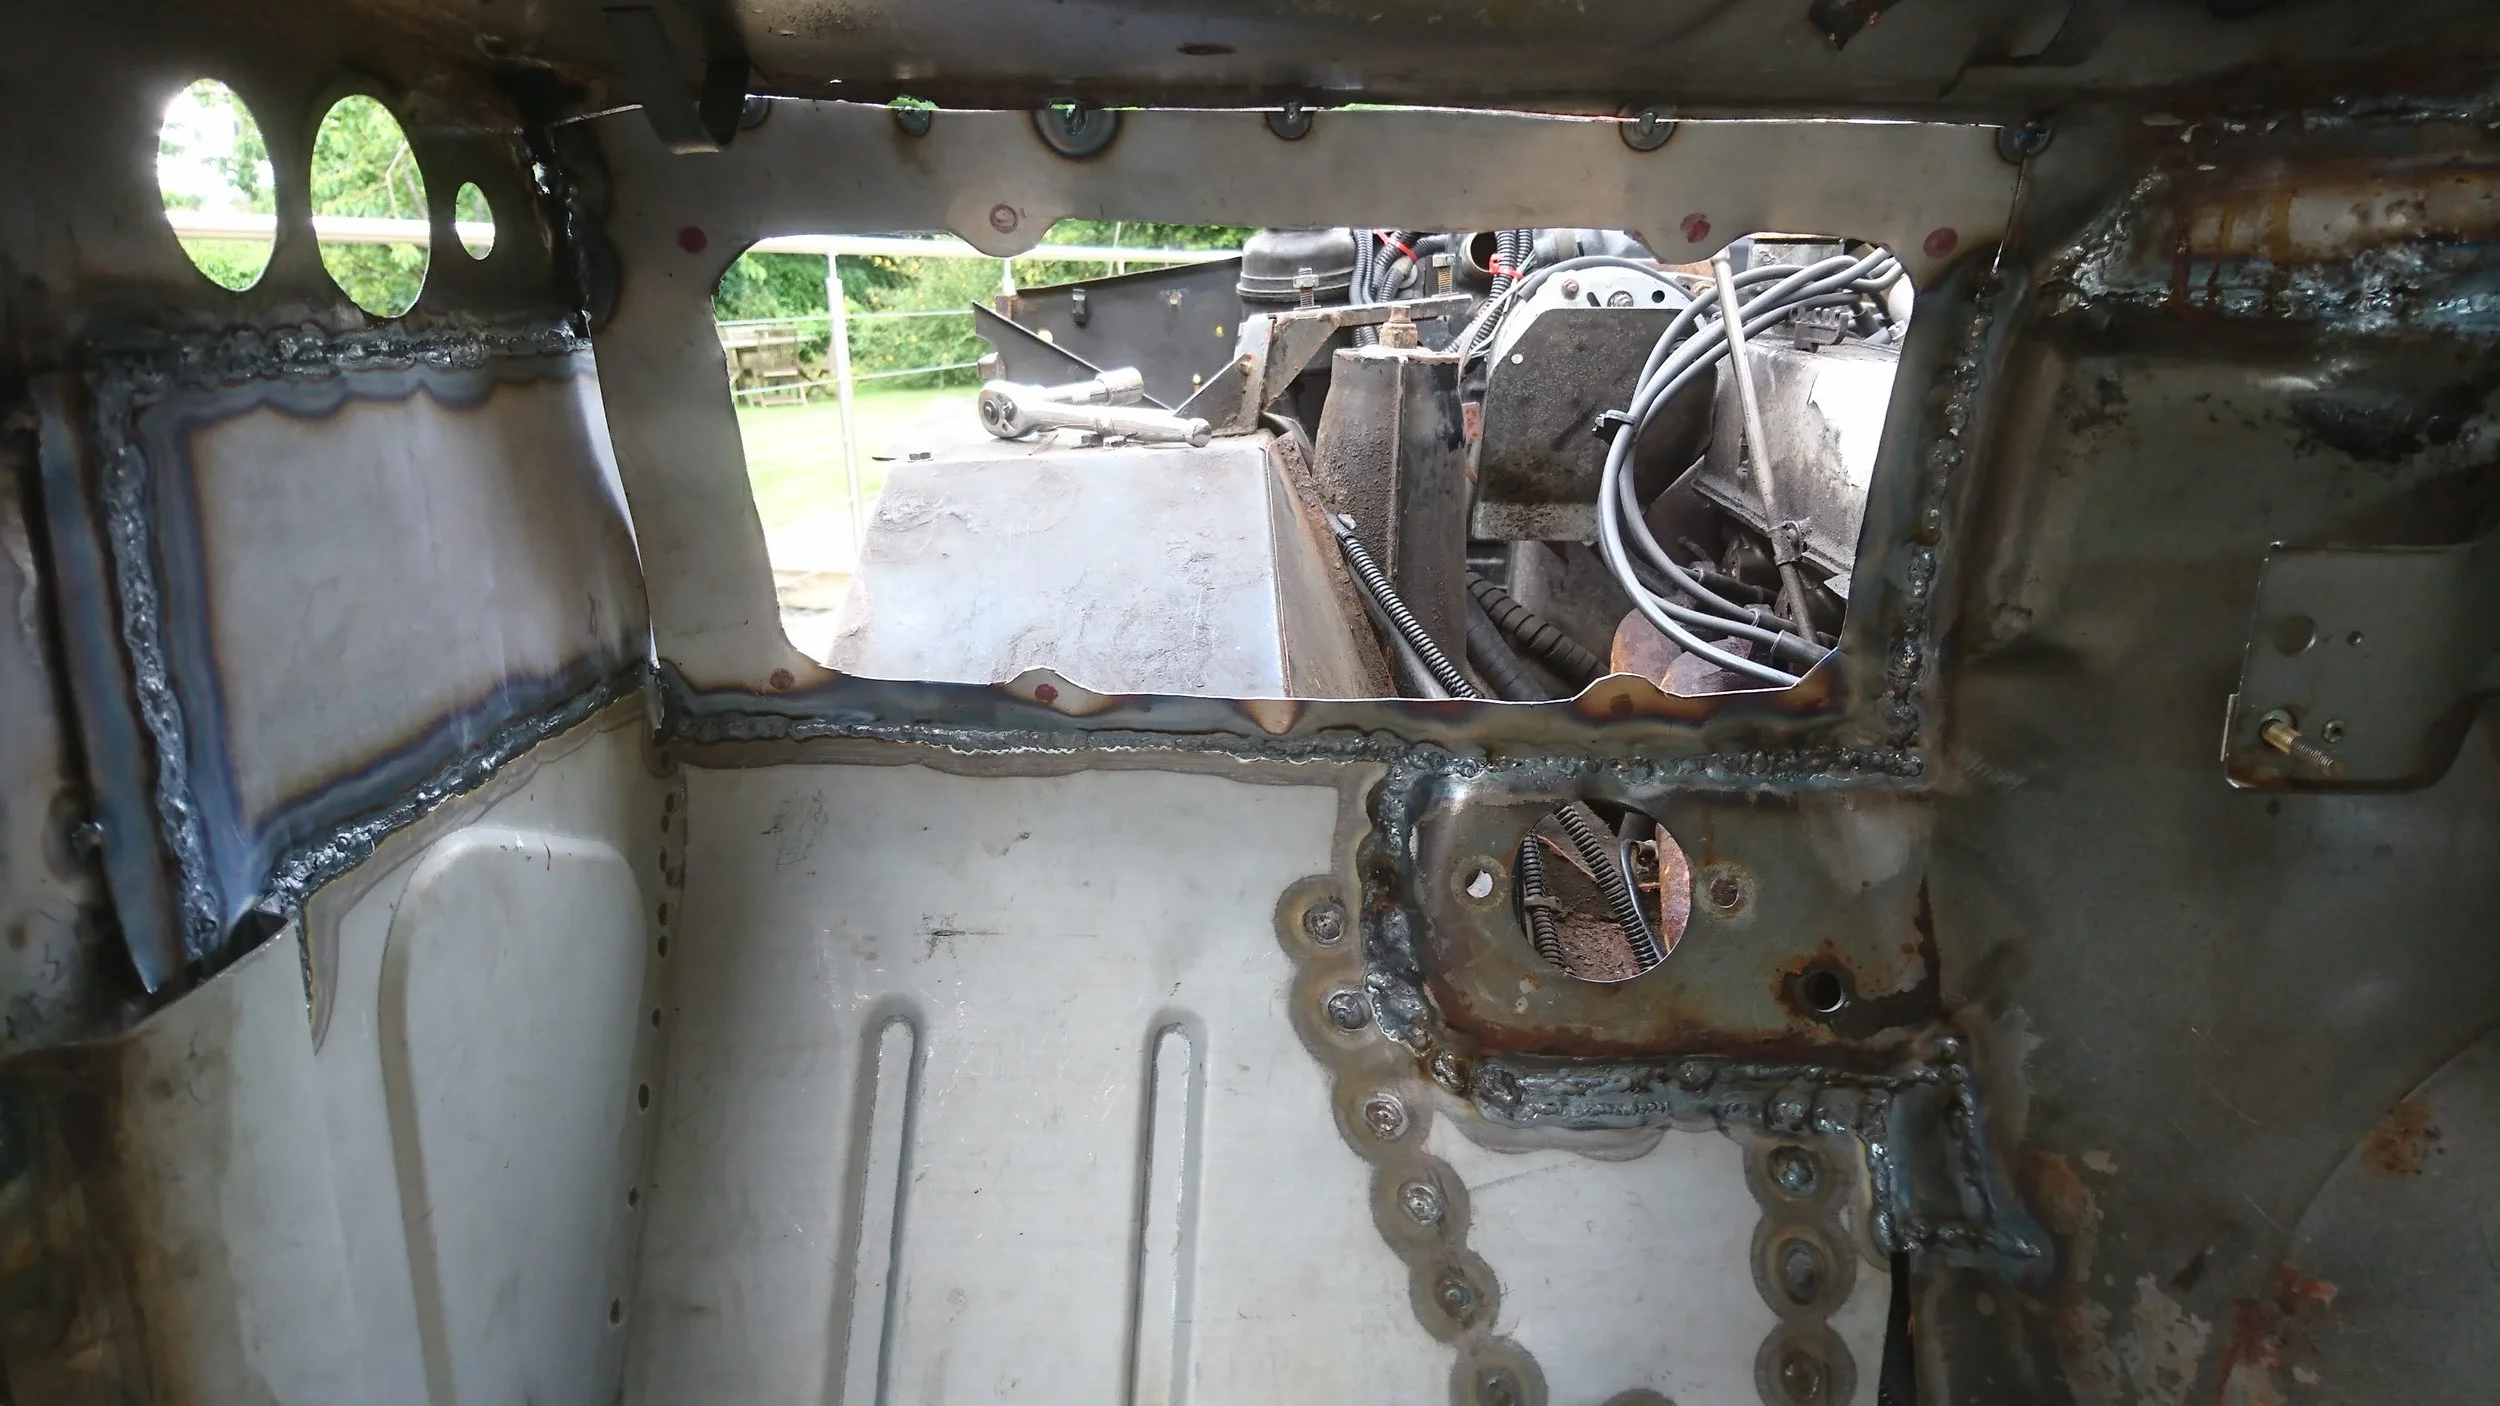
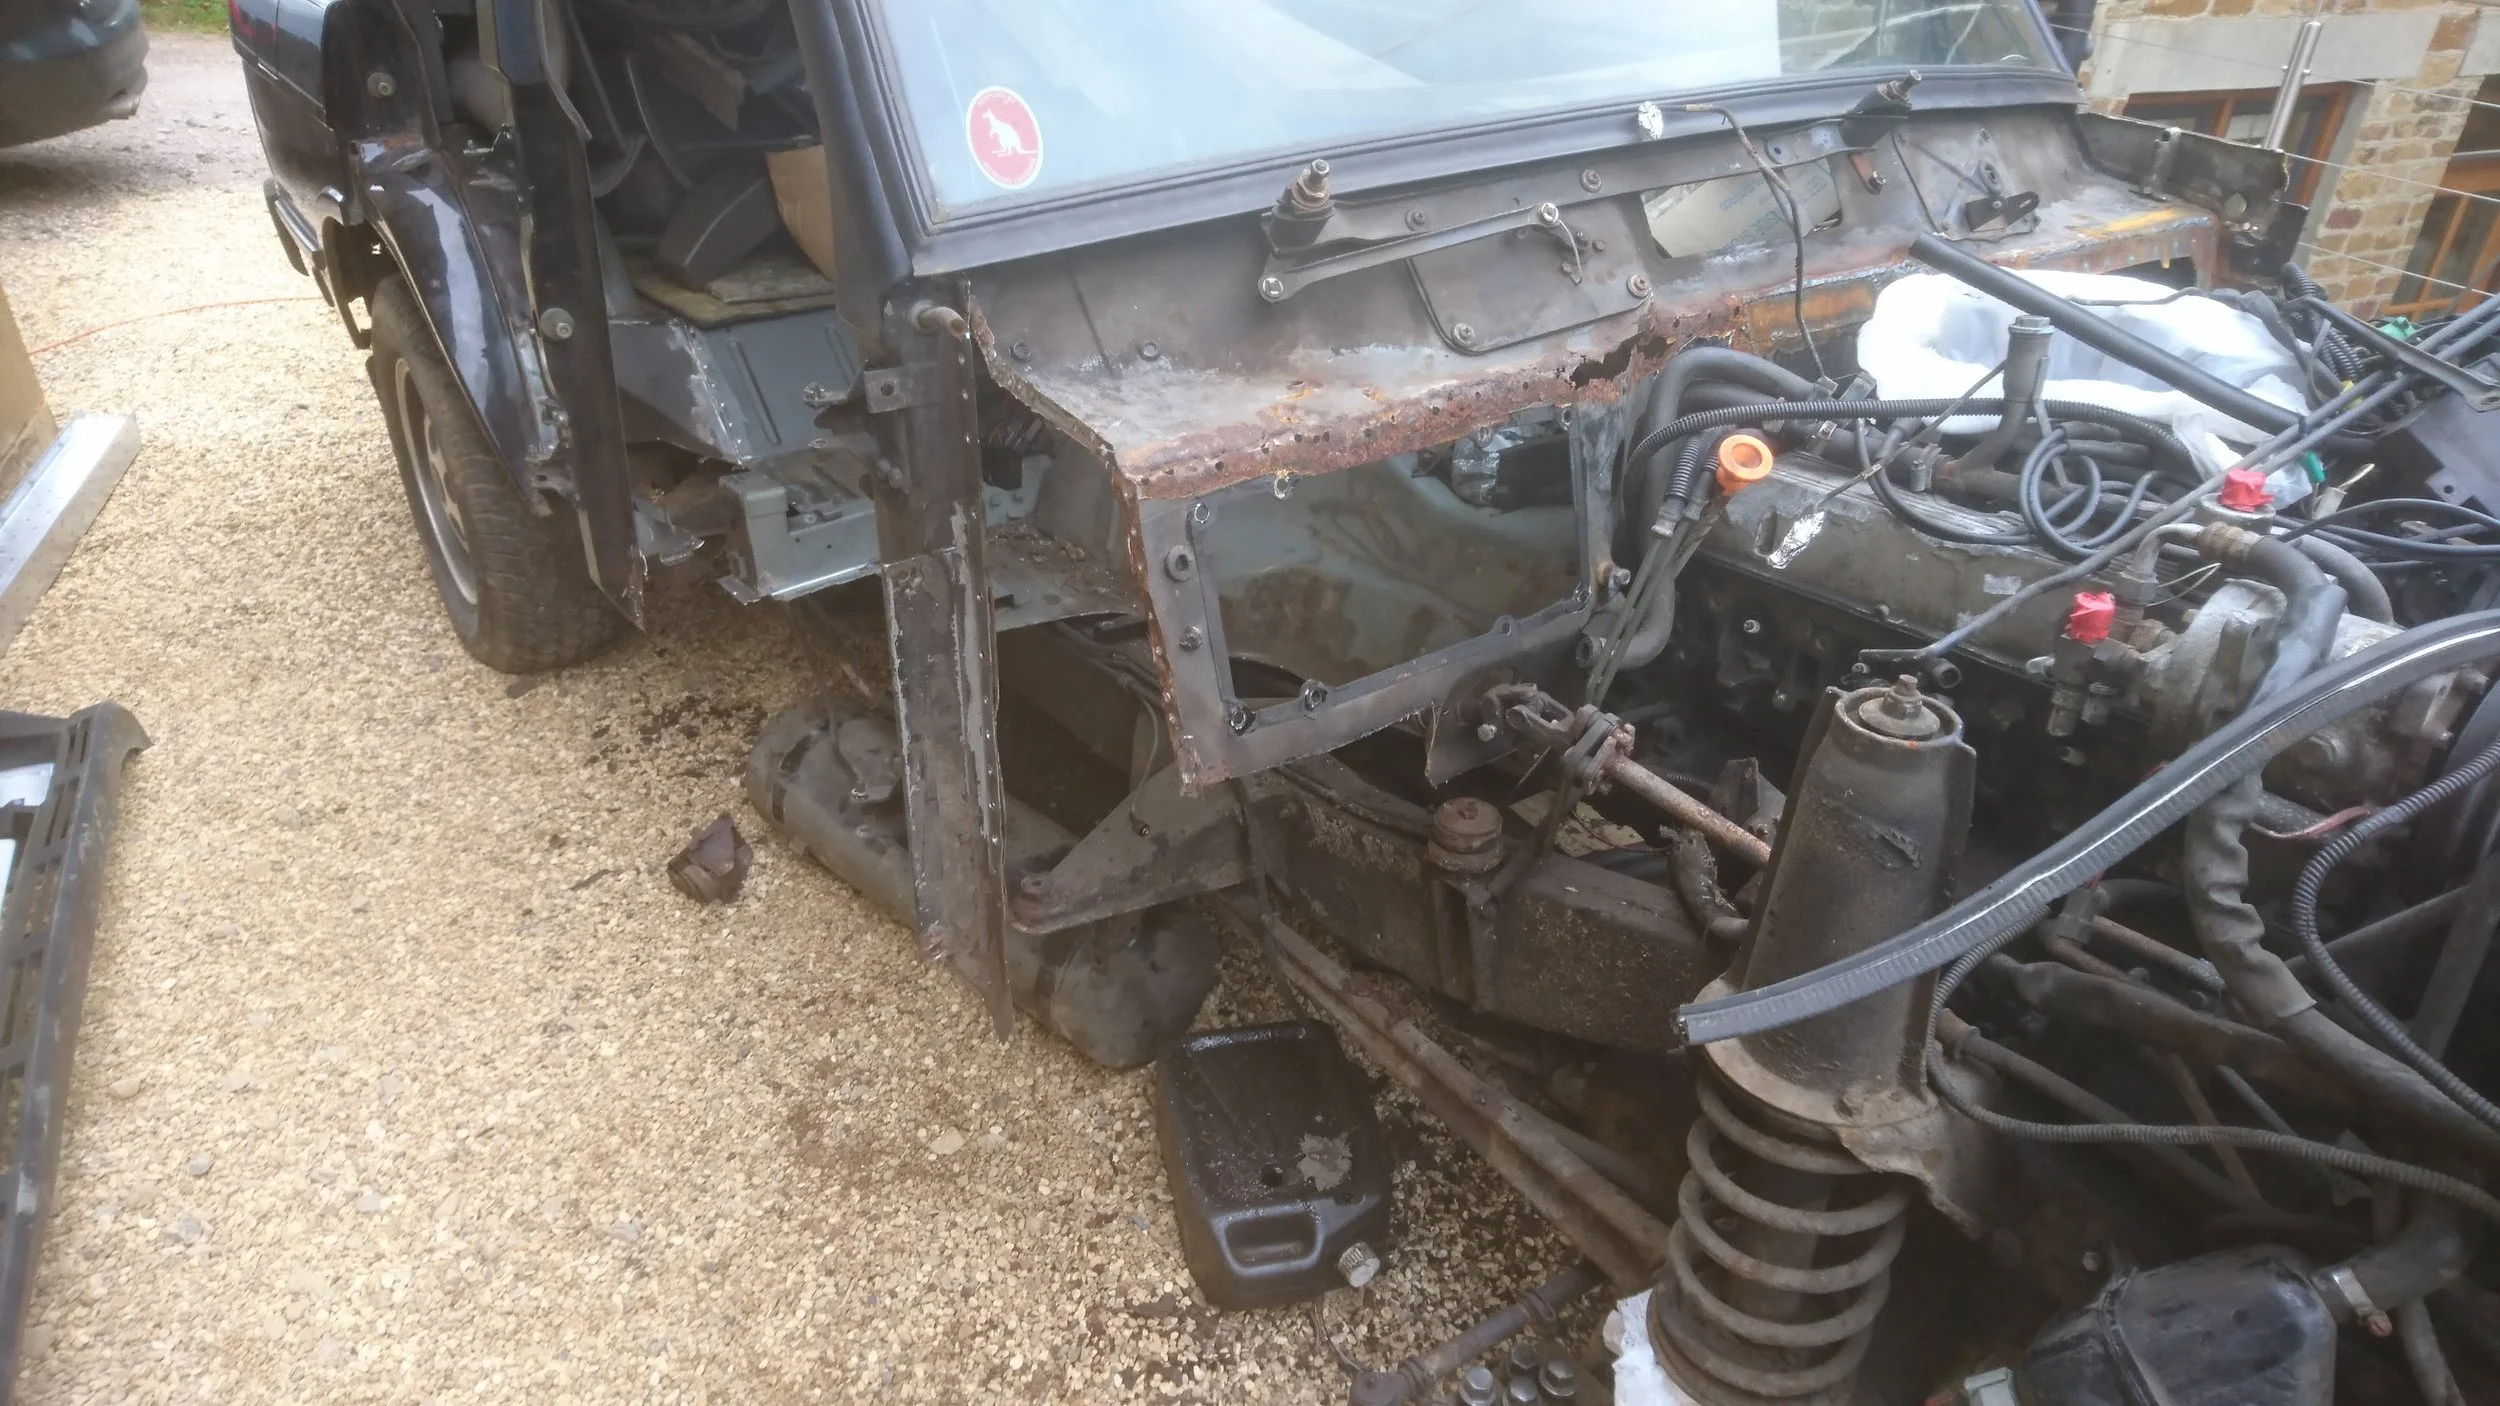
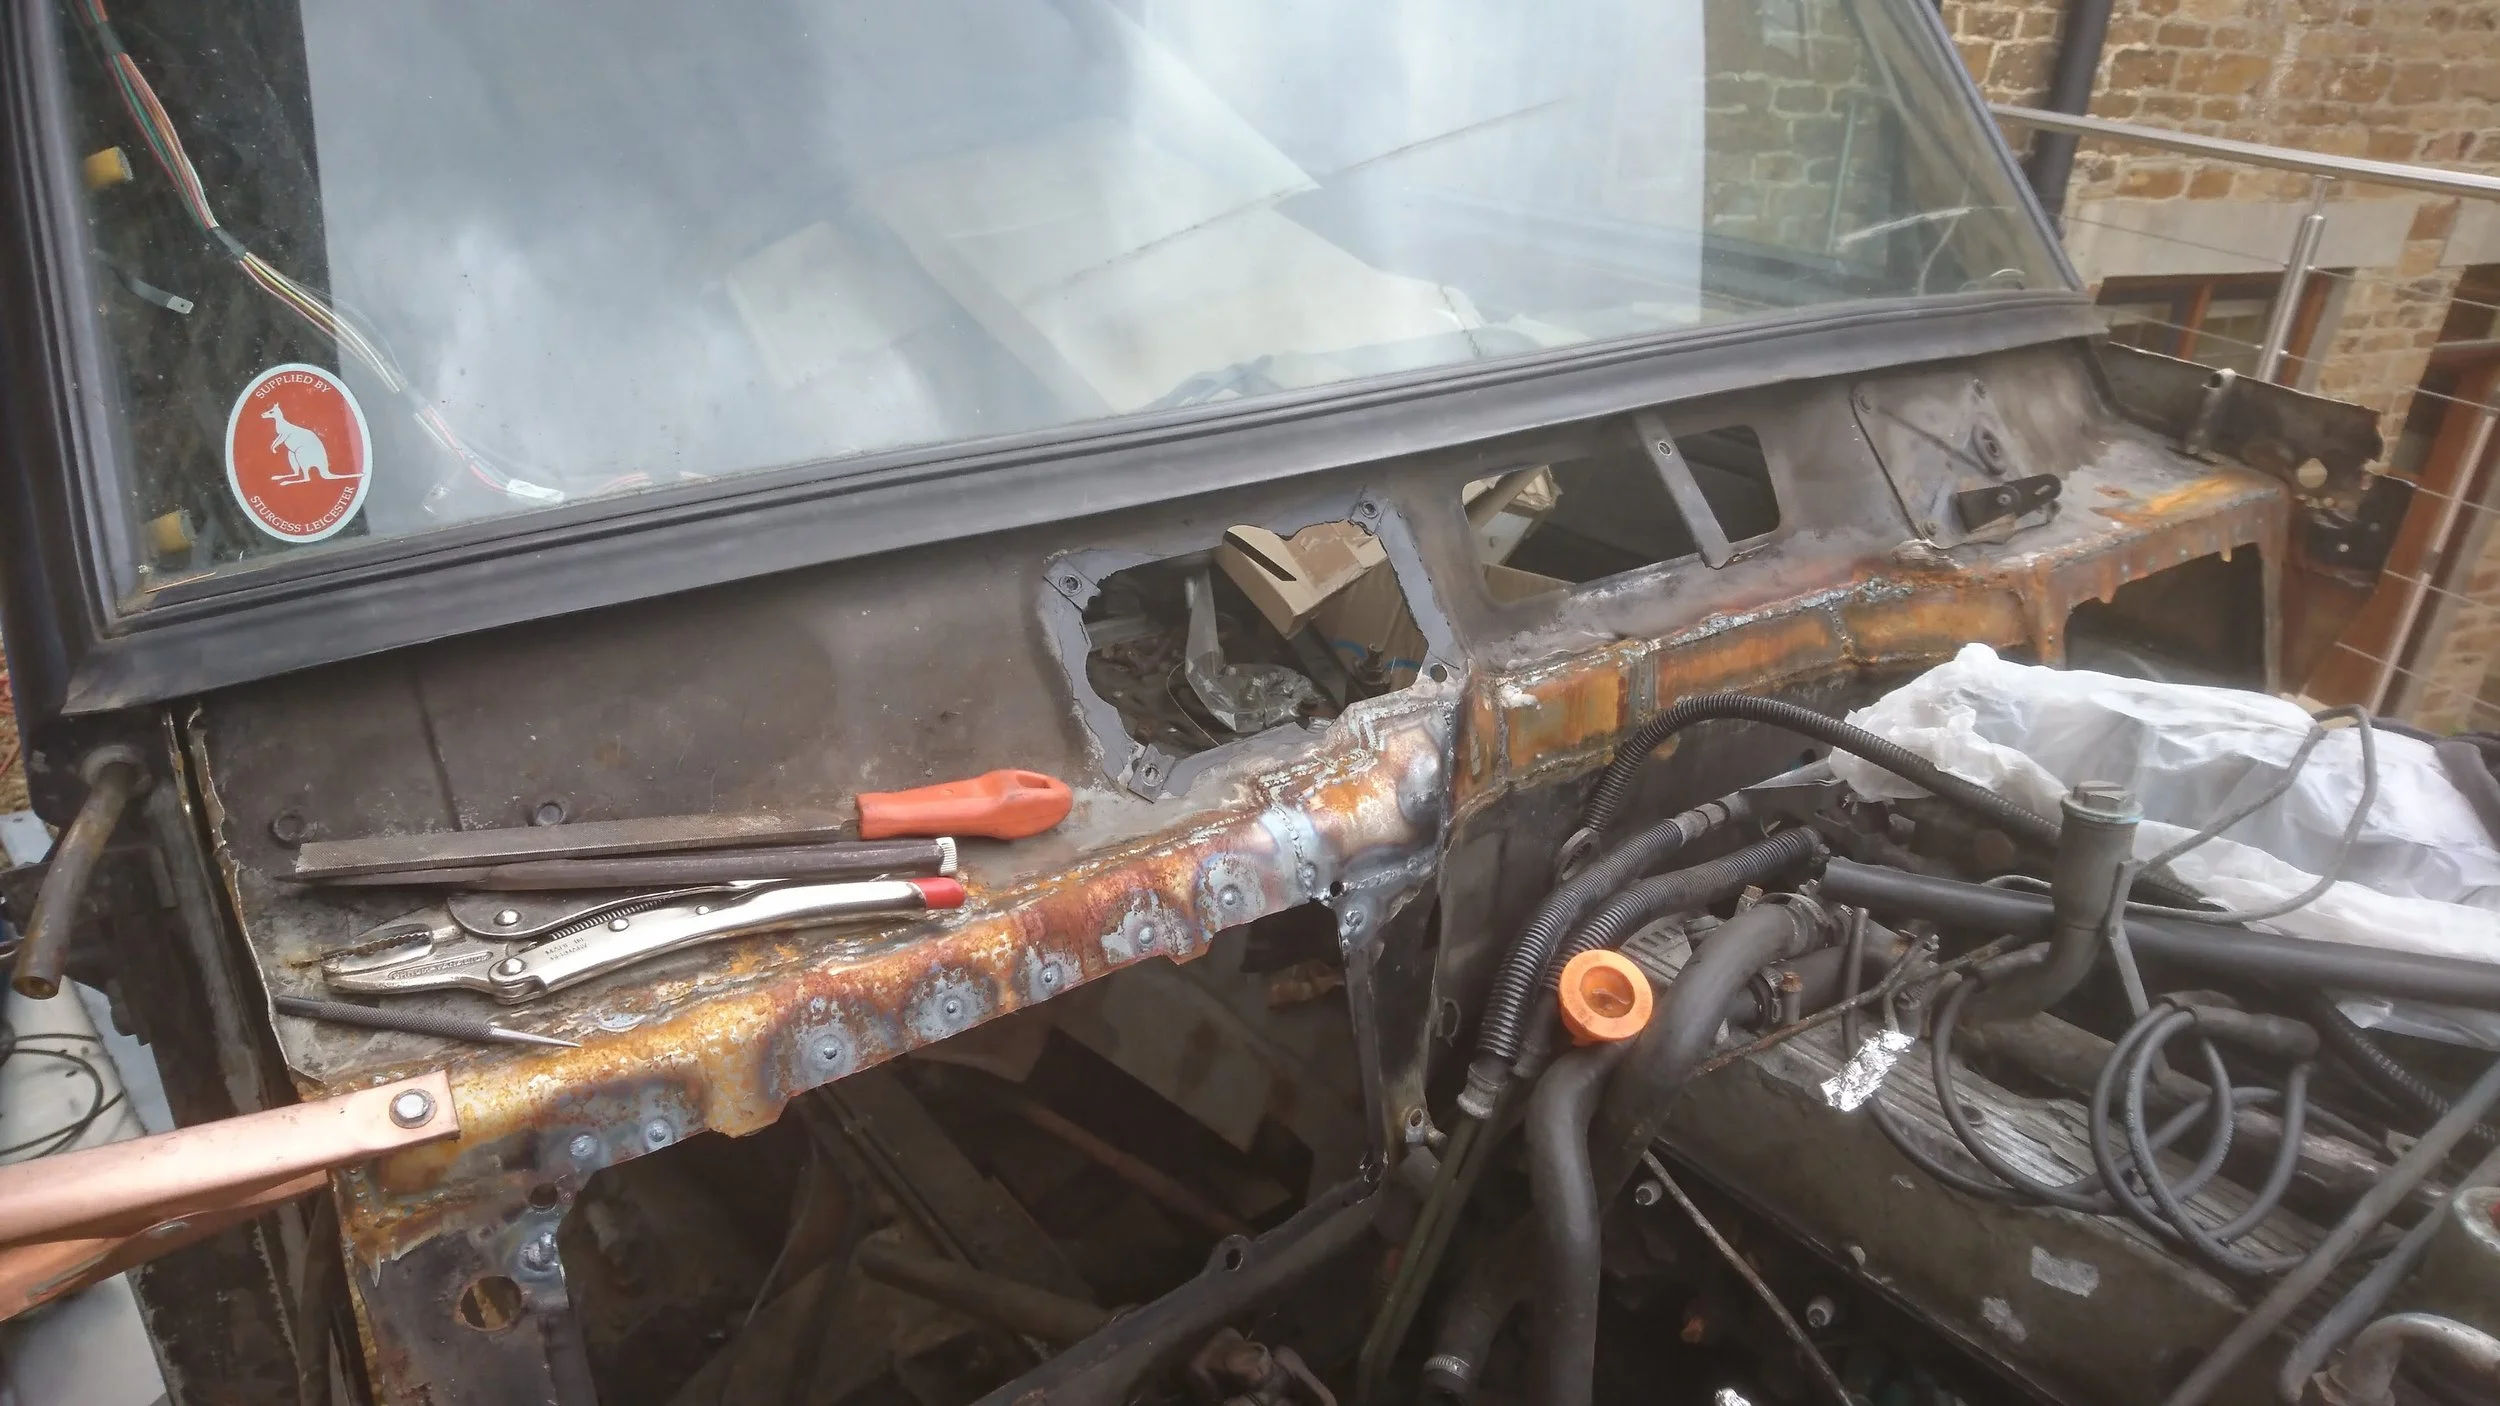
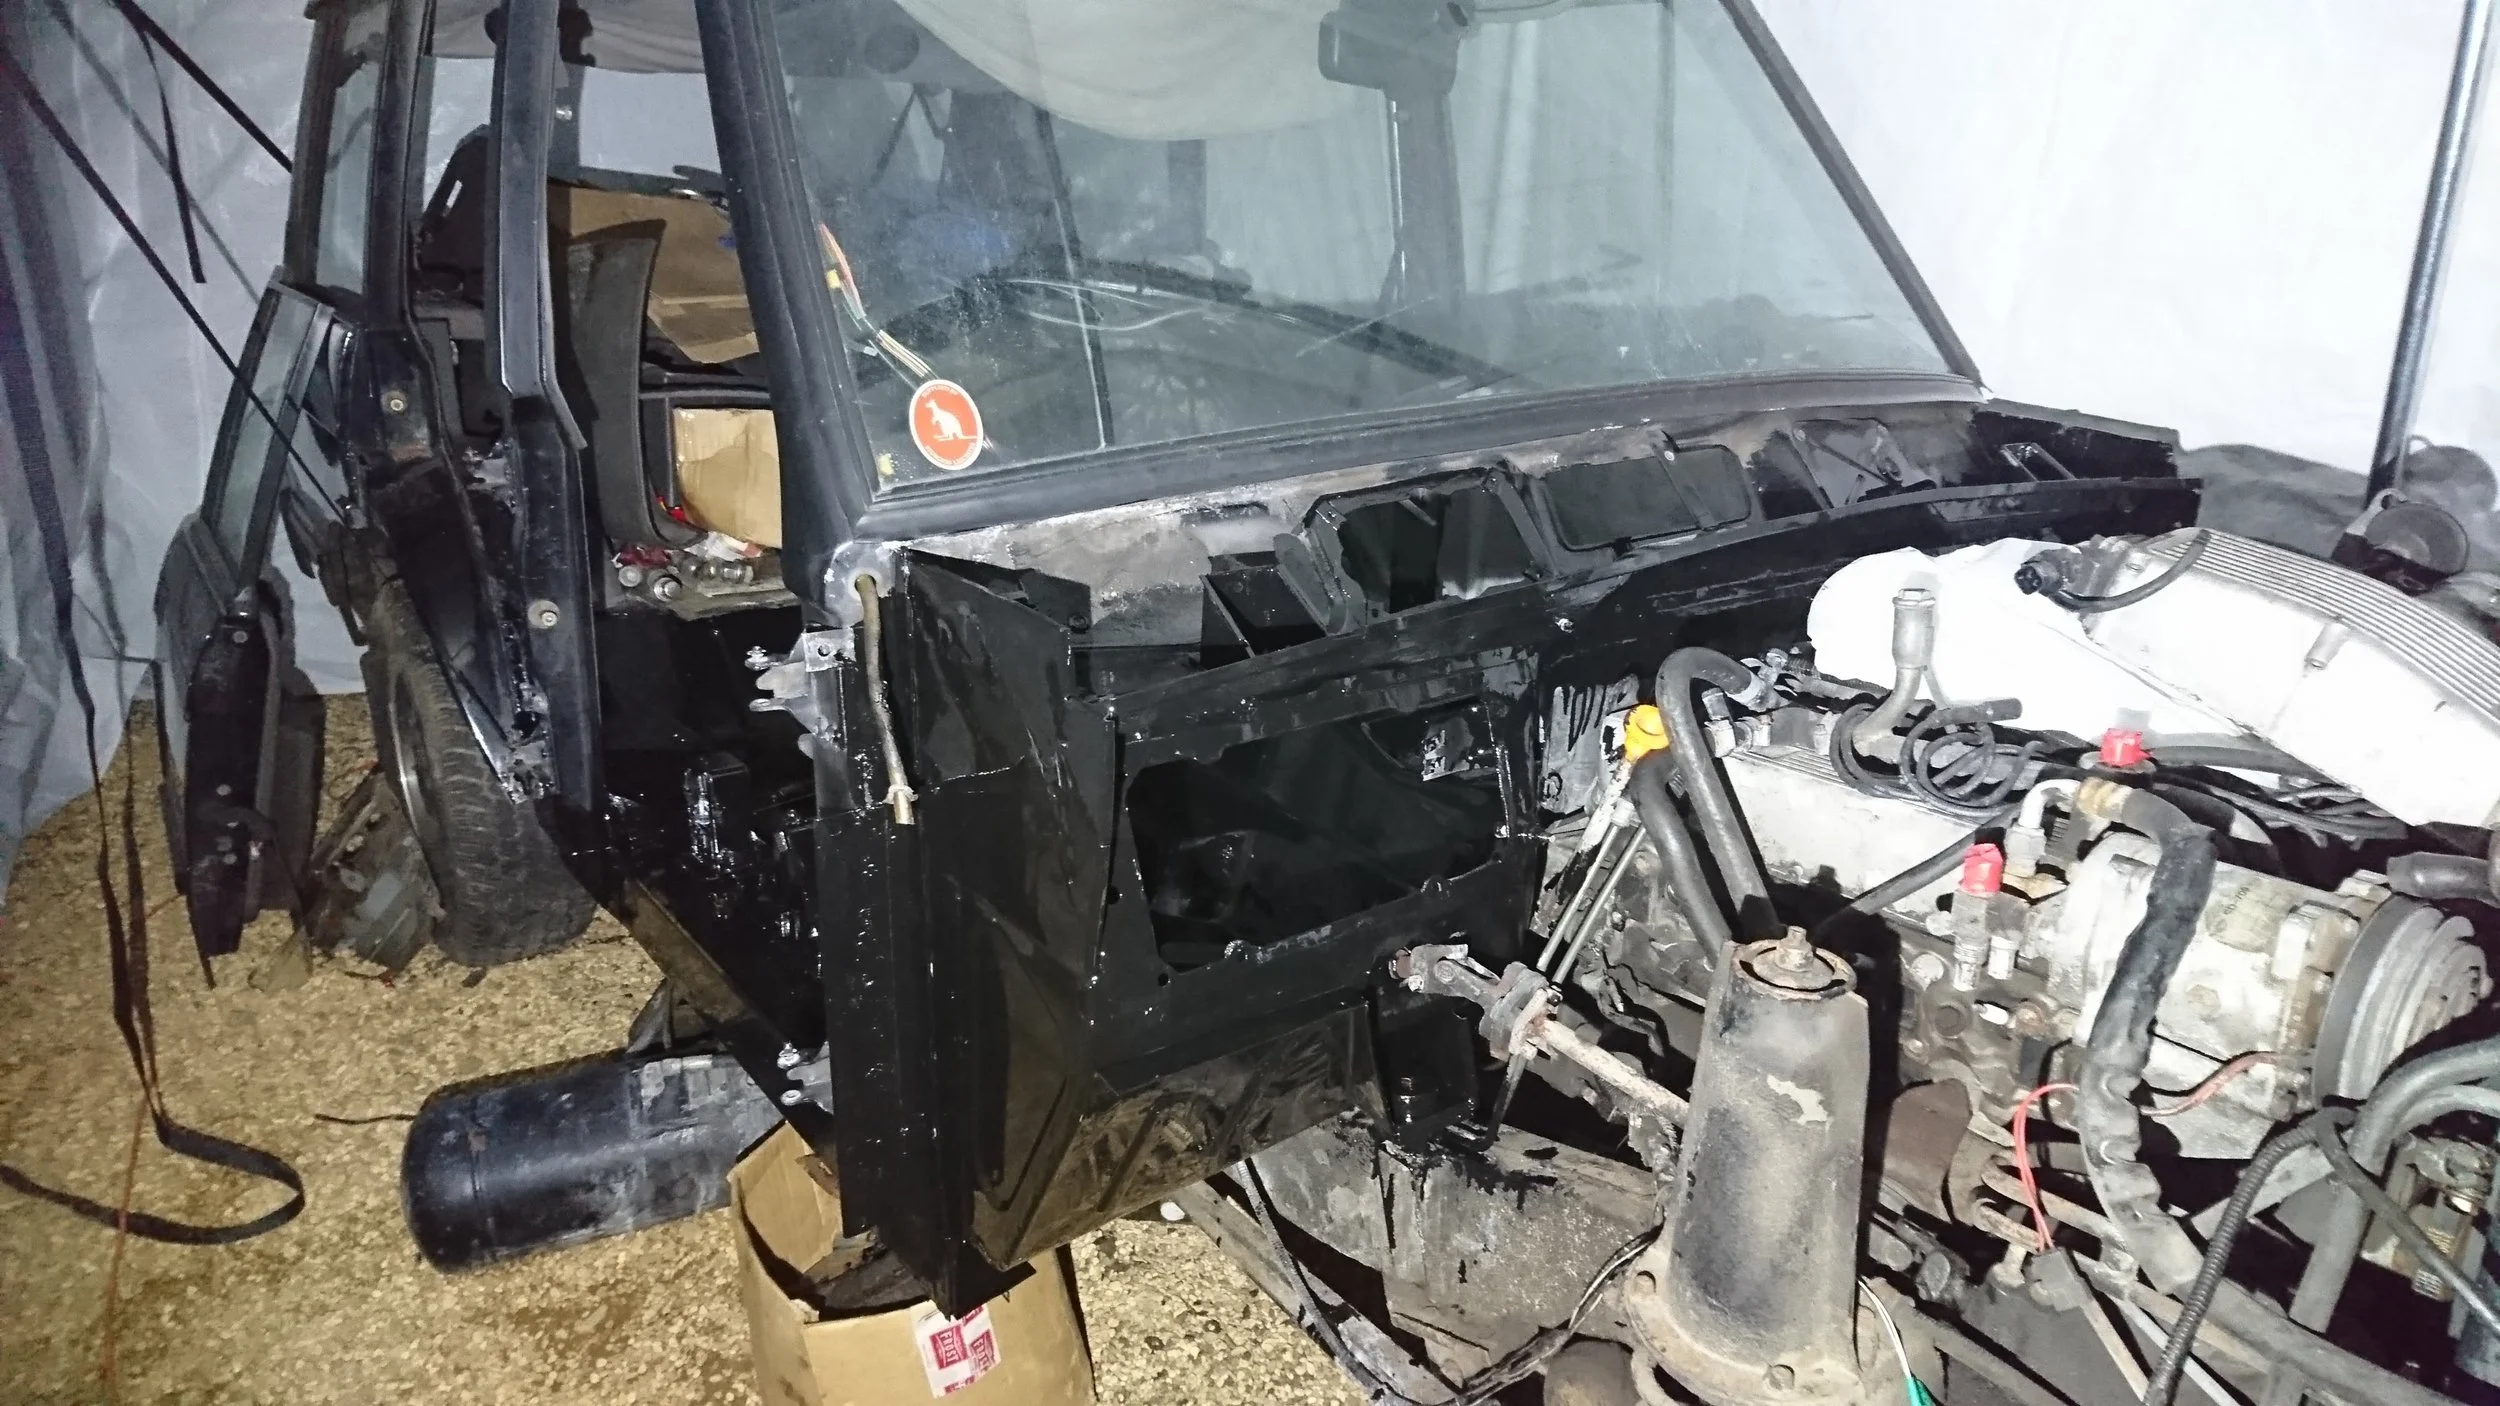
Looking through the engine bulkhead...

It looks pretty crusty from the inside too. This jumble of wires was going to pose some issues too...
Removing bits of inner wing.
And more bits...
There isn't much left by this point...
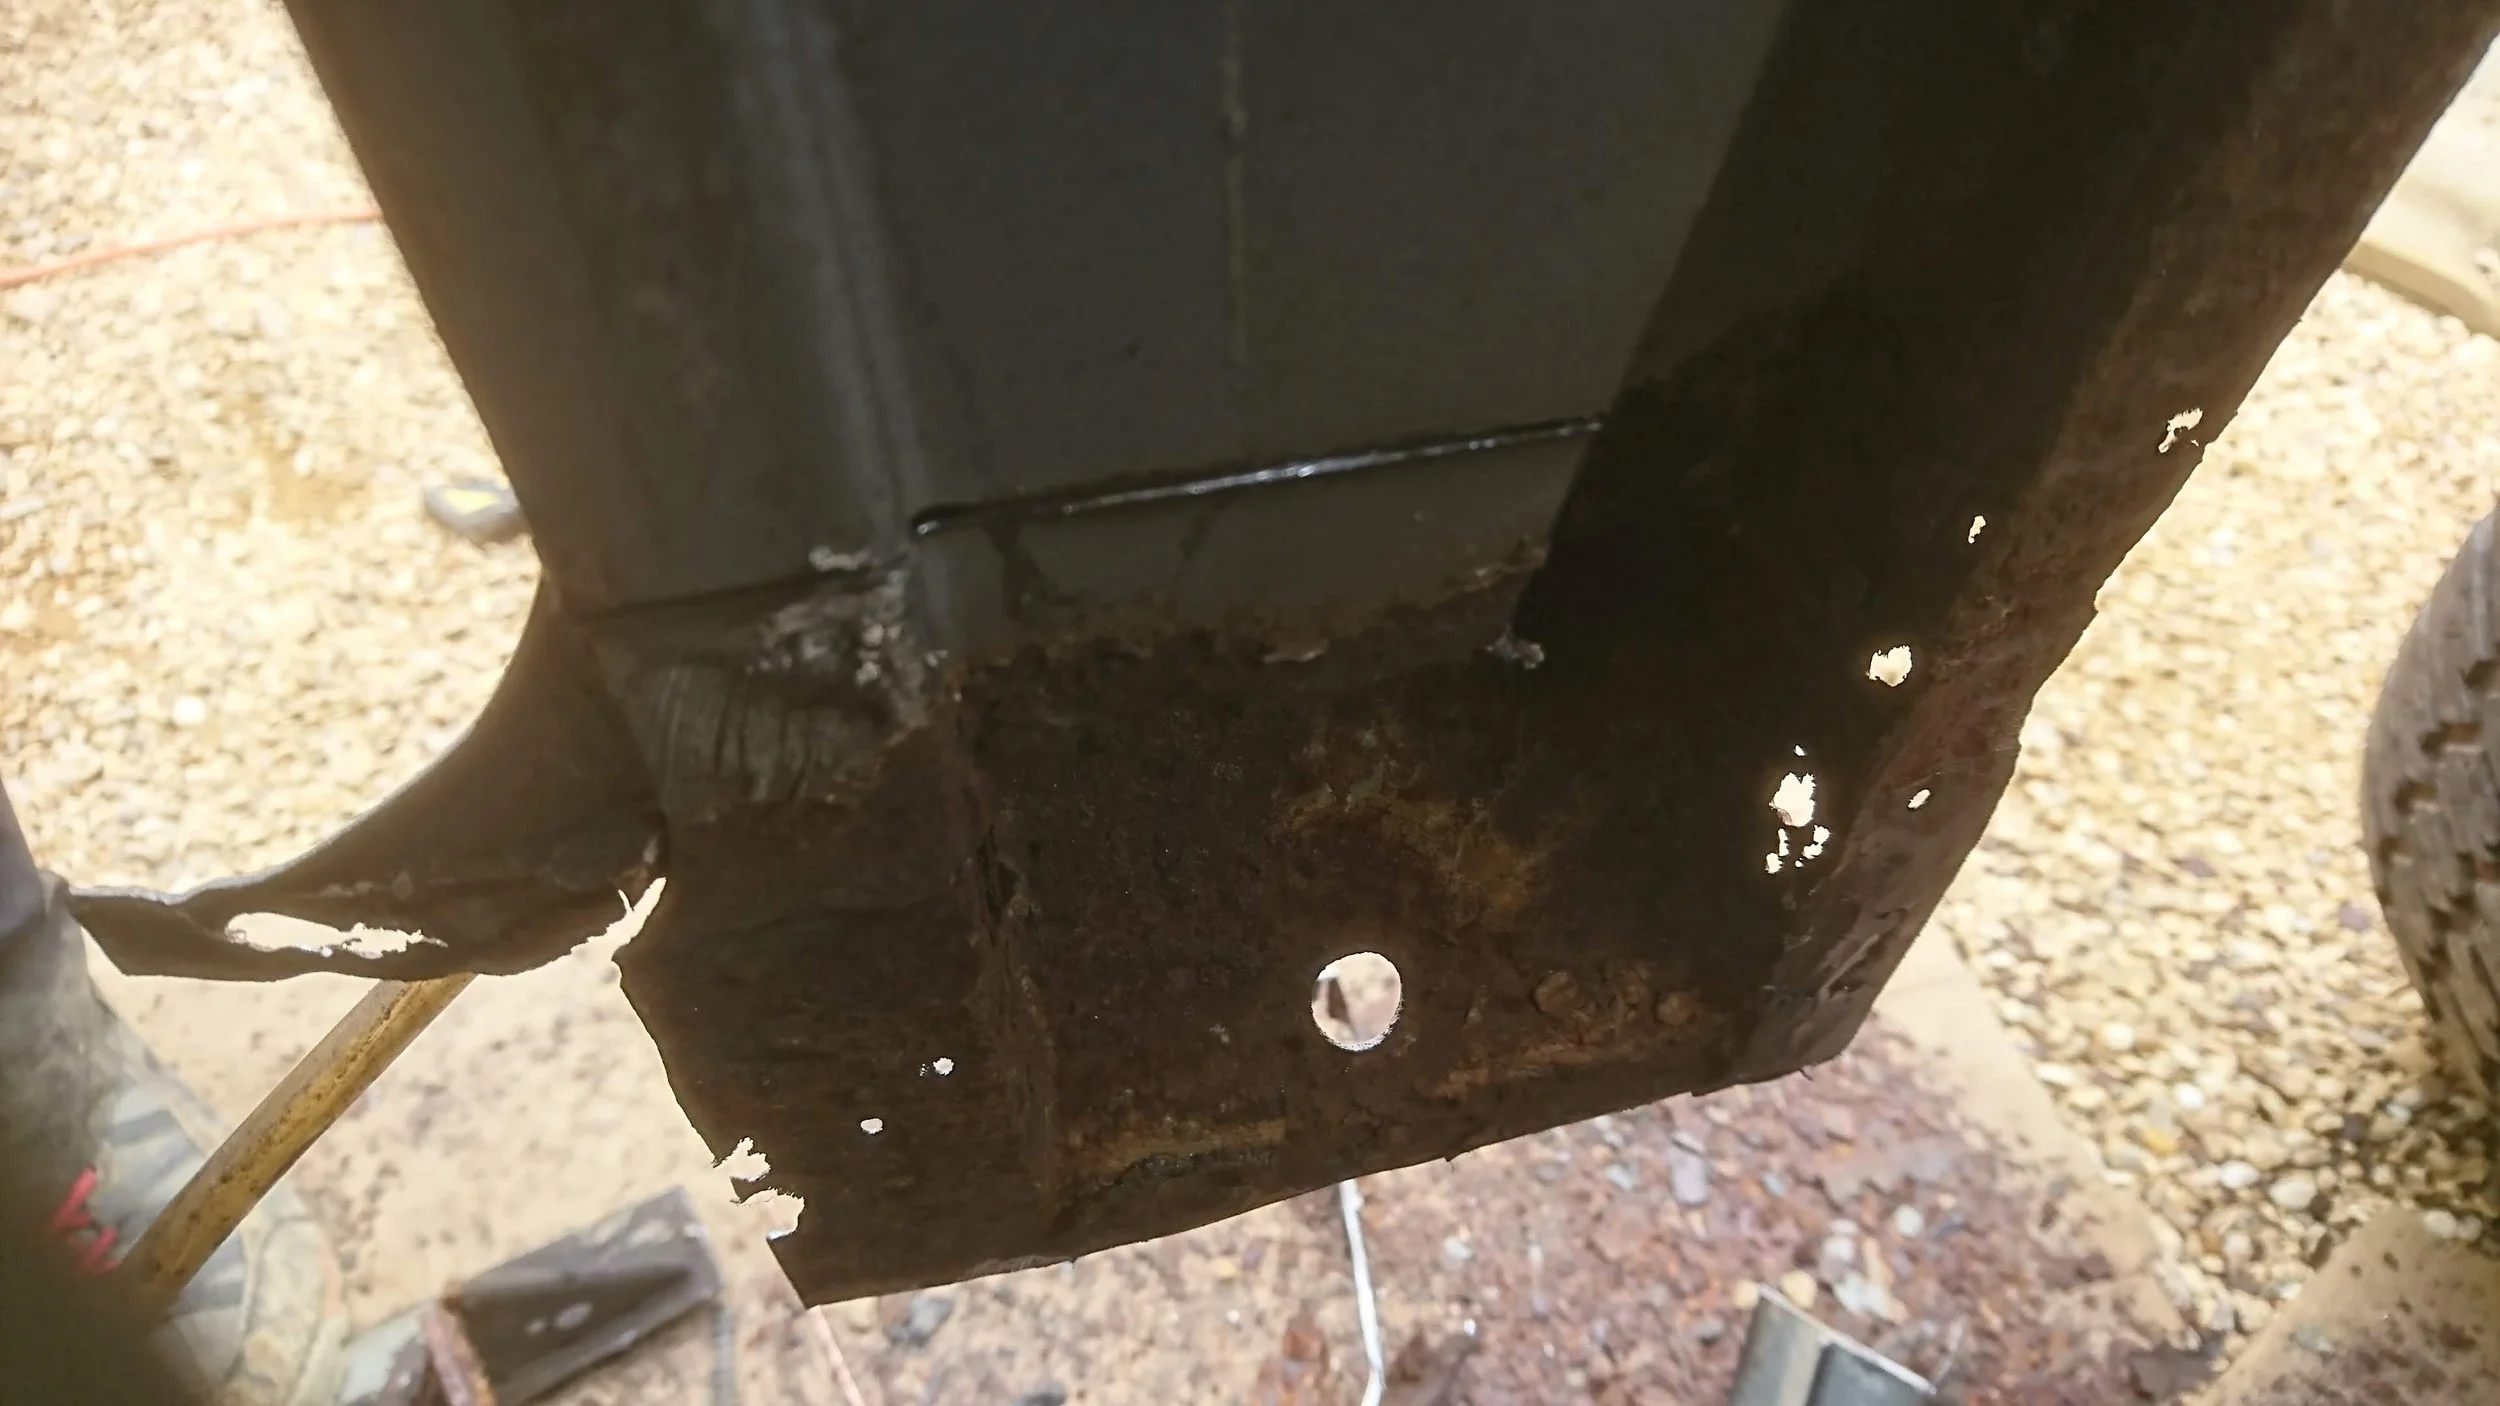
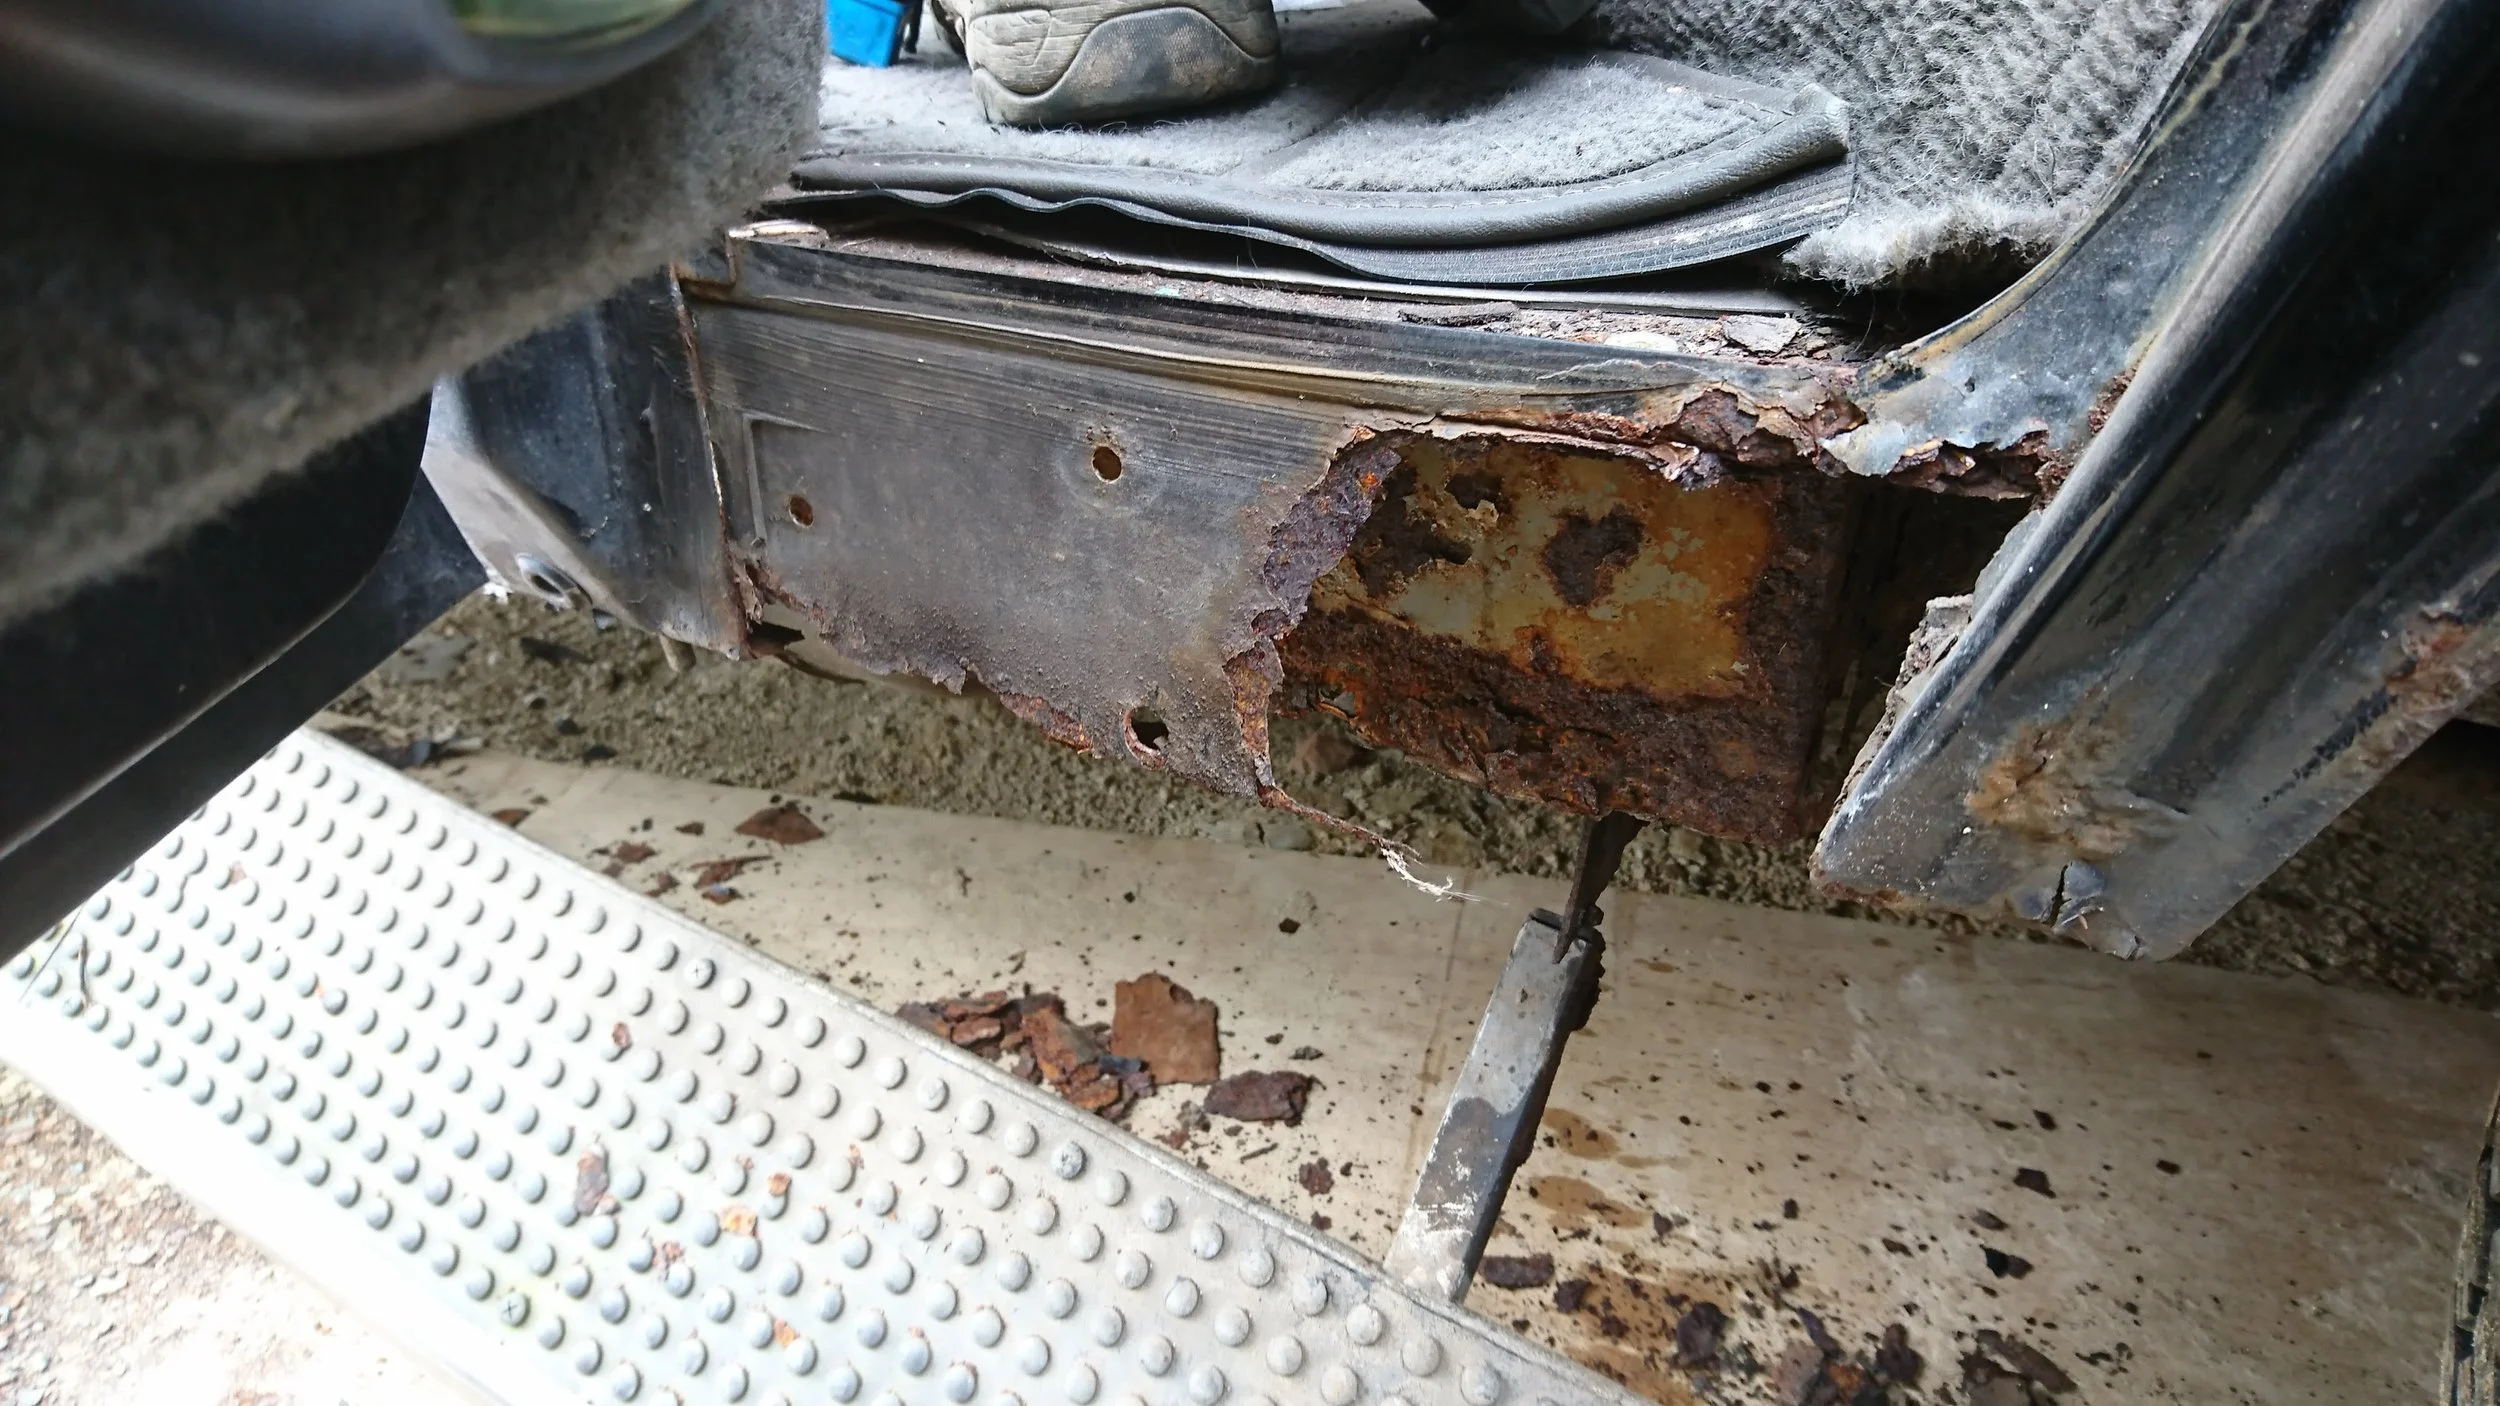
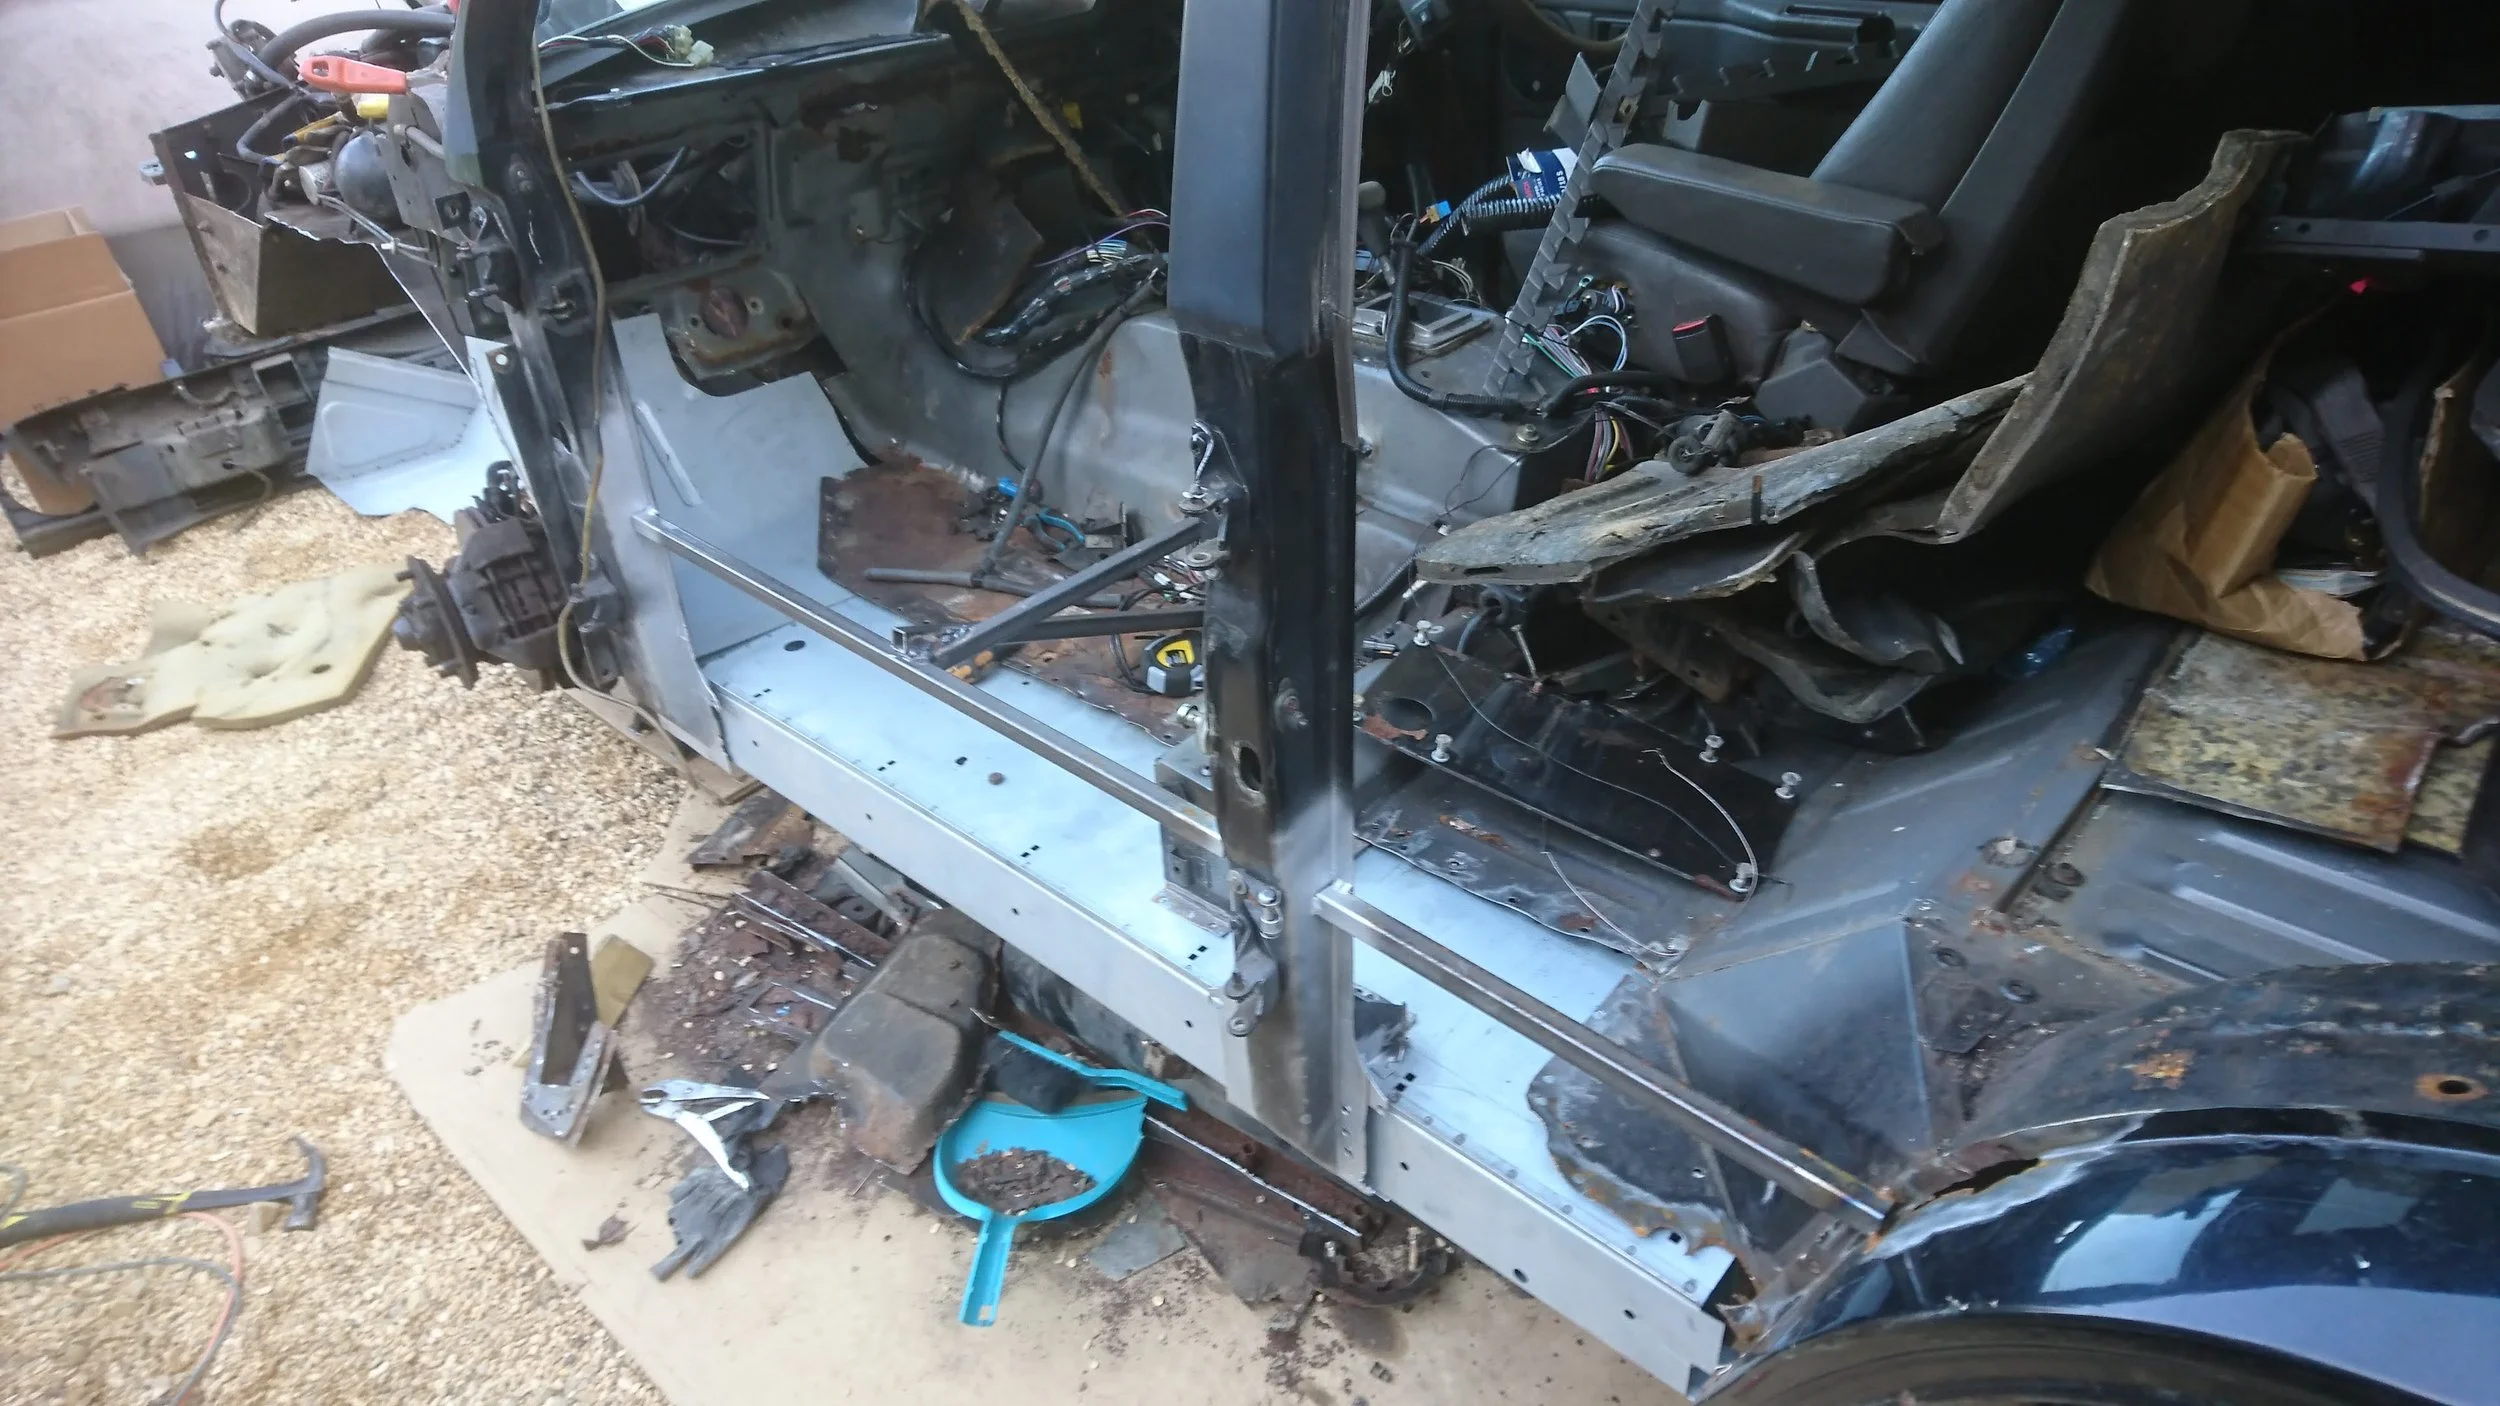
The bottom of the door pillars weren't great either...
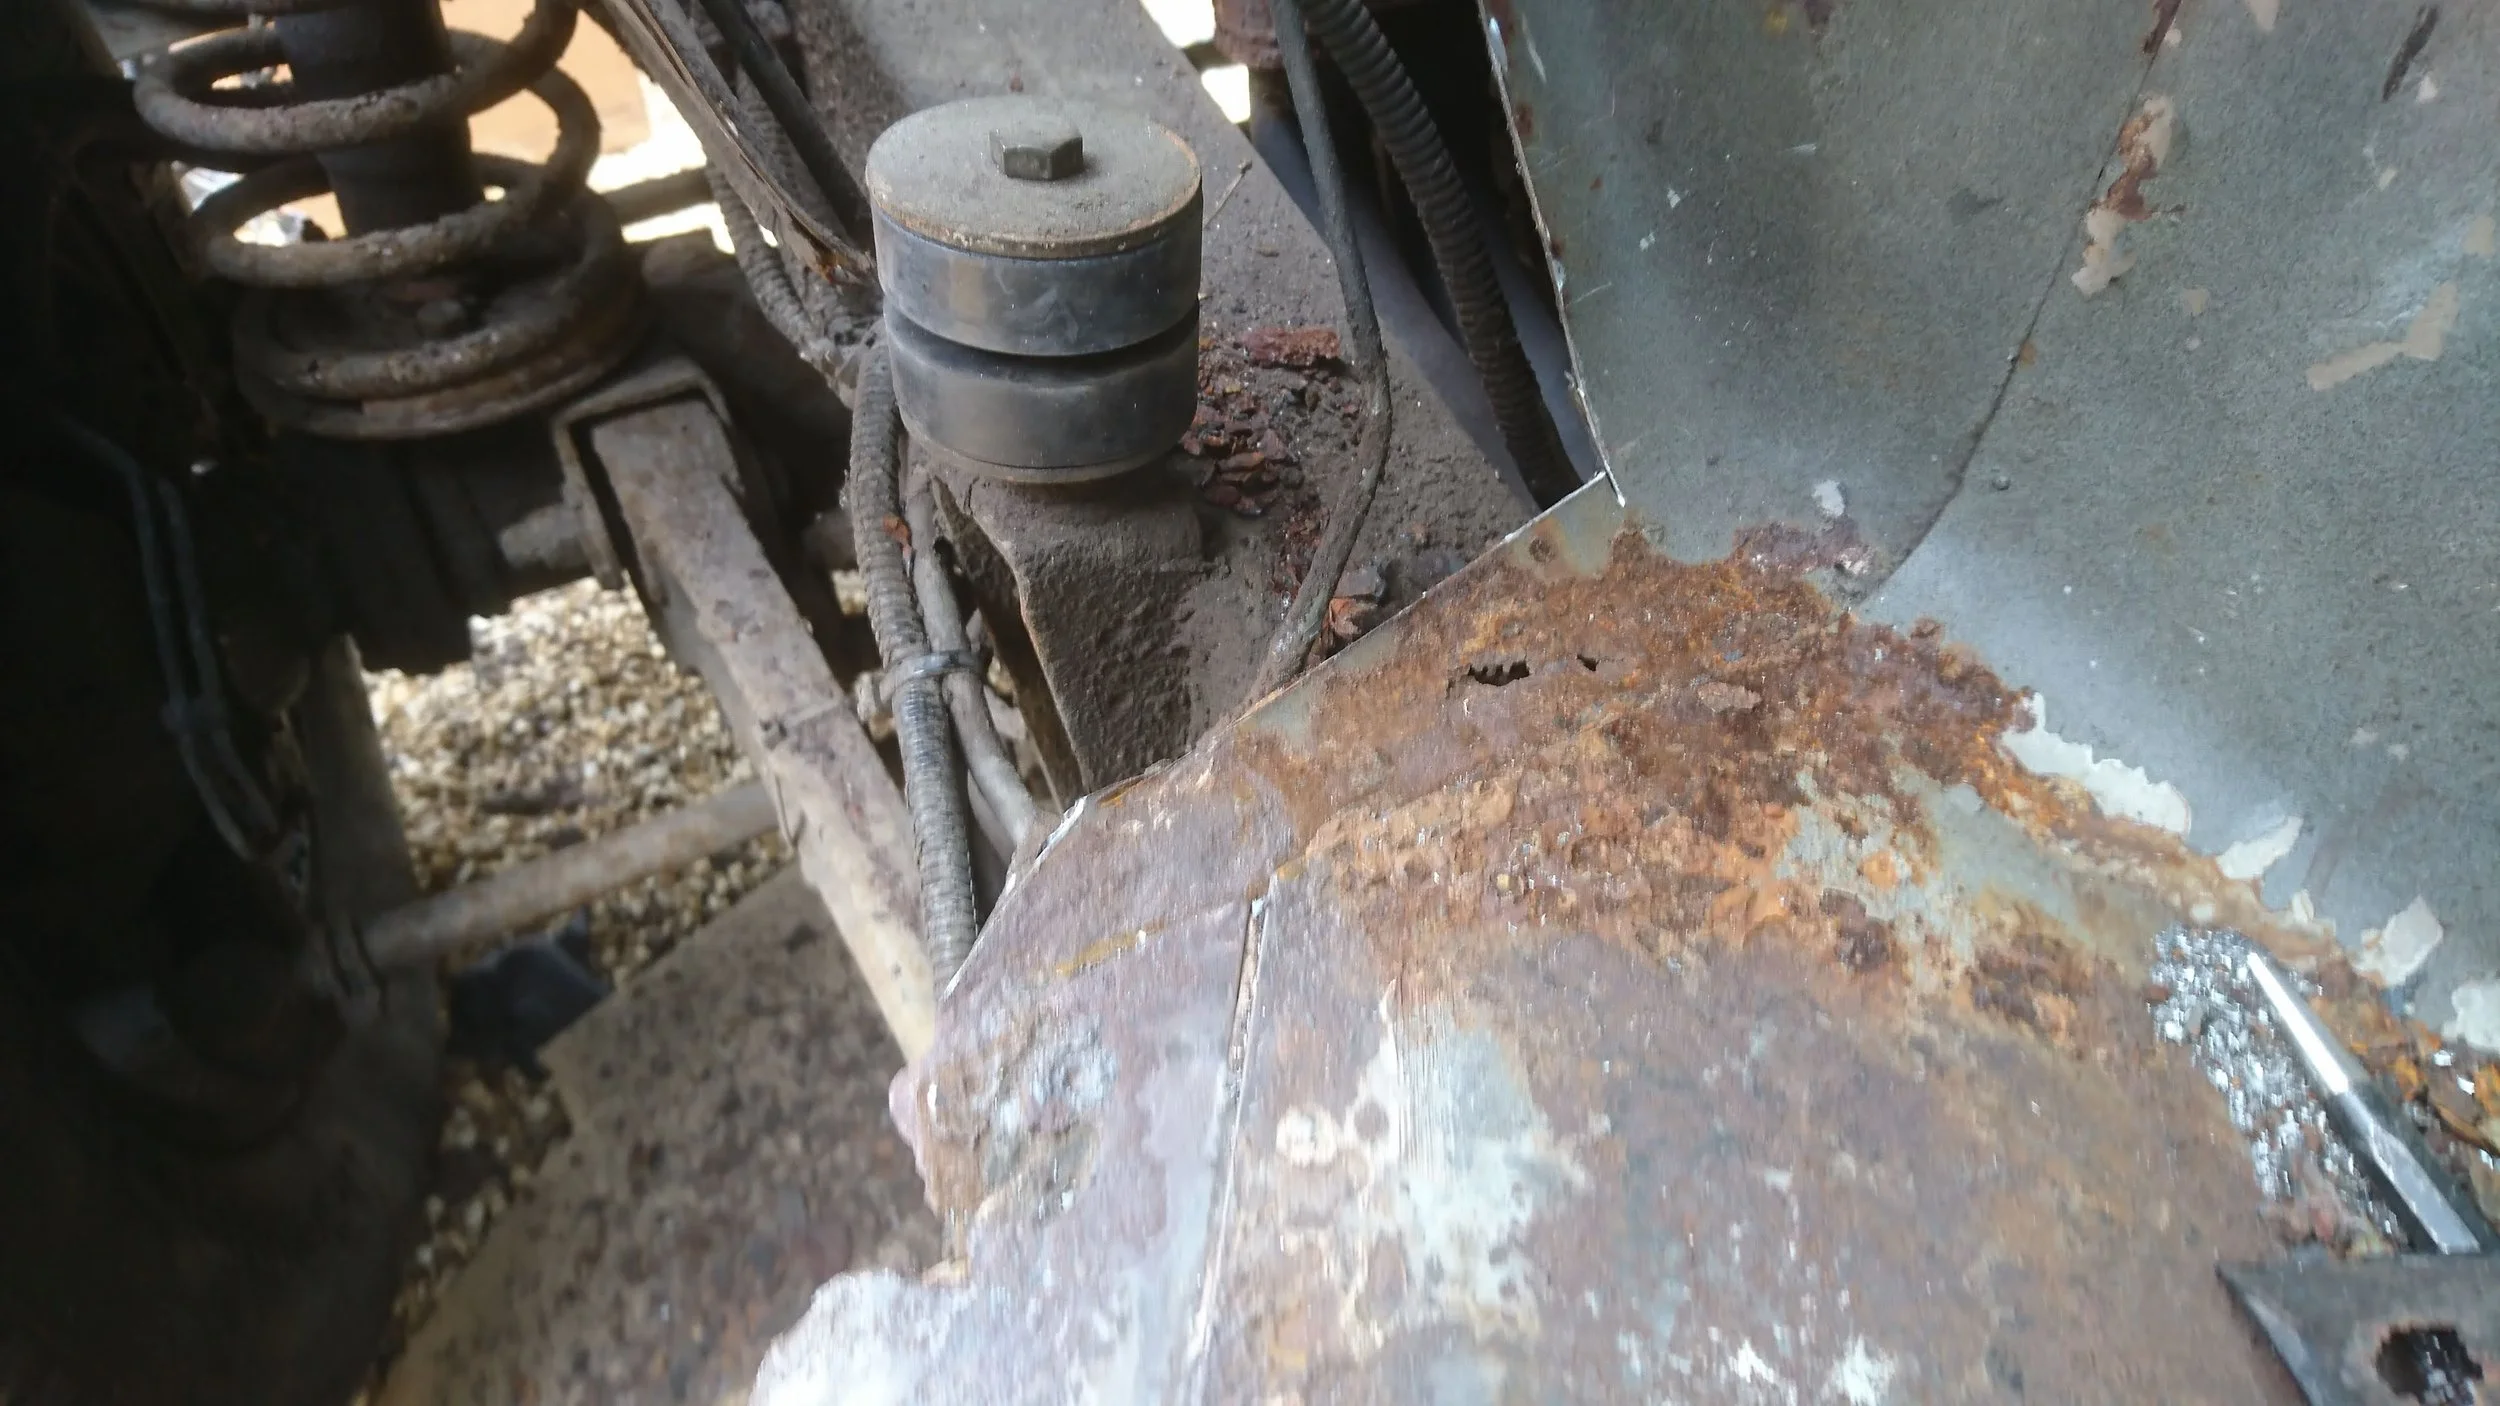
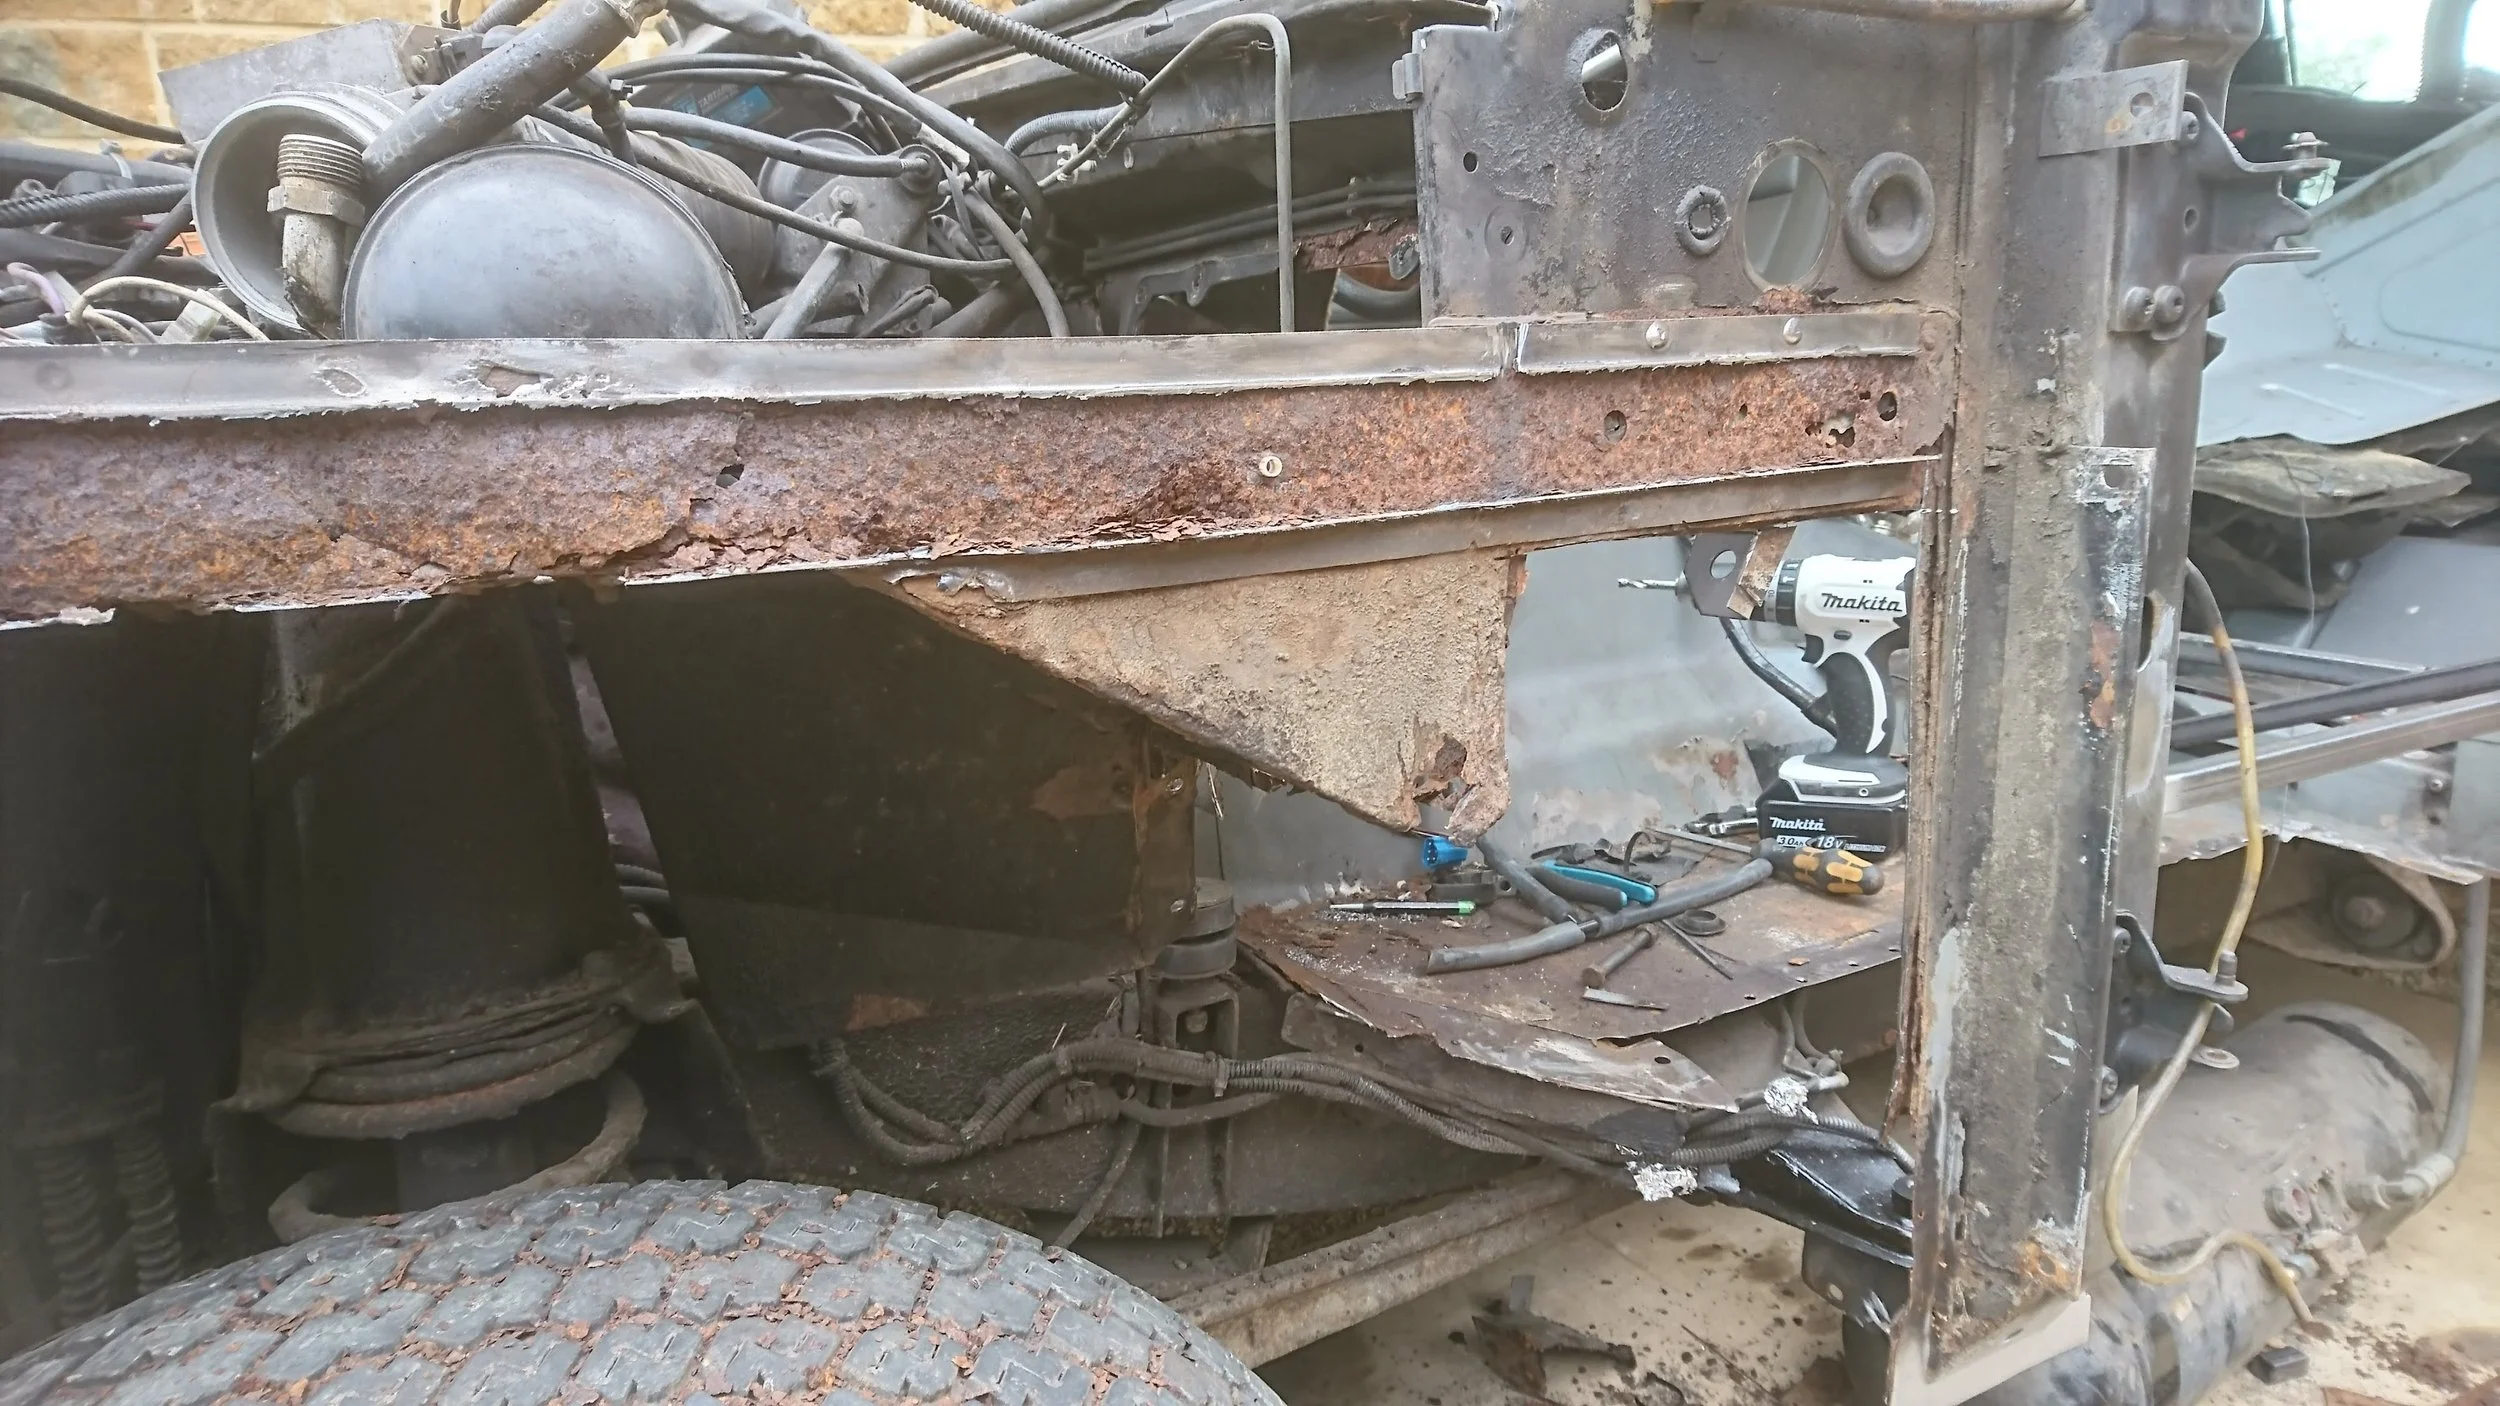
There was essentially nothing left of the front body mount. All that was holding the body on was gravity. I cut away what rust remained.
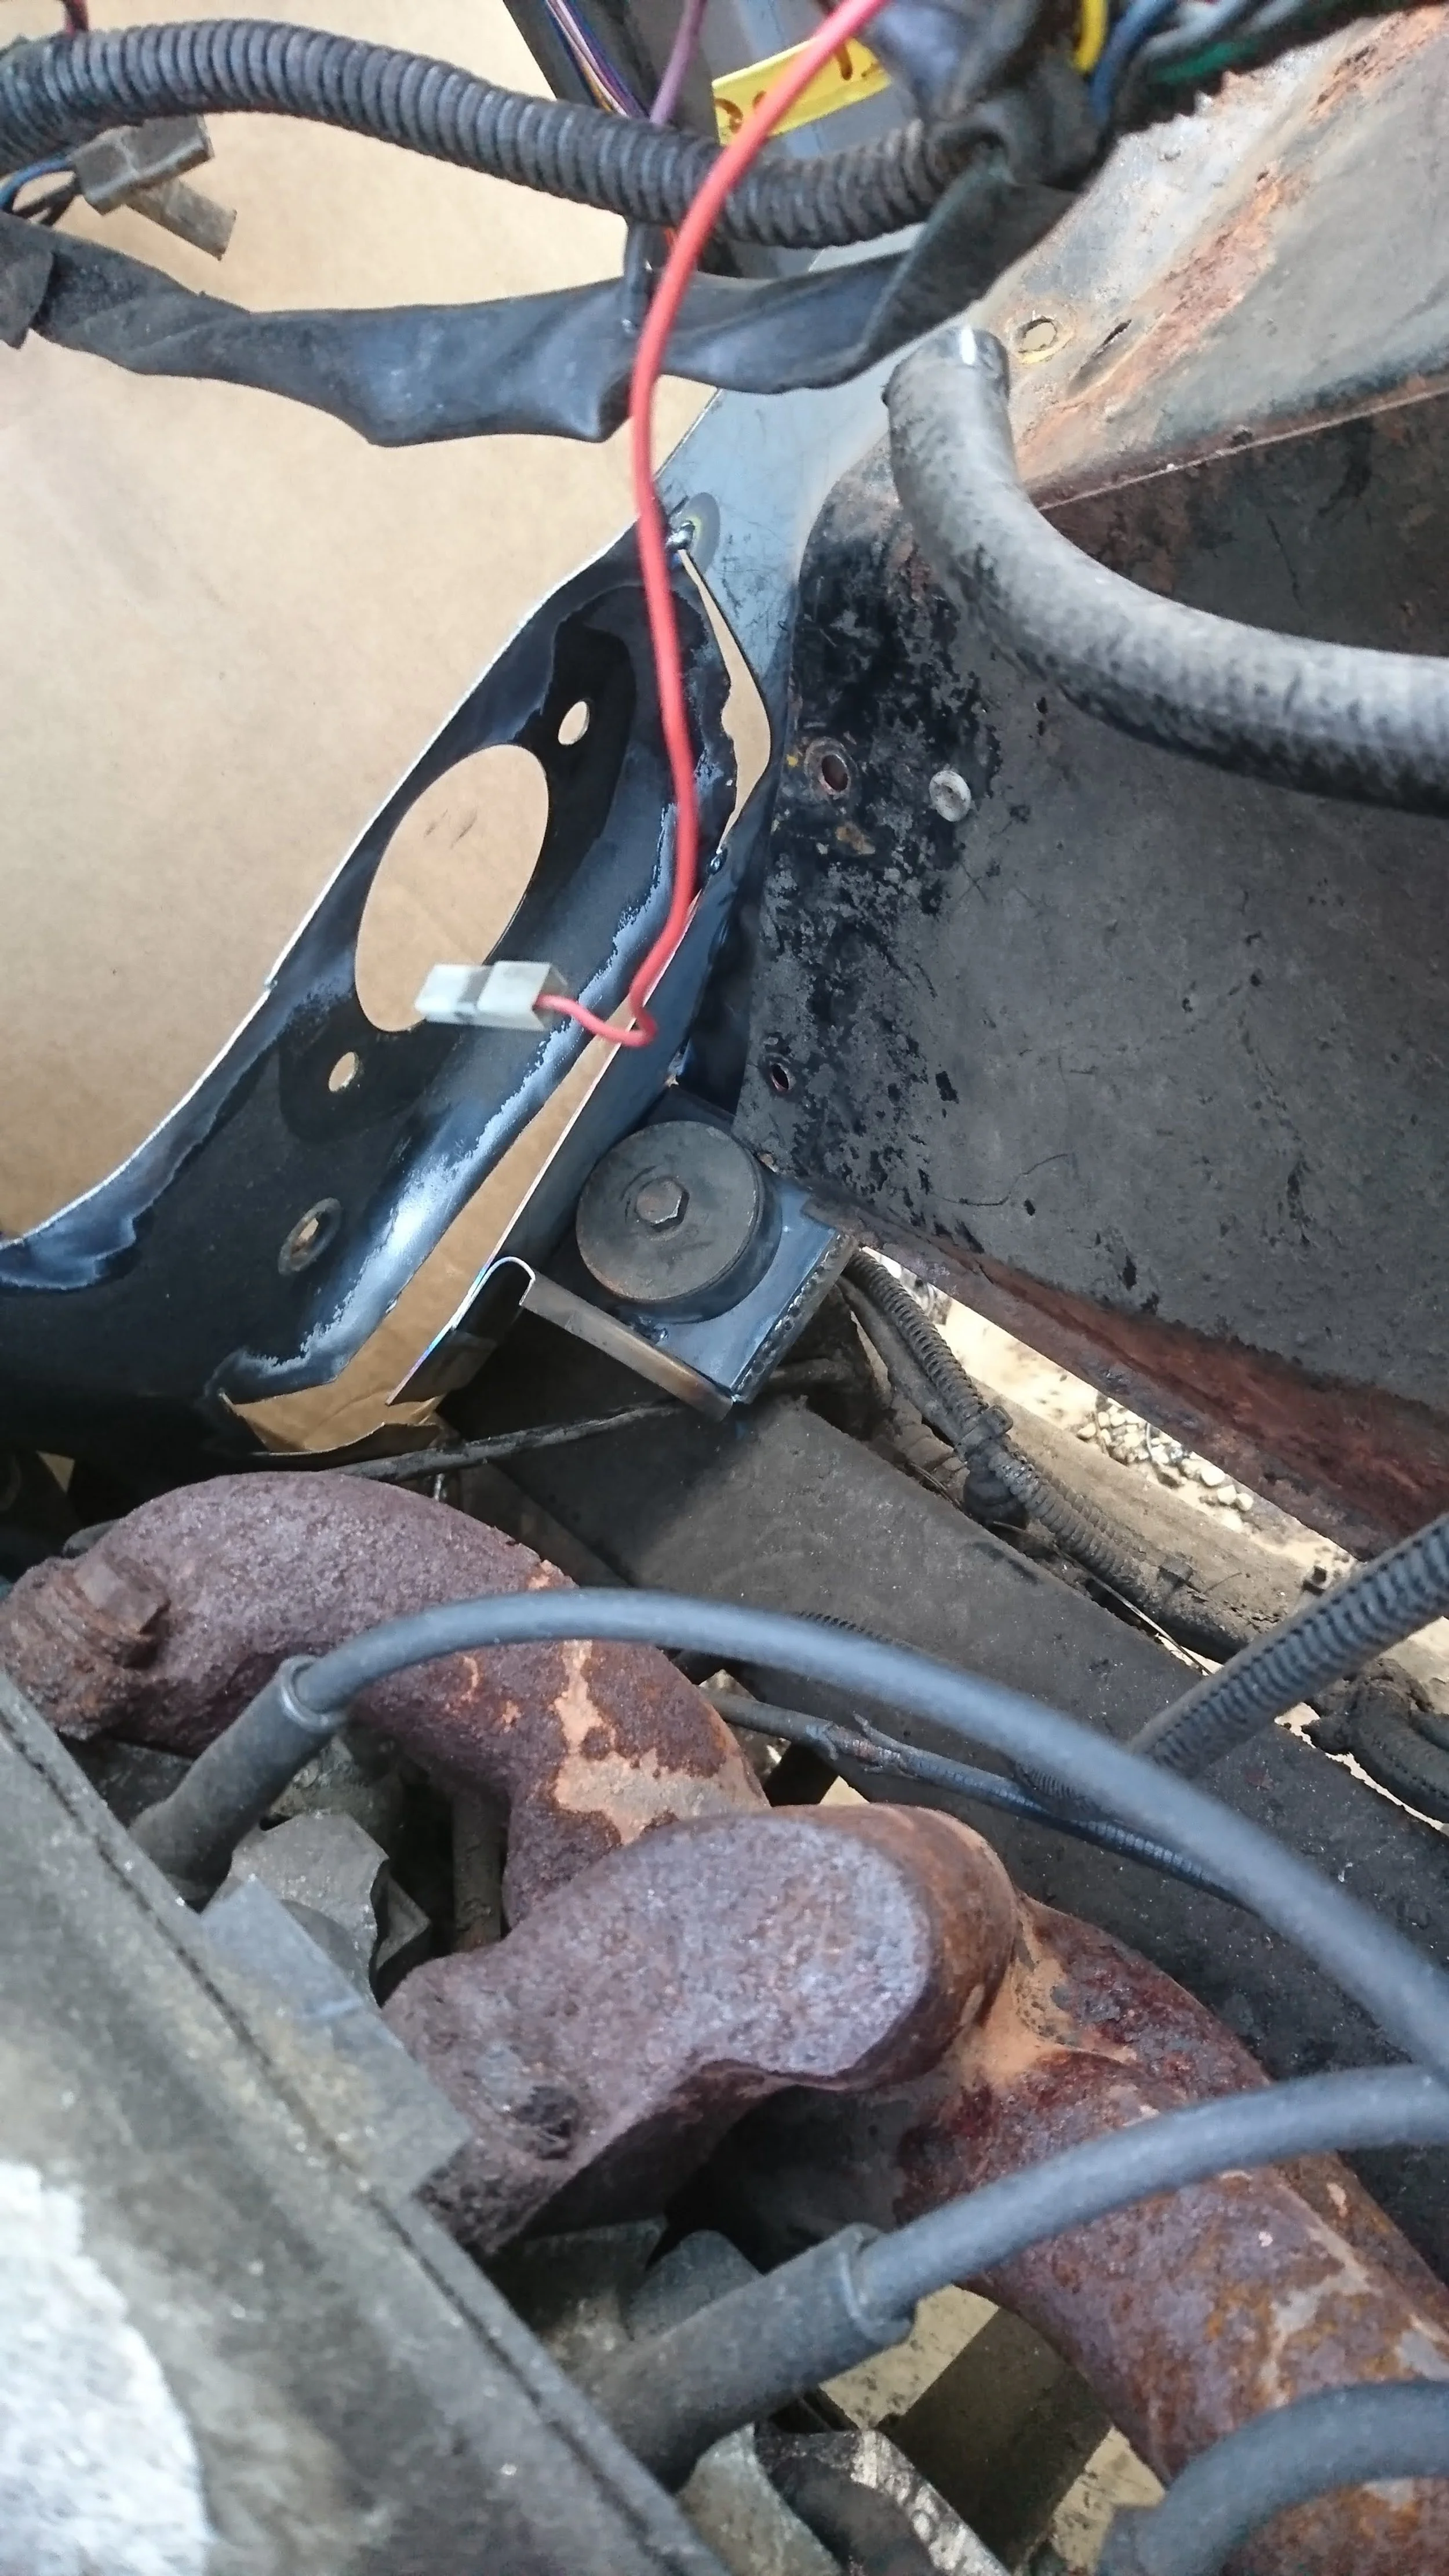
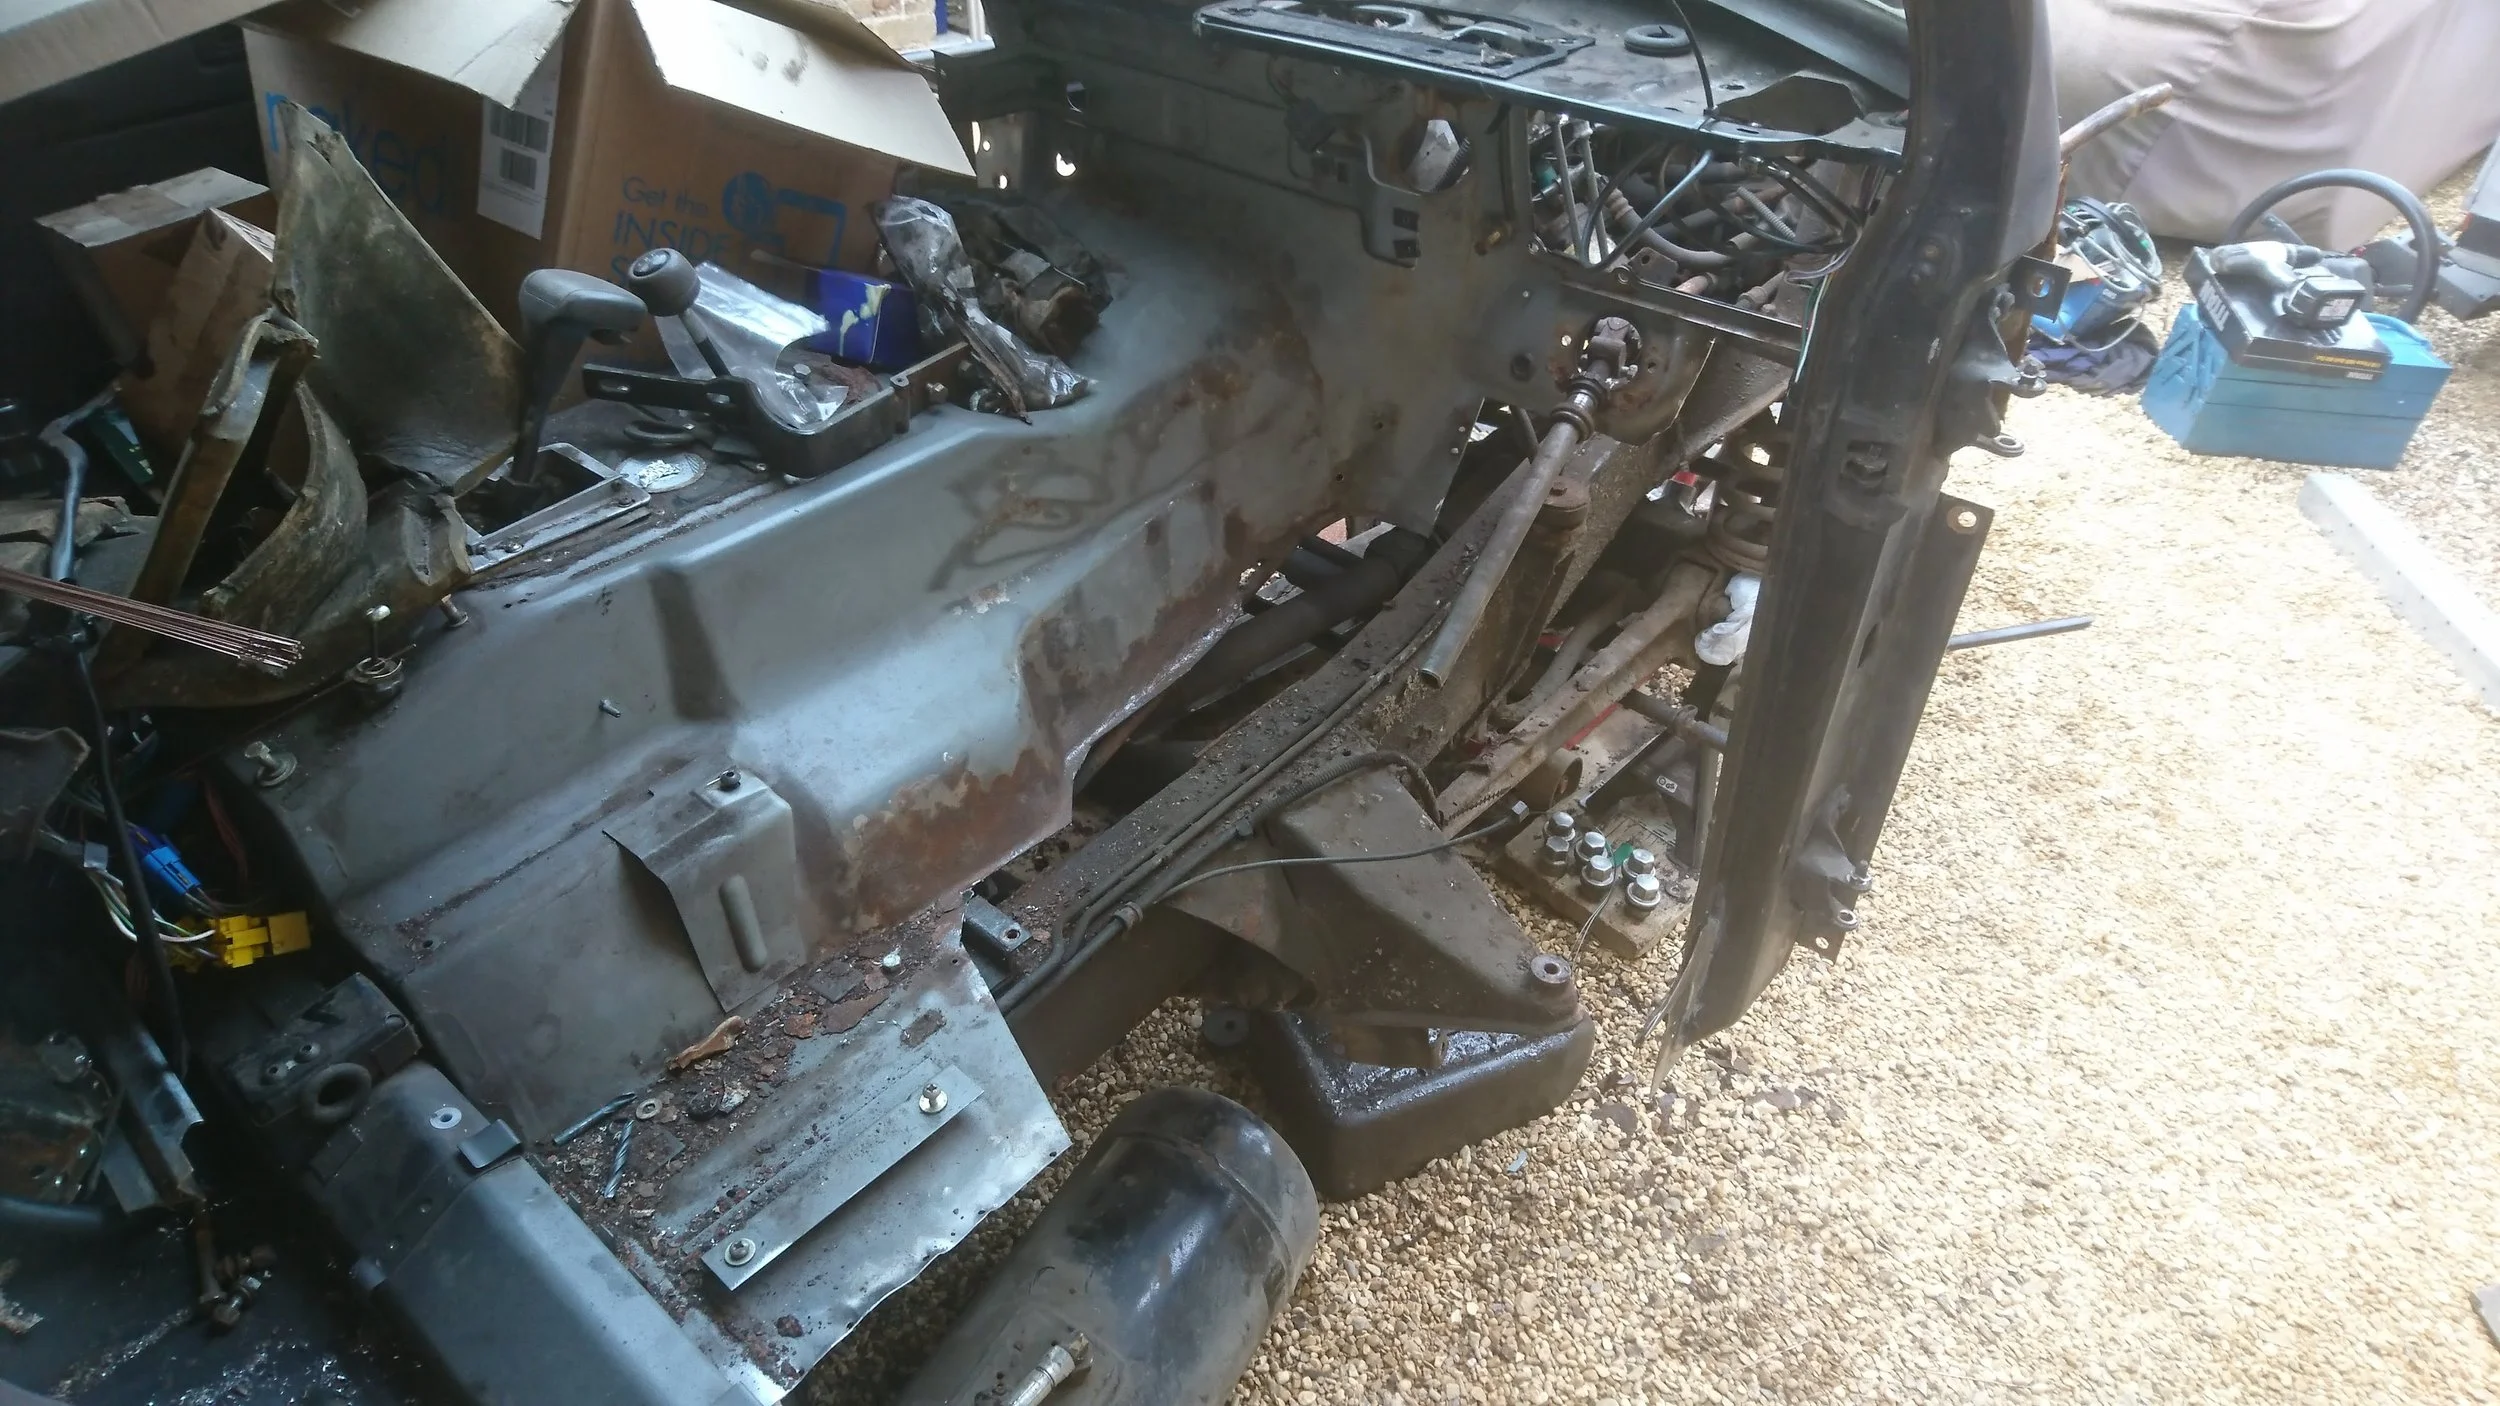
I realised that I would need to remove the wiring harness...
New metal! Just trial fit at this point...
...and from another angle.
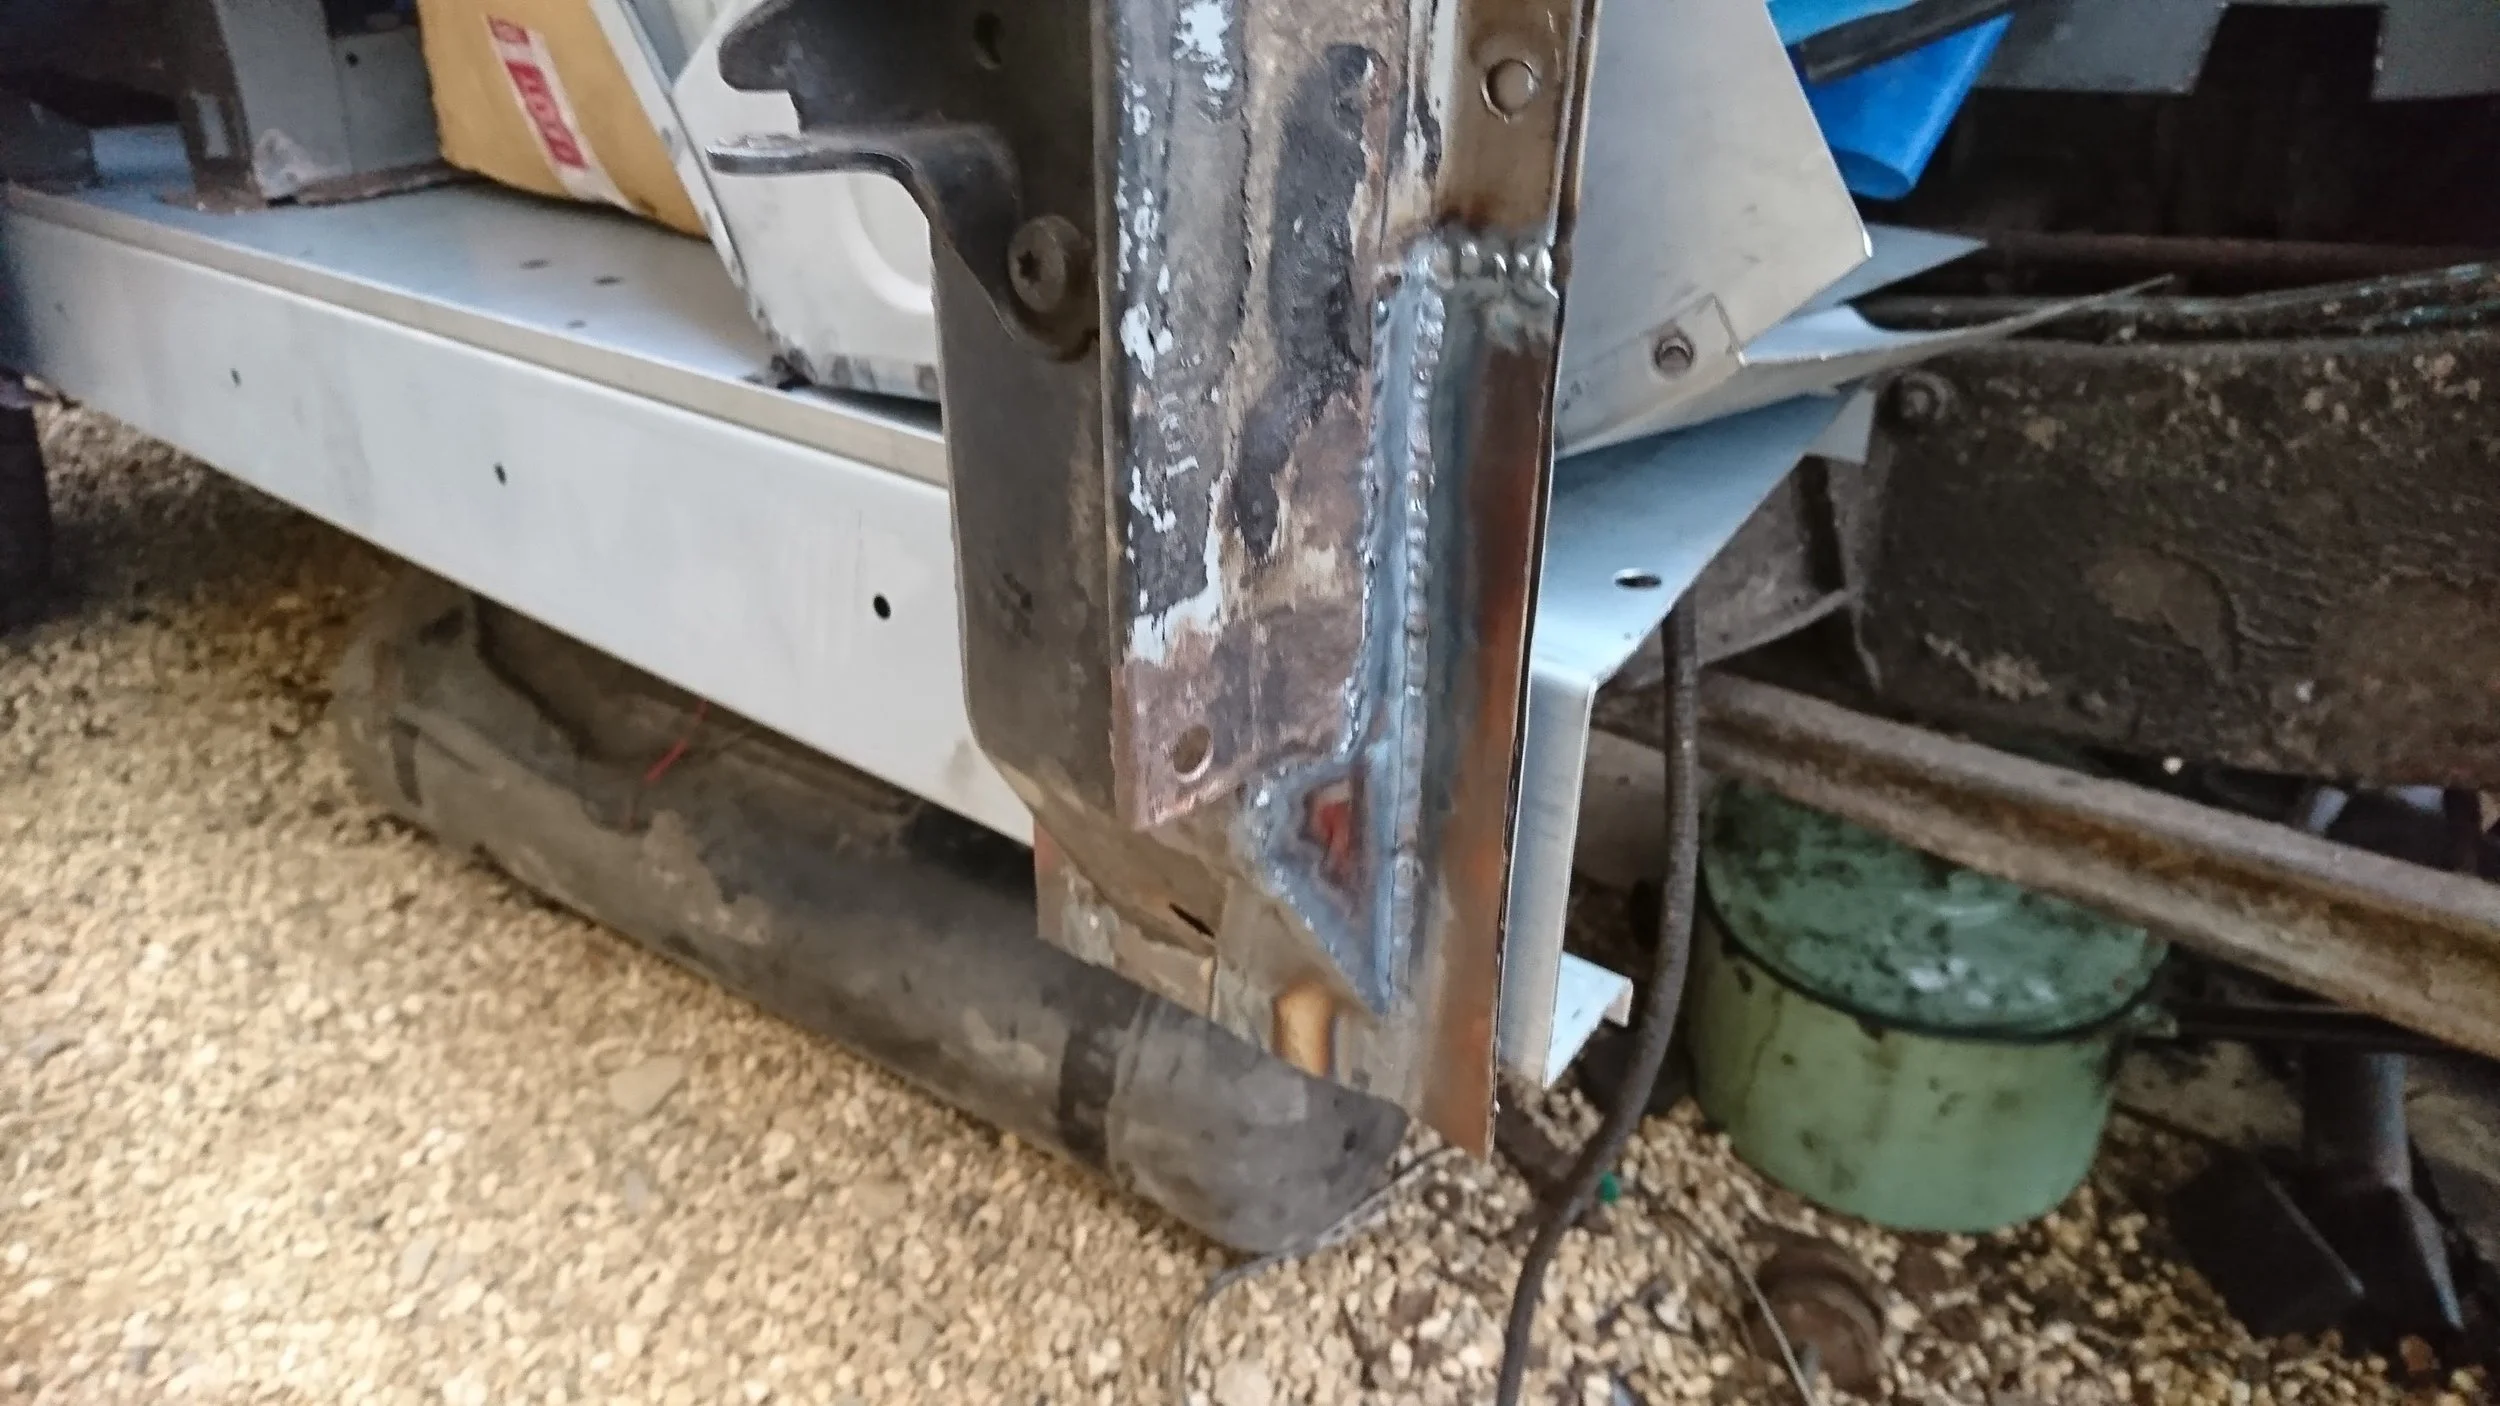
Repairs to the bottom of the door pillar.
The other side of the same pillar.
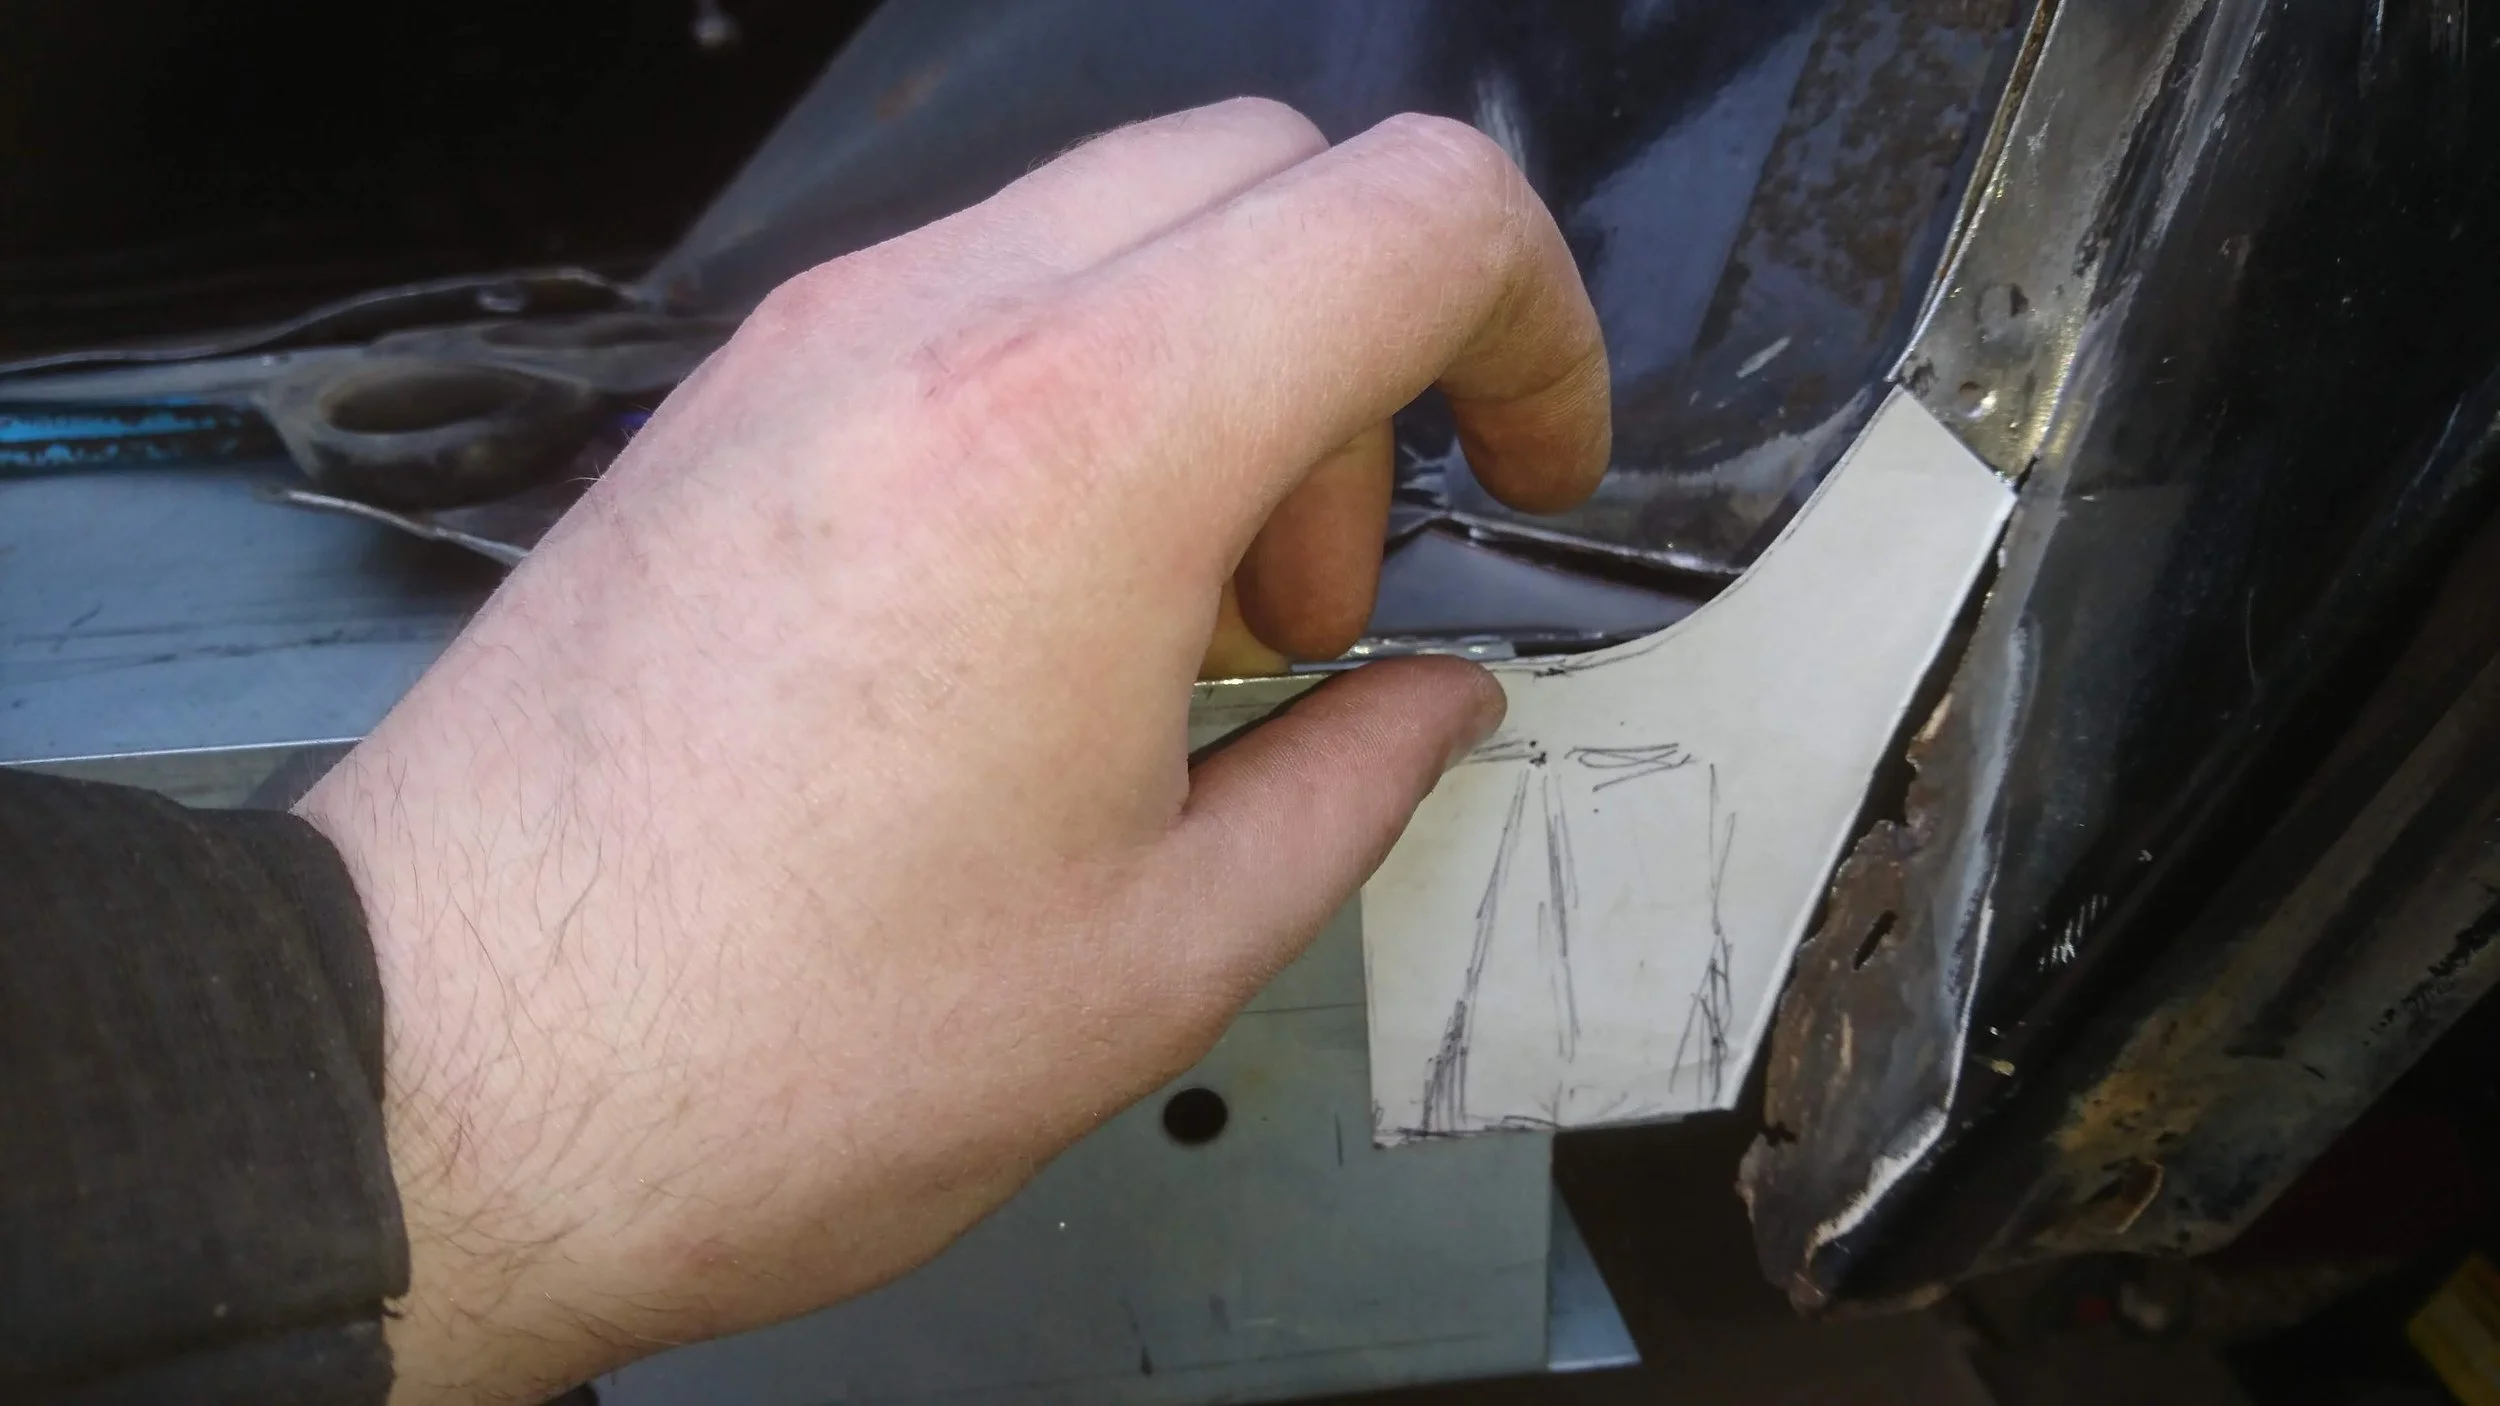
Cardboard Aided Design. Extensive use was made...
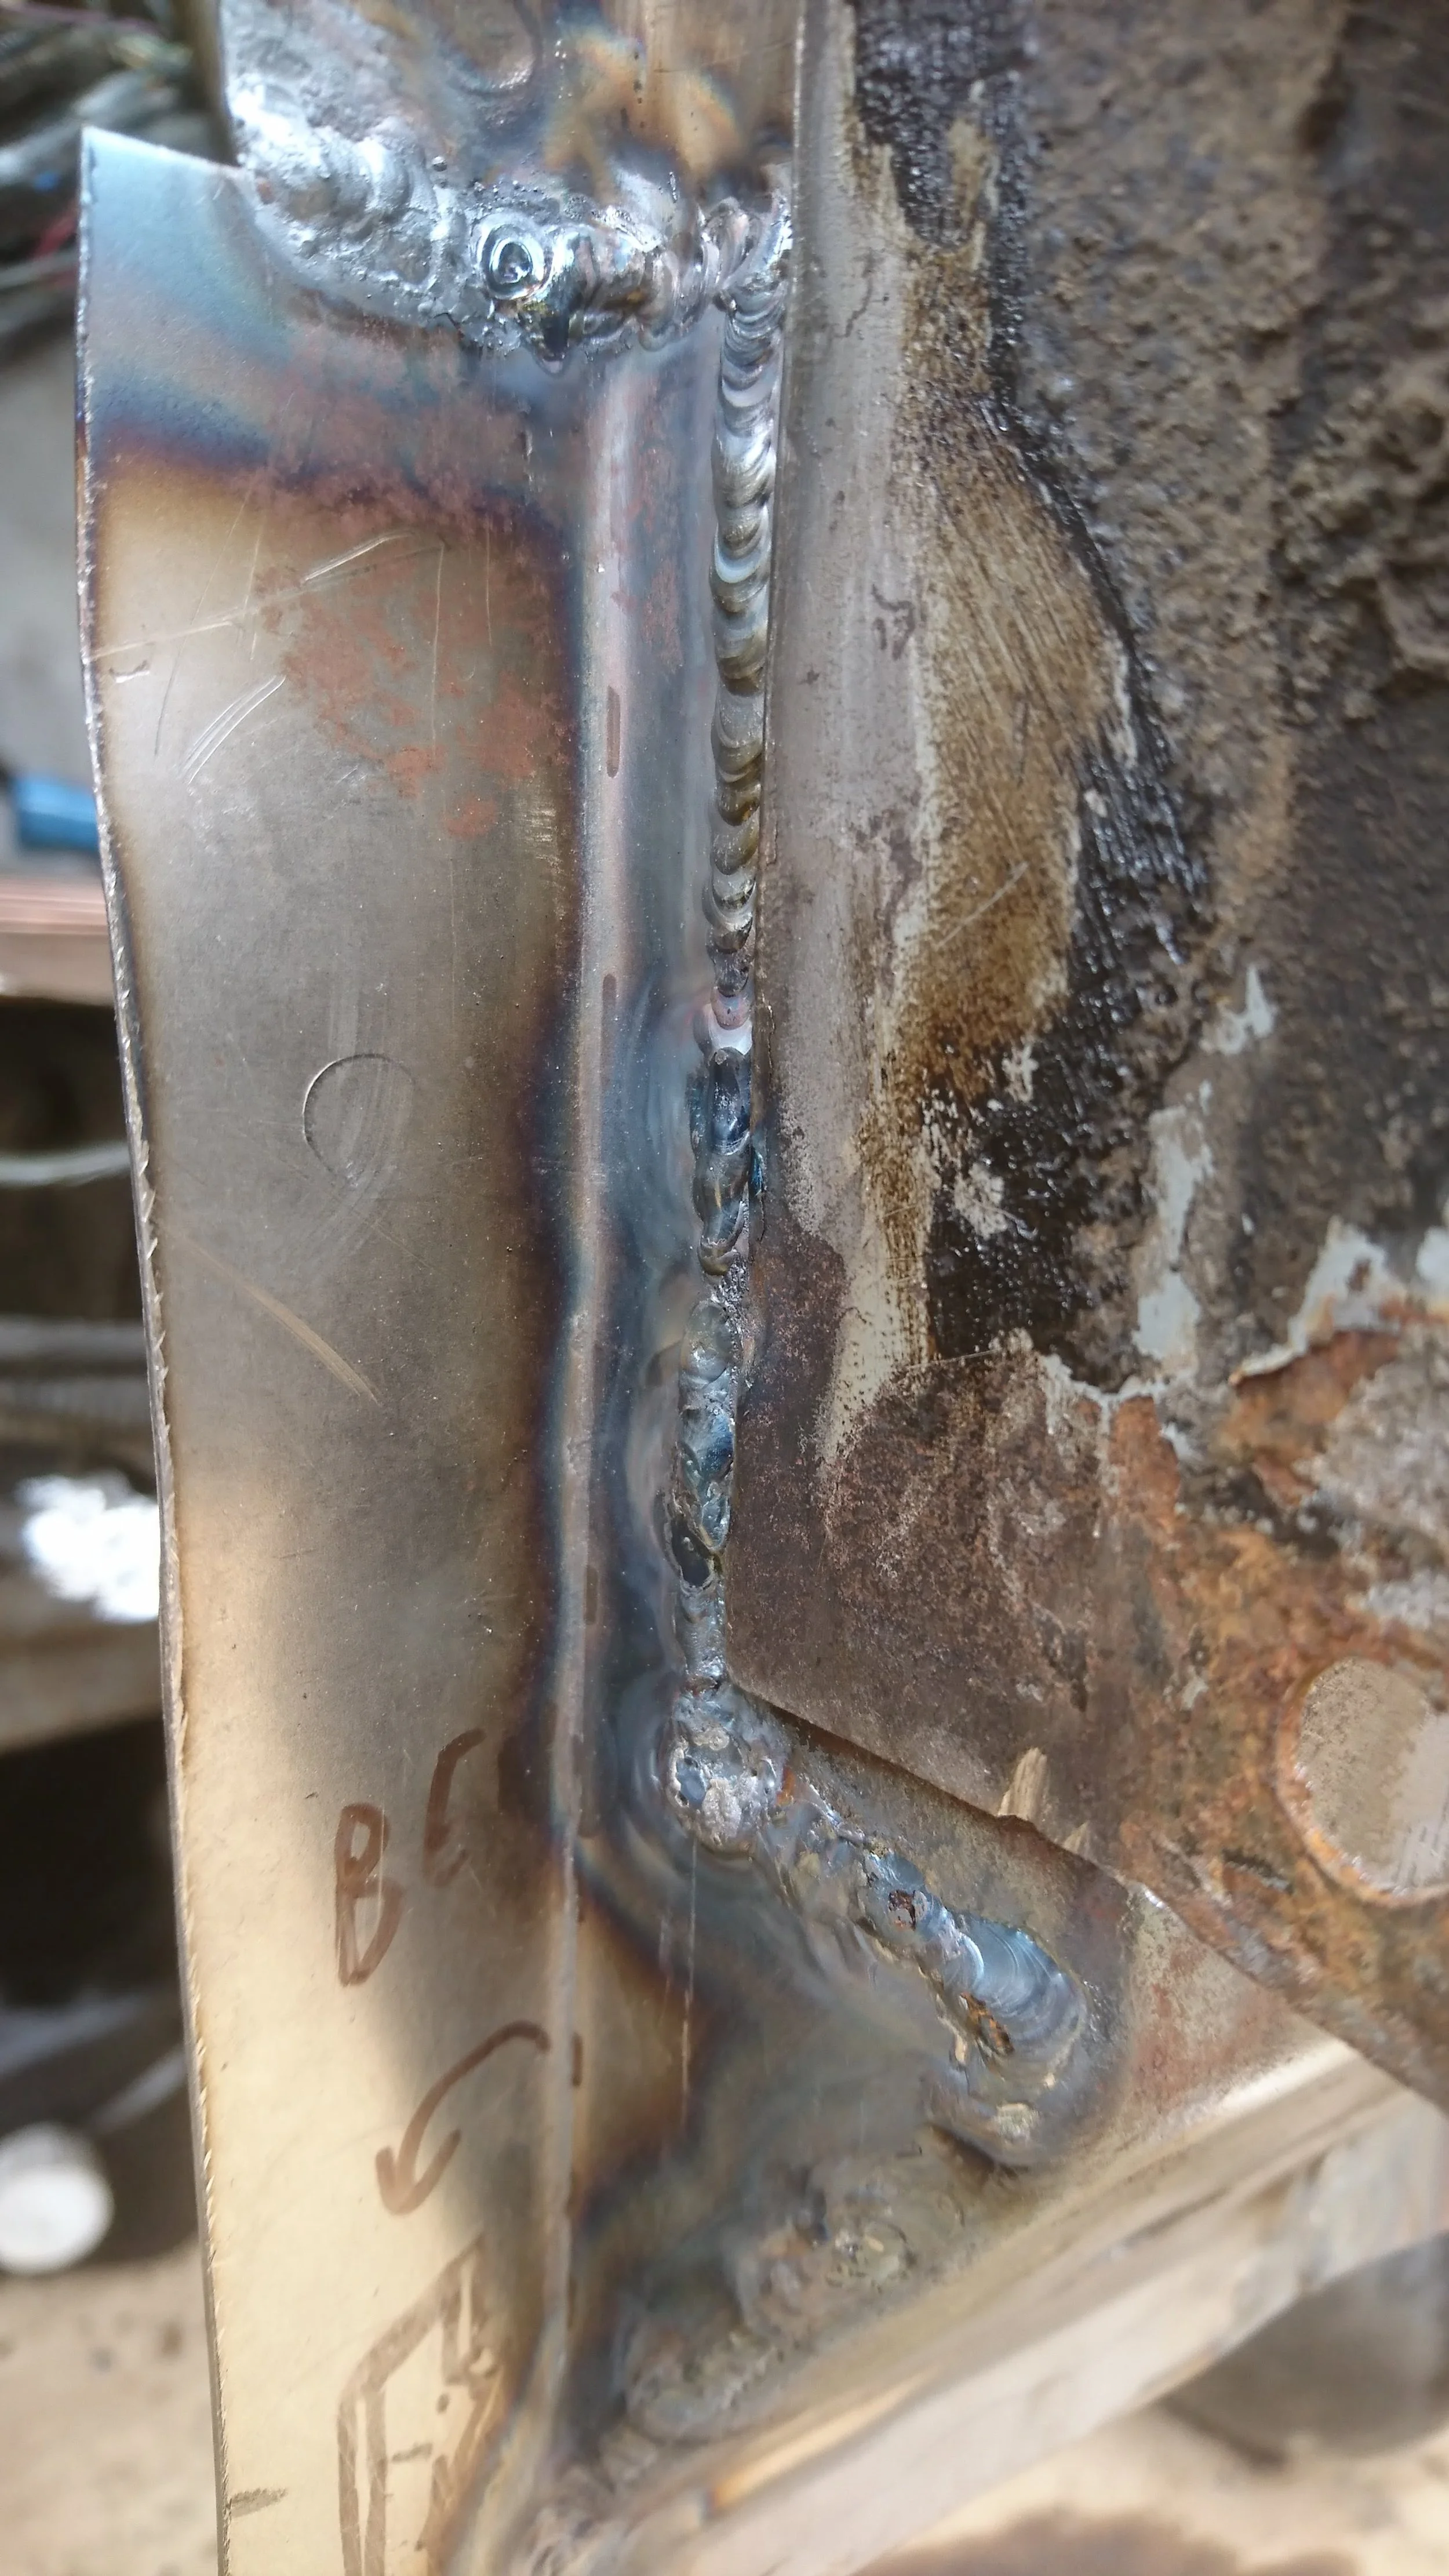
Sills welded in!

Good penetration.
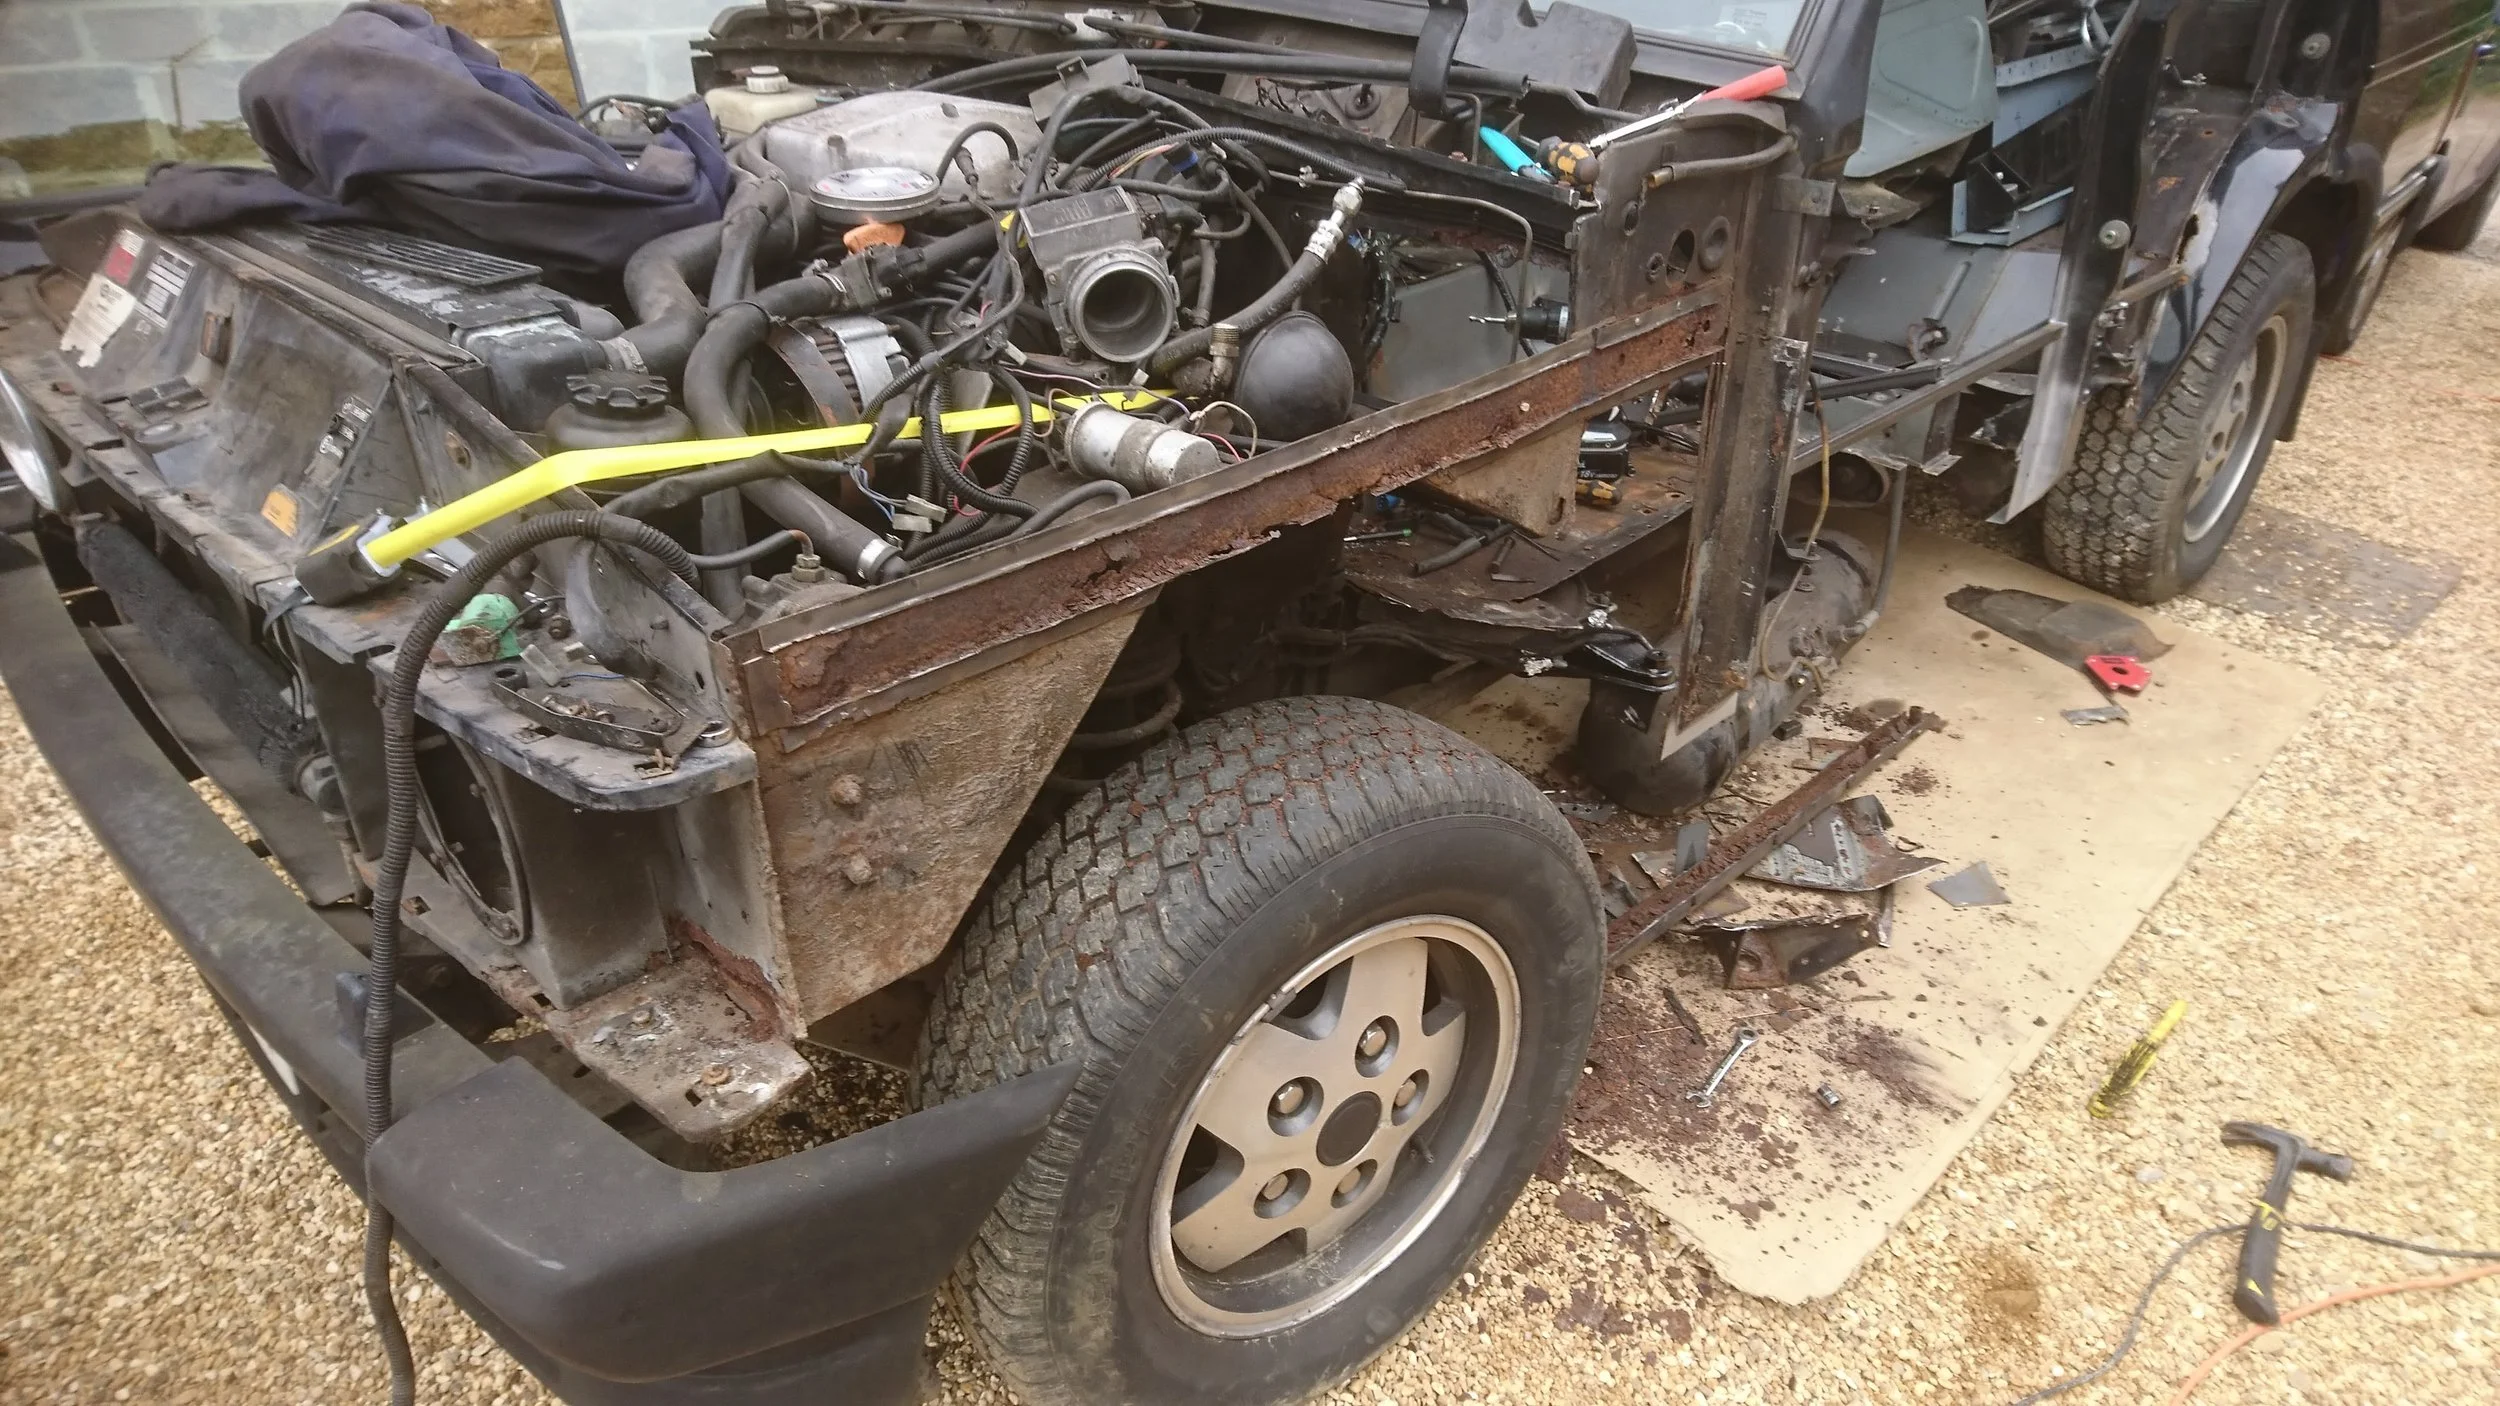
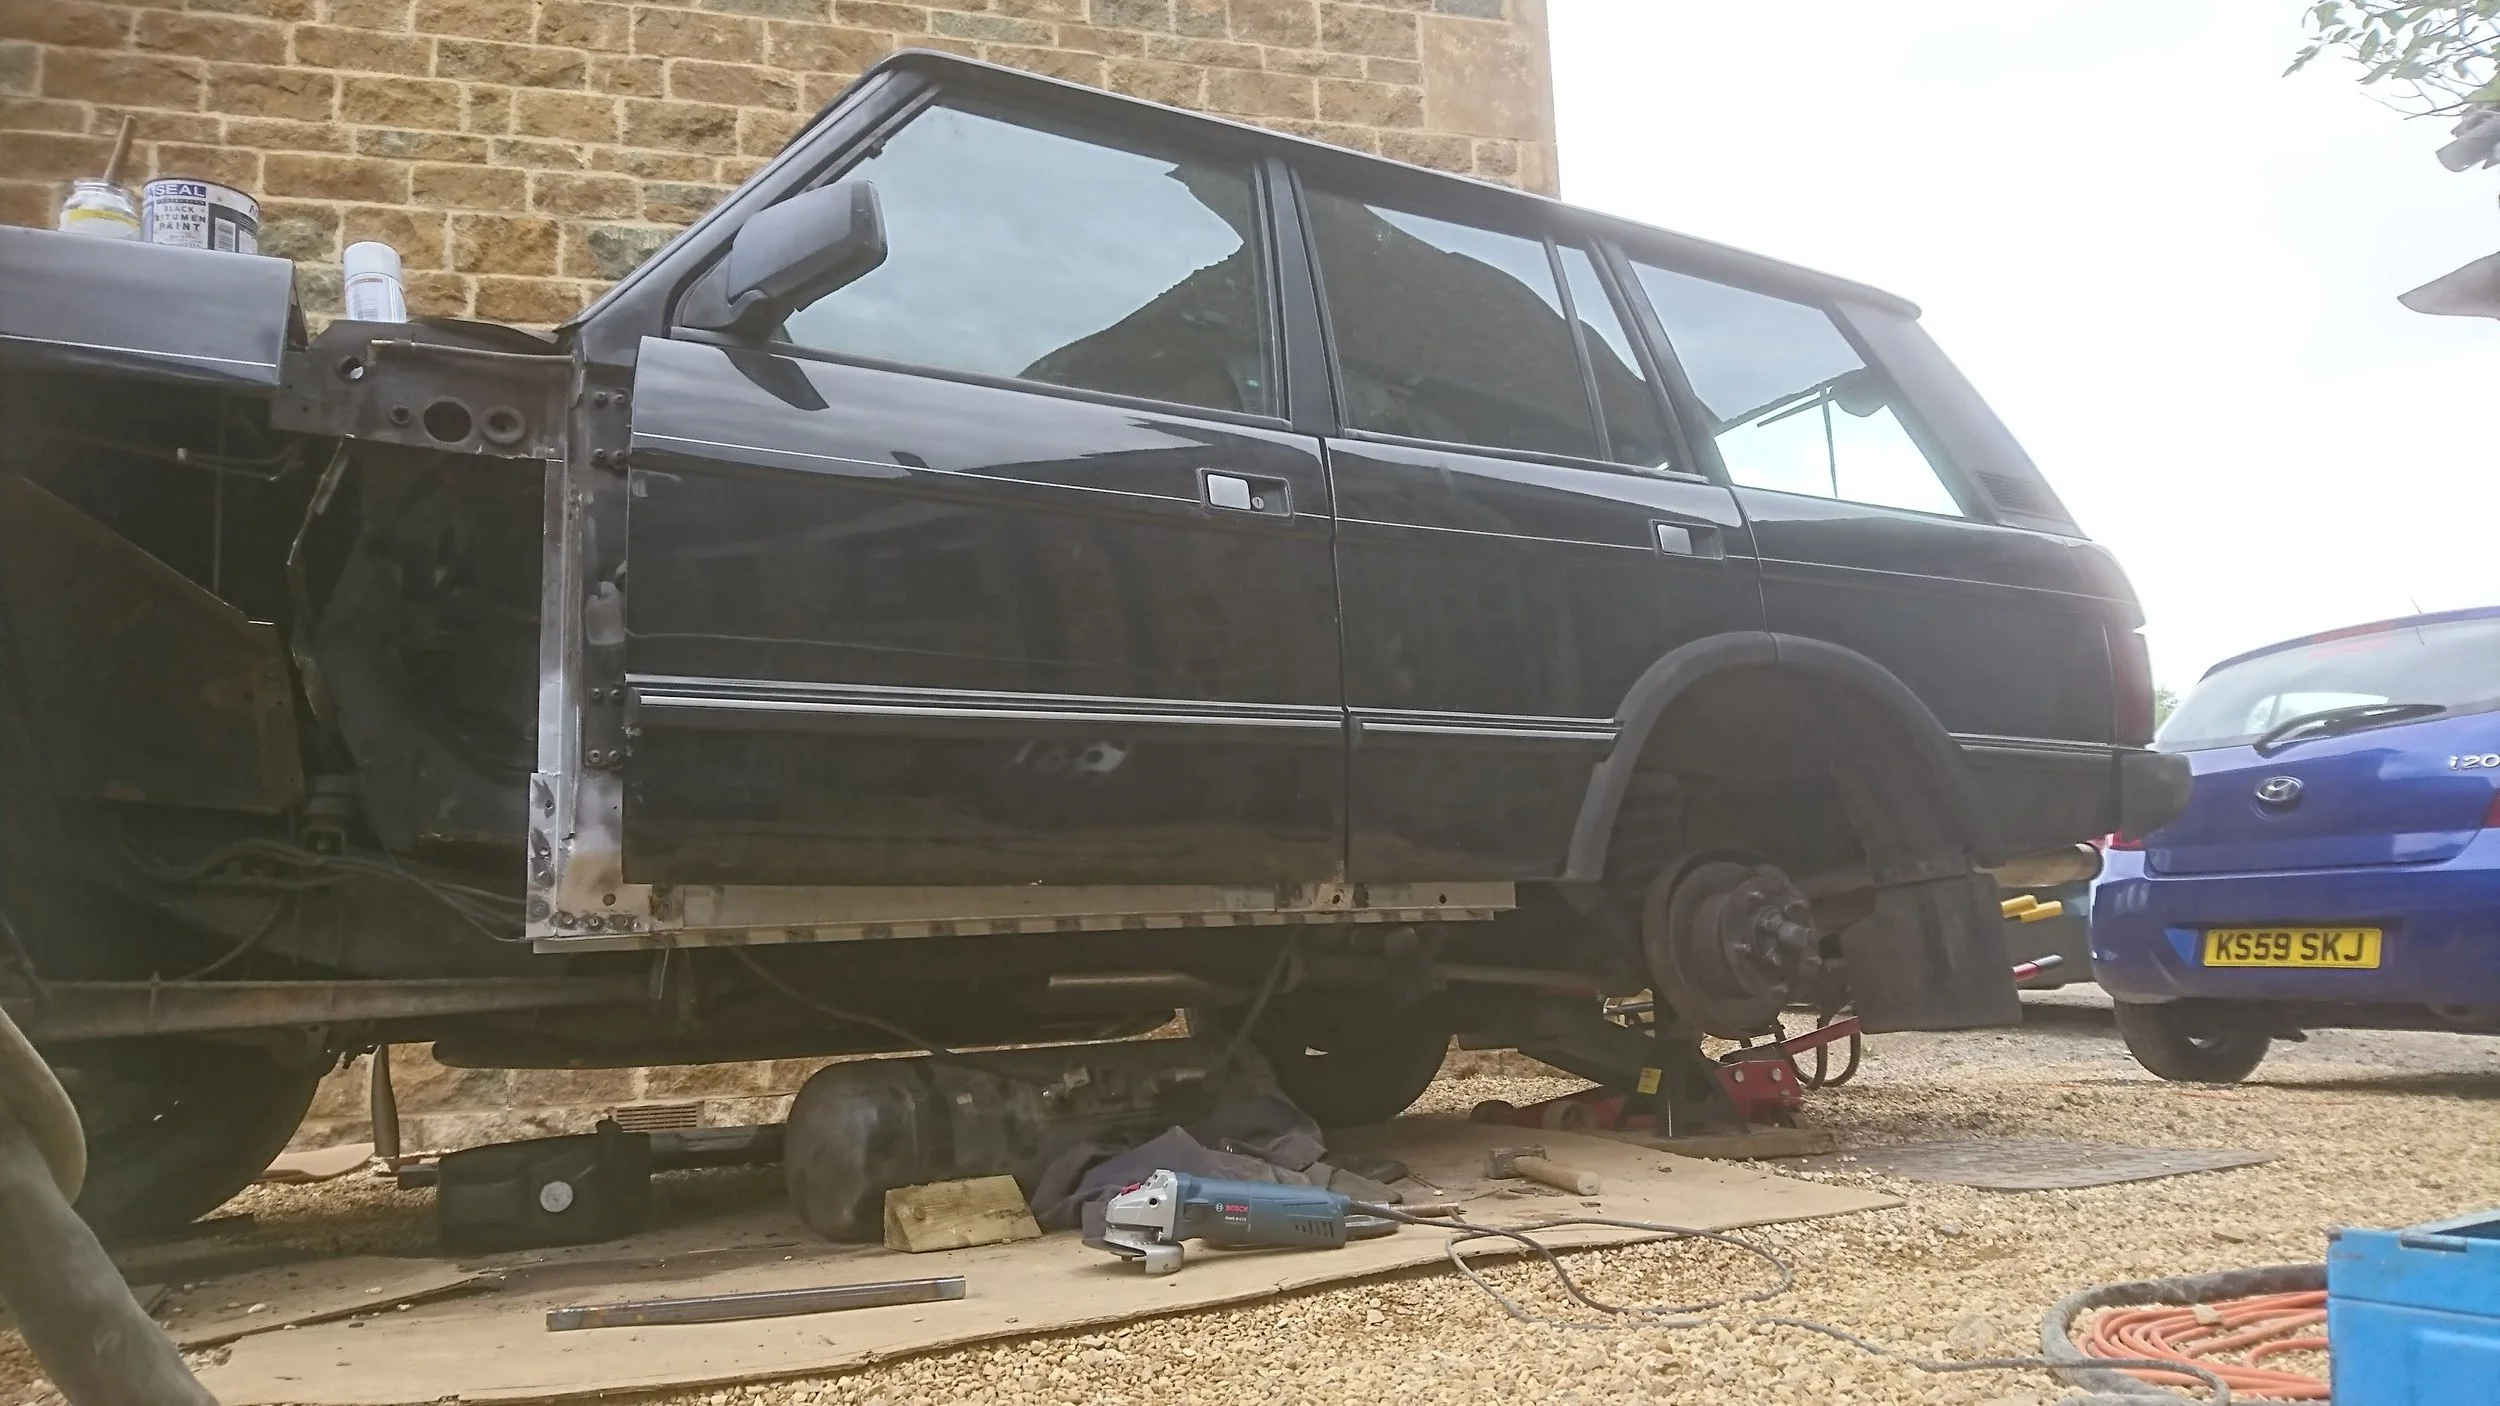
Even in this state, she still looks good...
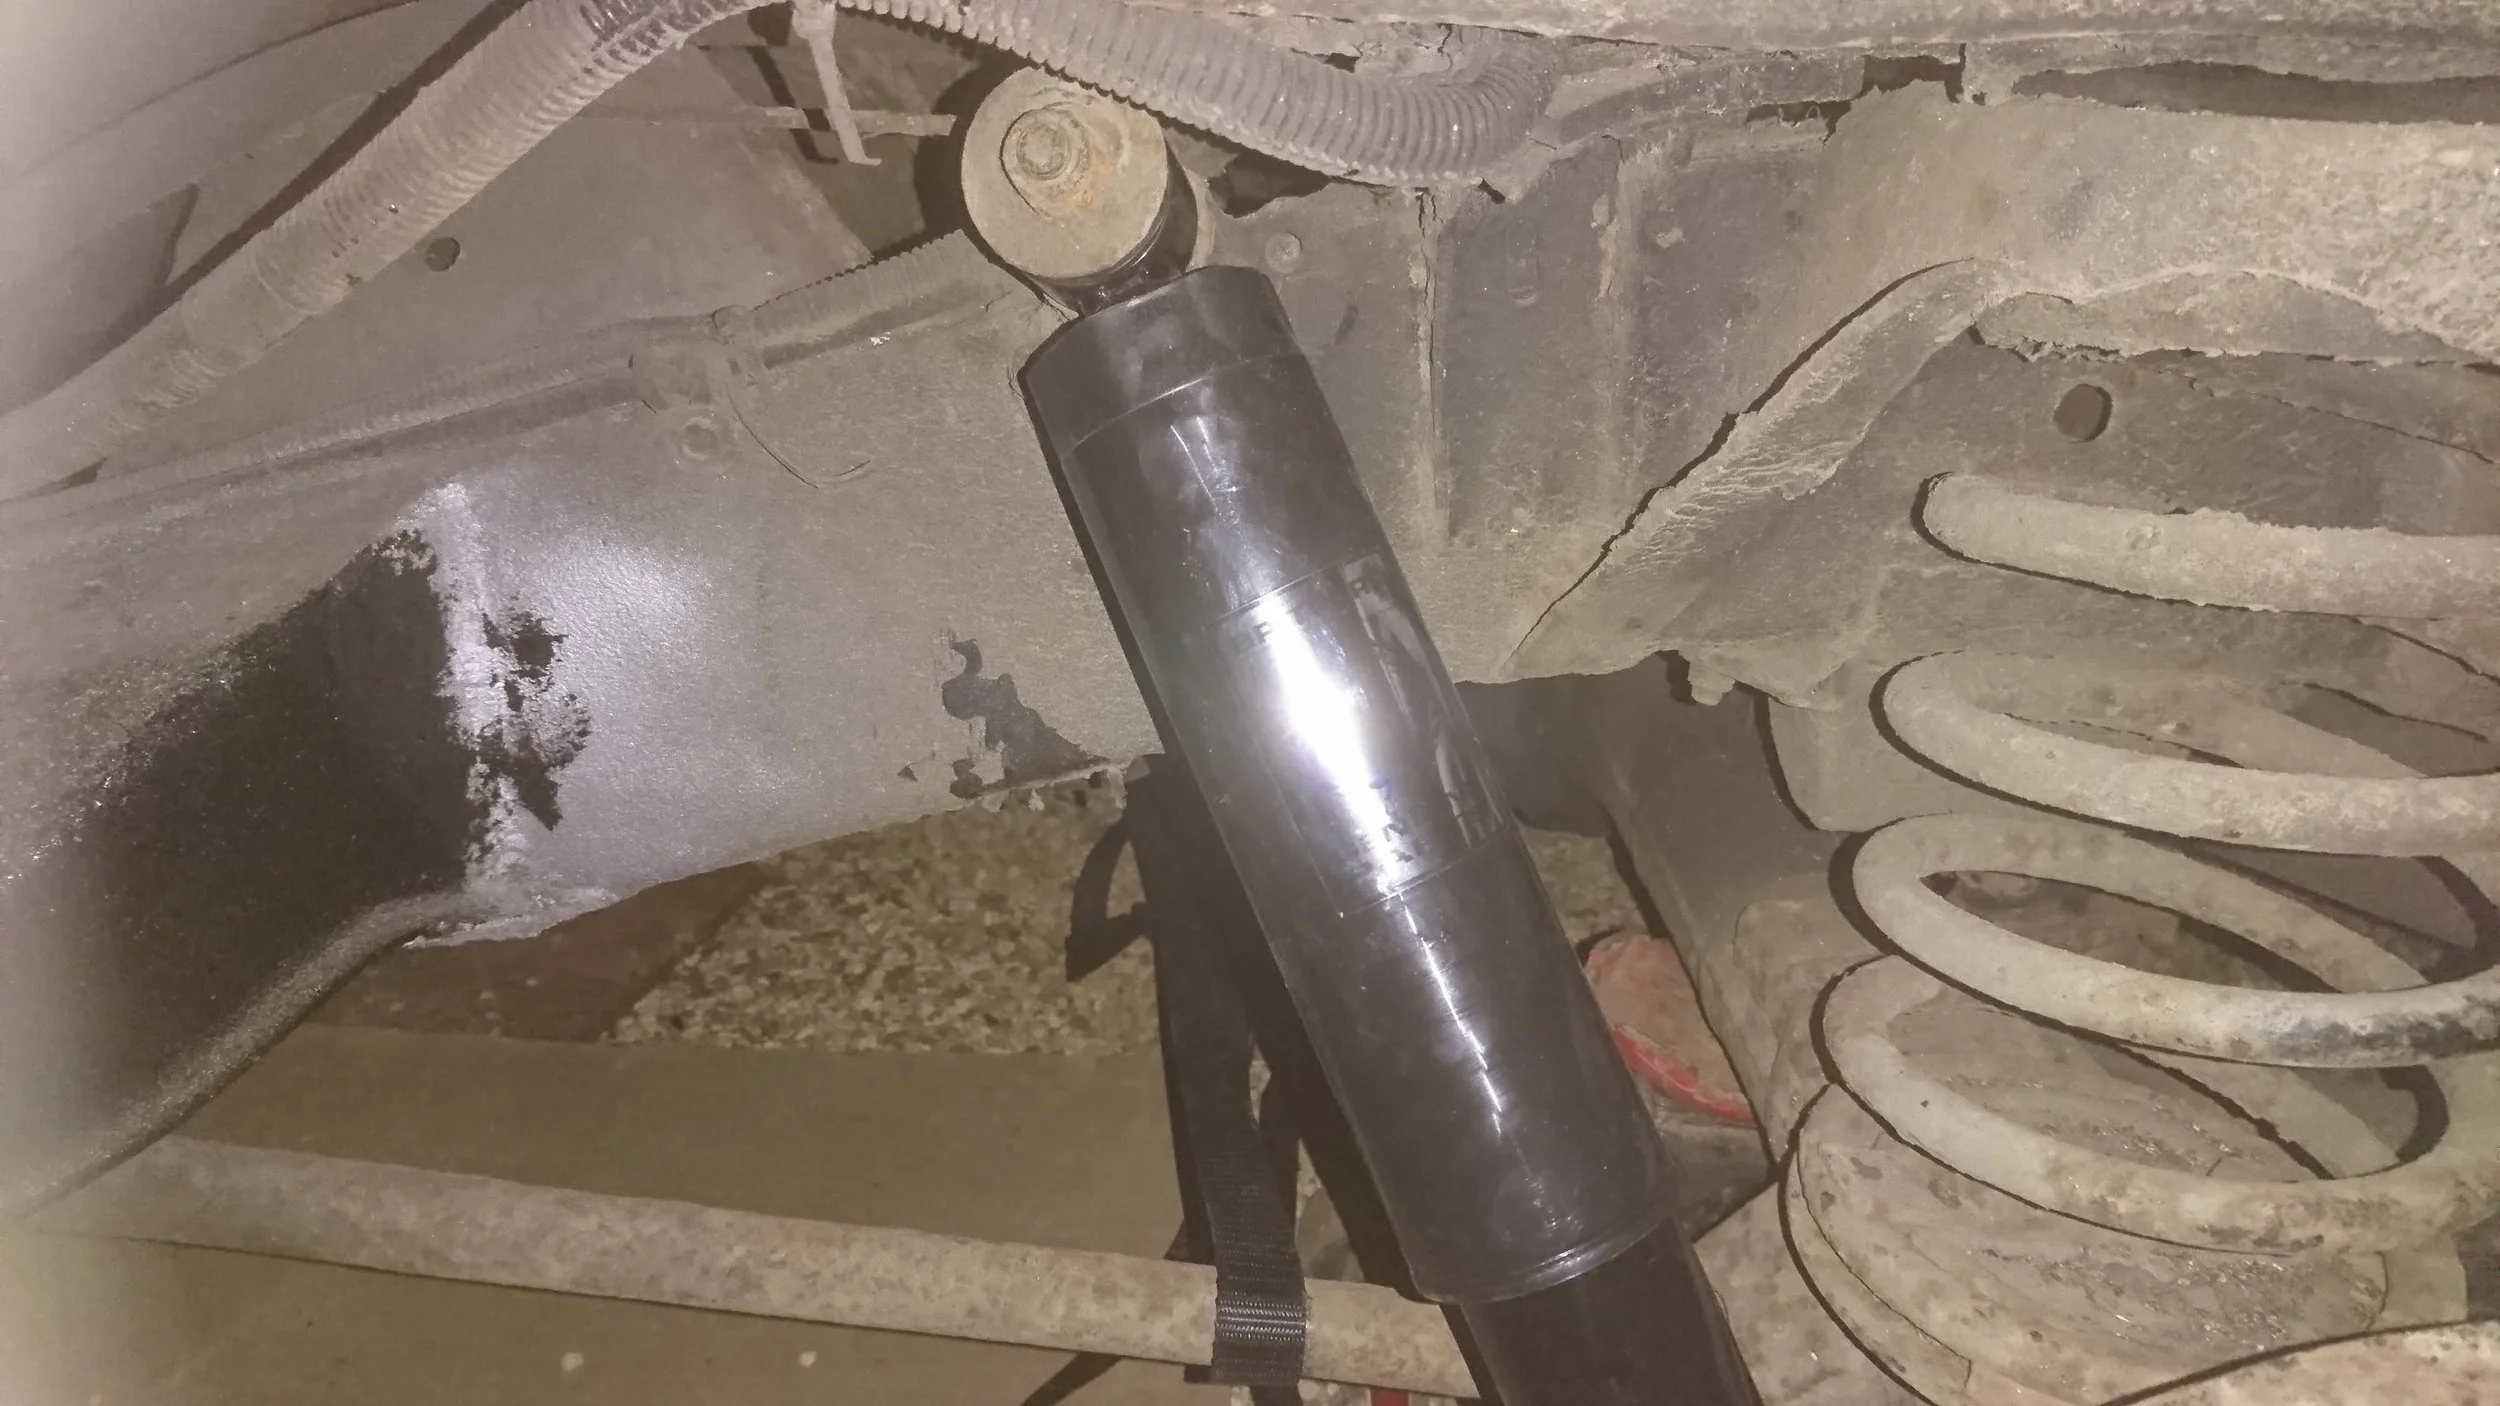
Shock absorber replacement. The old ones were both rusty and leaking. Surprise, surprise...
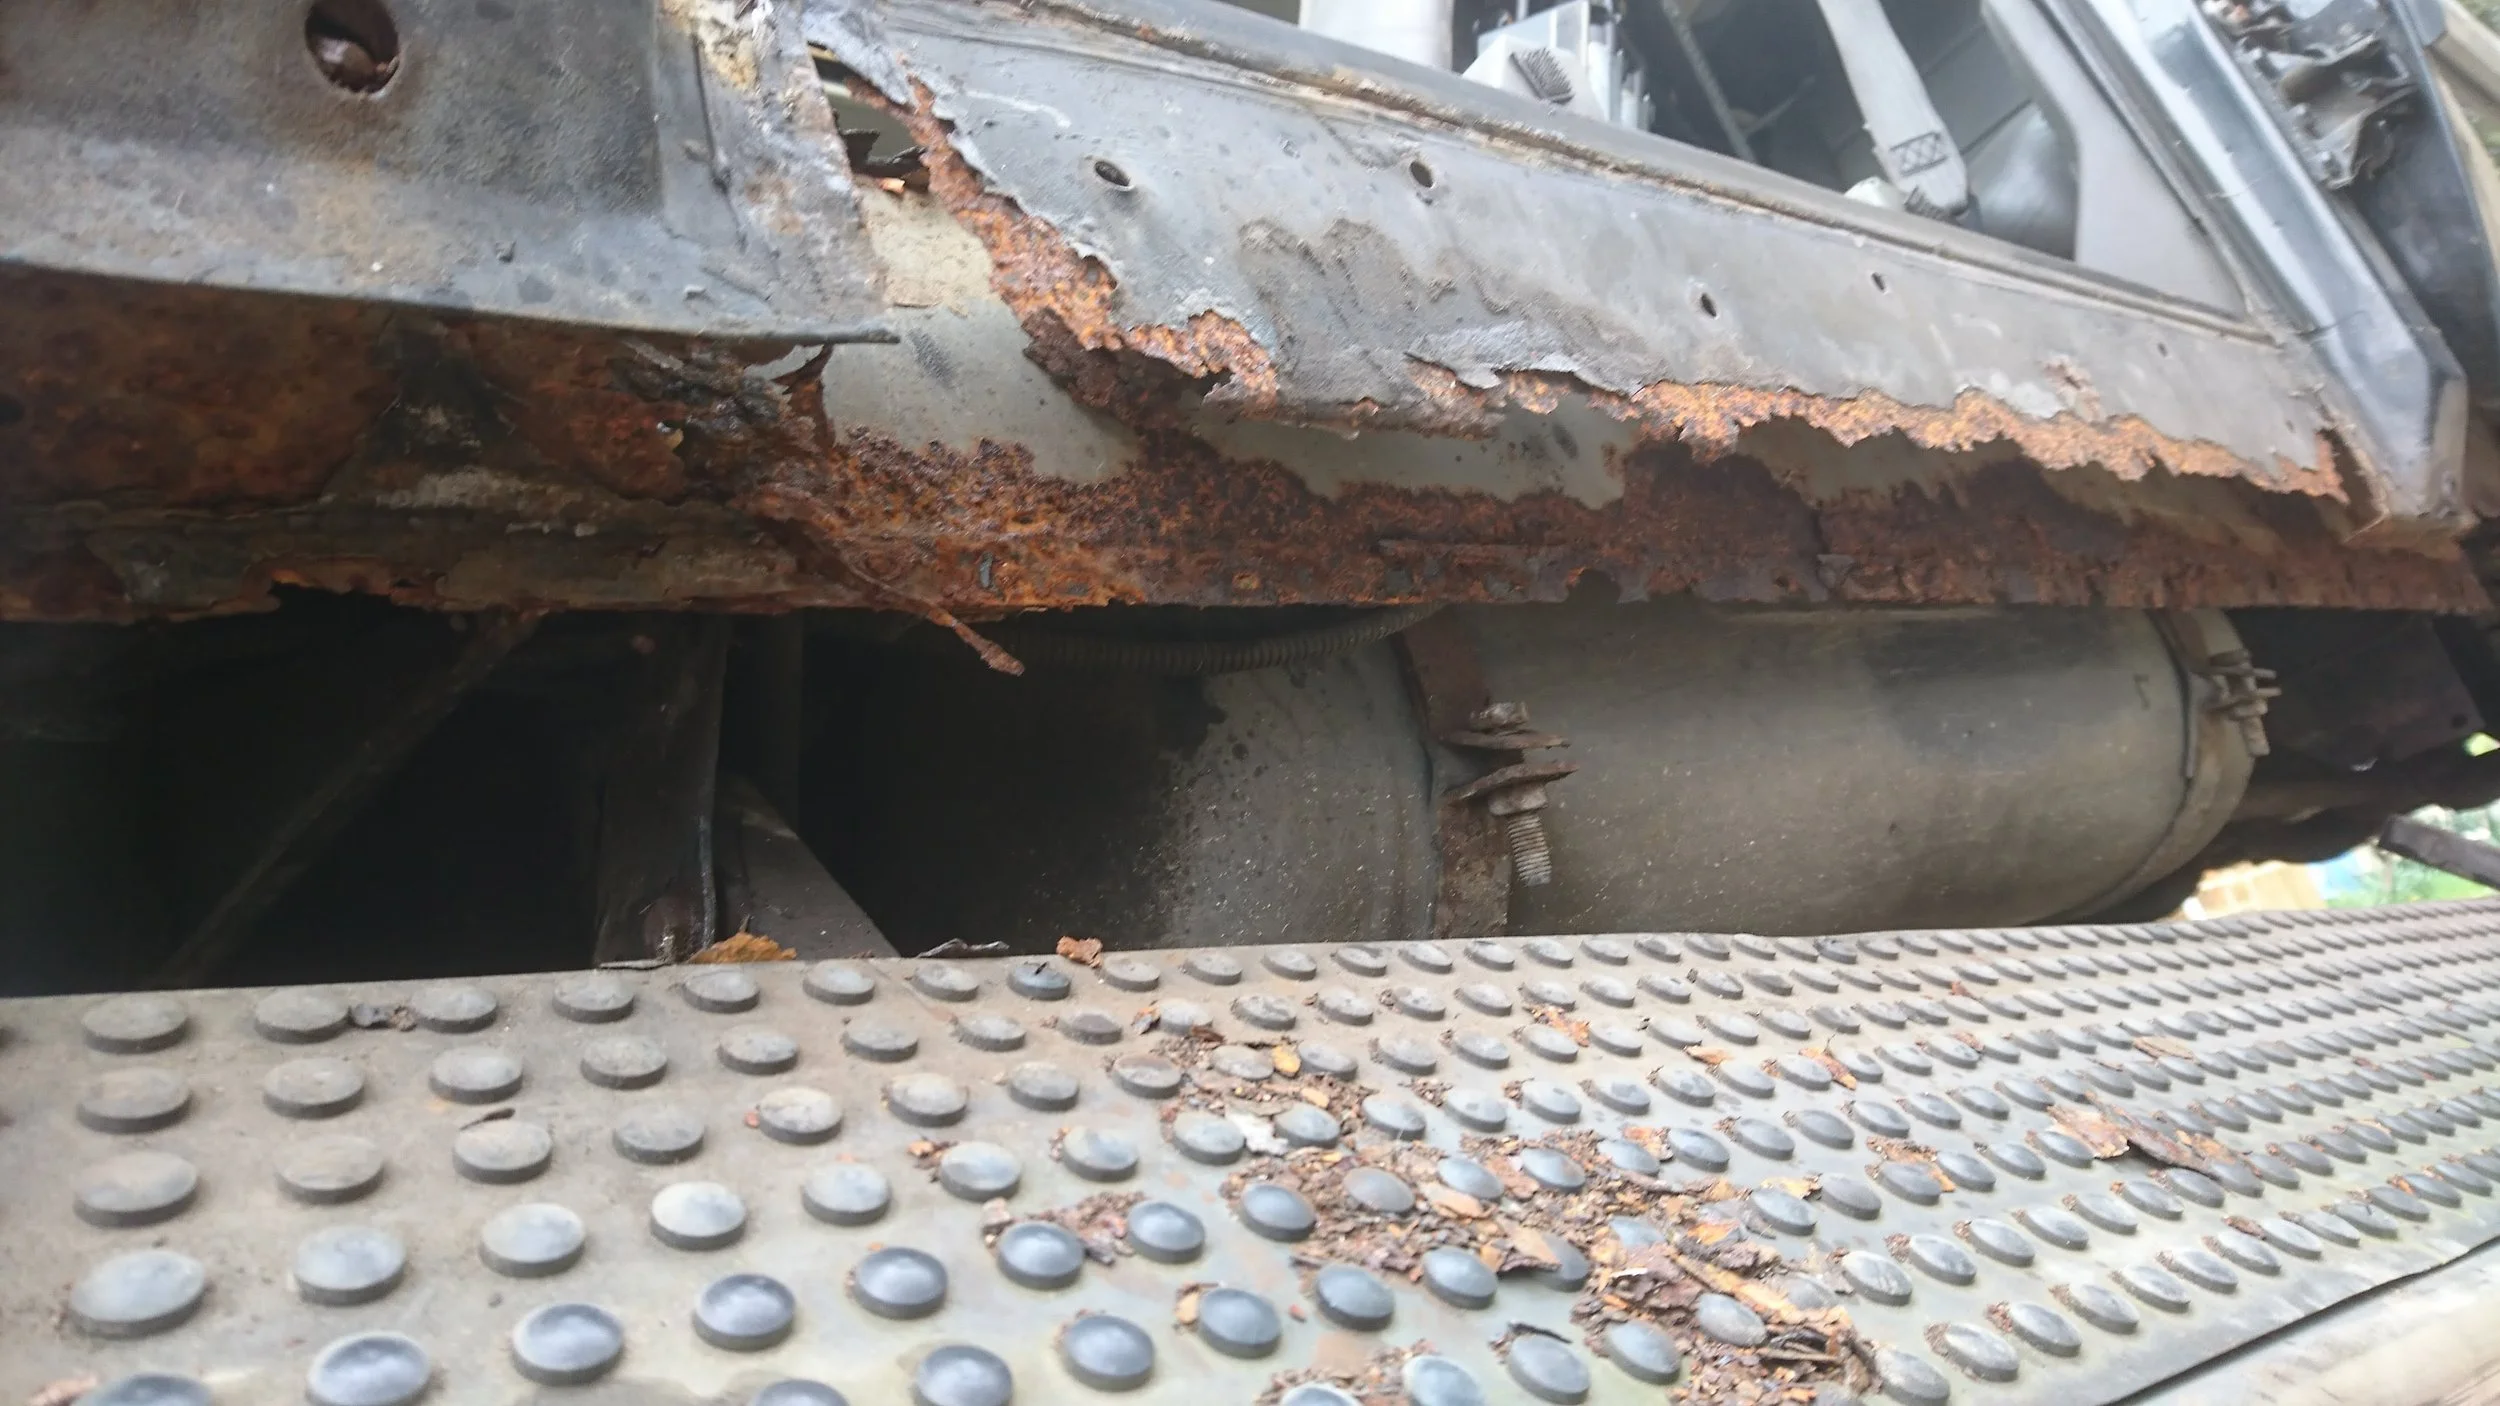
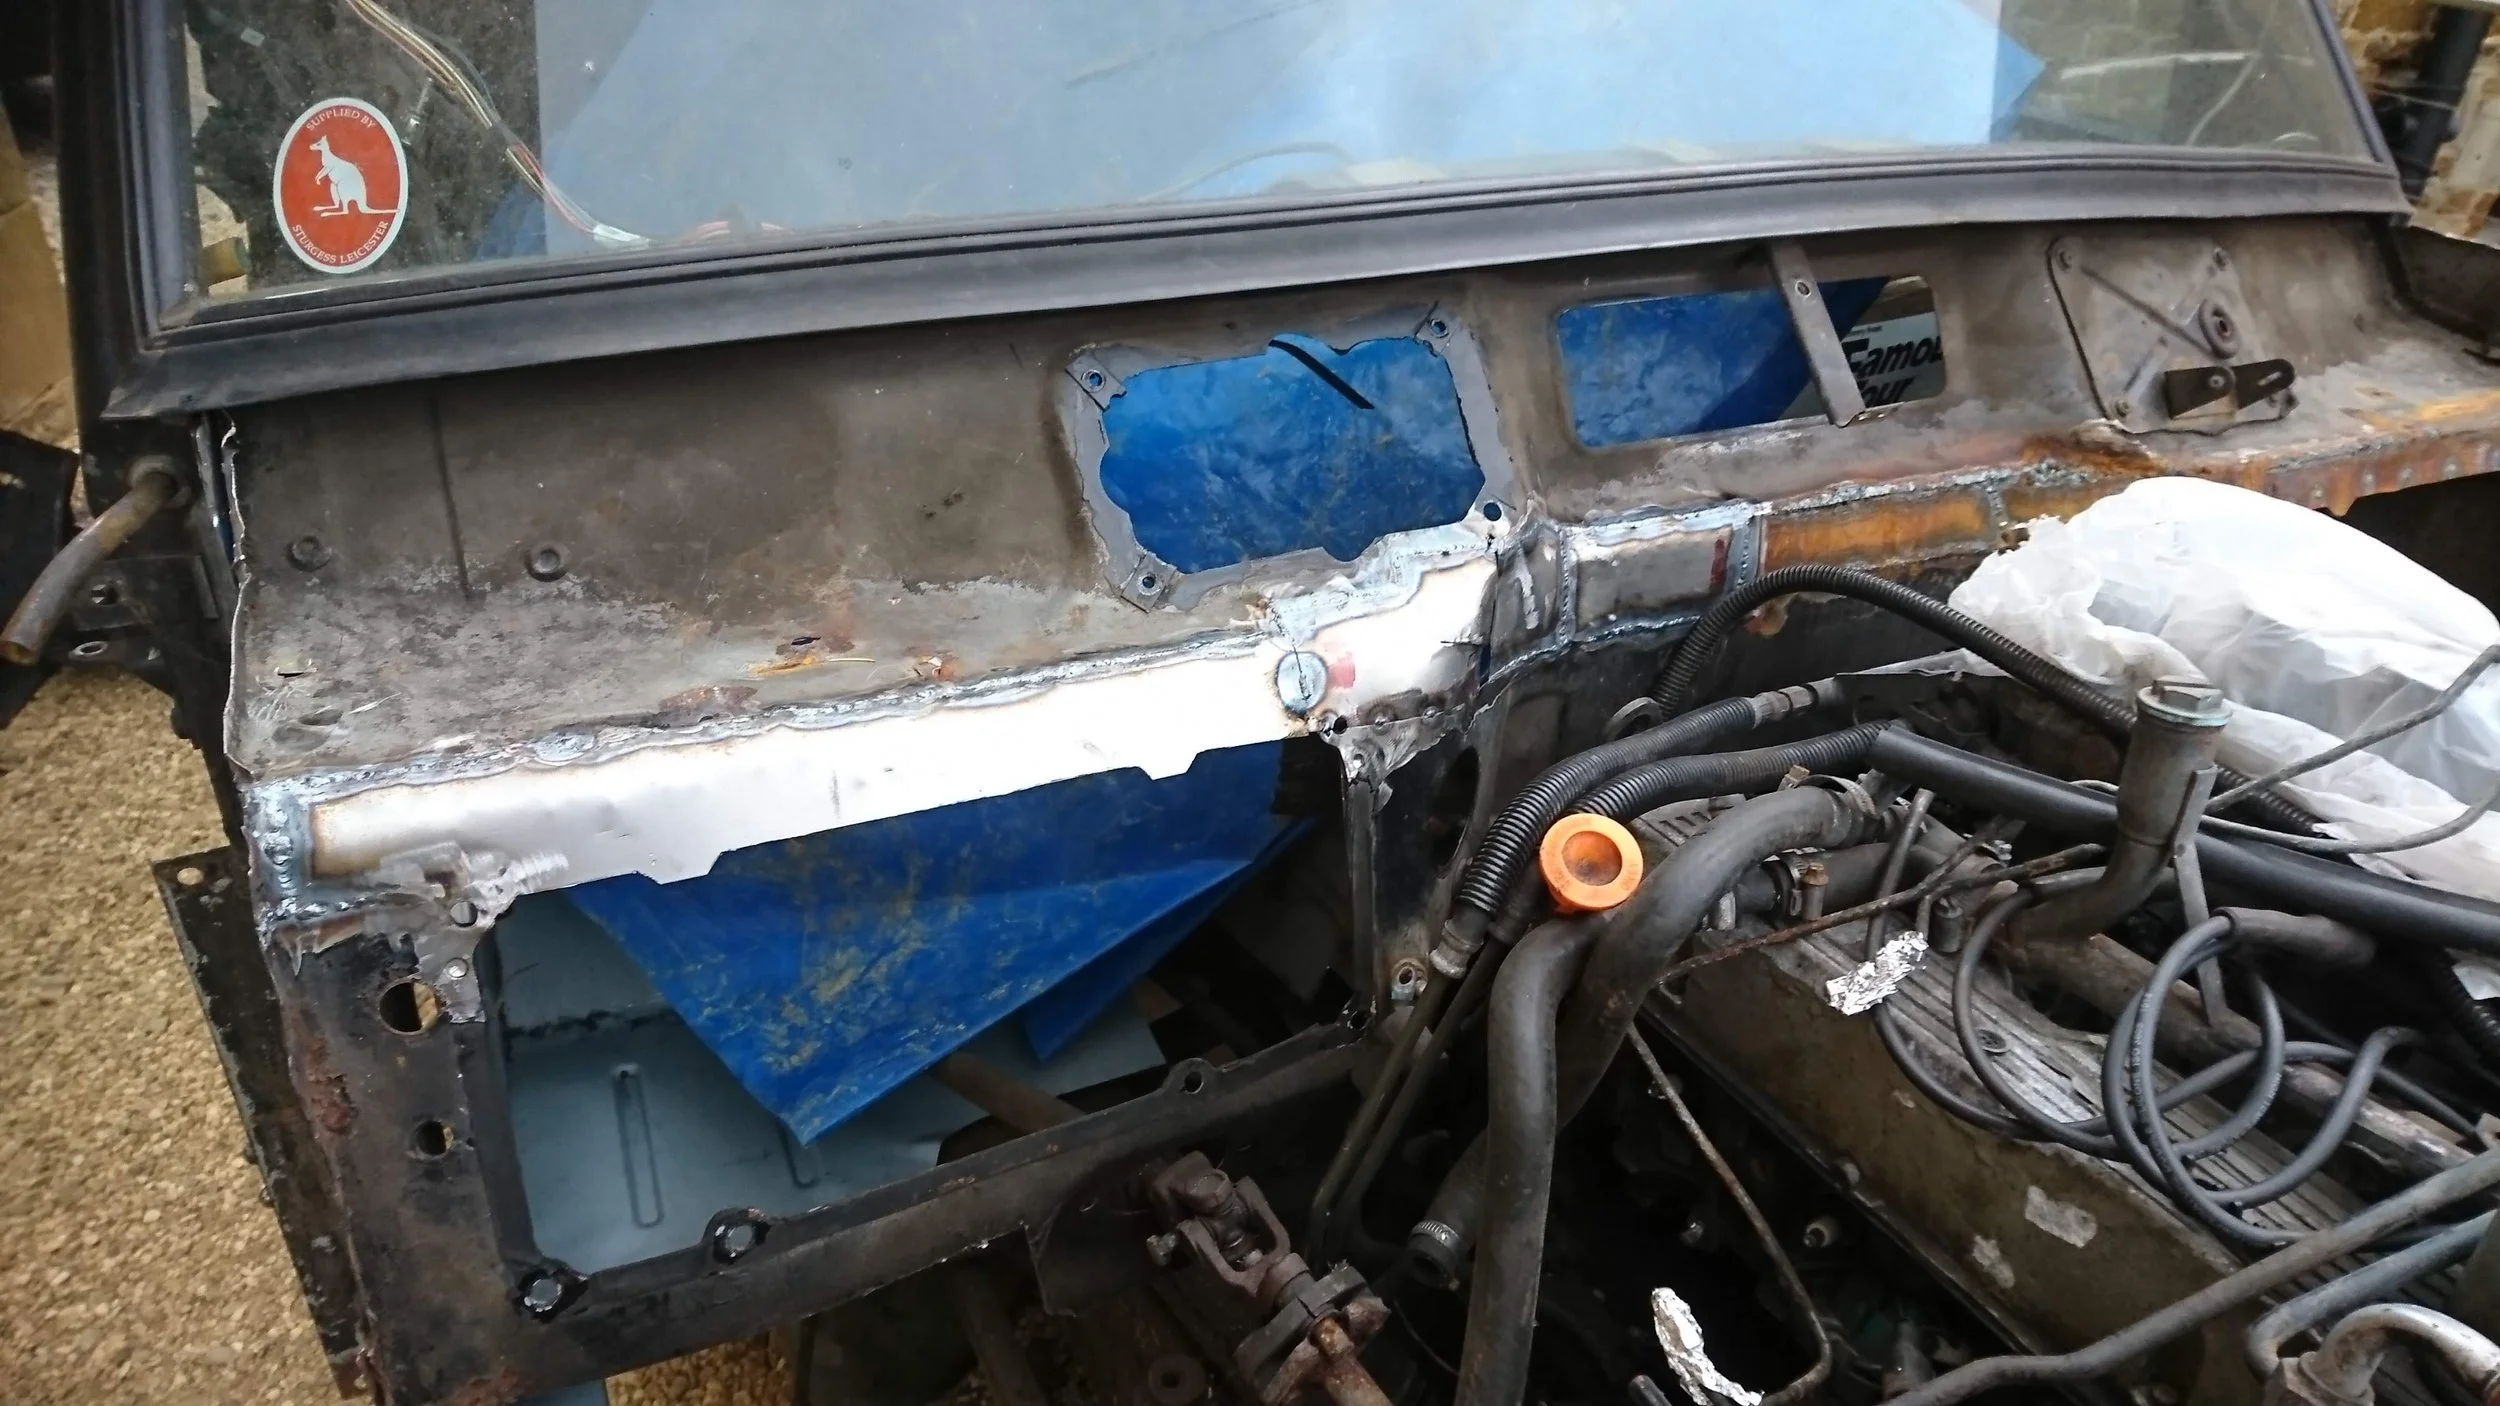
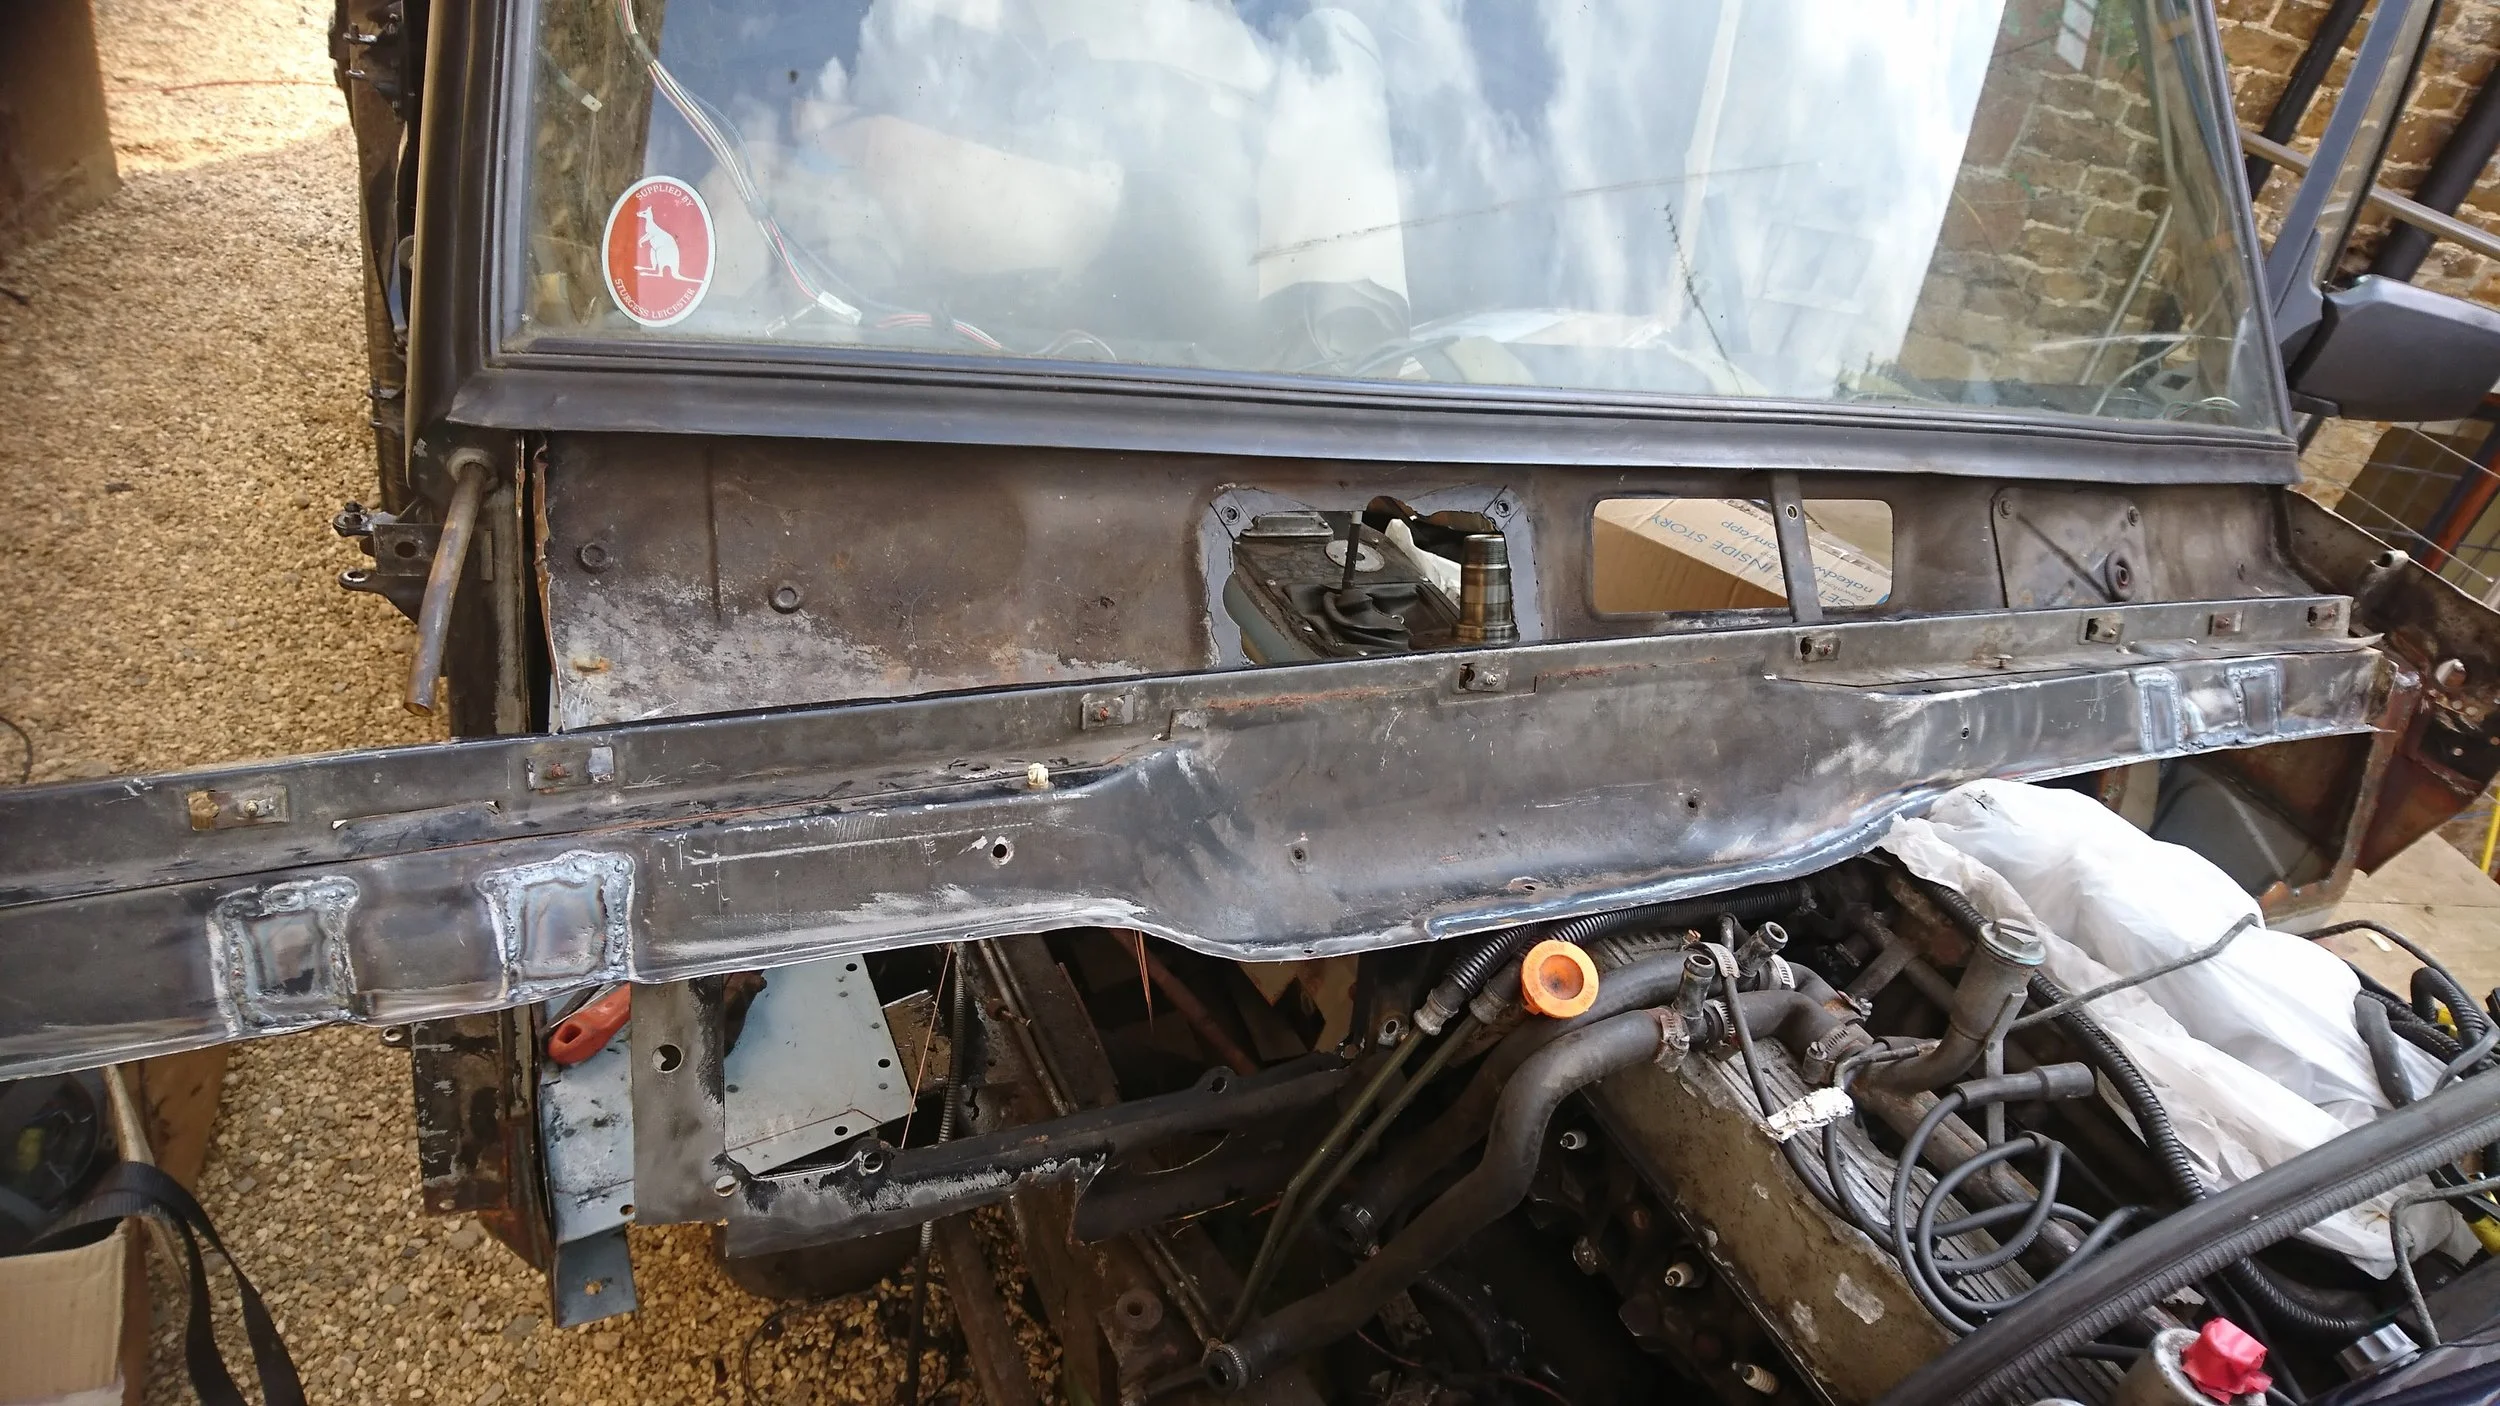
Repairs to the front bulkhead. There is drip channel at the base of the windscreen with a spot welded seam at the base... The sealant fails, then water gets into the joint and can't get out. Then the bulkhead rots out.
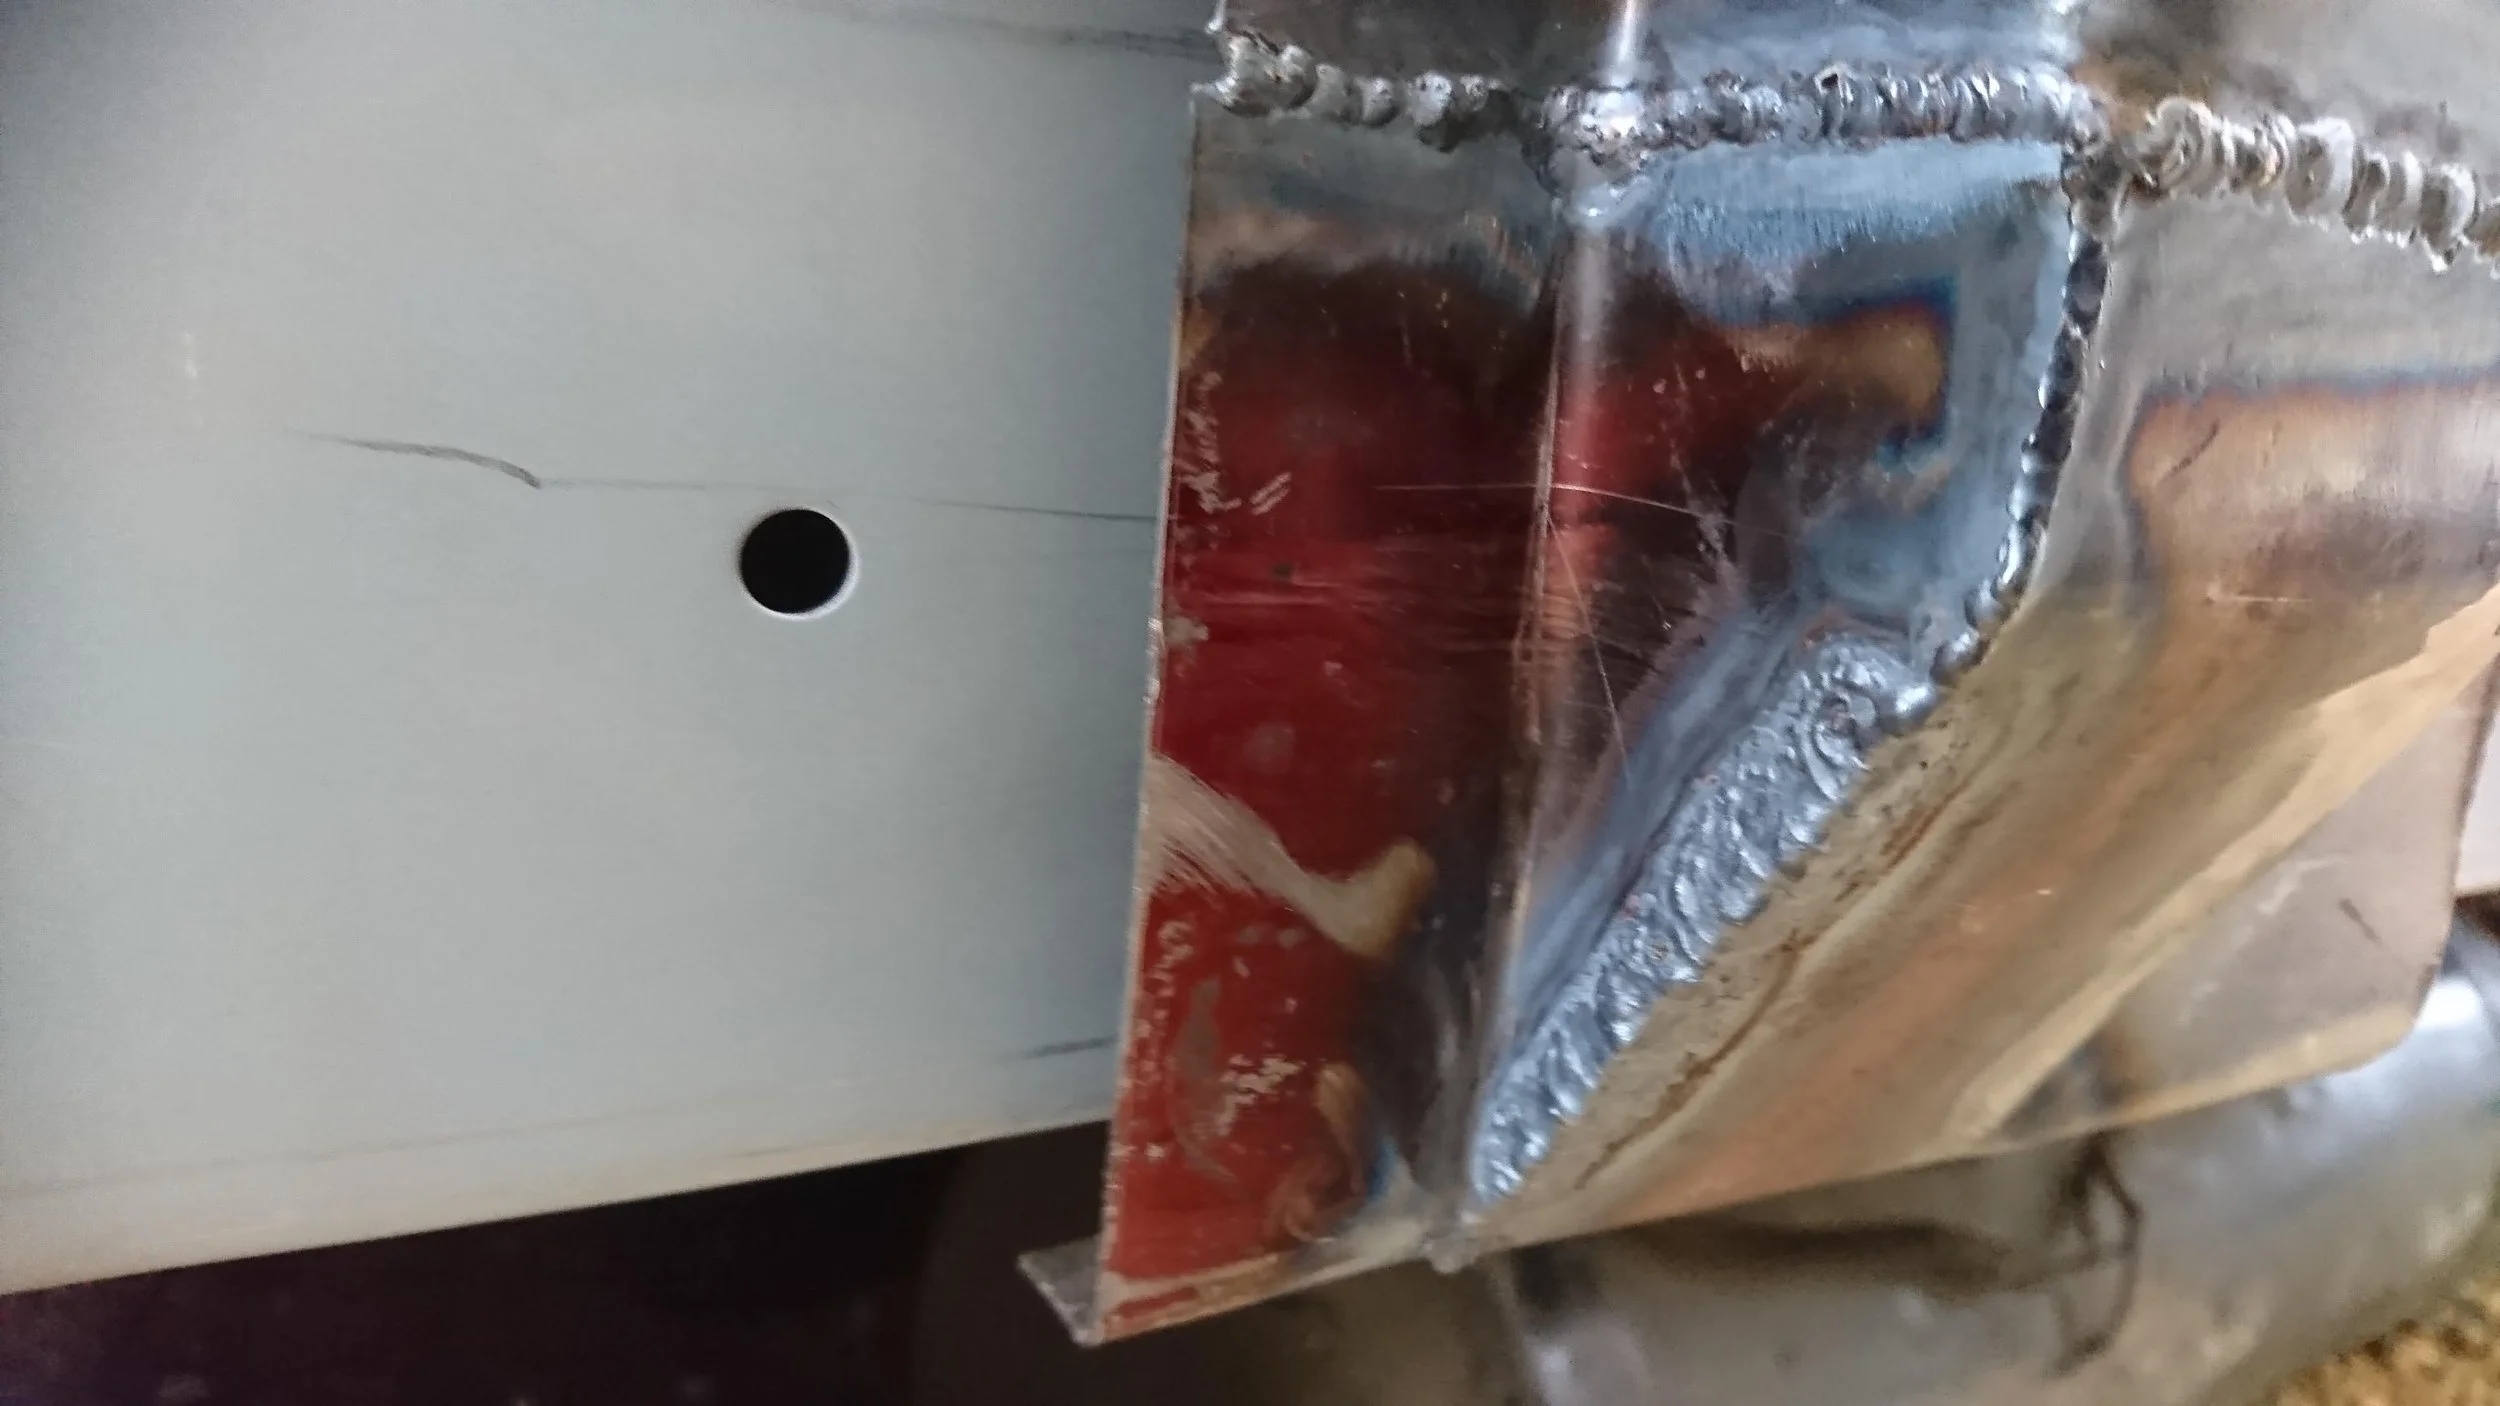
Look at the nice shiny new body mounts that I fabricated! Still sporting red Dykem.
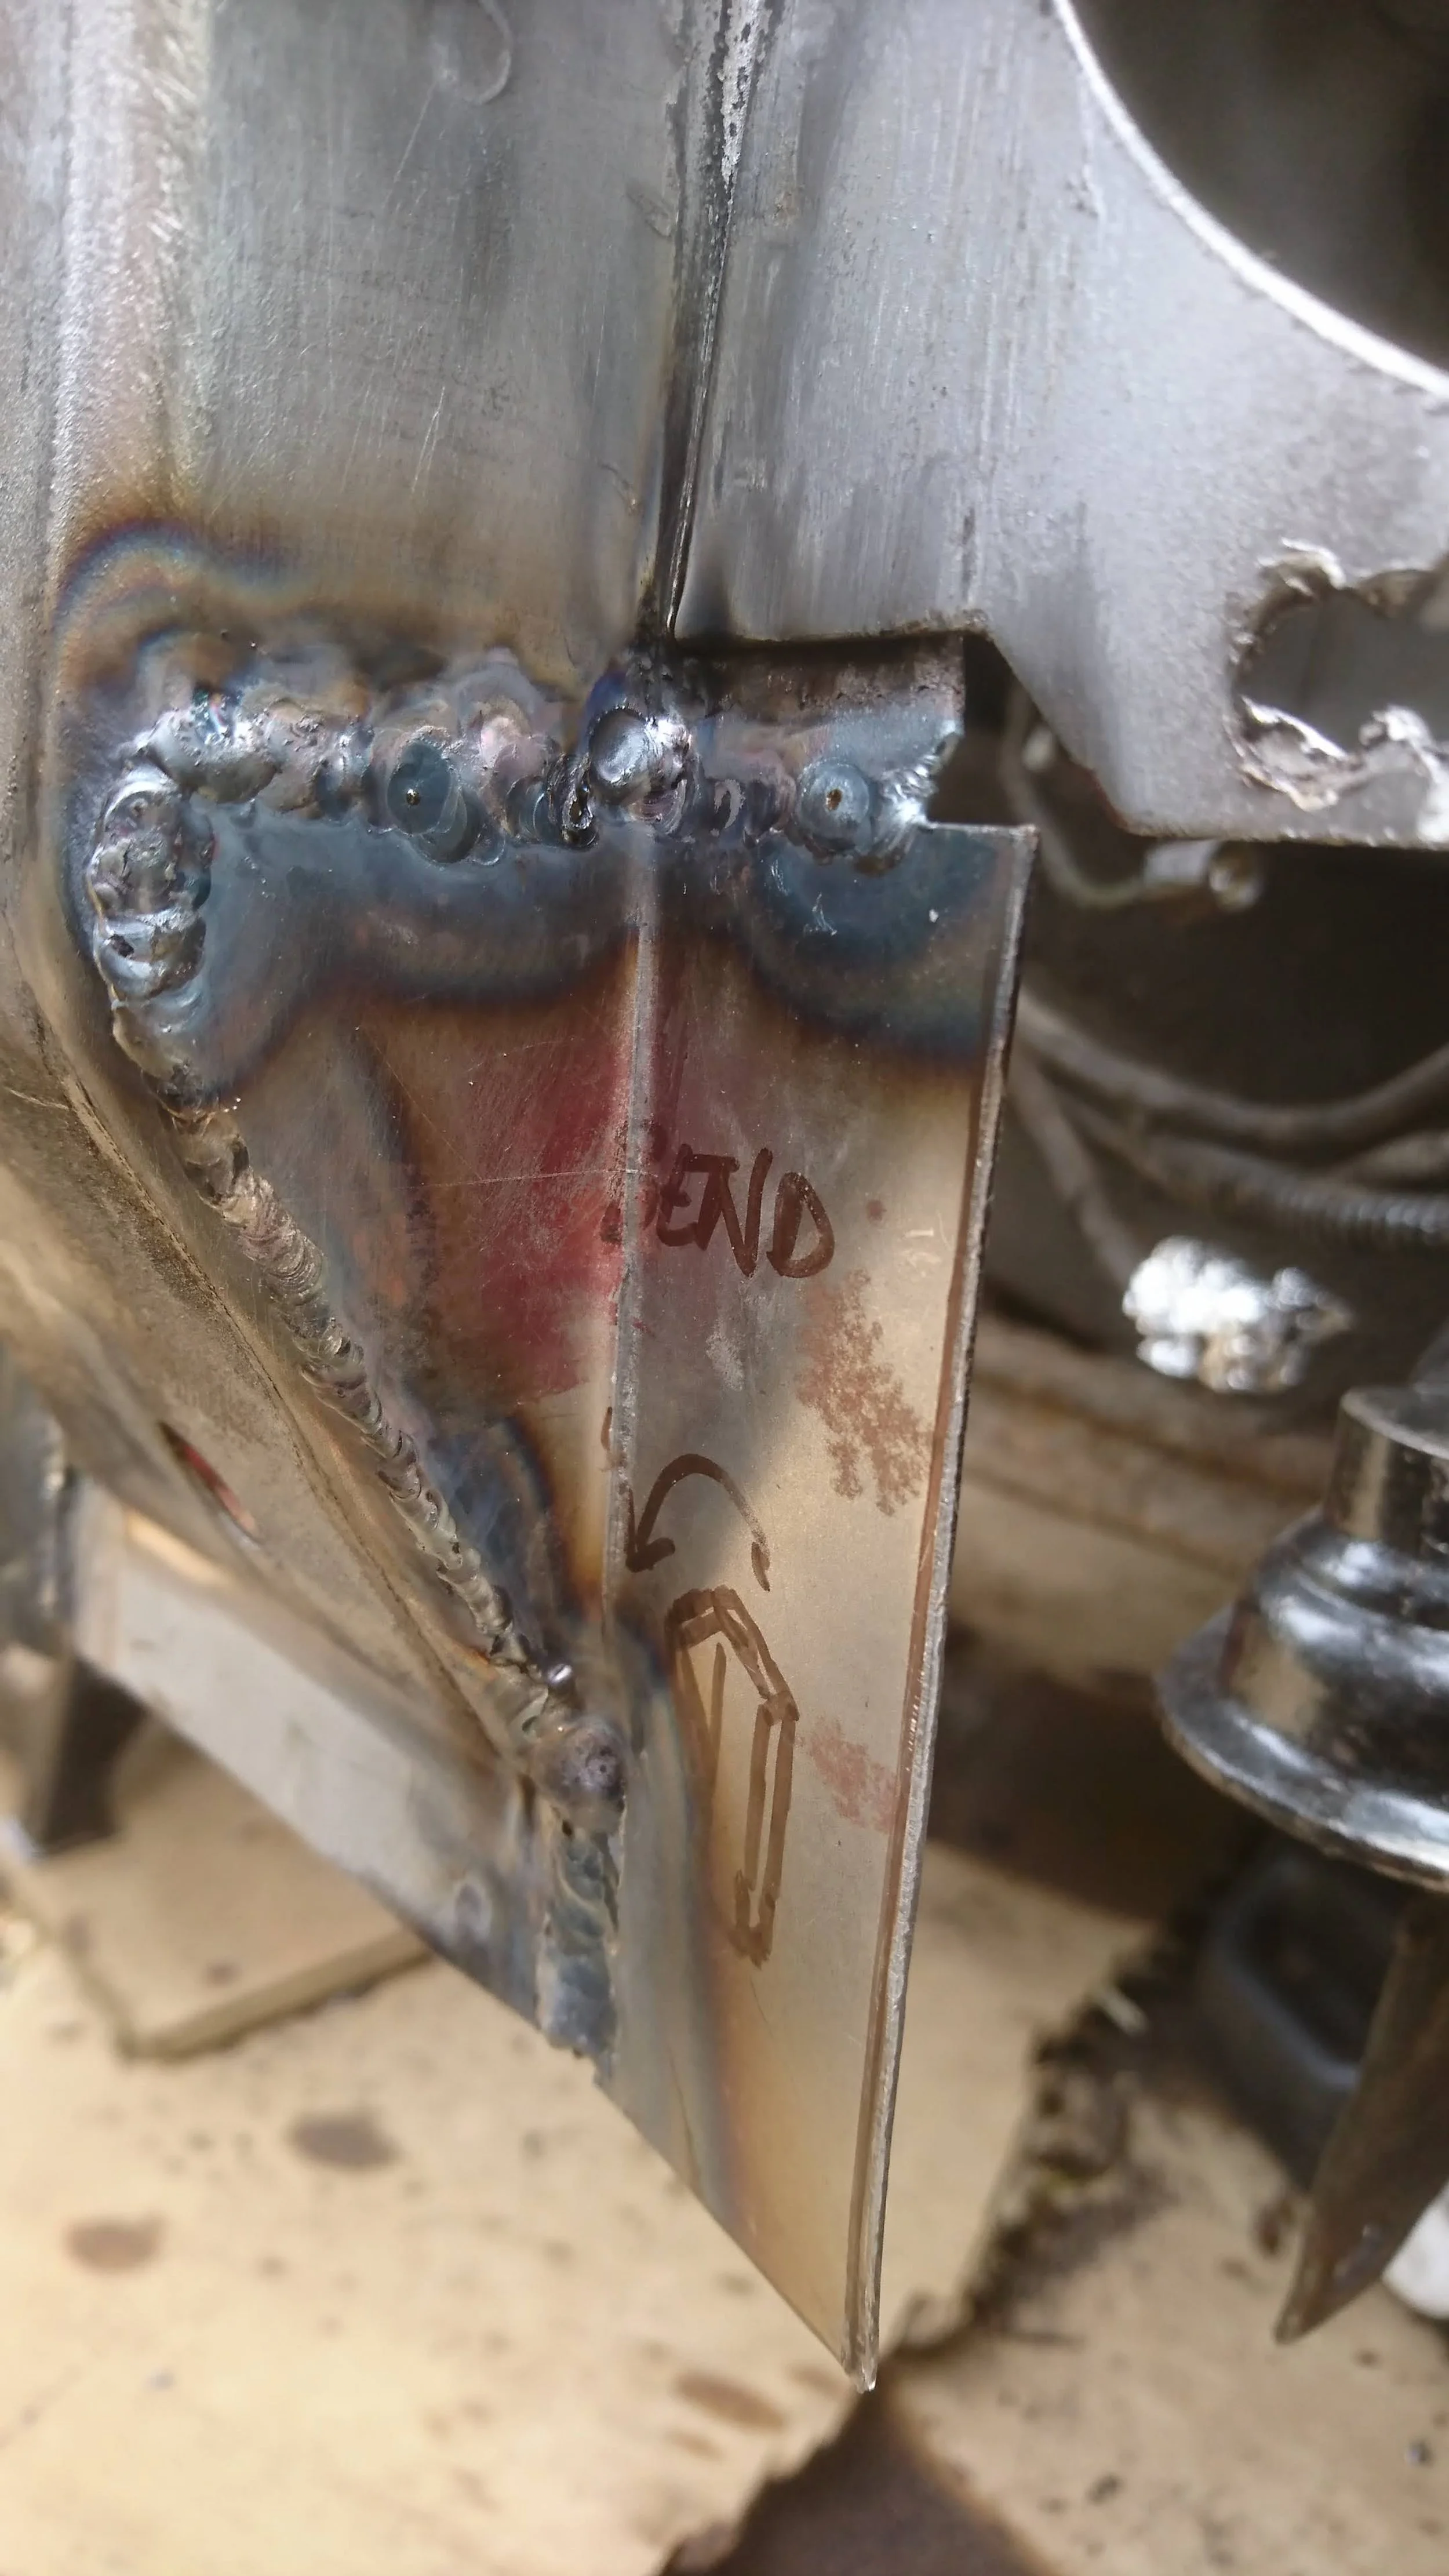
By this point, I was used to repair panels not being large enough... Just a few gaps still to fill!

New bulkhead plate fabricated...
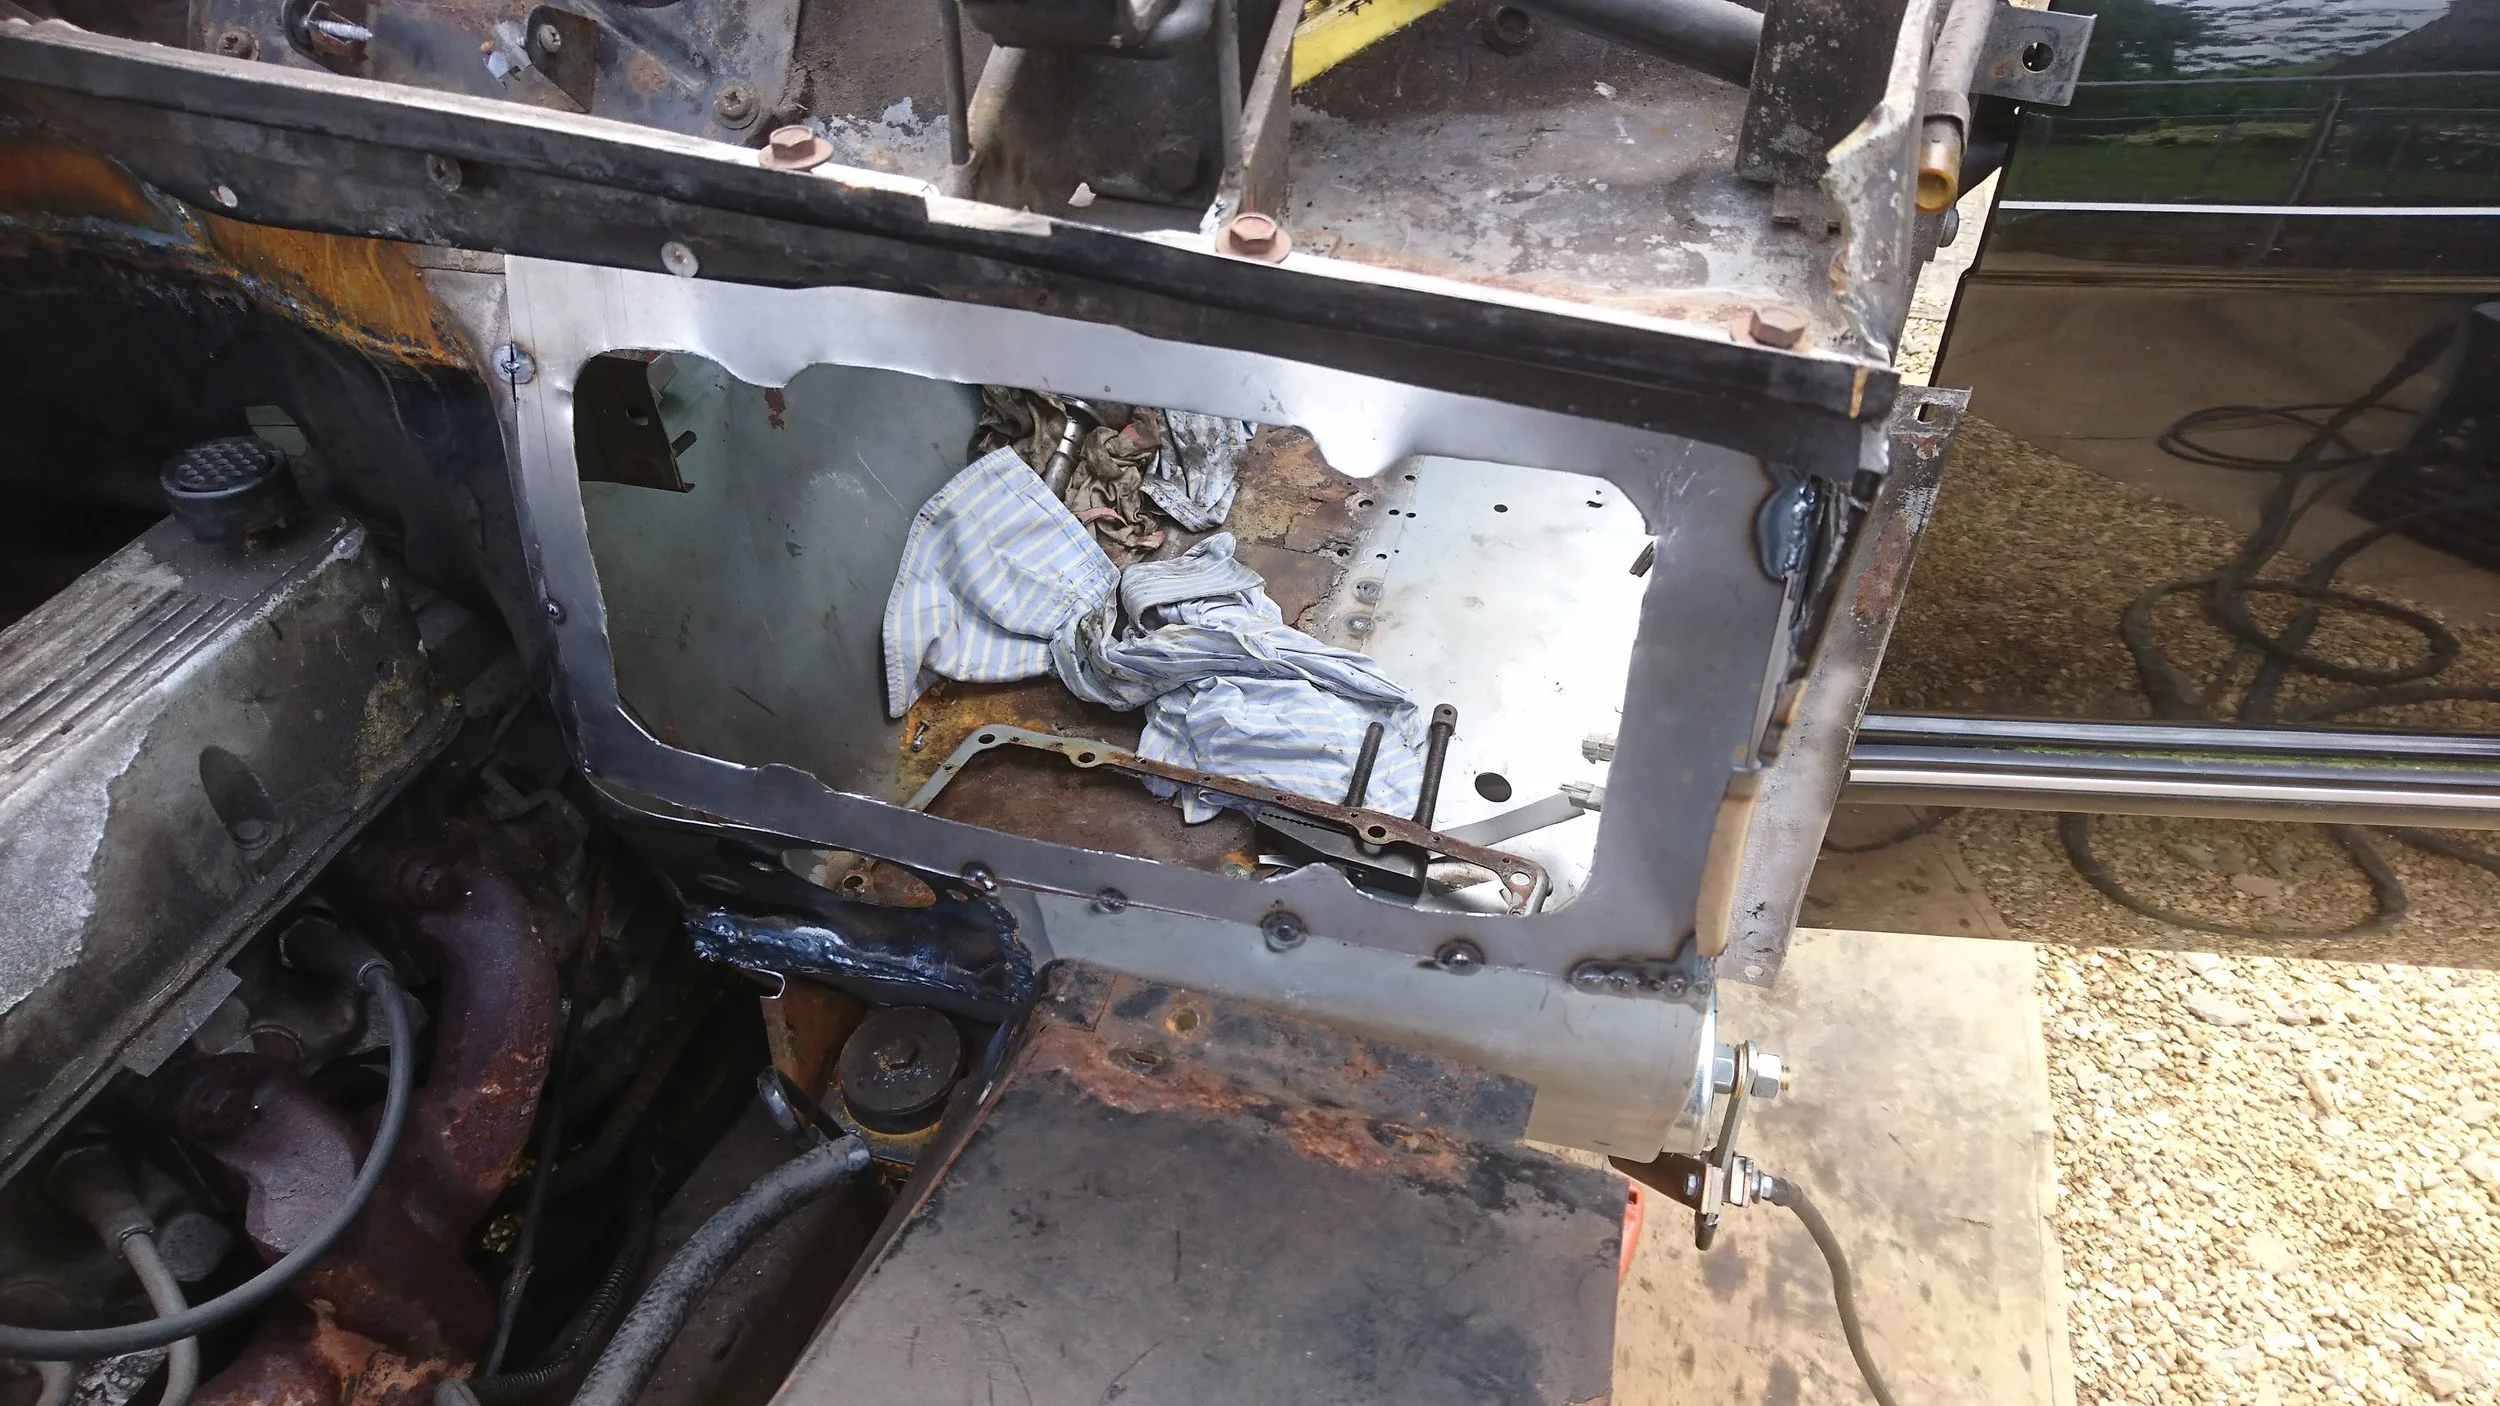
Then tacked in place...
More repair panel extensions...
Starting to fill in the gaps.
Looks tidier now.

Looking good from the outside too.

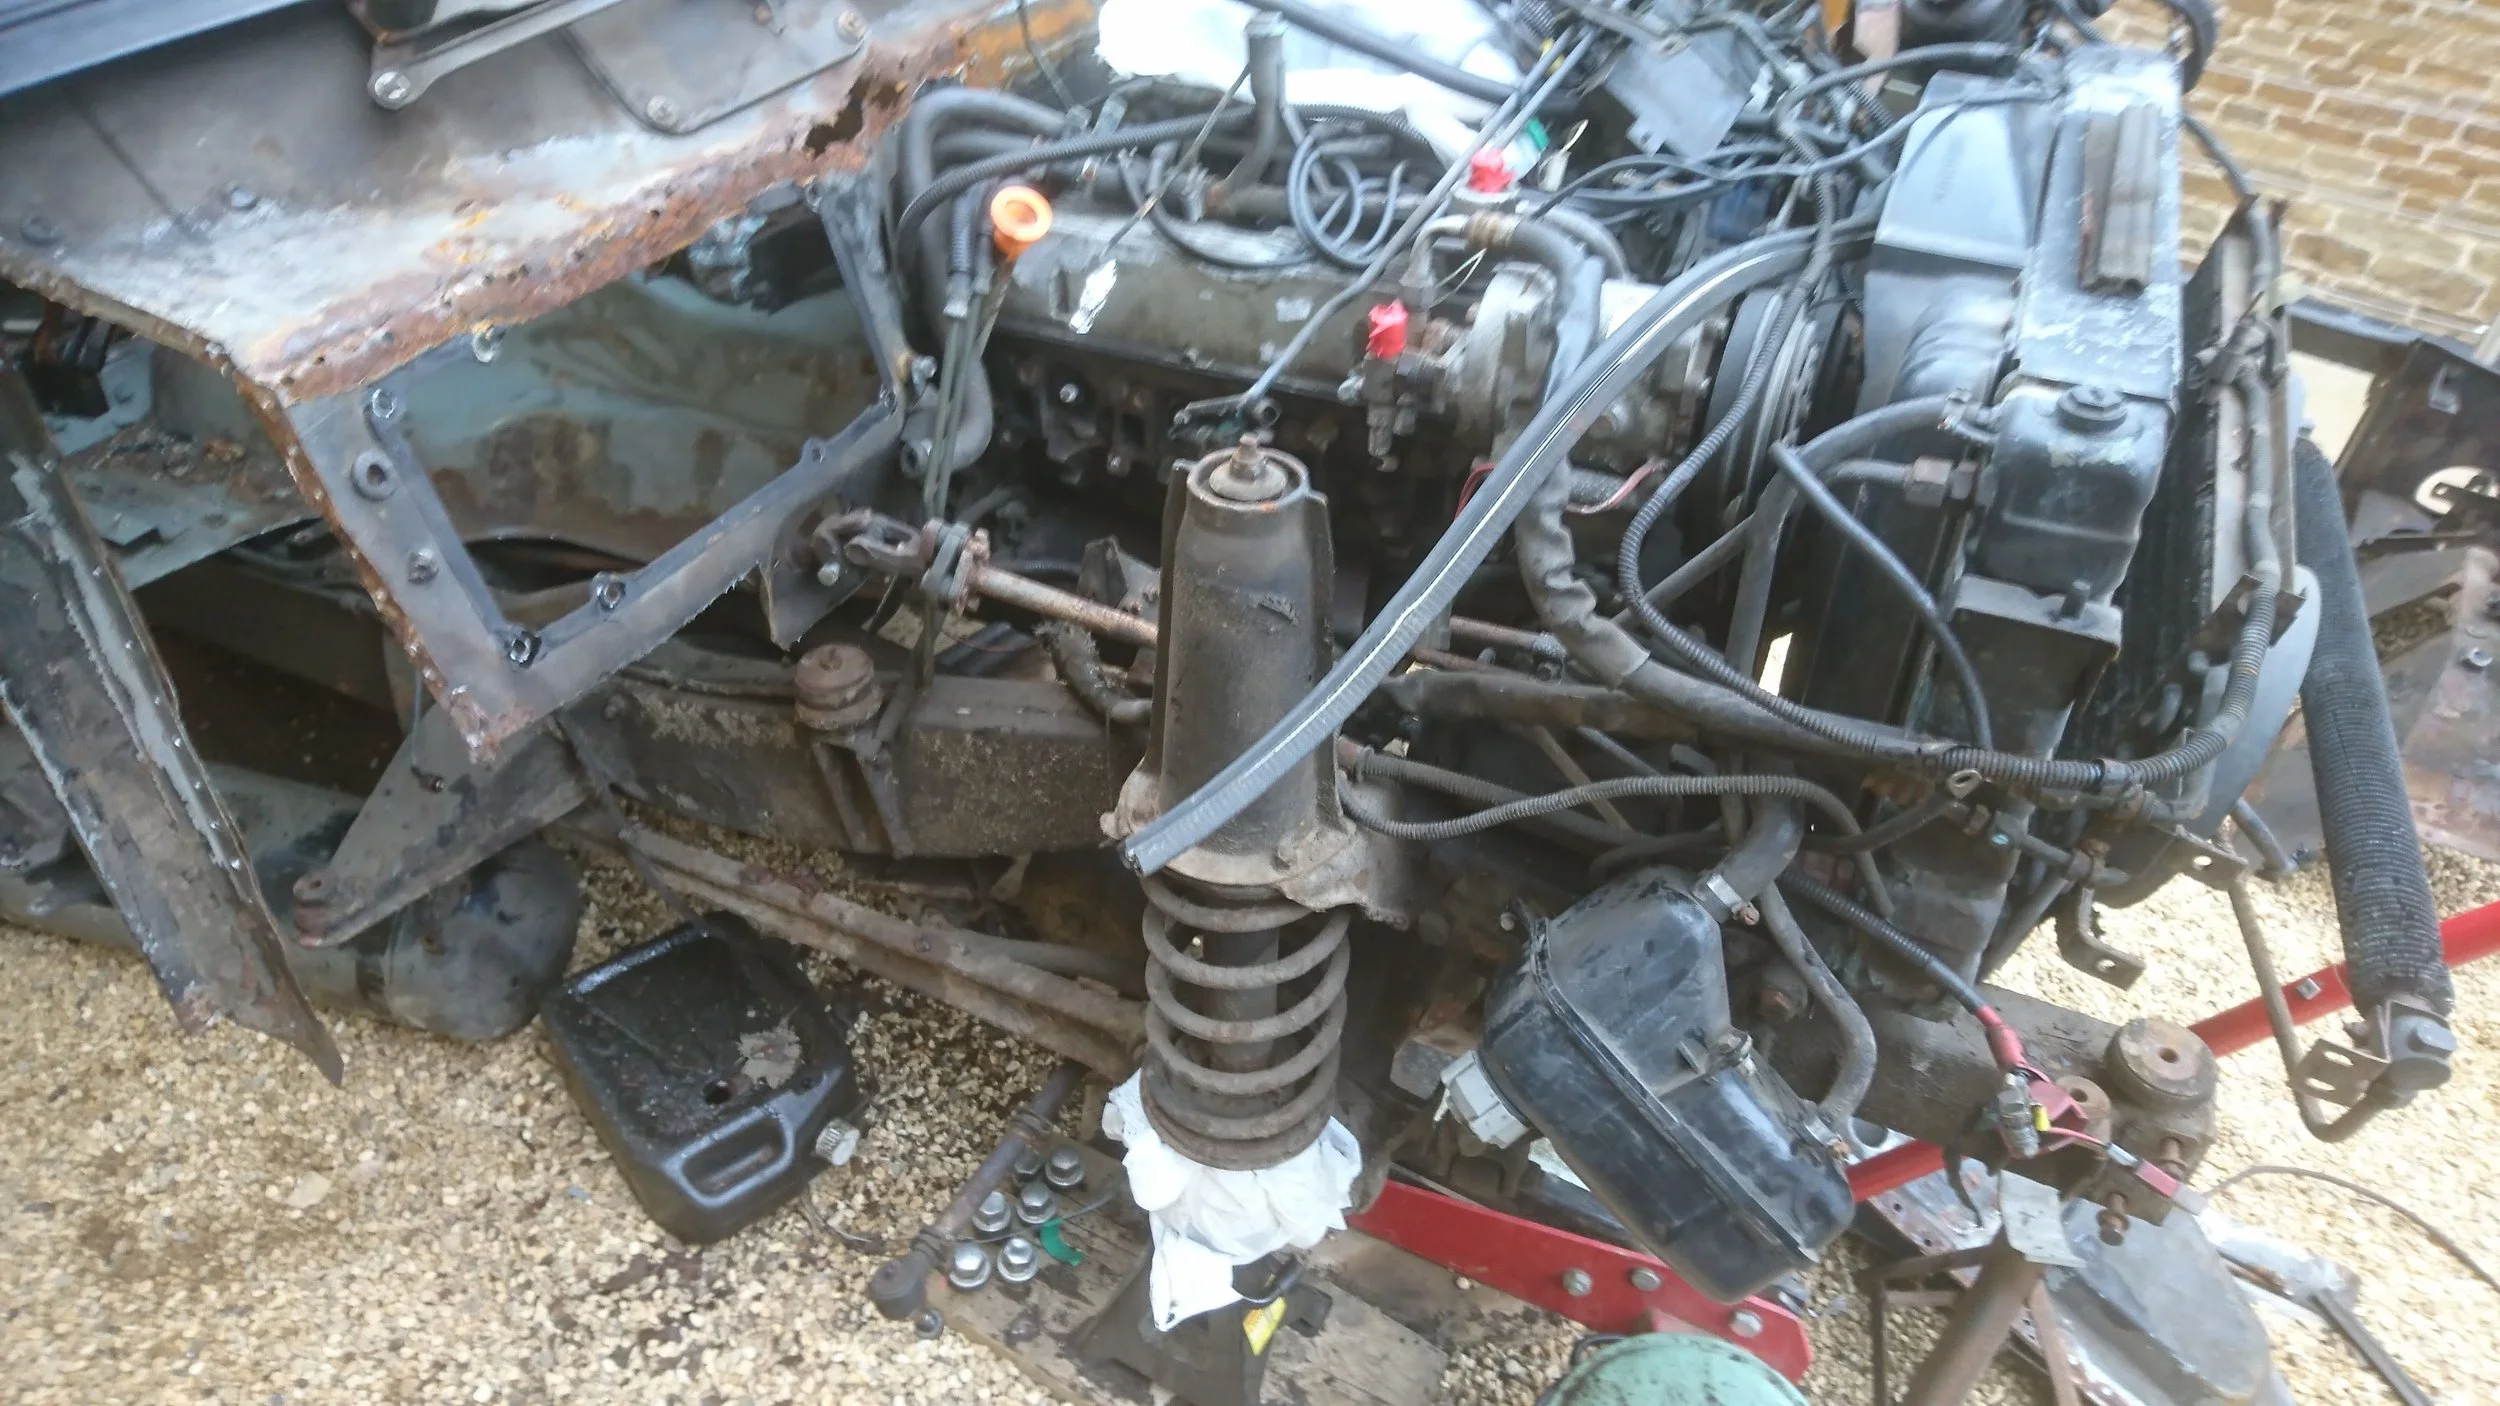
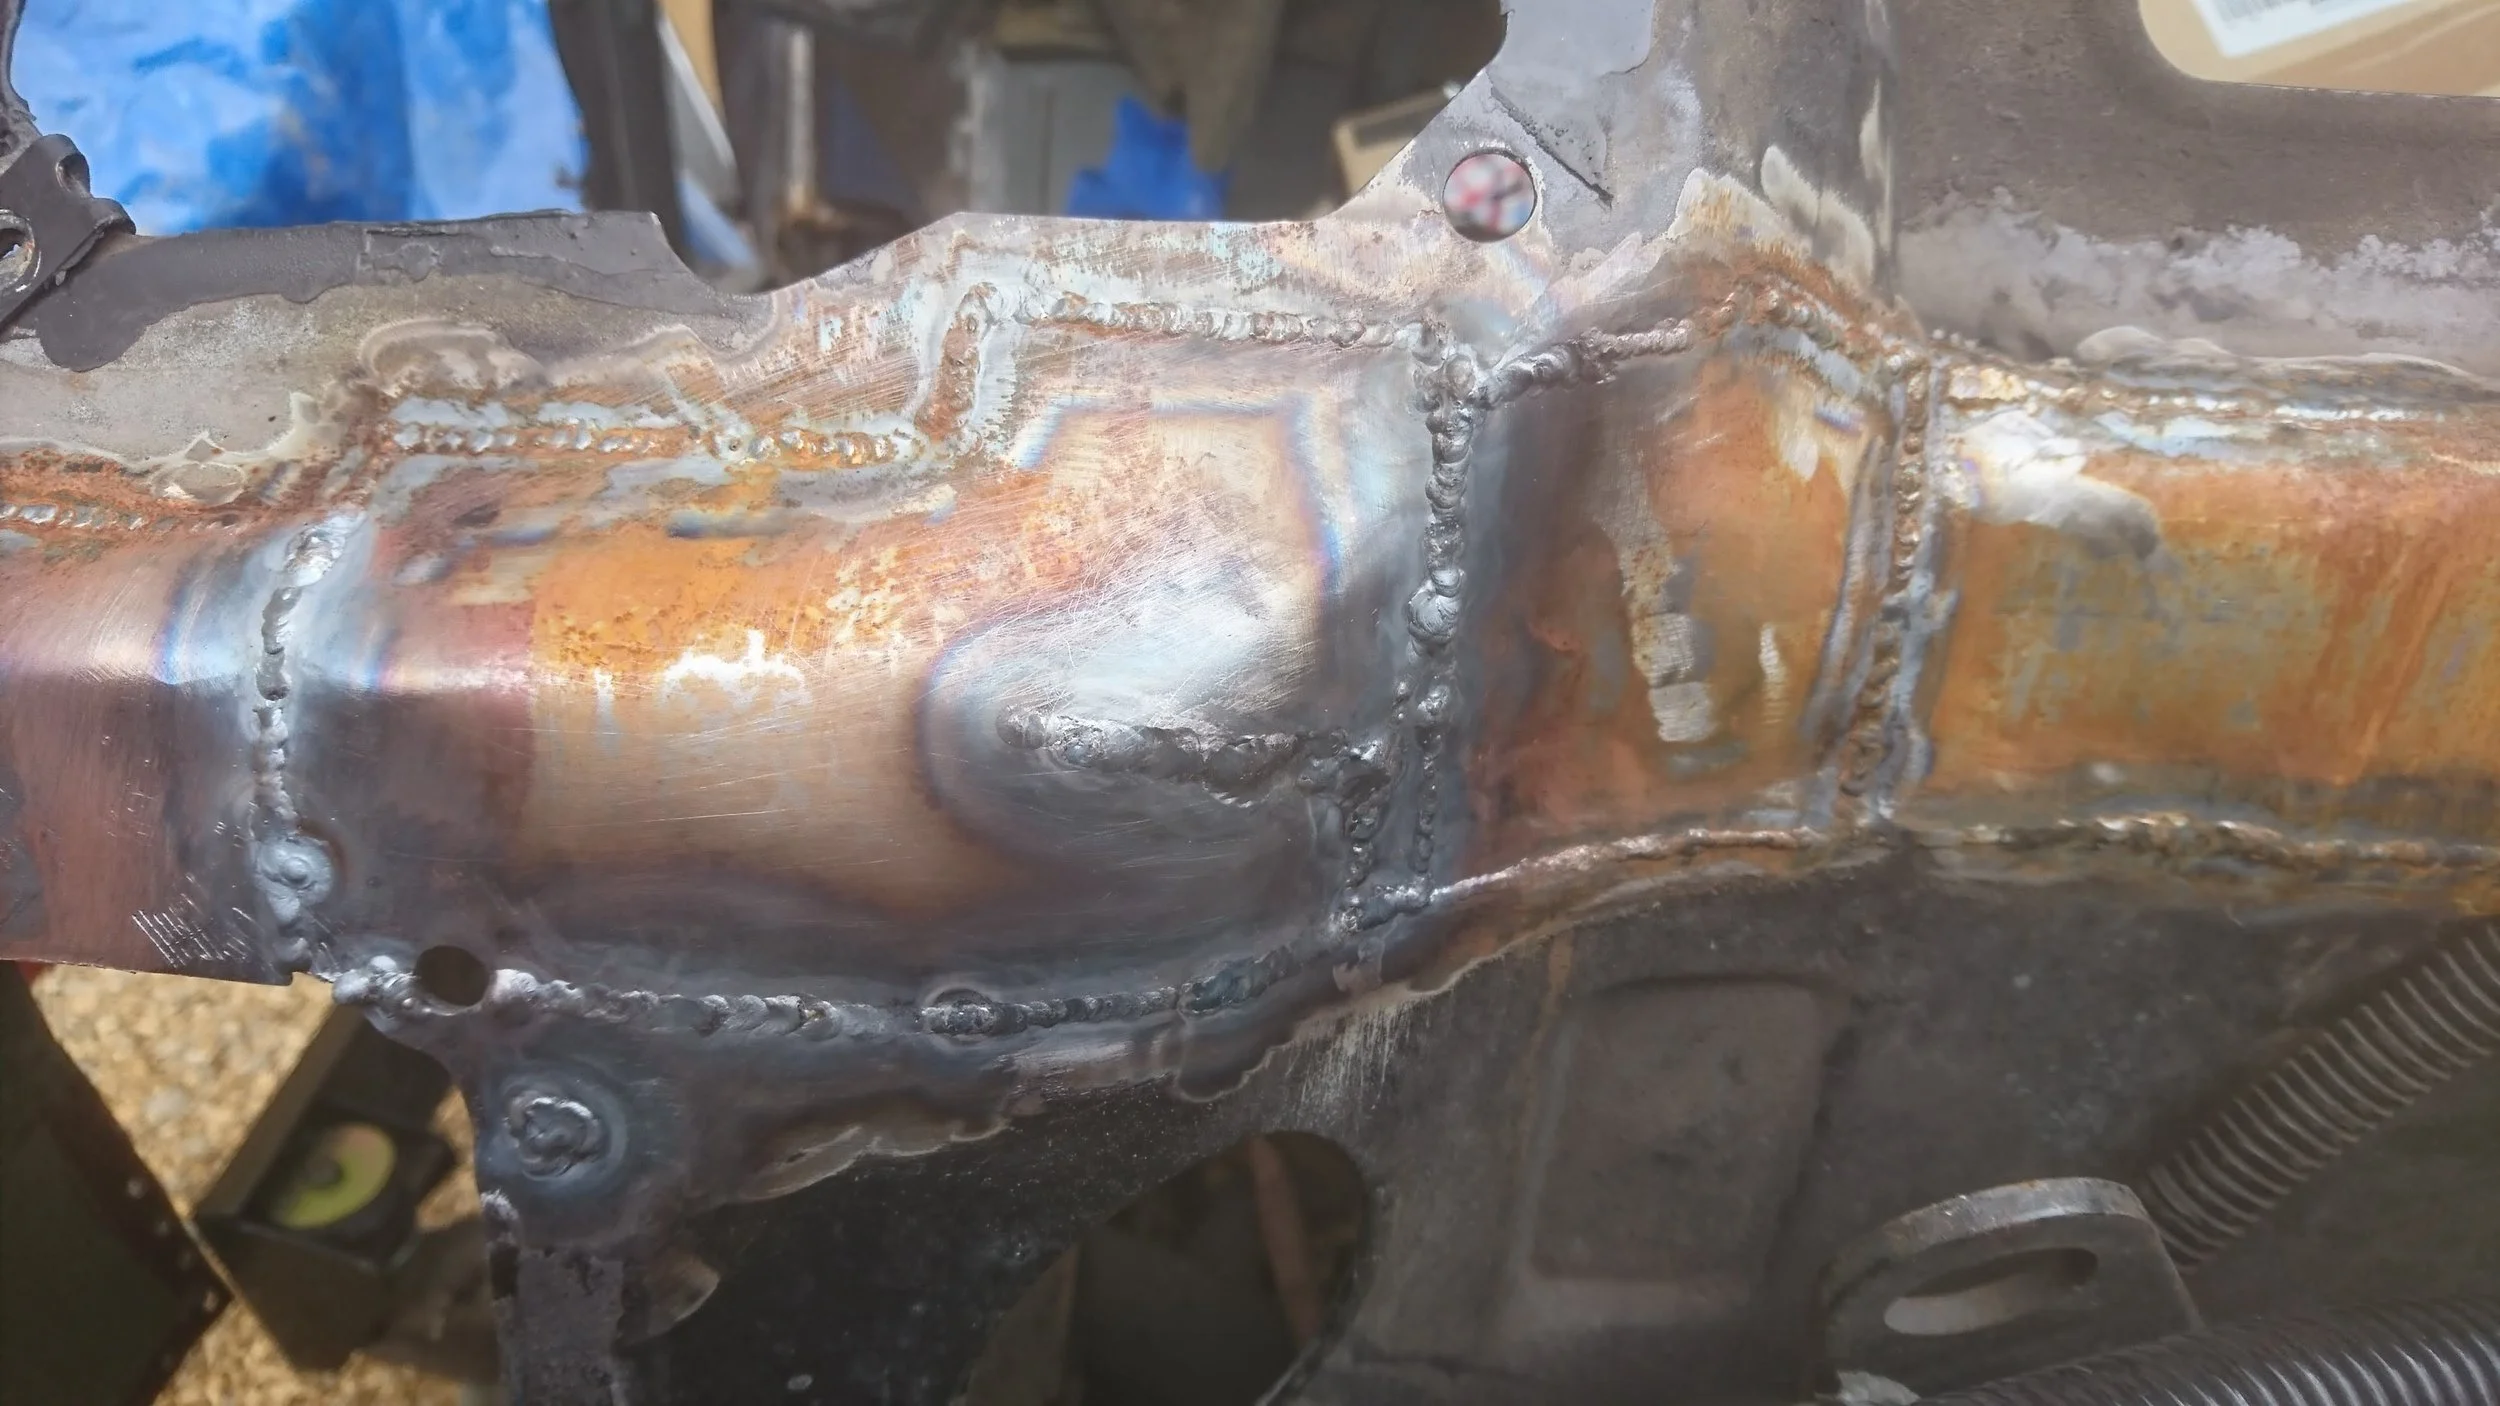
A brief interlude to machine a flat surface on the exhaust headers. Corrosion had really taken its toll and there was absolutely no way they were going to seal otherwise.

I enjoyed figuring out how to fixture these.
New repair metal going into the inner wings.

And its stiffener.

One half down, another to go... At least you can see where I've been!
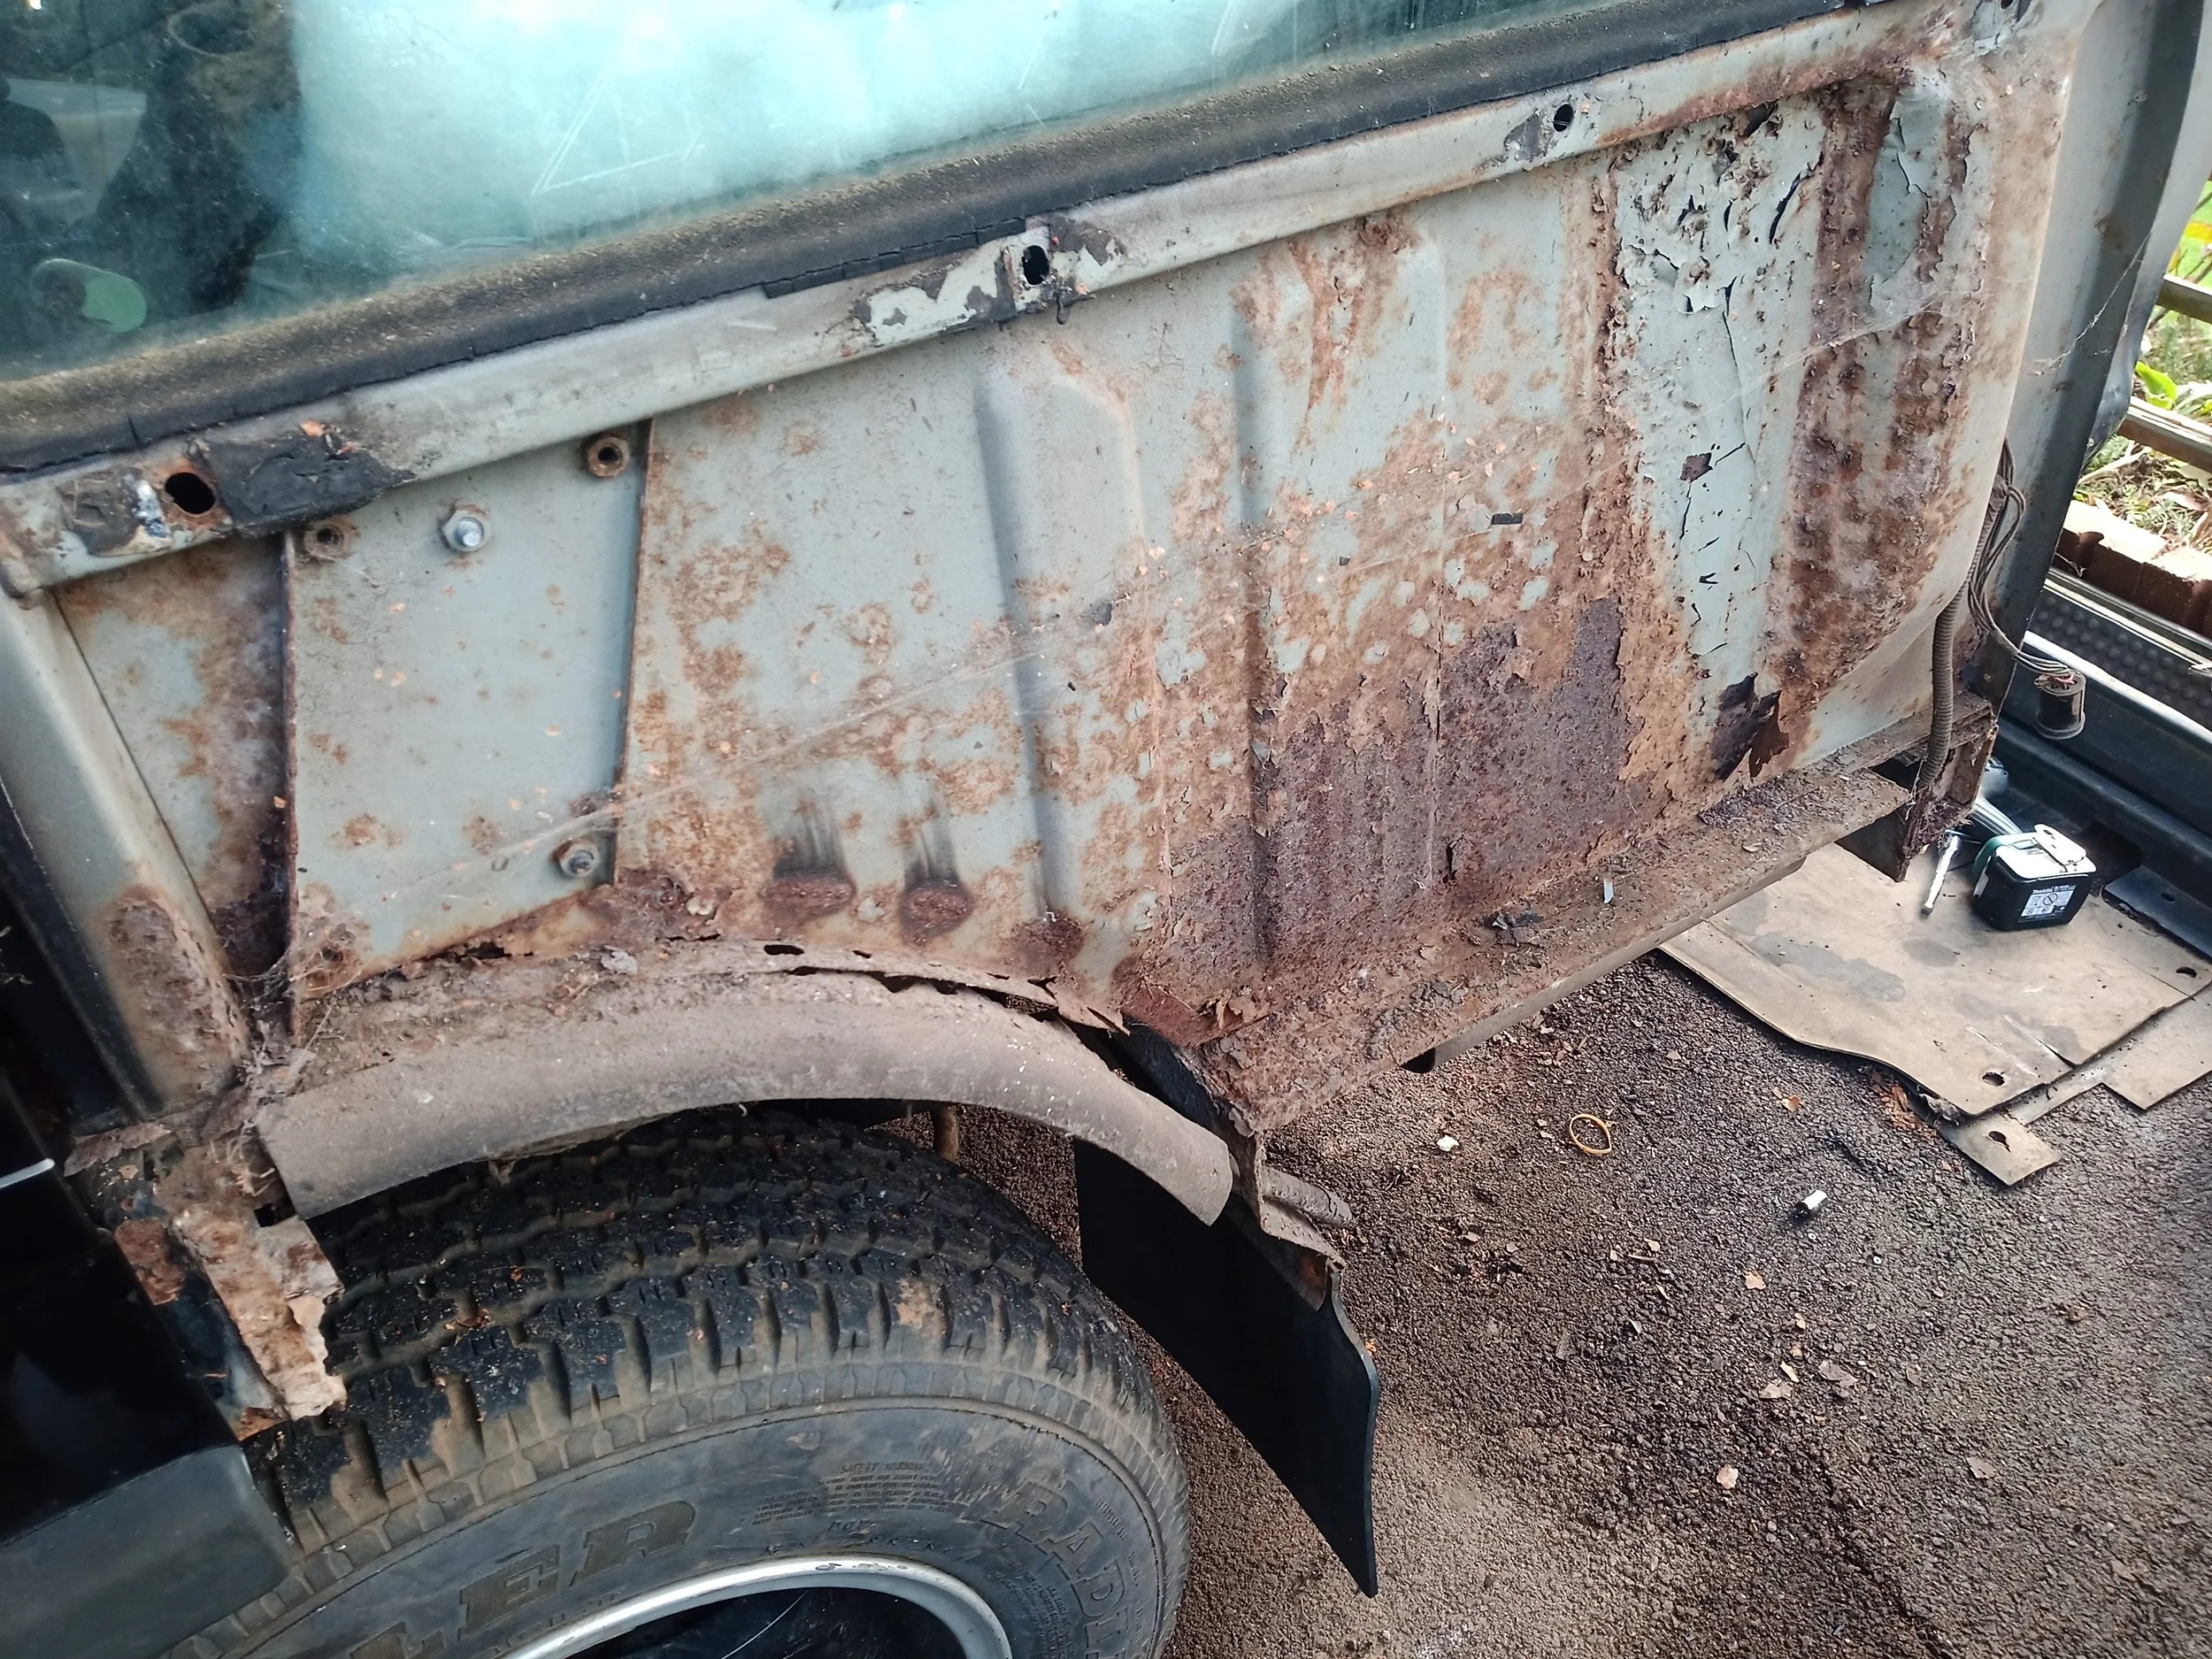
The driver's side wasn't great either... This seat bracket had rusted clean through at the base... How did this car have an MOT?!
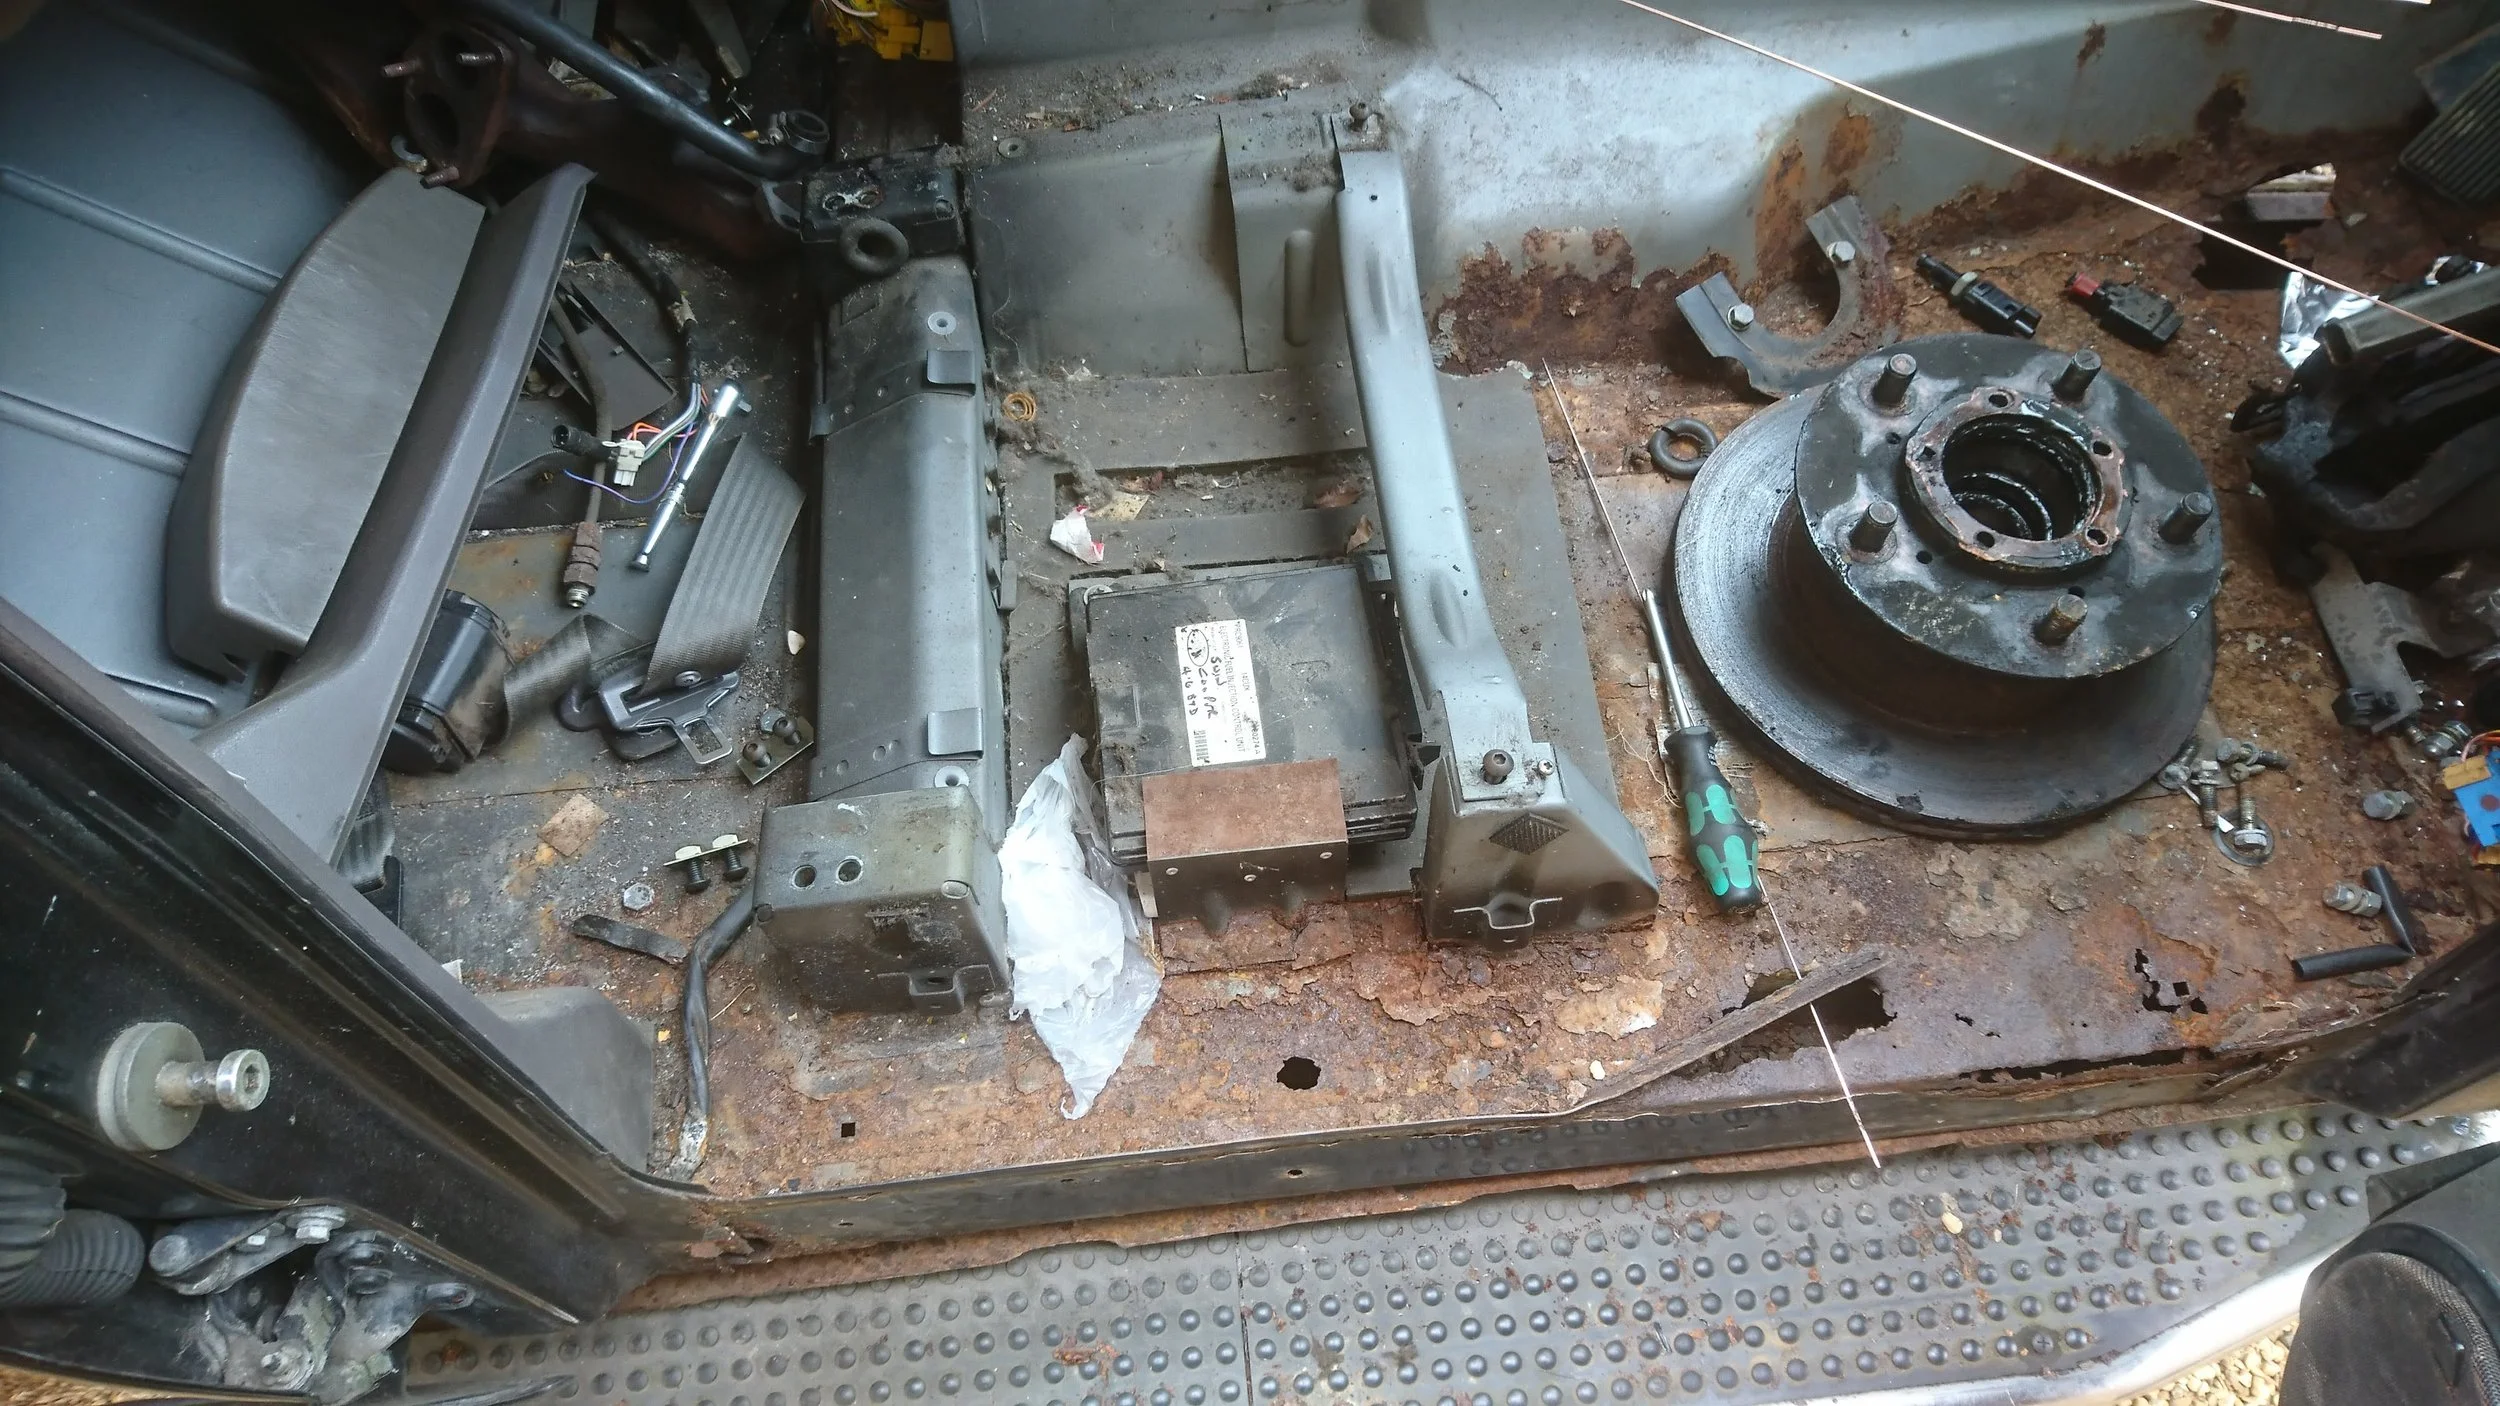
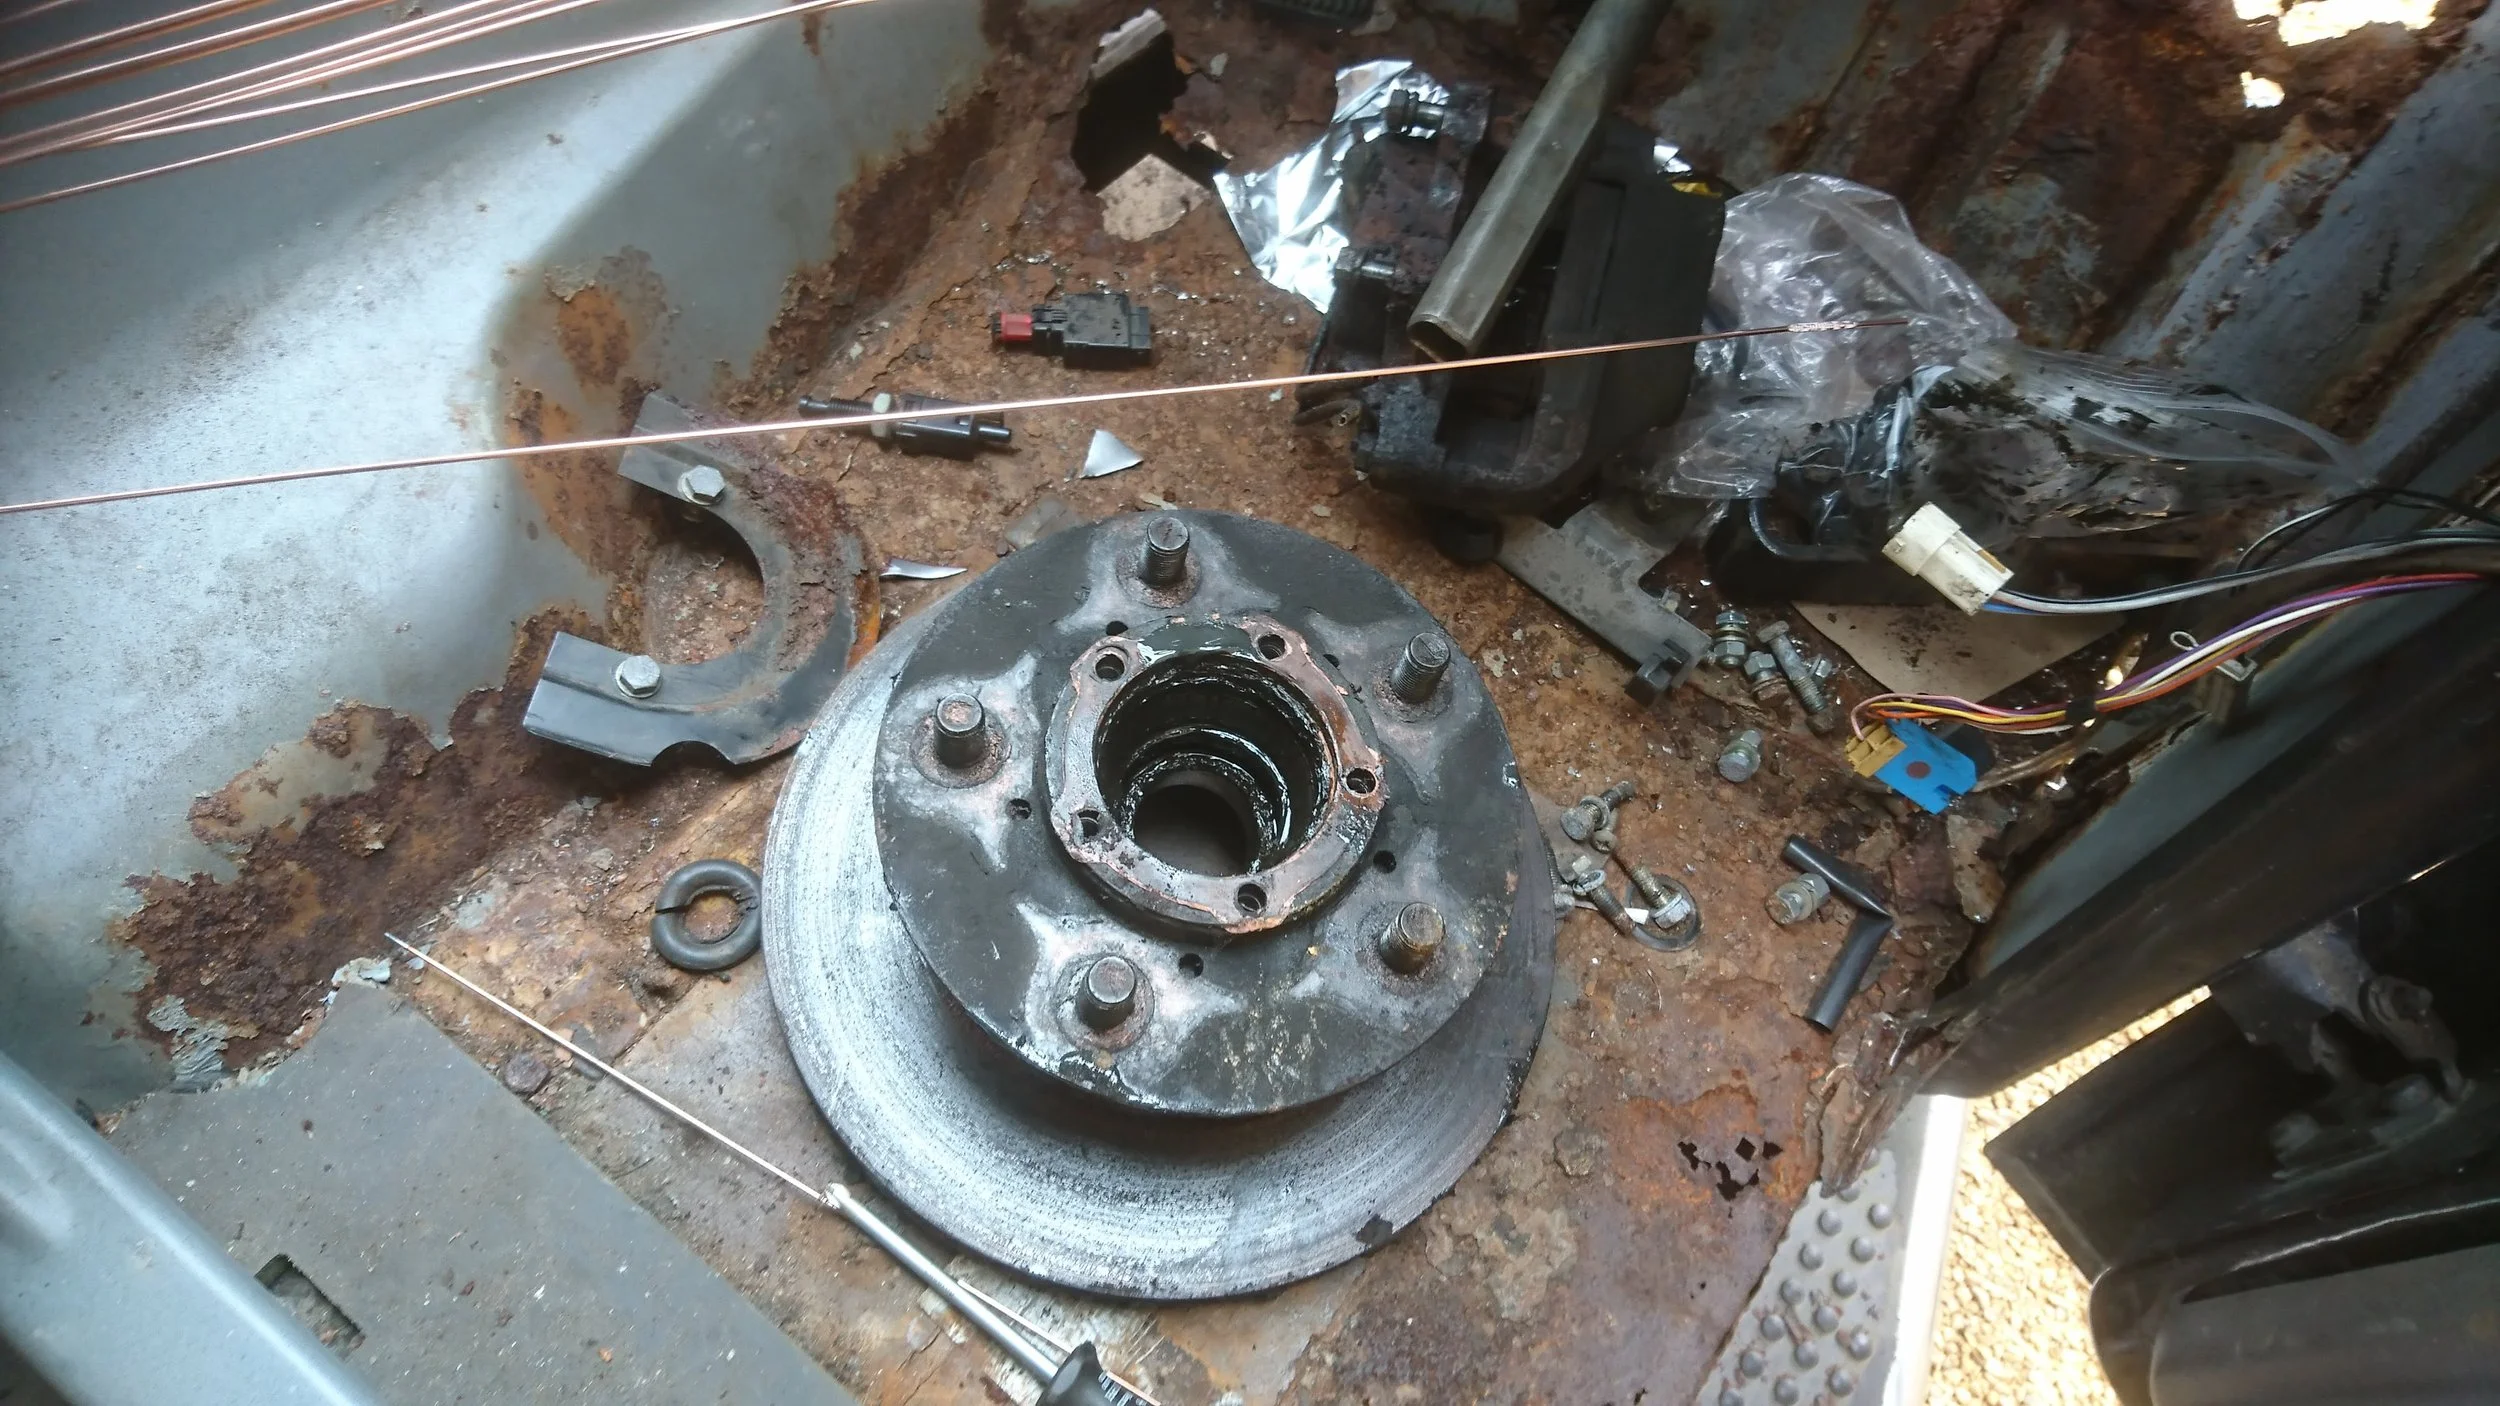
I took the opportunity to do the front swivels too, since they were leaking, hence the hub on this very rusty floor!
Yet more corrosion...
It doesn't matter which way you look...

It doesn't look great.
So much Iron Oxide...

Similar issues in the footwell.
The angle grinder made another appearance...
And got a little carried away!
Not a lot left!
The whole inner wing section removed.
Much prettier! It should be more water-tight too!

New sills...
And door pillar repairs. Deja Vu?!

Clearly didn't get my CAD quite right! Never mind, my gap filling was pretty good by this point!
The other angle...
Quite a complicated shape to achieve with a ball pein hammer and a piece of channel iron... There might have even been a block of wood involved at one point!
Solid again.
Don't the new door pillar bottoms look much more solid?!

Good weld penetration on this side too!

Looking good!
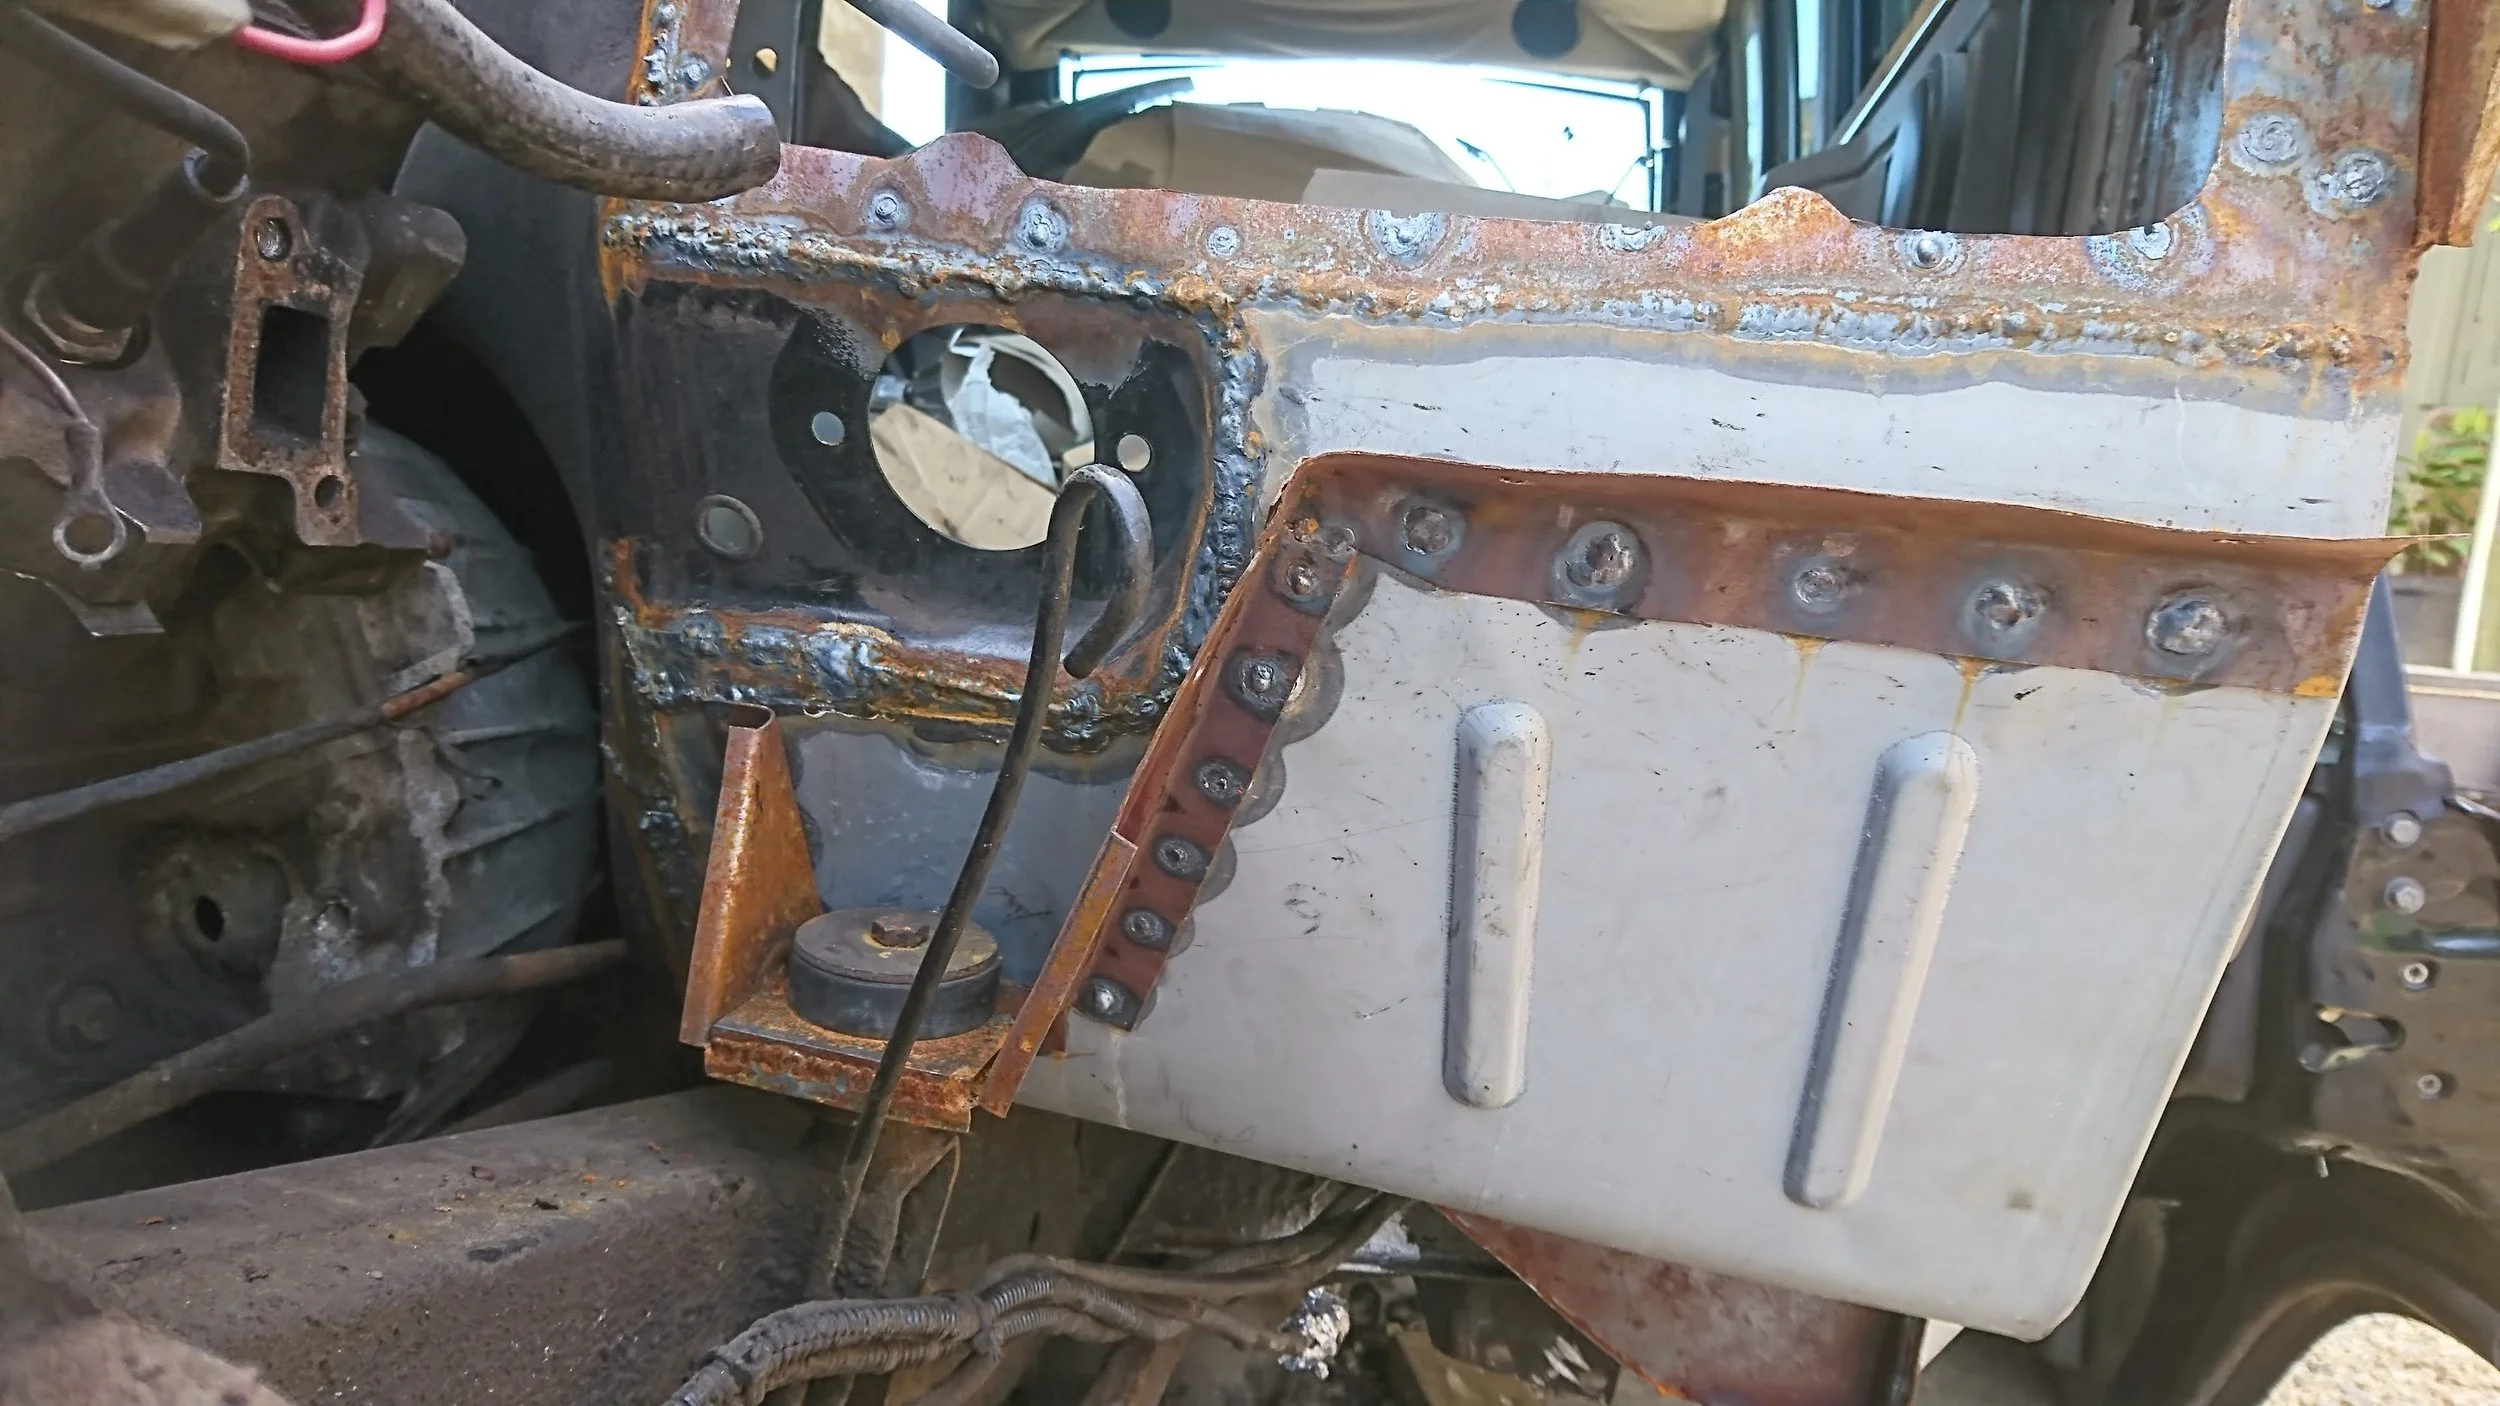
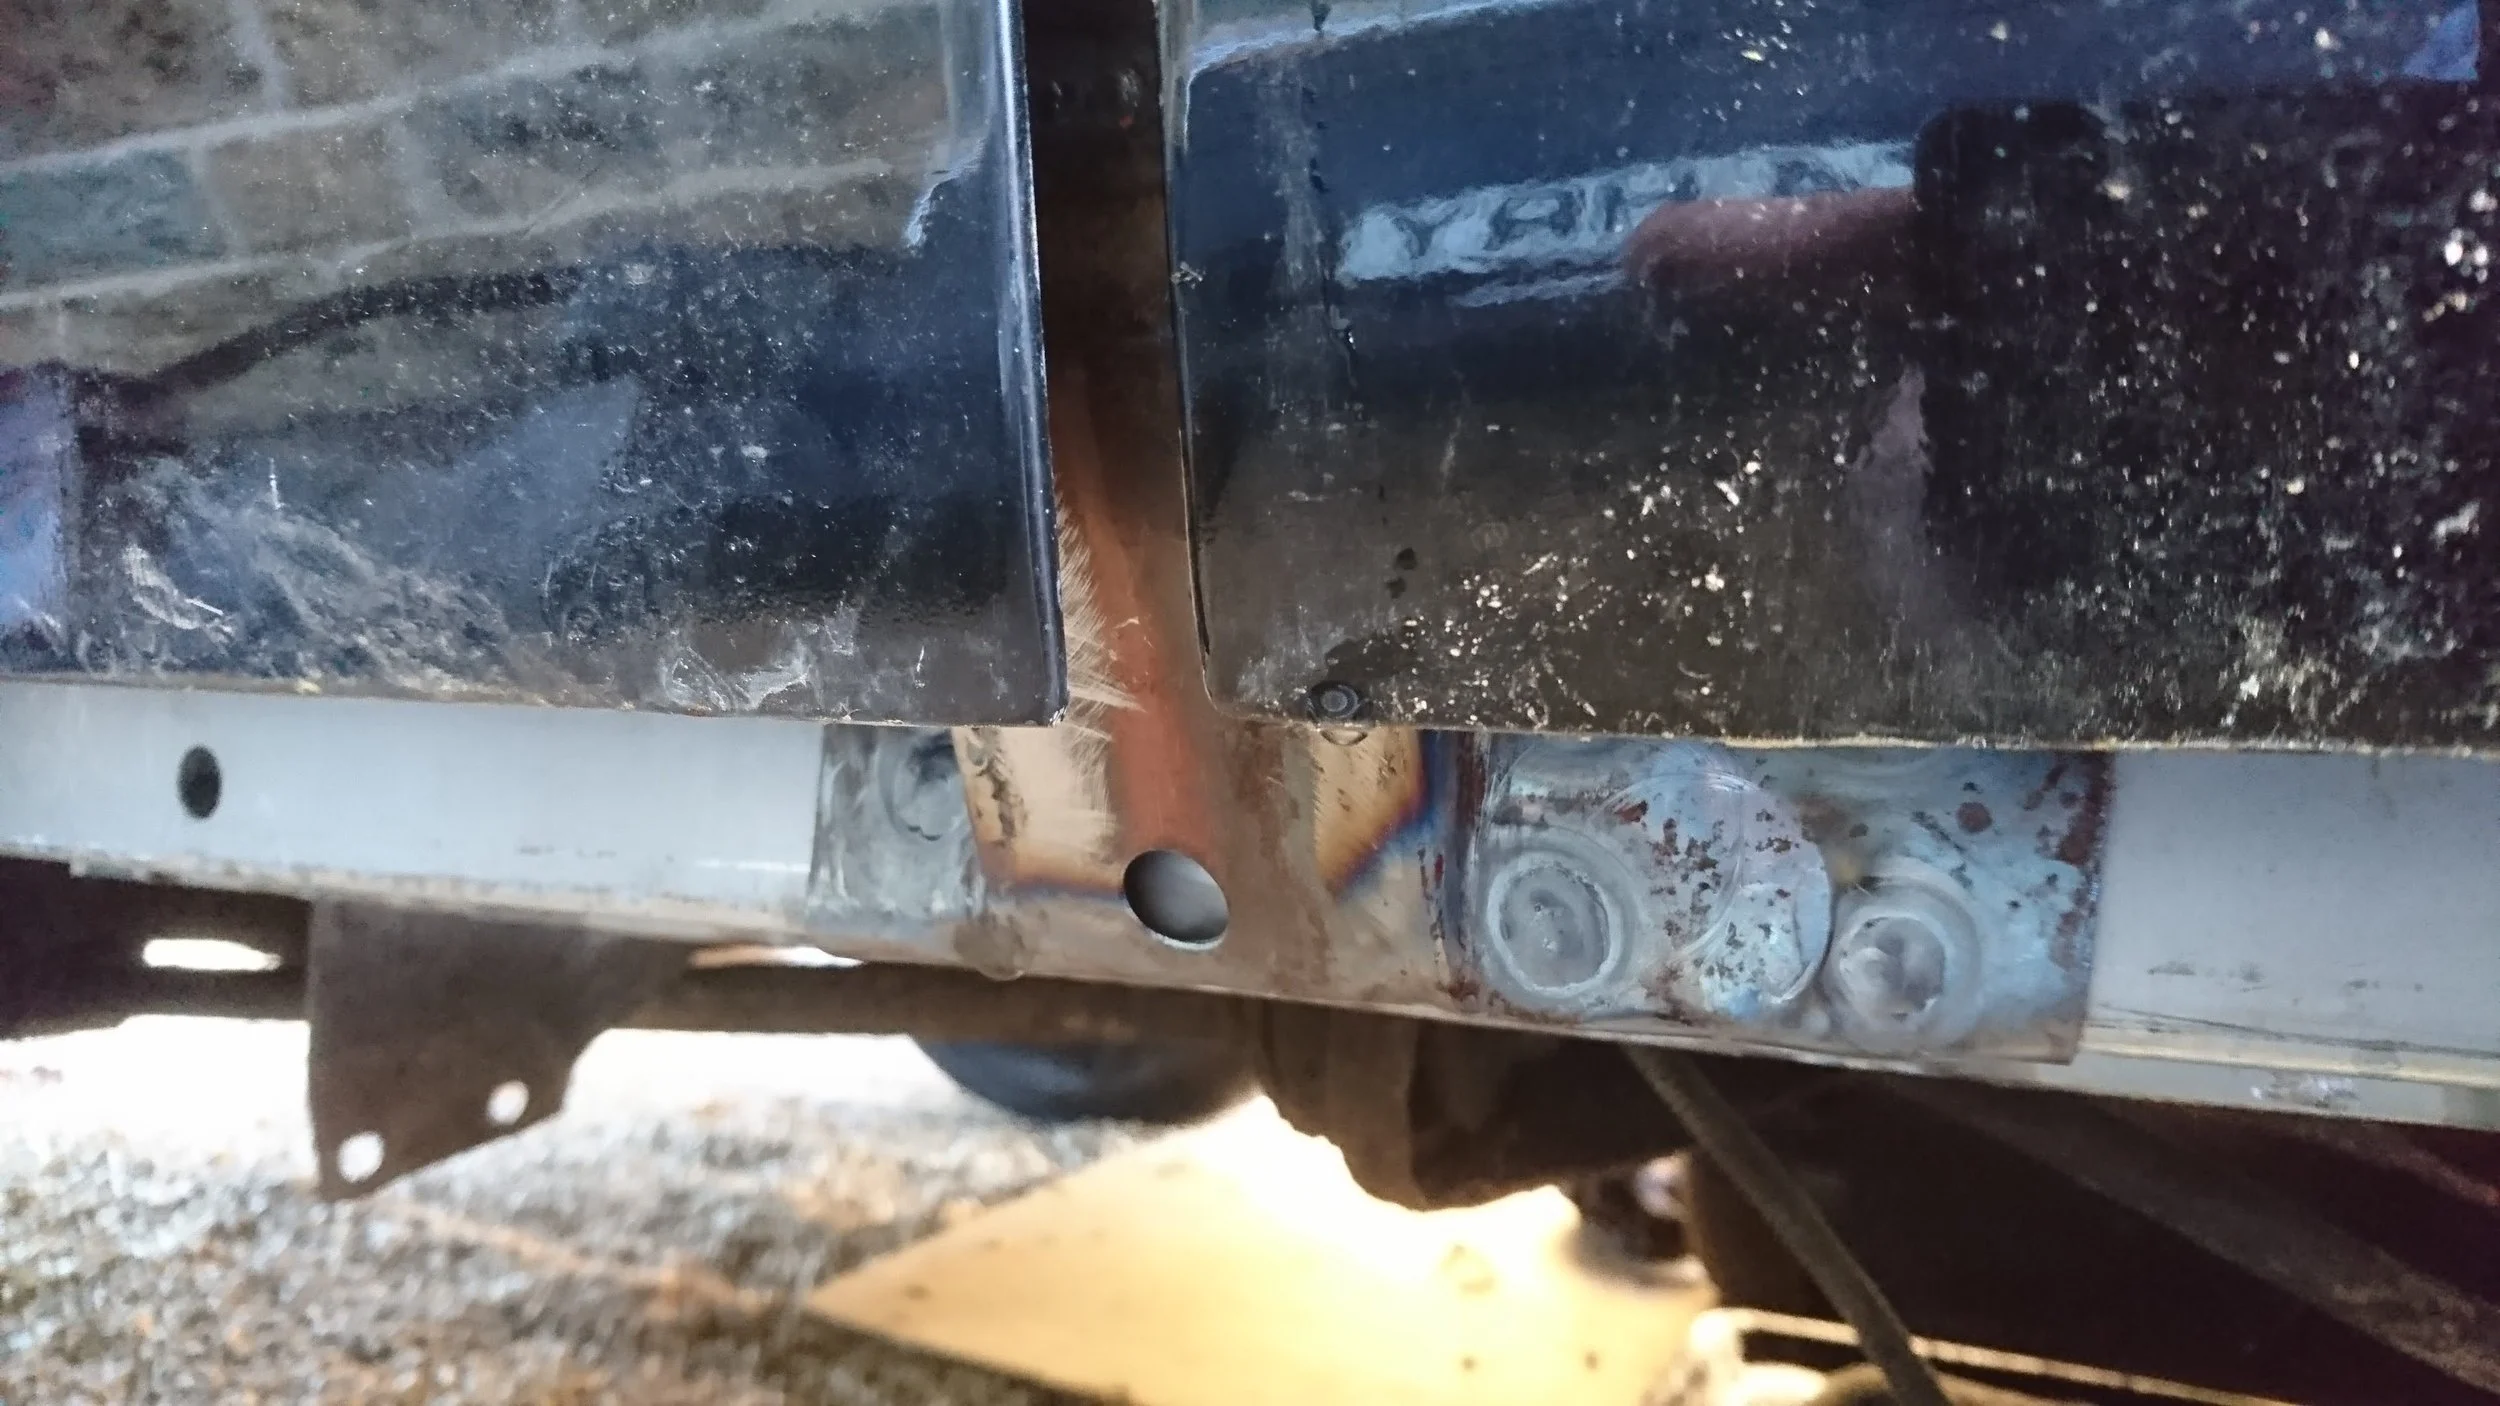
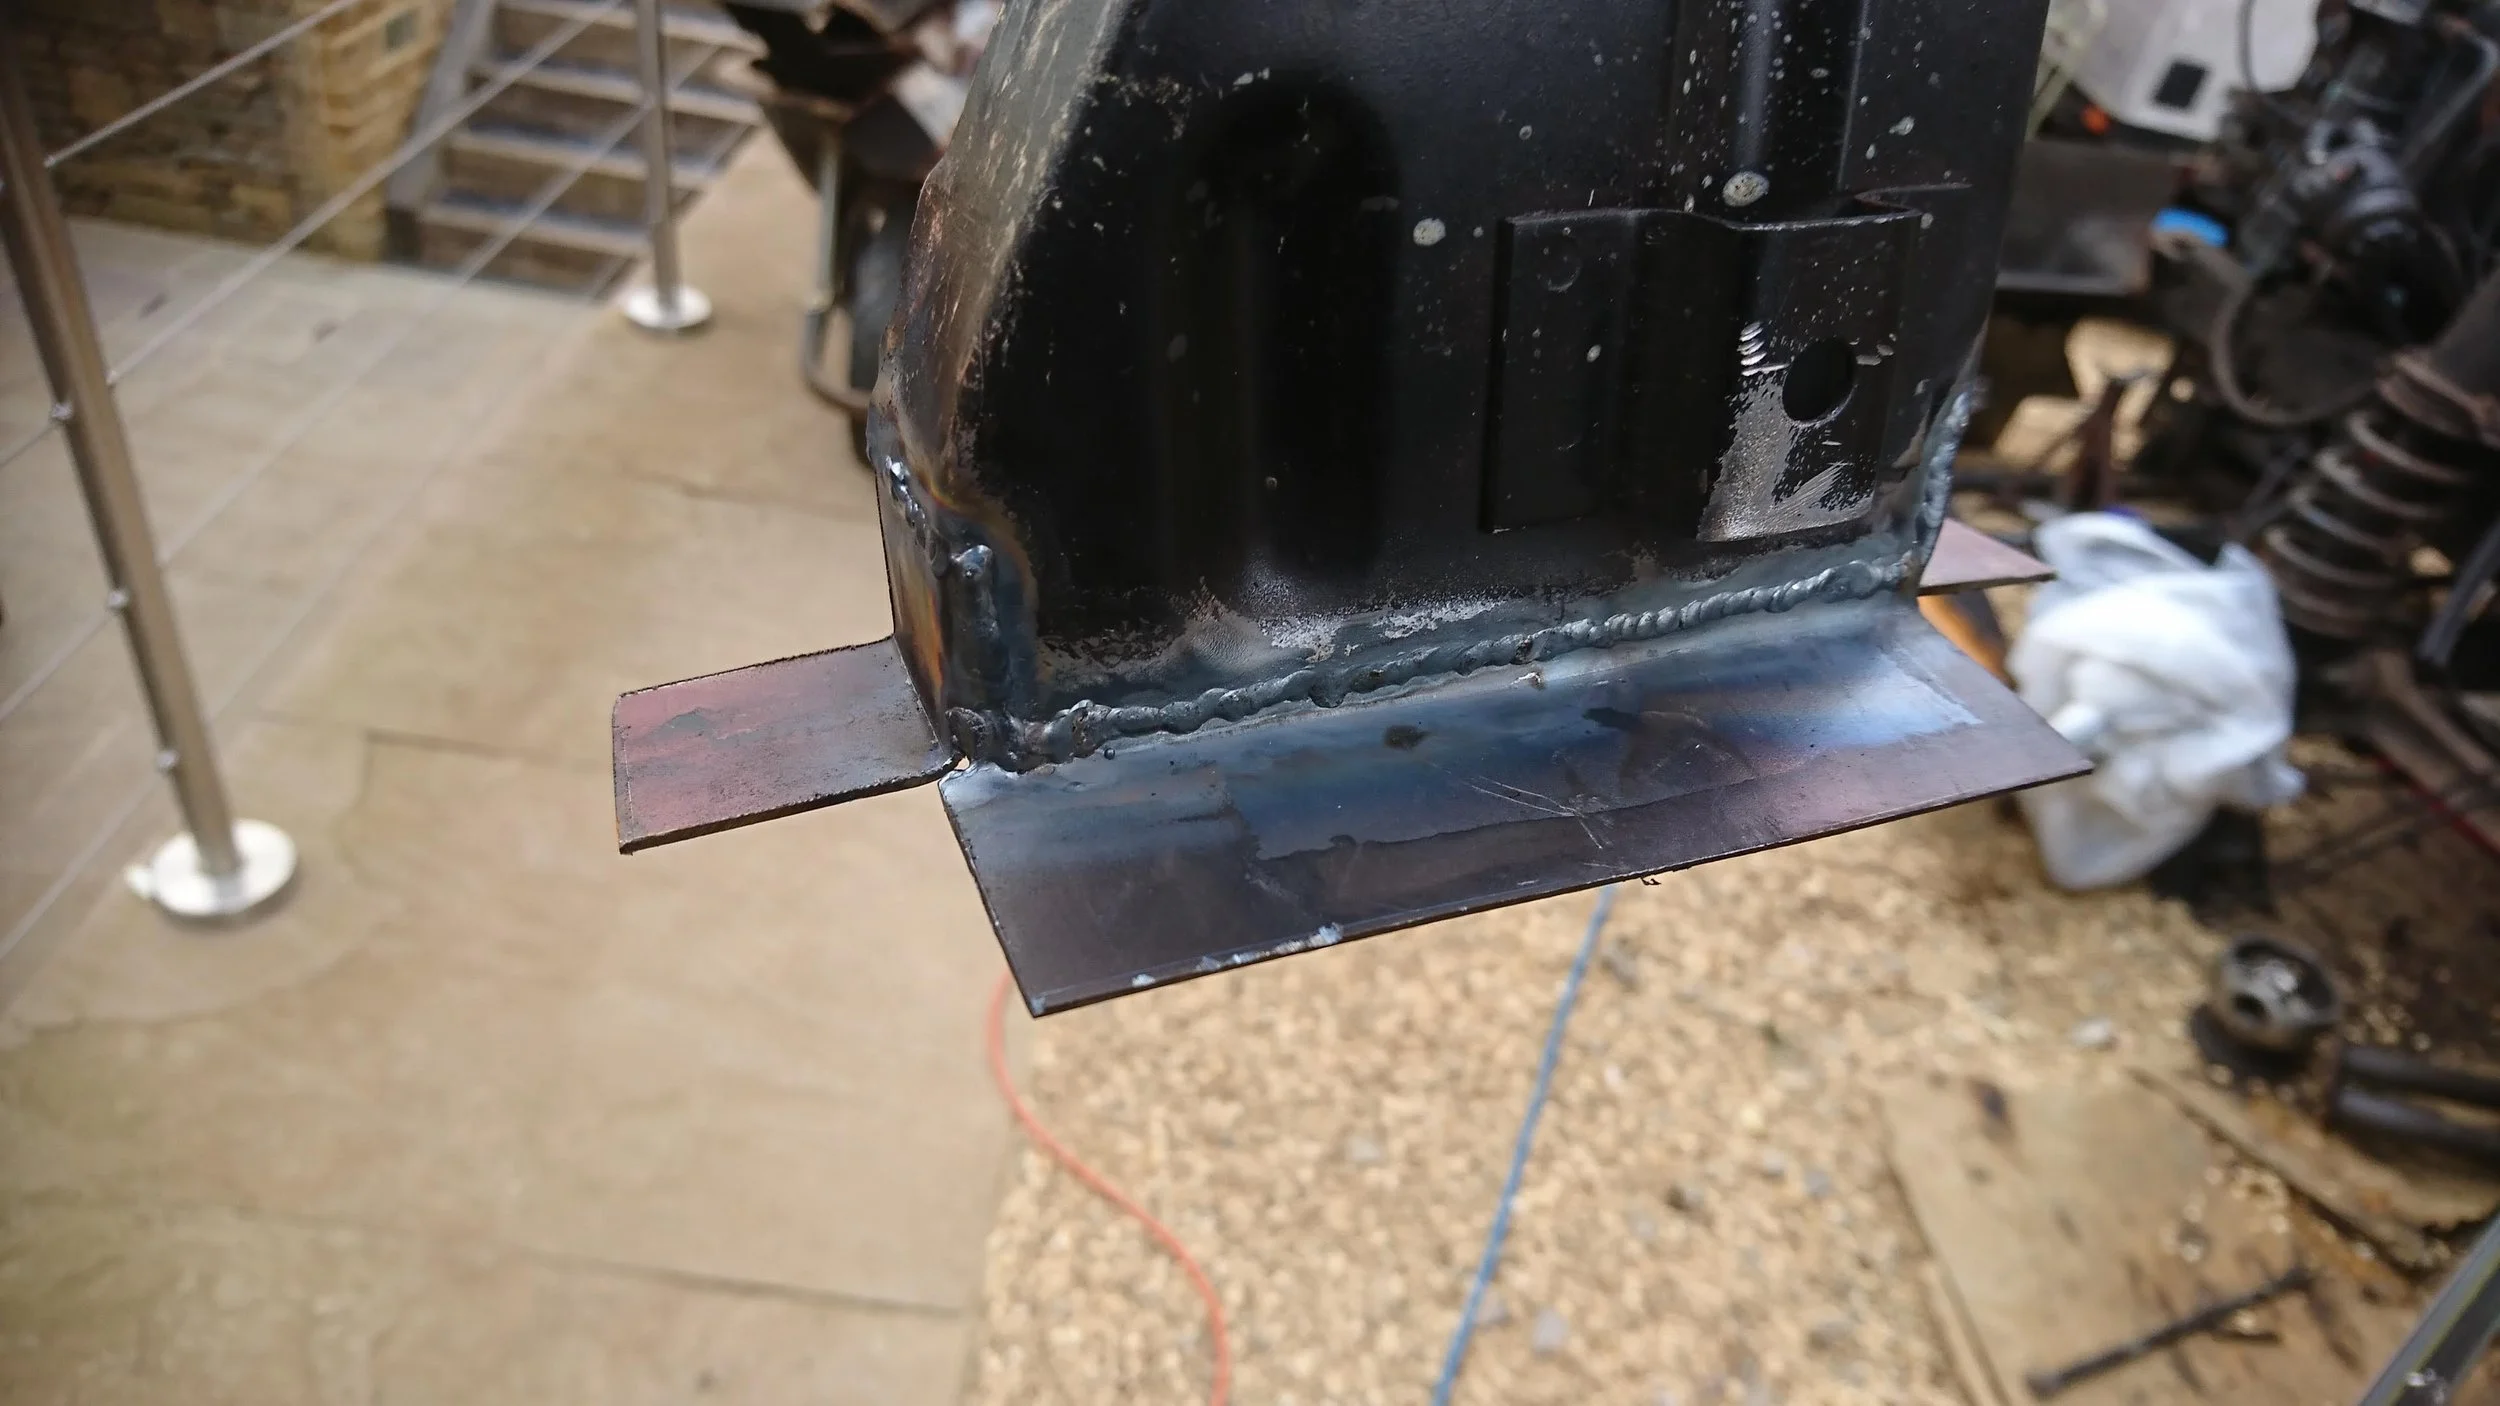
More body mount shots. This time with a mounting lip for the inner wing.
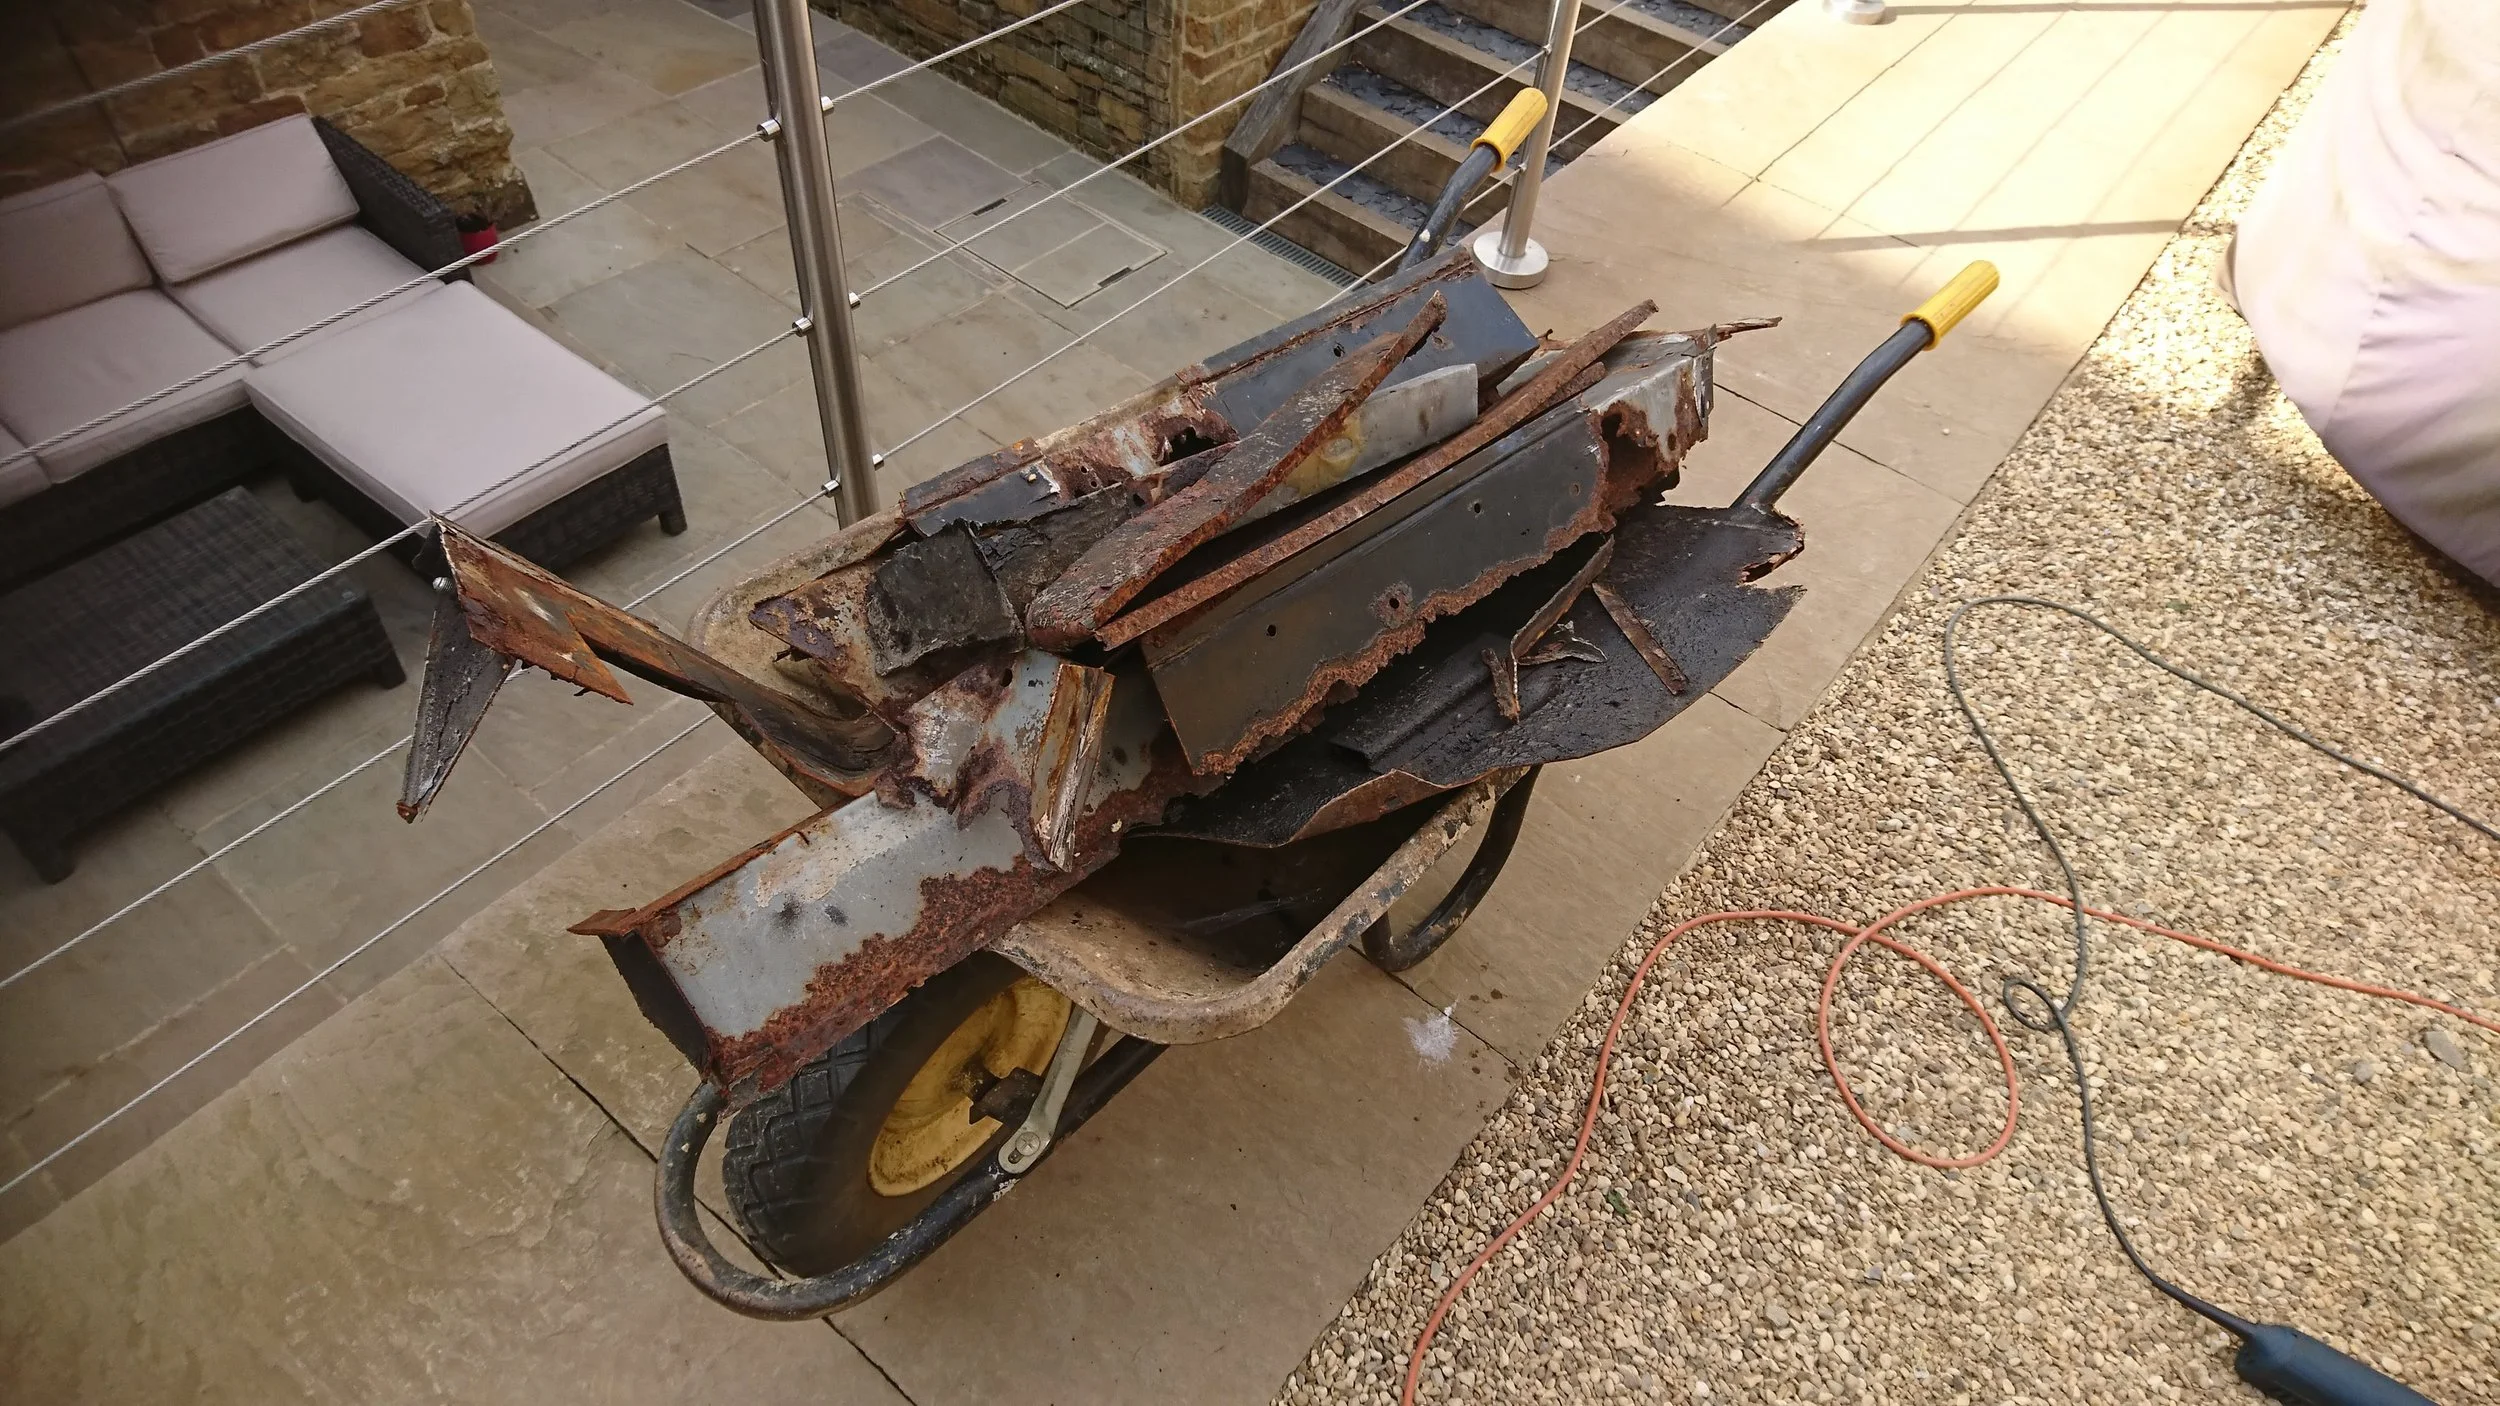
Just some of the rusty metal cut out of this project!
This drip tray had to be removed to facilitate repairing the bulkhead. It needed a few patches itself too.
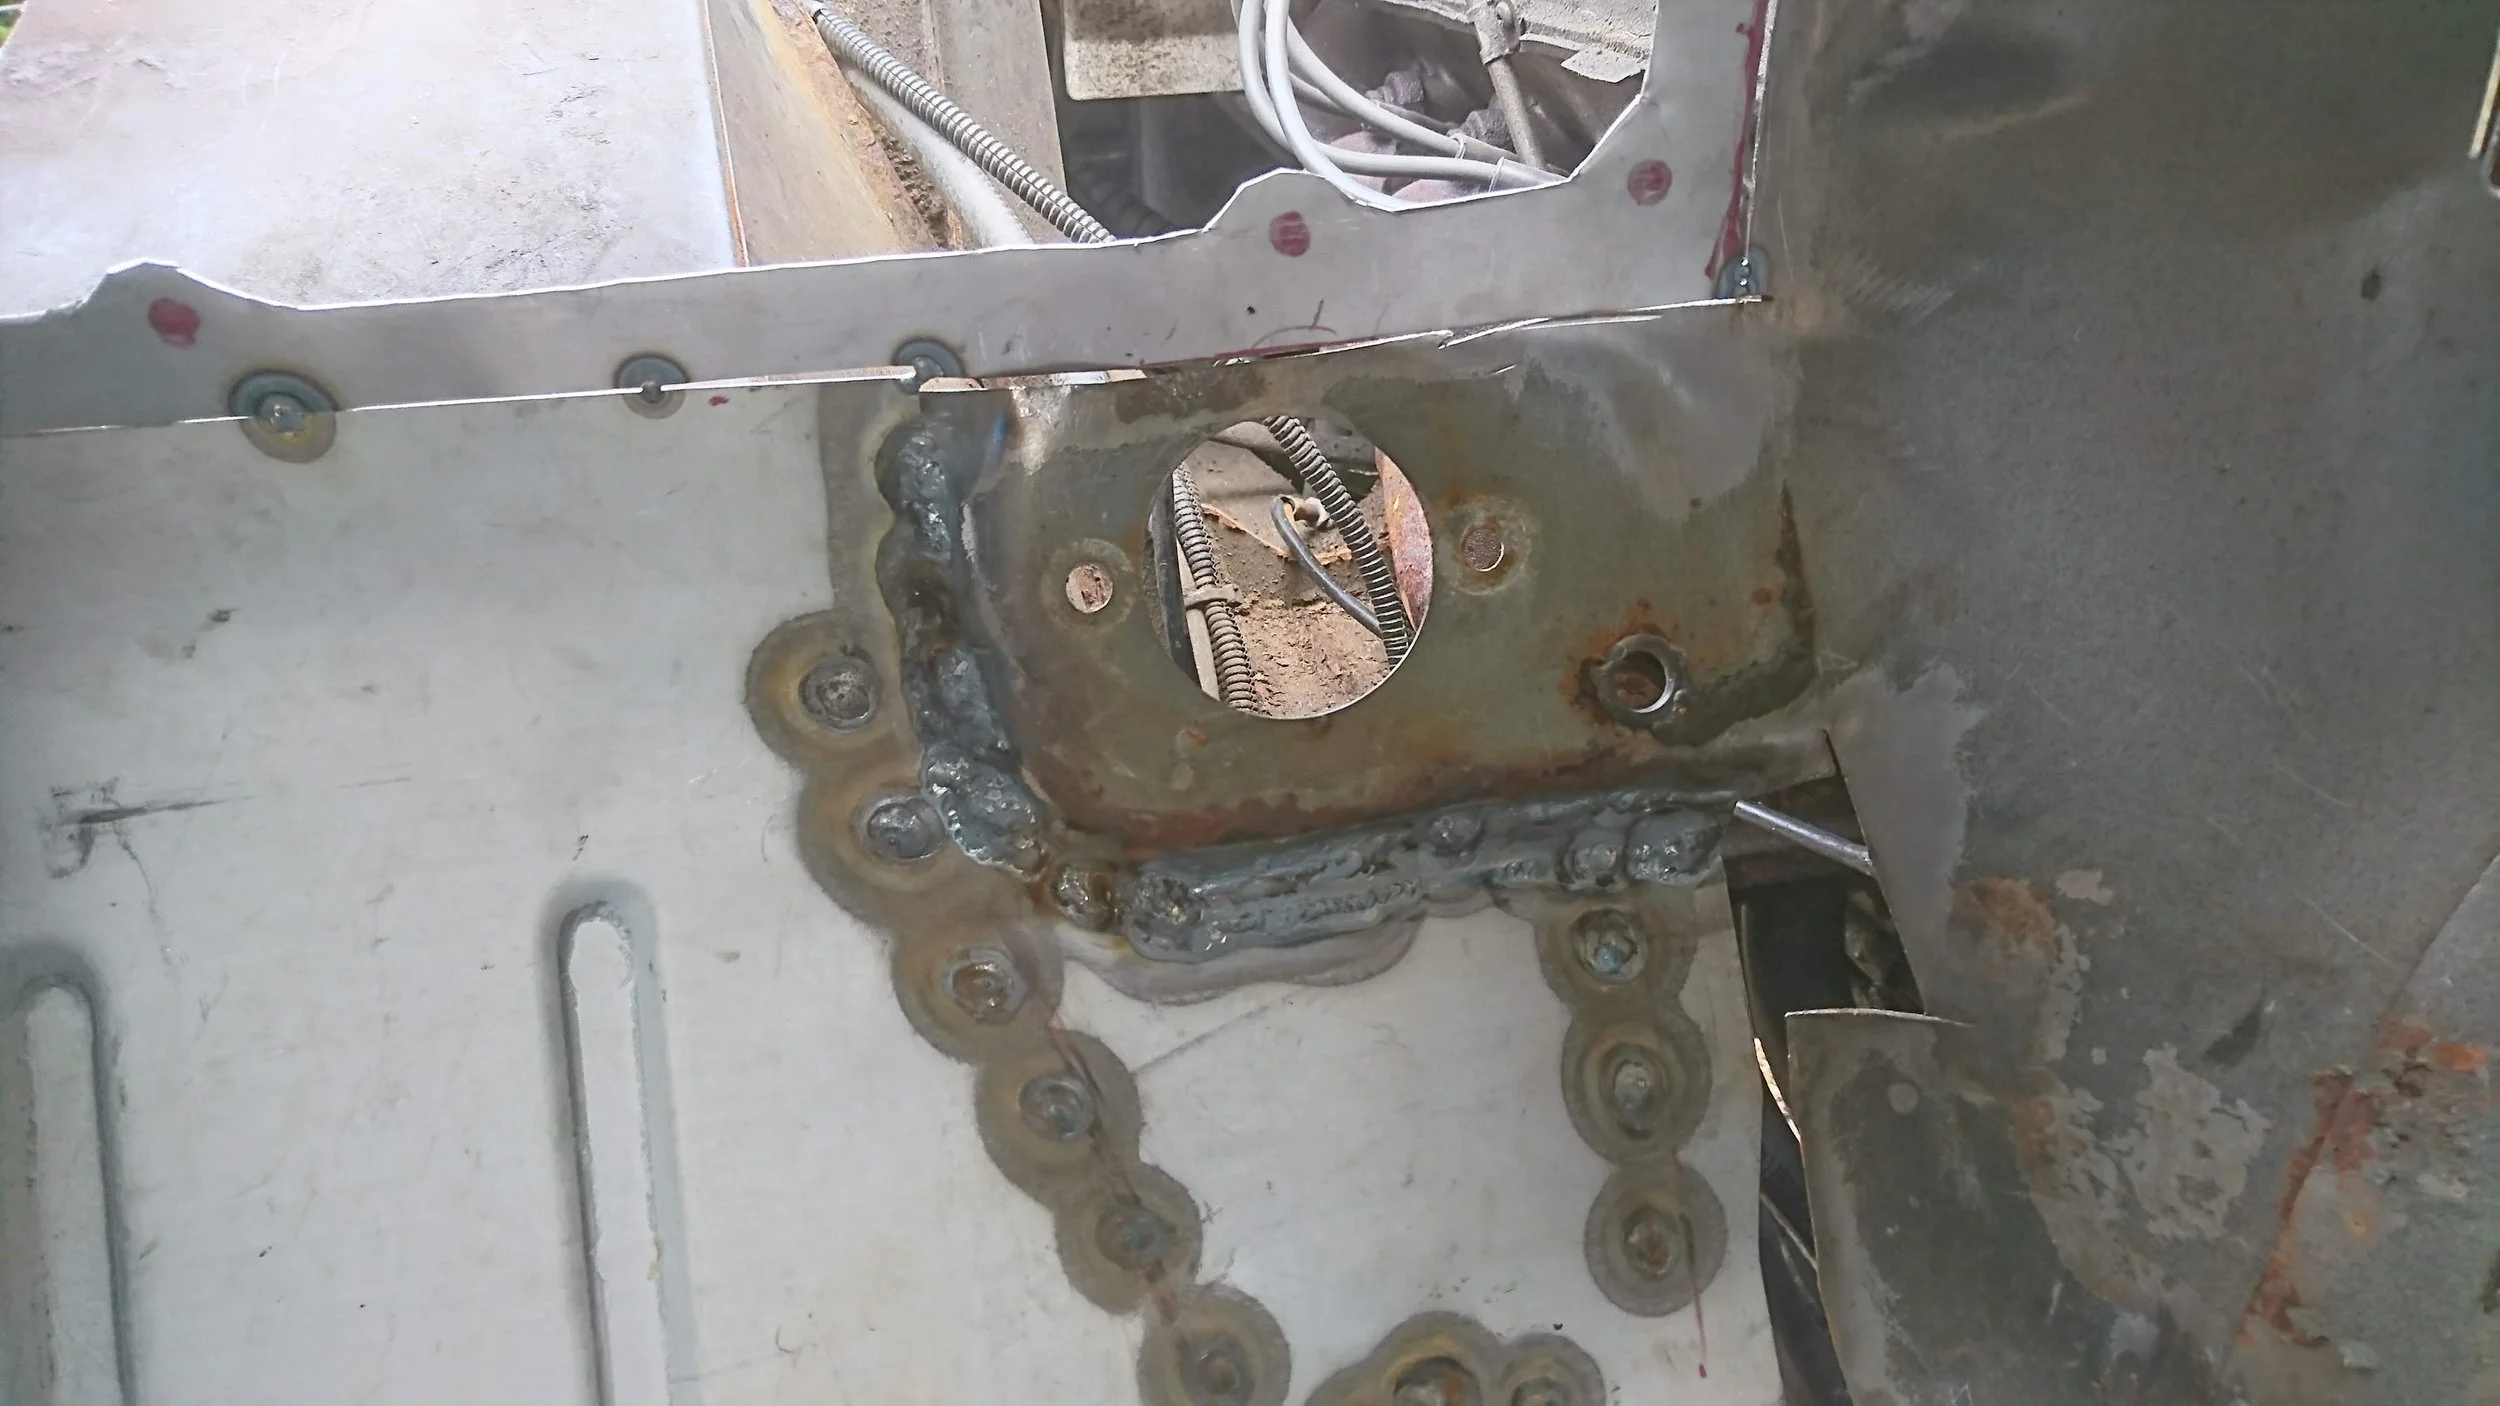
Repairs to the seat mount.
Looks a lot more solid now.
Seat bracket successfully welded back in.
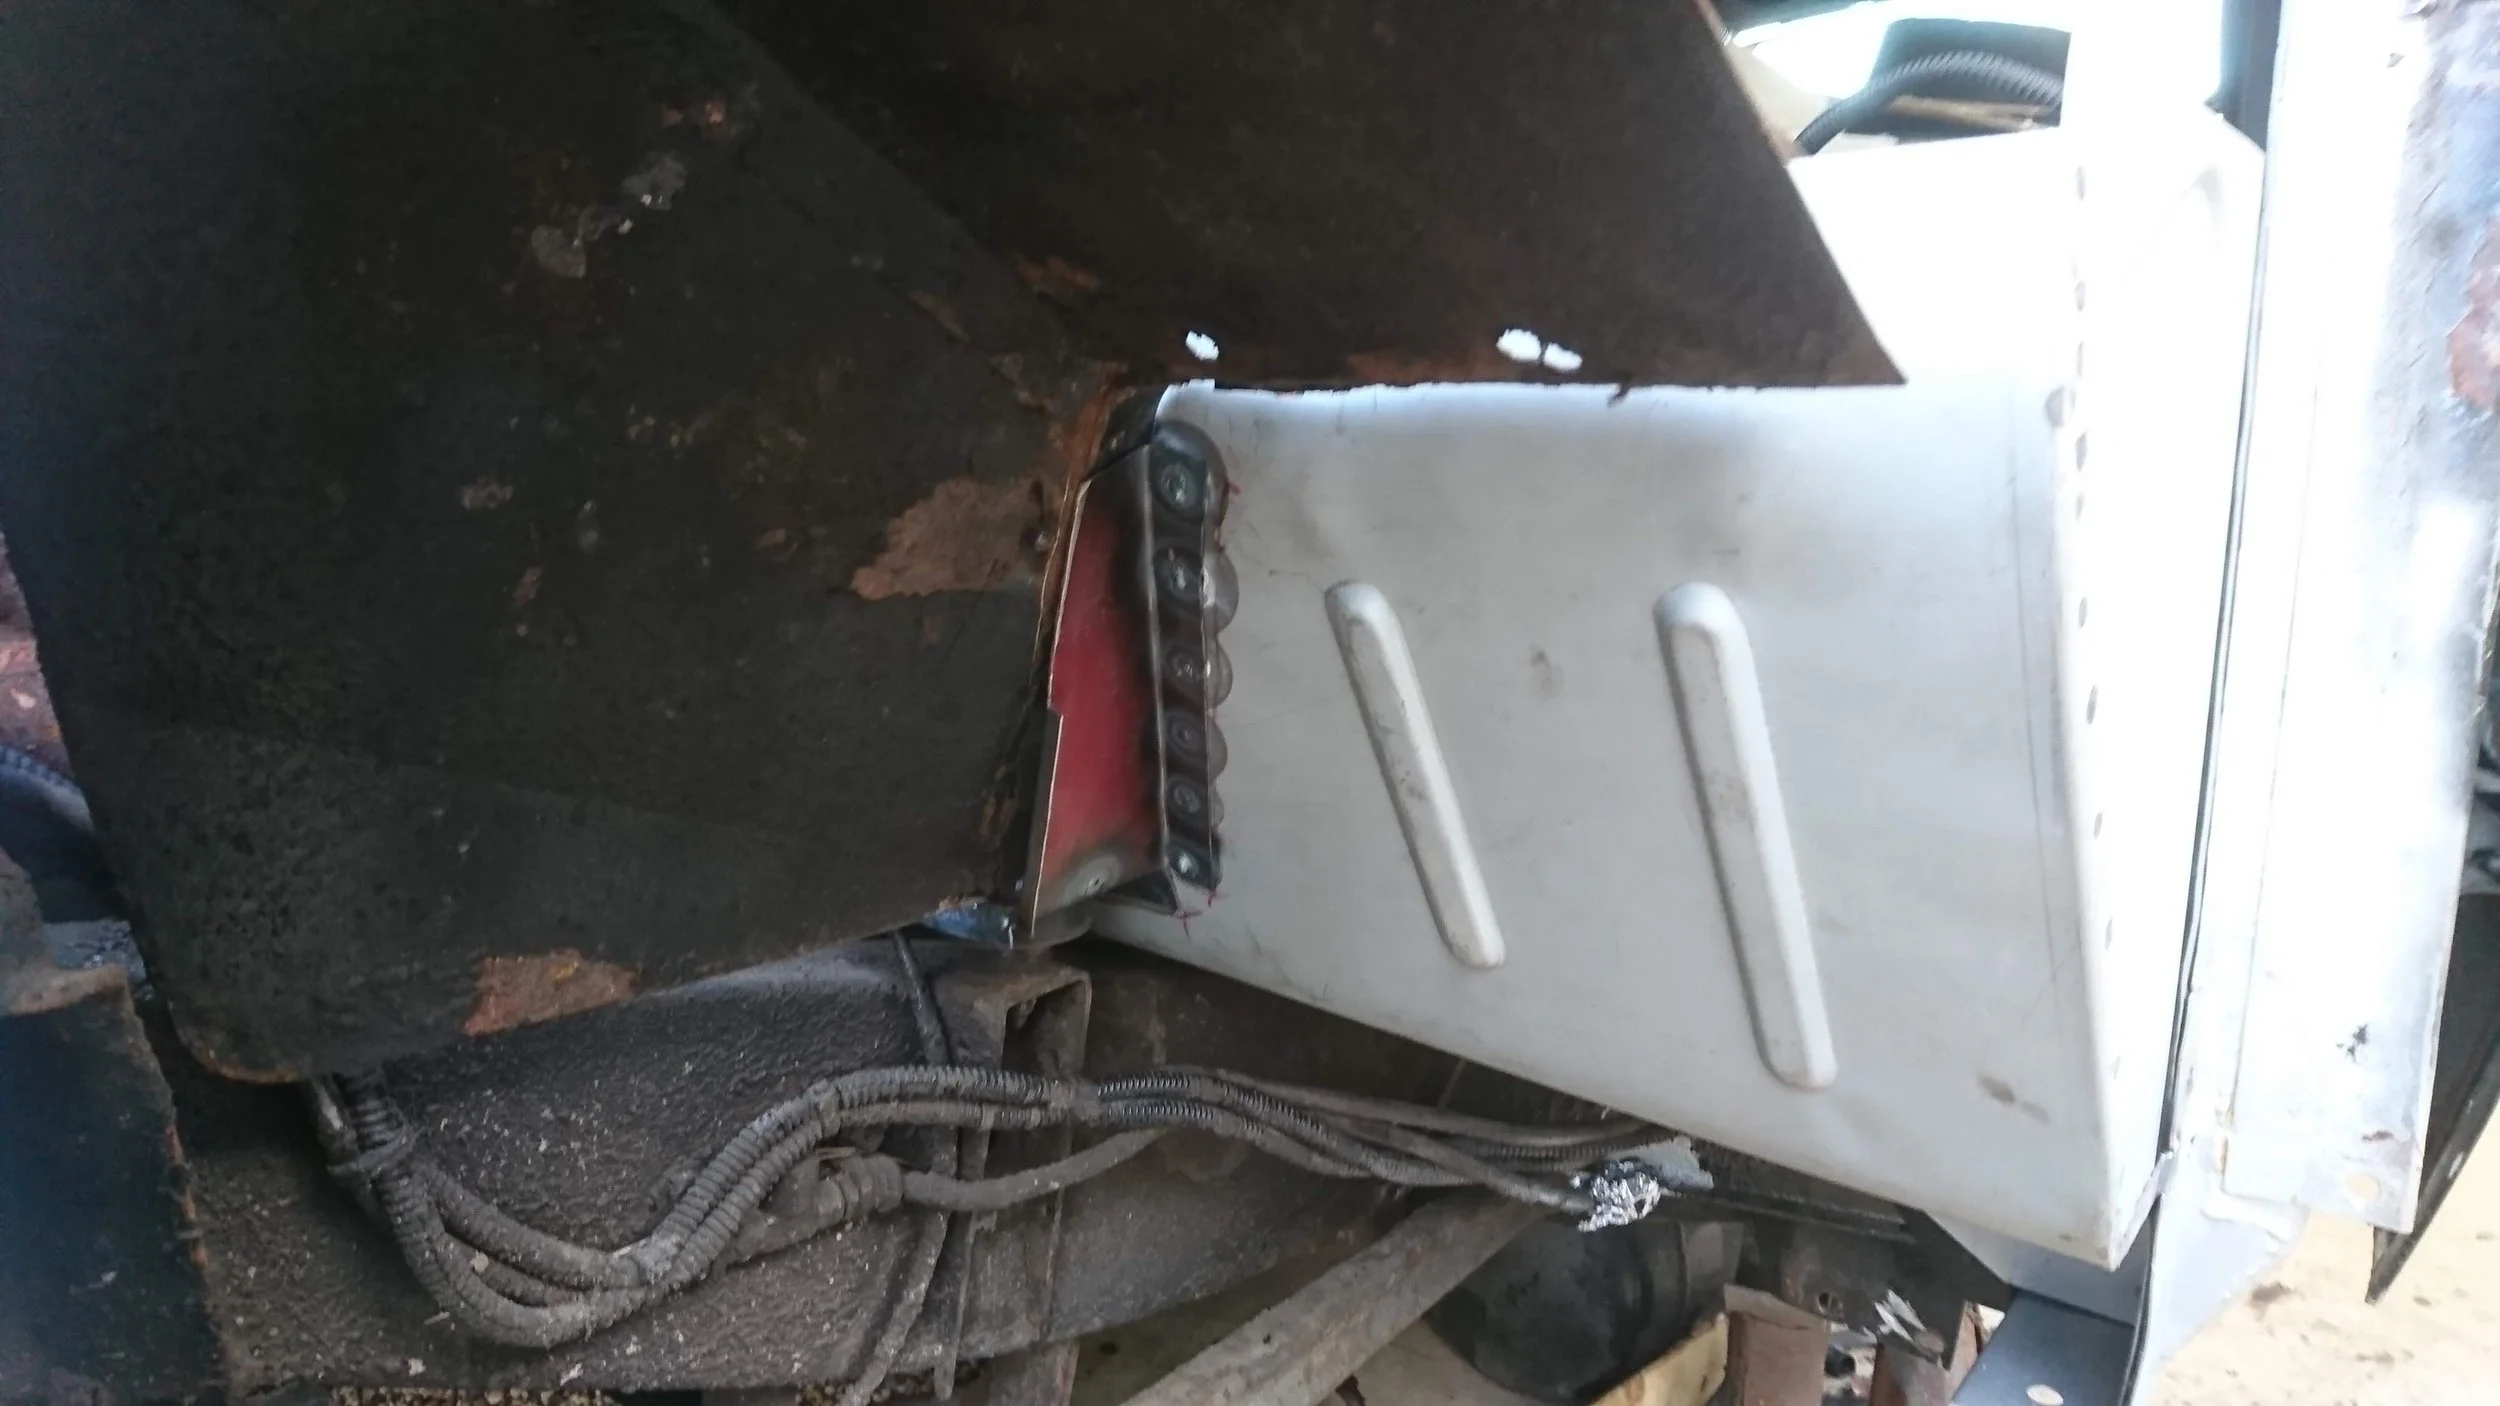
Rain gulley end cap successfully installed!
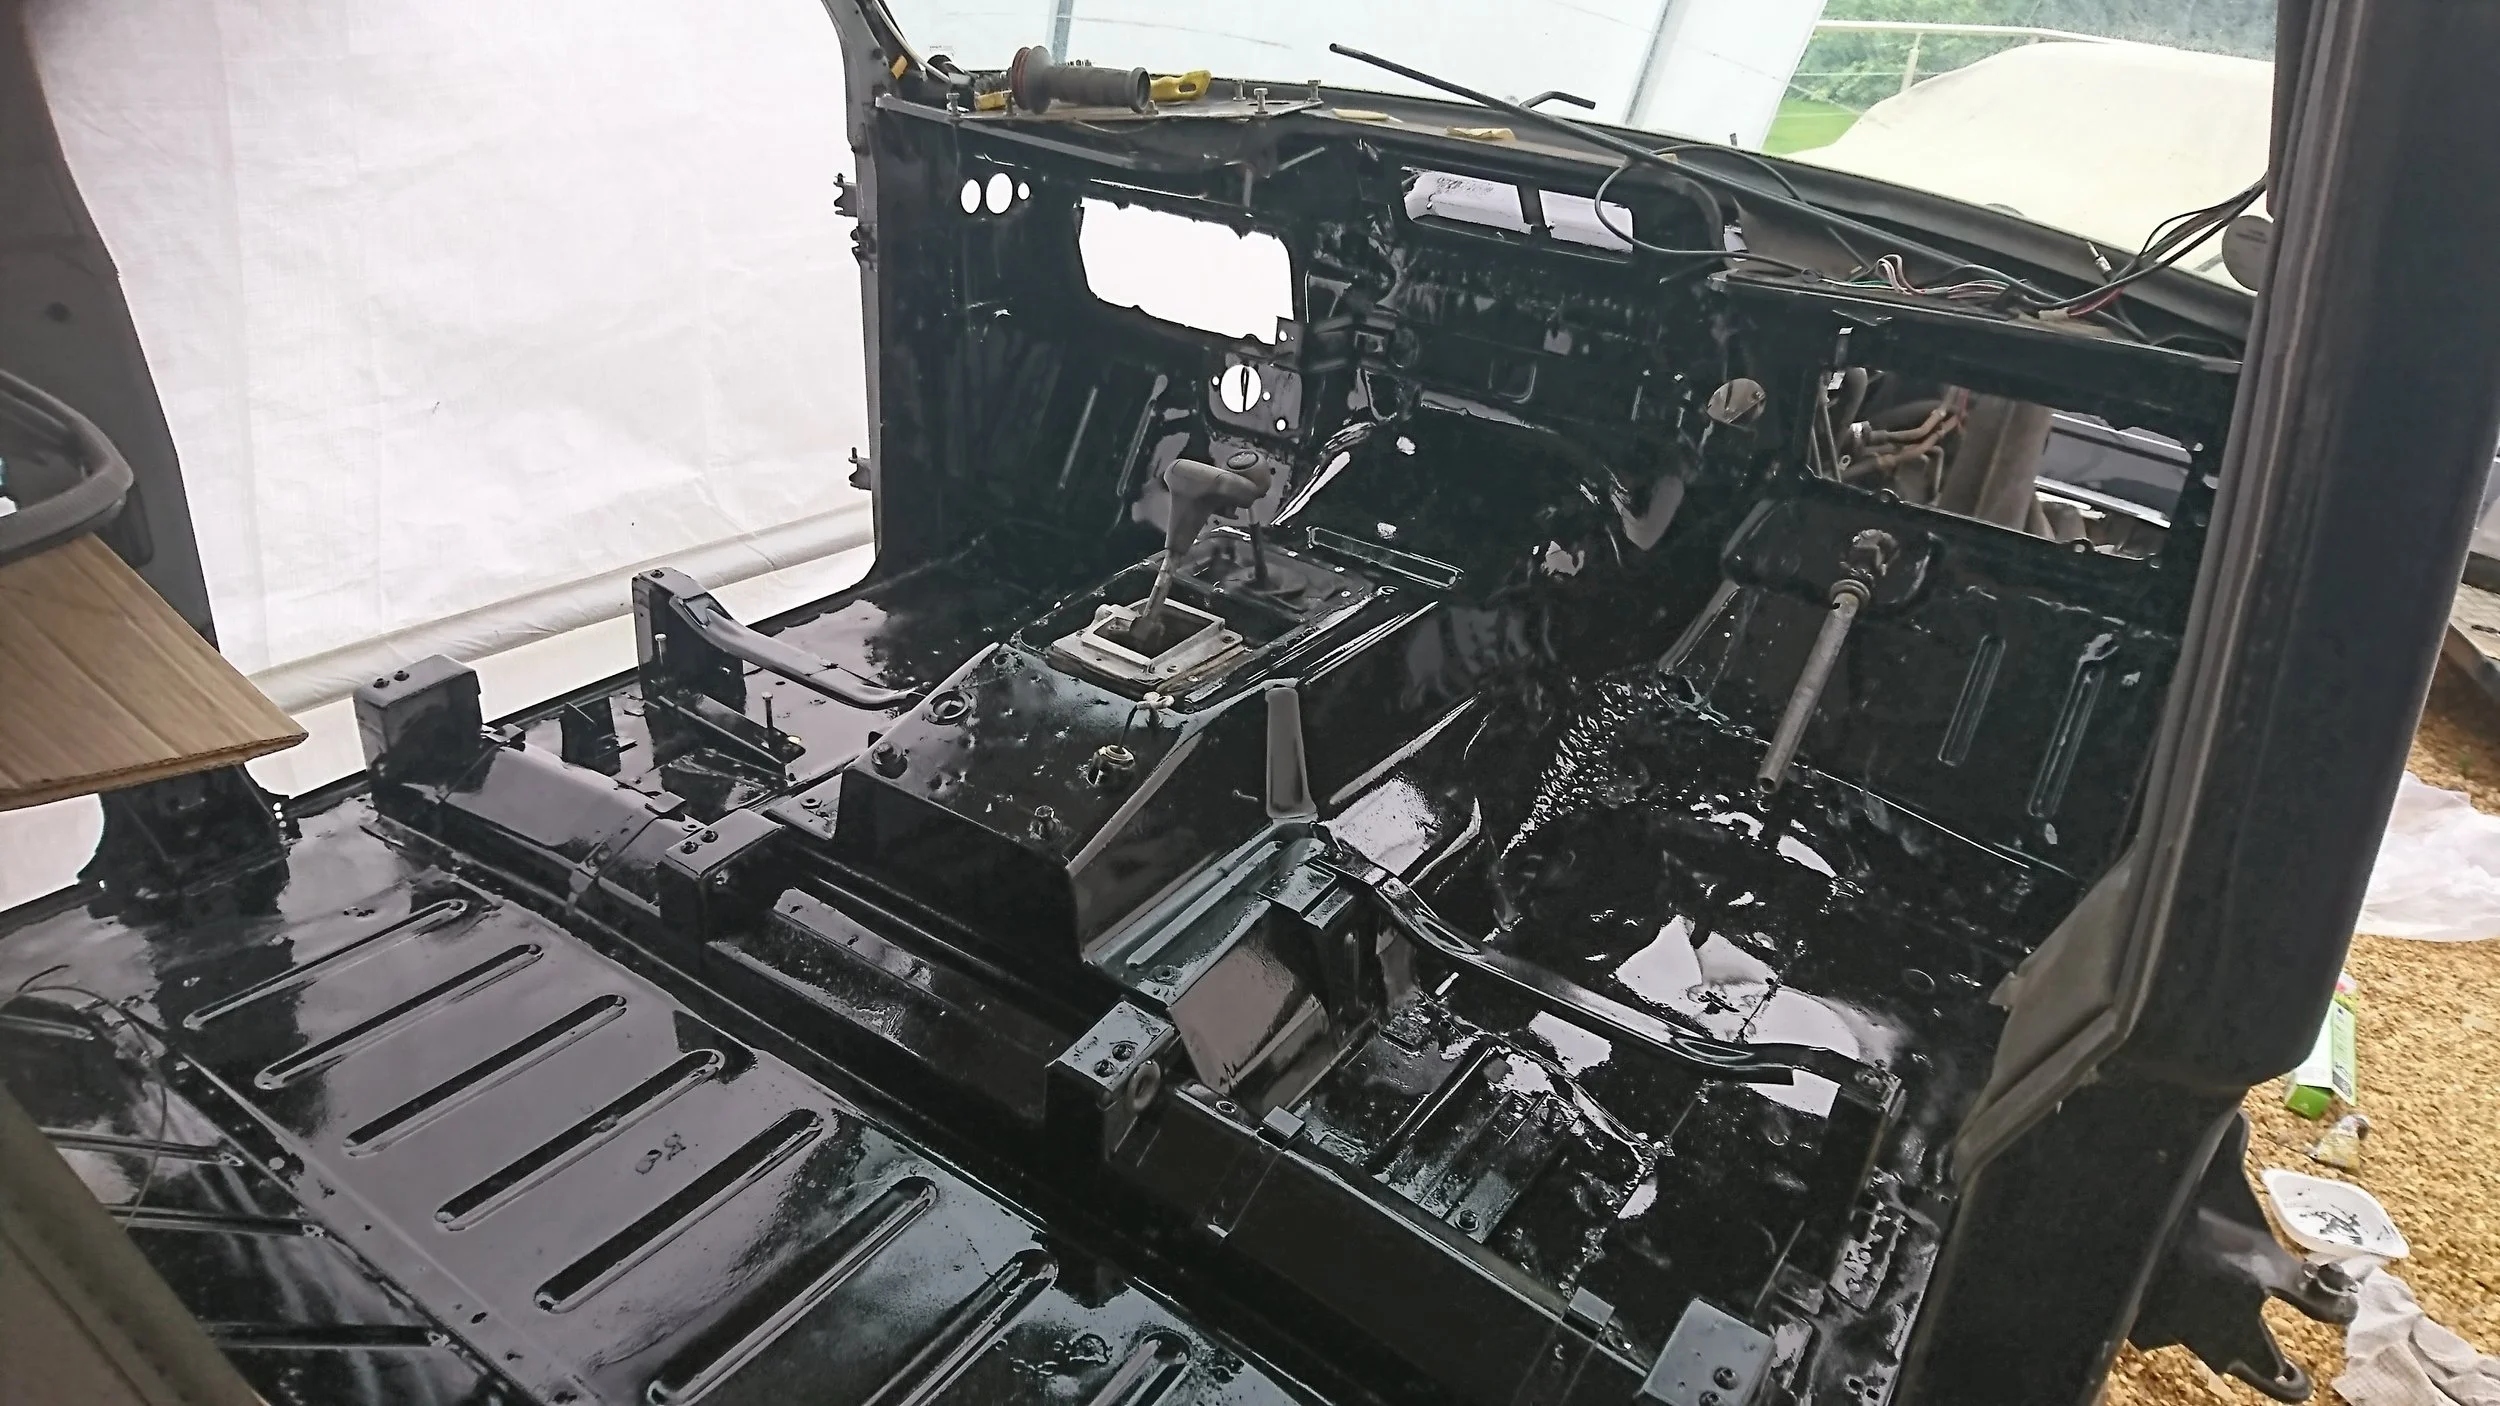
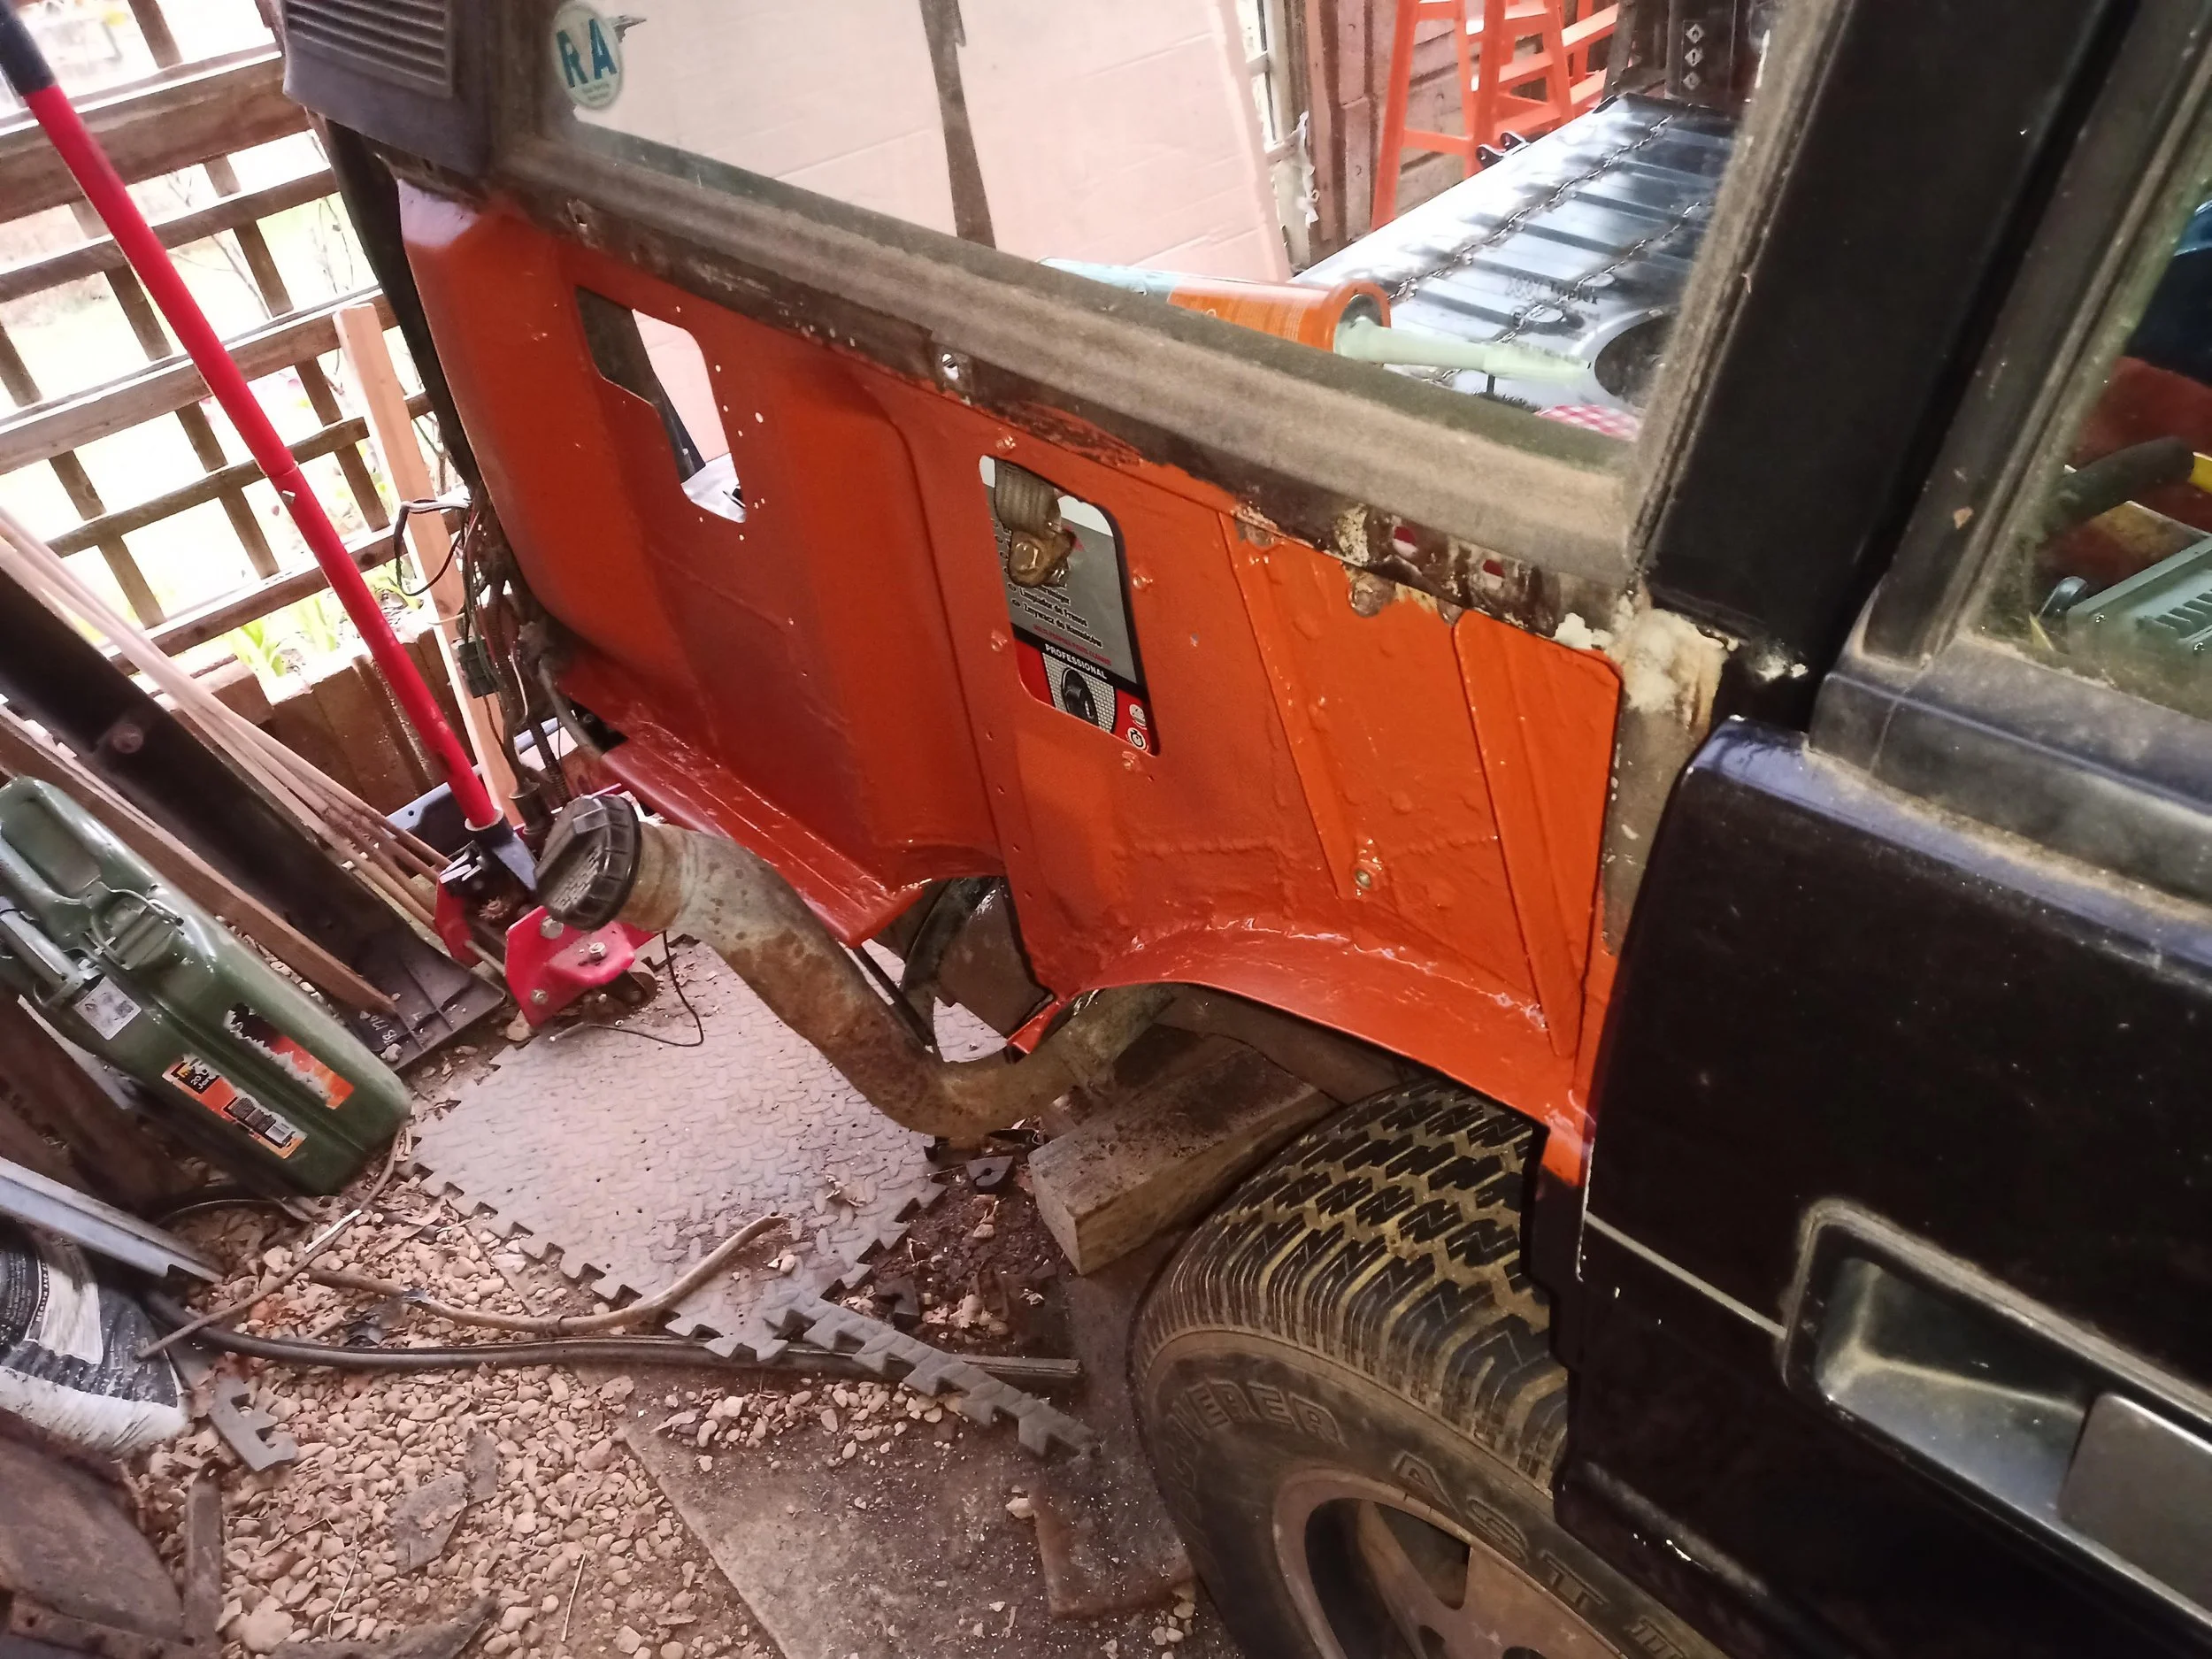
This wet look was part of the POR15 system. First a cleaner/degreaser, followed by a rust converter, then the paint itself.
So much new metal!
Getting the fancy angles!
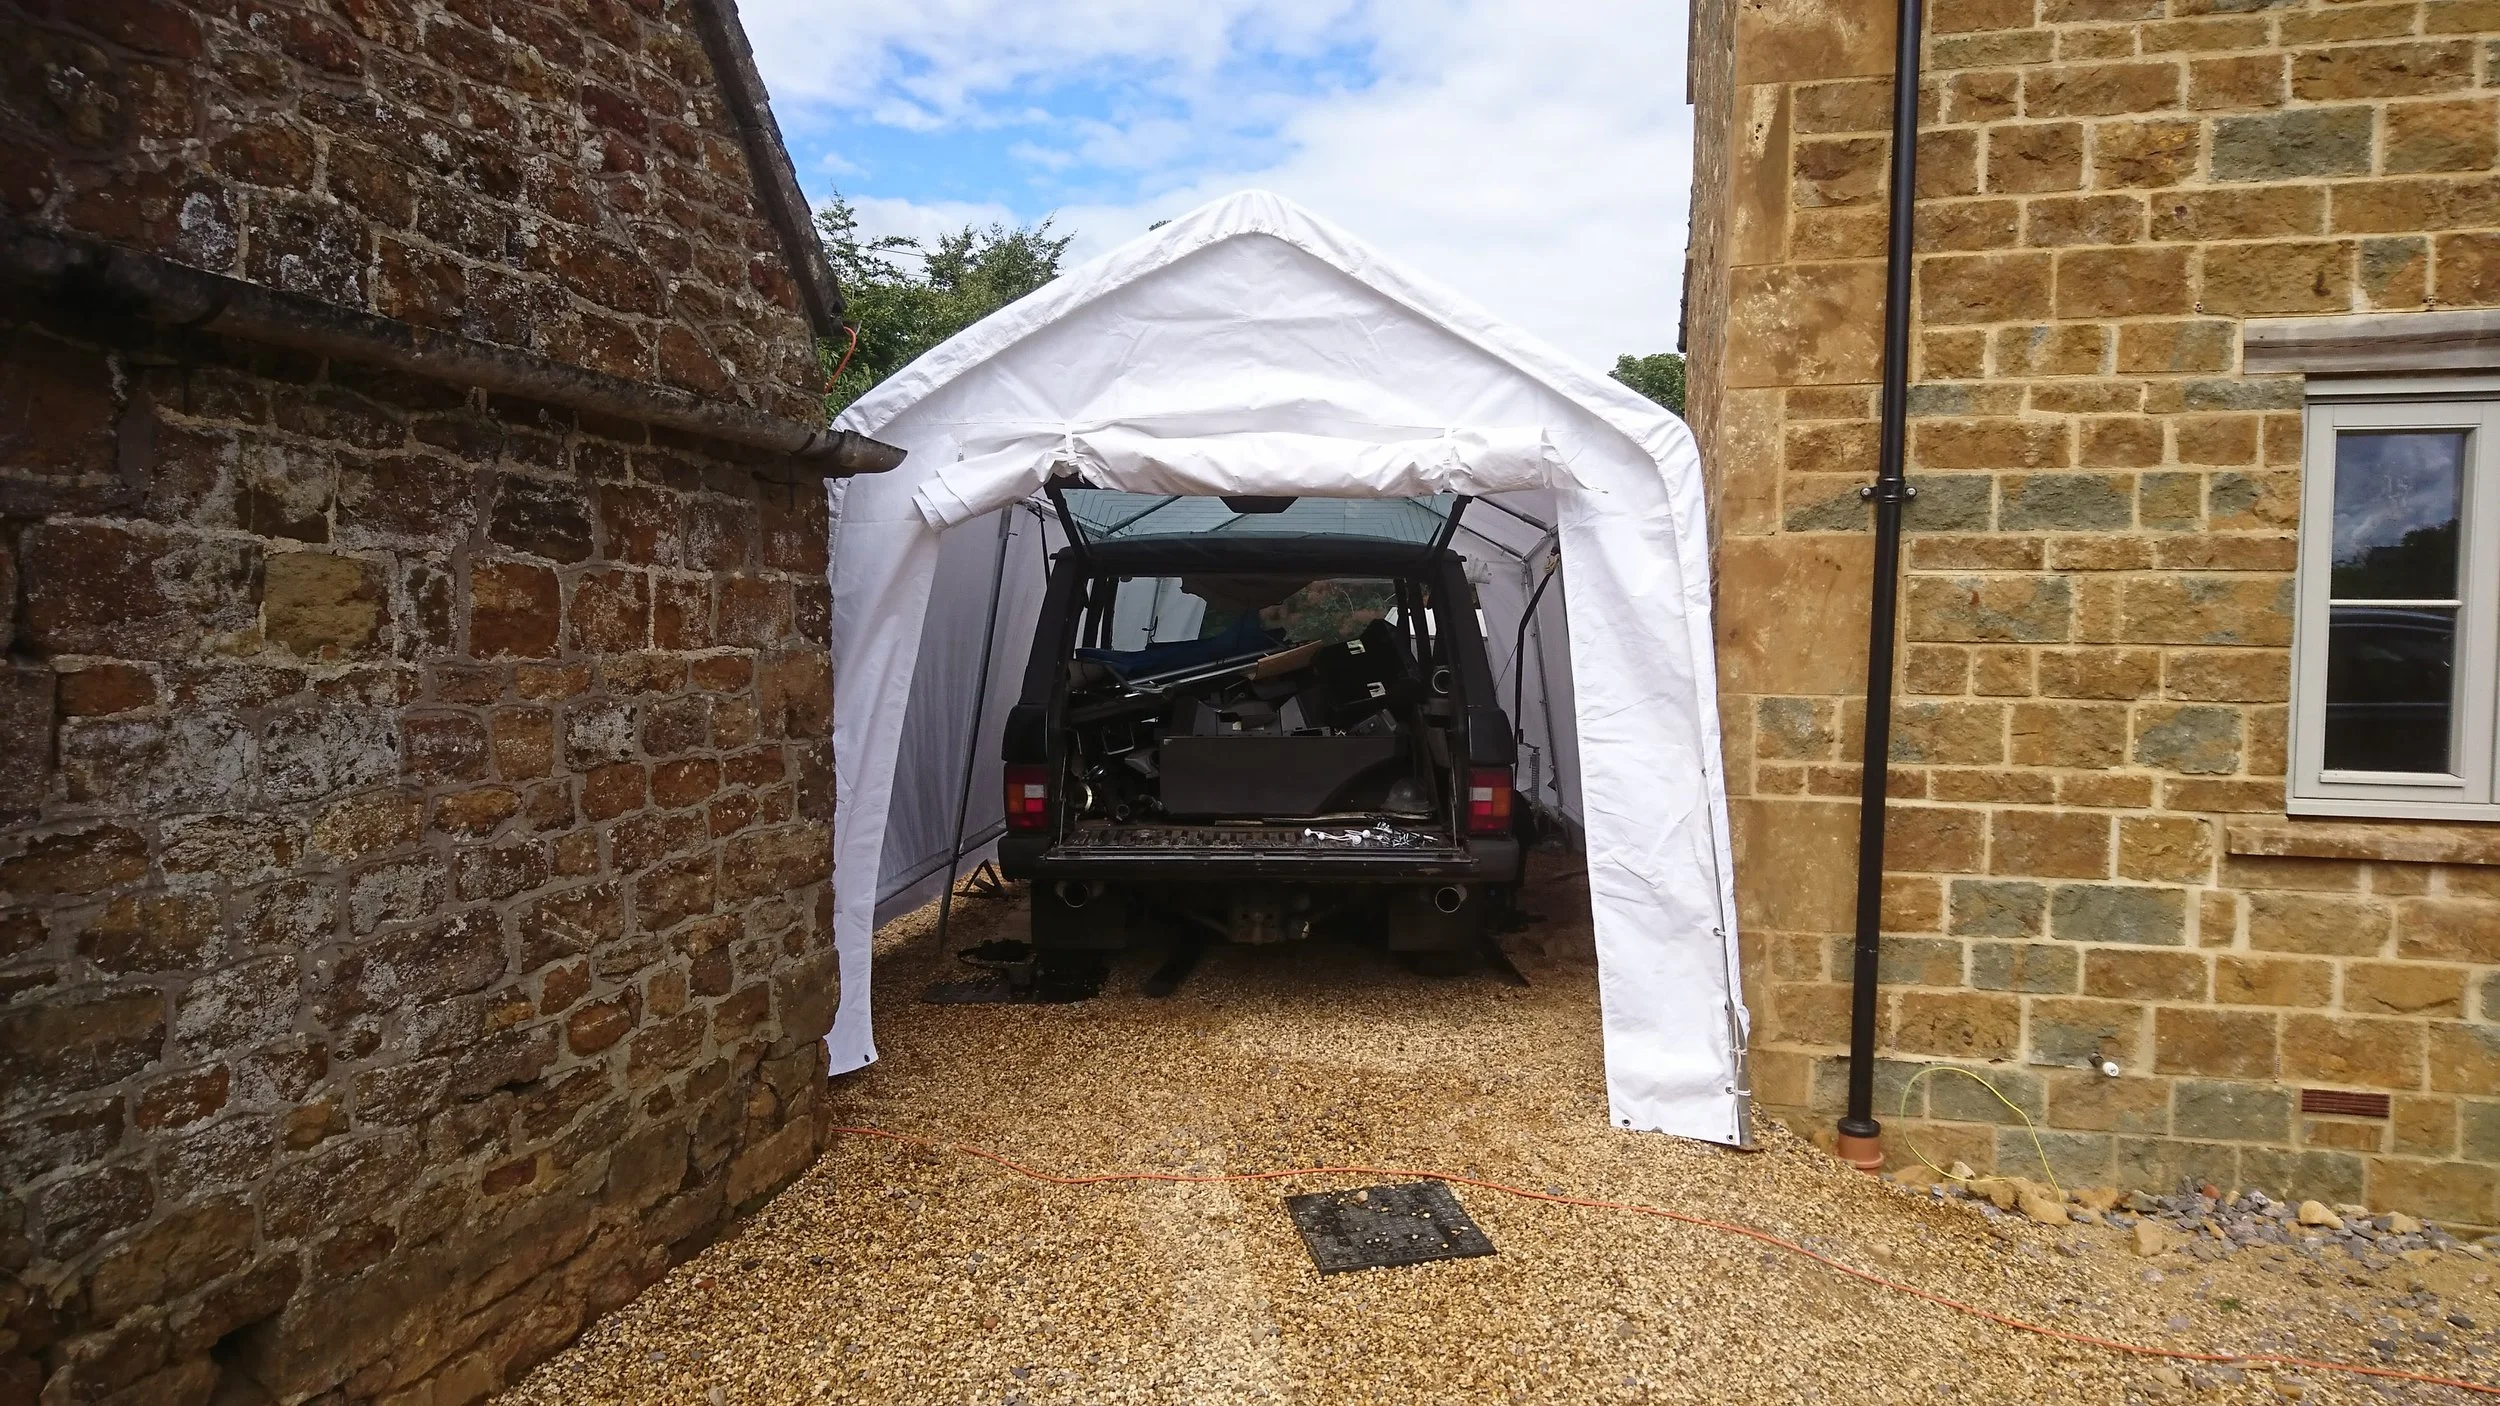
Paint booth, courtesy of ebay!

Shiny...
Doesn't that just look gorgeous?!
Rust, begone! And don't return!
So good looking...

I suppose it's time to start reinstalling things?! Starting with the wiring loom...

The throttle position sensor didn't survive the storage. New ones of the correct type are unavailable. This one had the correct characteristics electrically, but was a little lacking in the mechanical department, so I made up an adapter.

Here, with the adapter affixed back to the throttle valve.

And with the new TPS installed.
The rear inner wings were also pretty rusty...

I did say that the body was only held on by gravity, didn't I?!

I was absolutely serious!
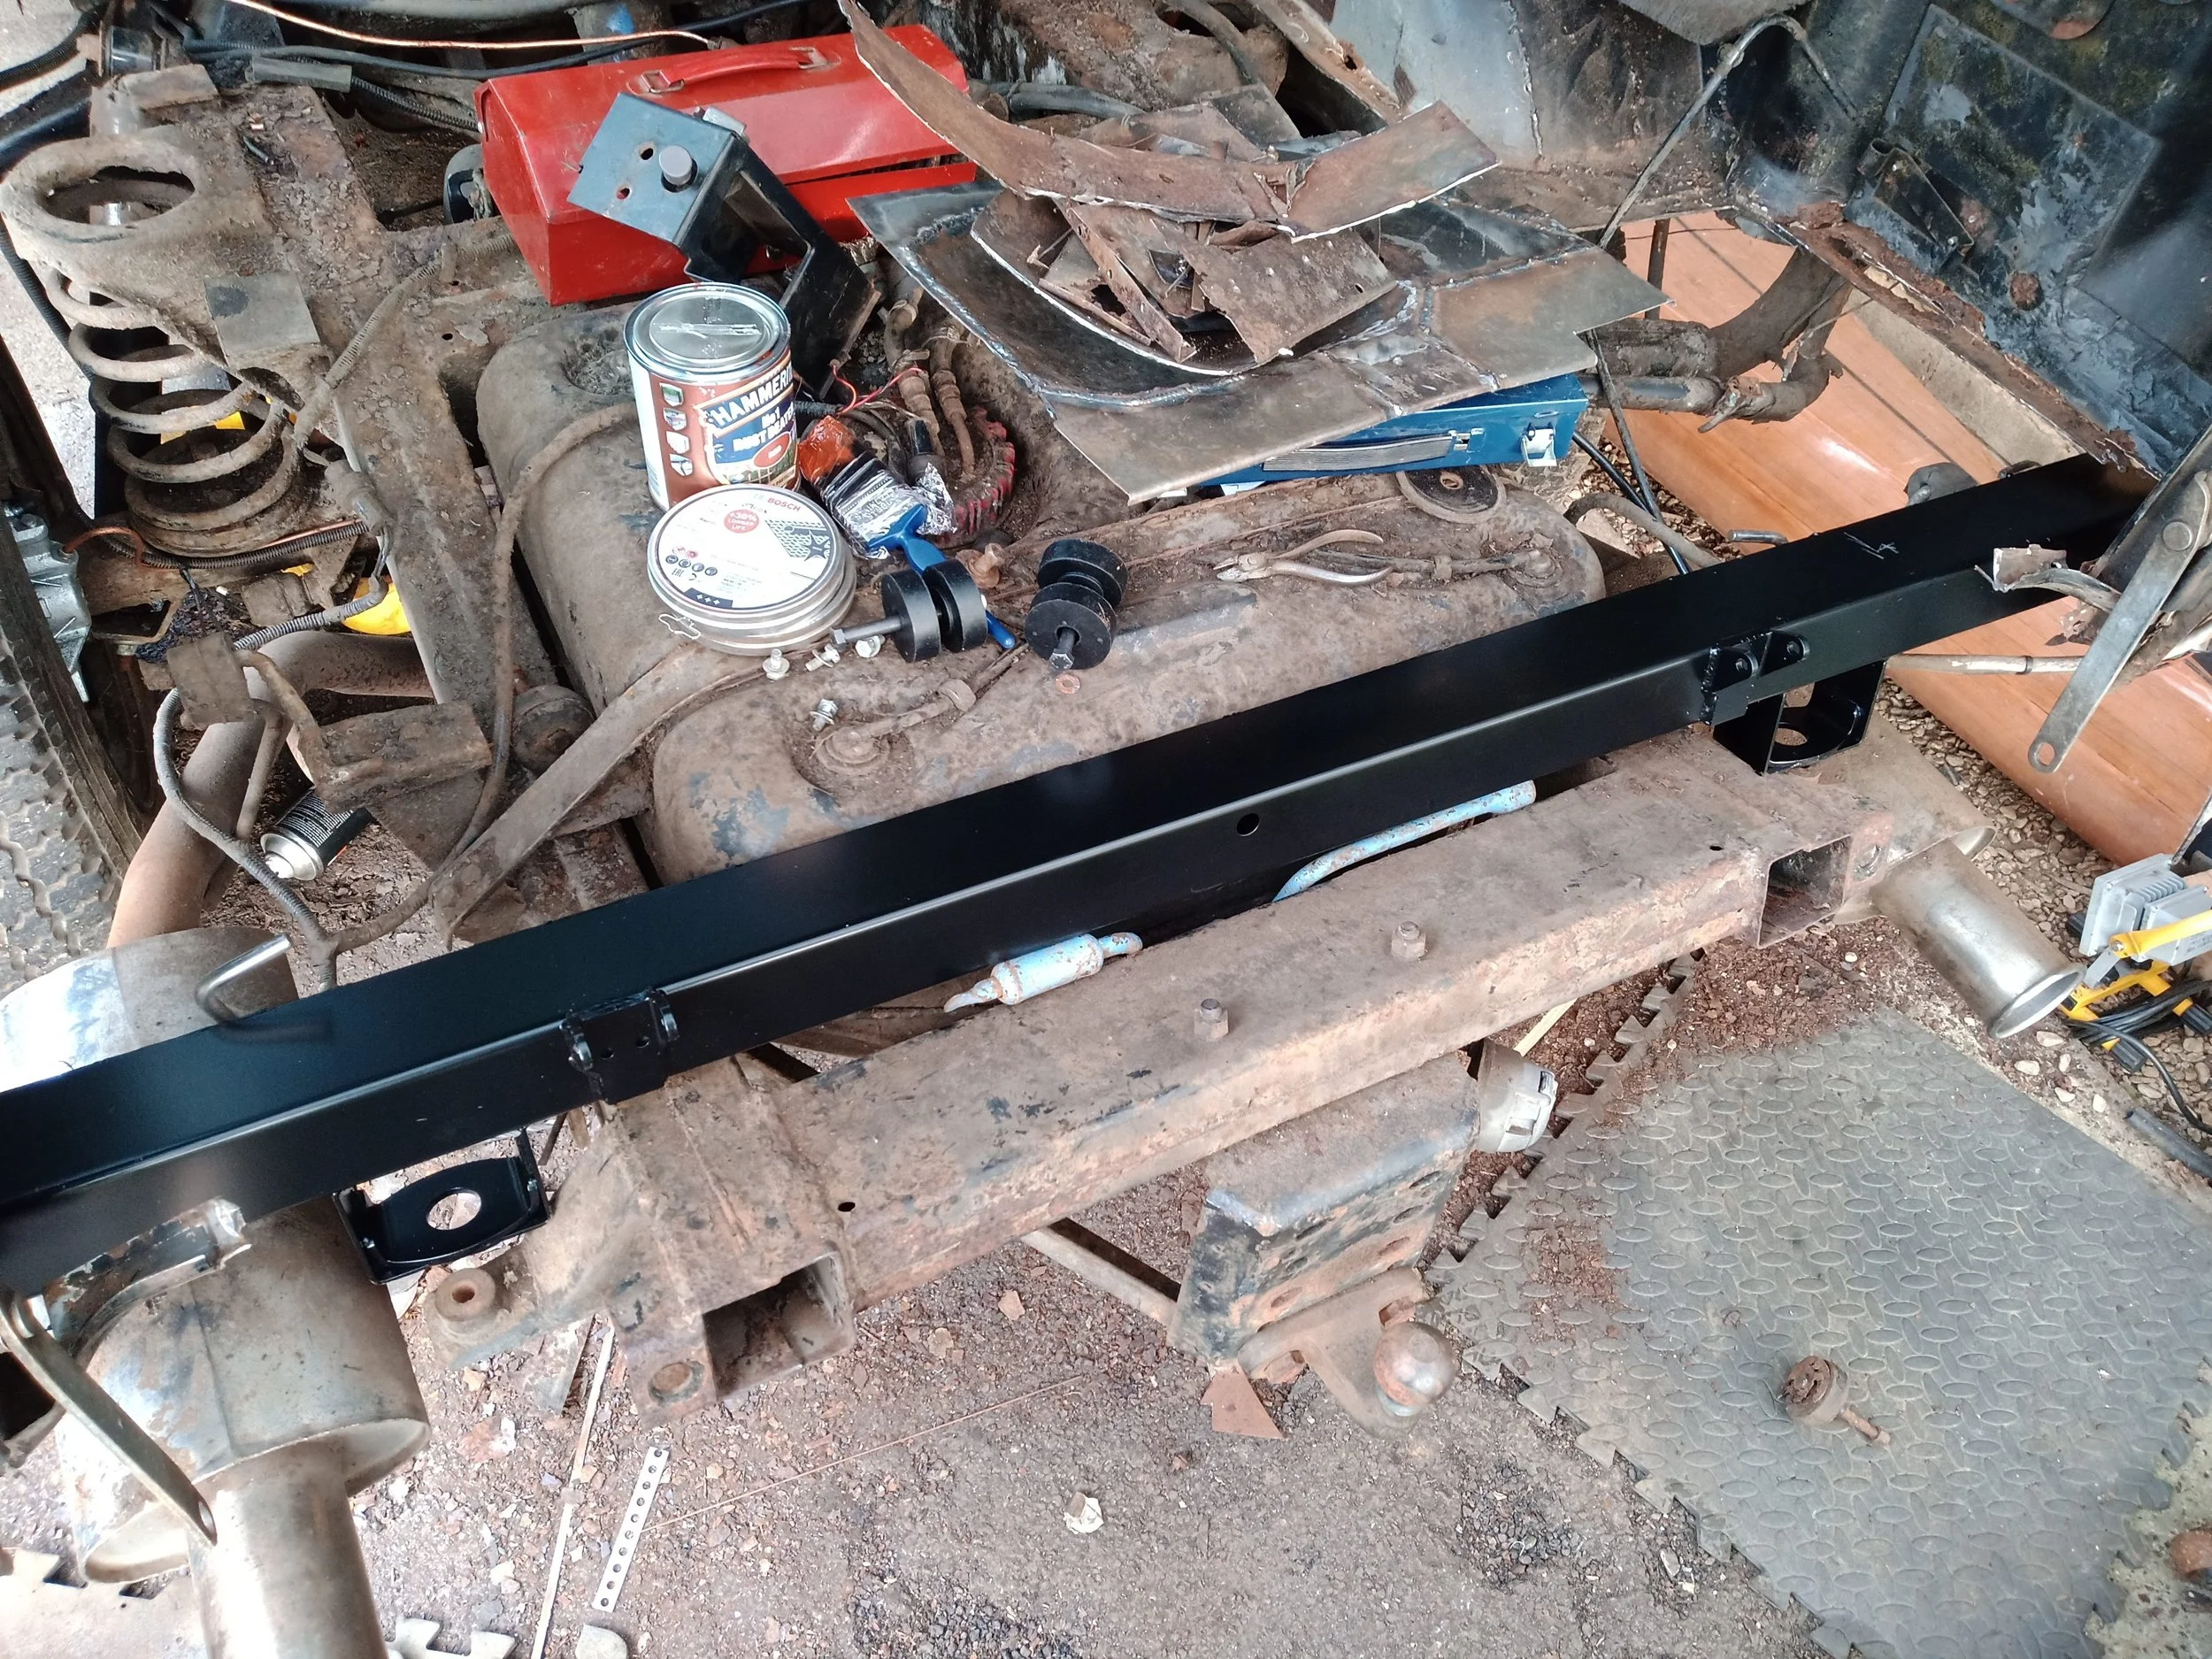
New rear body mount crossmember.

Repairs to the inner wheelarch.

Rust removal.

Extra ventilation...

Is there something missing here?! I think that my tools might fall out... At least this spare wheel trough is looking a bit better!

Looking from the inside.

And another angle. There is still some rust to remove at this point, but I thought that I ought to leave enough metal in place to keep the arch in place until this point!

Repairing some of the flanges that link the inner and outer arch panels. Range Rovers have mostly aluminium exterior panels, but hung from a steel inner shell.
This inner wheel arch was too far gone to save. Several repairs to the inner wing were also required.

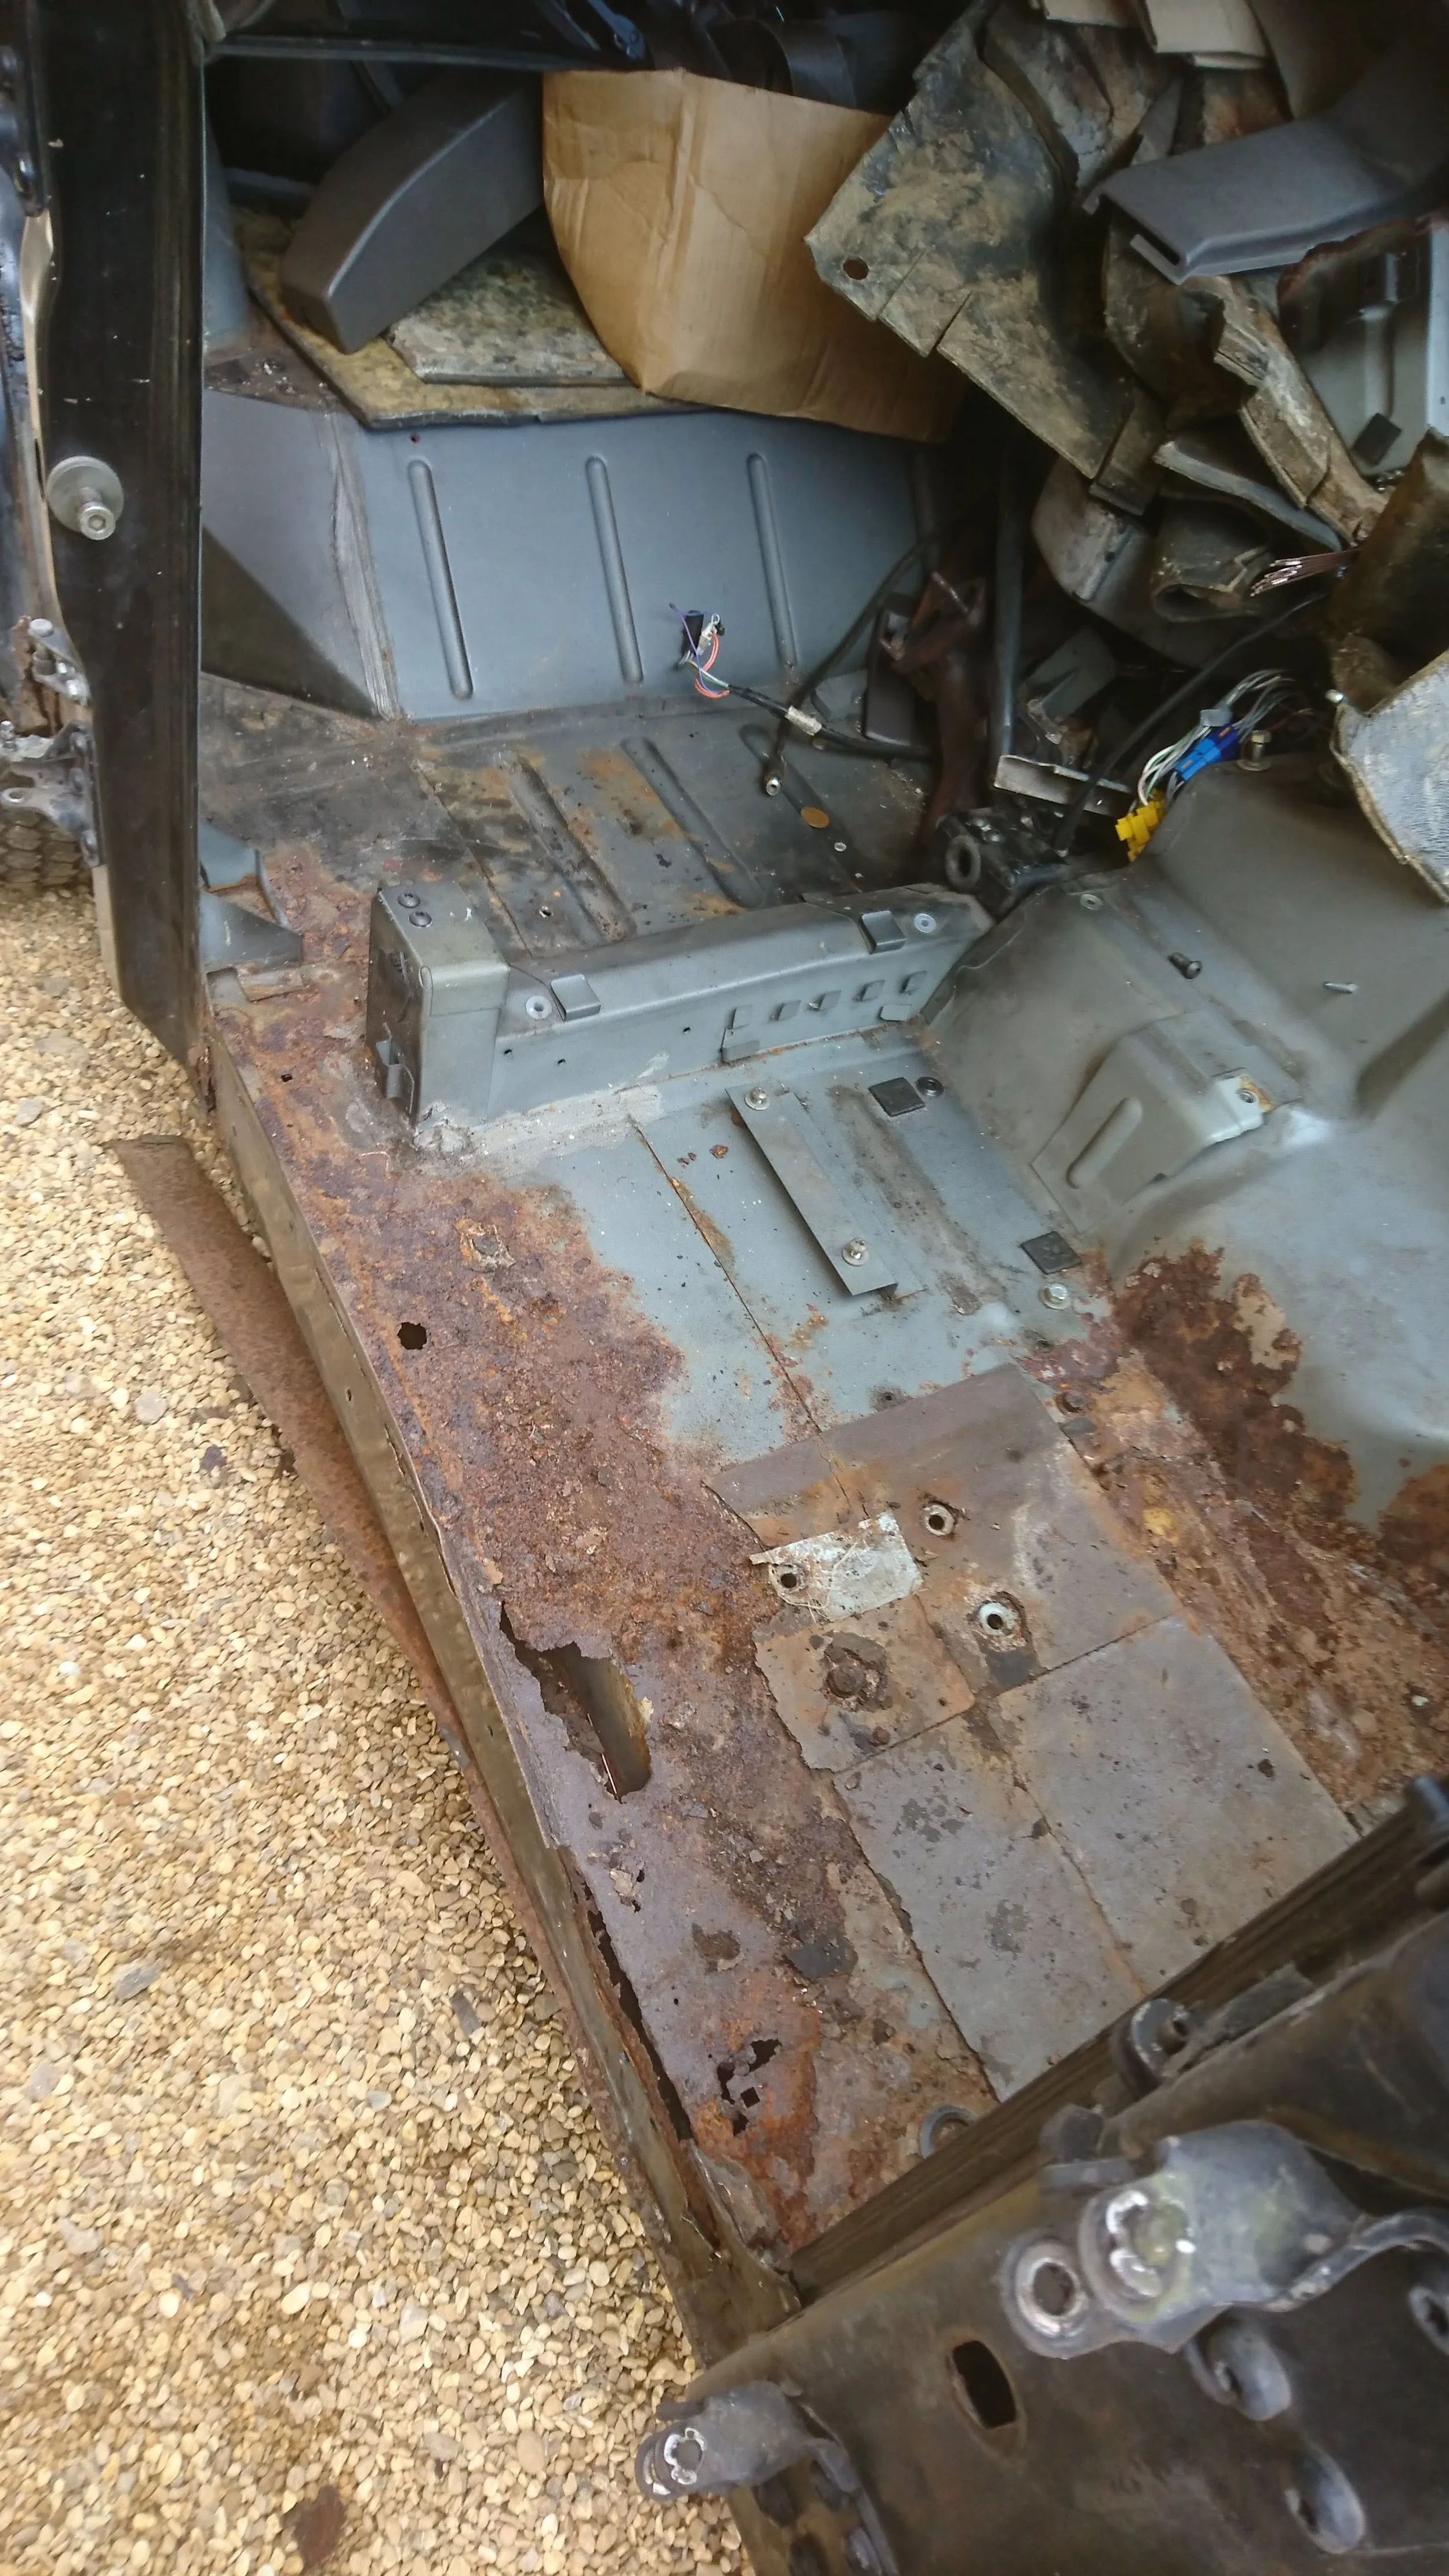
The new floor panel was just a tad too short...
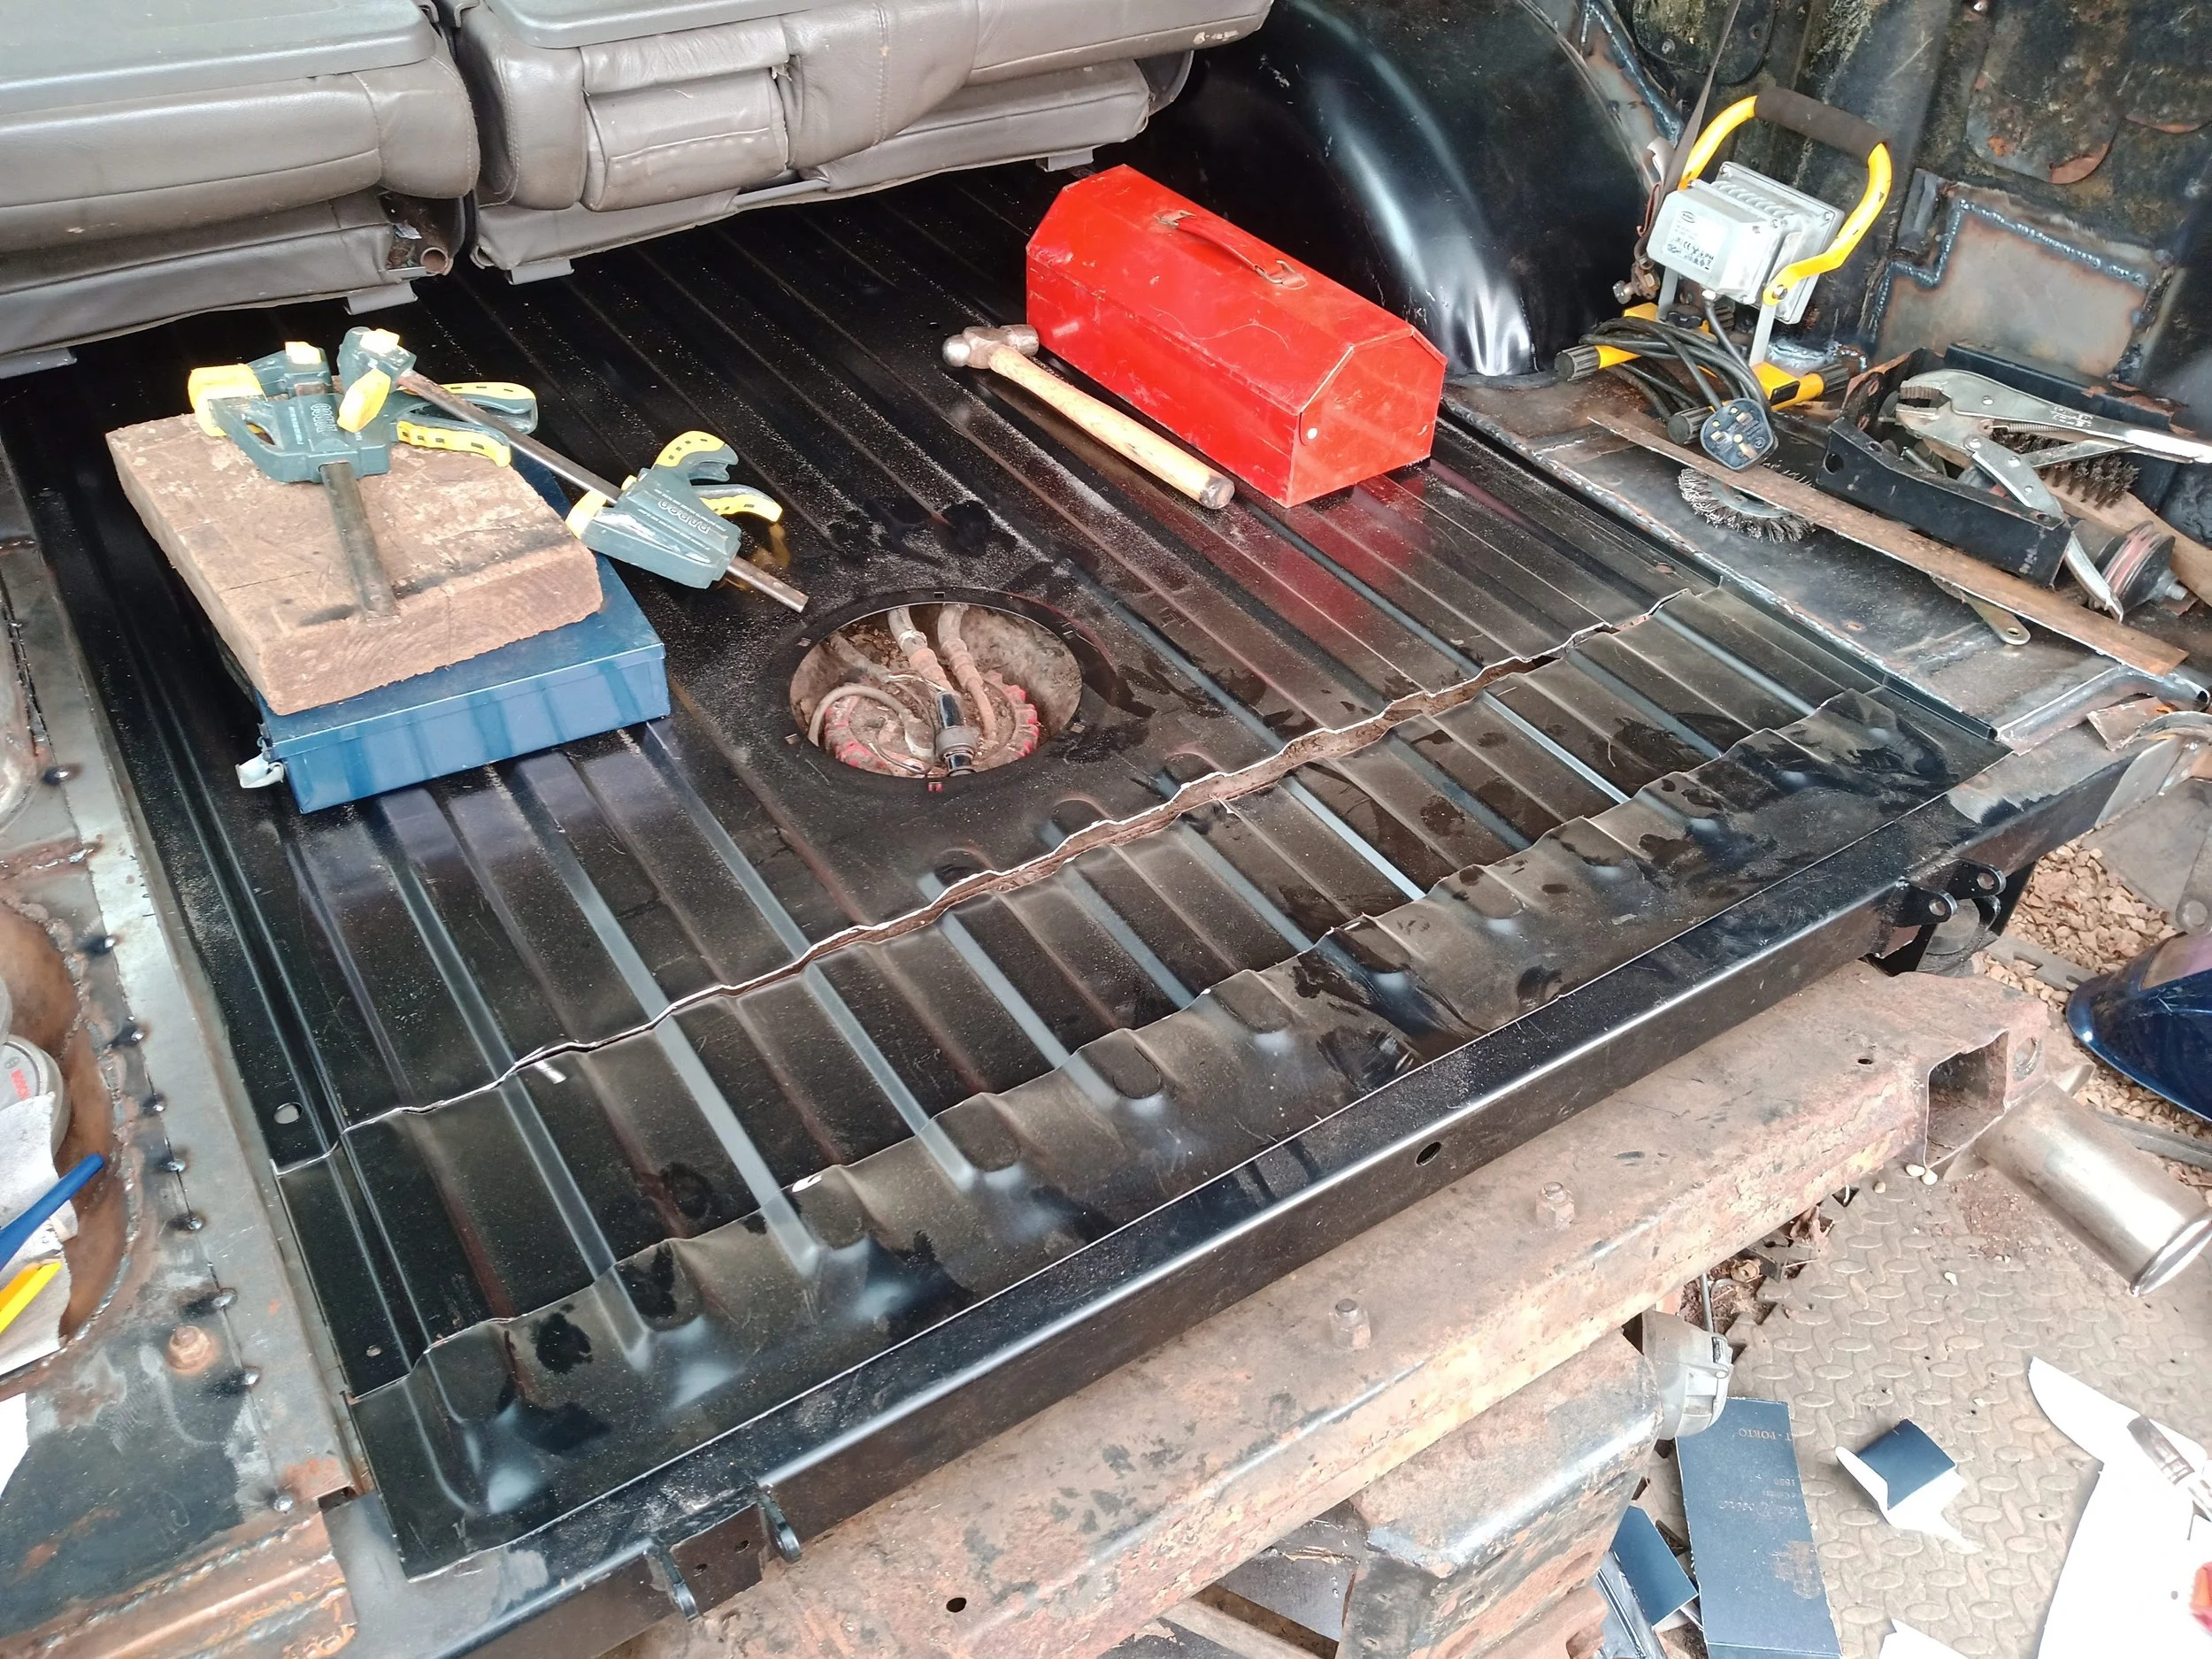
But supplied with an extra weld-in piece!

The obligatory fire extinguisher... I collected a fair few out of date CO2 extinguishers from school and they got plenty of use putting out minor underseal fires!

Shiny new boot floor supports.
Inner arches repaired and repainted.

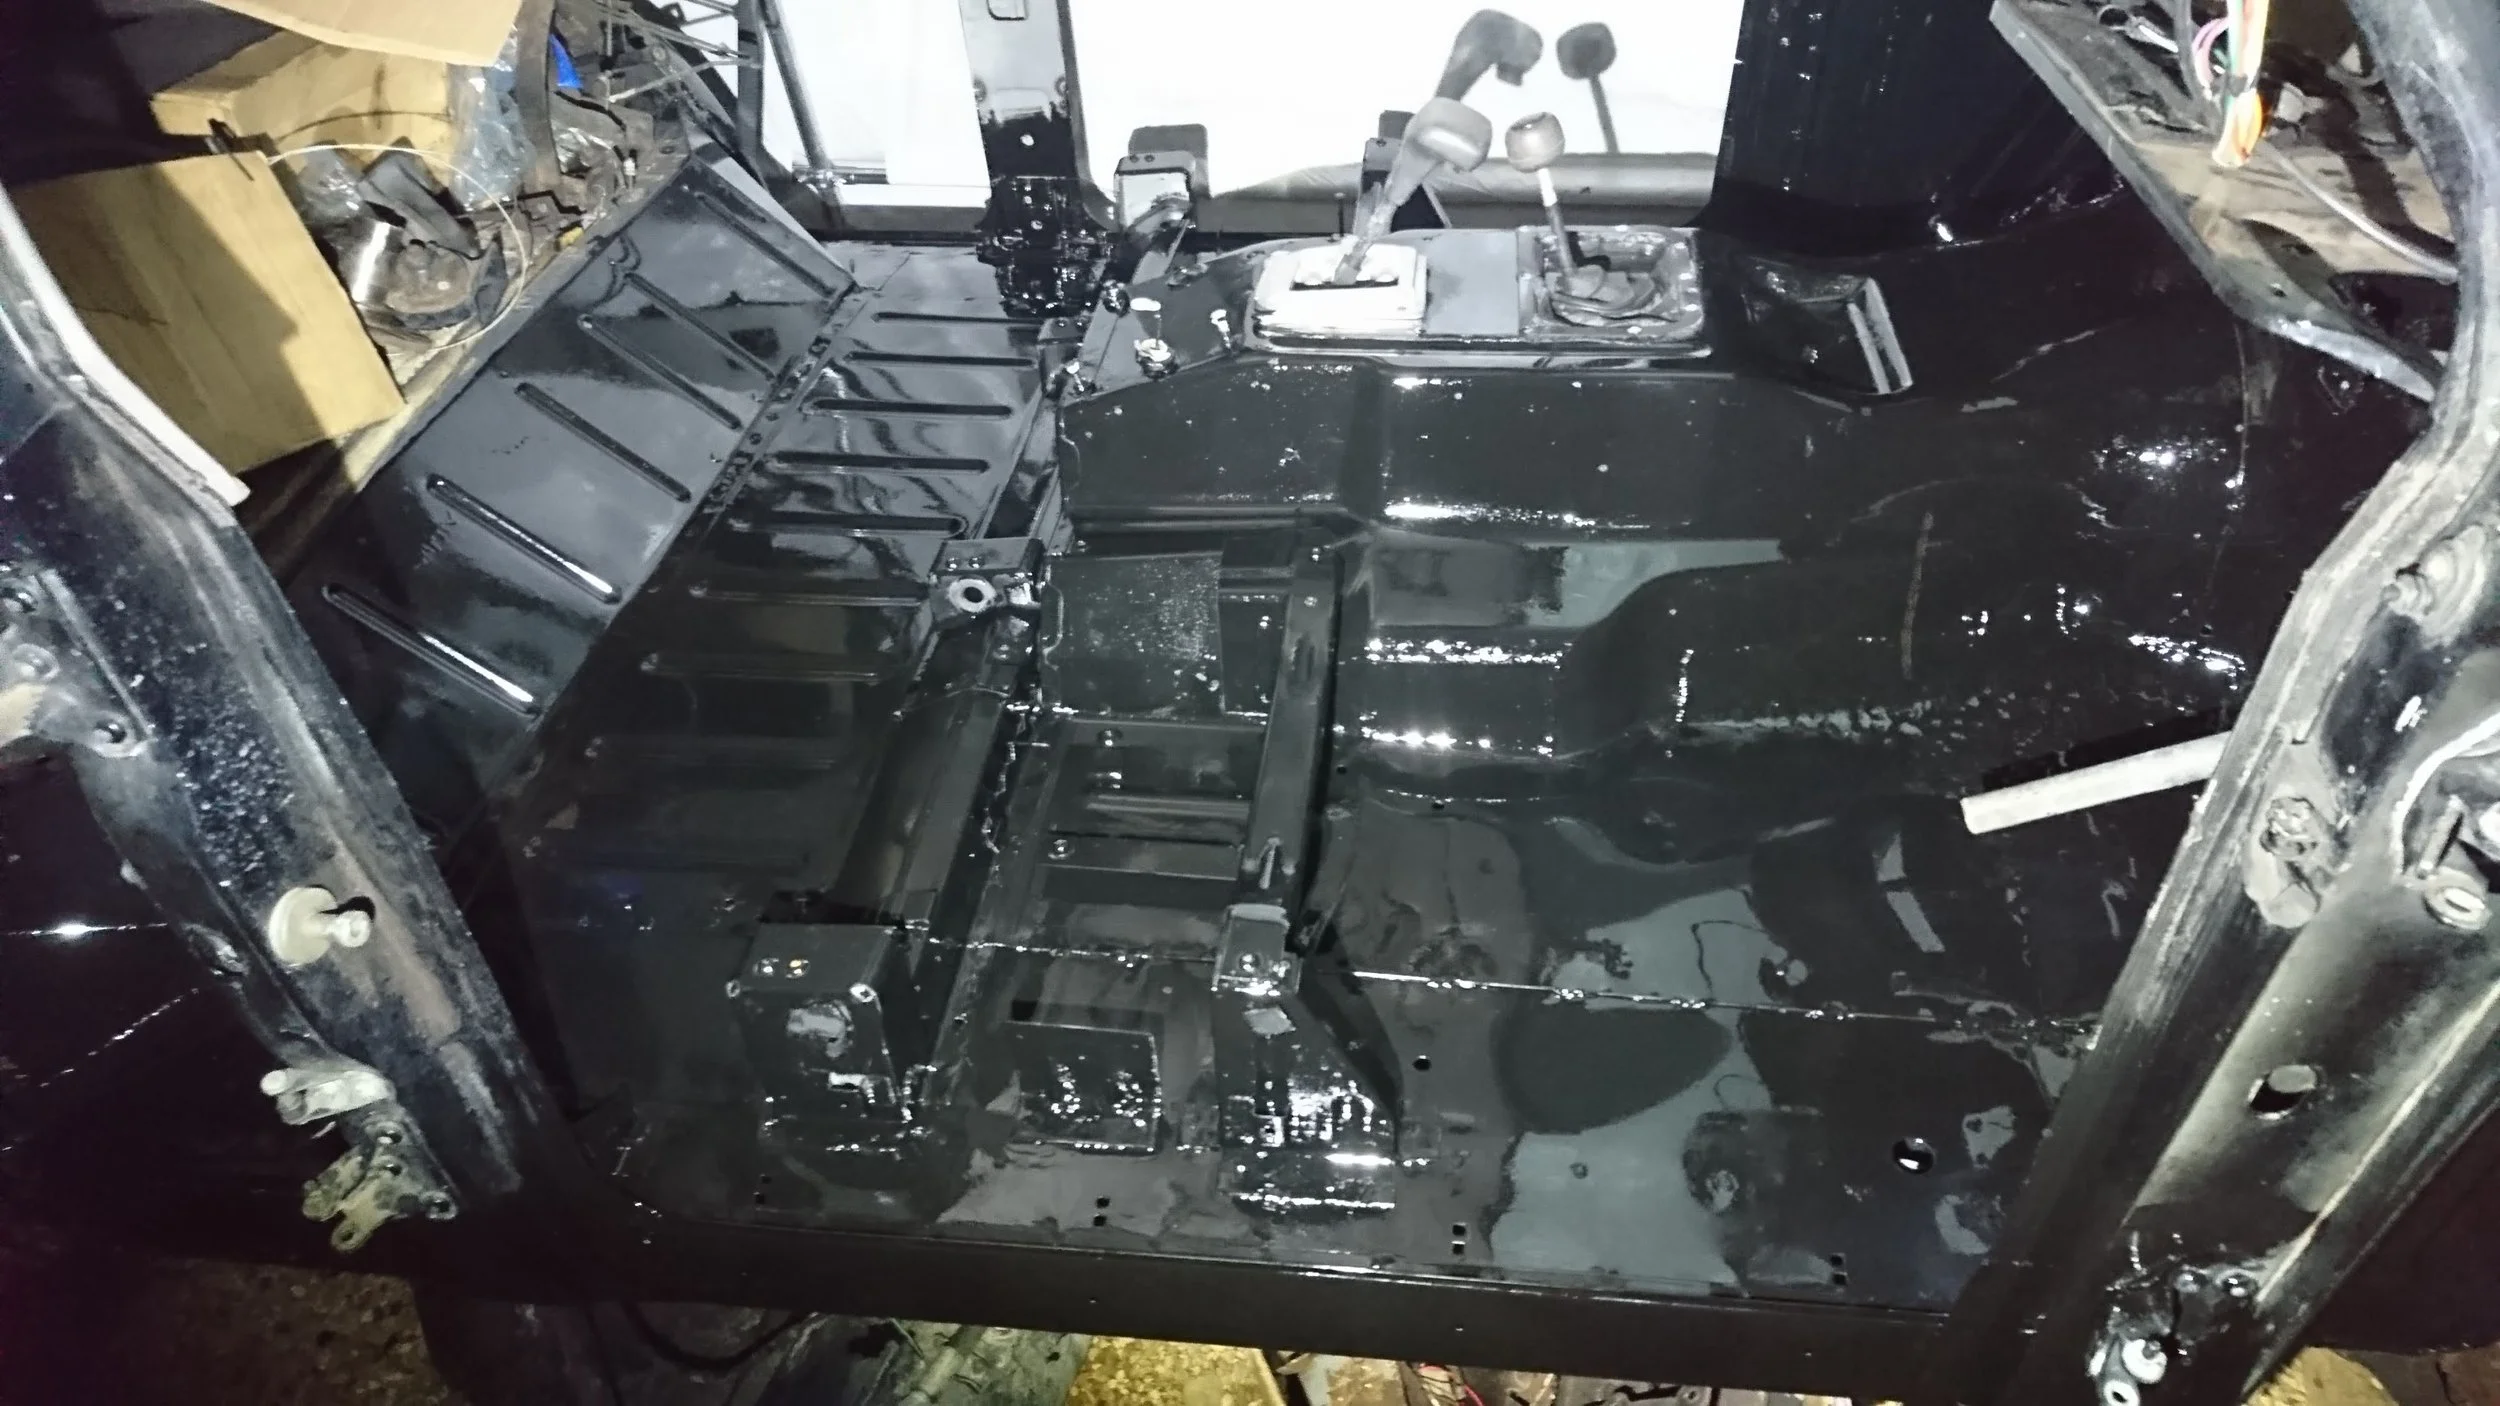
Floor panel sealed in and more inner arch paint.
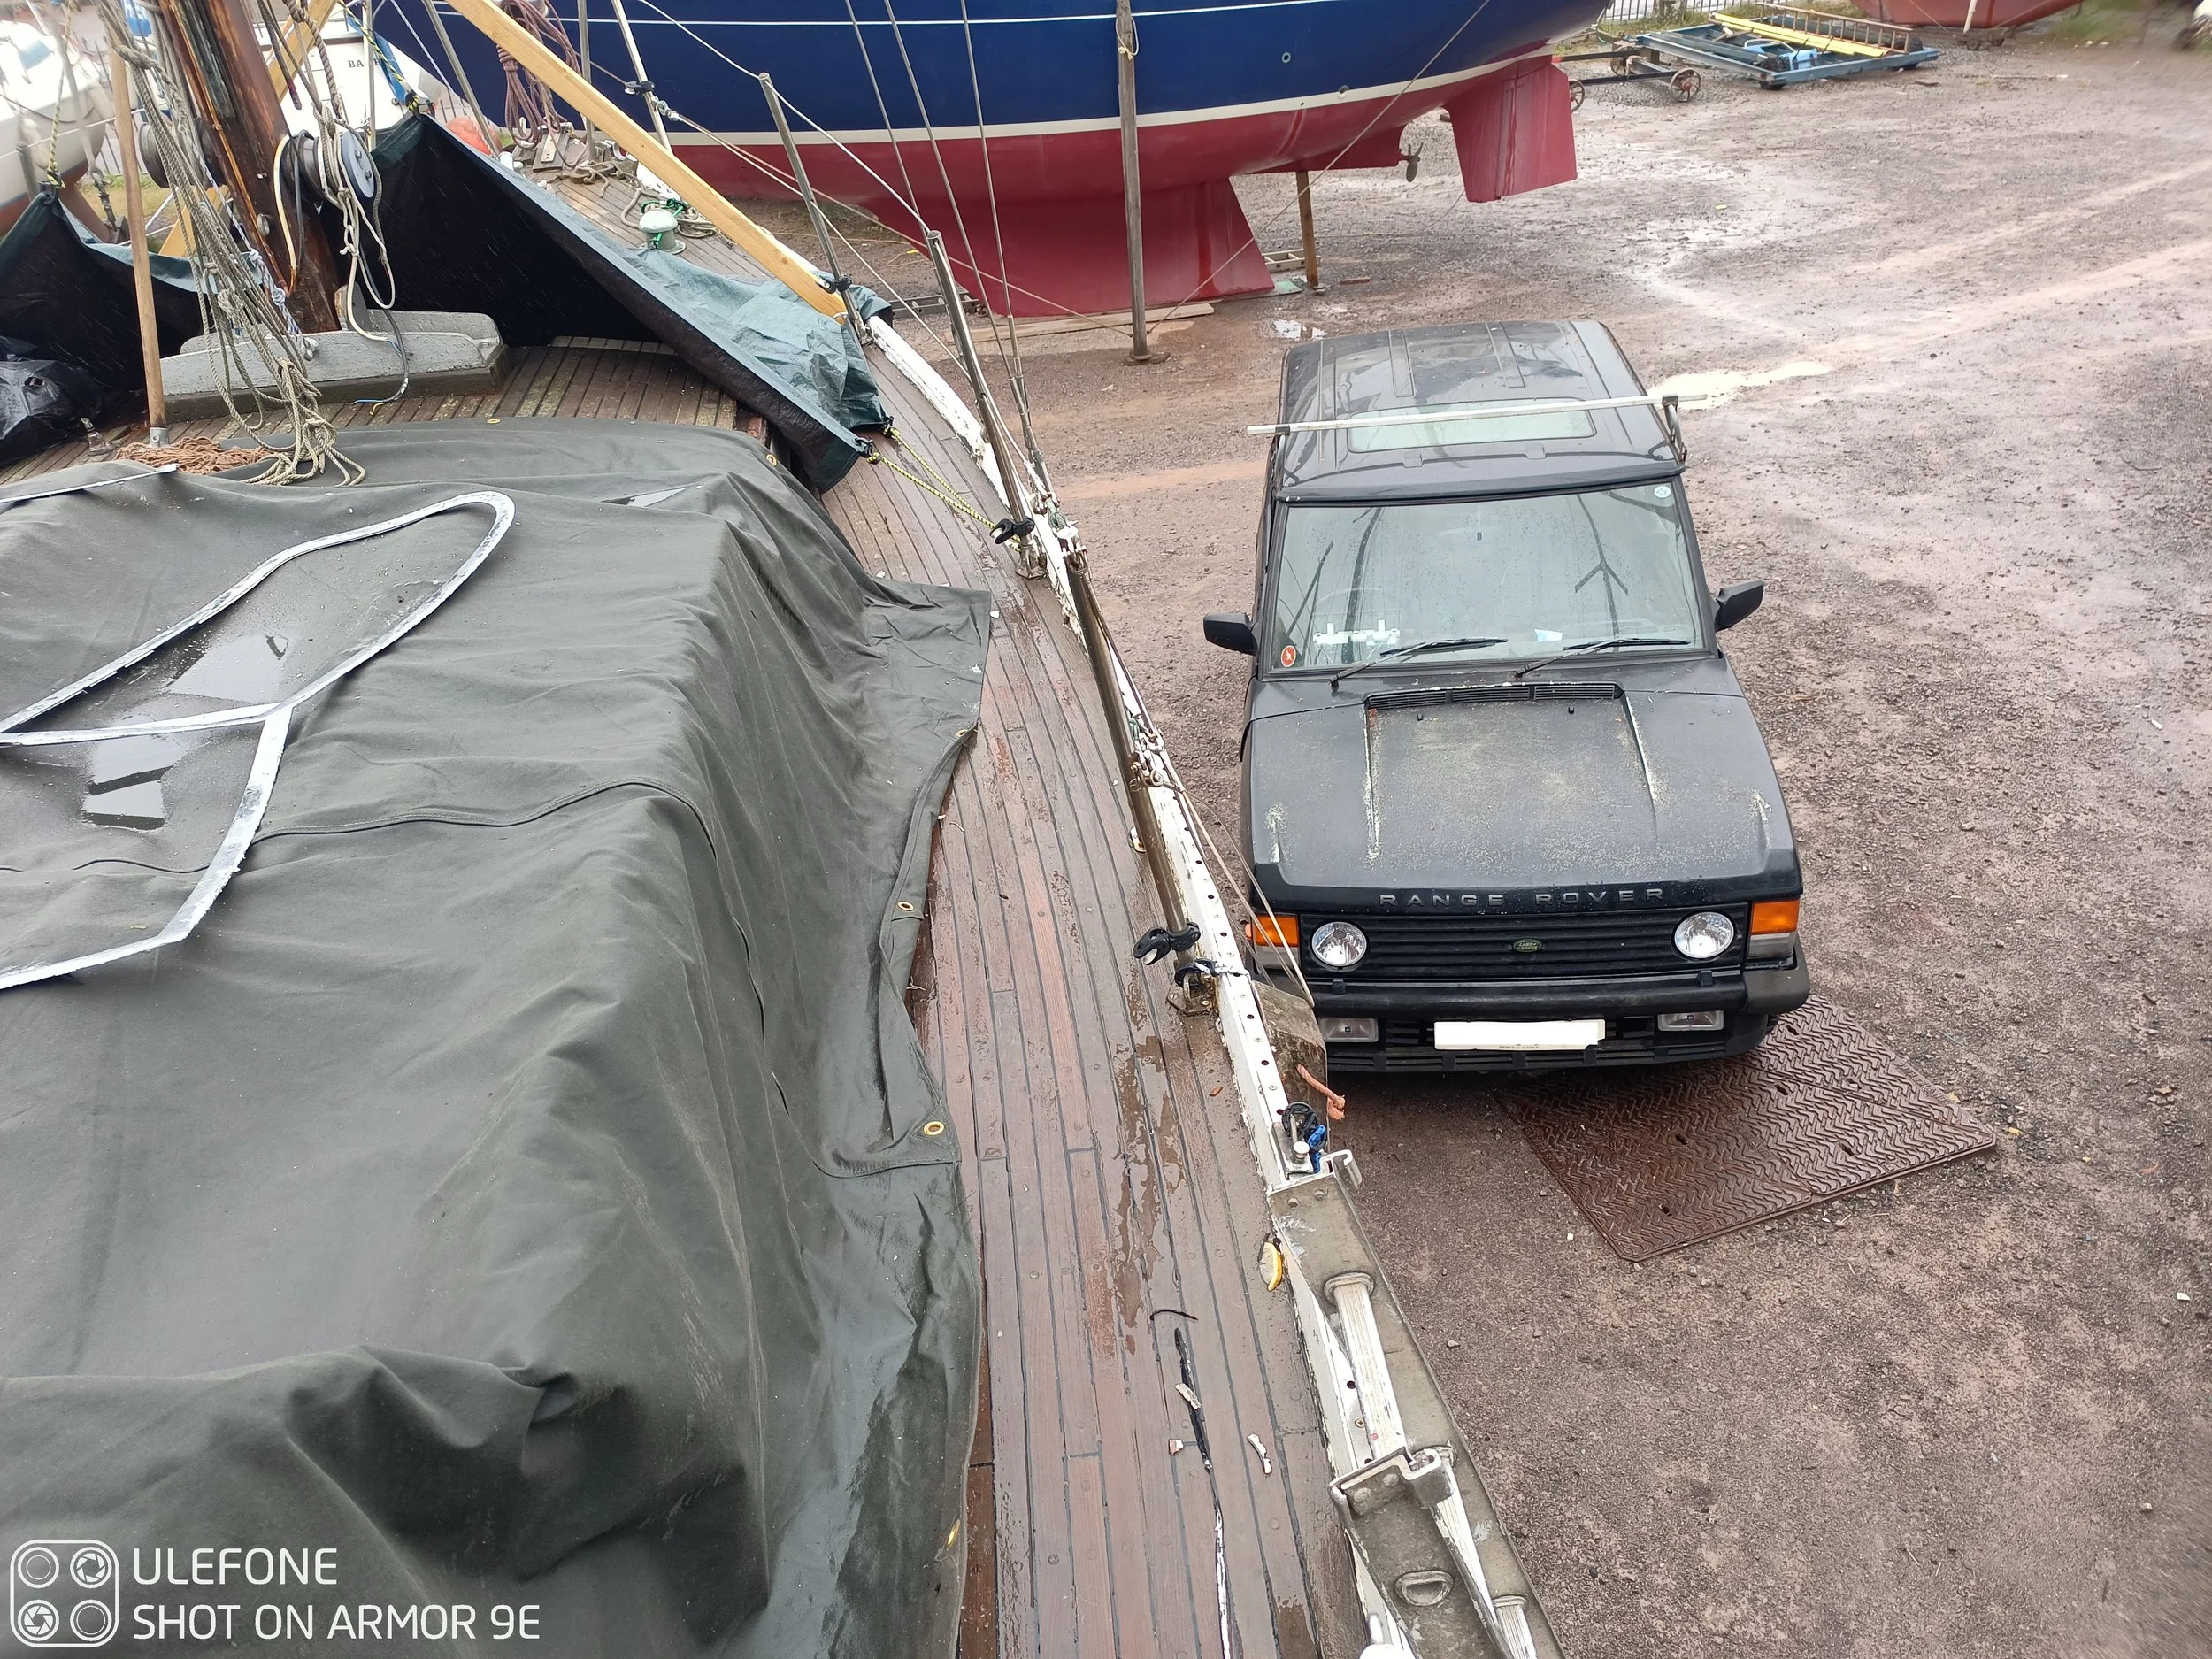
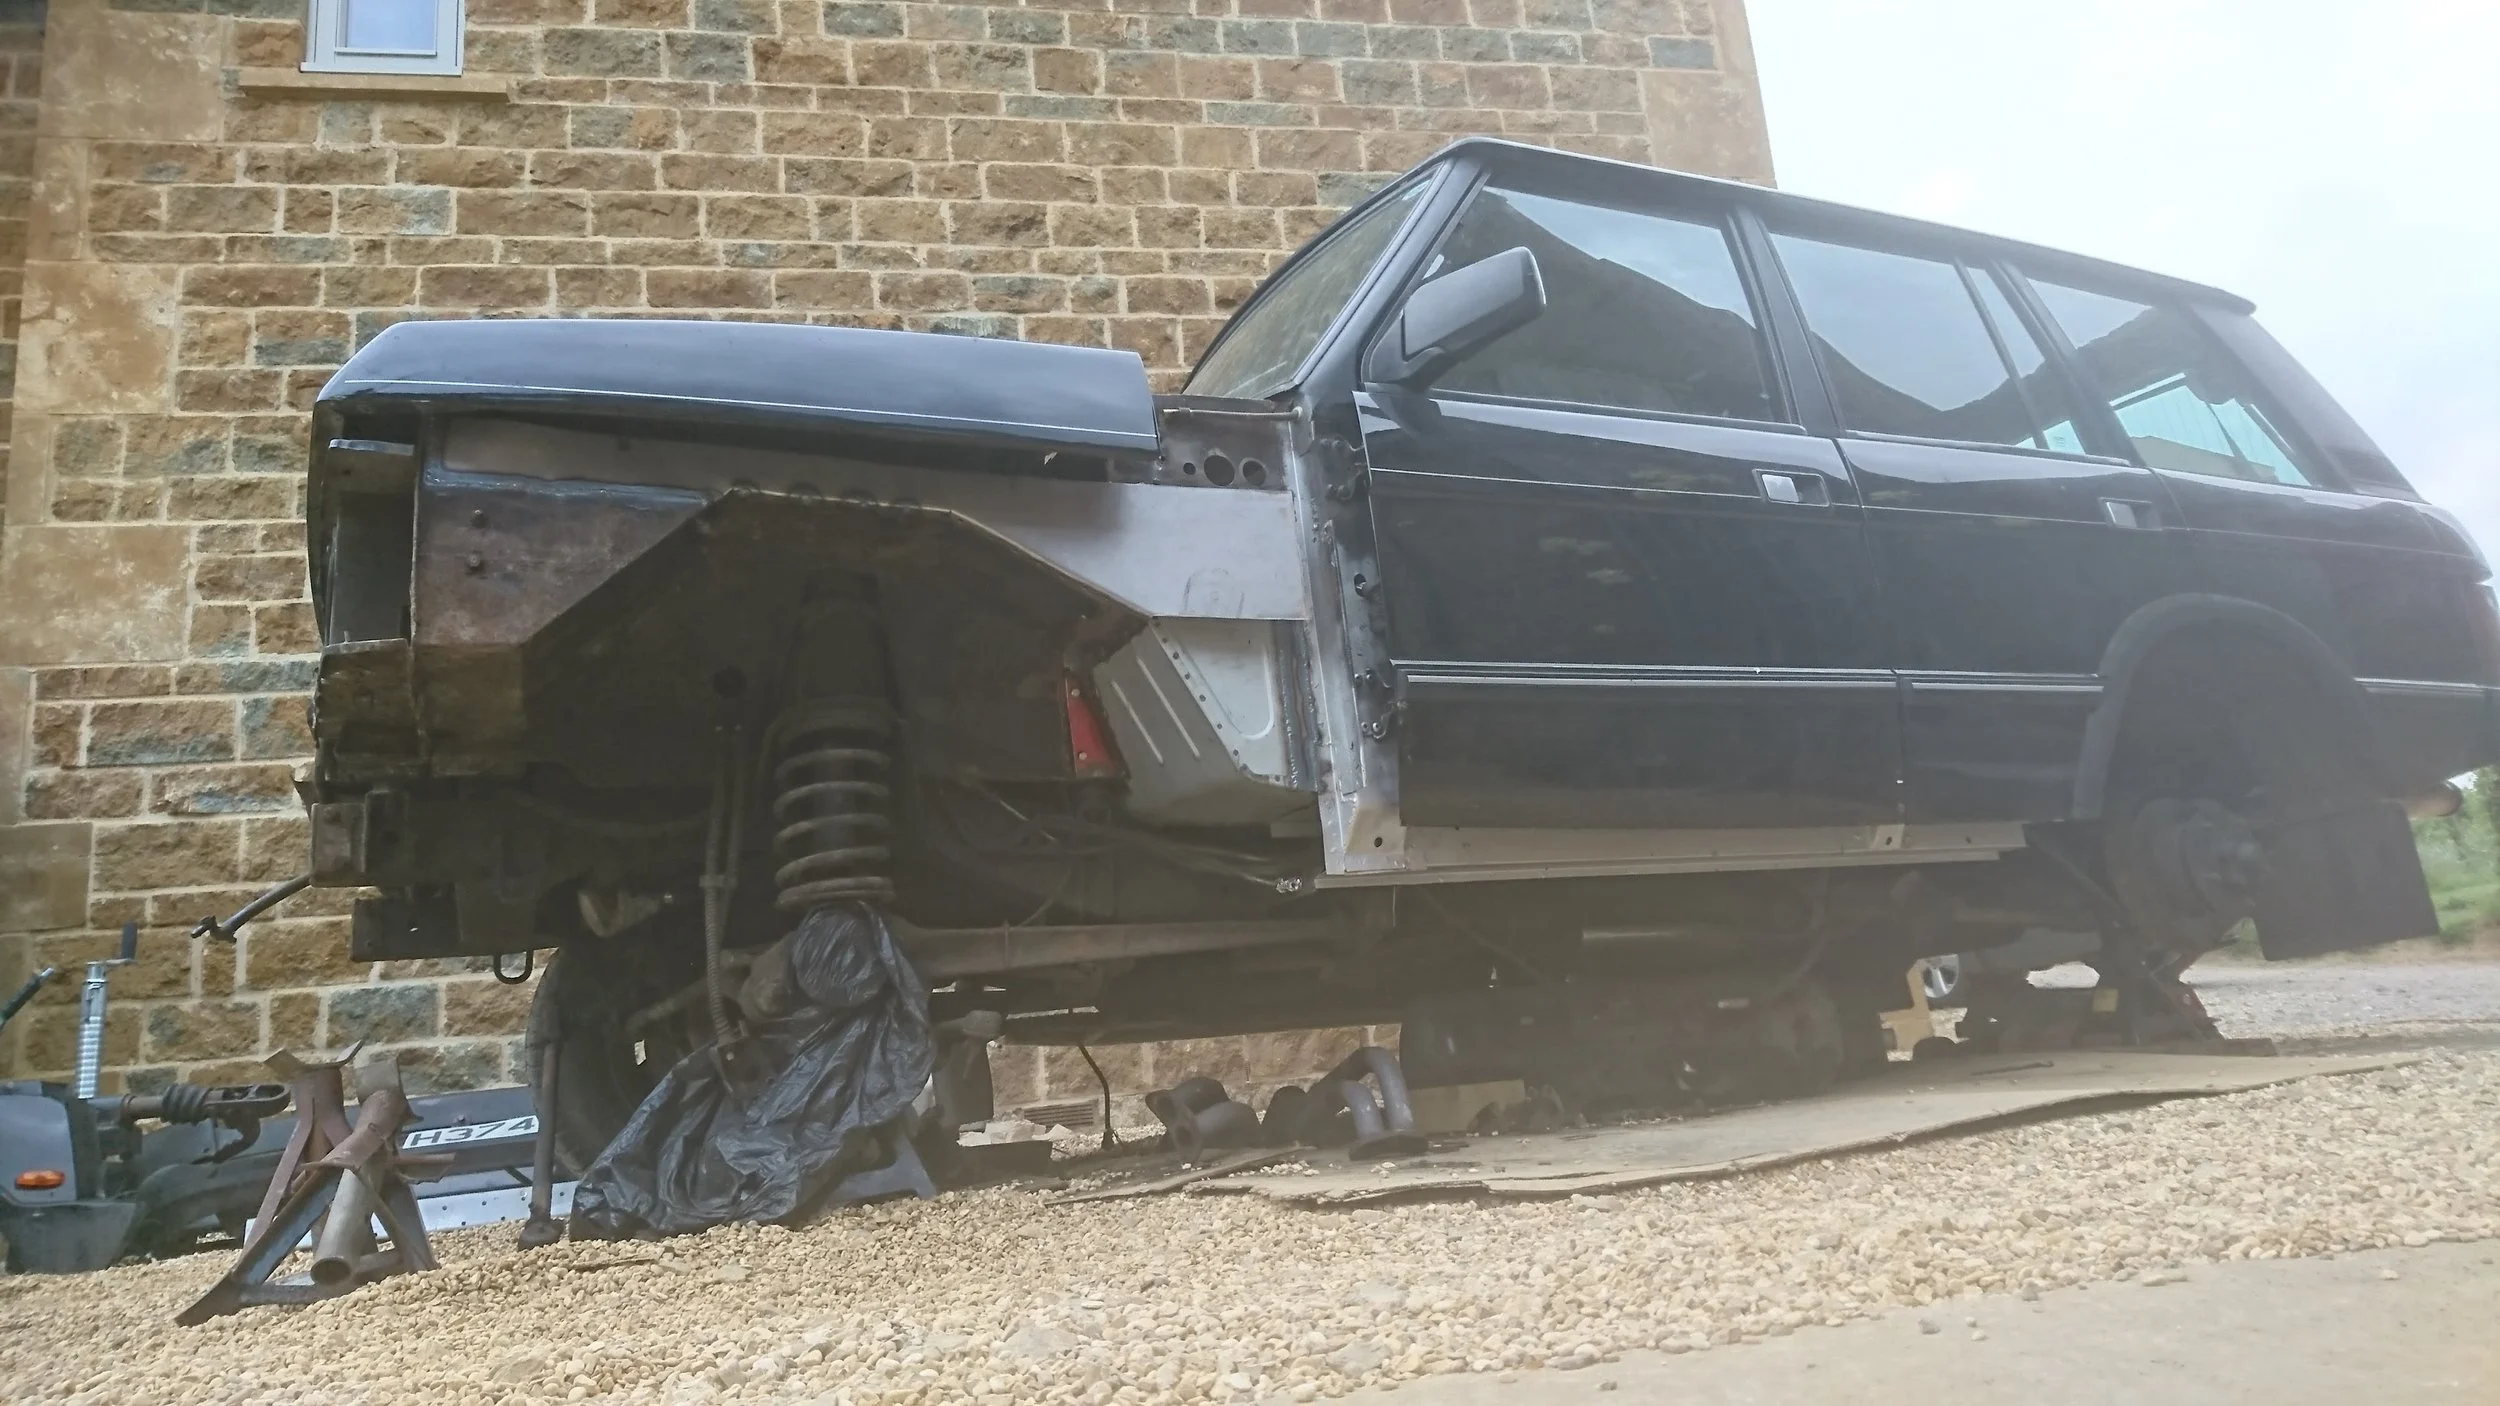
The first major trip after its new MOT. Visiting my yacht project in Barry. Yes. I do have too many projects!
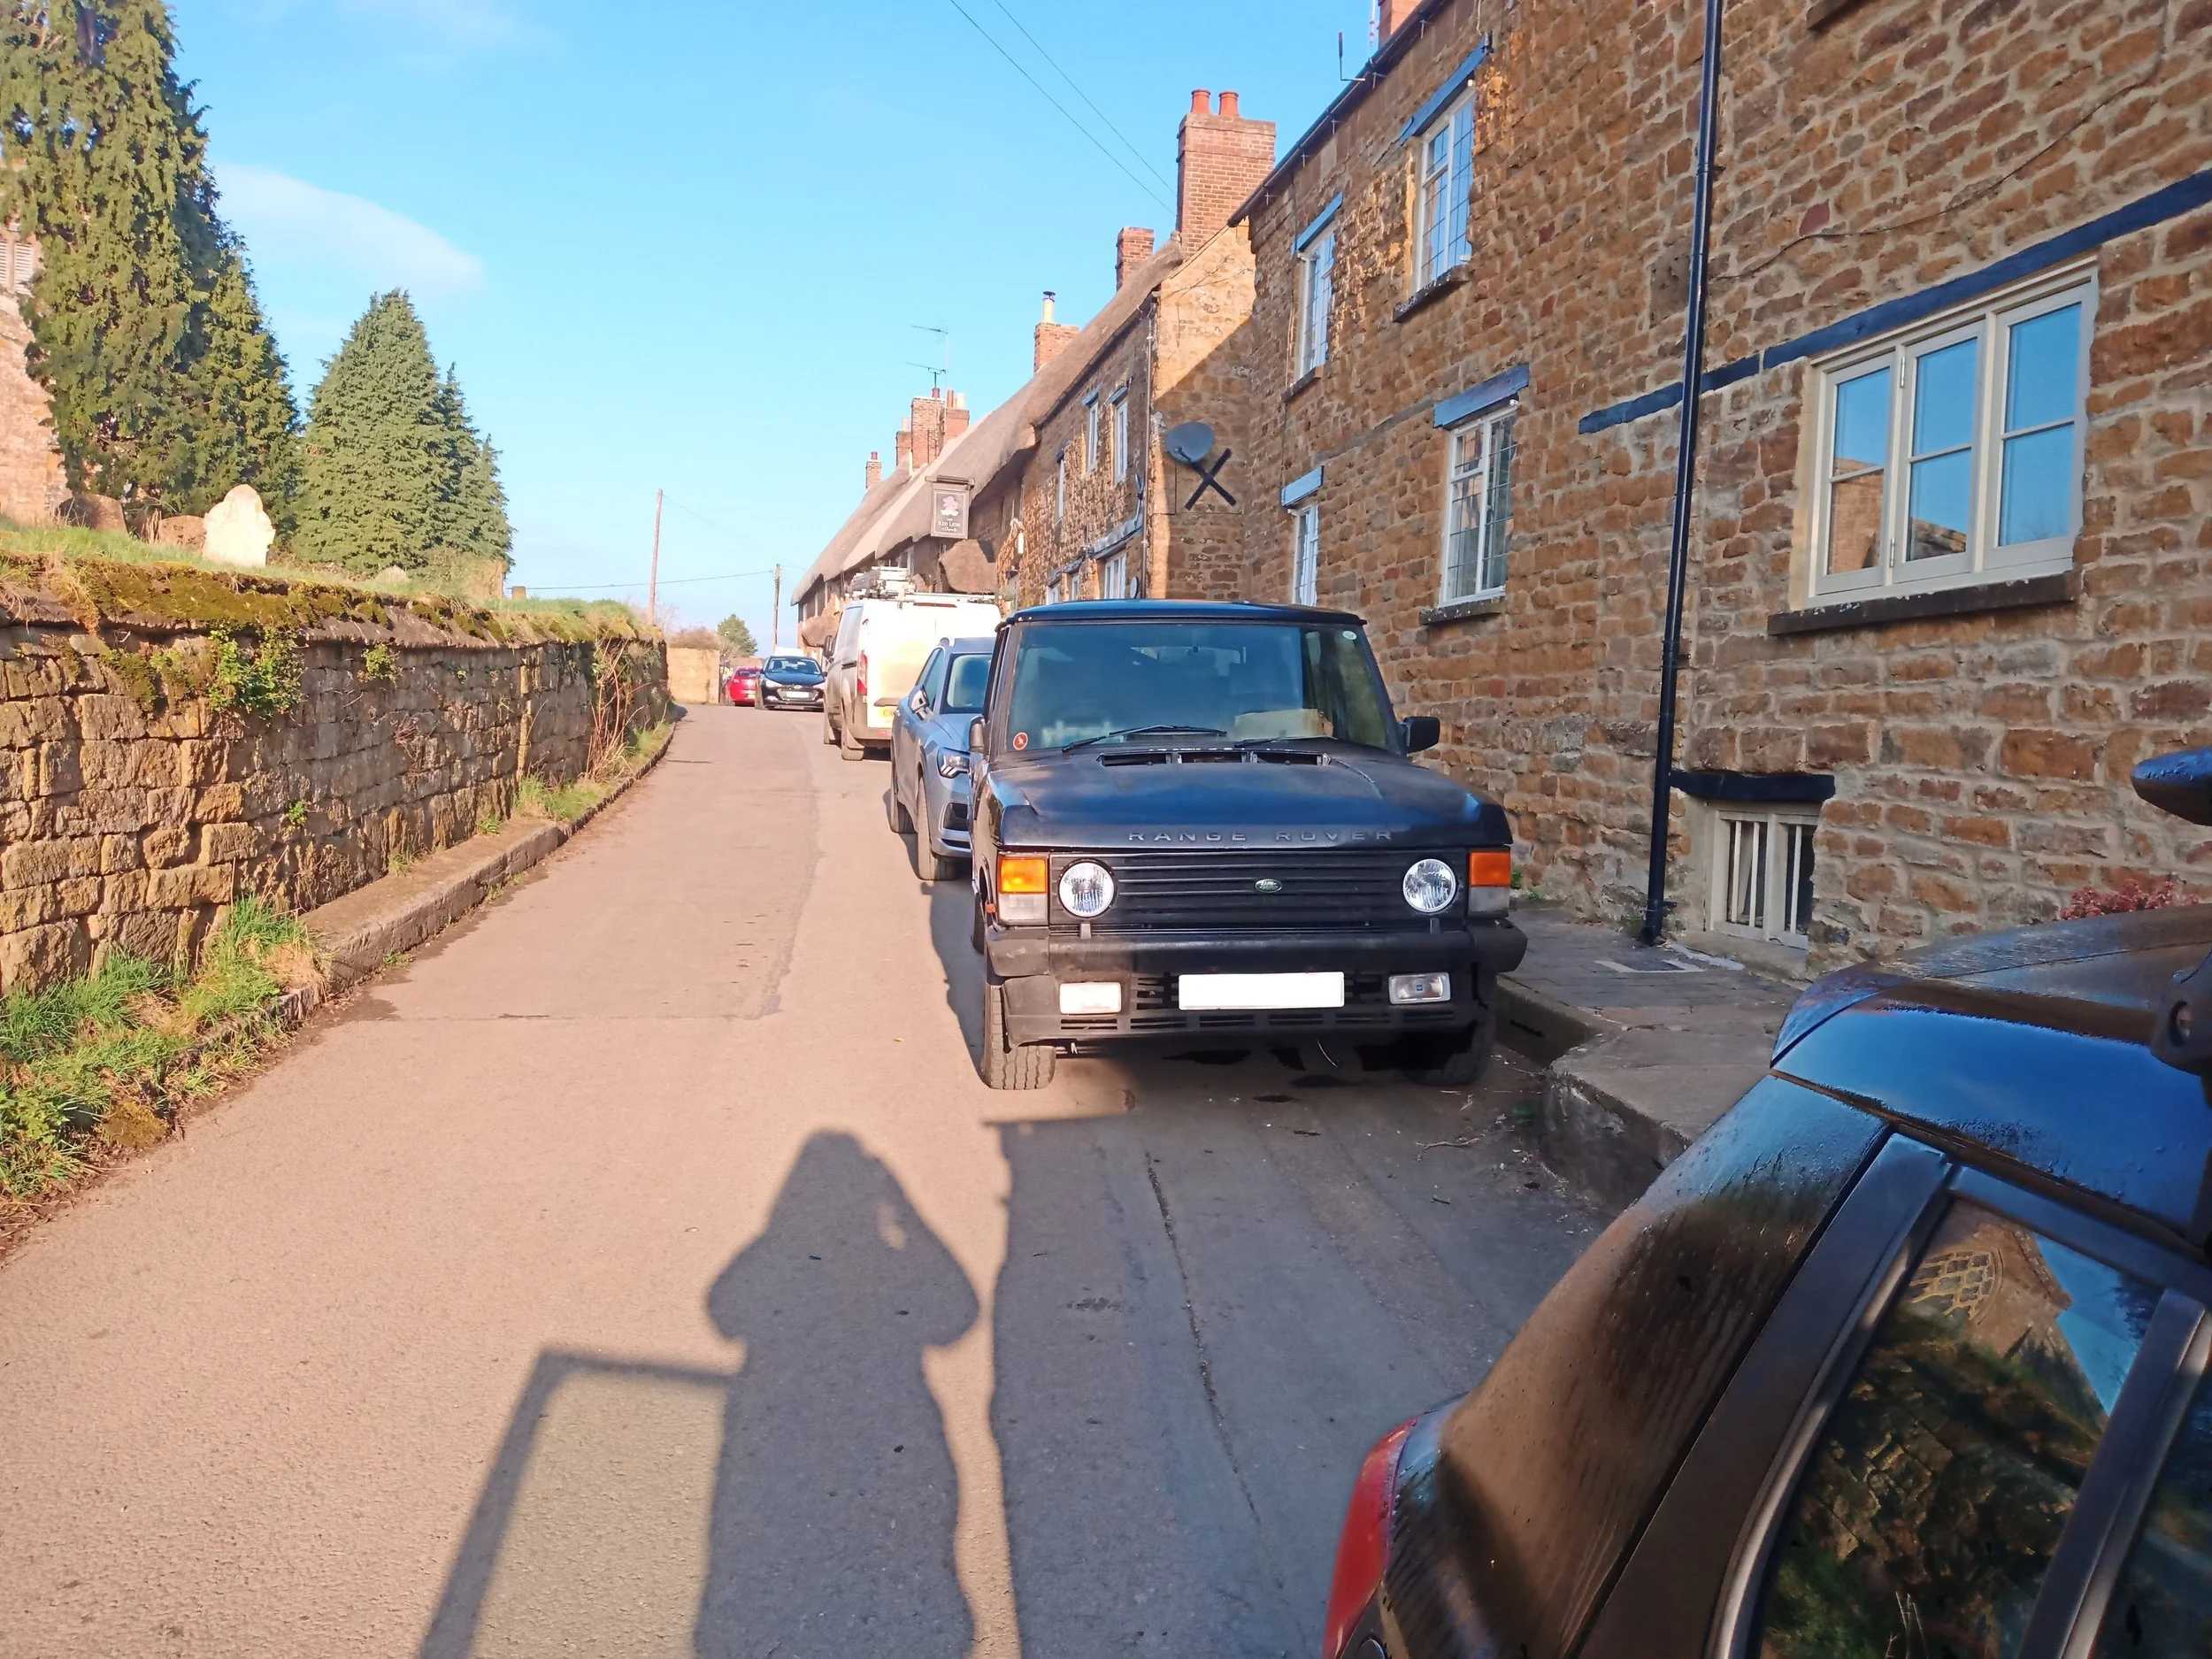
Looking majestic in the sunshine, shortly after its MOT.