Workbench Build
For Christmas one year, I decided that it was time that my father had a proper workbench. His old, much used Black & Decker workmate was getting extremely tired, having spent years handling jobs that it was never designed for and so I thought that I would make him a proper bench. I sourced second hand construction timber from a recycling centre and built a bench roughly following a process that I had seen on YouTube by Paul Sellers, though the design is a traditional one. The neat twist to the design that Paul developed were leg frames that can be installed without hardware using a wedge system that self tightens as the bench racks, thus eliminating movement. This also allows the bench to easily knock down for transport (though due to the weight, you wouldn’t want to move it regularly).
Laminating the bench tops from 4"x2" construction timber.

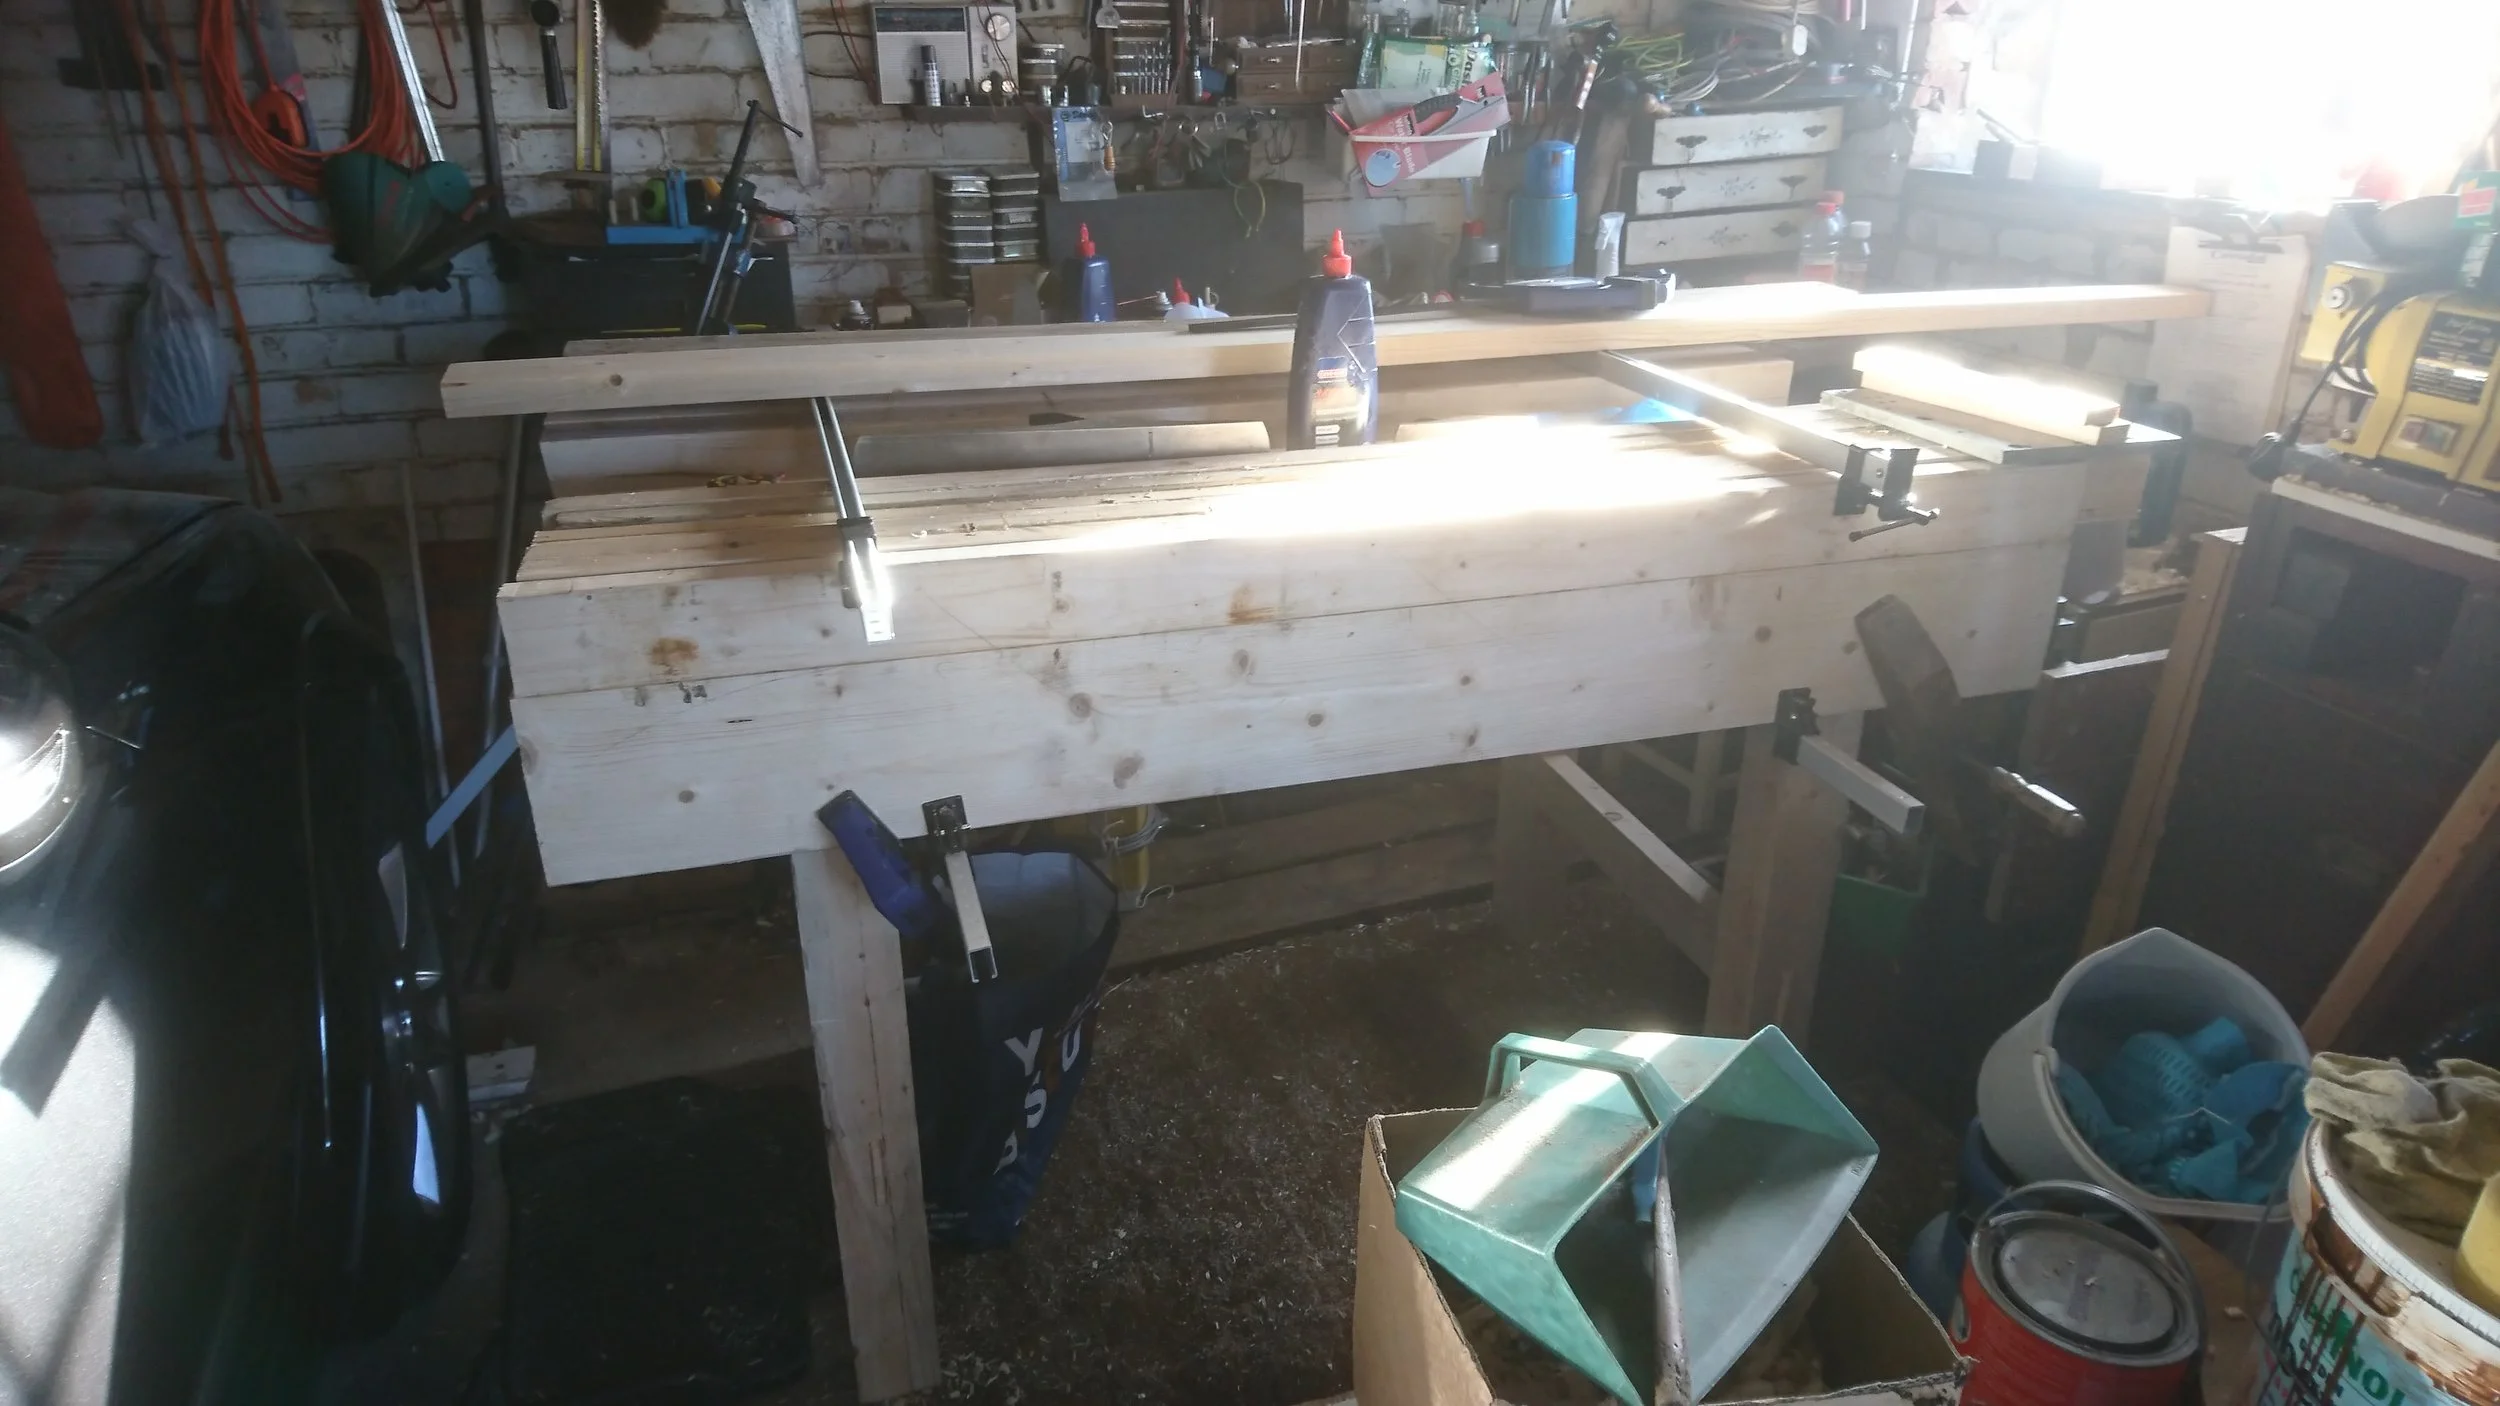
The apron was formed from 2"x6"s and 2"x8"s
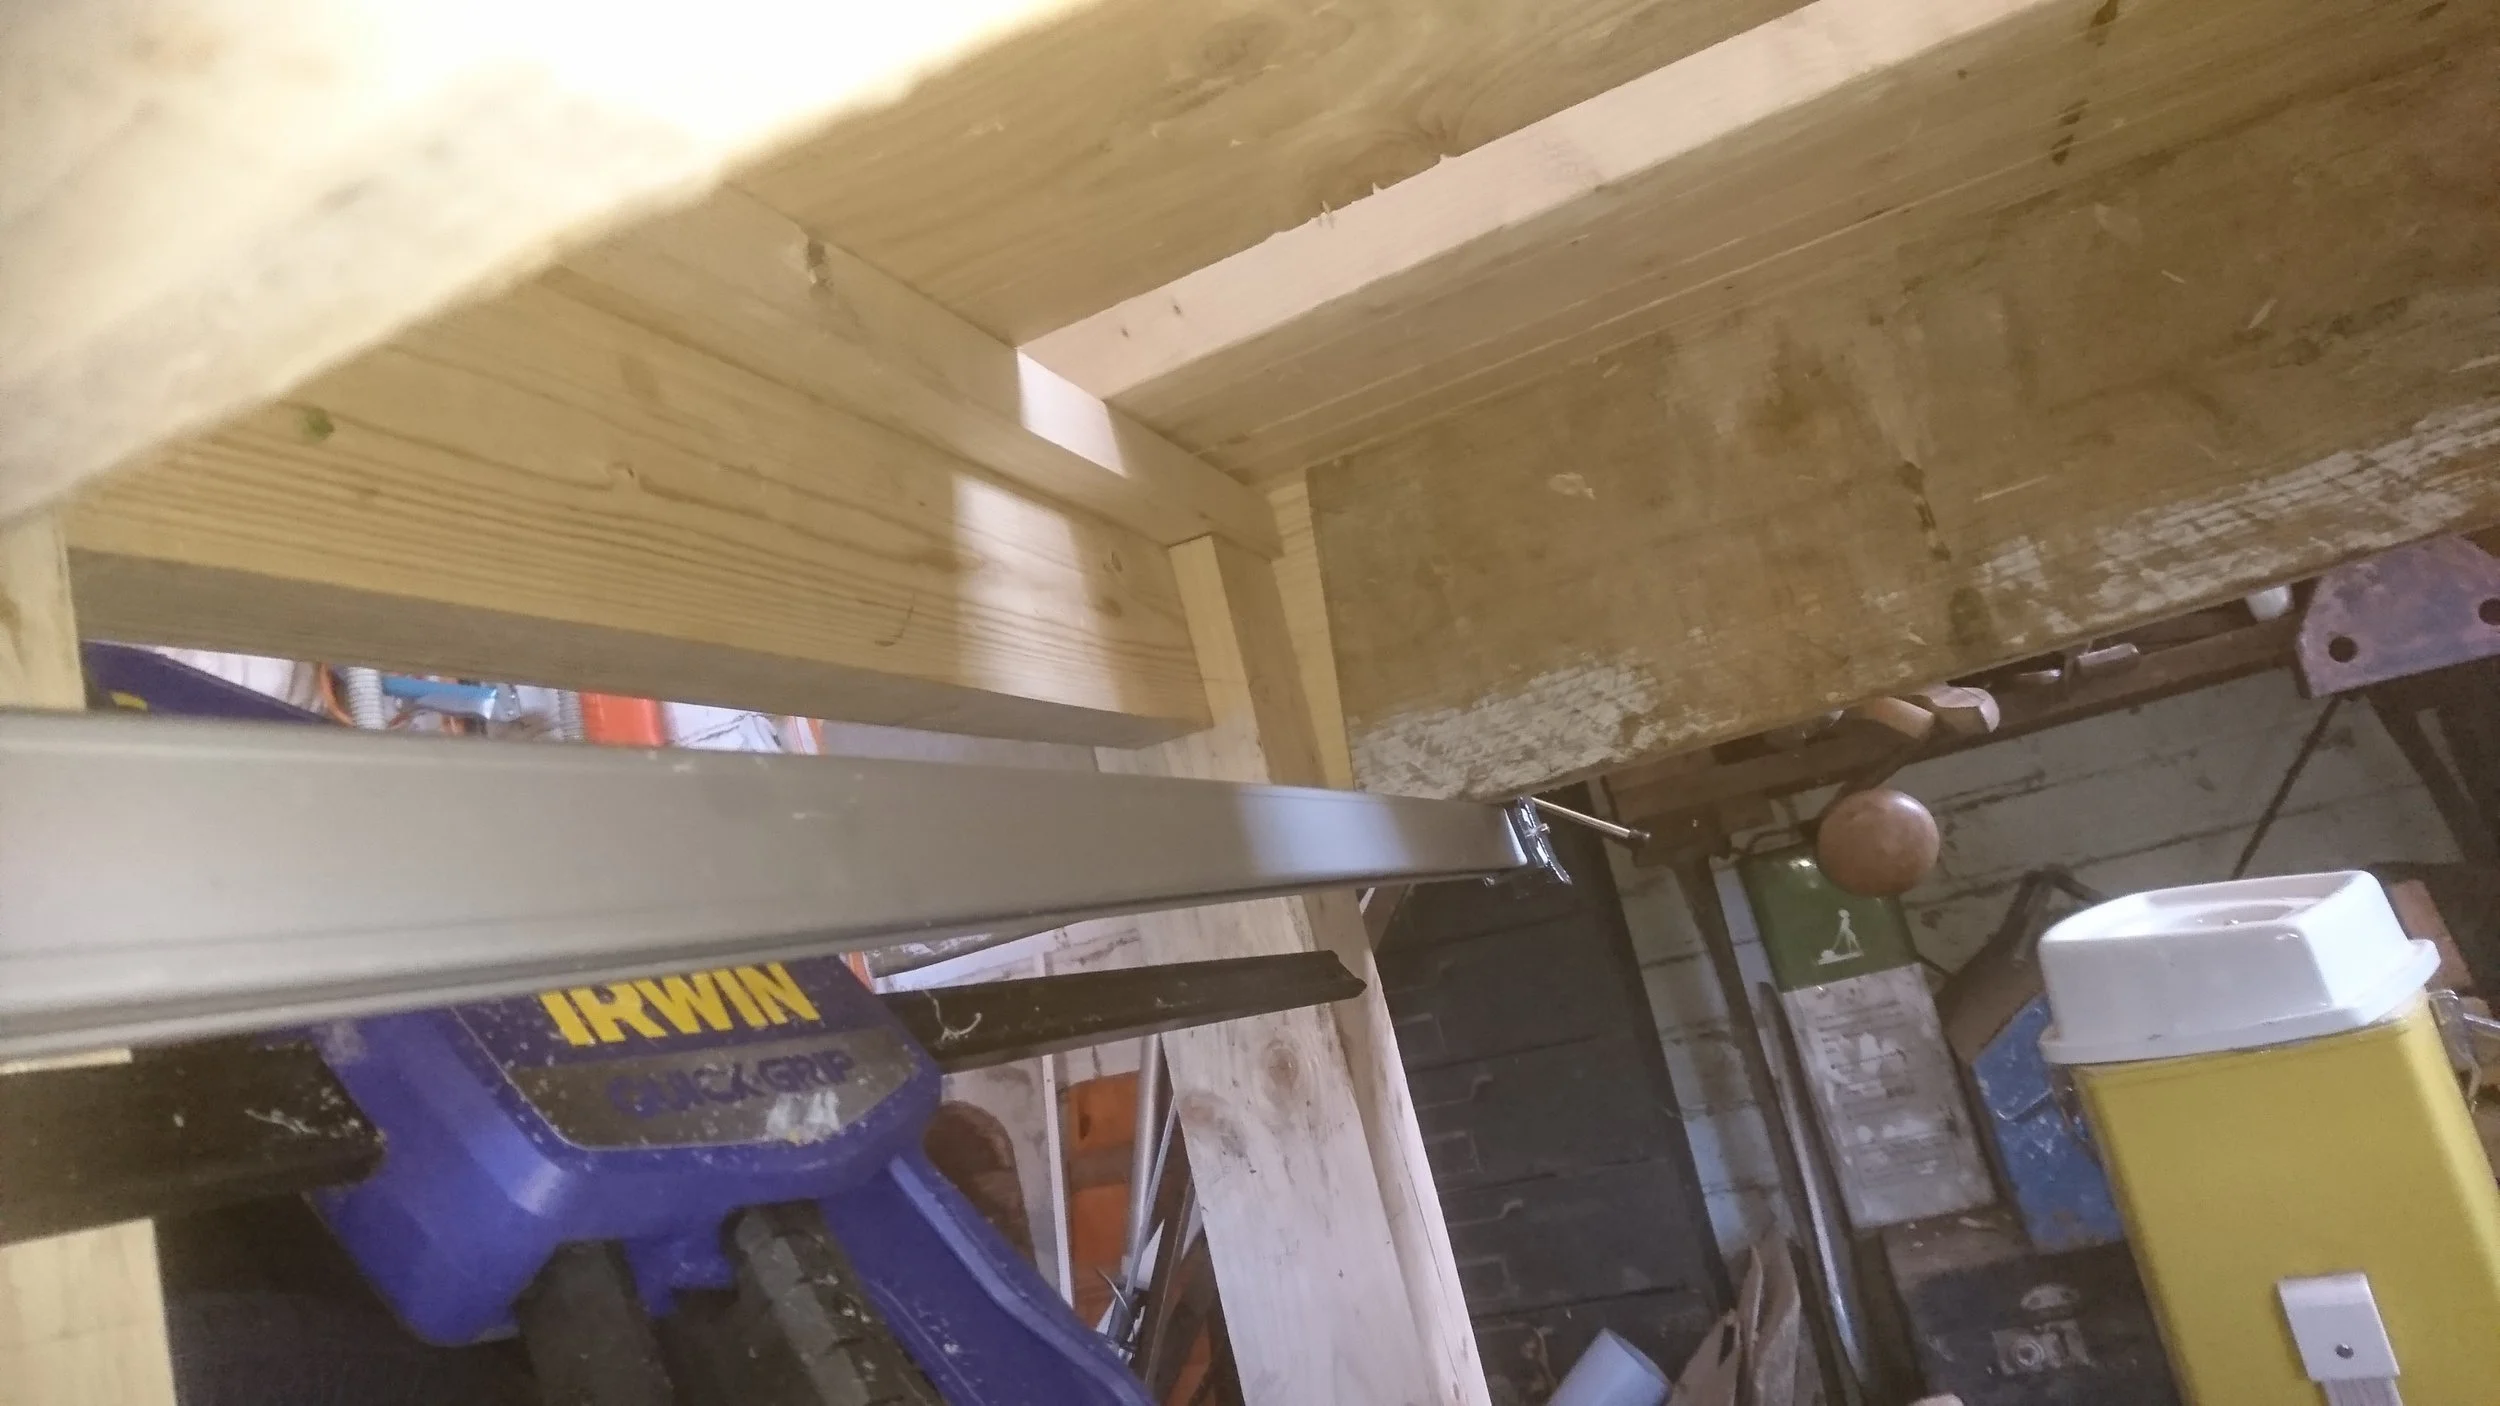
Temporarily fitted leg frames.

Leg posts from 6"x6"s with cross braces mortise and tenon jointed into the legs.
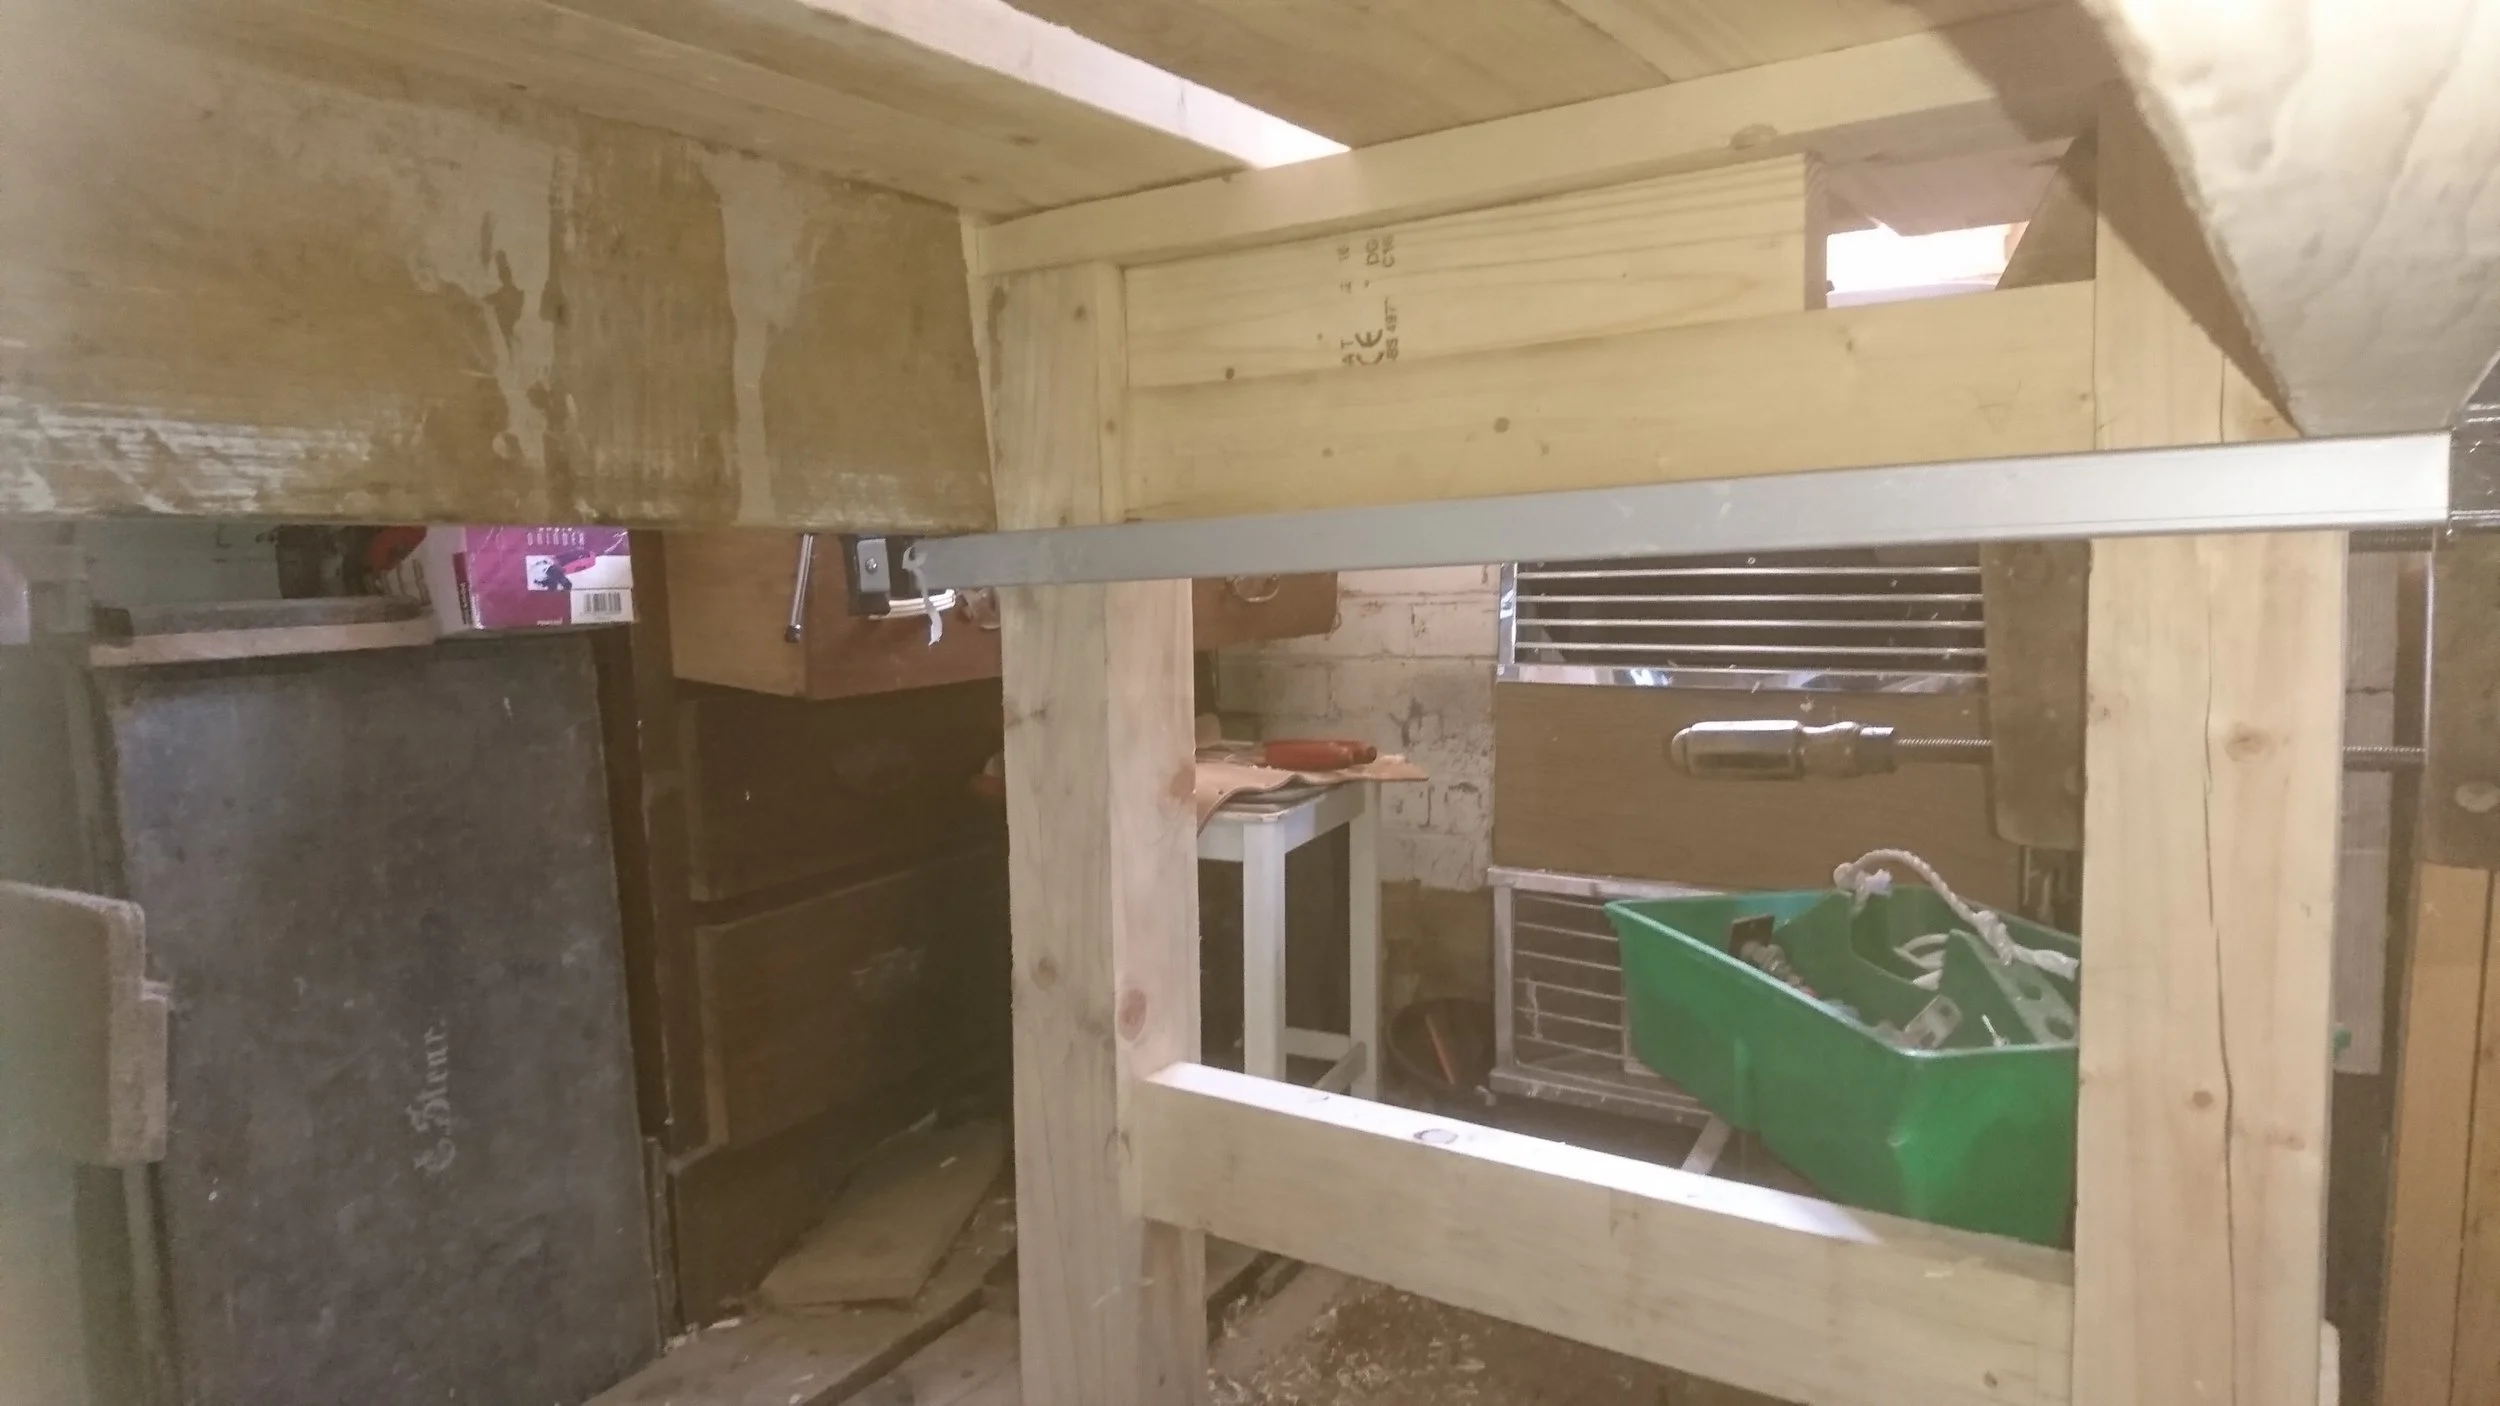
At the top of the leg frame, a jointed cross brace, with a spacer (gap for an end vice) followed by a top beam.
Notice the tapered slot cut into the apron. This is where the wedge fits to secure the leg frame. The bench top is split into two sections, connected with a tool well.
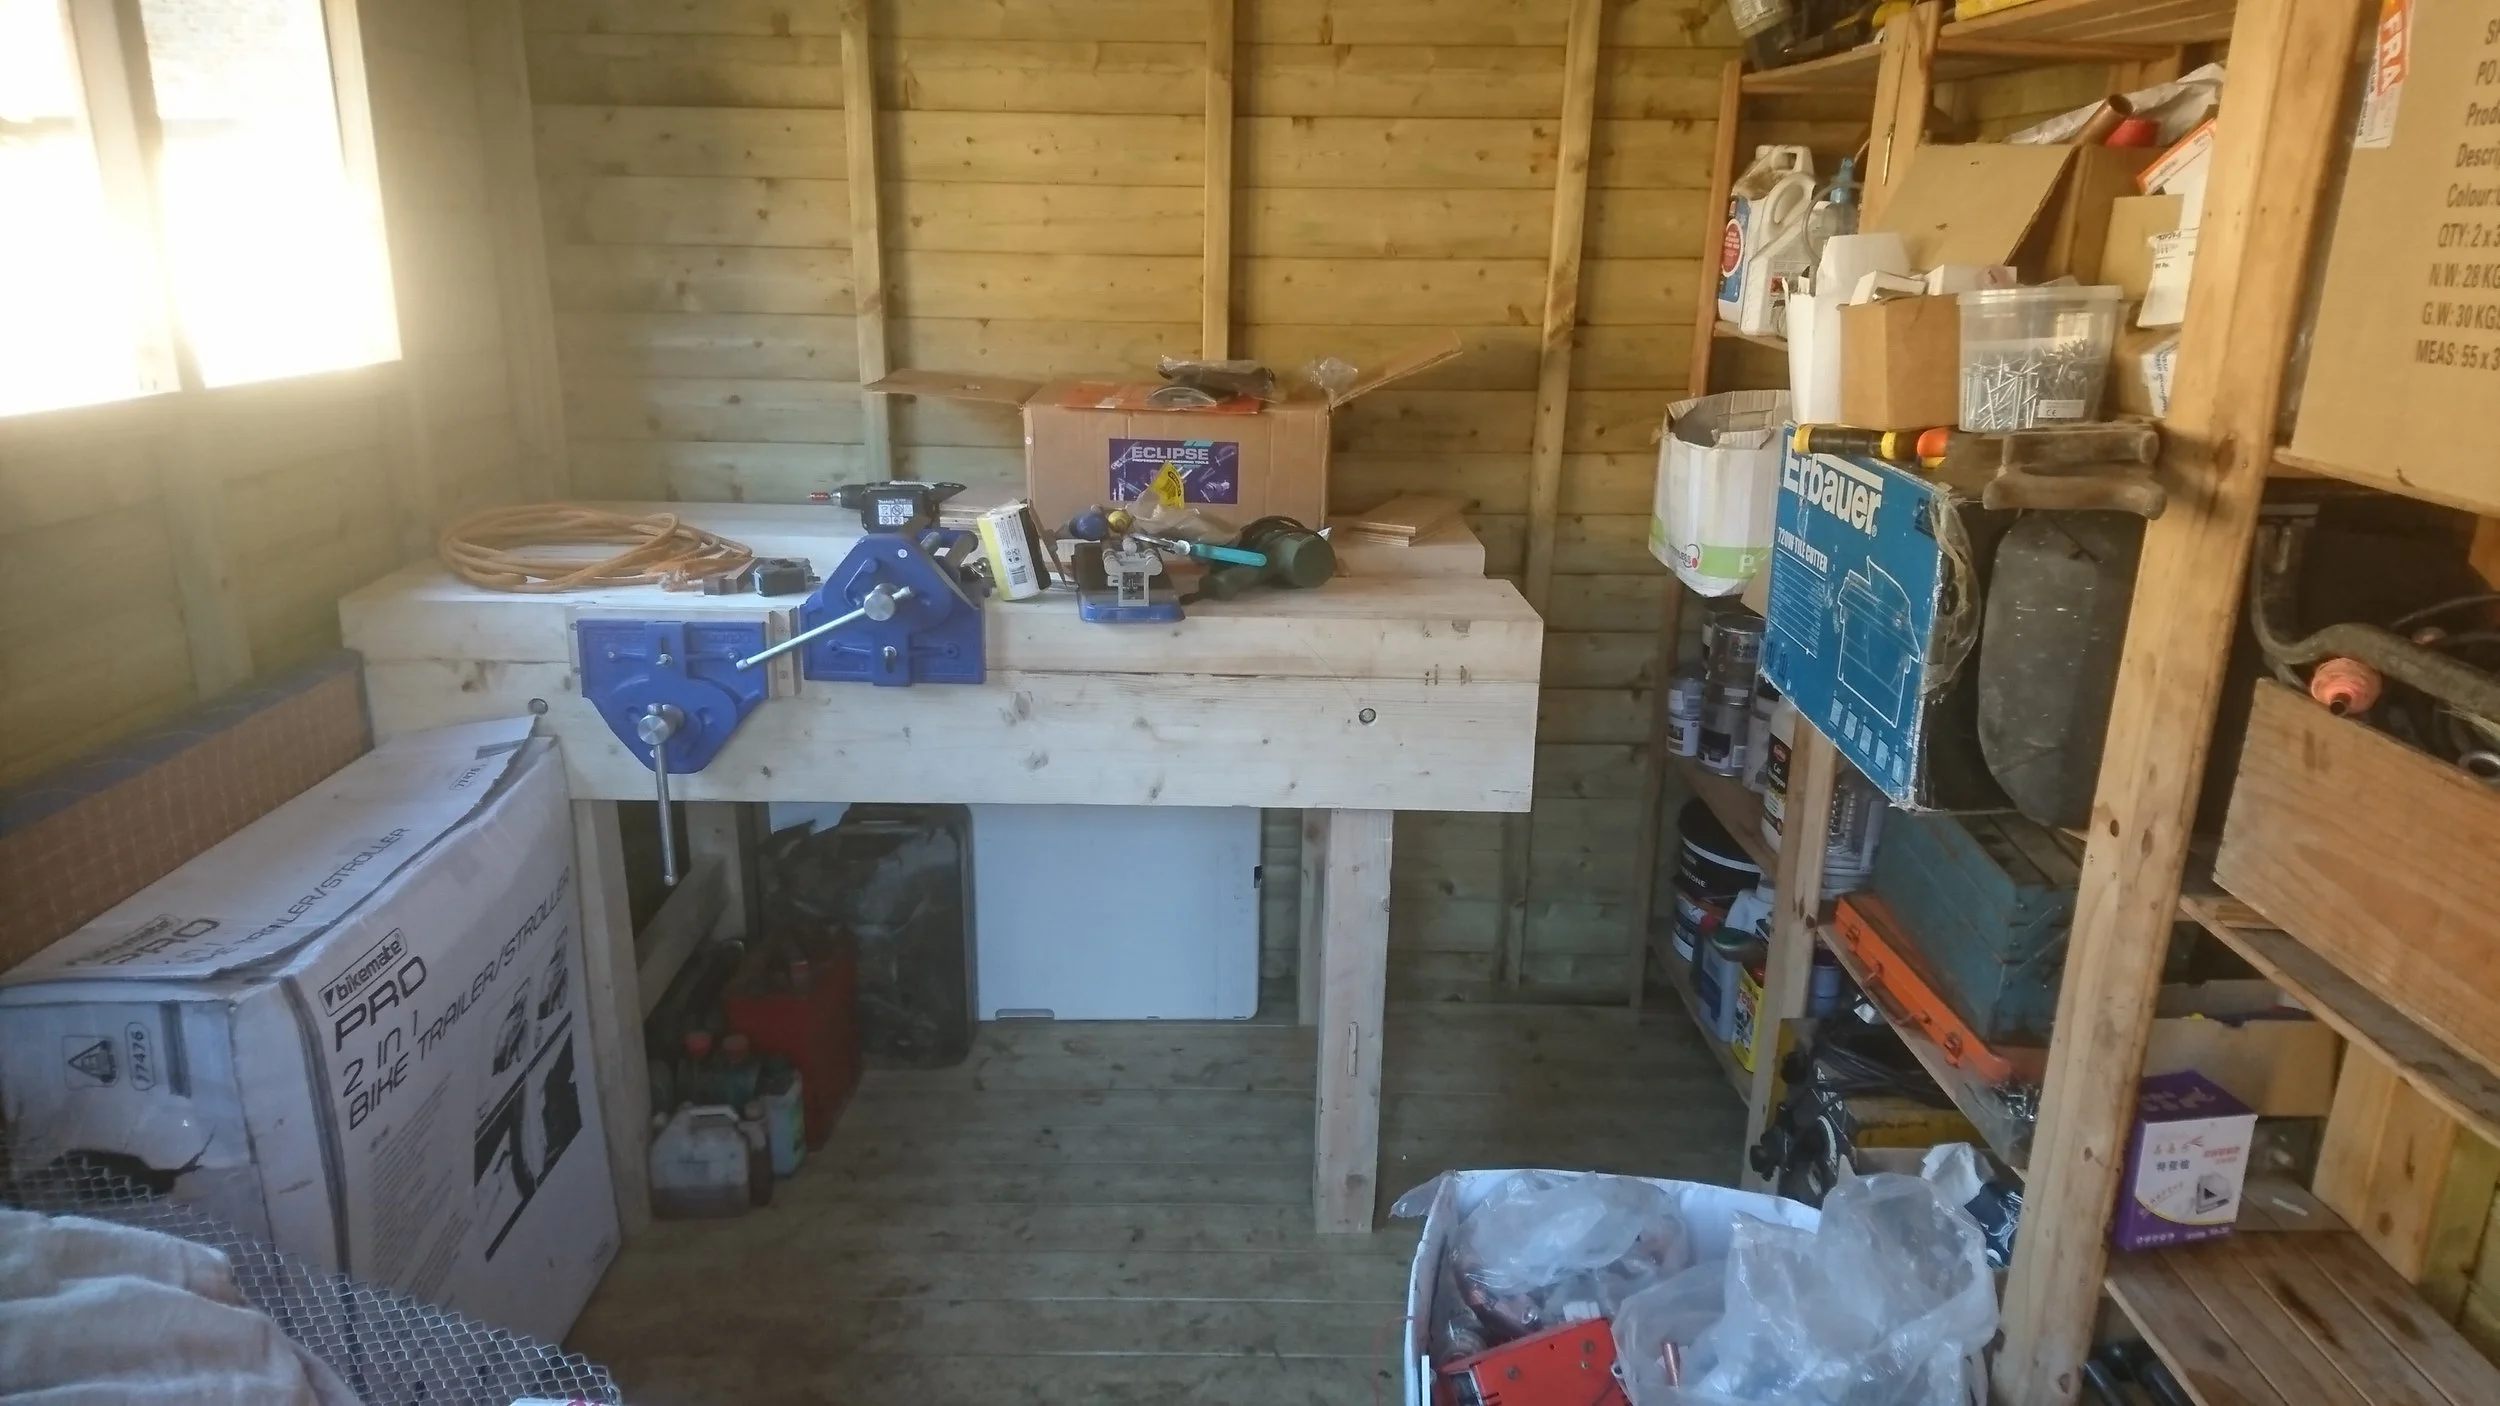
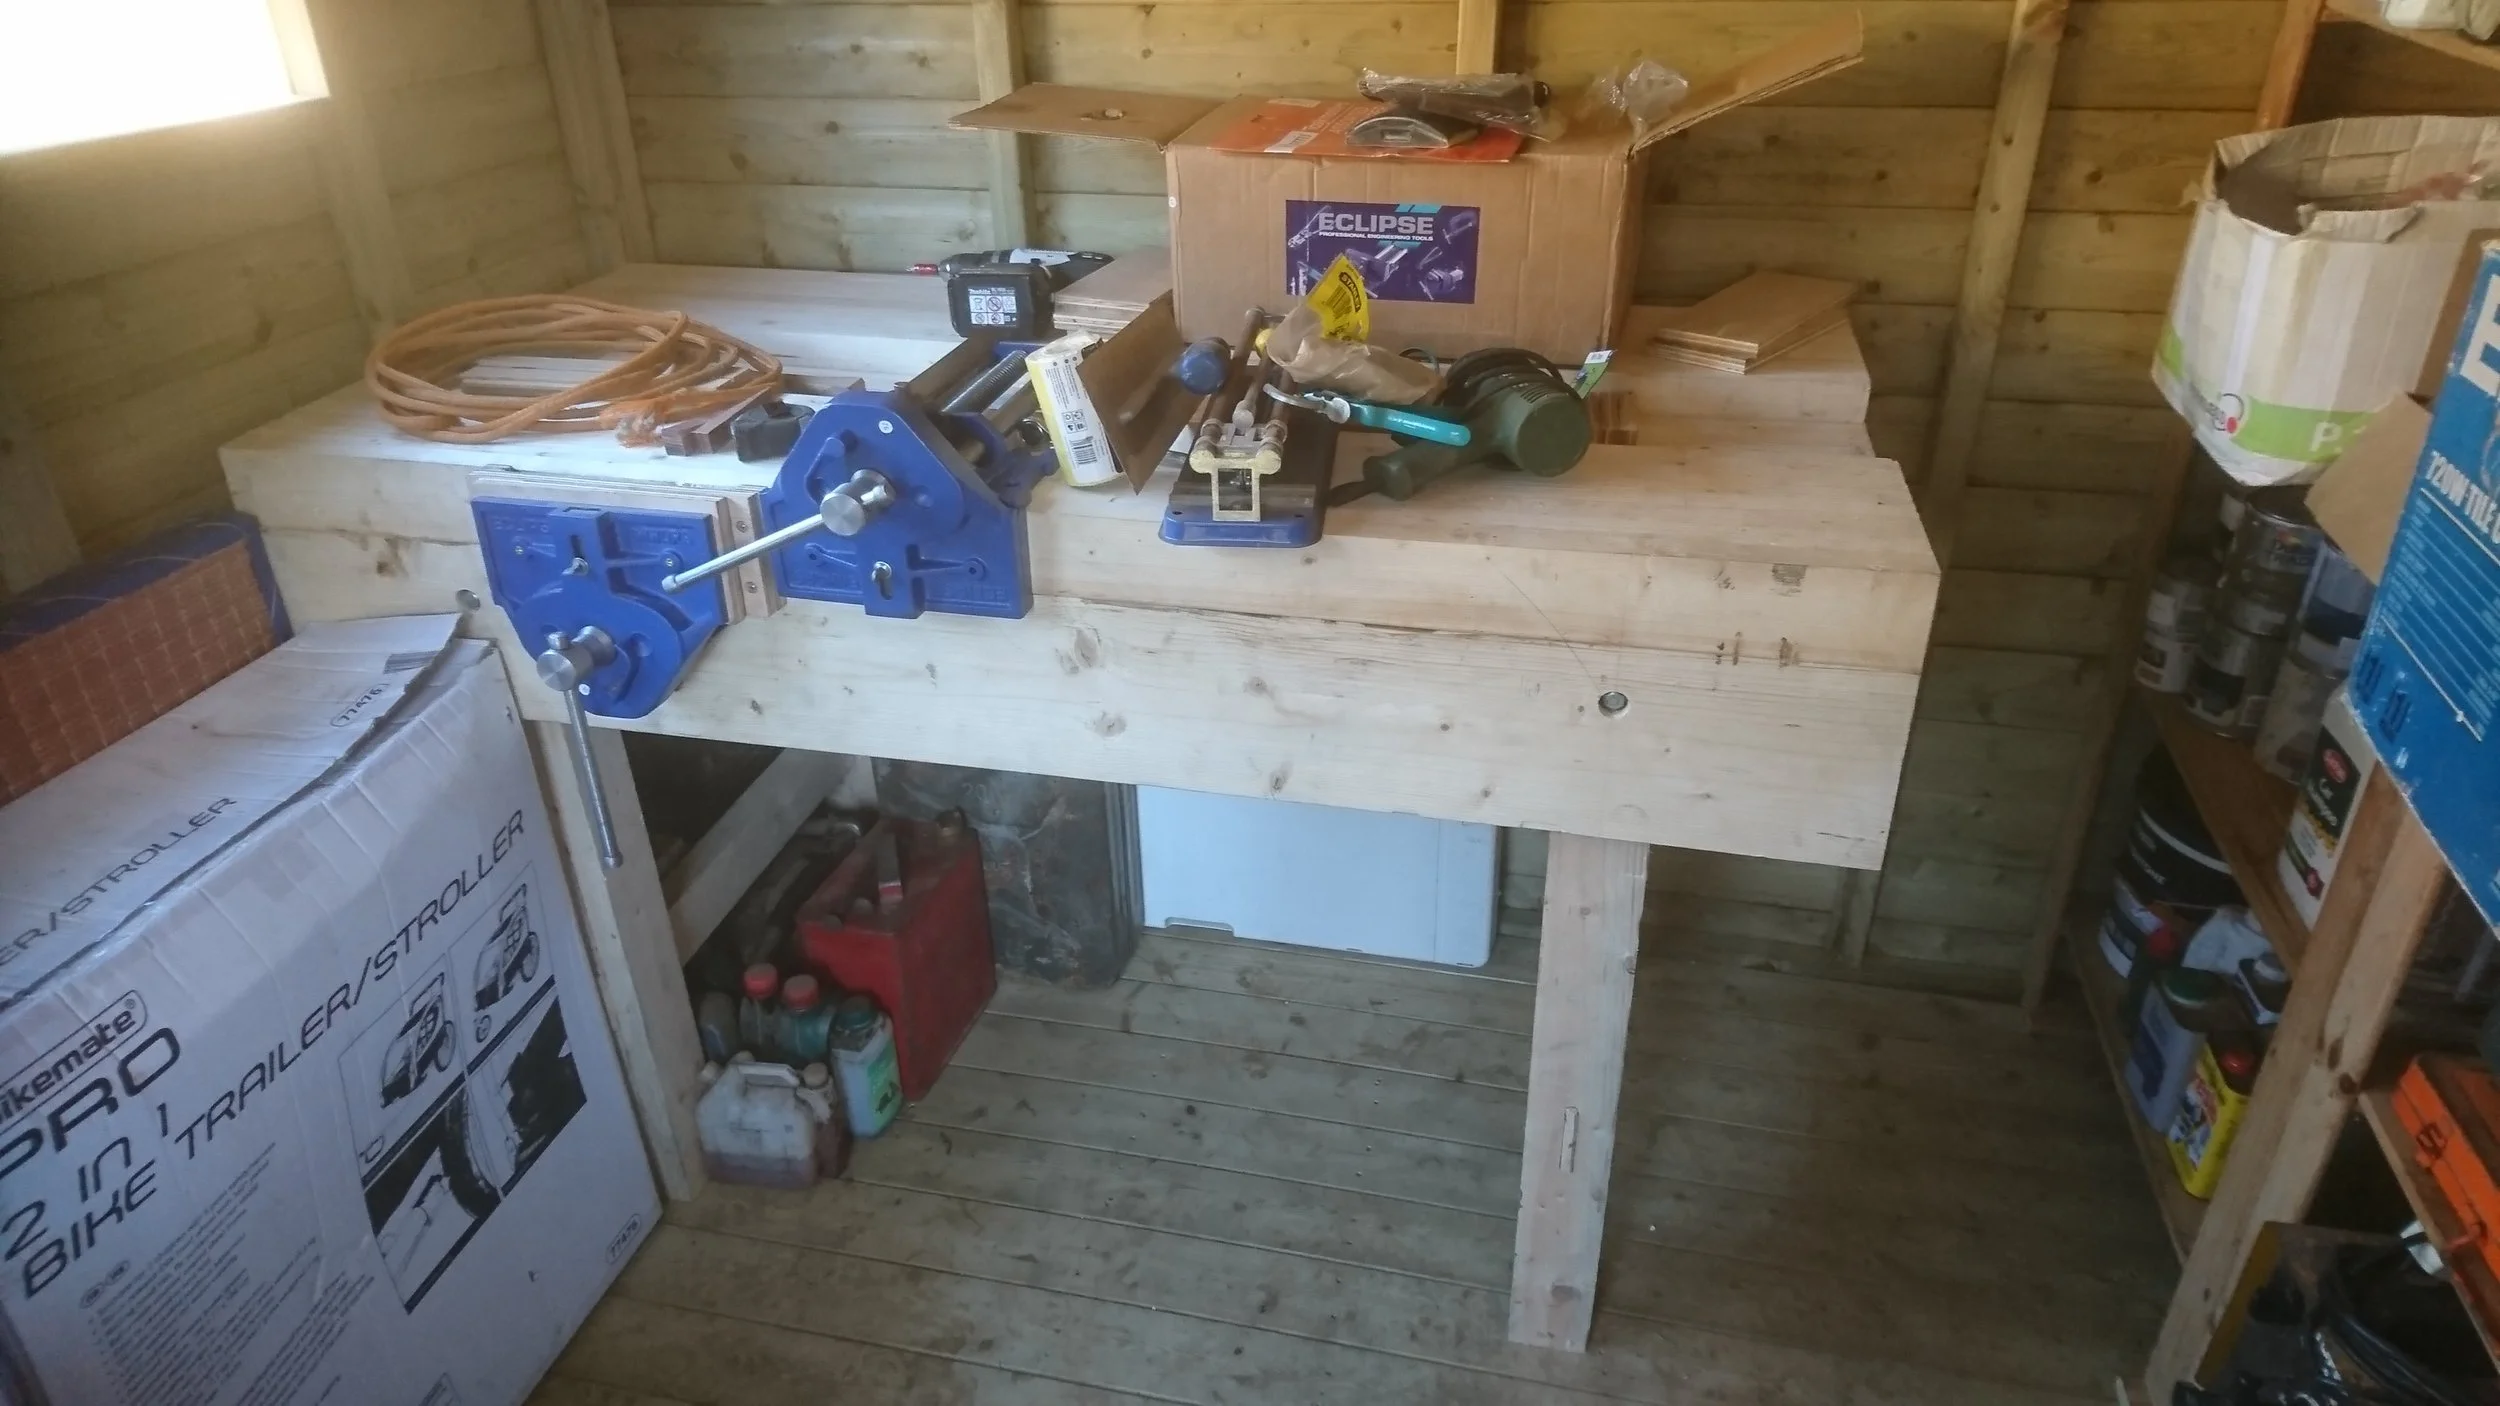
Installed in the shed, with a face vice fitted. Now that my parents have moved house, it has pride of place in my father's barn workshop. You may notice that I did, in fact add some coach bolts through the aprons, purely to allow the bench top to break down into smaller sections for transportation (Two apron/benchtop sections and the gap insert).
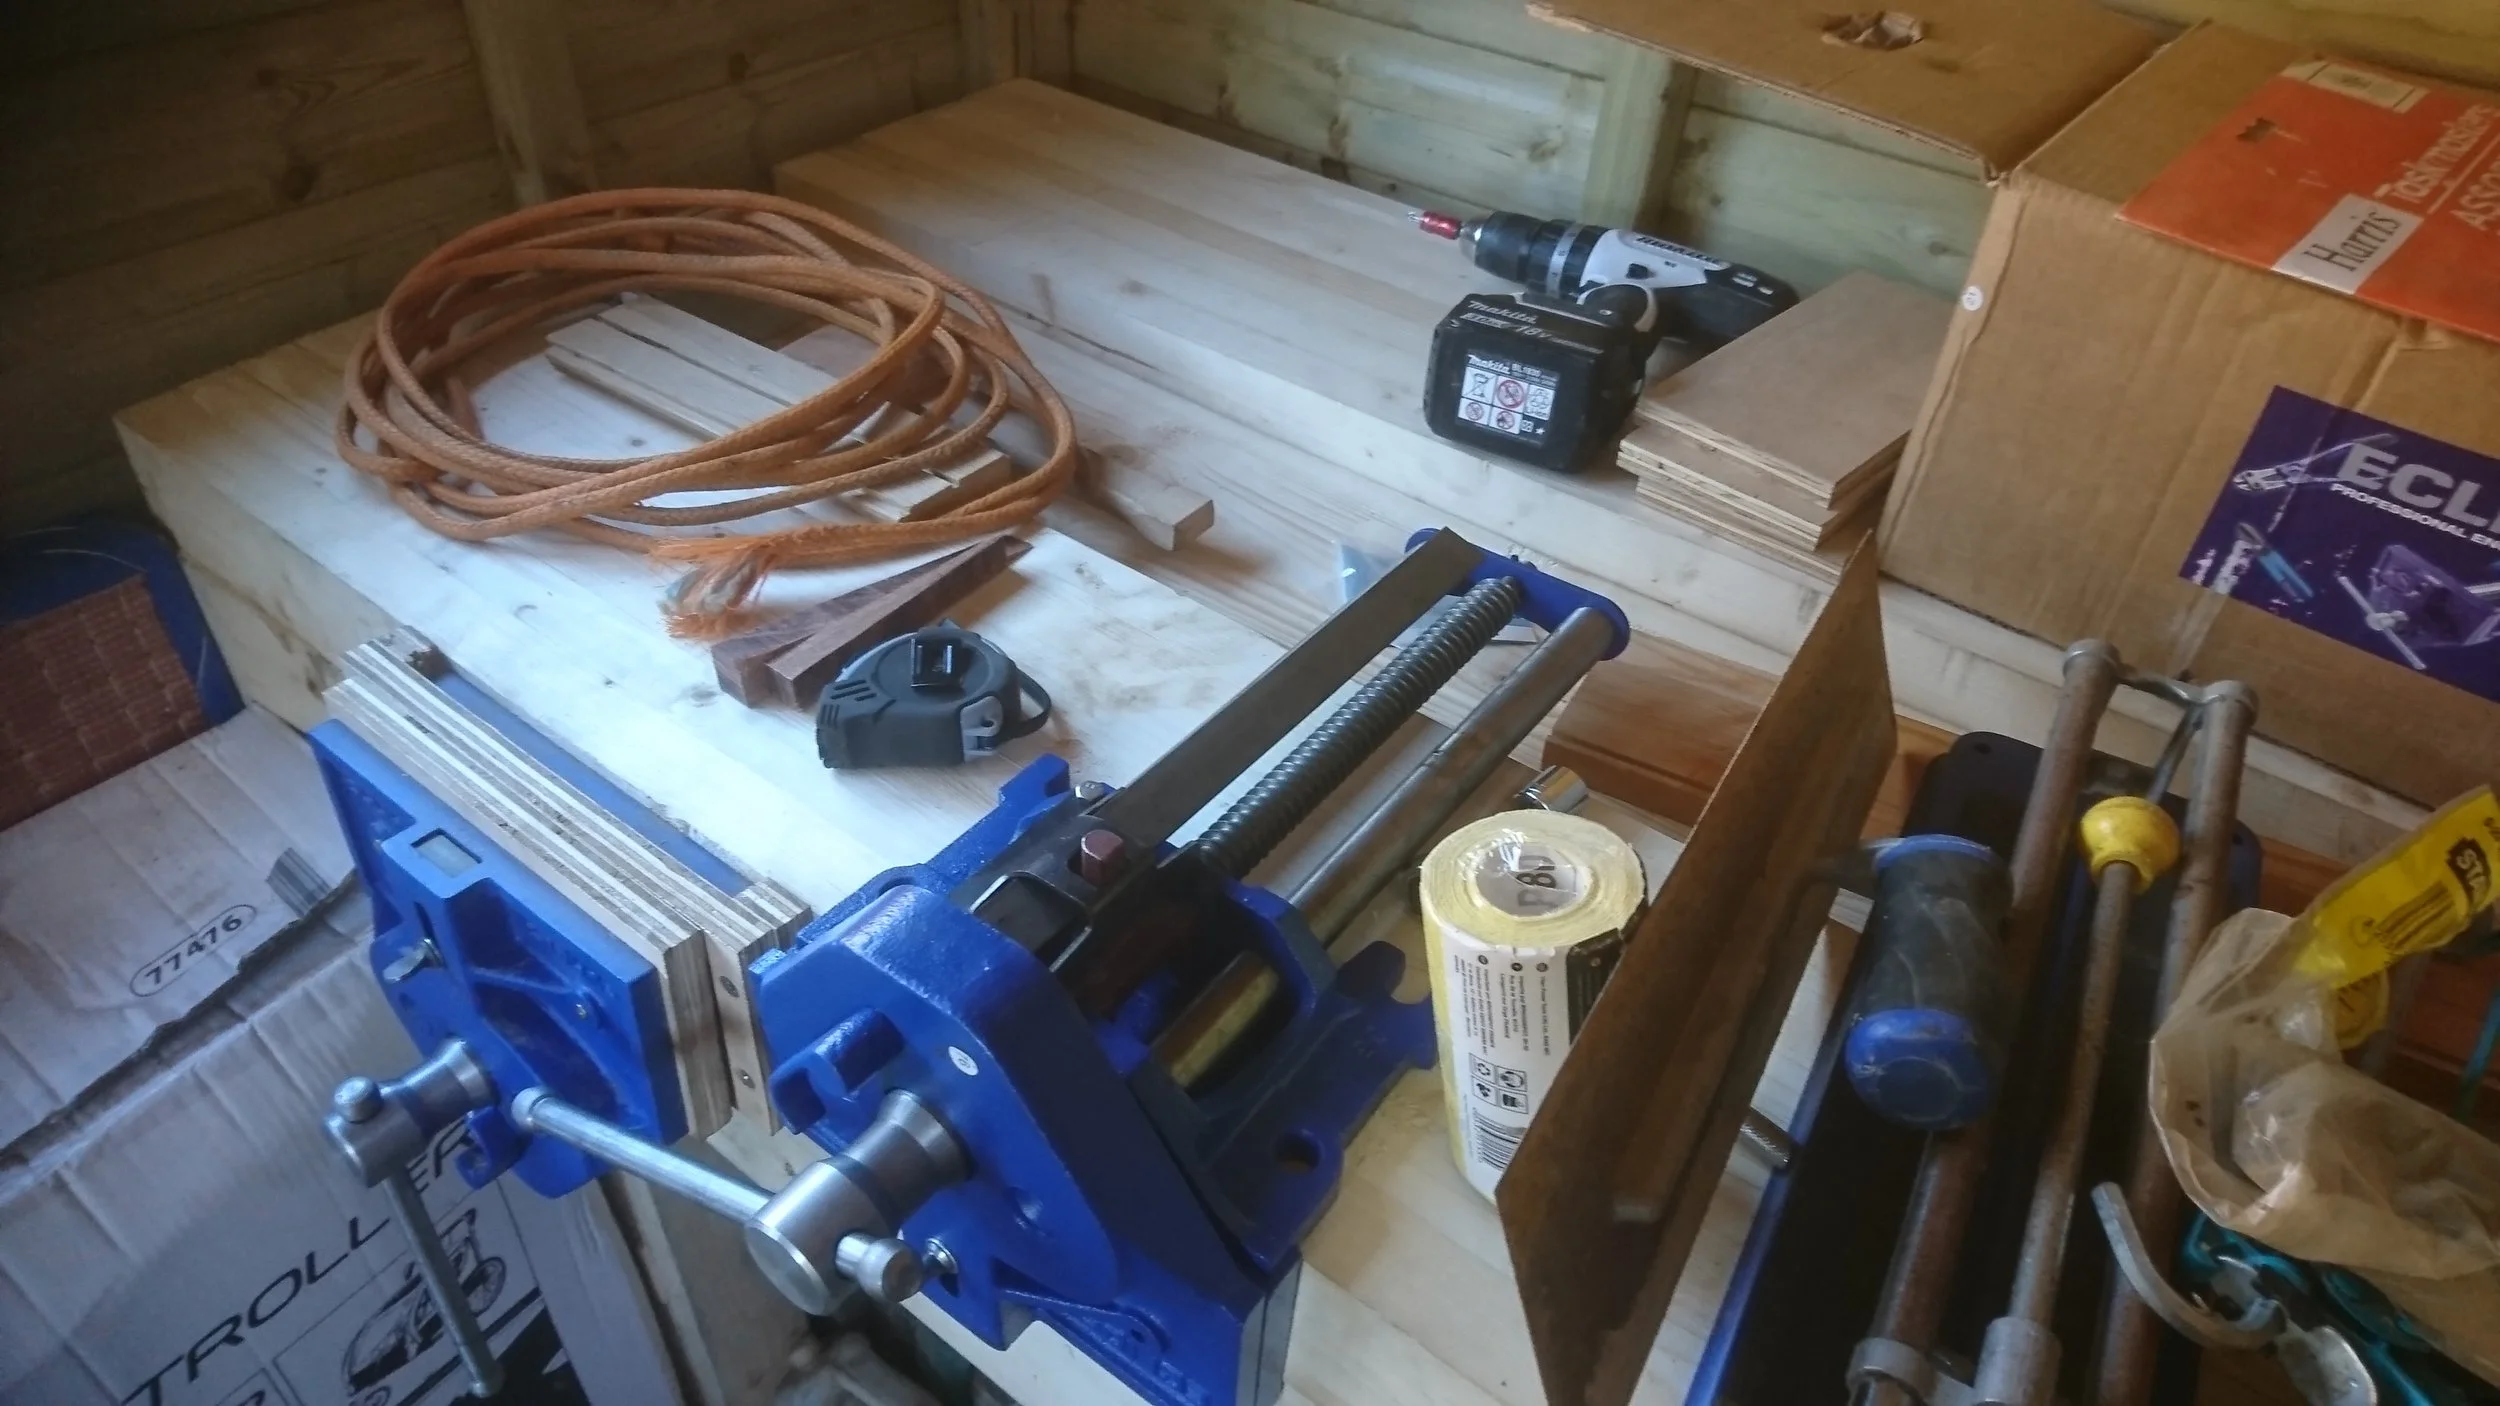
The tool well in the centre allows tools to be put down without rolling/being knocked off.

The box on the bench contains a 6" metalworking vice. This was later mounted to a corner of the bench.